

Alexander Grabovetskiy, woodcarver, School of Woodcarving · Published 2023
When should you start using tiny detailing tools in wood carving?
Quick answer: Tiny detailing tools are for the stage after the rough shape is found, when stems get separated, petals get dropped and dark spots get opened. Learn on normal gouges, buy a few one to four millimeter tools, and keep them for that later work. They help a lot, but your hands matter more than any of them.
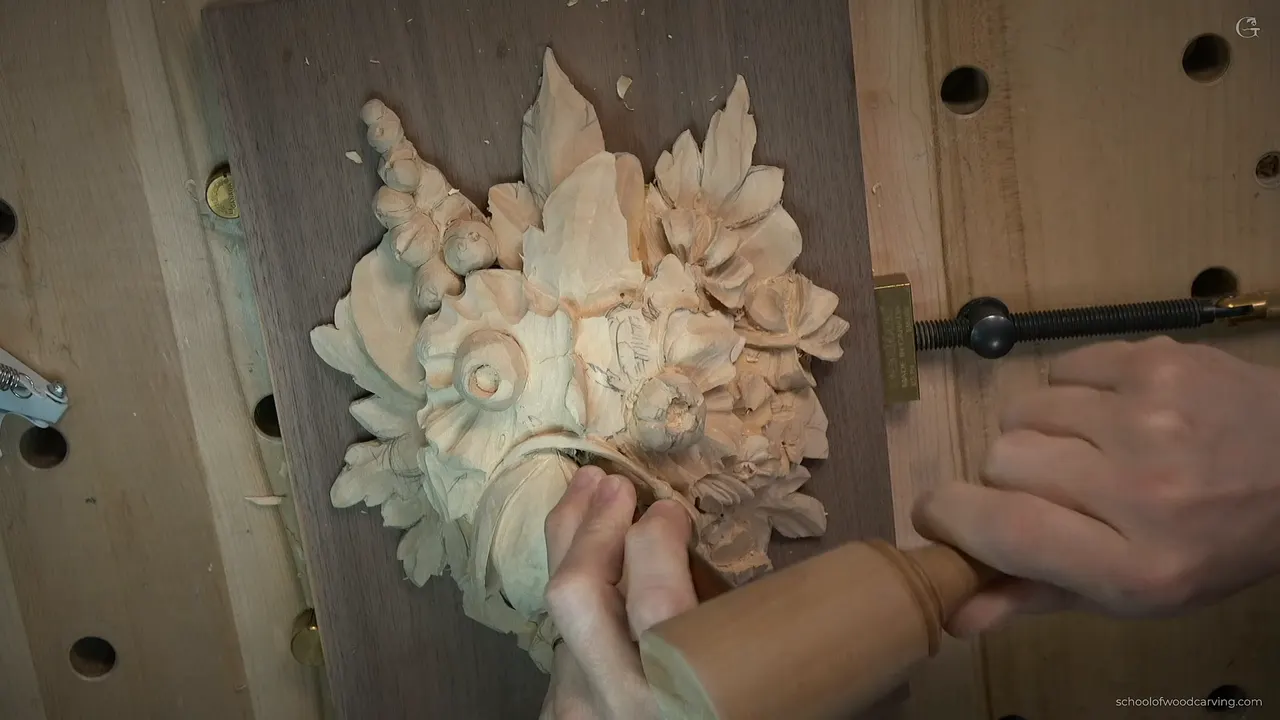
The small detailing tools come out at the detail stage, never at the start. Rough the flower out with ordinary gouges first. Once you are separating a stem, opening dark spots and shaping single petals, that is the moment. From there on you will use a lot of teeny tiny tools.

Did someone sell you a set of micro gouges before you had carved a single leaf? Did they sit in the drawer because nothing you were doing needed them? You were not wrong to wait.
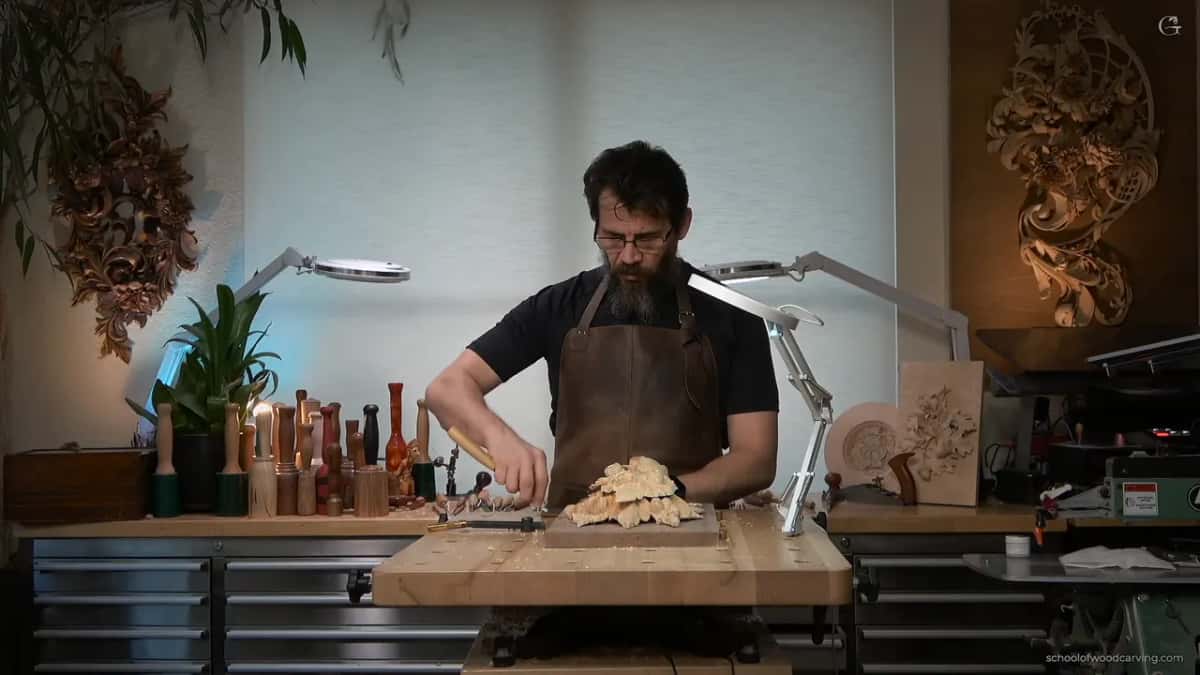
At the beginning of this Grinling Gibbons course I encouraged you not to use tiny tools. Class 13 is where I take that back, because the work on this panel has changed. The flowers are shaped. Now they have to become separate, fragile things with air between them.
Key takeaways
- Start with normal tools.
- A plug cut made with a number 9 opens a dark spot, no drill needed.
- A stem carved free of the background is weak along the grain, so do not touch it.
- Small tool, small mallet, small chunks.
- Your hands matter more than the tool.
- On flowers you are free to be creative with every concave and convex.
Why not start with tiny tools?
At the start there is nothing tiny to do. Roughing out a flower is about removing mass and finding the overall shape, and a tiny tool is slow at that and easy to break. Starting from tiny tools is not what I would do. But I would definitely buy them and keep them in my arsenal.
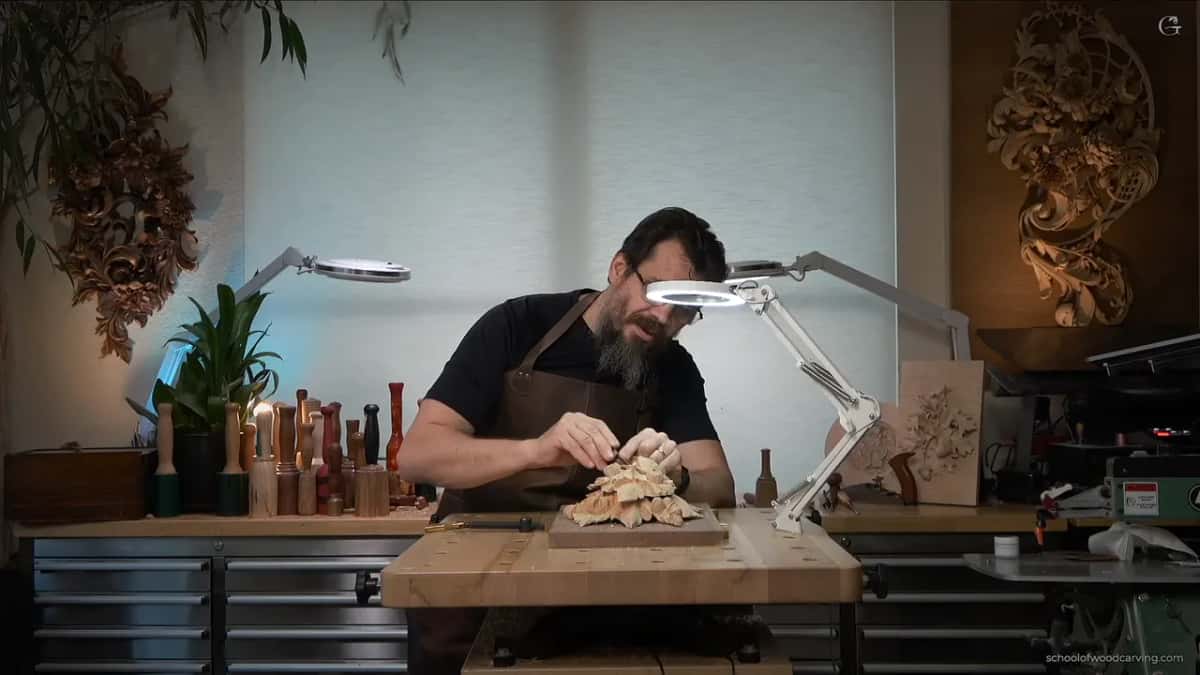
At this stage of the panel it is different. One stem needed separating, petals needed to drop ten millimeters, and edges needed a curl. If you want to work on details like that, you really have to get some detailing tools or micro tools.
What is a detailing tool?
A short, fine gouge with a small head. Mine are the Peter Benson collection, made by Ashley Iles, and they are called detailing tools, not micro tools. The one in my hand most of this class is a number 3, three millimeters, an eighth of an inch.
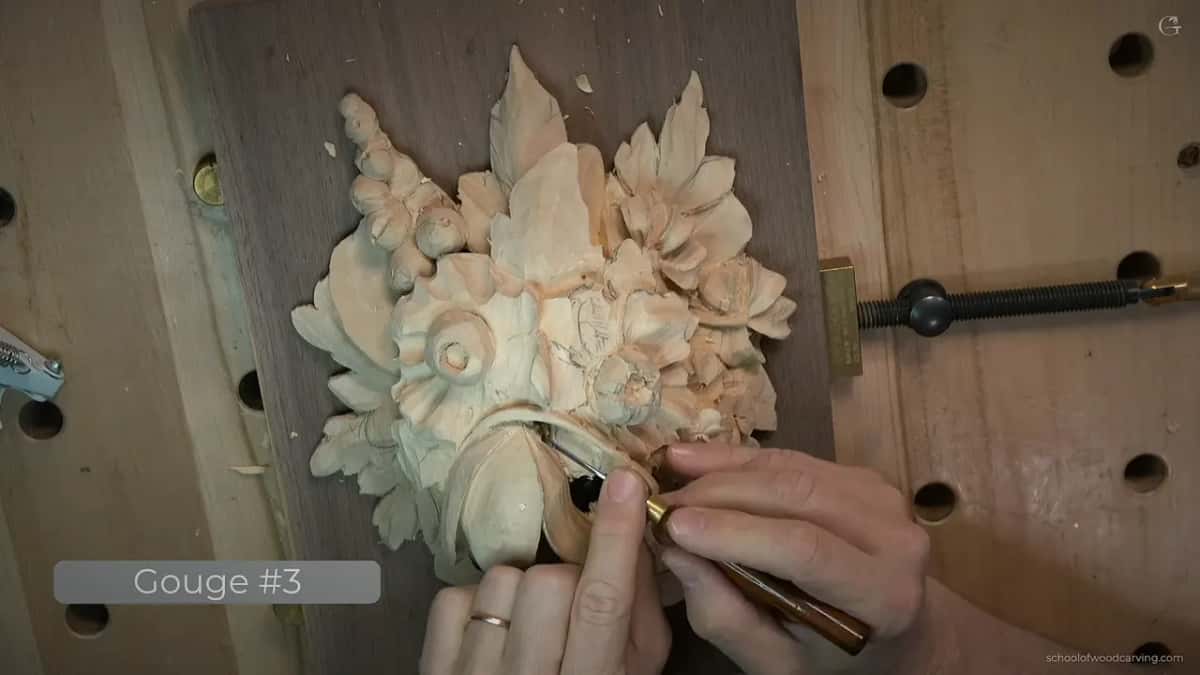
What I like about that Peter Benson tool is the steel. It is really thin, but the metal is so good that it holds the edge and does not break. You are not really supposed to use it with a mallet, but mine is a tiny one, so it should not be any problem.
Dockyard makes micro tools too, and those are available, so use them if these are not in your drawer. What matters is something that small in your hand, whatever name is on it.
What mallet goes with a tool that small?
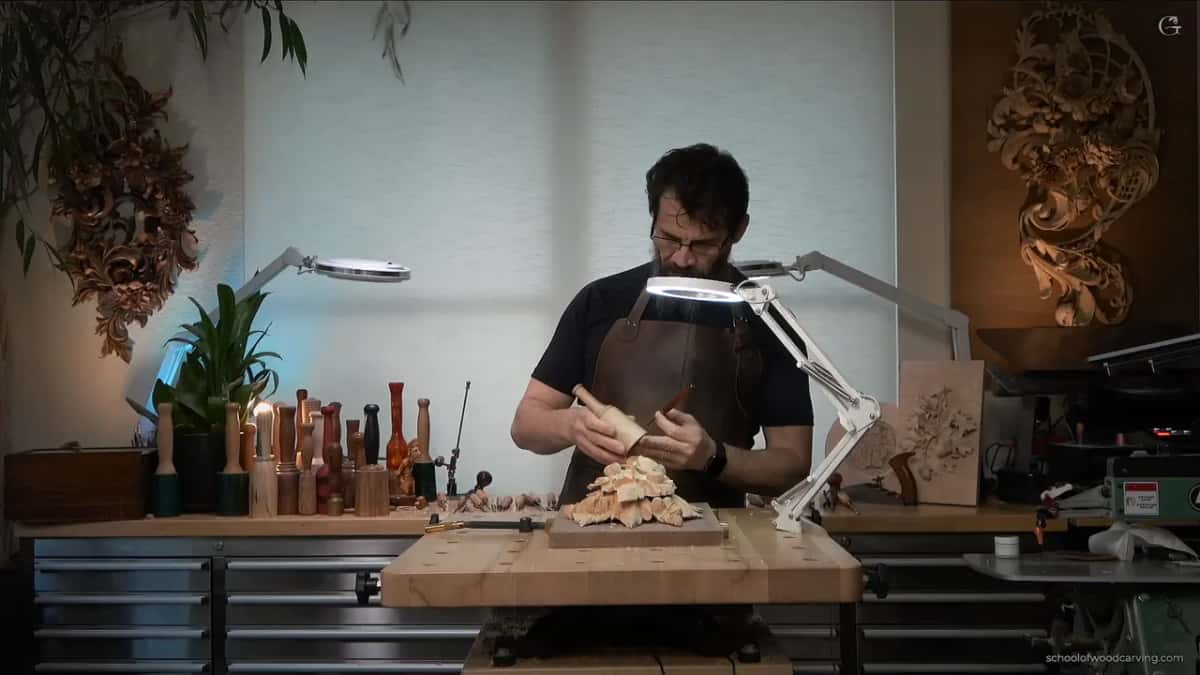
A tiny one. Mine was made for me by Tim Yoder, and those of you in woodturning know the name. He is all over the internet and in the magazines. A big mallet is useless here, since force is the last thing this needs. You need light taps that go exactly where the edge is pointing.
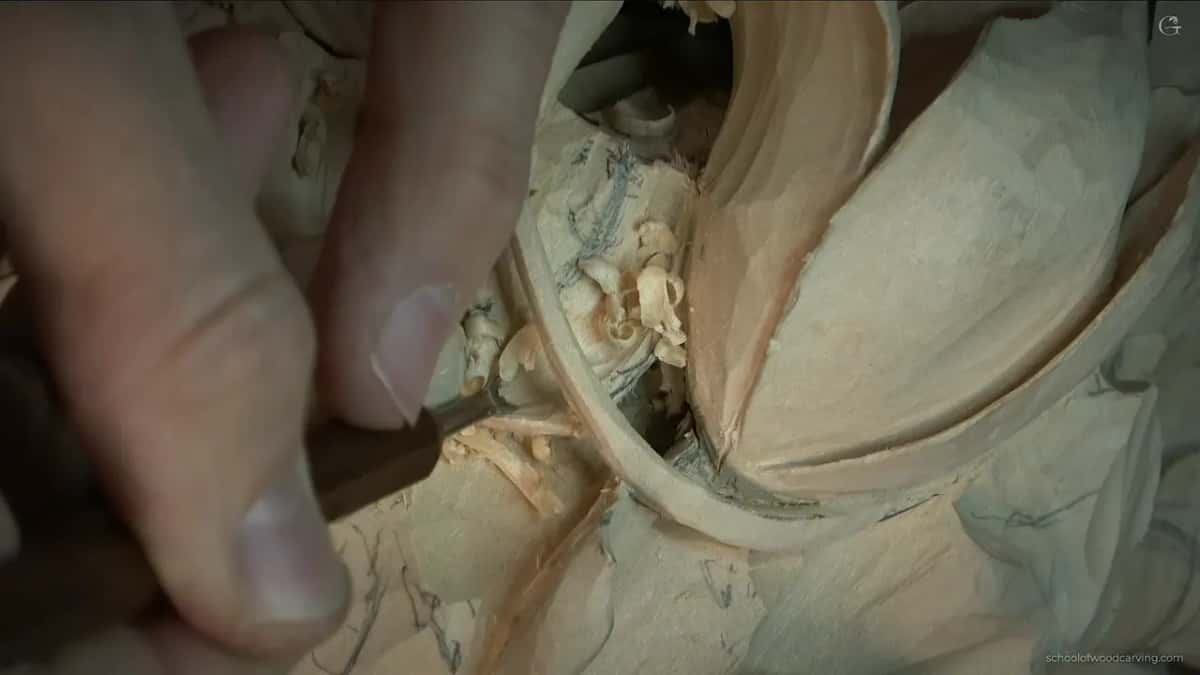
With it I outlined the petal around its hole, going right underneath the stem that runs to my tulip. Pay attention in that section if you do the same thing, and be really careful.
Where does a dark spot come from?
With a plug cut. I call it that because a small plug of wood pops out. My go to tool for it is a number 9, a quarter inch, six millimeters, from Auriou, the French brand. Stand it upright and turn it back and forth, almost like drilling, without forcing it.
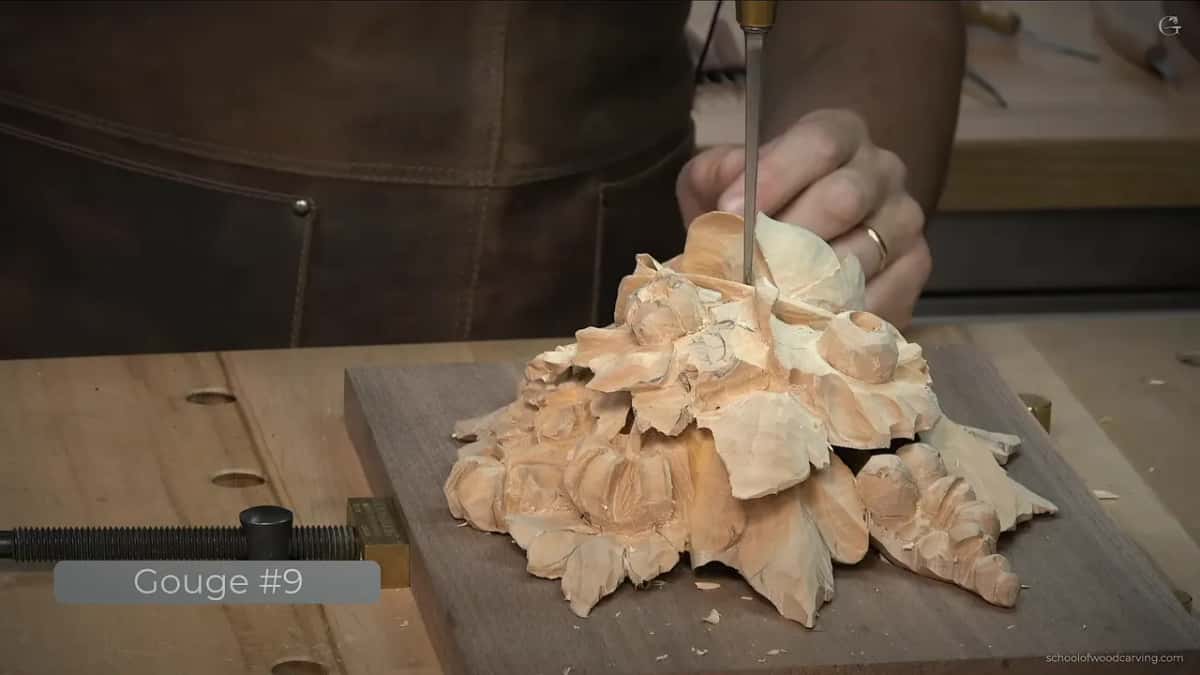
You could use a normal drill. In this case I do not see any advantage. Once through, the dark hole already creates some separation.
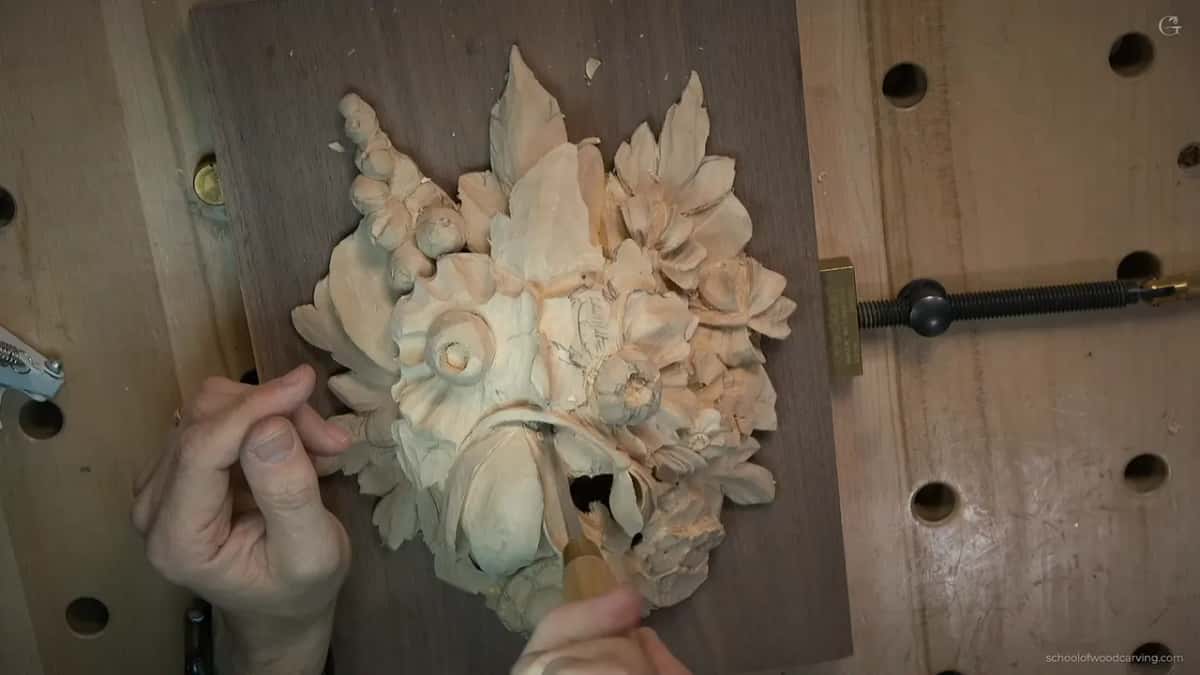
That chunk of wood was not doing anything for the design, so it went. Darker spots are what makes this kind of carving beautiful. It sounds strange to plan for more darkness. It is what it is. Class 11 did the same thing inside the tulip.
Why go that far? I wanted this tulip to look, I don't know, awesome. Not just good. Maybe take it to the extreme.
Why strop before the small work?
Especially when you are not going to use sandpaper or any other abrasive afterward. Then the surface the tool leaves is the finish. A couple of strokes, inside and outside, is always a good idea before detail.
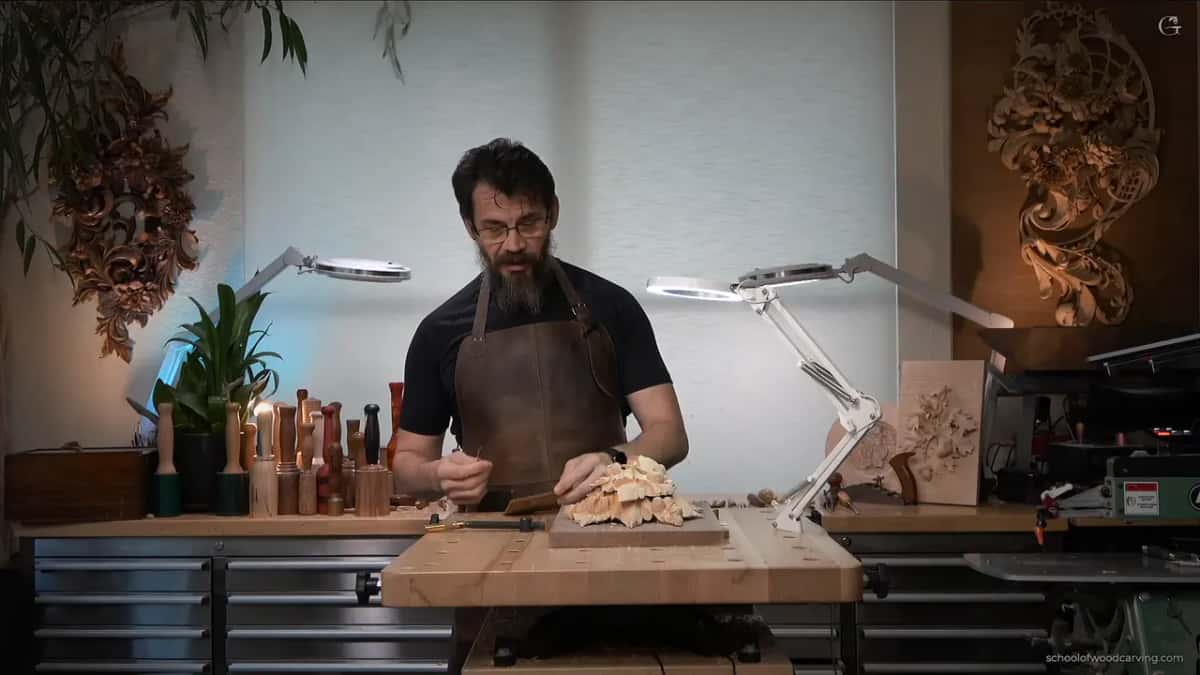
No special stroppers. A piece of leather is always better for me. The paste lately is Mirror Paste by Trend, for the last couple of years. I like the green and blue pastes too. They all do the job, some better than others, and I am not selling any of them. The sharpening course is where stropping gets taught properly. I said on the video that I might put a link to the paste under it. I am still not selling it.
How do you carve a stem that floats in the air?
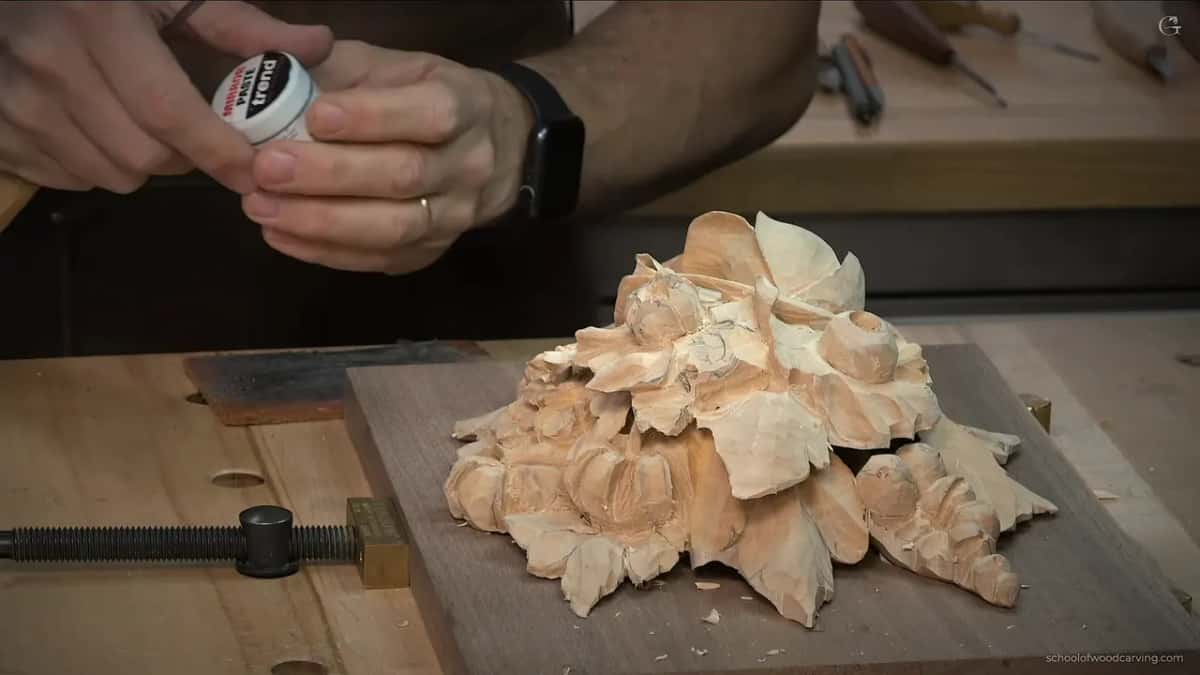
Slowly, and with your hands off it. I want this little stem to float completely in the air, with another dark spot behind it, and I know that makes it fragile. The grain runs the wrong way for it, so once it is free it becomes super weak.

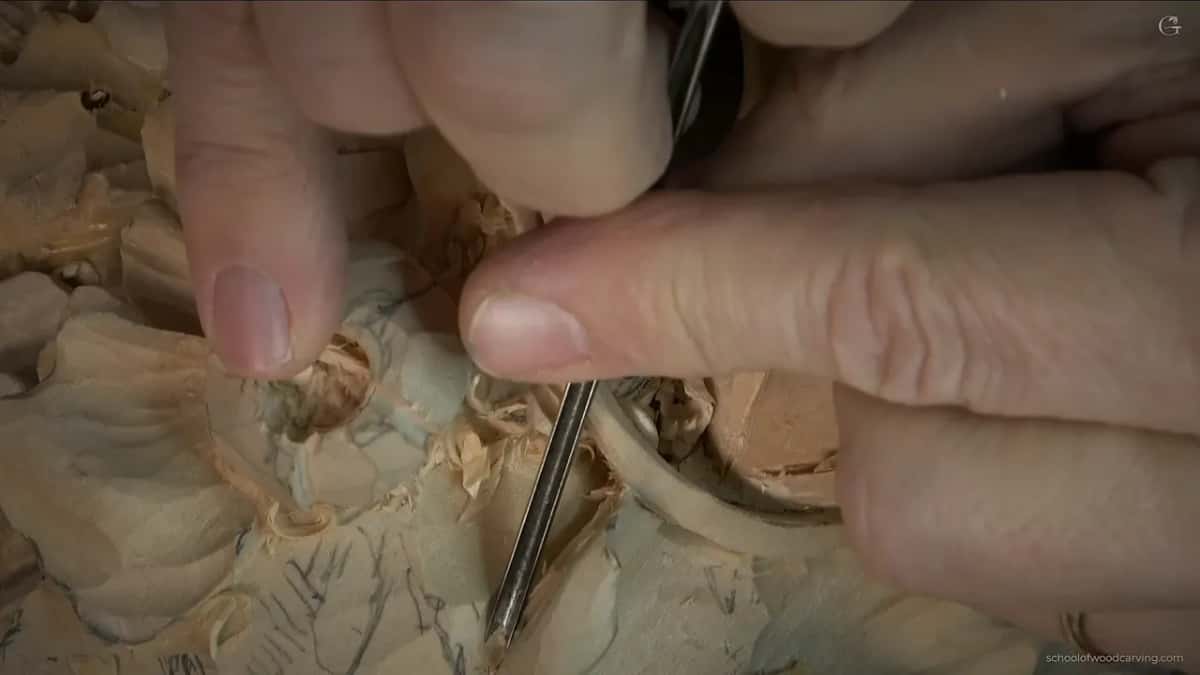
Copying what I do here? Keep your hands off it and do not force it. Small, small chunks of material. First the number 3, then a number 11 at two millimeters, flute at about one o'clock. Then the number 3 again with the tool upside down to open the space under it.
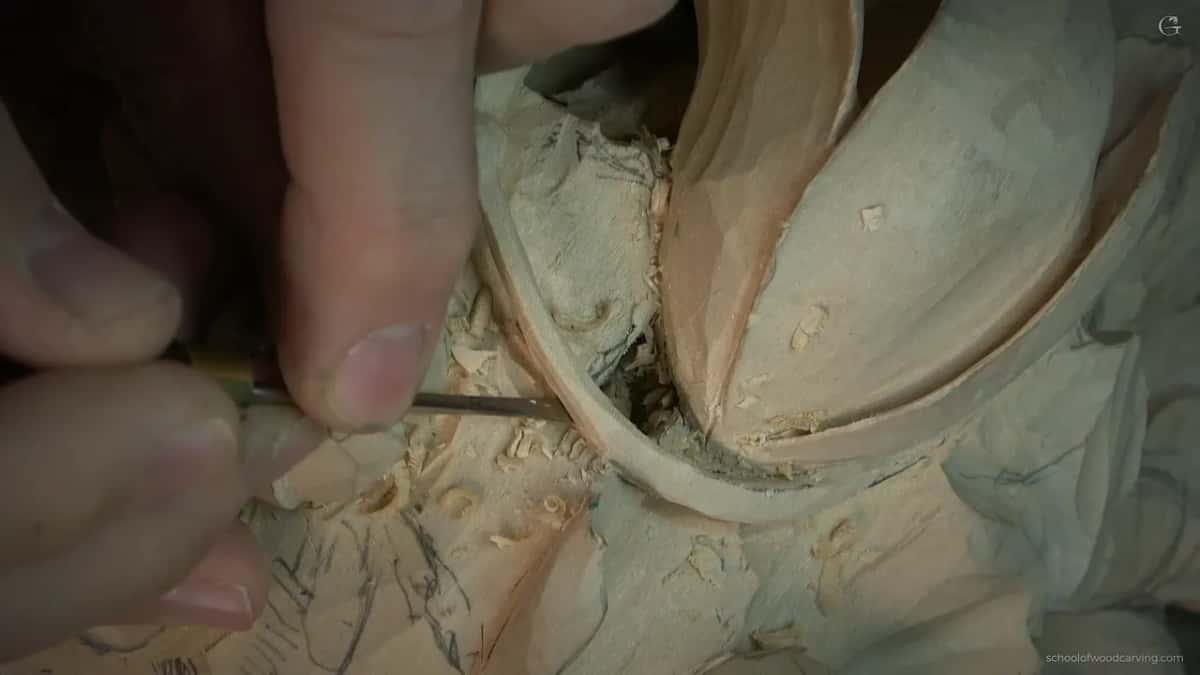
Two millimeters looks huge on the screen, I know. Really, it is only two millimeters. I hold that tool laying across my middle finger and guide it with a finger of the other hand, excavating little by little. If I push too hard, that would be a big mistake.
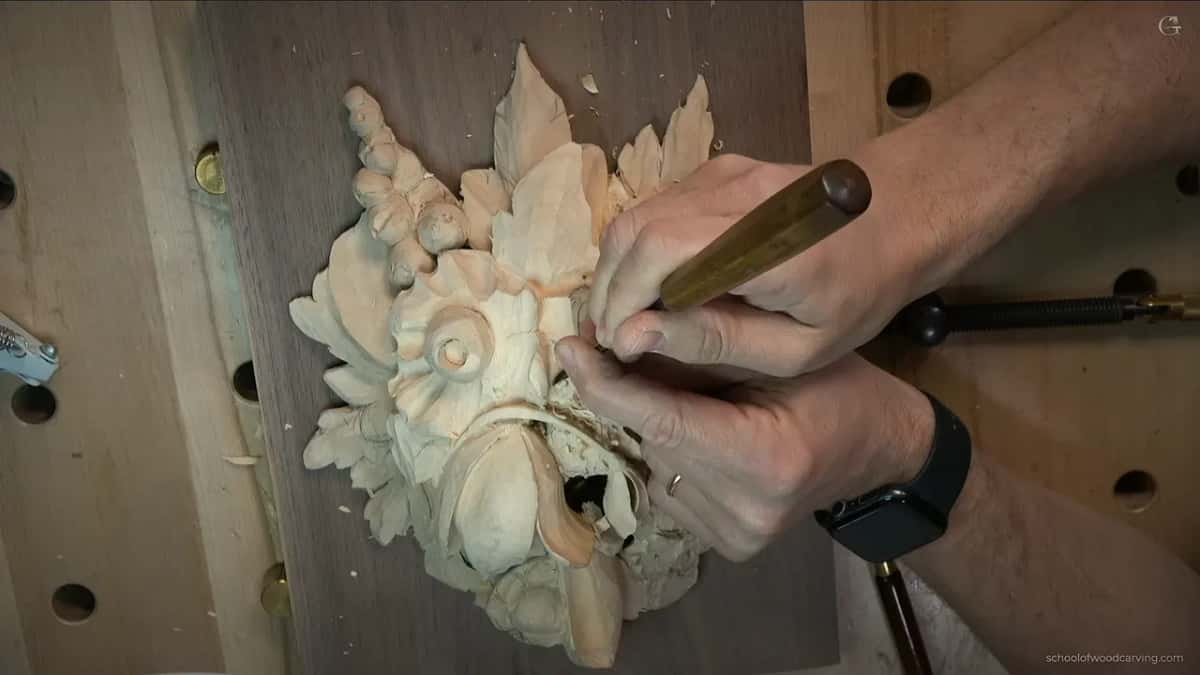
How deep can a petal drop?
As deep as the wood lets you, and here it let me go ten millimeters, about three eighths of an inch. The wall of the petal had that much material. So did the spot next to it. That depth is what gives the 3D look between this flower and the next one.
The depth of every petal matters, and when you have material to play with, why not use it? Under one petal of this relief I had about five millimeters of undercut. I could do more than that, and later I will.
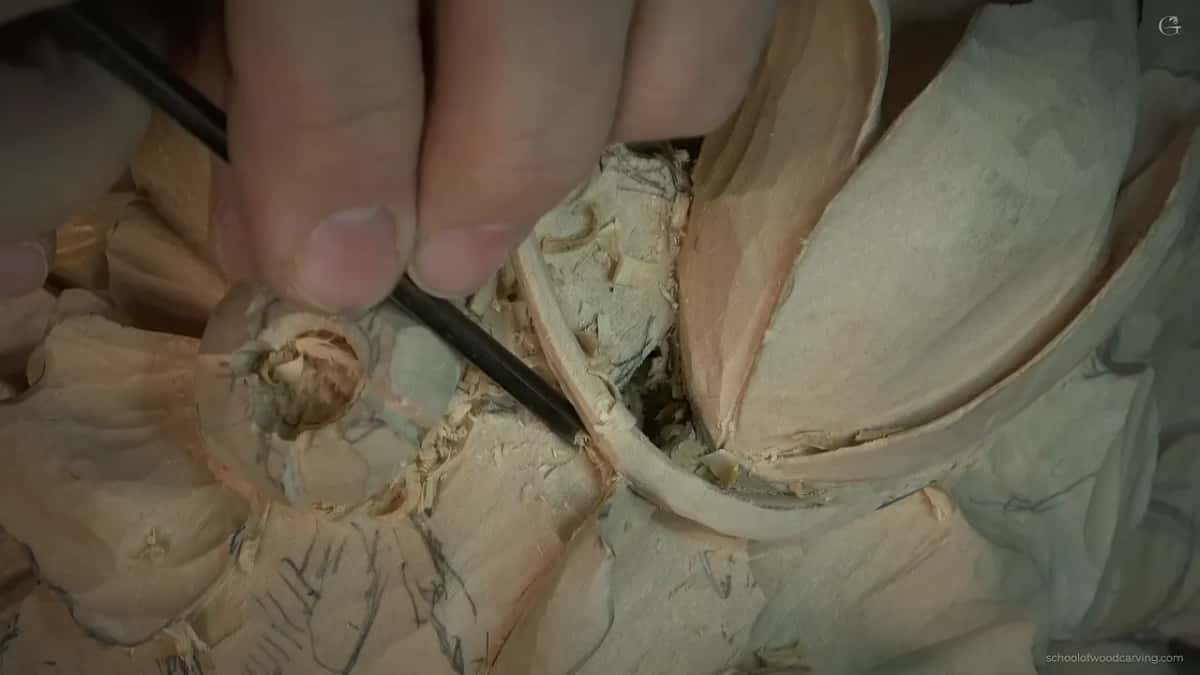
Why does a small head matter so much?
It fits into the places that every bigger head on my bench is too wide to reach. For the concave on one side of the new petal I grabbed my small number 9, four millimeters. The advantage of that little tool is just its tiny head. See how small it is? With it I can work with the grain on top, and then, with the same tool, go against it right underneath.
First a few strokes on the strop, pulling toward myself. Not much paste. Then I raised the edge of the petal from two sides, so the middle bulges and the rim lifts. I did not worry about how clean it looked yet. At this point only the overall shape matters, and it was bulging, and I was kind of happy about it.
I also said a normal spoon would do, and so would a small micro tool from Dockyard. This one was simply the only thing that fit, because the stem was right in my way.
Which tool does which job at this stage?
| Job | Tool | Size |
|---|---|---|
| Dark spot | Number 9 by Auriou, the French brand | 6 mm, turned like a drill |
| Outlining right around the stem that runs to the tulip | Peter Benson 3 and the tiny mallet | 3 mm |
| Freeing the stem | A two millimeter number 11, taken in small chunks | 2 mm |
| Petal concaves | Number 11 by Pfeil, then a small number 9 | 5 mm, then 4 mm for the tight spots |
| Deep excavation behind a flower | Long bent 10, Ashley Iles | Same as a European 9, just bent for reach |
| Outline of the new edge | Antique Marples chisel | Number 1, the flattest there is |
Why use a long bent gouge here?
The handle must stay clear of every flower around the one you are digging behind. I had a lot of material to remove behind one petal, against the grain and going upward, which is not in my favor. With a long bent number 10 from Ashley Iles, the same as a number 9 from Pfeil, Lamp or Two Cherries, I could reach in without touching anything around it.
The excavation under the stem ended up about ten millimeters, three eighths of an inch. Look at that shadow. Don't pay attention to the chips. And please don't judge me for going against the grain. With flowers there is sometimes no other way. Everything is in the way.
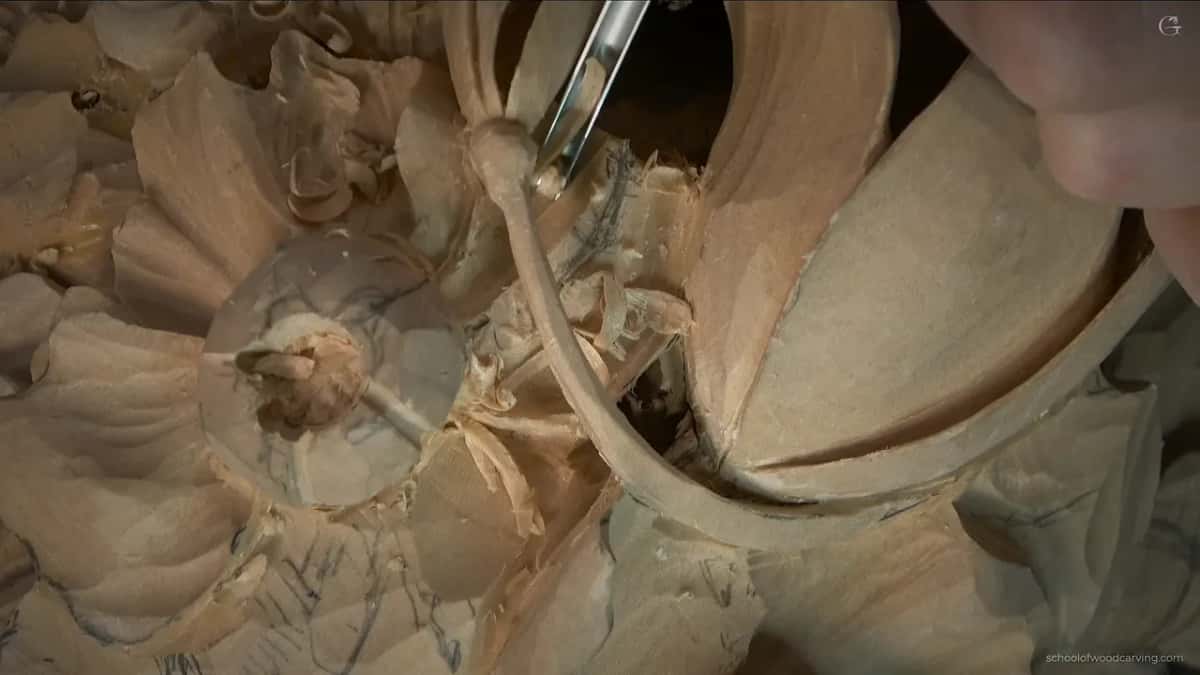
Honestly, this class is a Grinling Gibbons class, and I did not explain that long bent at length. Some of you know those tools better than me. What I will say is that, before it, the first big chunk came out on a number 9 going upward and a slight wiggle underneath, which is not in my favor and does not leave a nice surface. It was preliminary. The goal was to get a lot of material out without breaking anything.
What if the camera cannot see the work?
That is one of the disadvantages of video. You cannot come to my bench and look at the piece yourself. Most of this class my hands or my head were in the way, and I kept saying sorry for it.
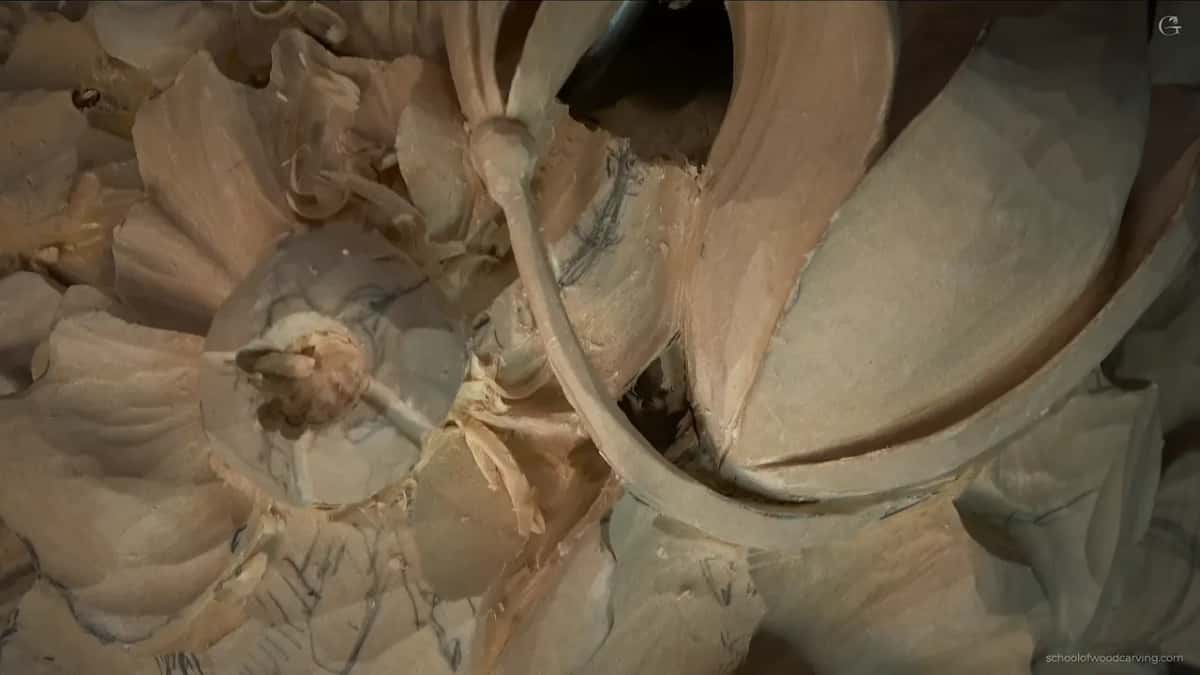
For the S curve at the edge there was no camera angle at all. So I connected my phone and flew it around the carving, just so you could see the shape. I hope it helped. You do not have to carve that curve. I like a challenge, sometimes, not always but once in a while.
Does every petal have to copy the original?
That is the beautiful thing about flowers. You do not have to replicate every concave and every convex. Get the overall idea of how the petal is supposed to look, and then you can be creative. Some art schools tell you to express yourself. I would not say that about every field of art, but on flowers you can.
I still follow the law of flow. This petal goes the opposite direction to the last one, because it follows the tulip, and the tulip weaves together with the flower beside it. The raised middle sits at about sixty to forty. Then an S curve at the edge, under and back out, and a wavy line like a clover so it does not look chopped. The design course is where that law lives.
Is the tool more important than your hands?
Tools are important. Your hands are more important. I carved for a long time without those detailing tools. Even the carving you see behind me, I did not have them yet. Some Dockyard, that is all I had.
So when someone says it is good for you to have those tools, but what about us, that is my answer. You can make a lot of tools work for you. They are like an army. Once in this class I proved it on purpose. A job I did with a number 3, I repeated using a number 11, to show that the result was the same. Sometimes you just improvise.
And when you start losing your tools on the bench, and I did, stop. Take a break, walk away, then come back and reorganize. The tools course has the rest of what I think about buying them.
What does the panel look like after this class?
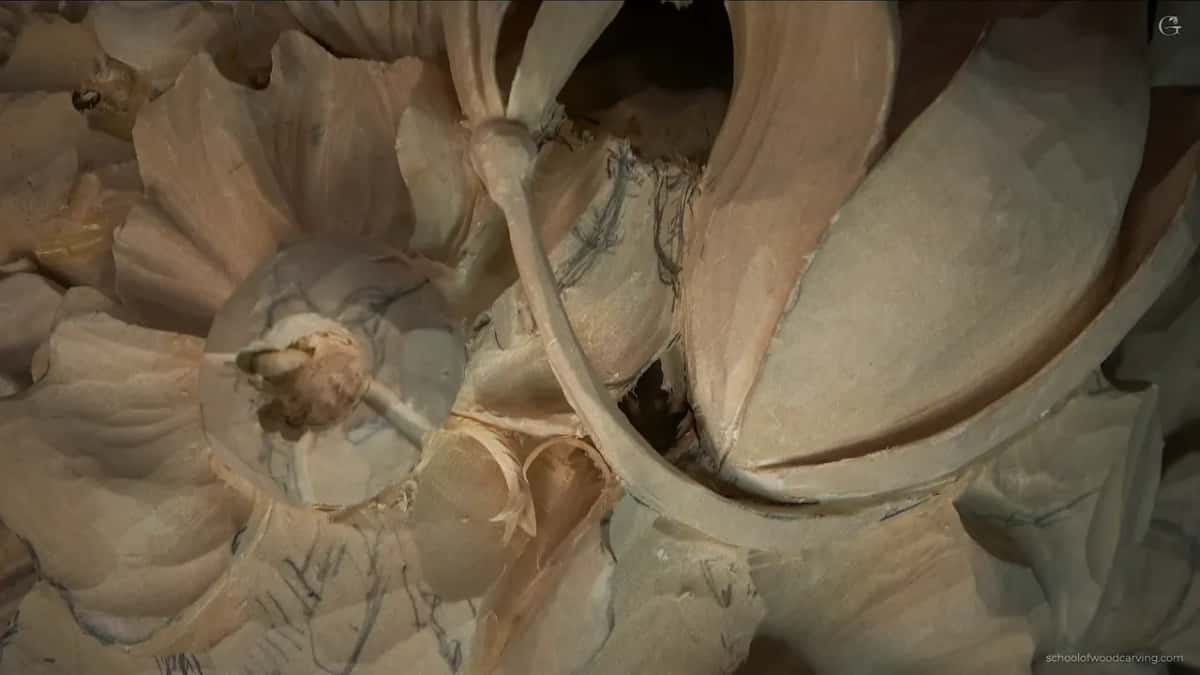
It has dark spots now, and that already makes it look better. The parsley from class 12 got a pipe and an opening, so now it has shadow above it, under it and beside it.
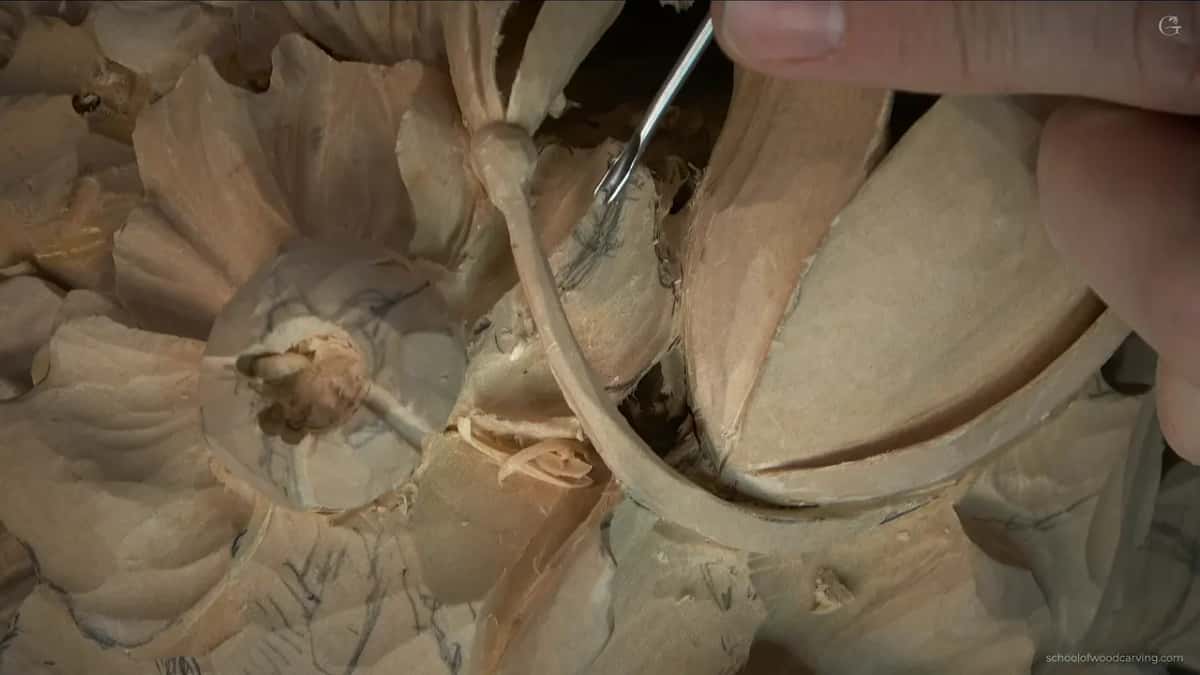
The cleanup happens off camera. Nobody needs to watch me removing little things for an hour. Next comes more change from the original, a little more complex than Gibbons made it, to show you different techniques.
All nineteen lessons are open with tuition. If flowers are new to you, start with the flower rosette course before this one, and the Hashemi flowers course after it. The tulip itself came into the design in class 7, and the techniques course covers undercutting in general.
How it's done
- Rough out with normal gouges. Find the overall shape of every flower before anything tiny touches the wood.
- Strop before detail. A couple of strokes on leather, inside and outside, because the surface the tool leaves is the finish.
- Open the dark spots. A number 9, a quarter inch, stood upright and turned until the plug pops out and you see through.
- Outline with a tiny tool and mallet. Number 3 at three millimeters, light taps, careful around the stem.
- Free the stem last and gently. Small chunks with a two millimeter 11, never resting a finger on it, because the grain leaves it weak.
- Drop the petals. Use whatever depth the wood has, which here was ten millimeters.
- Reach in with a long bent. When the handle would hit the flowers, the long bend keeps it clear.
Frequently asked questions
Micro tools or detailing tools, which is which?
Mostly the name. The Peter Benson set from Ashley Iles is called detailing tools, and Dockyard sells what it calls micro tools. Either works for the small work on a flower, as long as the edge is sharp.
Should a beginner buy micro carving tools?
Buy them if you like, and keep them in the drawer for a while. I would not start from tiny tools, since early carving is about removing mass. They earn their place once the details begin.
Can you use a mallet with small carving tools?
A very small one, lightly. Mine was made by Tim Yoder and it only taps. A full size mallet on a three millimeter tool is how the steel ends up broken.
What to carve next