

Alexander Grabovetskiy, woodcarver, School of Woodcarving · Published 2023
How do you carve openings between the petals of a flower?
Quick answer: Openings between the petals of a carved flower are tiny holes made right beside its center. A one millimeter number 11, turned a little at each pass, starts each one, and a tiny gouge of the same size finishes it as a plug cut. Keep the bridge between neighbors down to about 3 mm.
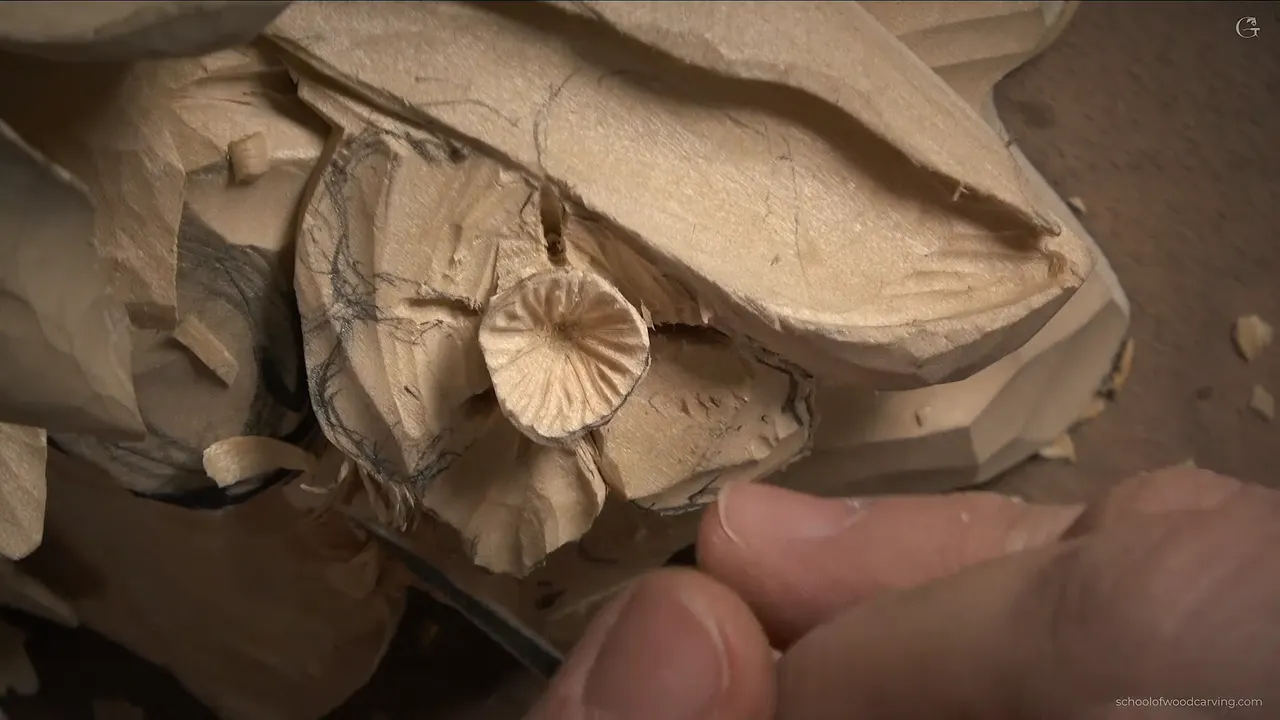
Open the petals where they meet the center. Small plug cuts go in right beside the middle of the flower, a one millimeter number 11 first and then a tiny number 8 or 9 pushed through. Between two holes I leave three millimeters of wood or less. Every little opening makes a huge difference.
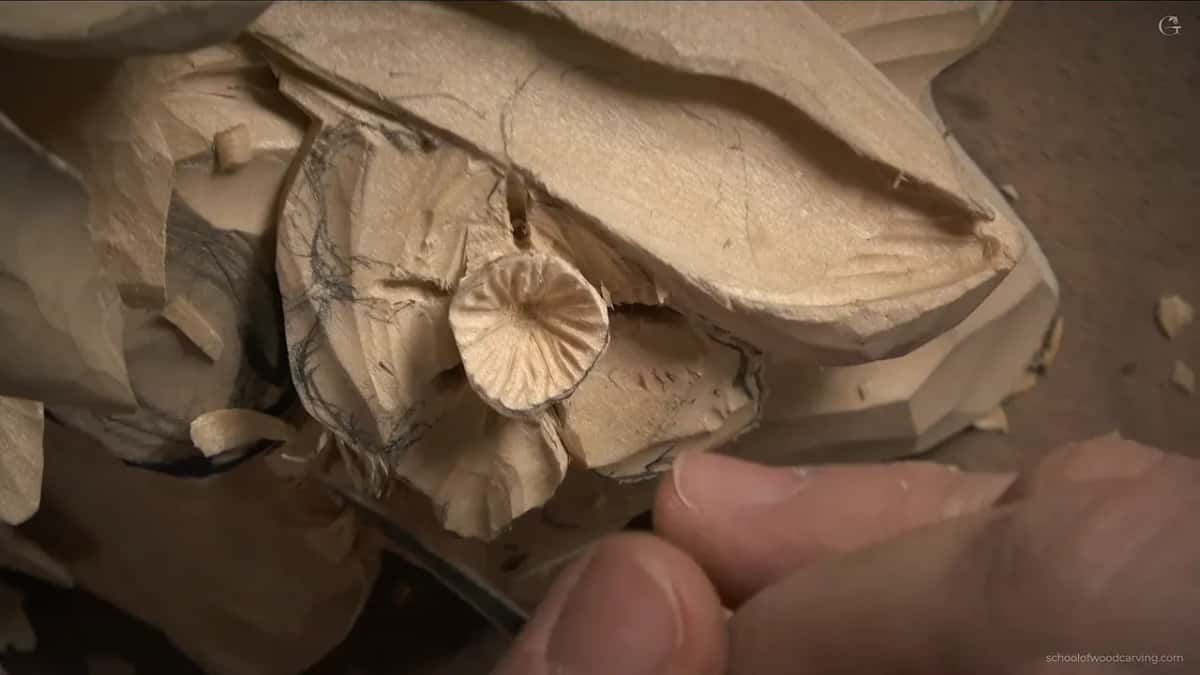
Do you have a flower on your panel that you just do not like? Does it look flat, like a sticker, however long you work it? This class is about one of those.
In class 15 I take a flower from the Gibbons original that I really do not care for. It gets a new design, with a narrow center close to the petals that grows up and opens, five petals of different widths, and dark openings between them.
Key takeaways
- Even a replica leaves room for your own ideas.
- Excavate first, then plug the center.
- The order of cuts matters the way a combination does on a lock.
- Keep the wood between two openings thin, a few millimeters at most.
- Never scoop a concave out like a spoon.
- At home, complete layer one before layer two goes on, however long that takes.
Why change a flower in a Gibbons copy?
To me, honestly, that flower is just too childish, and that is my opinion, nothing more. We already made the board wider and changed a few things, and the piece is still maybe 80 percent authentic to the original. This part I wanted to make a little more complex. A few areas I have not touched yet. Here we go off the original, and I am not rushing it.

The point I want you to hear is that you can express yourself even when you are trying to replicate original work. Add some details. Maybe even make it a little better. The center stays about where it was, although it will look different, and so will every one of the petals around it.
I showed a flower like this before, in Venetian style work. The Venetian flowers rosette is on the site too, if you want to see where this idea comes from. The idea there was a center that starts narrow and widens, with openings around it too.
What comes first?
Excavate all around it and get the barrel shape done. First I checked the thickness. I had about three quarters of an inch, around 19 millimeters, so that should be fine.
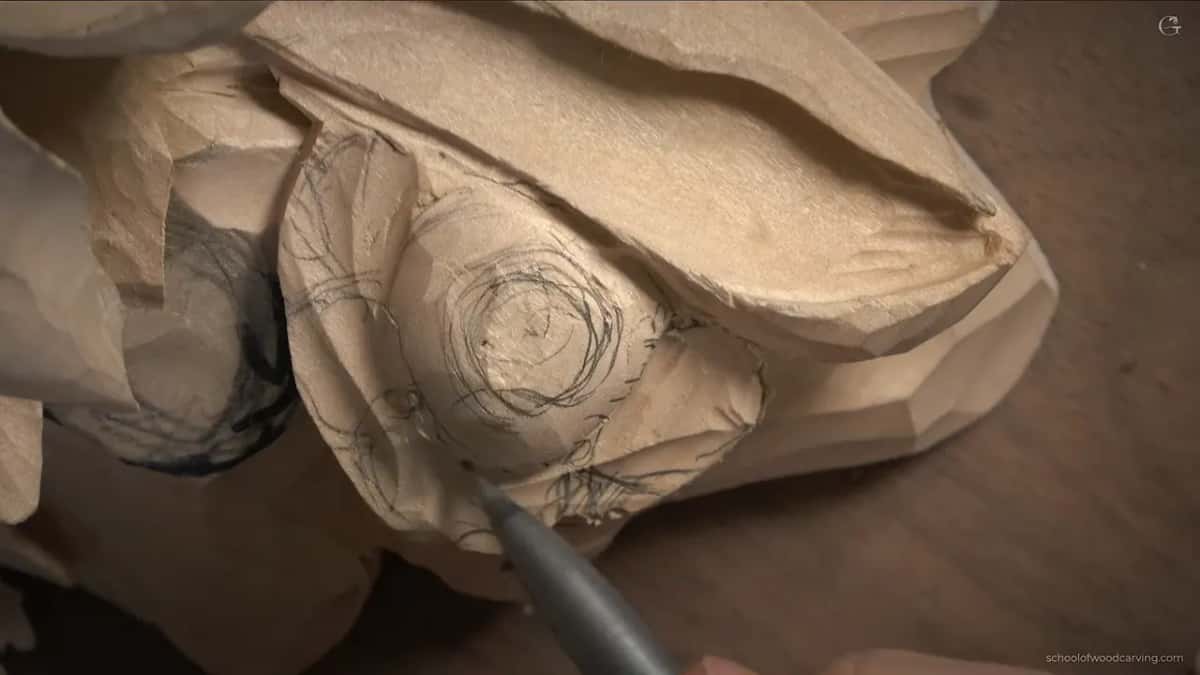
Which tool you start with does not matter much. A number 11, a number 10, a number 9, it is up to you. I used a number 11 at five millimeters by Pfeil and went around. Not a lot out. I did not go right underneath yet, because it was moving, and I do not need a perfect round at this point.

Where does the center start?
With a small plug right in the middle. I used a micro tool by Dockyard. They have no markings, but I know it is about a sixteenth of an inch, most likely a number 8. A number 9 does the same thing. A couple of strokes on the strop first.
One detail here matters. Angle the tool so that, looking from the side, it points slightly outward. Straight down, and the flower sits there like a pancake. Slightly off, and the whole flower looks slanted. My plug went in about three eighths of an inch, roughly ten millimeters.
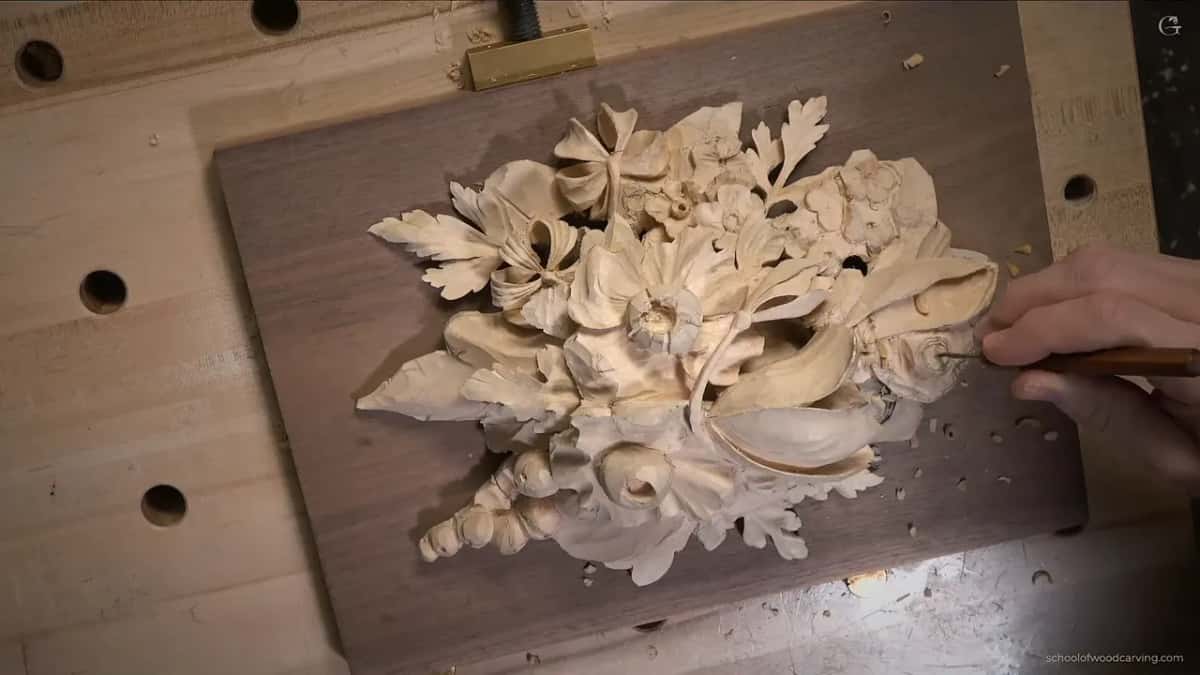
Why does the order of cuts matter?
A lock works the same way. You can know all the numbers of a combination lock, and the sequence still matters. Here I go from outside toward the hole in the middle, all around, and establish the center first, then work my way out. About half an inch wide in my case, twelve to fourteen millimeters.
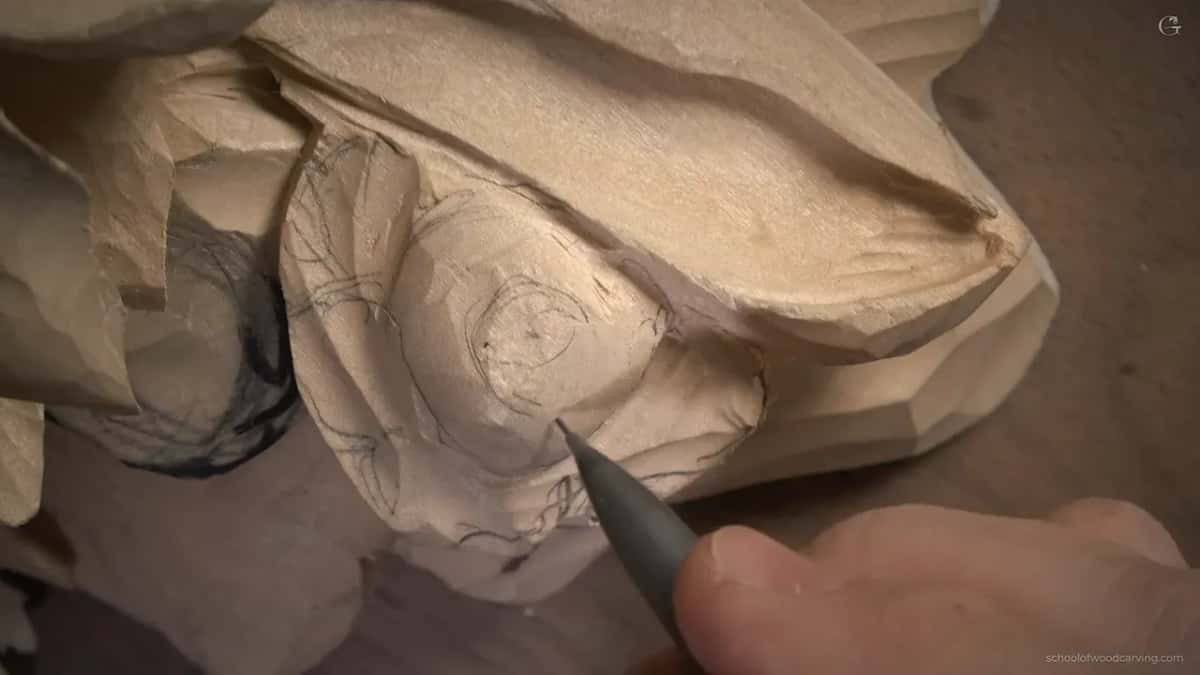
And it cannot go straight in. I want an arching movement, a flow into the center. At the start of each pass the tool is almost lying flat, and by the end of the pass it is raising up. I take my time on that. The facets, the tool marks, serve a purpose there too.
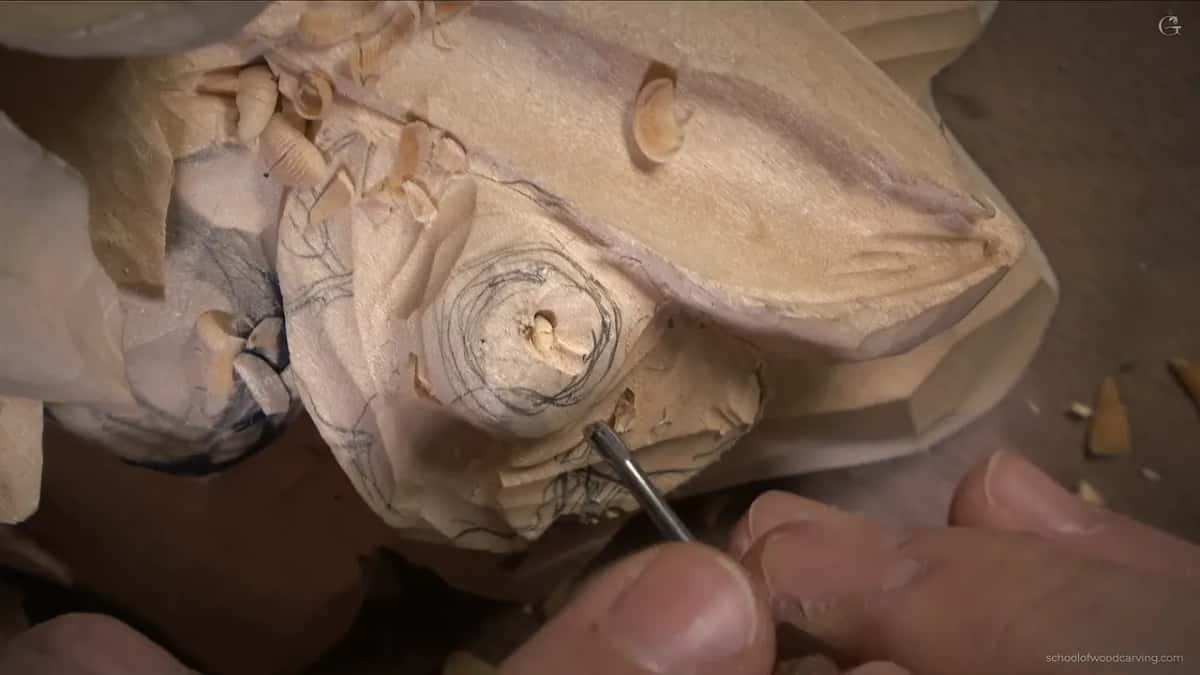
What makes the center look real?
Ridges, placed unevenly, the way the middle of a real flower looks. With the smallest 11, one millimeter wide, I carved the same arching strokes again, smaller, so they look like the real parts of a flower center. I want those cuts really exaggerated.
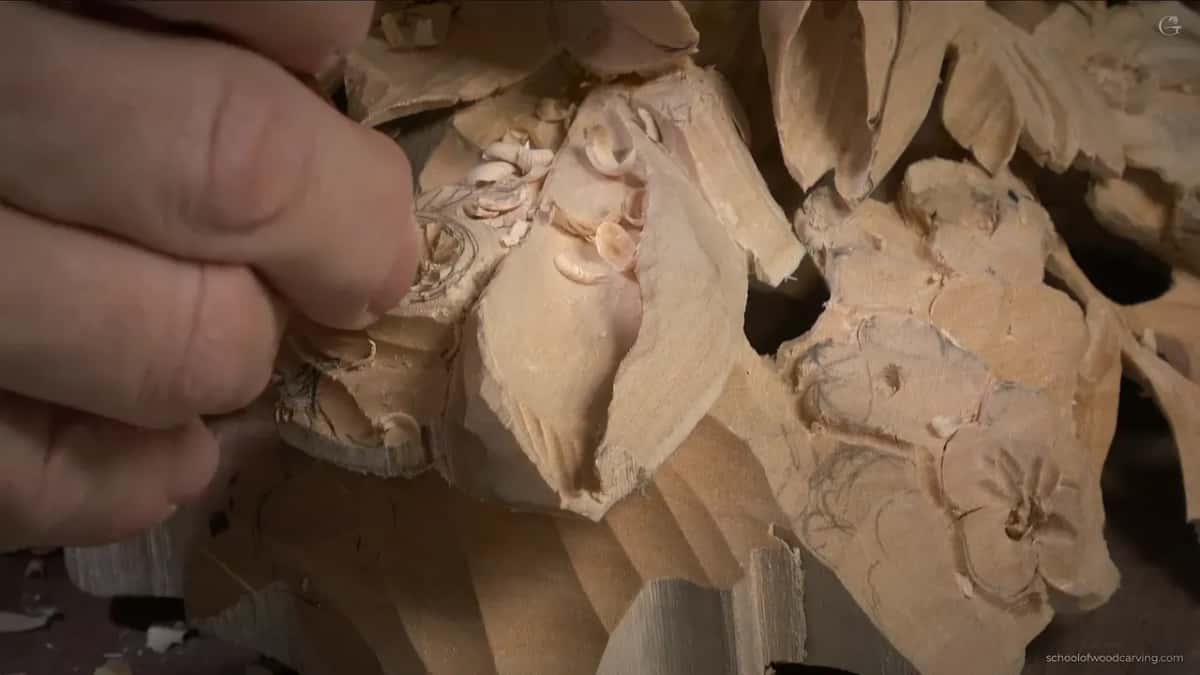
And I do not place them at the same distance from each other. Random spacing looks much better. A half millimeter 11 then made some of them a little deeper, not all. When you look from above, that gives an interesting variation, and I think it is much better than the original. Again, my opinion.
Can you shape it without breaking it?
Small tool first, then a bigger one. I went around, flute at about two o'clock, then three o'clock, carefully, because the piece had a lot of movement. There was a broken point somewhere in there, since this is two layers from the beginning.
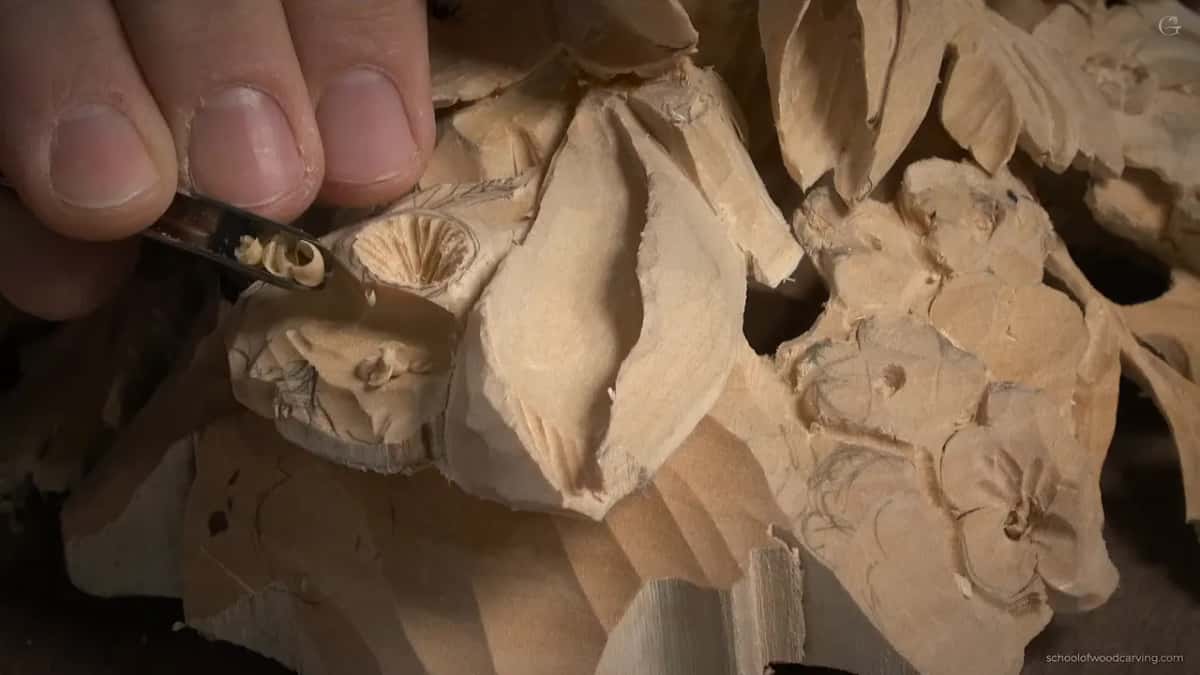
Same problem on your piece? Begin with a much smaller tool, then increase the size gradually as the piece allows. A smaller tool does not put as much pressure on the wood, so less material moves. Even then, go with the grain and find the best angle of attack. Do not make a perfect circle either, because a perfect circle never looks natural on a flower.

Why finish the first layer before the second?
Complete the first one, and the second goes on without a fight. When I teach in person, we are limited to five days. I have to push, and sometimes the first layer is not done when we glue the second one on top. At home, I highly recommend finishing the first layer completely. Then apply the second layer, carve it, and blend them together.

Online, though, there is no week limit. Take it as far as you want. Anything you missed, you rewatch, and the camera comes in so close that you see more than I do. This center is only about half an inch across. On the screen it looks huge.
How many petals, and how wide?
Five. One goes right underneath, another sits beside it, and those two are a little wider. The other three are smaller. Some can curl up slightly and some can curl down, where there is material for it. On one side I had about 1/8 inch and could roll a petal down, and that leftover material is exactly what a 3D form needs.

Where do the openings go?
Right where the petals run into the center, really close to it. The wood left between two of them is three millimeters at most, 1/8 inch, maybe even less, maybe three thirty seconds. Those openings are what give the flower its beautiful look.

I start with a one millimeter 11. Two millimeters would work, but one gives me a better chance not to break things, and I never just dig with the same cut over and over. The first cut goes in at twelve o'clock, straight up. For the second the flute rotates to about one o'clock, for the left side, and after that to eleven o'clock for the right.

That makes the hole a little wider without undercutting it, and it removes a lot of material at once. After that a Dockyard of about the same size, a number 8 or 9, goes in as a plug cut. Right through. If you watched the Venetian style carving, you know this cut.
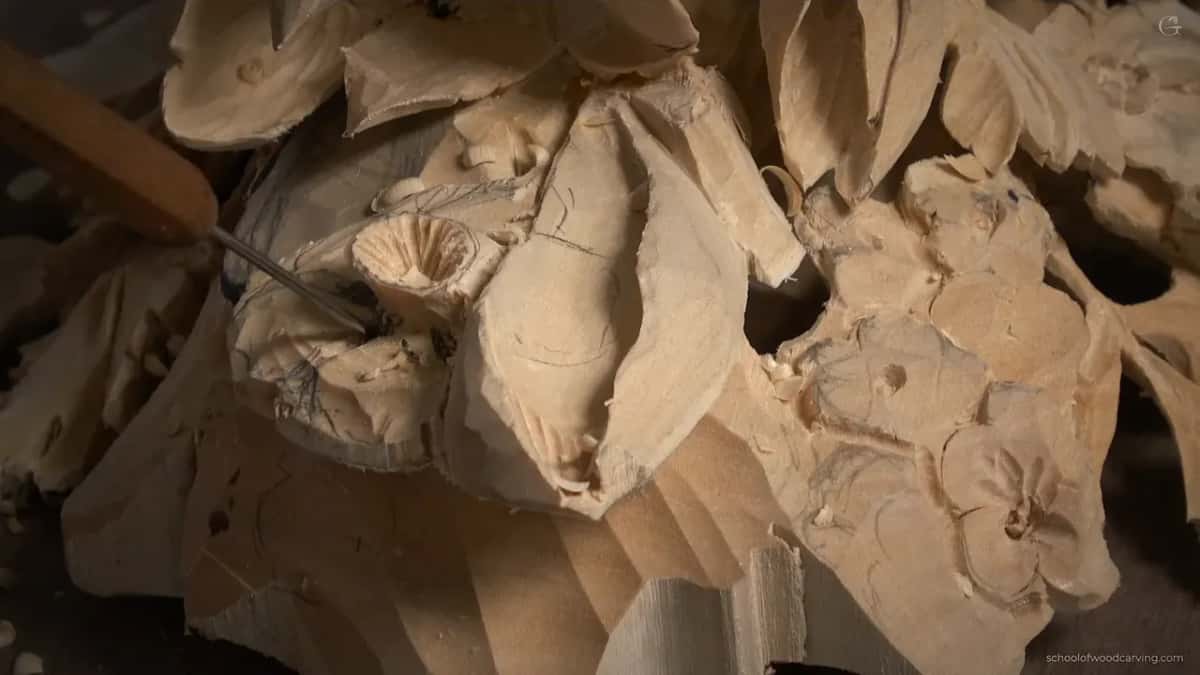
On one side I did not open it through yet. The two shapes next to it still need their own work, and it will be a lot easier to get underneath a little later, once they are done.
The petals themselves get the shape I always like to put on flowers, a wavy edge with the center looking like this. It does not have to be perfect. I said that twice on camera, and I will say it again here.
Which tool does what on this flower?
| Step | Tool | Why |
|---|---|---|
| Barrel first | Number 11 at five millimeters, by Pfeil, any first tool | Sets the overall form first |
| Center plug | Dockyard micro tool, a sixteenth inch, tilted slightly outward | Makes the flower look slanted |
| Center ridges | The smallest 11, then a half millimeter one | Random spacing, some cut deeper |
| Petal openings | The same narrow 11, its flute turning each pass | Narrow tools break less wood |
| Petal concaves | Antique Marples number 1, then a small Dockyard 8 | Thin steel puts little stress |
How do you carve the concave on each petal?
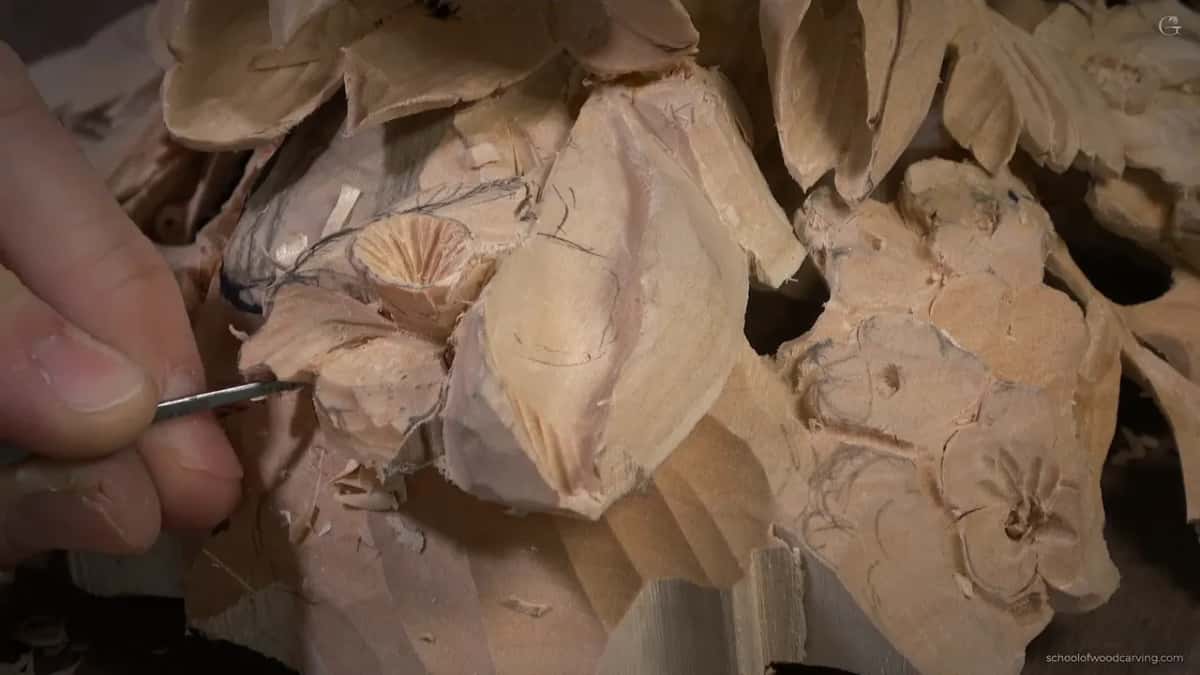
Three concaves, all running to the center, and the one in the middle is the deepest. I start that one with a tiny 11, a single millimeter wide, a preliminary stroke placed right in the center of the petal. It has to be dark, and by dark I mean the shadow.
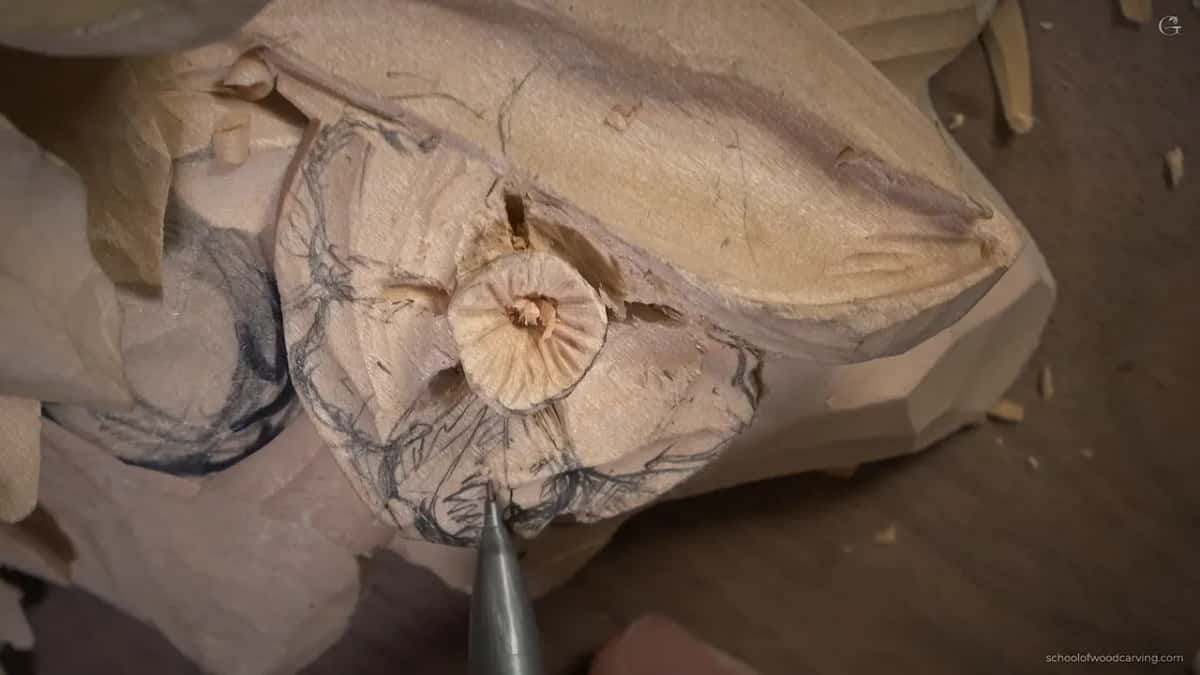
Closer to the center you have to be more careful, and you keep an eye on the thickness. I had maybe an eighth of an inch left in the middle. So I took a thin tool, my number 1 by Marples and Sons, an antique with a bevel on both sides. Why that one? I just like antique tools, and it is no better than any other one, only really thin.
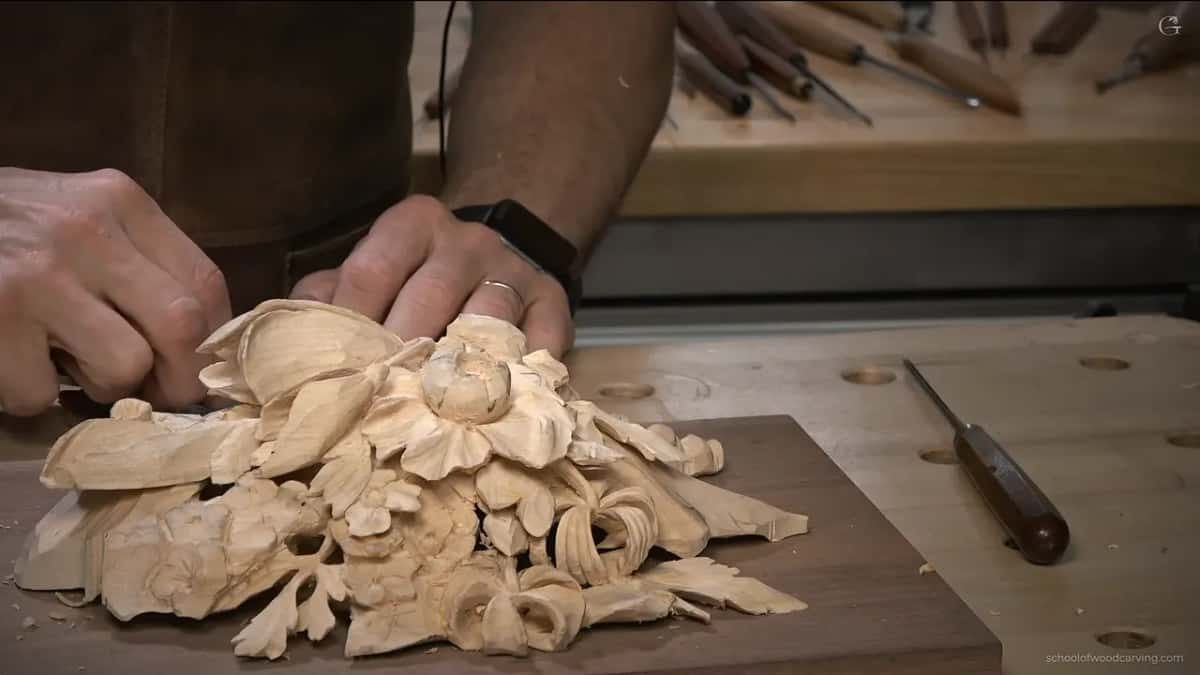
I got about two millimeters deep there and had only one millimeter left. Then a number 16 V tool at 35 degrees, flute going out, did the same kind of work from the side.

Why not scoop the concave out?
I do not like the spooning effect. Some people, doing something like this, start scooping with the tool and spooning the wood out. That is not good. The concave drops straight down from the edge. No spoons. It is not spoon carving.
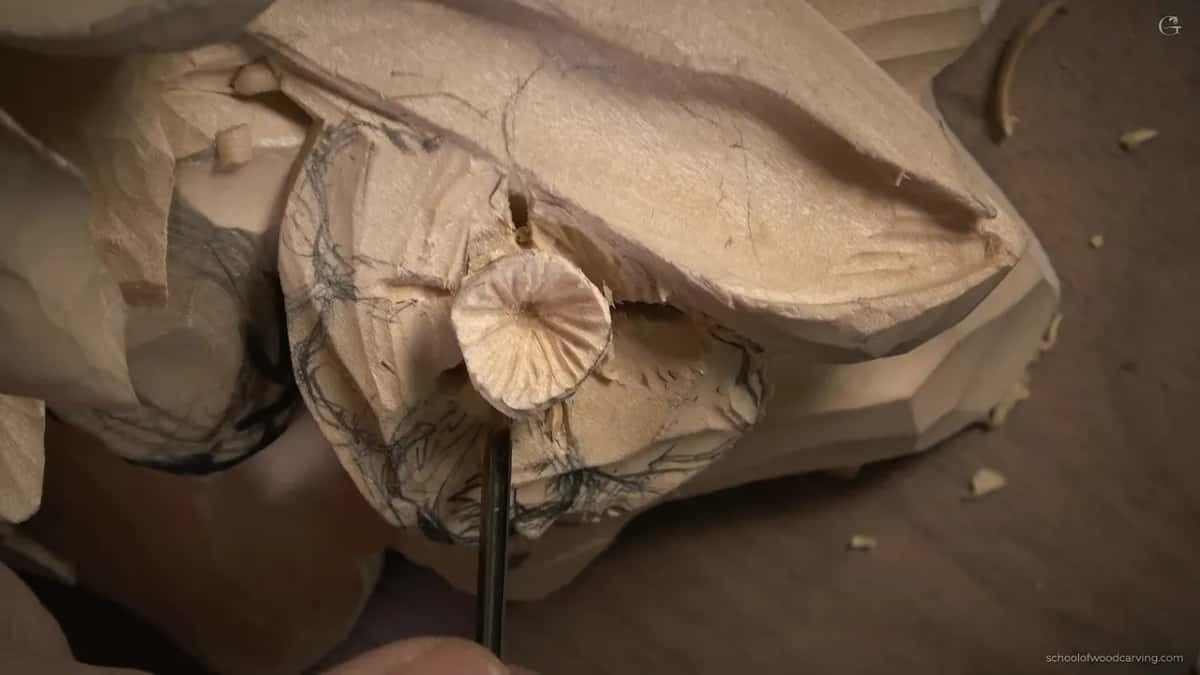
I also leave space between the concaves, about a sixteenth of an inch, a millimeter and a half, so I do not get a really sharp ridge between them. Then I blend. A back bent makes that easier, but a knife works, or a flatter gouge upside down, or just a chisel.
I blended with a number 3, three millimeters, from the Peter Benson collection by Ashley Iles, upside down and at about 45 degrees, so it slices instead of pushing. A magnifier glass would help. I have one close by. In front of the camera you would not see anything.
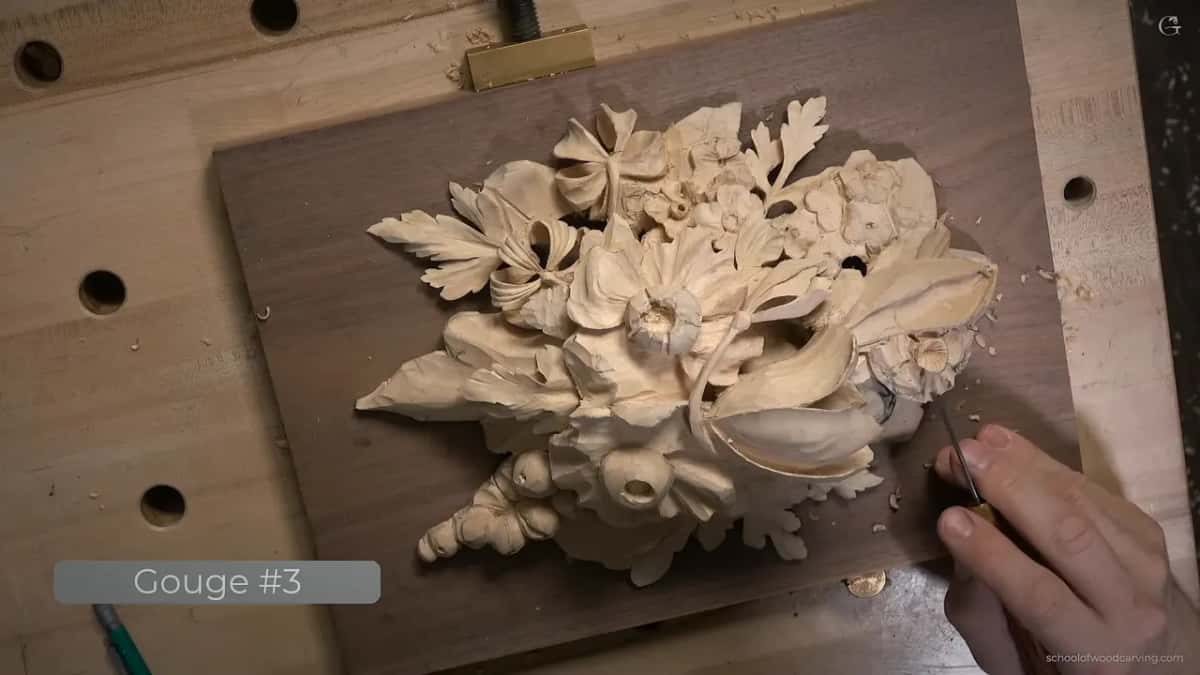
The more material you remove, the more fragile a petal becomes. Be careful. I am talking to myself, I guess. Watch how much pressure I create. It just moves, and that is why I grab the small tool.
Why not cut the triangle out with a V tool?
Too fragile for that. Usually I would remove that triangle with a V tool or a number 11. Here that pushes down on a petal that already moves when I touch it. The thin number 1 digs into the fibers without creating a lot of stress, so I used that, and stopped about half a millimeter short of the line.
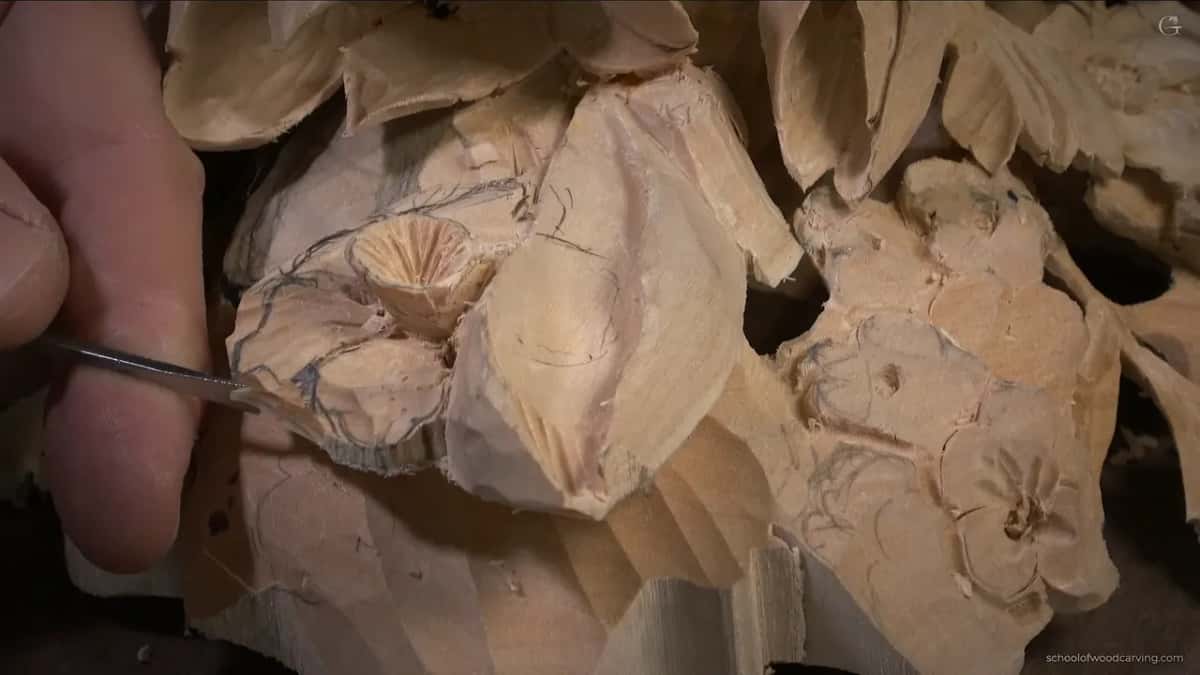
Where two petals touch, watch that you do not leave a sharp triangle point. A small 9 or 8 takes it out. Then I undercut, flute at about four o'clock, finishing near half past five or six.
Or eighteen, if you like. When I grew up in Russia, people used the 24 hour format for everything, so six in the evening is eighteen. Some people here call it military time, but over there it was just the time.

What happens to the rest of the flower?
I showed one petal. The others get the same concaves, off camera, and you can work the rest yourself. Do not worry about perfect detail yet. As long as you get really close, you can clean it up later. Pretty simple, and this flower is going to look really nice.
The two shapes beside it bug me too, and they come next, in class 16. Before this class came class 14, the parsley leaf, and the concave in the middle of a petal first showed up in class 12.
More flowers like this one live in the flower rosette course and the Hashemi flowers course. For the thin edges on these tools, the sharpening course is the place, and the tools course untangles the numbers. Class 13 is the one about the tiny tools themselves. The whole Grinling Gibbons course is open with tuition.
How it's done
- Check the thickness. Here about three quarters of an inch. Then excavate around the flower to get the barrel shape.
- Plug the center at a slight angle. A sixteenth inch micro tool, pointed a little outward so the flower looks slanted.
- Carve in from outside. Arching strokes that start almost flat and lift at the end.
- Add uneven ridges. A one millimeter 11, then half a millimeter on a few of them.
- Open the gaps. Flute at twelve, then one, then eleven o'clock, and a small plug cut straight through.
- Carve three concaves per petal. The middle one deepest, dropped straight down, with a gap left before the next one.
- Blend without pressure. Upside down at 45 degrees, so the tool slices.
Frequently asked questions
How close together can you carve openings in a flower?
Close. The wood between two of them stays under an eighth of an inch, sometimes nearer three thirty seconds, and I open them with the narrowest tool I have.
What is the spooning effect in carving?
Scooping the wood out of a concave so the hollow ends up shaped like the bowl of a spoon. On a petal I let the concave fall directly from the edge instead.
Should the first layer be done before the second goes on?
Yes, when you carve at home. In a five day class the second layer sometimes goes on before the first is done, just to keep moving. With time to spare, complete the first one and you will not be fighting it later.
What to carve next