

Alexander Grabovetskiy, woodcarver, School of Woodcarving · Published 2023
What makes a wood carving look complex?
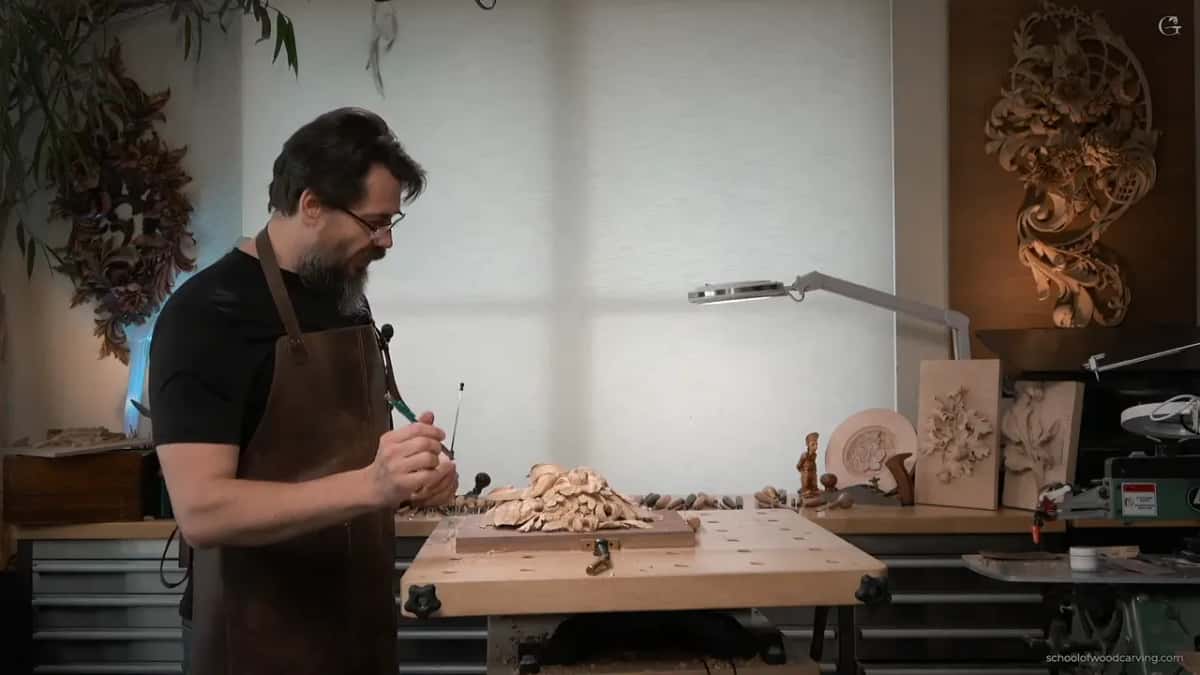
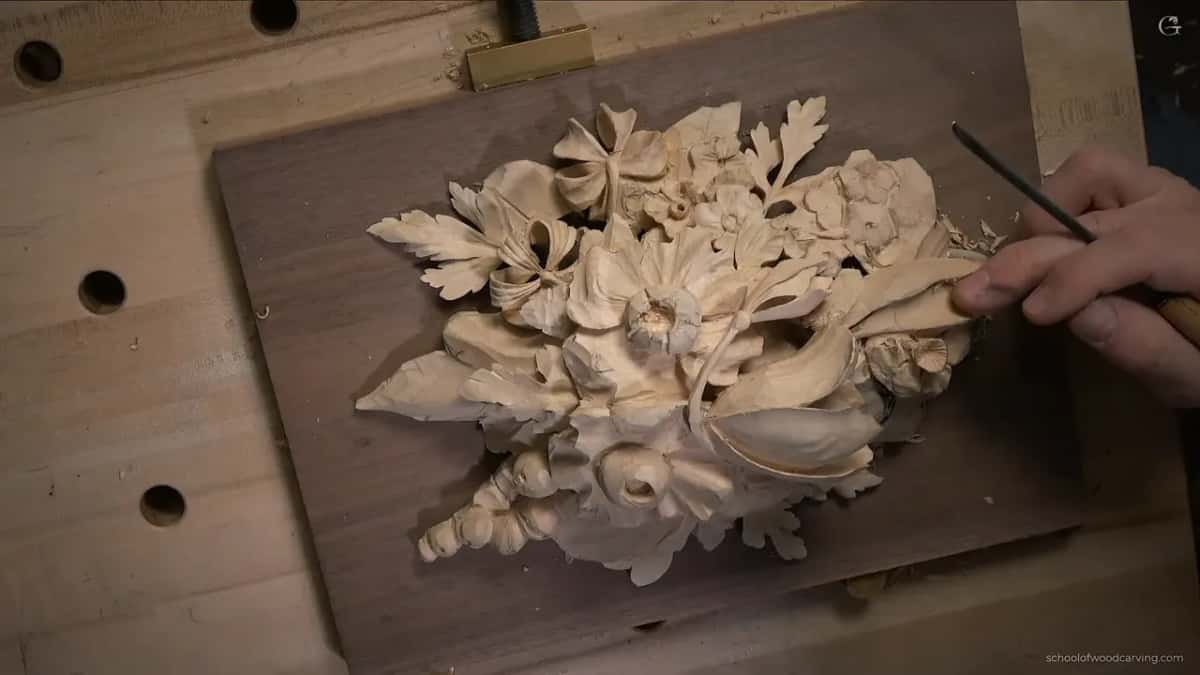
Quick answer: A wood carving looks complex mostly because of its small dark spots. Openings between shapes, a petal that appears from under a leaf, and concaves that cast shadow all add depth. Take wood away where you want the panel to read deeper.
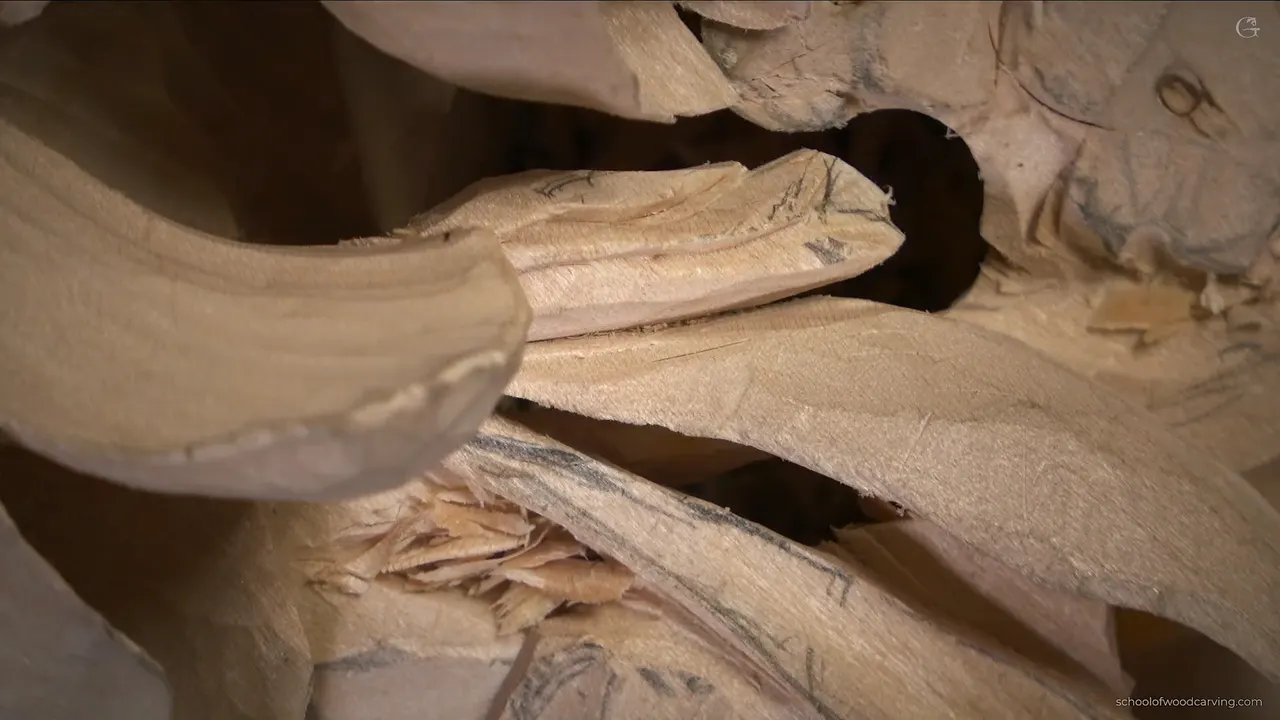
Tiny dark spots are what give a carving its complex look. A gap opened between two leaves, a petal from a hidden flower showing from underneath, a concave that throws its own shadow. Put enough of those on a panel and people start asking how in the world you did it.
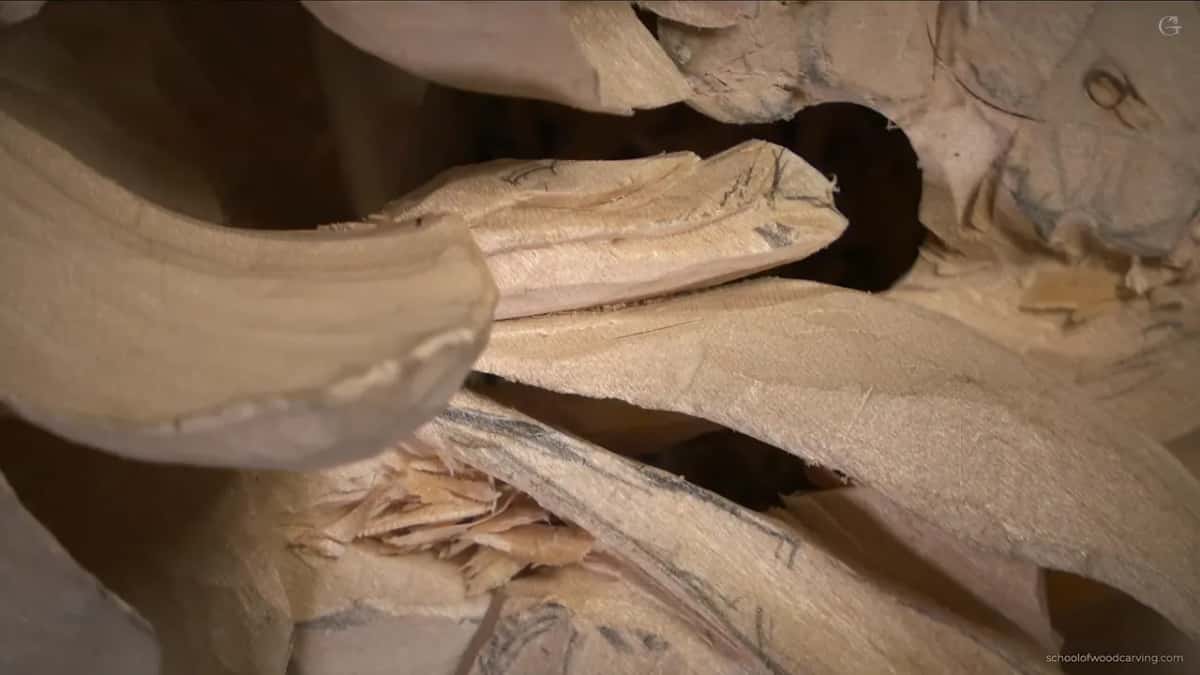
Have you ever finished a panel with every leaf in place and still felt it looked plain? Did you add more veins and more lines, and it only got busier? Try taking wood away instead.
Class 16 of the Maine course works on one part of the Gibbons original that I cannot even name. It is not pea pods. But I like one thing about it very much, and that thing is the openings.
Key takeaways
- Wood carving, in the end, lives on its shadows.
- Small openings make the complex look.
- A concave casts a shadow, so add concaves where you want one.
- A petal of a hidden flower, peeking out beneath a leaf, makes people look twice.
- Almost no pressure.
- Five tools on the bench at most, a rule I broke that same afternoon.
What is that shape in the original?
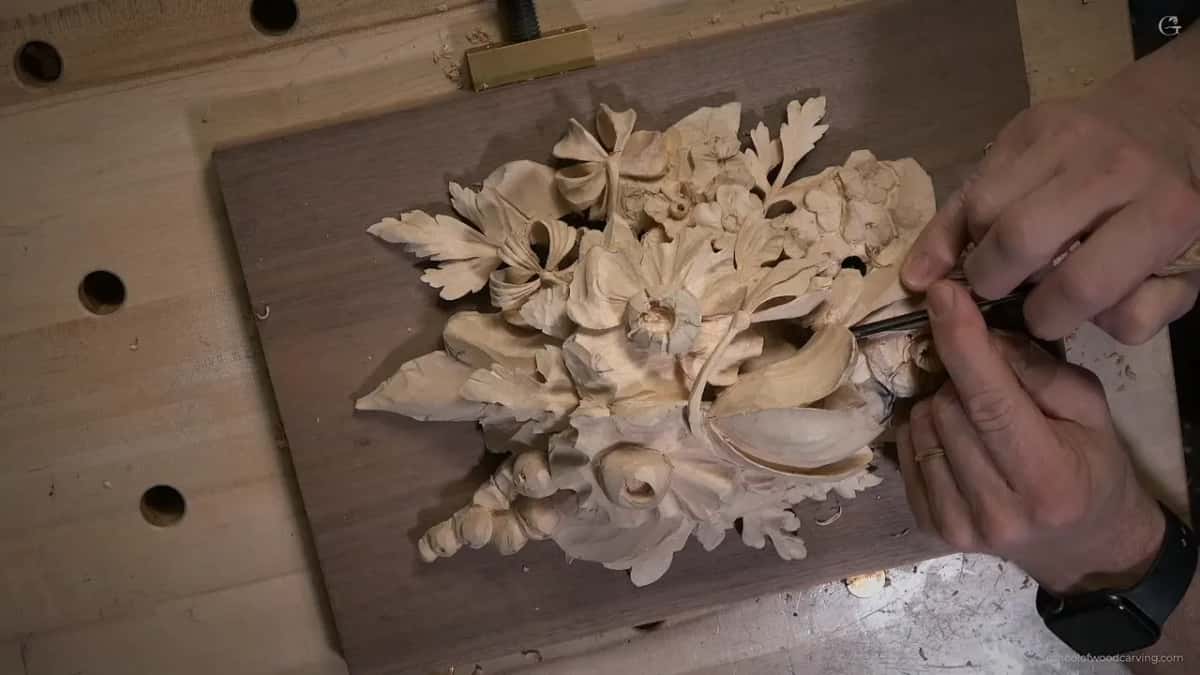
I have no idea what it even is. What I can see in the photograph is that it is full of openings, and they create a lot of dark spots. Beautiful, in my opinion.
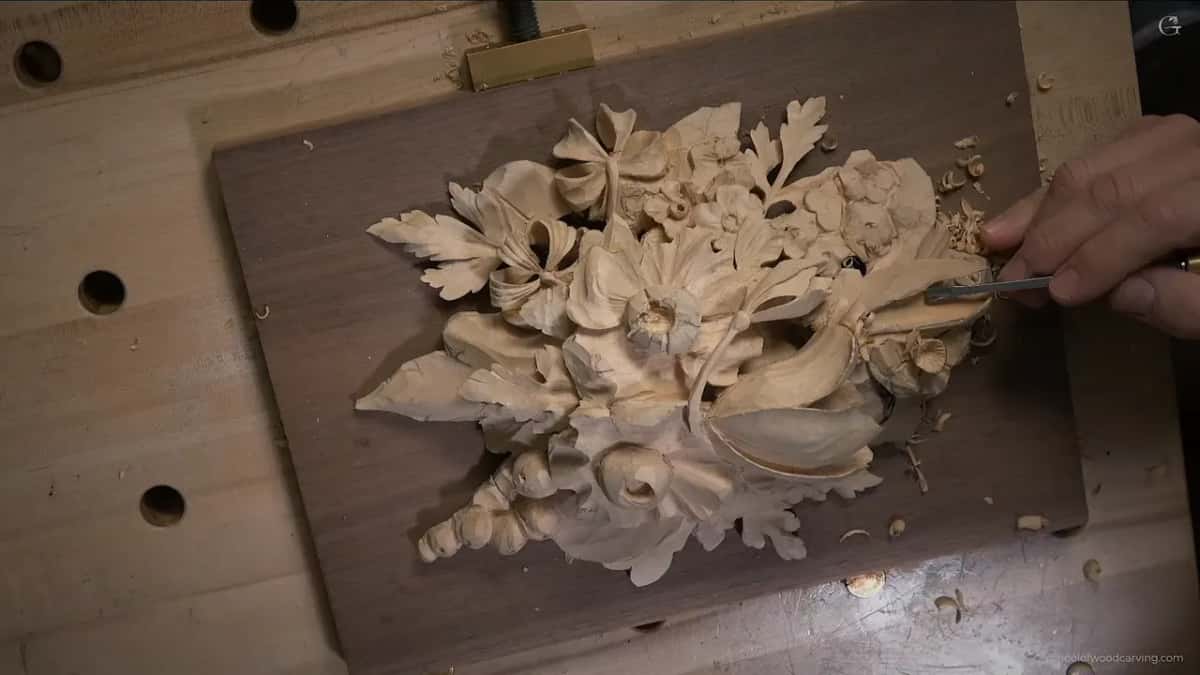
So we open it up the same way, maybe a slightly better version. First I drew it, because it has to flow nicely with the overall design. One line had to become more of an arch, and I still needed space between two of the shapes. Simple, but still kind of tricky, because of how fragile this part is.
Why is wood carving all about shadows?
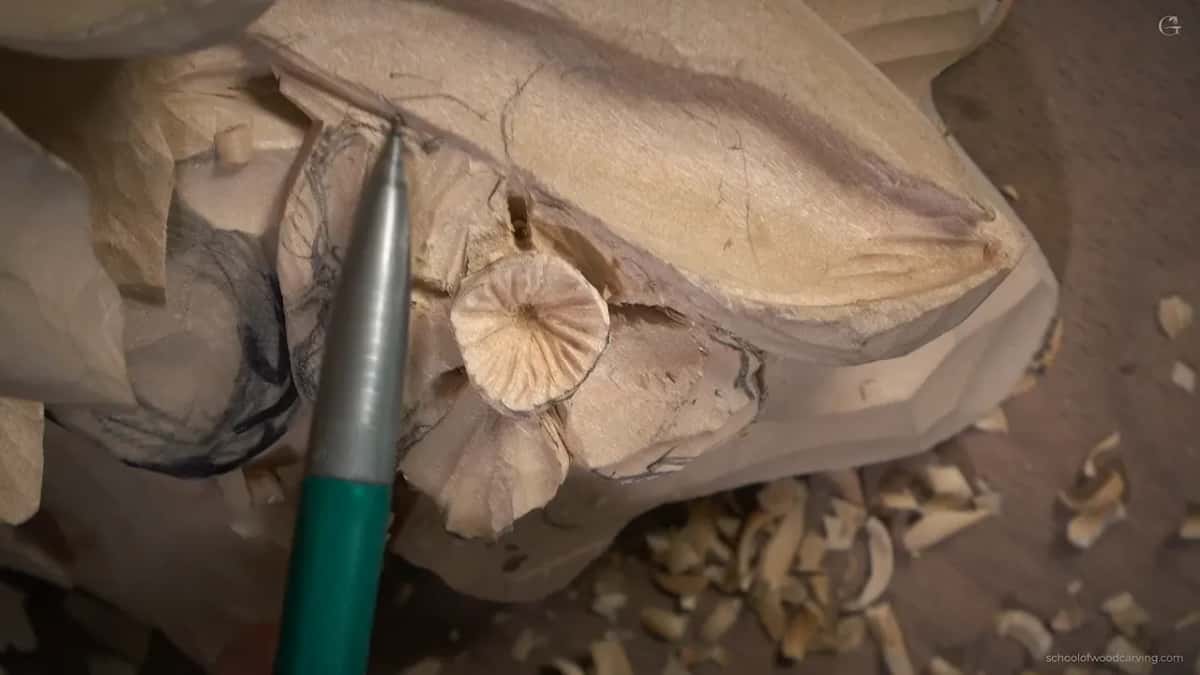
I said it on camera while digging one of these spots, as you know, wood carving is all about shadows. The carving itself is pale lime. What a viewer reads as a drawing is made of the dark places between and under it.
Painters have a word for that play of light and dark, chiaroscuro. In a relief panel the dark comes from holes, undercuts and concaves. Every one of them here was cut on purpose.
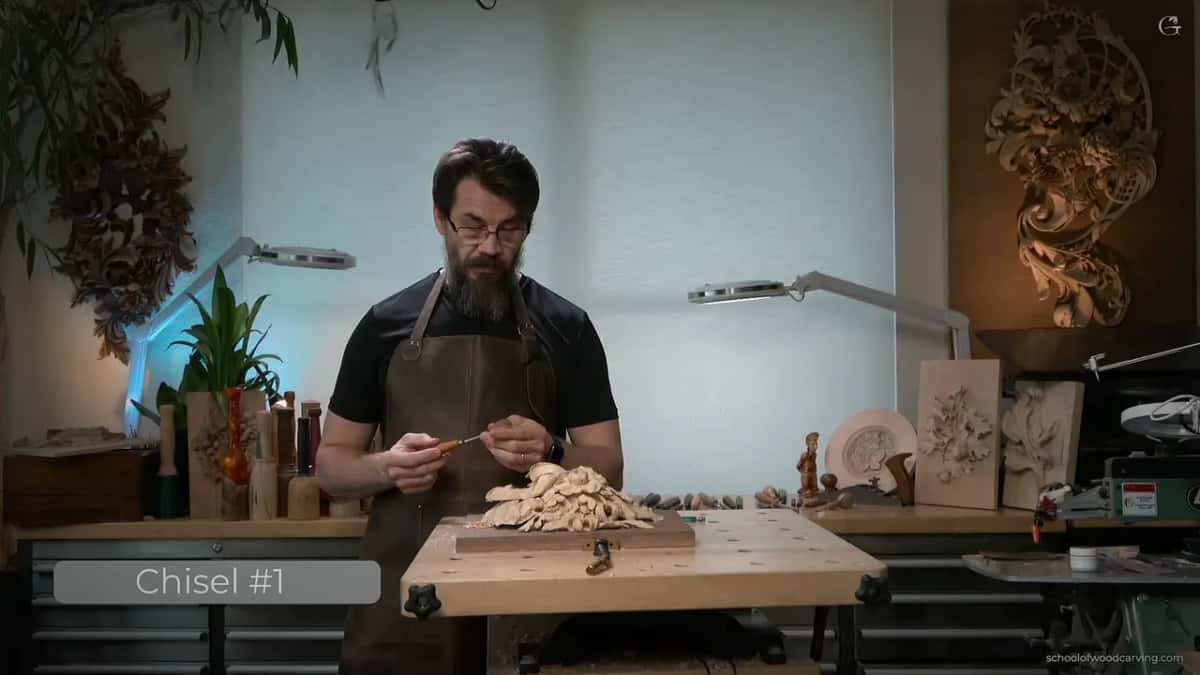
Where did the first dark spot come from?
From one V tool line. I took a number 16, an eighth of an inch, and made a preliminary cut right under the line, with the flute almost in an undercutting position, about ten or eleven o'clock, until I reached the first layer.
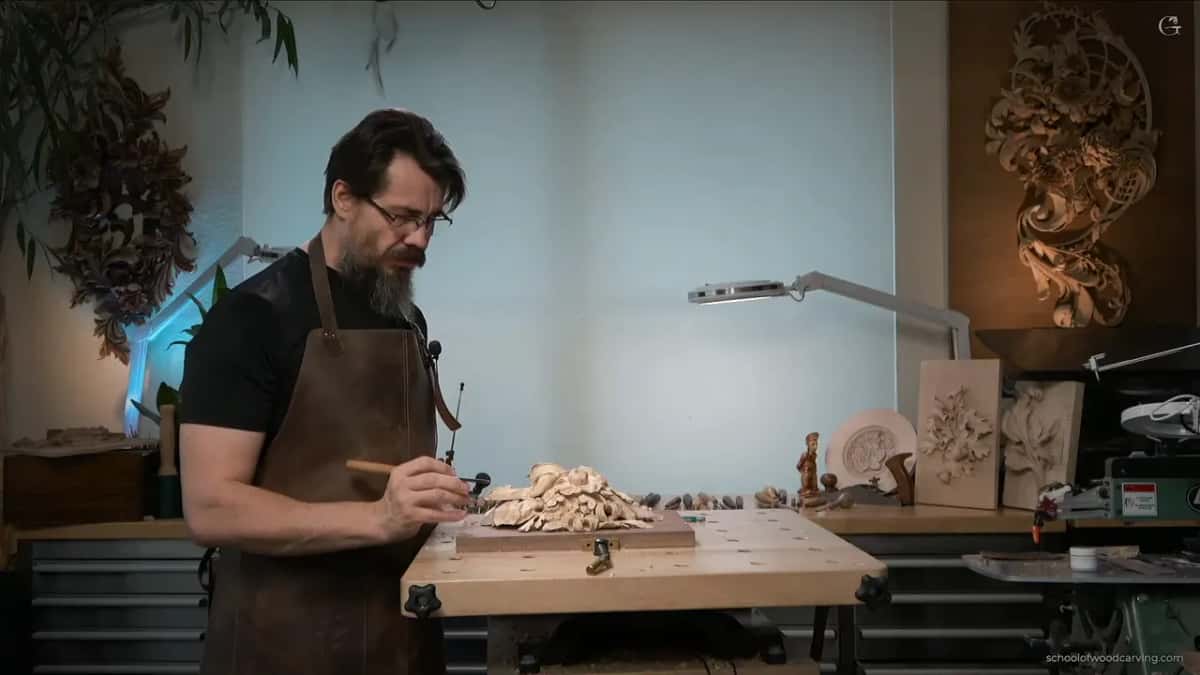
Then I outlined the flower that will sit there and removed the excess right away. And look, it opens up and makes an extra dark spot. Those openings, those tiny small dark spots, give it the complex look.
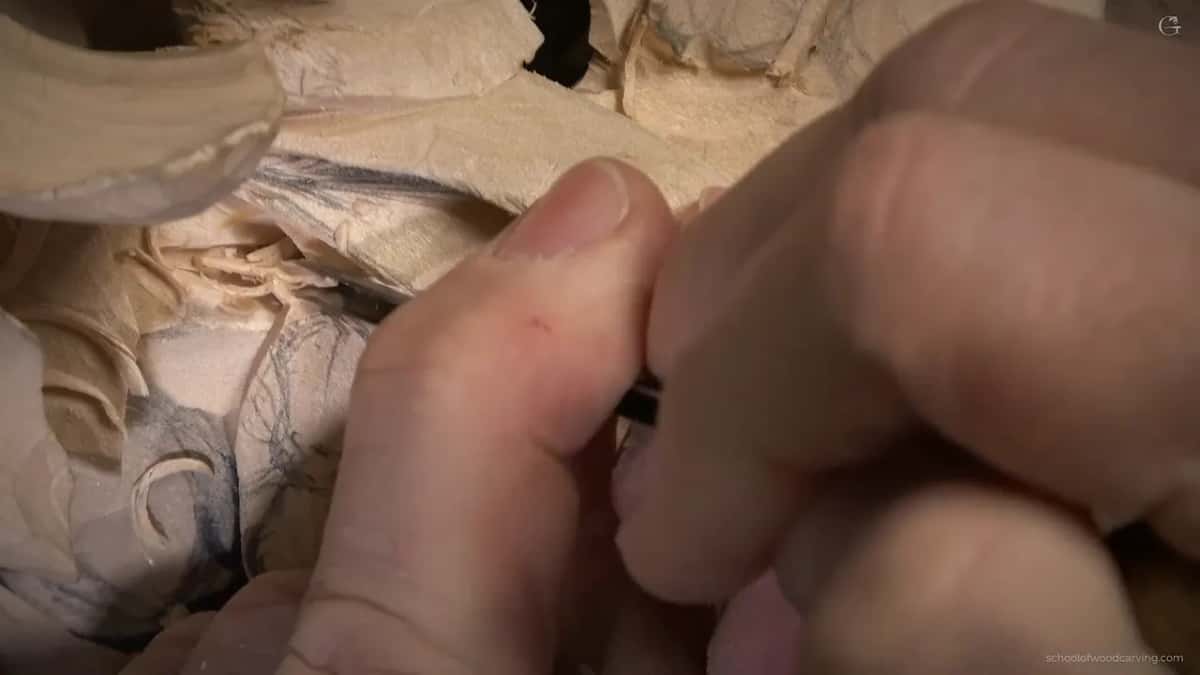
What is a bite cut?
A name I made up on camera. With the same V tool turned upside down, I took small bites out of the wood, one at a time, like you are biting. I called it a bite cut.
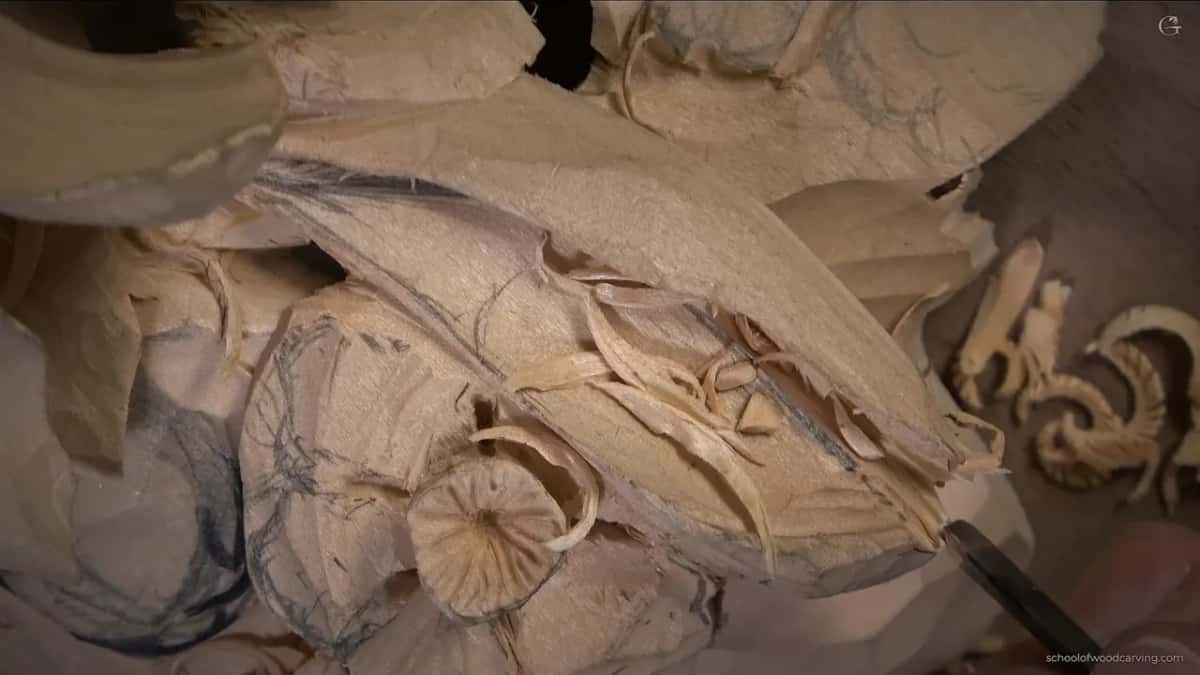
I was pretty much working from the wrong position, and that was okay. The number 11, which I really love, would do it too, but I had this tool in my hand. Don't listen to me about the name. There is no such cut as a bite cut. On the other hand, who is going to stop me from inventing new names? The idea is real, though. Small bites, because the position is uncomfortable, the tool barely gets in, and the piece was already moving.
How far can an undercut go?
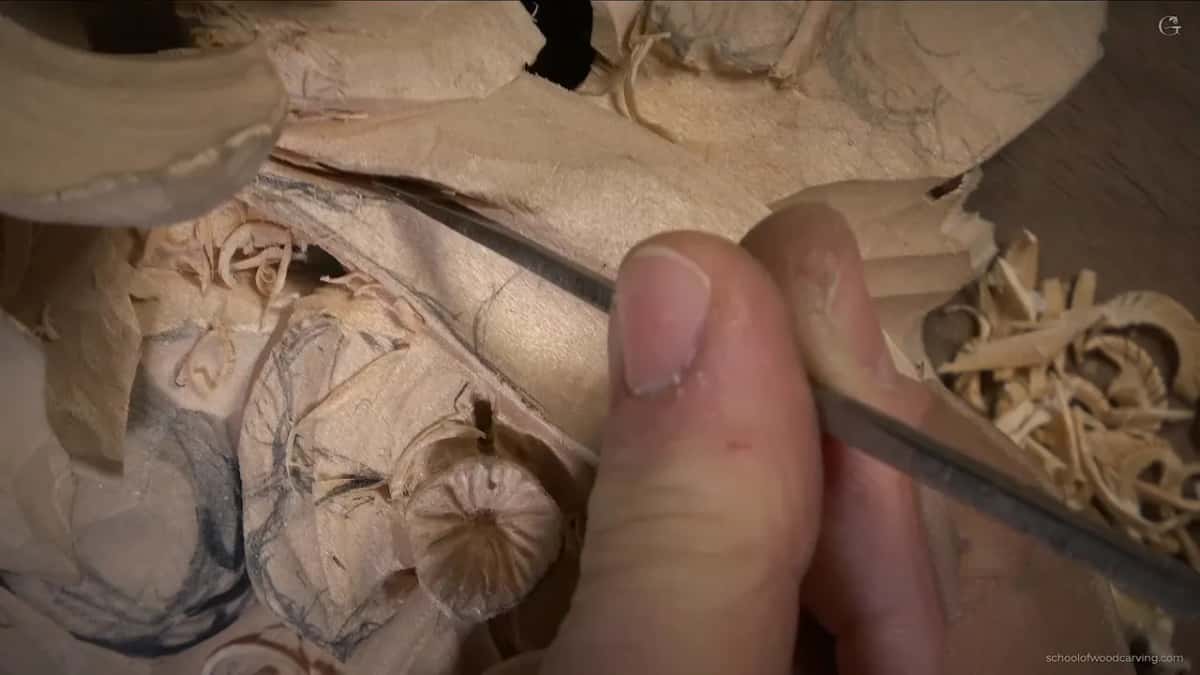
To the extreme, if you are careful. Between two shapes I wanted a real dark spot, a shadow spot. I dug with a number 11 at one millimeter, then half a millimeter, until I reached the limit of the tool.
Then an antique number 1 chisel, double bevel. Because it is so thin, I could make my cut all the way through, then clean it with the 11. I kept switching between those two tools, the 1 and the 11. That is extreme undercutting.
Positioning the tool, I lean it to the right for one cut and to the left for the next, right, left, right, left. That gets through the fibers with really tiny cuts and leaves a sharp point. After that a number 5, upside down, took out a little more for a deeper shadow, because of the dome.
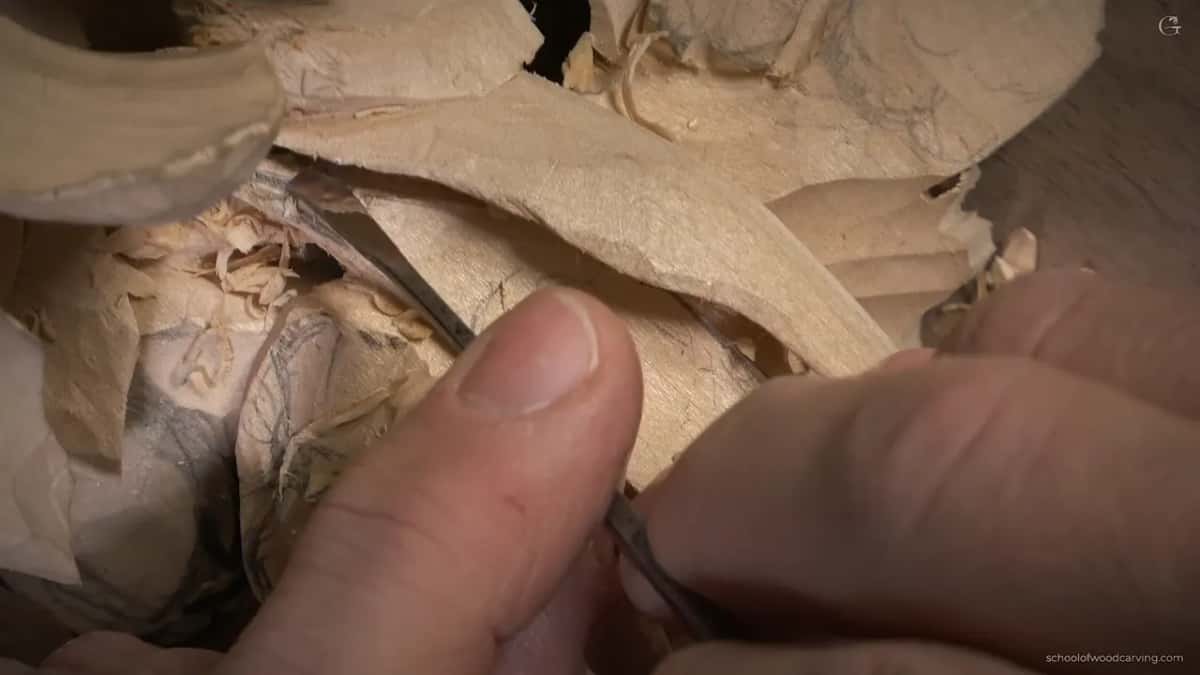
What do you leave for later?
Anything that would open too much. There was a bulge between two shapes that I do not like, and I cannot just remove it, because from above that would make one opening far too big. Something has to happen there. For now, I leave it.
The same with the place where two parts connect. That area is really delicate, so I stayed away from it for the moment and dug everywhere around it first.
What do you do with a curl you did not plan?
Keep it and make it better. One part had a small natural curl, just curling up. I do not remember if we did that on purpose in the class in person. I like how it looks, so I brought everything into that point and undercut under it with a chisel, almost paper thin.

Then a number 9 gouge, first an eighth of an inch and then a quarter, carved the curl nicer. Uphill, against the grain, which is not in my favor. With a sharp tool it is okay.
Even then I was not too happy about the overall shape. It did not look bad. It was not perfect either, and it was a little too straight. So I exaggerated the curl a bit more and gave it some movement on the opposite side too, with the same number 9, to get more flow. The only position to attack from there was the wrong way of the fibers, and uphill, which you cannot see on the camera. I still had some material, so I dropped that part a little more.
Here is a small tip. Every concave you carve casts a beautiful shadow. If you want shadow somewhere in your design, create a concave there, or some concave texture.
Can you show a flower that is not there?
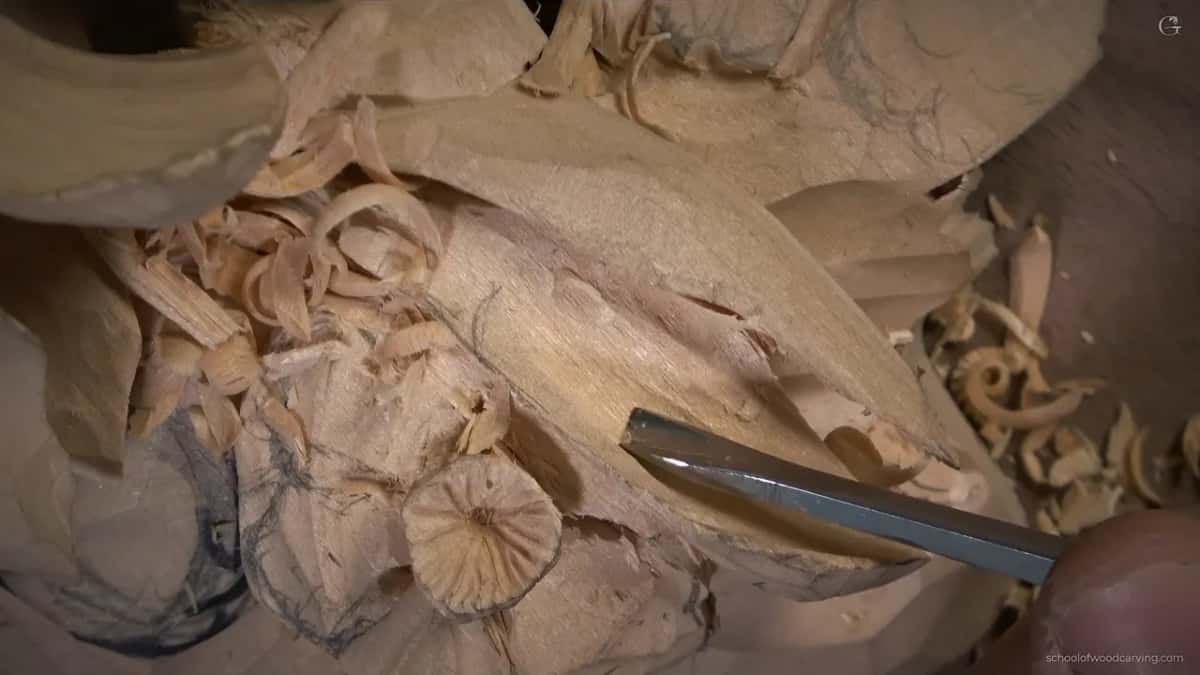
You can show part of one. One area looked too solid to me. I decided that a petal of the flower on the left goes right underneath the leaf, and I exposed part of that petal from the other side. I drew it a little bigger, so the leaf lies right on top of it.

On the original you do not see that. I know. I am just having fun. Why not? If I break it, so what? At least I push it a little more, and in my opinion it creates a beautiful movement.
Little bites again with the 16 upside down, and there it was, the first layer. You probably do not see it on the video, but there is a little thing down there, the same stem that runs from under this flower and comes out on the other side. People are going to say, how in the world did you do that?
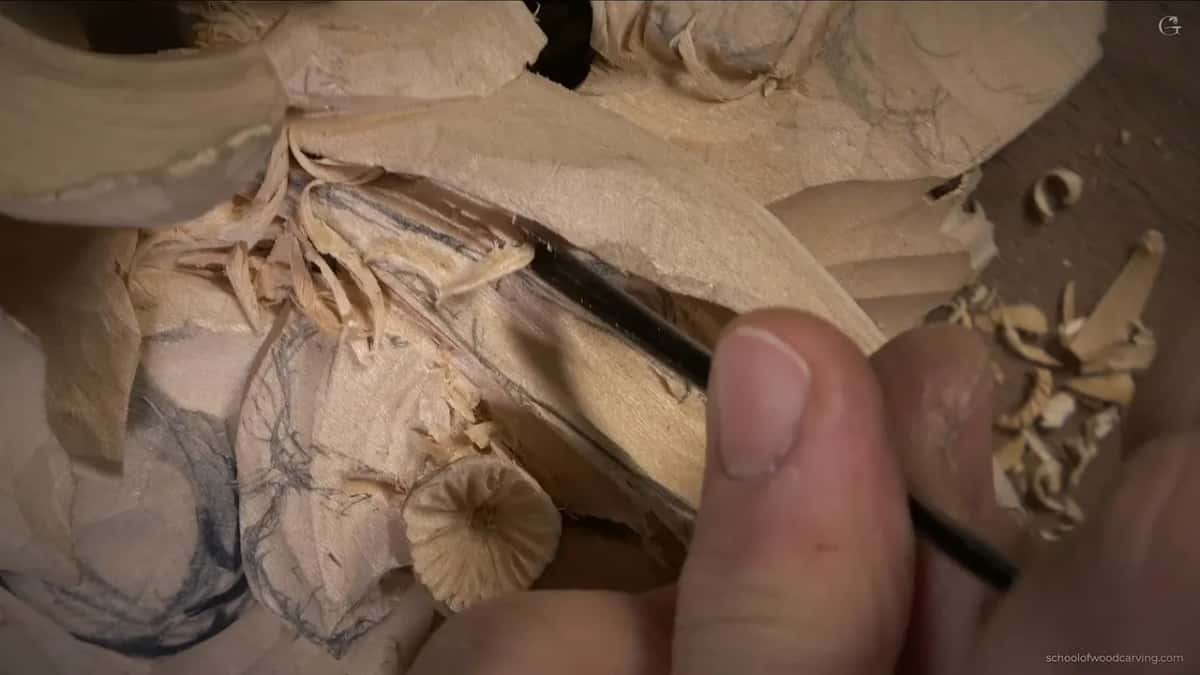
A straight down cut with the number 1 made that opening much bigger, right through, and an even darker spot. I love how it looks. The inner part you cannot see on camera, so you have to just believe me.
How does the petal grow out from underneath?
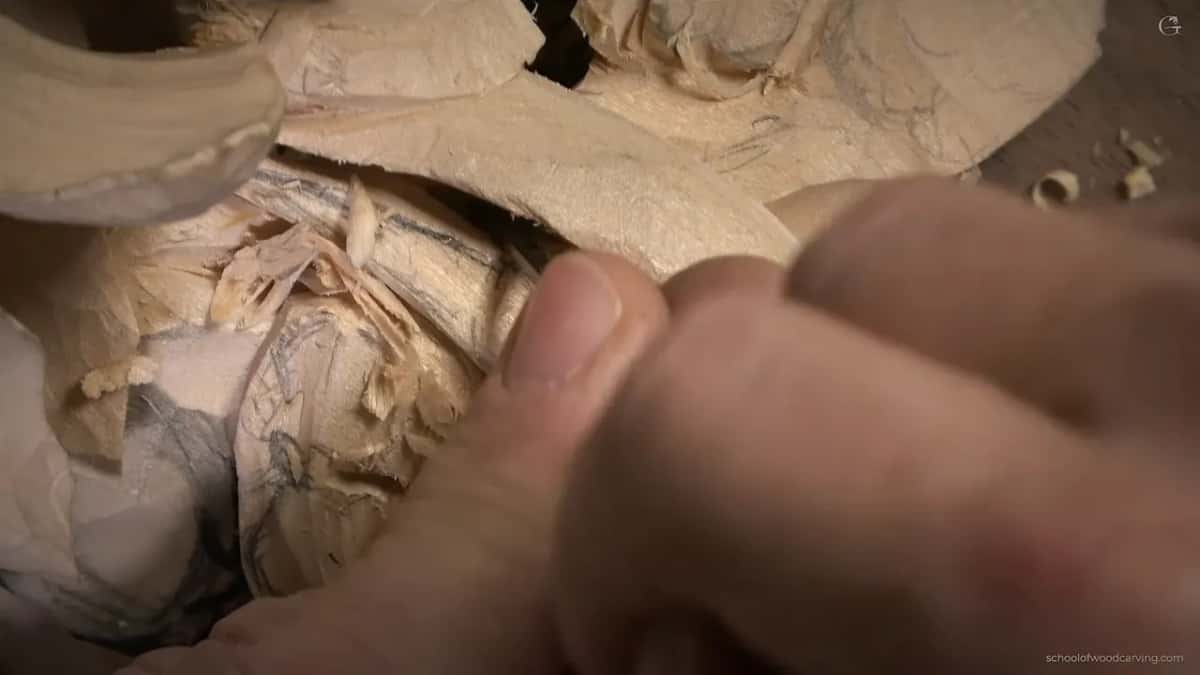
Undercut the line above it. The petal has to stick out from underneath, so I took the number 16 again, first with the flute at about one o'clock, then rotating it to two, and then from the other side at about three.
After that the flat number 1, double sided, took off the extra material, because the idea is that the petal grows down and blends really nicely into the first layer. I do not want it to look like pancaking. Look how the part above it now casts a shadow on the petal. Overall it looks beautiful, in my opinion of course.
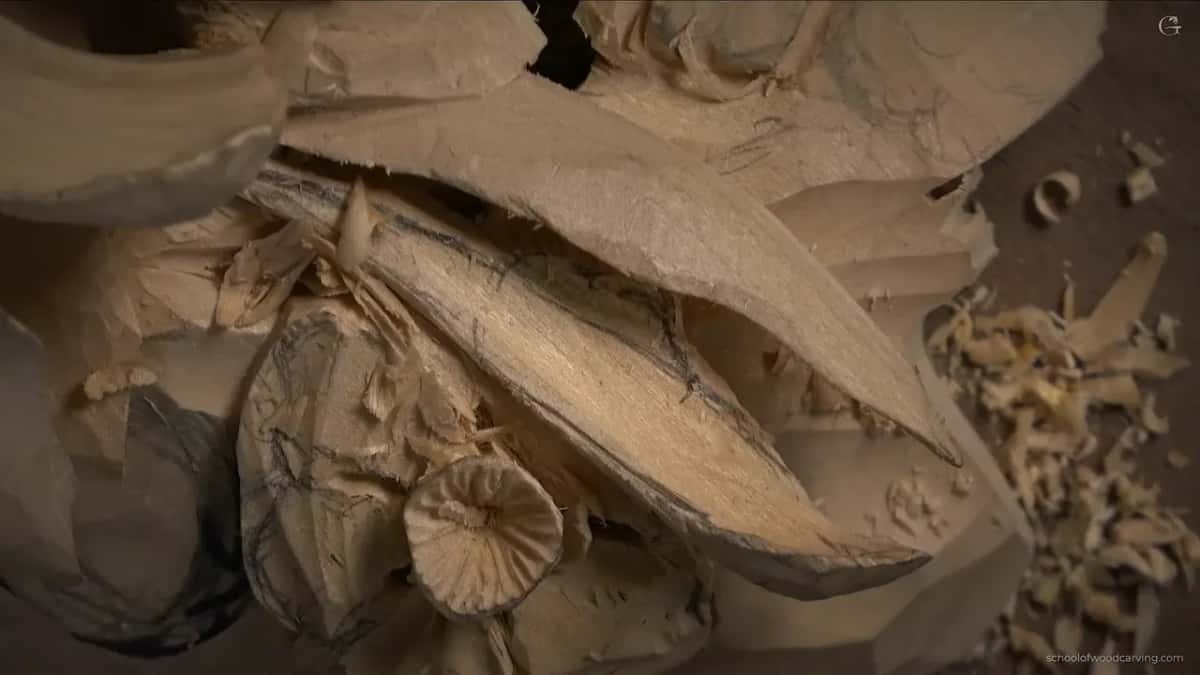
How do you carve that without breaking it?
Without any force. Some of you are probably watching and thinking, he is going to break it. Maybe yes, maybe no. I am not creating any force, almost no pressure, and it gets more difficult, that is for sure.
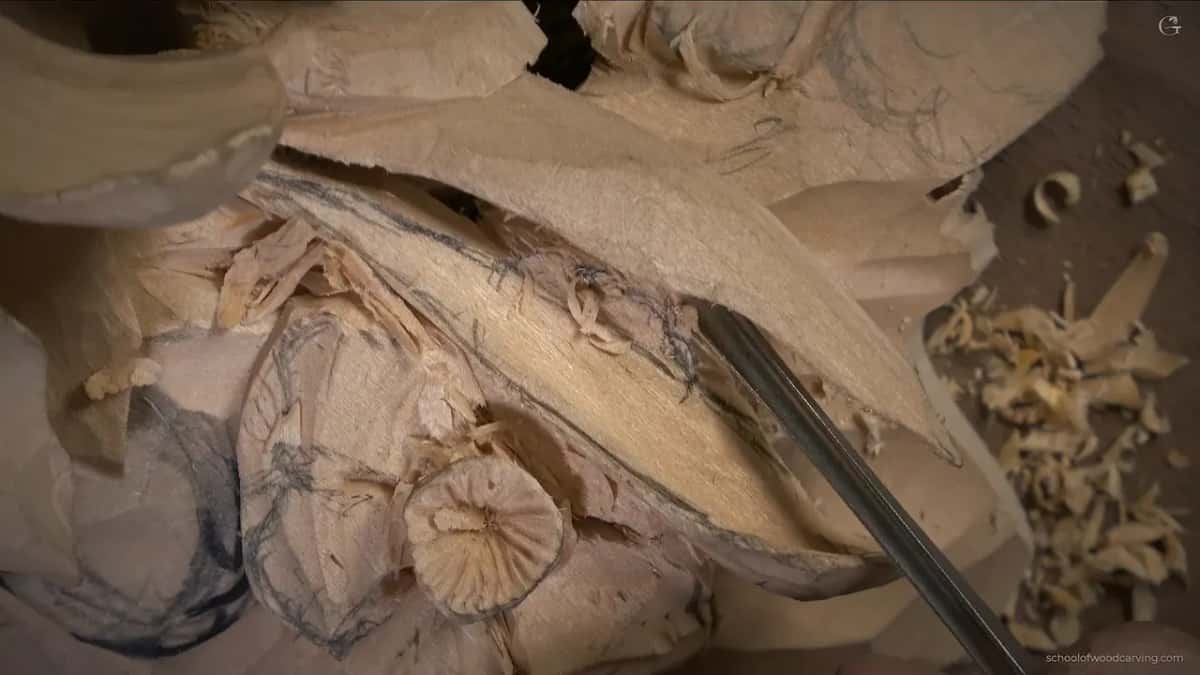
Where parts moved, I left them for glue later. A tiny back bent helped most. Mine is two millimeters, three thirty seconds of an inch, an antique one, so small I can get right on the knees of the petals and bring everything to the edge from both sides.
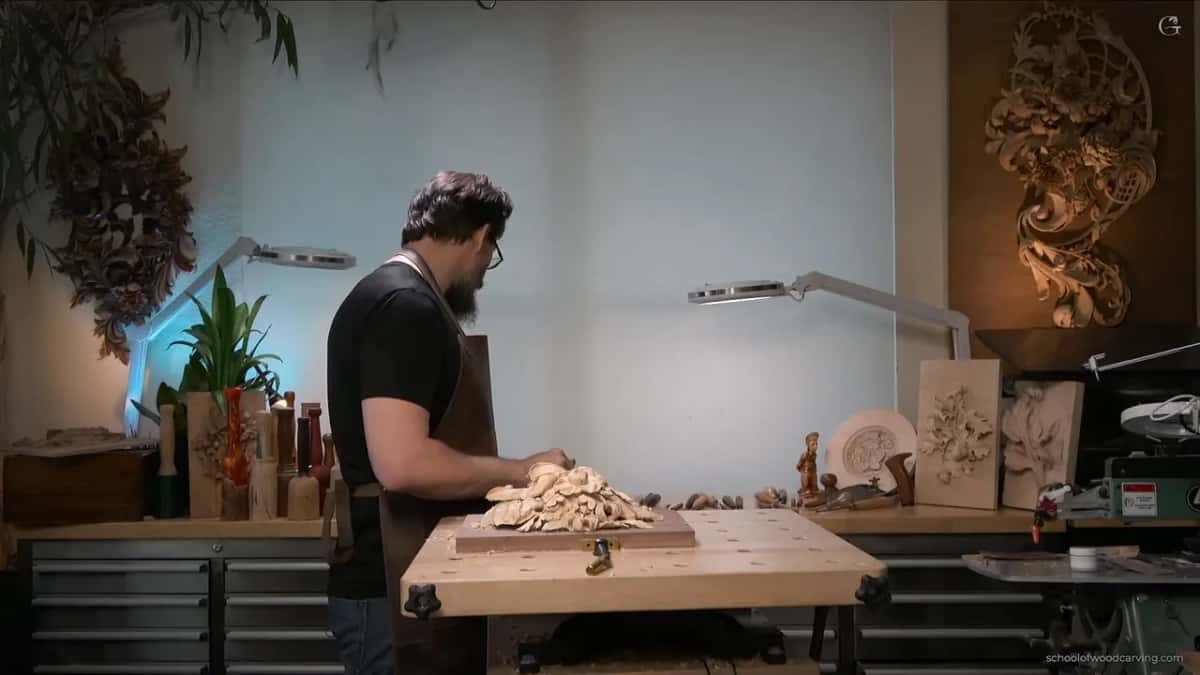
With back bents I can take an edge to the extreme from both sides and make it really thin. I can work the edge and do all my undercuts right there. Some of that happens off camera.
Which move gives which effect?
| Move | Tool | Effect |
|---|---|---|
| First line | The small 16, flute near ten o'clock | An extra dark spot appears |
| Bite cuts | The same 16 upside down, in very small bites | Room where the tool barely fits |
| Extreme undercut | A thin antique number 1 and a one millimeter 11 | A sharp dark point |
| Carving the curl | Number 9, small and then wider | Extra shadow from the concave |
| Hidden petal | The 16 again, then the number 1 cutting straight down | The first layer shows through |
How many tools belong on the bench?
Five at most. I have said it many times before. And in this class I could not find my number 16, because it just happened that I did not follow my own rule. Too many tools on the bench, and one of them hides. I found it, and we went on.
Does it still look like pancakes?
A little. I know, Roy, it looks like pancakes. That's okay. I dropped one petal all the way to the first layer, and that already gives the feel that it is one layer. We are going to blend it, and it is not going to look like a pancake.
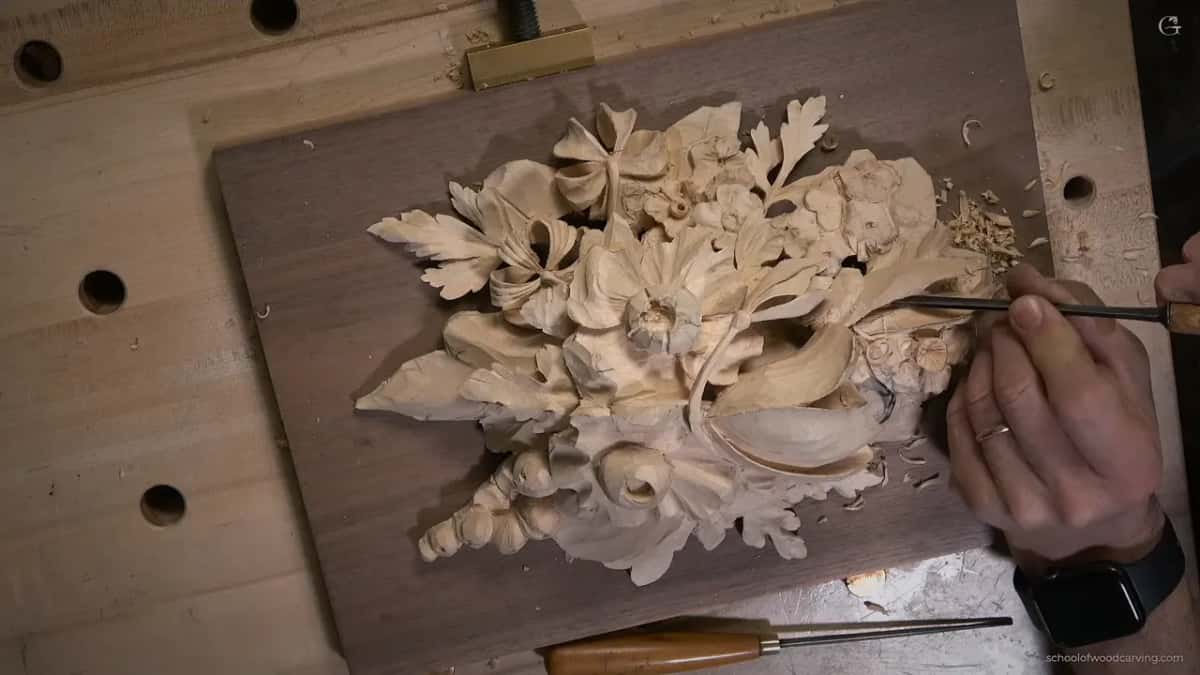
What about the spot that bugs you?
Make a small flower of it. One area bugged me, and I did not want to remove it, because that would open too much. Too many dark spots is its own problem. So I made a small flower, like the one next to it, only smaller.

A one millimeter number 8 made a plug cut, and right away I saw the darker color of the other side, so I moved up. The 16 established the separation between the future petals, and the number 1 then took it completely off the leaf. I did not even need to glue it. Fragile, and it moves, and that is still all right.
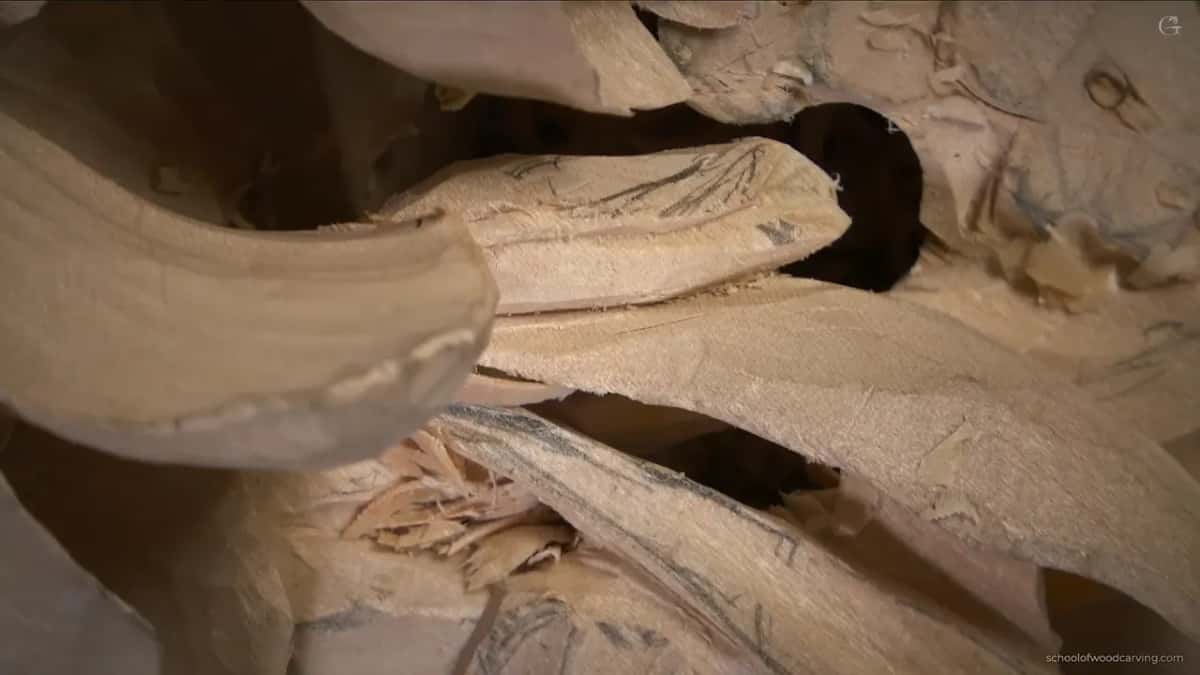
Then a barrel shape, a second separation so one petal lies on top of the next, and a tiny plug cut inside with small concave cuts toward it. I really do not like to wiggle, but sometimes it helps, and here it did. Look how nicely it sits on the darker background. Awesome.
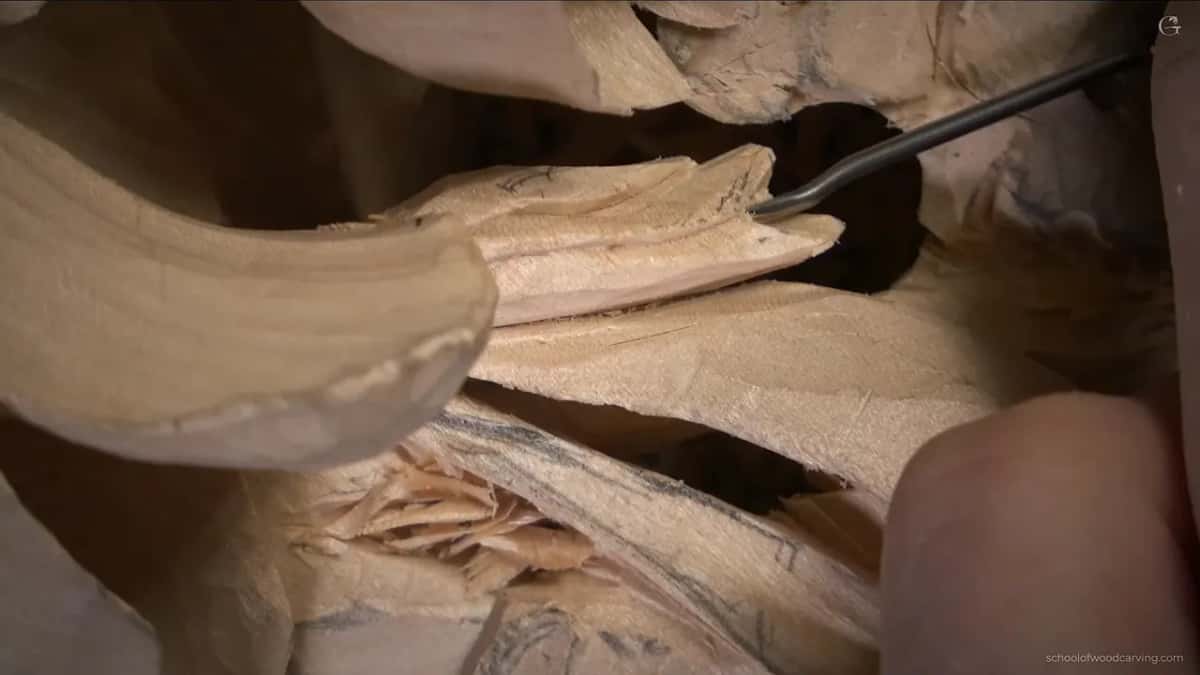
I could have left it like that and called it a day. Or take it to the extreme and make it look really nice, which is what I wanted. Blending the right side, I worked against the grain, because there was no other position to attack from. The leaf on the left and the flower on the right are completely separated now, with a dark spot between them.
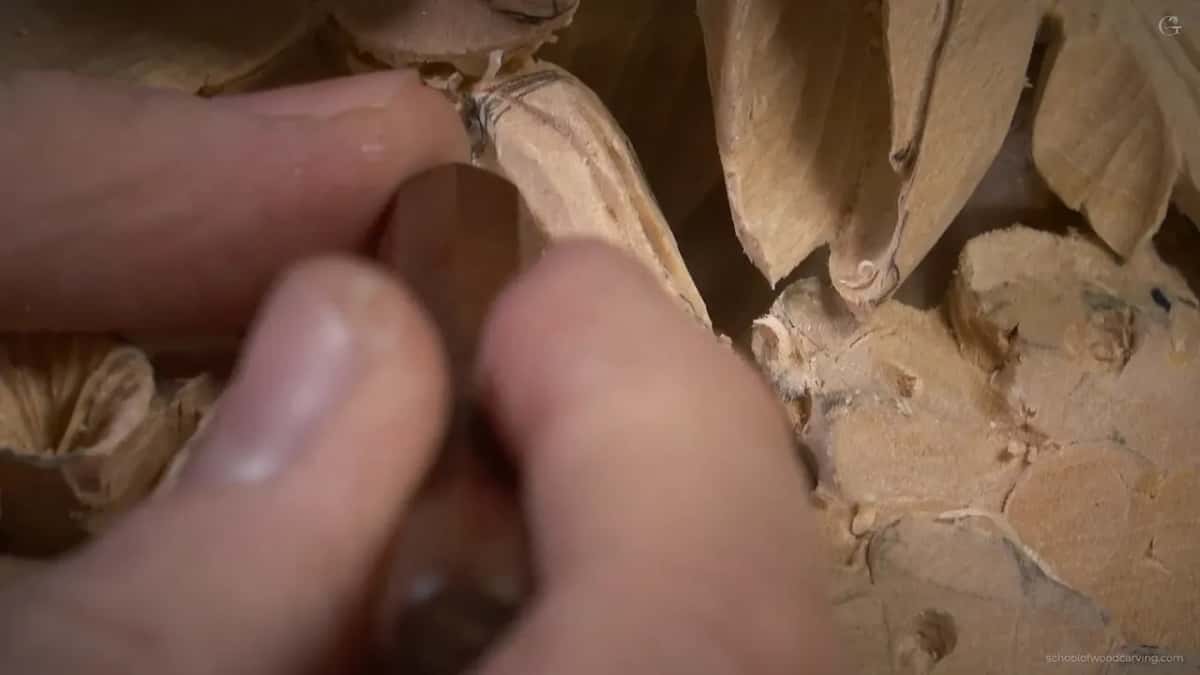
The last touch was a really tiny skew for the part inside. I cannot put the camera underneath that one, so you will see the result later.
Where does this class sit?
After the new flower in class 15 and the parsley leaf in class 14. A dark spot opened inside the tulip in class 11, with the back bent, and the tiny tools took over in class 13.
Shadow as a design decision is taught in the design course, and undercutting in the techniques course. Thin edges on a two millimeter back bent start with sharpening, and the tools course helps you choose what to own. More flowers carved this way are in the Hashemi flowers course.
Every class of the Grinling Gibbons course is open with tuition. At the end of this one I flew my phone around the piece so you could see the stem under the flower. Let me know if you like how it is developing. I really appreciate the feedback.
How it's done
- Draw the flow first. Make sure every line fits the movement of the whole design before any opening is cut.
- Cut under the line. A number 16, flute near ten o'clock, down to layer one.
- Take small bites. Turn that tool upside down and work a little at a time, where the position is awkward.
- Undercut to the extreme. Switch between a thin number 1 and a one millimeter 11, leaning left and right.
- Add concaves for shadow. A concave always throws a shadow, so carve one wherever the panel needs darkness.
- Expose a hidden petal. Let part of a hidden flower appear beneath a leaf, down to layer one.
- Keep the bench clear. Five tools out at most, so you never hunt for one in the middle of a delicate cut.
Frequently asked questions
Why do dark spots matter so much in wood carving?
The eye reads where light stops. A tiny opening next to a petal separates it from everything around, and that separation is what people see as depth and complexity.
Is a bite cut a real carving technique?
Only my own name for it, made up on camera, for taking very small bites out of the wood with an upside down V tool. There is no official cut by that name. Useful, though, anywhere the tool barely goes in and the wood is already moving.
How do you carve a stem that goes under a flower?
Expose it from the far side of the leaf. Here I opened a petal down to the first layer and a stem appeared, running from under one flower and out beyond the next.
What to carve next