

Alexander Grabovetskiy, woodcarver, School of Woodcarving · Published 2023
How is a carved parsley leaf different from an acanthus leaf?
Quick answer: A carved parsley leaf differs from acanthus in two places, and neither of them is the outline. Each eye sits close to where its division begins, near the stem, while acanthus places them nearer the edge. The middle is a light V instead of a bulge.
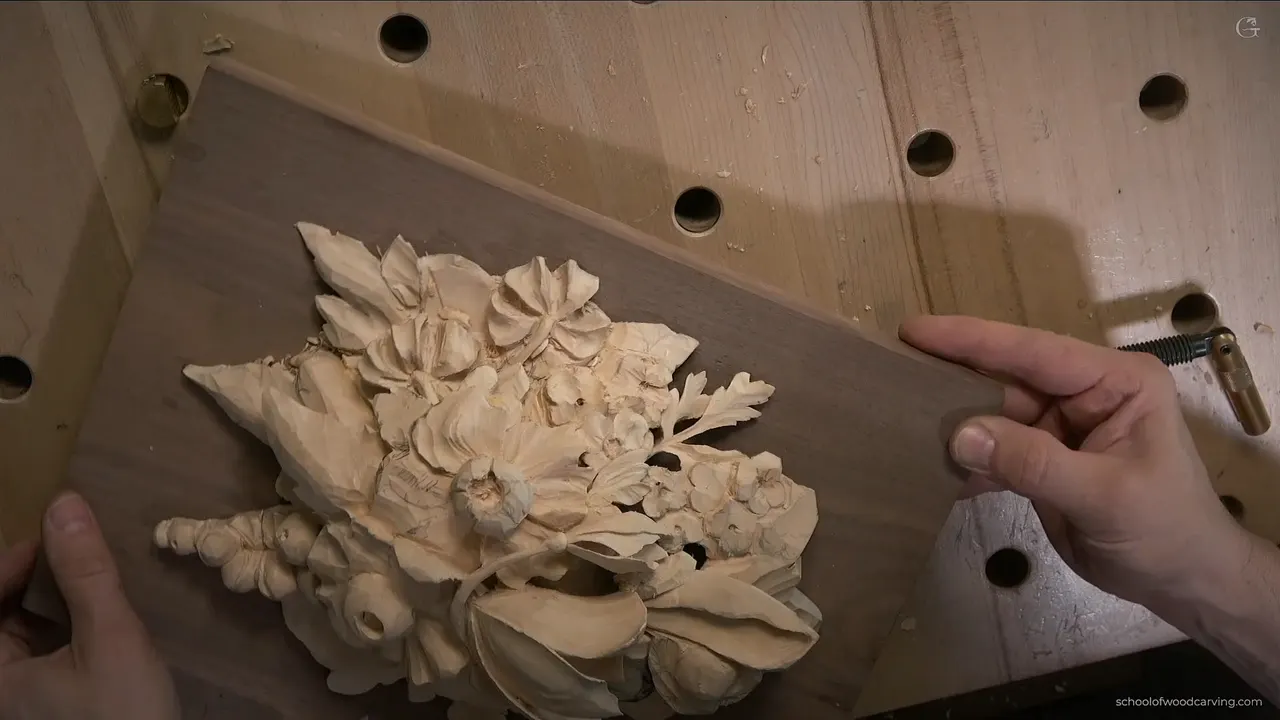
Parsley and acanthus look alike at first, and two details tell them apart. Each eye sits near the stem. And its center line runs as a shallow concave, almost a V, where acanthus would bulge up.

Have you ever carved a leaf, stood back, and wondered why it reads as acanthus when you meant something else? Did you copy the outline perfectly and still get the wrong plant? The outline is not where the difference lives.
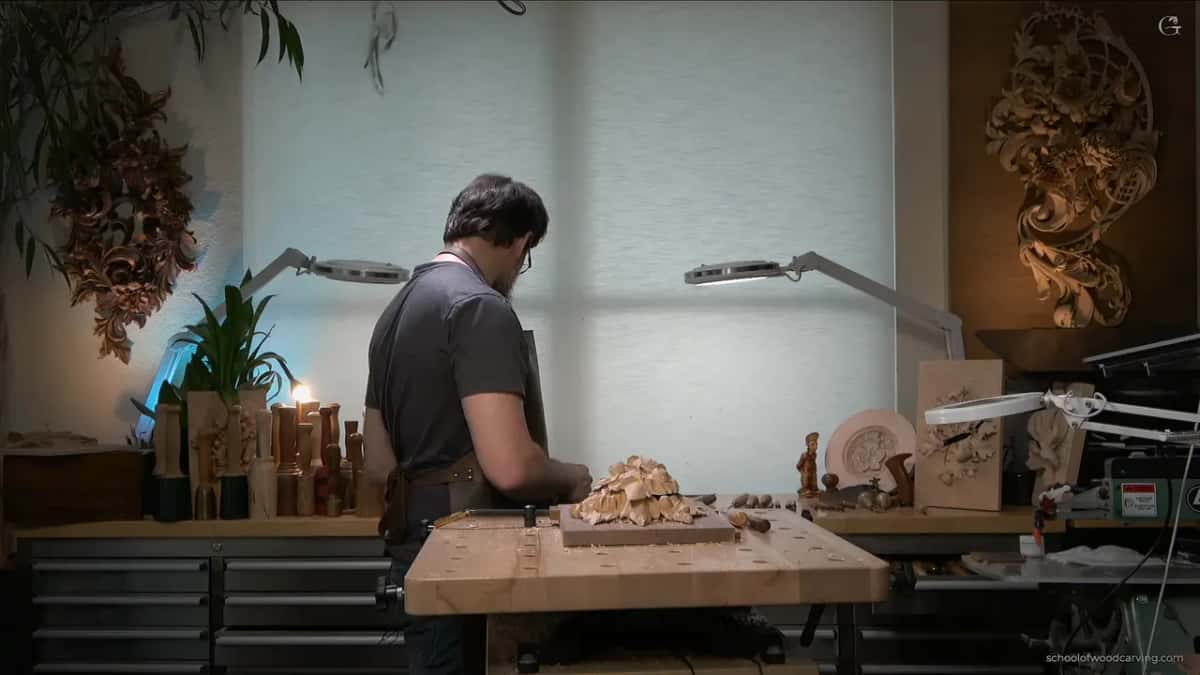
Class 14 of the Maine course works one parsley leaf on the right side of the panel, the side I had not finished. There are a bunch of them on this piece. I show one in detail, and you can carry it to all the others as far as you want to go. I really do not need to show you all of them, because every one is going to be exactly the same.
Key takeaways
- Parsley is anatomically very close to acanthus, which is probably why Gibbons loved it.
- Its eyes sit right by the stem.
- The middle is a shallow V.
- Dark spots opened with plug cuts give the leaf its shadow lines.
- A break is a change of design.
- Support a fragile part from underneath while you carve it; a sushi chopstick works.
How close is parsley to acanthus?
Very close. Anatomically it is almost an acanthus, with the same kind of lobes and divisions around the outside. That is probably why Gibbons loved to carve them. On this panel they are everywhere, here and there, and every one follows the same logic, down to the smallest one.
Close is not the same. Carve the eyes where acanthus has them, give it an acanthus middle, and you have carved an acanthus. The two details below are what make the leaf read as parsley even from a distance.
Where do the eyes go on parsley?
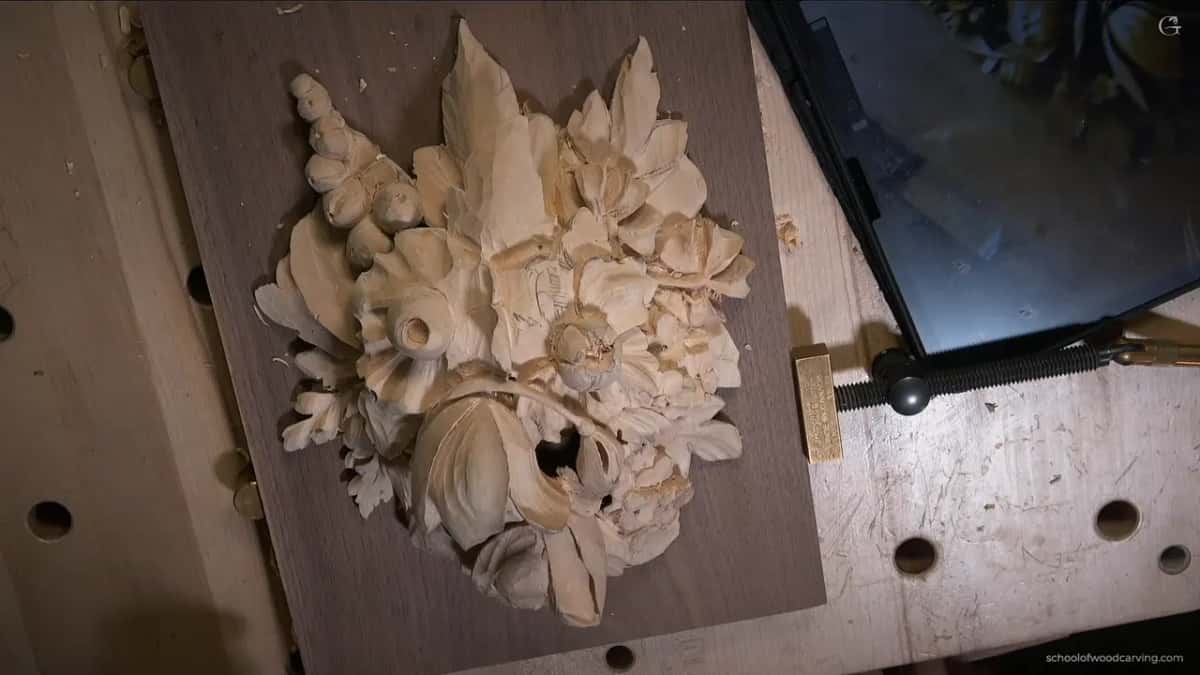
Near the beginning. On acanthus the divisions, the eyes, come closer to the edge of the leaf. On parsley the eye sits really close to where the division starts. I drew them in pencil first, one eye and then the next, with the main movement as a big arc so the leaf repeats the arcs around it.
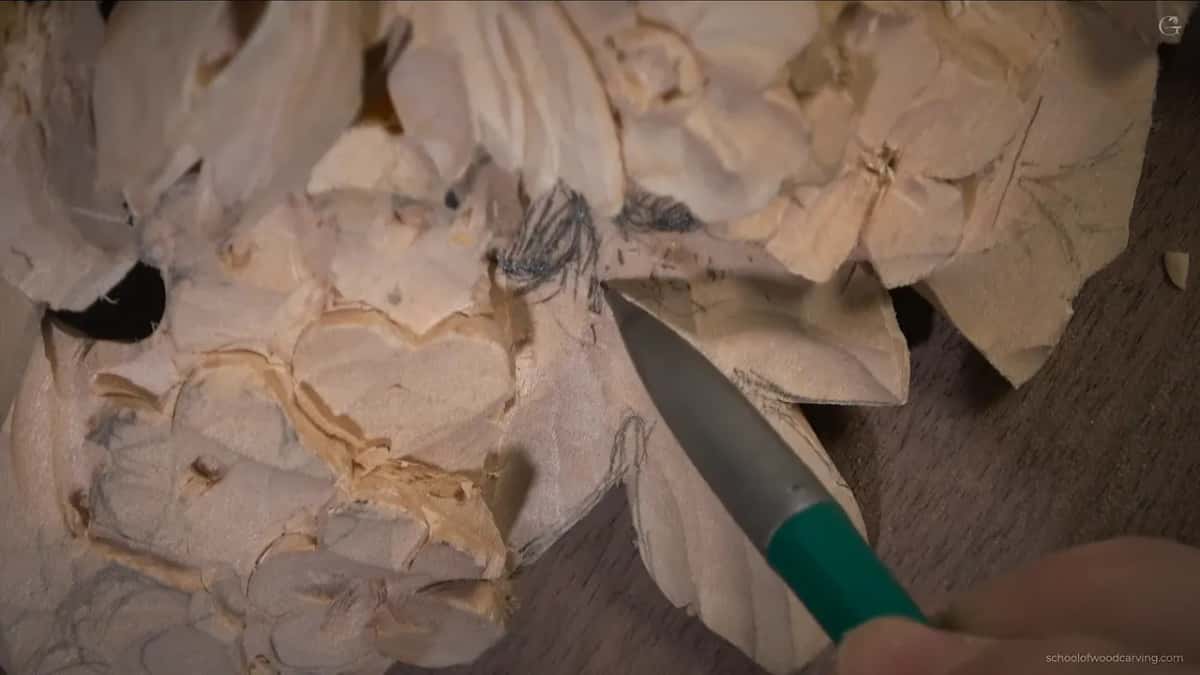
The eye itself is not round either. Parsley does not have that round eye area. It has to be sharp, like a V cut, so I went in with a number 16 upside down and refined it. A round, soft eye there is acanthus talking again.
What happens down the middle of the leaf?
A concave. Acanthus shows a bulge there, along the middle where the stem runs. Here it is a concave, and not even really a concave. Almost a V cut, right in the middle, not deep, starting from nothing and getting a little deeper as it goes.
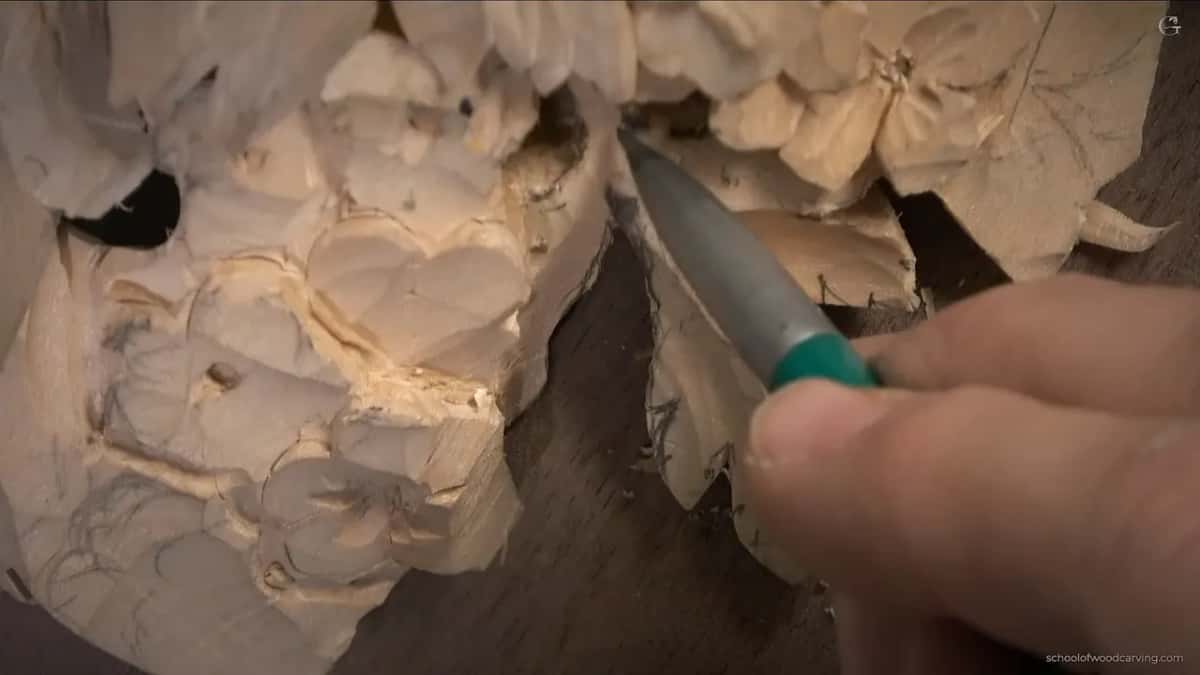
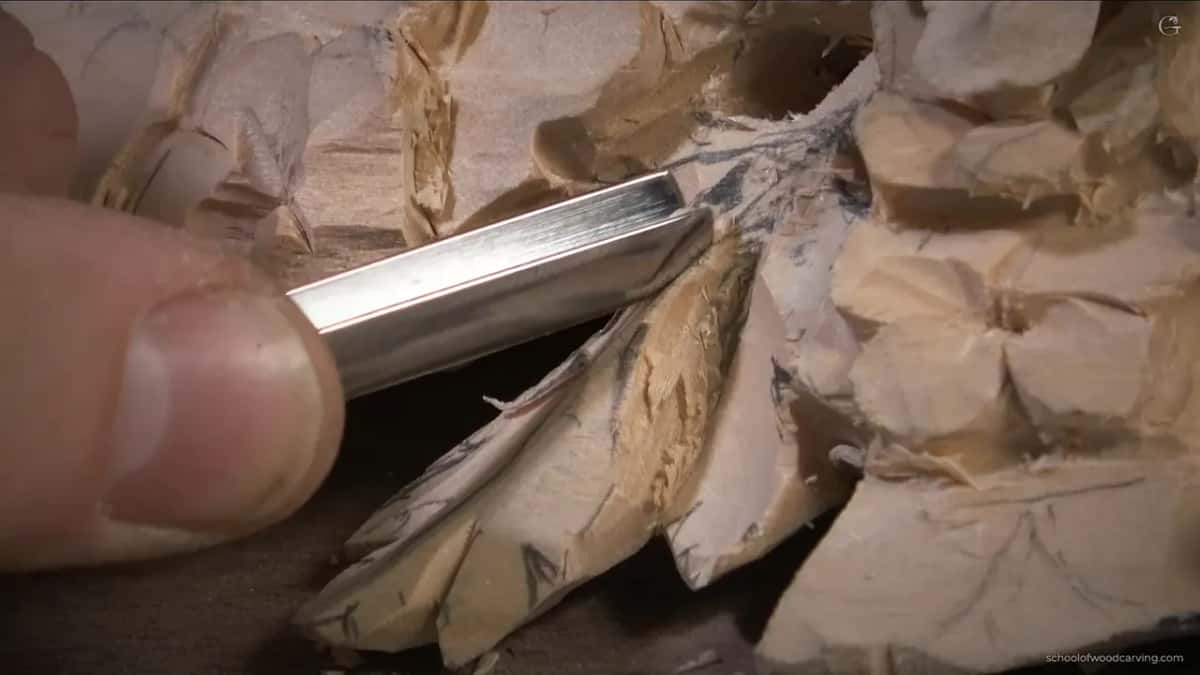
You could use a number 11 for that. I like a number 17, a Swiss one at six millimeters. It is nearly a V tool, but not really. If you know the anatomy of a V tool, it is two chisels with a tiny gouge at the bottom where they meet. On a number 17 that gouge part is a little bigger, so the cut is softer.
Not an everyday tool, but nice to have. What I like about it is that I can lean it to the right or to the left at the end of the pass and blend the cut away to nothing. That pass went uphill and against the grain, so it had to be sharp, and I did not press hard.
For the smaller cuts I switched to a number 17 at three millimeters, an eighth of an inch. Same idea, smaller, and a little more careful.
Why open dark spots in a leaf?
For the shadow lines. I really like those openings. One area is darker, the next one much darker, and the leaf starts to read. This part of the panel was a really good area for one, so I planned an open stem, about three millimeters thick, with a dark spot behind it.
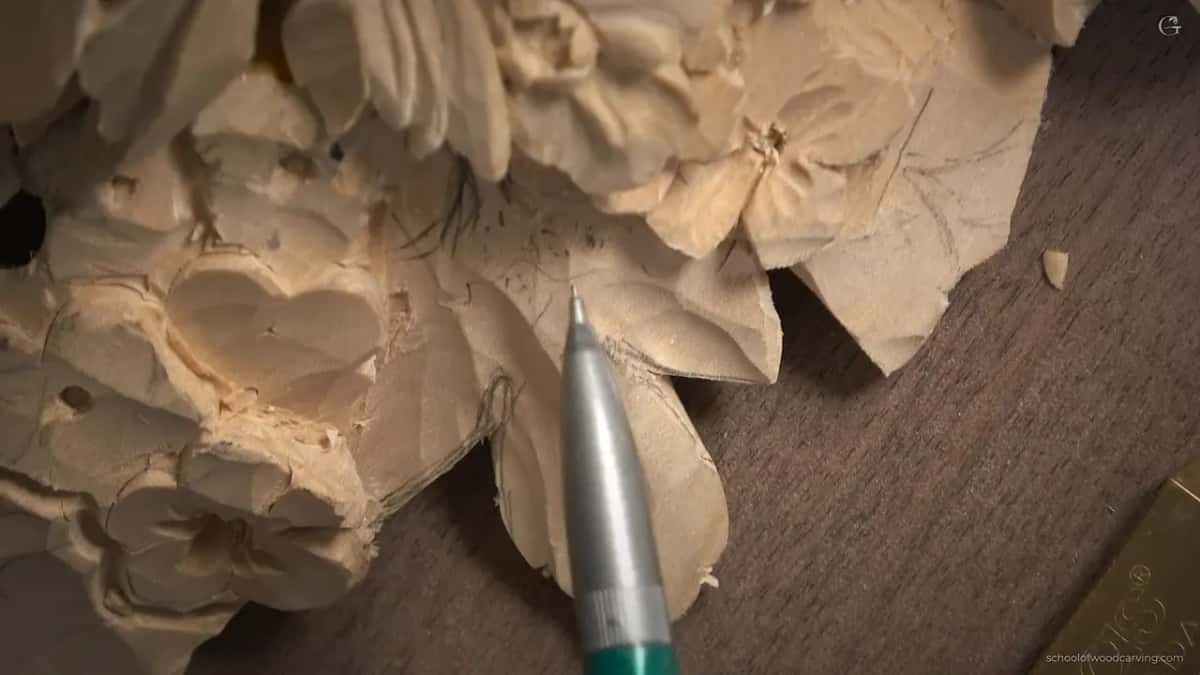
The first step is plug cuts. My number 9, a quarter inch, fit a couple of times. The surface there slopes downhill, and the tool goes in at exactly ninety degrees to that surface. It does not have to be six millimeters. Five will work, four will work, and you could probably fit seven.
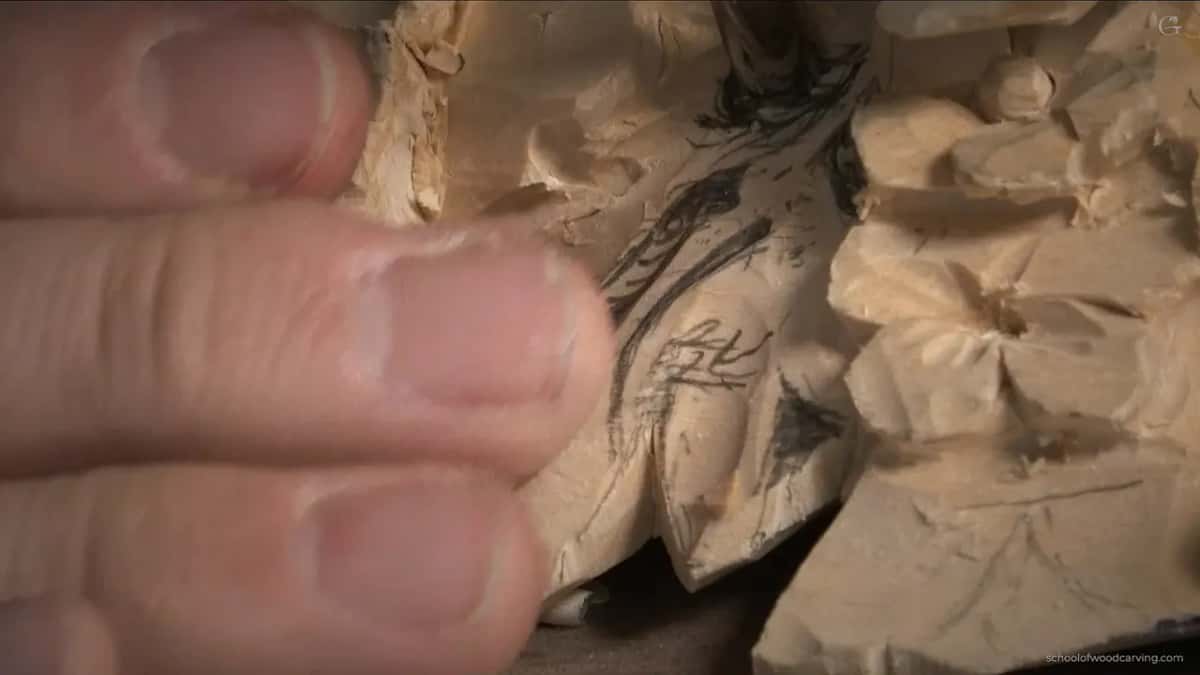
I already had so much excavation done that I could go all the way. The moment I was through, the dark spot was there, and it gave the shadow right away.

The next one was tricky. A flower was in the way, so no full rotation. Instead I did a half moon cut, flipped the tool, and did the other half from the opposite side. You might ask why I do not use a drill. You could. I would rather not go looking for it or change bits, when my tools are right here.
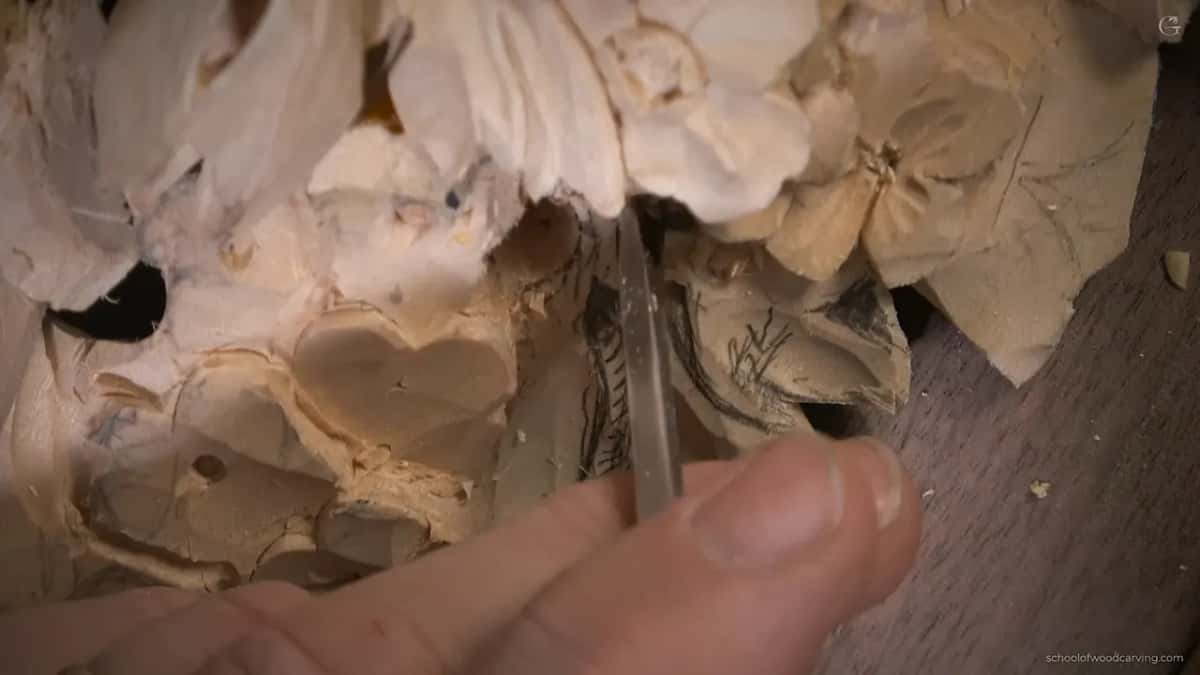
What about the flowers below the leaf?
Leave them some wood. From the side there was a lot of material inside, and I could have started undercutting right under those filler flowers to give them a lighter look. I did a little. Not too much, because I still have to work on those flowers later. Don't overdo it.
From the eye I made my first excavation, dropping one part right underneath. Something was right in my way, so I took a spoon, safer, and then an even smaller one, a number 11 at two millimeters, and went in carefully.

What if a flower sits too high?
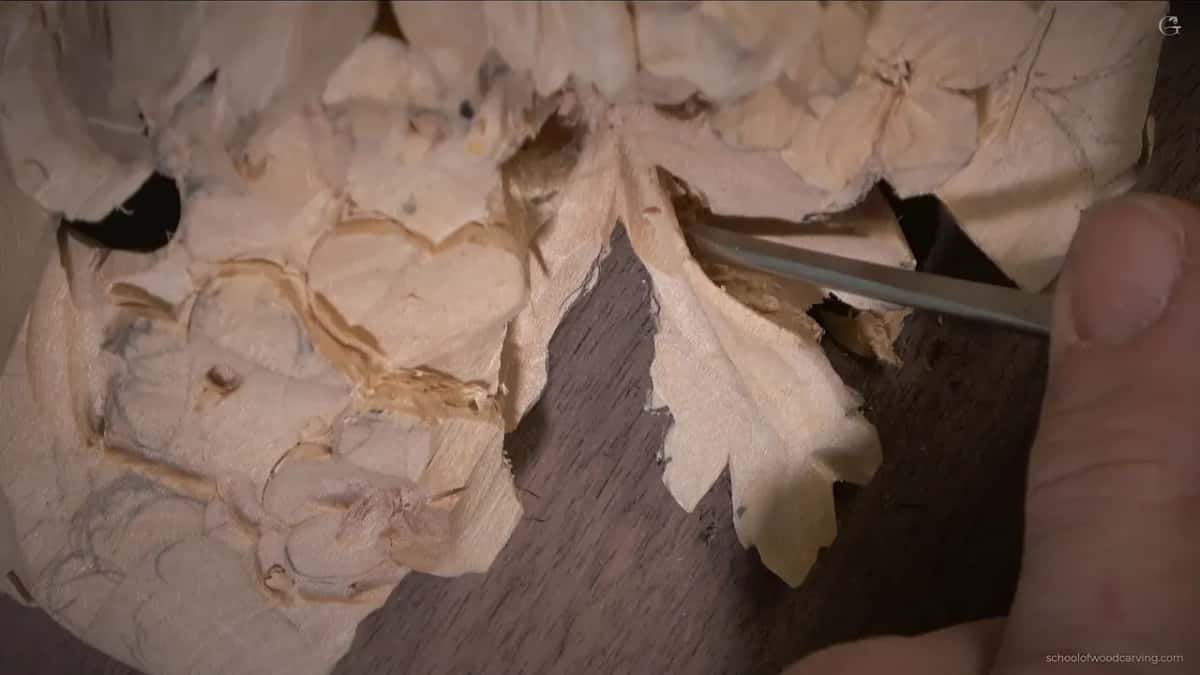
Drop it. One flower was just a little too high, with too much wall showing, and I did not want to see that wall. With Richard's big number 3 I dropped it toward my opening, which gave more of a three dimensional feel, and blended everything together.
Some of it was so fragile it started falling out. That means it was never supposed to be there. I left about three millimeters of wall, plenty for me to undercut later.
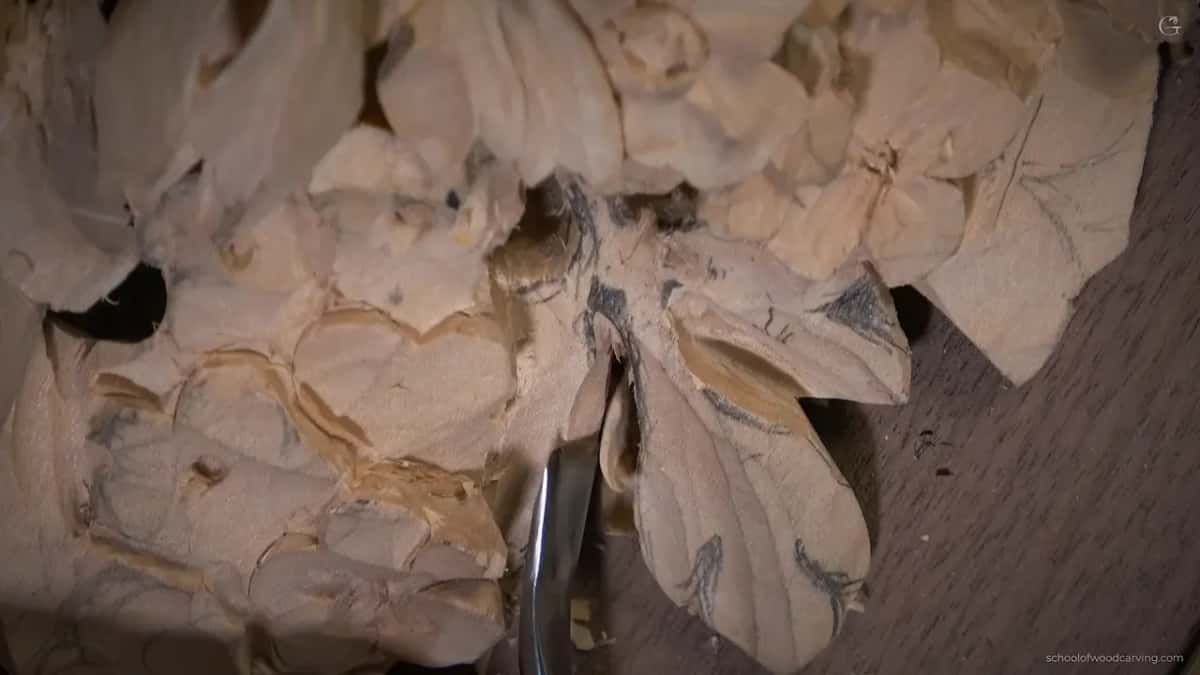
The stem I left at about five millimeters for now. Later I will refine it down to maybe three. Not yet, though. Take it thin too early and every later cut puts pressure on a weak spot, so I leave the stem for the end.
Parsley or acanthus, side by side
| Feature | Parsley | Acanthus |
|---|---|---|
| Eye position | Close to the beginning of each division, by the stem | Closer to the leaf edge |
| Eye shape | Sharp, with no round area around the eye | Round and soft looking |
| Middle of leaf | A shallow V that starts from nothing | A convex bulge |
| Broken lobe | Turn it into a wave and keep carving | A disaster, in my words |
What if a piece of the leaf breaks?
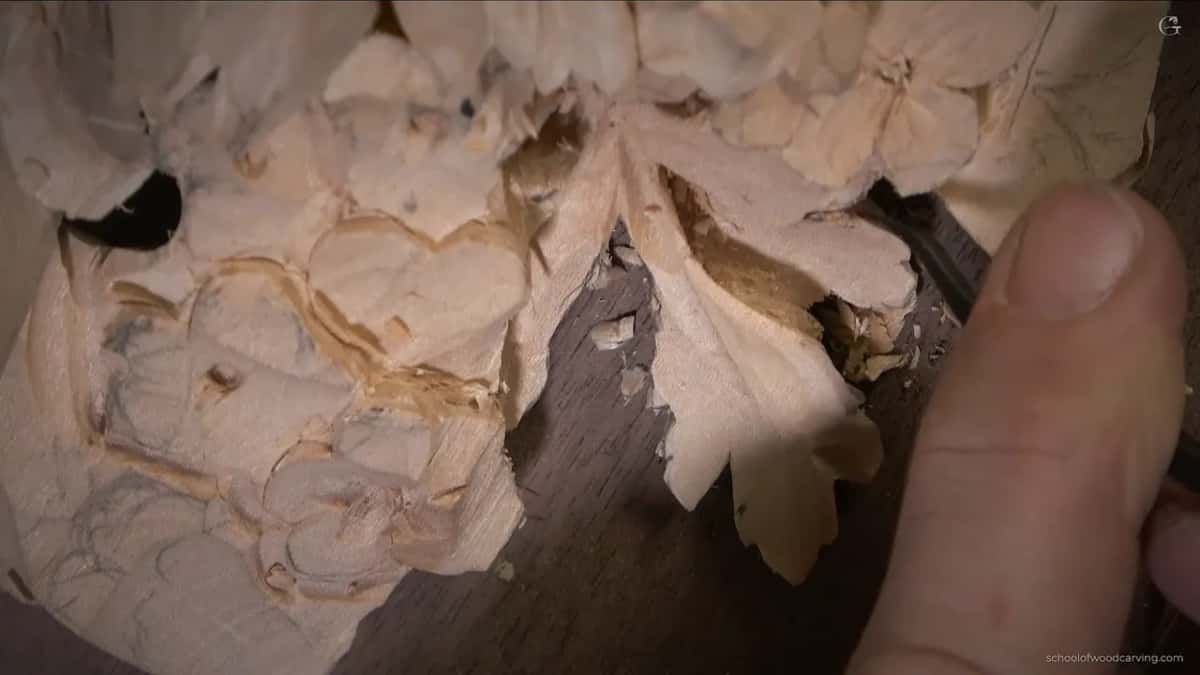
You keep going. I used a mallet, a rubber one so it protects my handles, and drove a number 11 in upside down. It went in, and it broke the lobe right off. The mallet was a big mistake. I got rid of it.
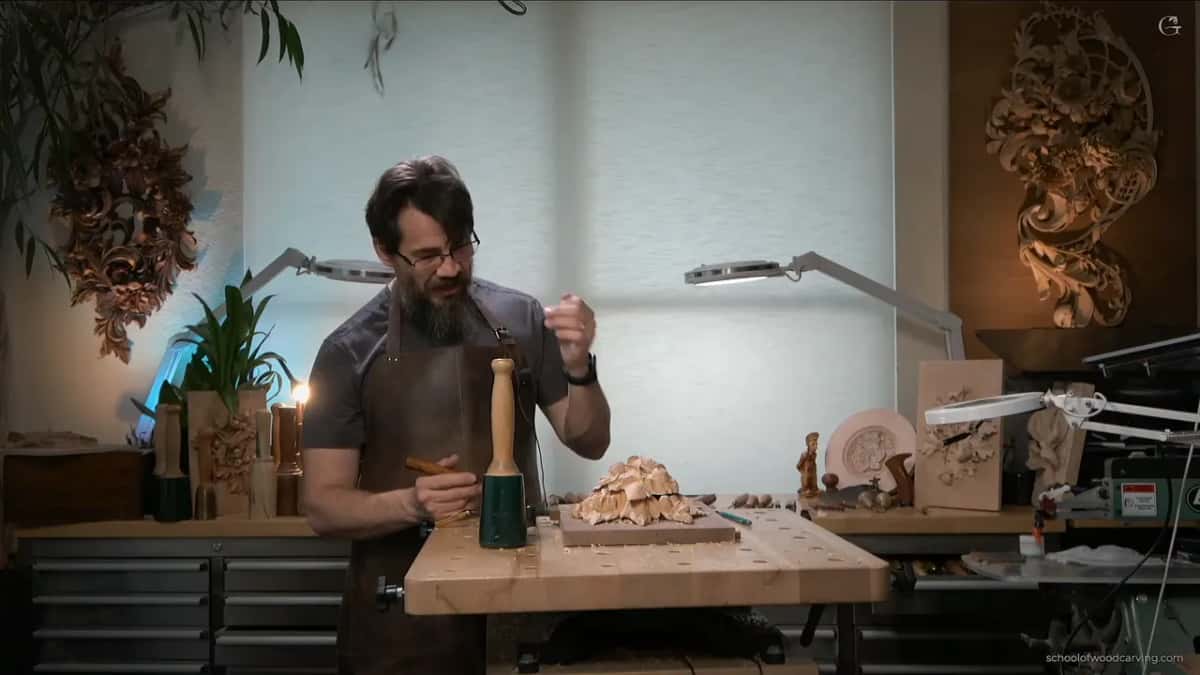
I am not going to glue it, I will be creative with it instead, and honestly I kind of like what happened, because it became the introduction of a wave. On acanthus that would be a disaster. With parsley I should be okay, since it is not acanthus. Please don't tell anyone. Nobody is going to know, except you and me, and all the other thousands of members of my school.
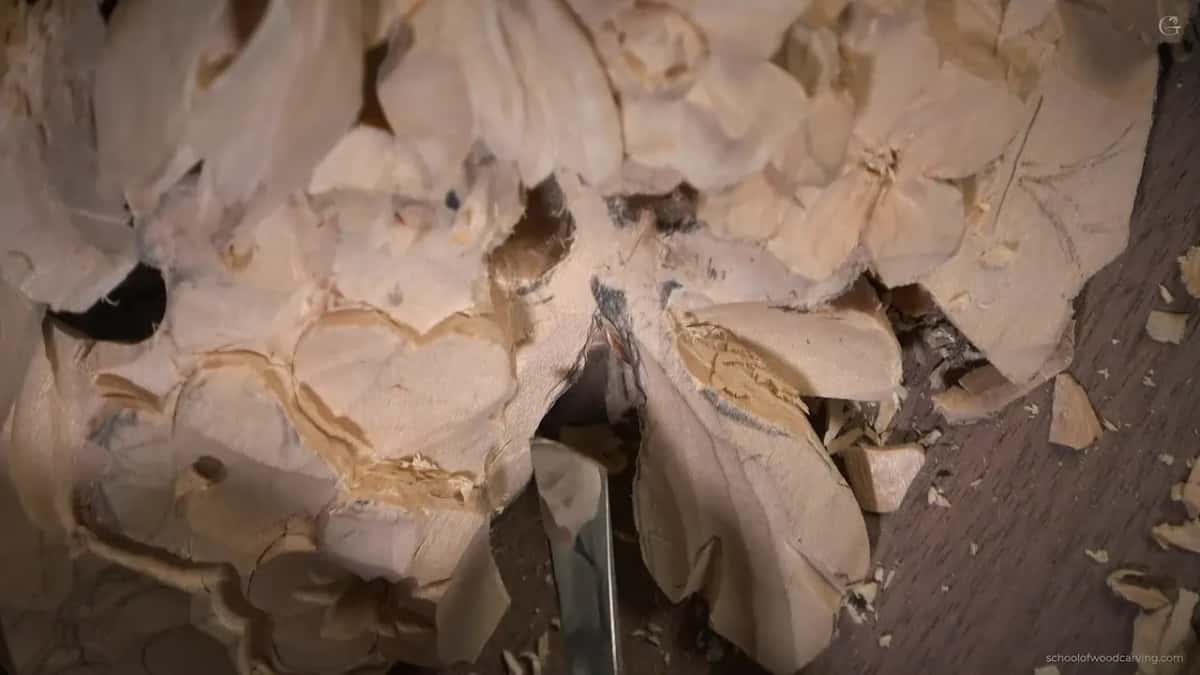
Then a half millimeter number 11 went in upside down, doing what the two millimeter had done, only smaller and safer. Much better.
How do you hold up a fragile part?
With a stick underneath. After the relief cut that part moved every time I touched it, so I needed some support right underneath it. Any piece of wood will do. I happened to have a sushi chopstick, slid it under, and after that it did not move as much.
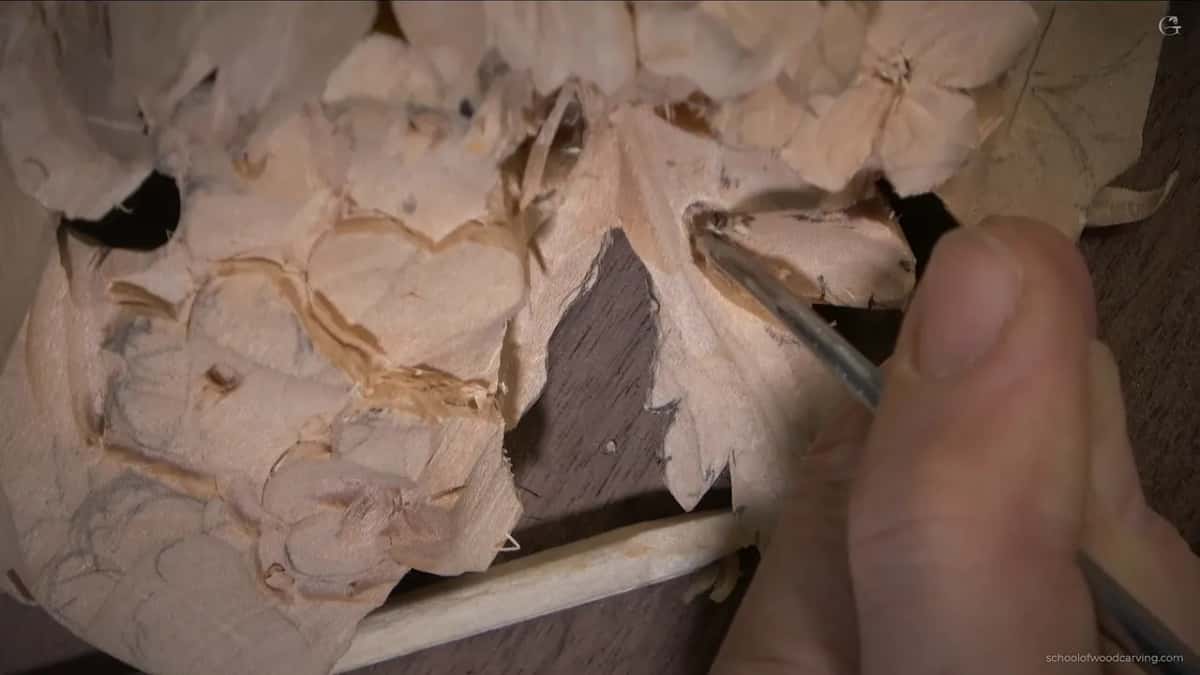
I used it again for the tiny separations later. On the screen they look huge. They are less than a millimeter. Without the chopstick every one of them would have pushed that part around.
How deep does a shadow need to go?
Only as deep as the shadow needs. Under one part I undercut with a number 16, then a number 12 spoon at three millimeters, then a number 11 at one millimeter, and at last a tiny number 9, also one millimeter, with a much smaller hook for better control. It already gave a beautiful shadow before I reached the other side.
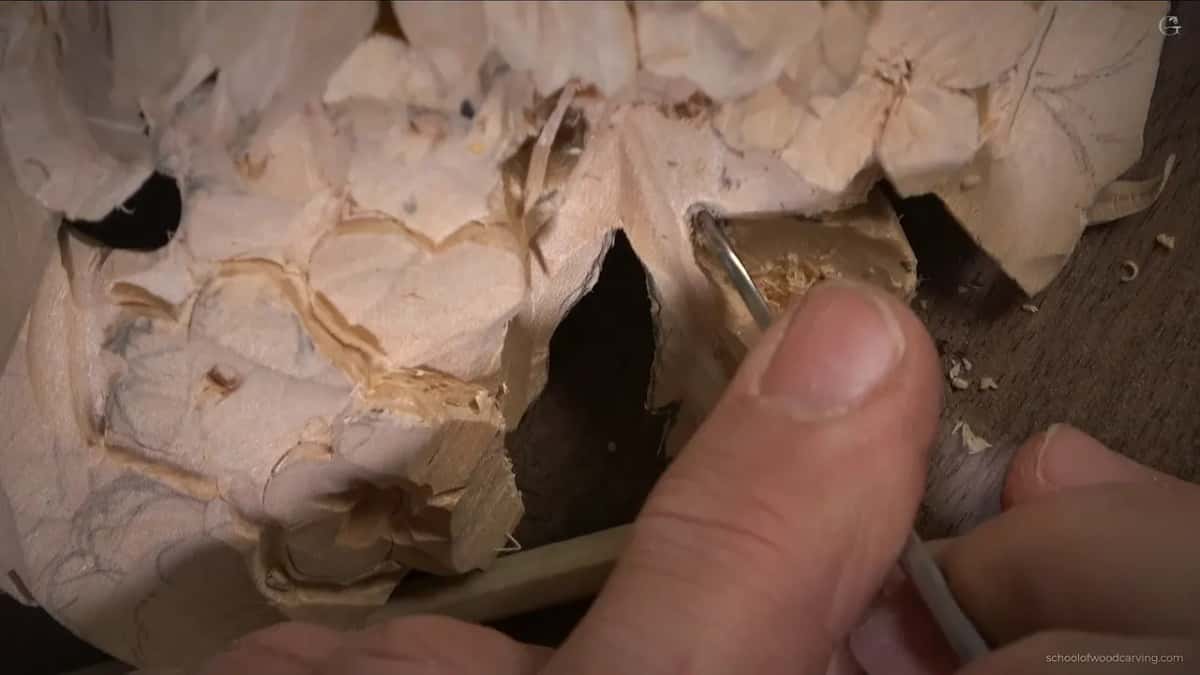
That is the main idea. Get the deep shadow. Whether light comes through behind it is a separate question. In another spot I did go through, and that part is now airborne. It makes a weak spot. This is not a piece of furniture, it is going on a wall. If you do not feel comfortable doing it, don't.
Who carved it better than Gibbons?
In my opinion, one man in particular. Gibbons was a great carver, but I like Thomas Wilkinson Wallis, 1821 to 1903, and he carved a lot better. I showed his work on the iPad, next to the original. Look at the details. Absolutely gorgeous.
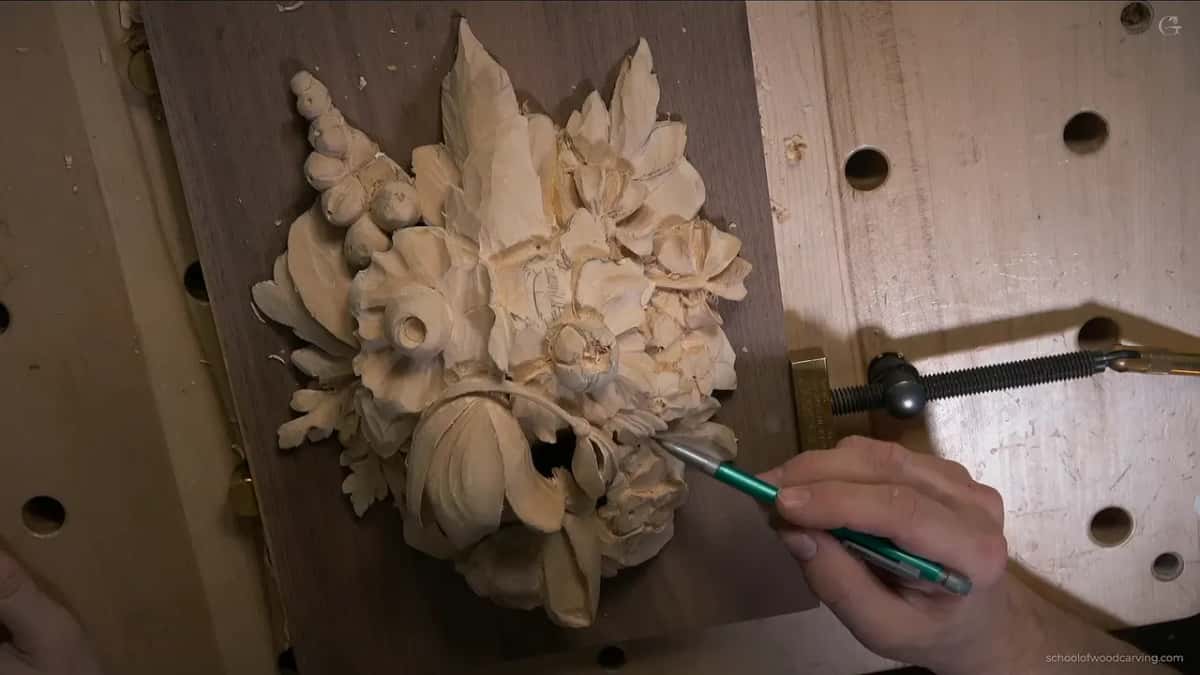
In that particular piece he did not use a layering technique either, and it is the same type of flowers we are working on. What Gibbons did with those flowers is okay. Not to that level. So on this panel we are trying to take it to the extreme. It still looks a little like a pancake from the side, but it is already losing that feel.
Which tools came out for this leaf?
A flat number 1 chisel with a bevel on both sides, an antique Marples and Sons. The old Marples, not today's. I shaved the opening with it from both sides and it went almost all the way through everywhere.
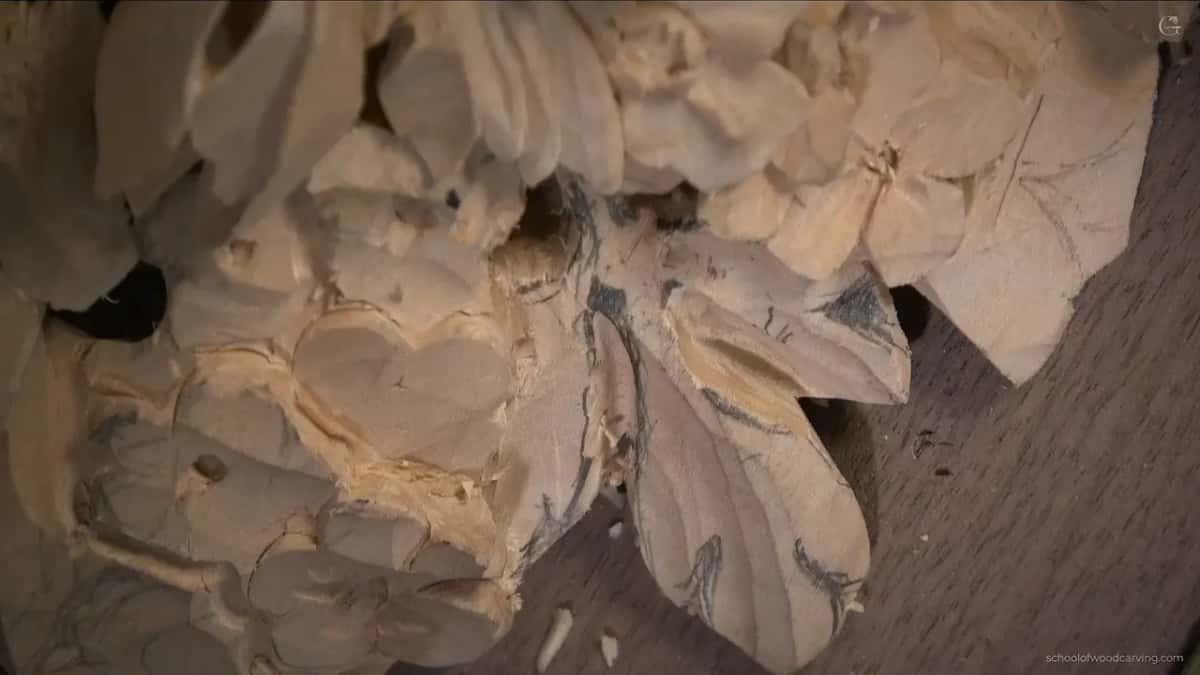
Then a special gouge from Richard. I met him a few years ago at the Marc Adams School of Woodworking. He makes tools, I asked him if he could give me one, and he gave me this, a number 3 about ten millimeters wide. I always remember him when I hold it.

With Richard's gouge I dropped one wall and blended a bump so the surface runs down like a race track, smooth and gradual. The last tool was a back bent from the 19th century, a sixteenth of an inch, excellent for undercutting and getting into all those details.
If the numbers confuse you, the tools course sorts them out. And nothing on this page works without the edge you learn in sharpening.
Do the small divisions matter?
They make a huge difference. After the openings I drew in the divisions, a removed area here, micro divisions right inside it, another one there. The smaller the details you put around the main shapes, the more complex the whole thing looks.
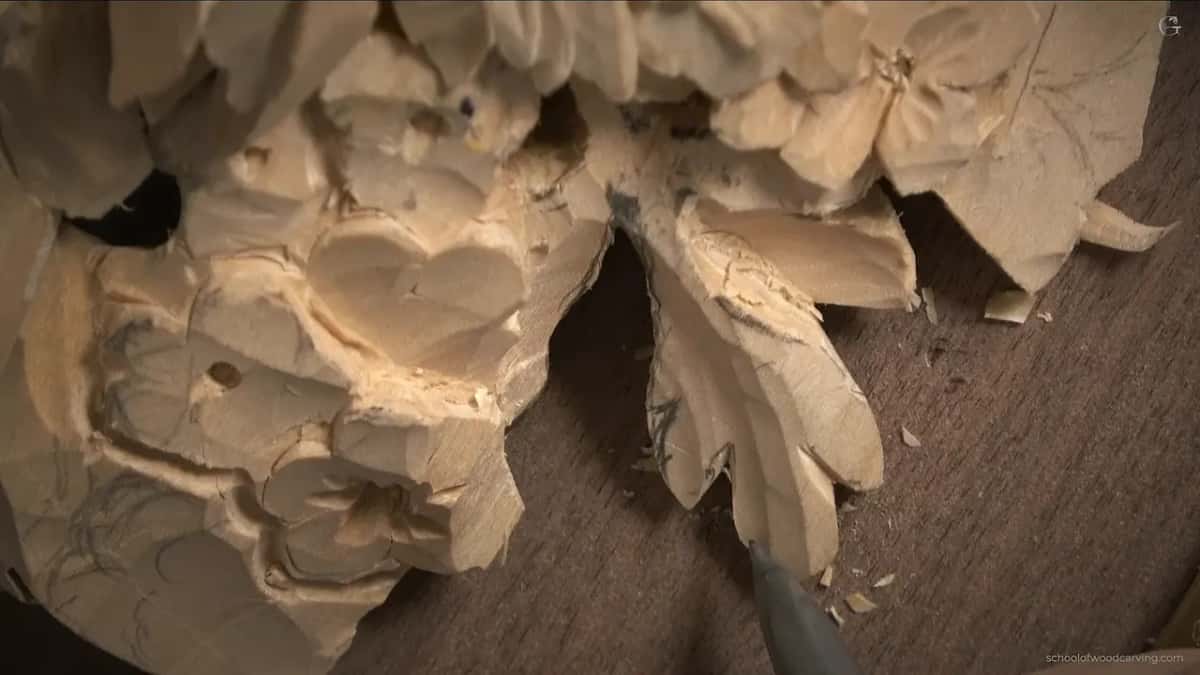
One warning while you are in there. When you work near the background, do not carve too deep into it, because unless you plan to texture it, damage there stays damage.
How does the leaf look at the end of the class?
Like parsley. It still needs cleaning, the facets have to go and the edges need refining, but when you look at it overall it looks really awesome. I opened those spots on purpose, for exactly that idea, dark spots.
The other parsley leaves I will not show you. There is no need. Take the idea and give them your own movements. We still have to attack a few flowers, and one of them I kind of do not like even now. Maybe we will develop something else there.
Where does this class sit?
The parsley idea started back in class 12, where a small leaf had to hide a flower with no wood behind it. The dark spots came in class 13. Next, in class 15, a flower I never liked gets a new design.
If acanthus is the leaf you know, try the Roman acanthus and the Greek acanthus courses next to this one. The difference between the leaves is easier to feel once you have carved both. Movement is in the design course. Undercutting is in the techniques course.
Every class of the Grinling Gibbons course is open with tuition. Some of this you cannot see on the video, and I said so more than once. You will see the dark spots, though.
How it's done
- Draw the eyes near the start. Pencil each eye at the beginning of its division, with the main movement drawn as one big arc.
- Plan the dark spots. Pick where an open stem and a hole behind it will give the strongest shadow.
- Plug cut at ninety degrees. Number 9, a quarter inch, square to the sloping surface. A half moon from each side when a flower is in the way.
- Support the stem. Slide a stick or a sushi chopstick underneath before you carve near it.
- Cut the middle as a light V. Use a number 17 or a number 11, starting from nothing and leaning left or right to blend the end.
- Sharpen each eye. Turn a number 16 upside down, and the eye comes out sharp.
- Add the micro divisions. Small divisions inside the larger ones make the whole leaf look more complex.
Frequently asked questions
Did Grinling Gibbons carve parsley leaves?
Plenty of them, all over this panel. Parsley is anatomically so close to acanthus that I think that is why he loved it.
What is a number 17 carving tool?
Nearly a V tool. A V tool is two chisels with a tiny gouge at the bottom, and on a number 17 that gouge part is bigger, so its cut is softer. Mine is Swiss, six millimeters, and a smaller one at three.
Can you use a drill instead of a plug cut?
It works. I would rather not go looking for the drill and changing bits when a number 9 is already in my hand, so I stand it at ninety degrees to the surface and turn it.
What to carve next