

Alexander Grabovetskiy, woodcarver, School of Woodcarving · Published 2022
Which way should carved petals overlap?
Quick answer: In this class the five parts of the flower's middle overlap in the same direction, one after the next, just like the real flower when it unfolds. For the outer petals I say it all depends, and that they can alternate. Both ways work.
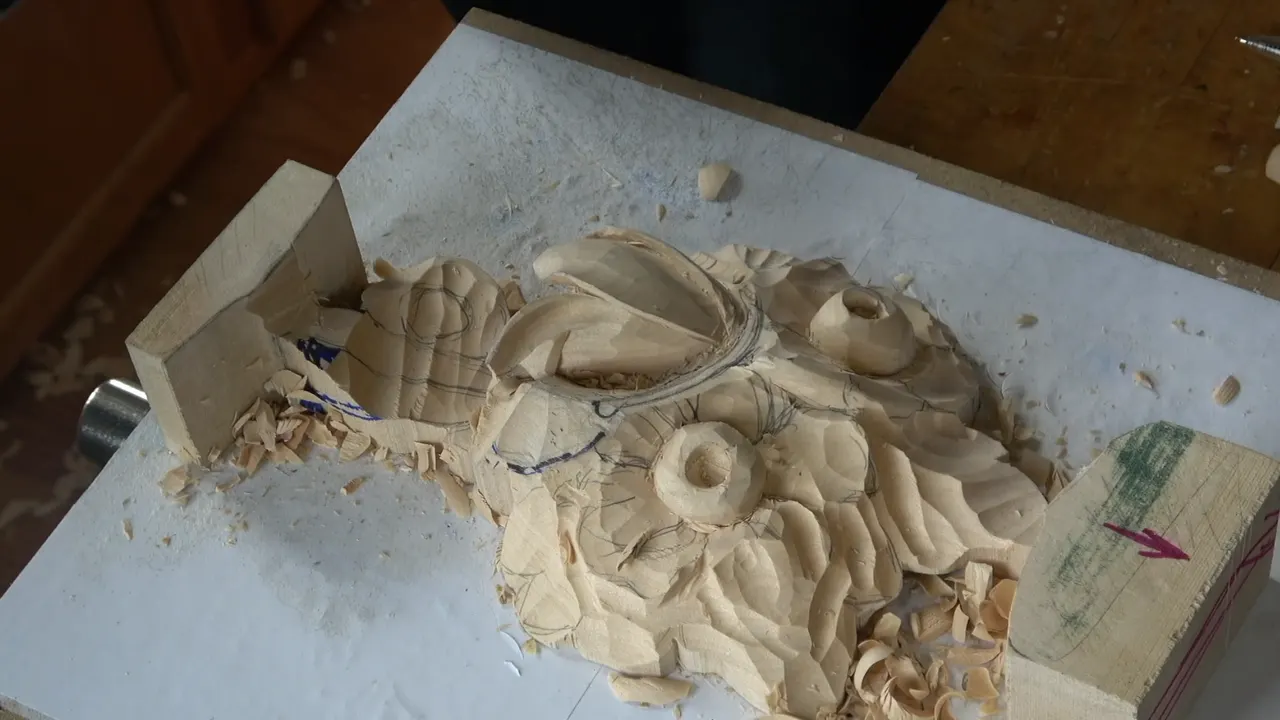
On the middle of this flower, the five parts overlap the same way round. One slips beneath its neighbour, that one slips beneath the next, and the run holds that handedness the whole way round, just as a real flower unfolds. With the outer petals, though, I can switch it, one over and the next one under.
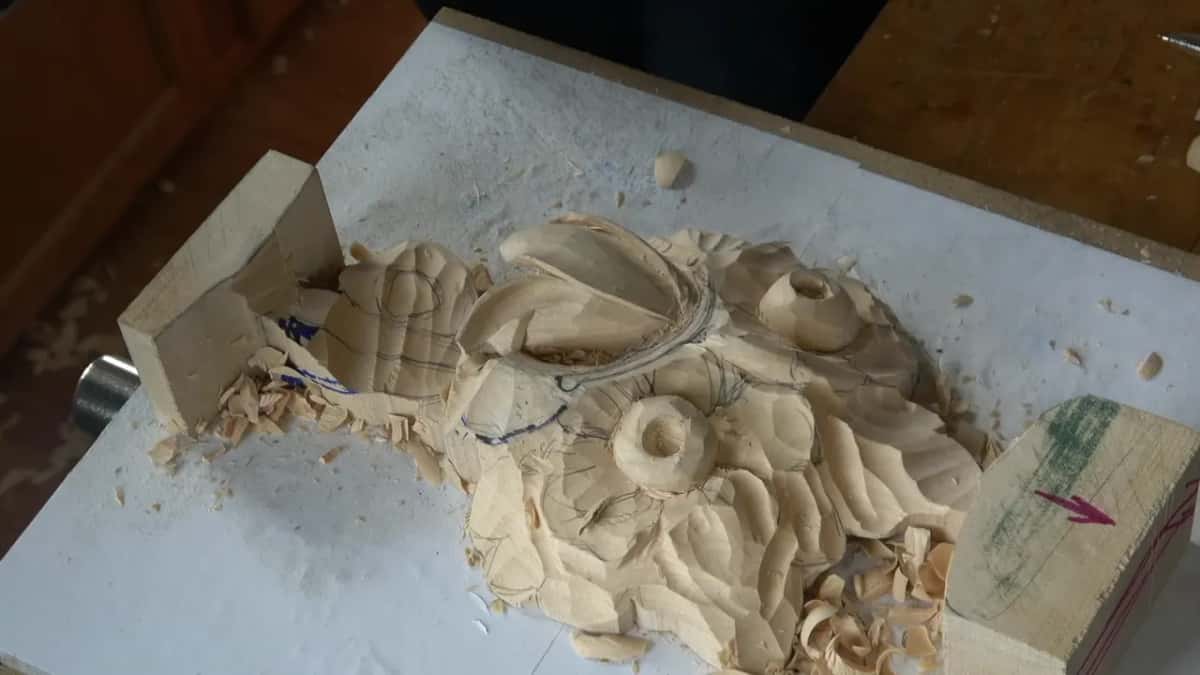
Ever carved five good petals and ended up with something that still looked stiff? In this class I keep coming back to one word, motion, and the overlaps are only one part of it.
Class eight in Maine is where this came up. We had two flower centres to hollow, a set of petals to draw on each, and I asked the room if one petal could lay on top of the next. My answer, in this case, was that it all depends.
By the end of this page you will know the direction the overlaps run, why the middle of a carved flower gets hollowed before any petal is carved, and what a flower bud does as it unfolds, since this flower's middle copies it.
The sequence in seven lines
- Overlaps on the middle run one way round. The outer petals can alternate.
- The hollow at the centre comes first, before the petals are carved.
- Leaning, never upright.
- A petal waves along its length and bulges across its width, with its rim standing up and two sets of hollows crossing each other to make that happen.
- The centre repeats the shape of the outer petals.
- Exactly one petal turns over backwards.
- Then a stem crosses over the top, and one petal has to go under it.
Which way do the overlaps run?
All one way in the centre here, like a real flower unfolding. Part to part, each tucking beneath the one before it, the whole run turning the same way round. Later on, I say, it has to unfold.
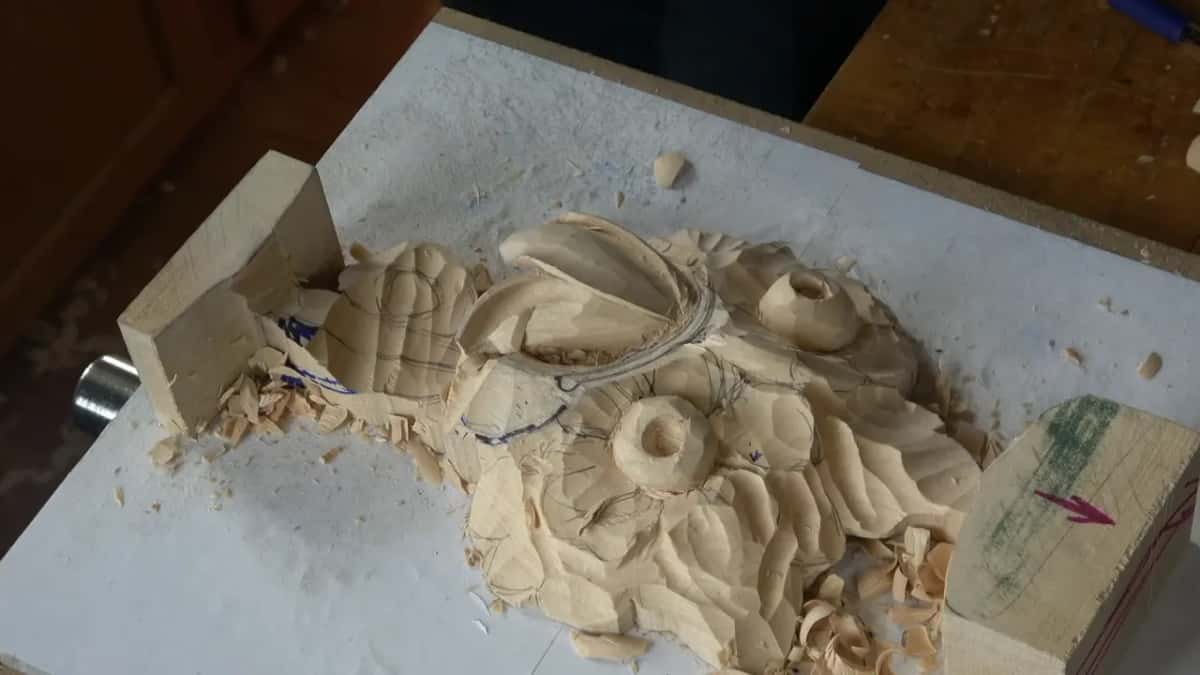
Botany has a word for this. Aestivation describes how petals lie against each other inside a bud, and the arrangement where each one laps the next in a consistent direction carries its own name, and so do the mixed ones.
Can you alternate them instead?
You can. Working the outer petals in this class, I tell the room I can alternate the way they do. On another flower, the Venetian flowers rosette, I did not want them all going the same direction, because it was not going to look as nice. Here, on this middle, I wanted the look of a flower unfolding, so they all go one way.
For the first flower I settled one of them while drawing. That petal goes right underneath its neighbour, and I marked it that way right away. Another petal there could actually roll back, I said, though you probably would not see it.
Nature does both. Growth that spirals, which covers most of what plants get up to, has a handedness, and still plenty of flowers lap their petals in a mixed order.
How does the overlap get carved?
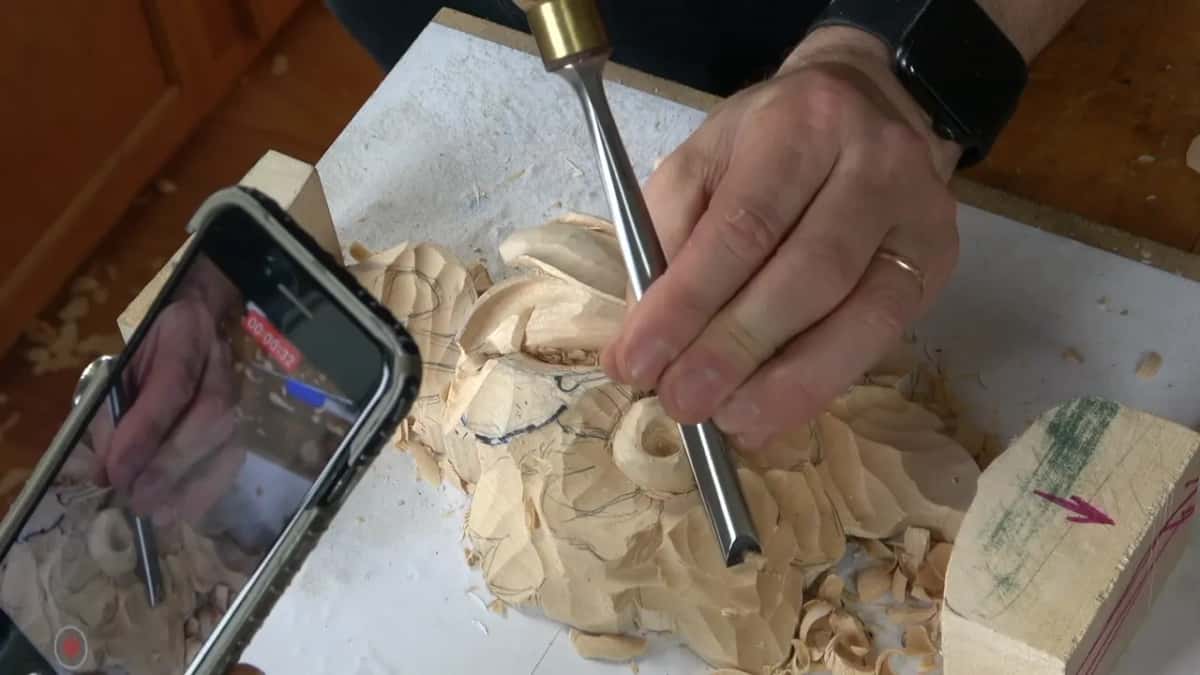
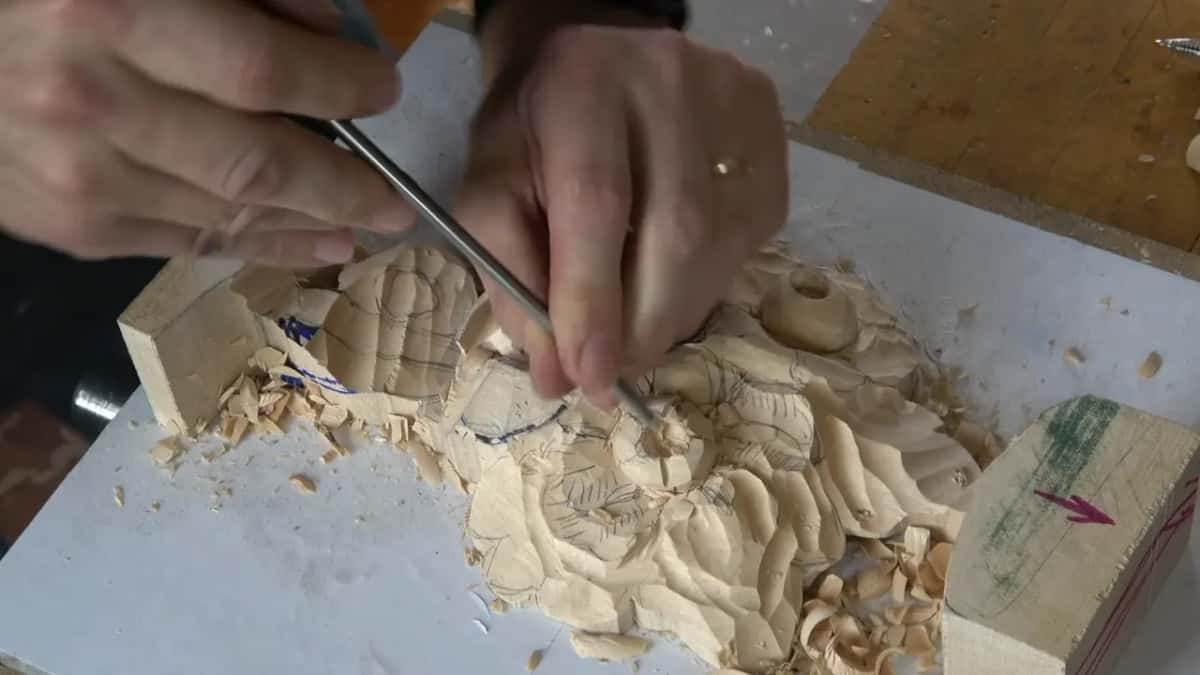
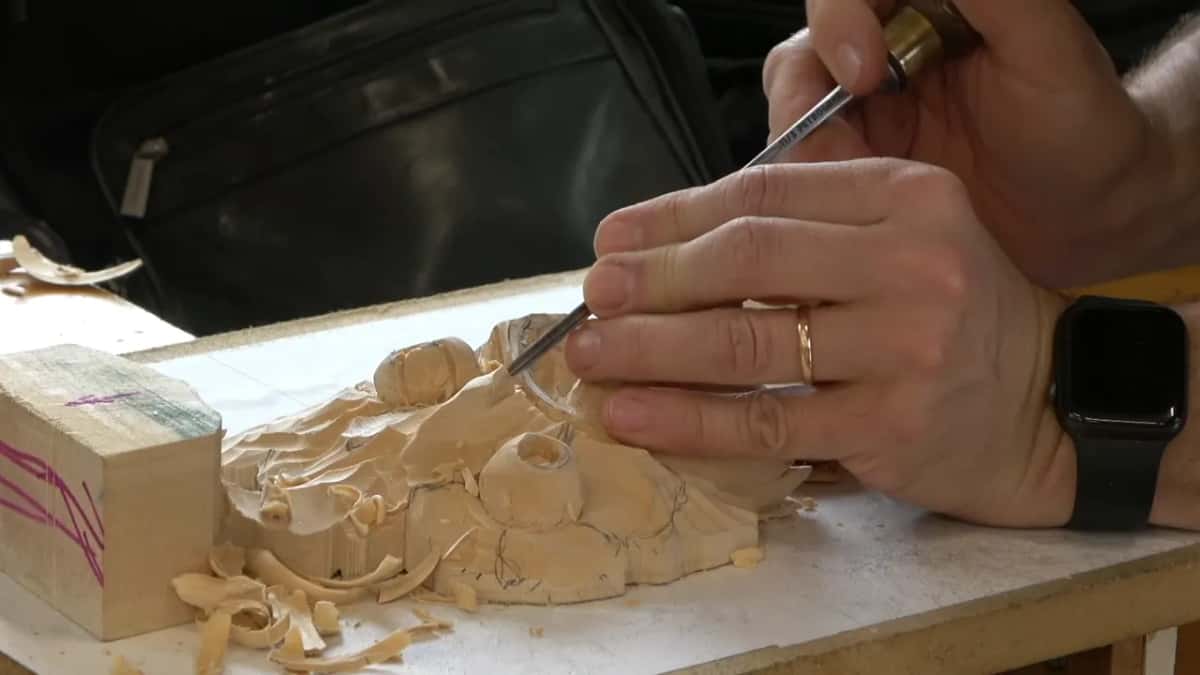
With a number 11 at 3 mm, taken as a preliminary pass along the line where two petals meet. Accuracy is not the point yet. That pass says which one is on top, and everything afterwards works to the decision.
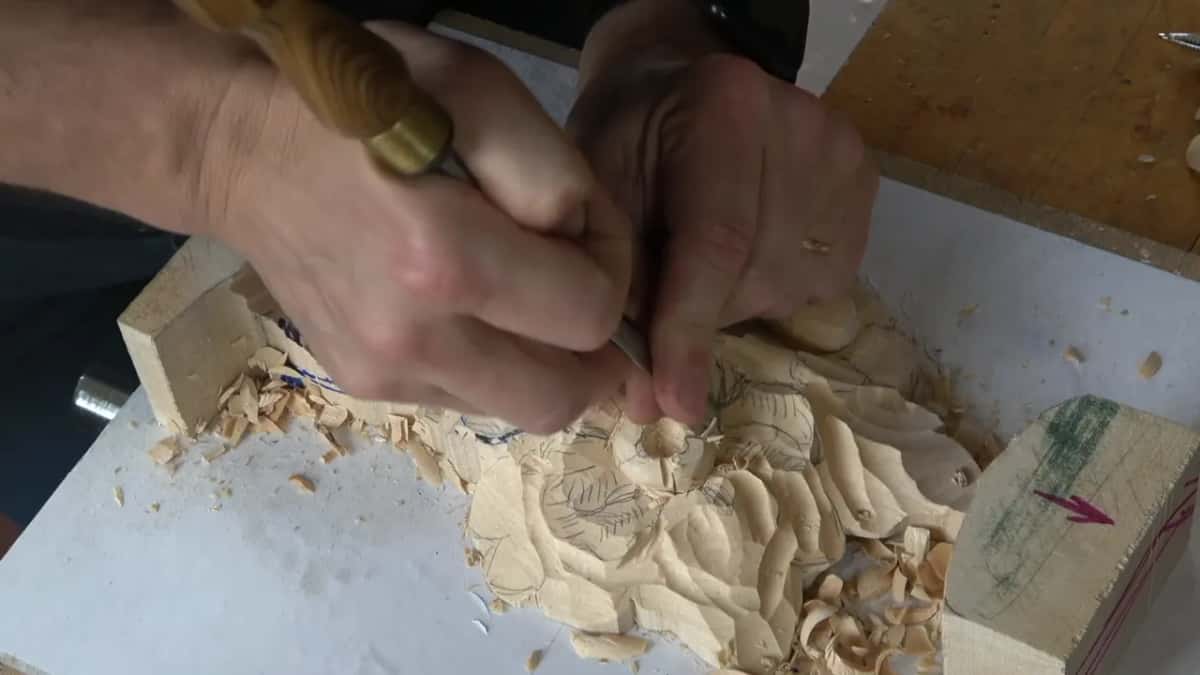
Then the number 2 goes over it, upside down, blending the higher petal down onto the lower, and the next one goes like that, and so on round. To make it feel like it is overlapping, though, I take a 1 mm number 11 and excavate right underneath the edge.
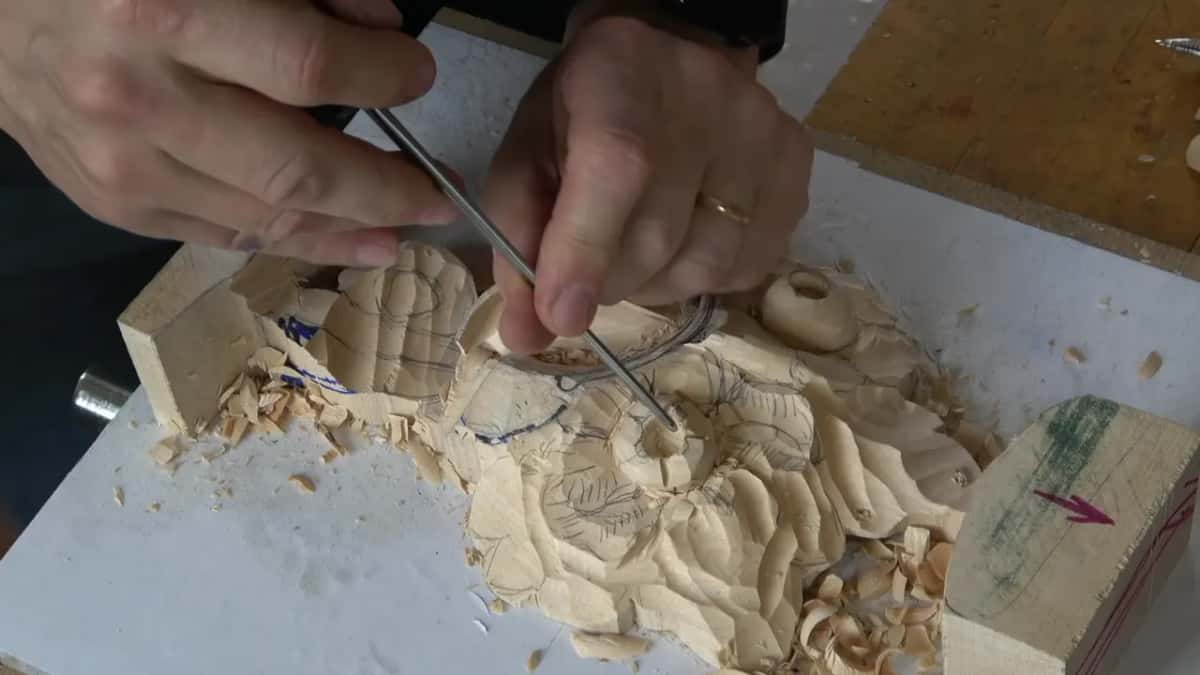
How accurate does that first pass need to be?
Hardly at all. Of the preliminary cuts I say you don't have to be really accurate. Earlier, rounding the middle, I go further and say that if it is not perfect it is going to be better.

Redrawing is free. There is plenty of material standing at this stage, so a pencil line that turns out wrong gets rubbed off and moved, and nothing is lost except graphite. What is not free is depth. Wood you have already removed does not come back, which is why I redraw as often as I like but don't overdo the depth of the relief.
Anybody stuck at this point in the room was told to come over and ask. Later I stopped them for a second to show what the second flower needs right away, before anyone made the mistake. When nobody is at your shoulder, there is the technique material.
Why can a petal not be a plain arc?
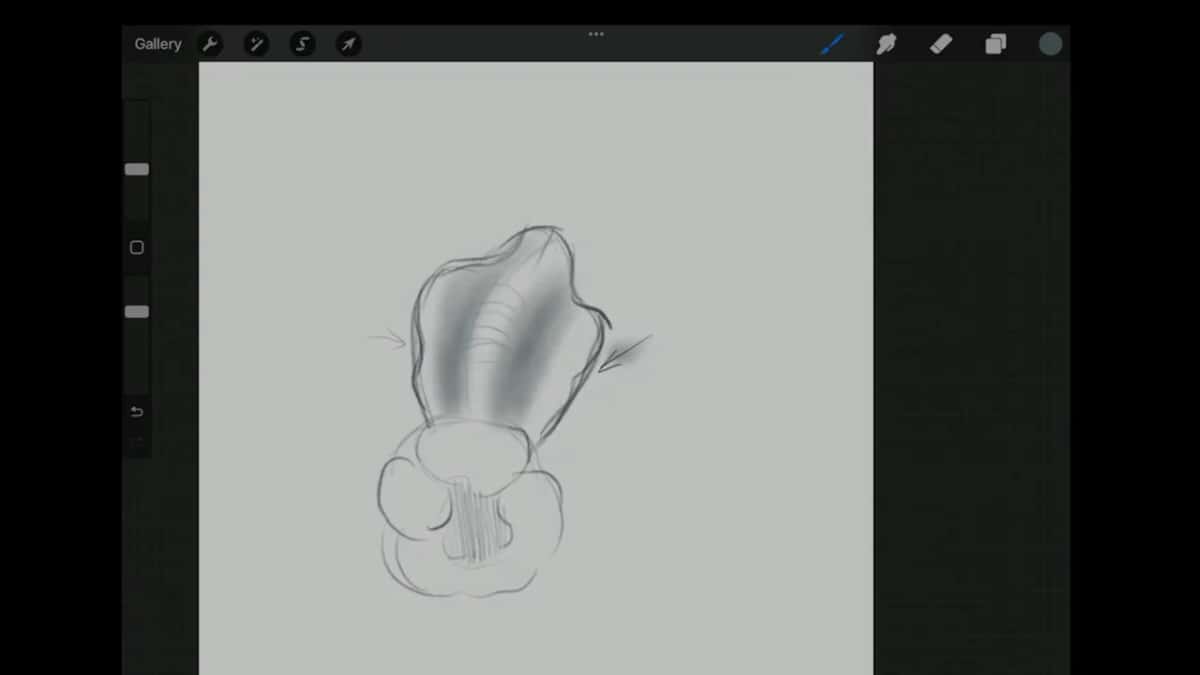
An arc is what a child draws, and I say that in the room without much diplomacy. A carved petal wants waviness along its length. Its centre line should never run dead straight, and the whole shape wants to feel like it is travelling somewhere rather than sitting still.

Where the wave turns matters too. Put the turn near the sixty forty mark, close enough to the golden ratio to be the same instinct, and the petal settles. Five of them, and no two need to match. More on how I plan a design like this is in the design course.
I also drew a centre line through one petal on the screen. You will not see that line on the carving, since it only shows the overall movement. When I carve, the first concave goes right along it, with the same number 9 I used for the plug. The line is going to disappear, but I really want to exaggerate that motion.
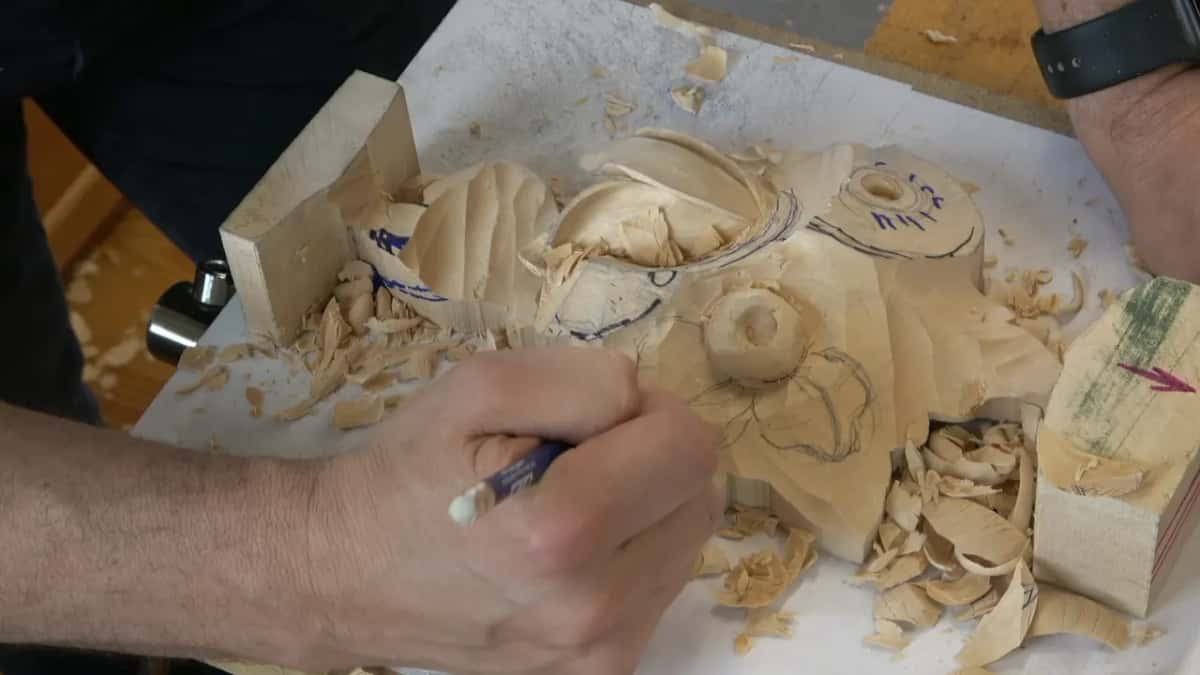
What shape is a petal across its width?
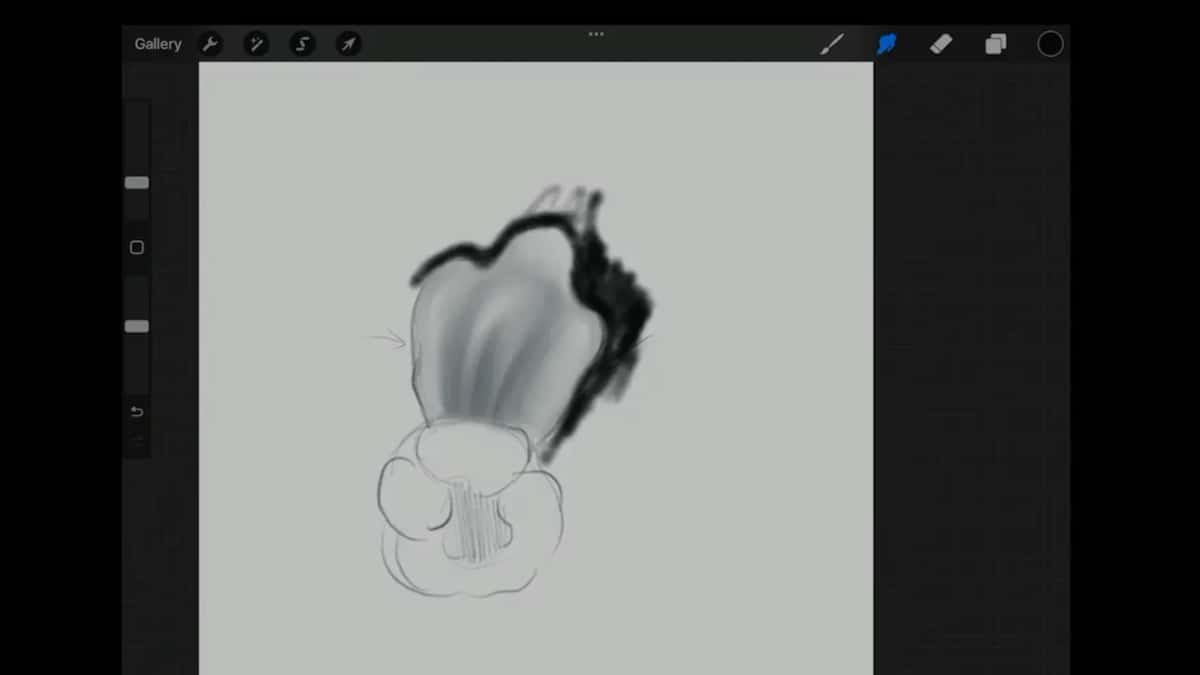
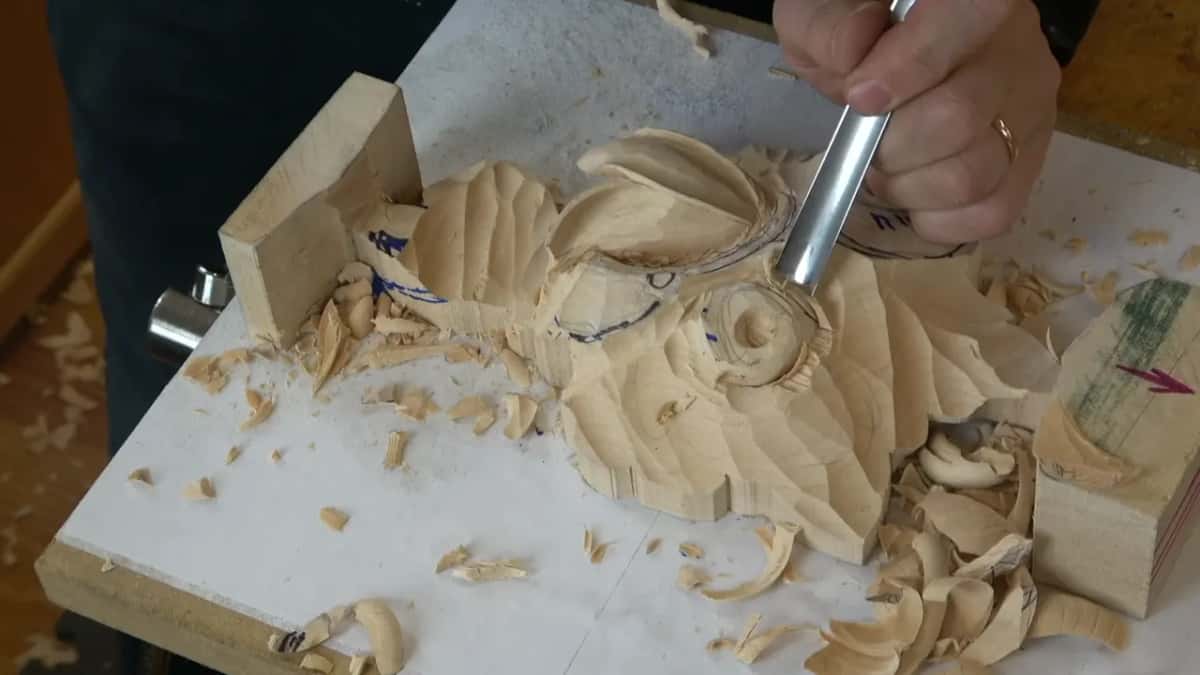
Bulged along the spine with its rim standing up, and you get there by hollowing on either side rather than by carving a hump. Two concaves, run right out to the edge, leave a raised ridge between them.
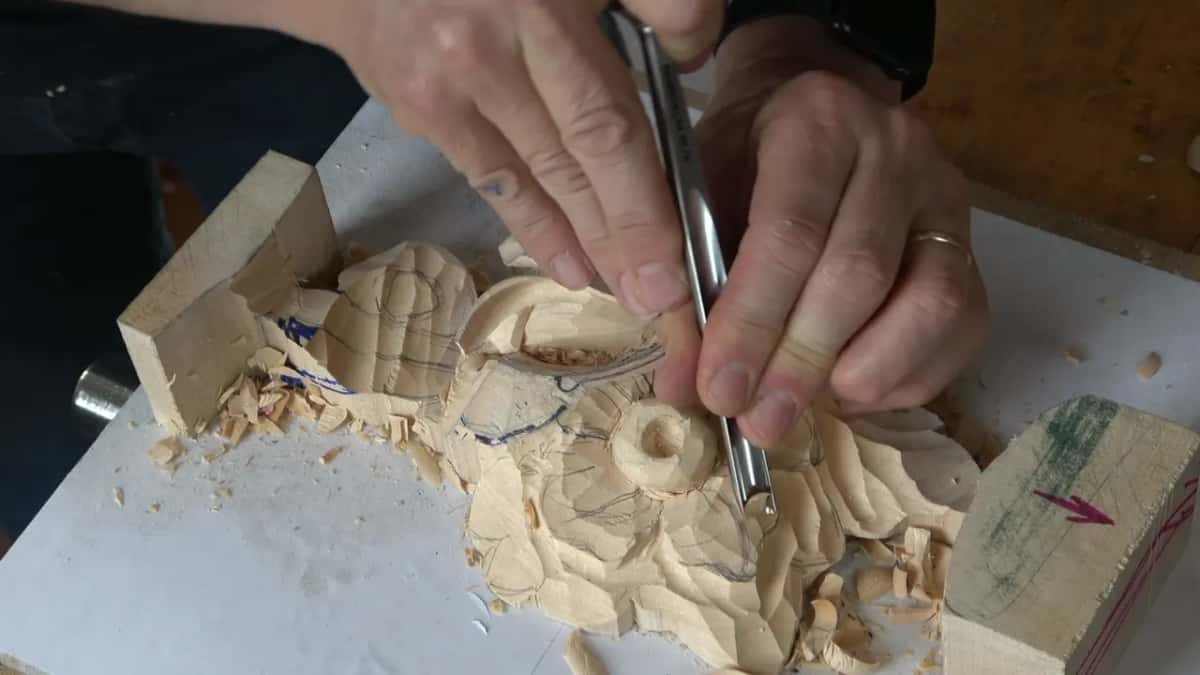
Then a second pair crosses the first. Those run perpendicular to the originals, one near the rim and one closer to the spine.
Every one of the outer petals gets that. In the last part of the class I count them off out loud, concave, concave, another concave and one more, four with the inside one included. Later on, once they blend, I add extra ones.
Reach for a bigger tool for the second pass. A three quarter inch gouge makes it a lot easier to blend later than a narrow one would, and a number 2 afterwards takes the facets off.
Does the middle match the outer petals?
More or less. I take the narrow 3 mm eleven upside down and give the middle a really wavy look, and what I am after is approximately the same shape I see on the outside.
How does the centre of the flower start?
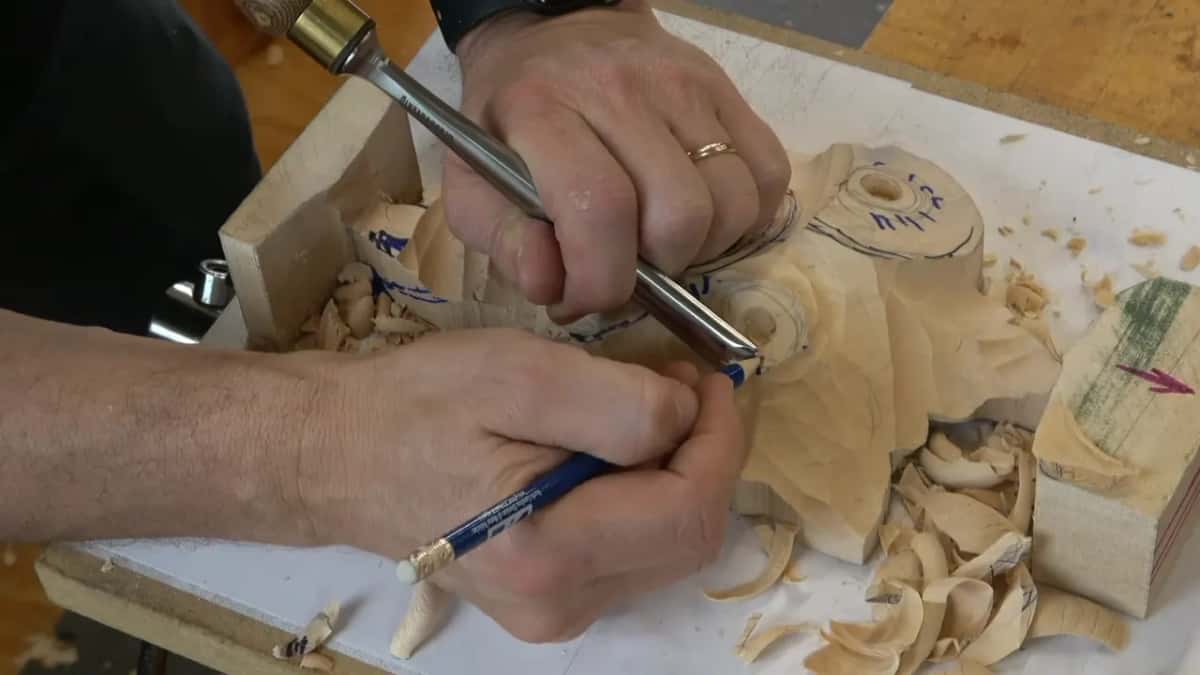
With a plug cut, and it goes in leaning rather than upright. Set a number 9 at 10 mm roughly perpendicular to the direction the flower is travelling, work it in about a quarter of an inch, and lift the plug out.

Please do not drive it straight down. Look at how it slopes, because the sloping is really important, and going much past a quarter inch is not necessarily going to make it easier.
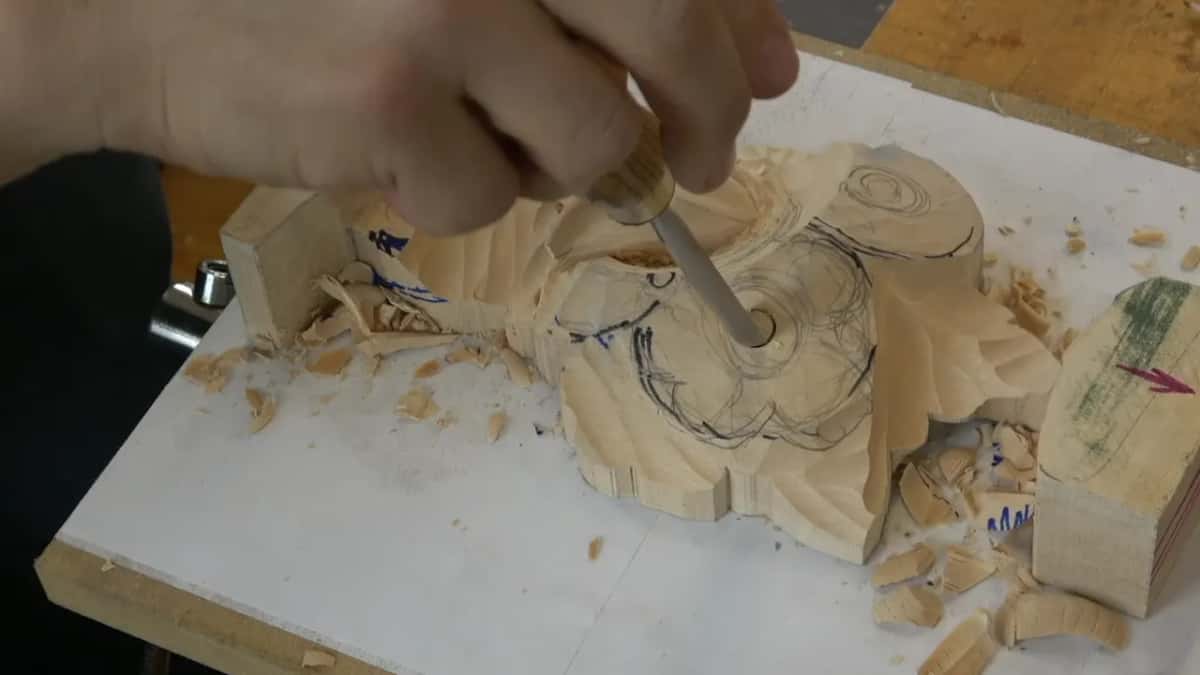

A relief cut goes round the outside next, and everything past it drops. Three eighths of an inch under the neighbouring work, deeper where a second bloom sits behind. Remember the dome underneath while you do that, since on a panel built from two glued layers, going too deep can leave you a hole, and that is a problem.
All of this comes before the petals for one reason. What I am after is exposing that part first. I have absolutely no problem redrawing the movement of the petals later, but the first step is to create that roundness.

Is the centre itself divided?
Into five, the same idea as five petals going together. The middle of the bloom carries its own set of sections, each one bulged along its spine, each one hollowed either side of that.
I start that division with the same number 11 at 3 mm from the outer petals. Preliminary cuts go in toward the middle, all the way round. The five parts need not be perfect. Their edges should have some waviness, though.

Inside the bulge goes one more hollow, slight, right down the centre. I blend it in slightly, and that is what creates the feel of motion.
What do you even call that middle part?
I am no help here. I called it an onion in that class, then said it was not an onion, because it does not sound good. I tried the centre of the flower, then said donut is all right, but it is not a donut.
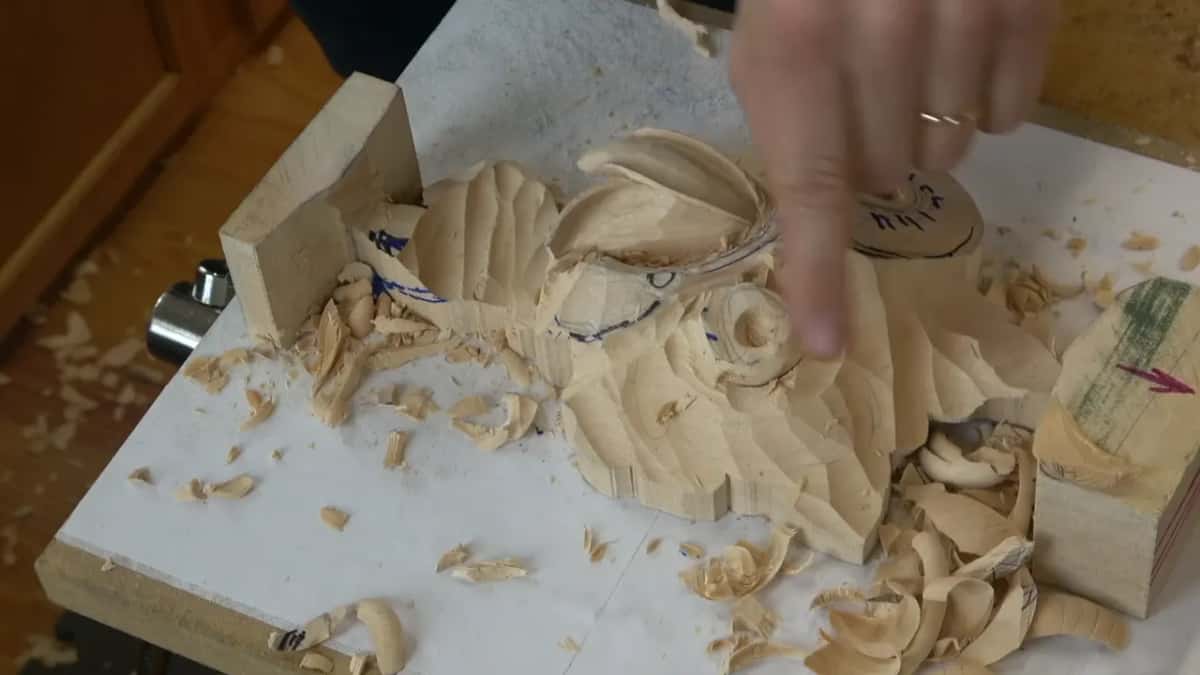
Naming matters less than the warning attached to it. A donut is flat. This must not be. I told the room I knew they all loved donuts and that a carved flower was not the place to express it.
Which tool rounds it?
A number 7, held upside down and presented at about forty five degrees to the wood. Not ninety degrees. That angle gives a much cleaner result.
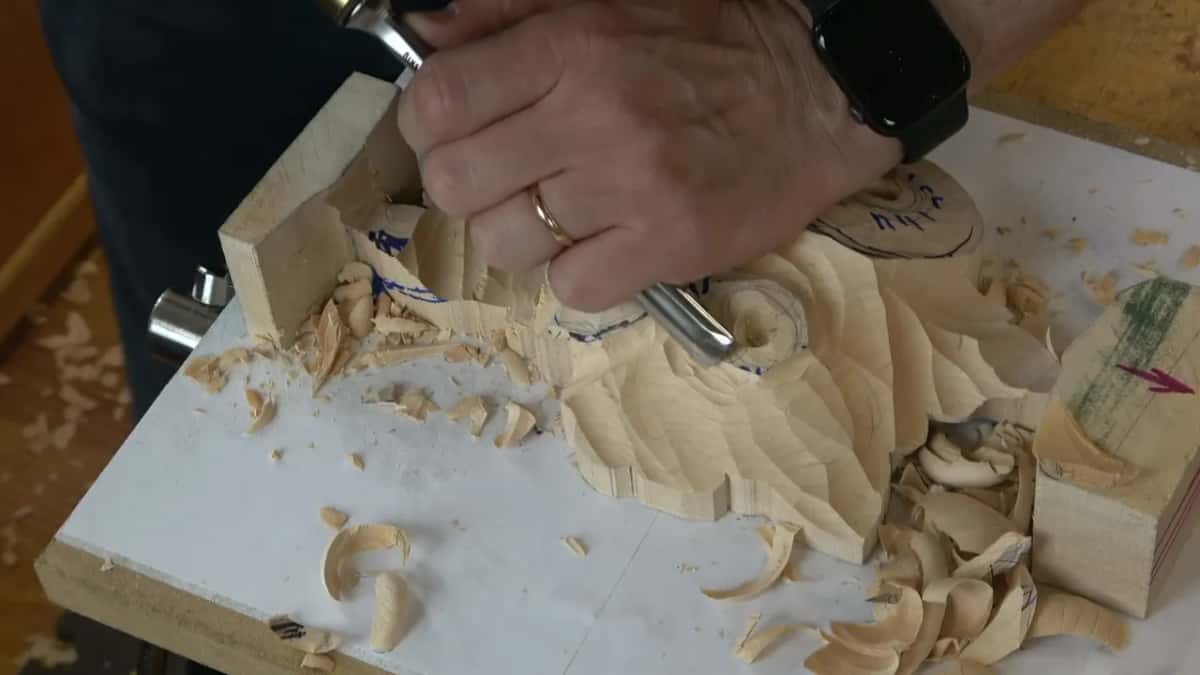
Short passes. An inch at most, less by the end, pass after pass round the shape until it turns. Near a stem, relieve first with a smaller number 11 and make a channel cut there before committing. That way is a lot safer. Before I redraw the petals, I also undercut a little underneath the centre.
| Stage | Tool | Trap |
|---|---|---|
| Hollowing the centre | The 10 mm nine, leaning | Driving it straight down instead of letting it slope |
| Rounding | A seven, inverted | Leaving it flat, so the surface looks like a donut |
| Saying which petal is on top | The narrow eleven | Fussing over accuracy on a first pass that can be rough |
| Making one petal tuck under | A 1 mm veiner | Going too deep with a dome sitting underneath |
| Rolling one petal backwards | The 14 mm seven | Rolling more than one, when this flower needs just one |
And the petal that turns over?
One of them turns over, and one only, since I don't need lots of those movements on this flower. I take a number 7 at 14 mm and roll the edge backwards until it flips on itself, then excavate right underneath that rolling motion with a number 9.

Where it meets its neighbour I want a sharp line and nothing softer. The two shapes connect there. A narrow blade exaggerates the turn afterwards, and some wood comes off the top, since it is still the same petal and has to repeat the waviness.
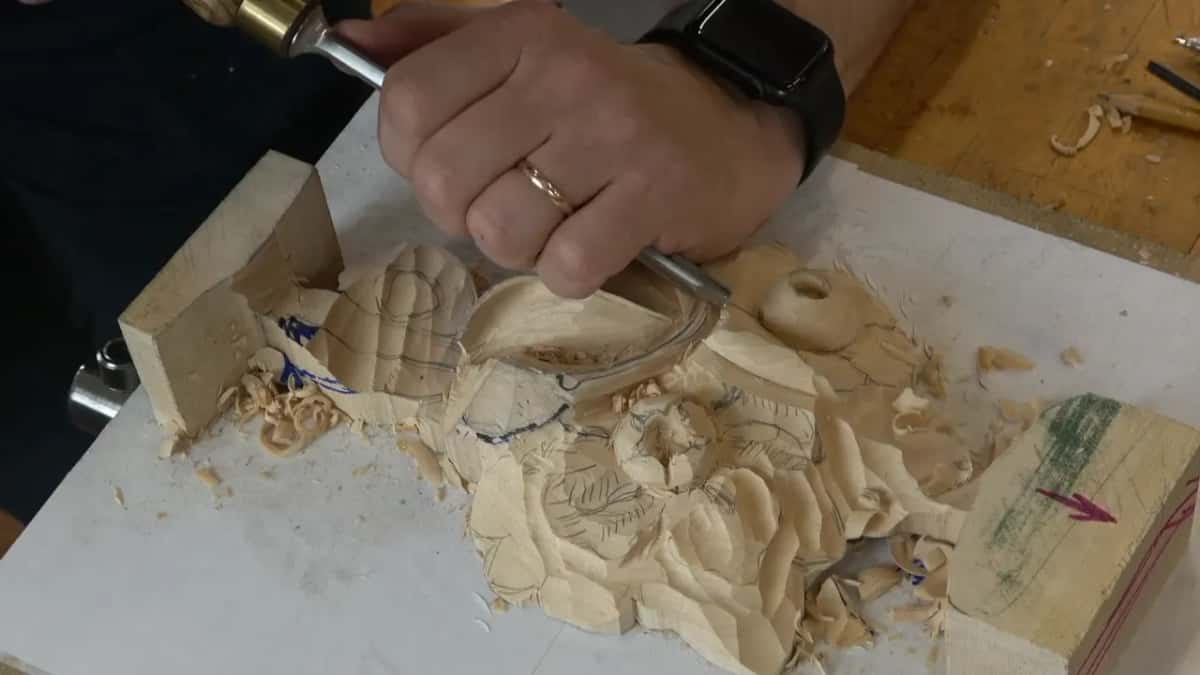
That single move changes the group. Before it, the petals all sit straight. After it, there is motion, and in my own words at the bench, it does not look like a chicken any more.

Where does the stem come in?
Over the top of the flower. One petal has to go right underneath the stem, and I remind the room of it more than once in this class.

The stem runs in from the left, across, and down to the blooms hanging below it. Carve round it with the nine, or the 3 mm eleven. The design itself went onto the plastic sheet from the first class.
The second flower sits lower than the first, and it gets dropped to a quarter inch before any of its own petals are carved, since the other flowers are going to be higher. You will find more flower carving in the Hashemi flowers course.
Bigger tools save time, and that is why I take one to drop the ground beside a bloom. I even say I could probably use bigger tools still. In a later class I go really carefully because of the grain direction.
None of this is particular to lime. Overlapping petals turn up all through ornamental carving, and I pick the direction flower by flower.
Is one flower worth this much sequence?
There are several on this panel, with a couple more hanging down from the stem. I did the second centre right after the first, the same way, and asked the room to do both. Flowers like these fill the work of Gibbons.
His own work is in the Victoria and Albert Museum if you want to check me on any of this. Find a bloom, look at it from the side, and follow the overlaps round. See which way he took them.
A couple of passes in and they already look like flowers, and I told the room to take a look. The wood is basswood.
The rest of this sits behind the tuition page, with the whole Maine course, the Venetian rosette and the flower rosette course, each with more flowers to carve. Sharpening has its own course, and the tools course covers what actually needs buying. Beginners do better starting on the cutting board.
How it's done
- Sink the centre before redrawing petals. A leaning plug cut with the 10 mm nine, about a quarter inch down. Not straight down, please, since the slope matters.
- Open the ground round the bloom. A relief cut outside the middle, then everything past it drops three eighths of an inch. Lower still where a second flower sits behind.
- Round it at about 45 degrees. A seven held inverted, short passes of an inch or less. Take it round all the way to the relief cut, full 3D, never a flat donut.
- Draw five wavy petals. Keep the centre lines from running straight, let the five differ, and put the turn of each wave near the sixty forty mark. You can always redraw.
- Set the overlaps. The narrow eleven makes a rough first pass where two meet. In the middle every part laps the same way, like a flower unfolding, while on the outer petals it all depends.
- Turn exactly one petal backwards. The 14 mm seven rolls the edge over, then the nine hollows underneath. Sharp line where it meets its neighbour, never a soft one.
Frequently asked questions
How deep should the middle of a carved flower go?
A quarter inch or so on this panel, taken with a leaning plug cut. Going further is not necessarily going to make it easier, so don't overdo it, particularly when the carving sits on two glued layers with a dome underneath it.
Do all five petals have to match?
No. I counted out all five on this flower and said they don't have to be the same, since the waviness is what gives them a more beautiful look.
Why is the centre of a carved flower never flat?
A flat one looks like a donut, and I do not want to see a donut there. It has to be fully three dimensional, rounded the whole way out to the relief cut.
What to carve next