

Alexander Grabovetskiy, woodcarver, School of Woodcarving · Published 2023
How do you carve a small flower that opens like an eye?
Quick answer: An eye-shaped opening is the pointed hole in the middle of a tiny layered flower, about 10 mm (3/8 in) point to point. A V tool sets it from two sides, a micro gouge drills a dark plug inside, and up to eight petals overlap around it in one direction.
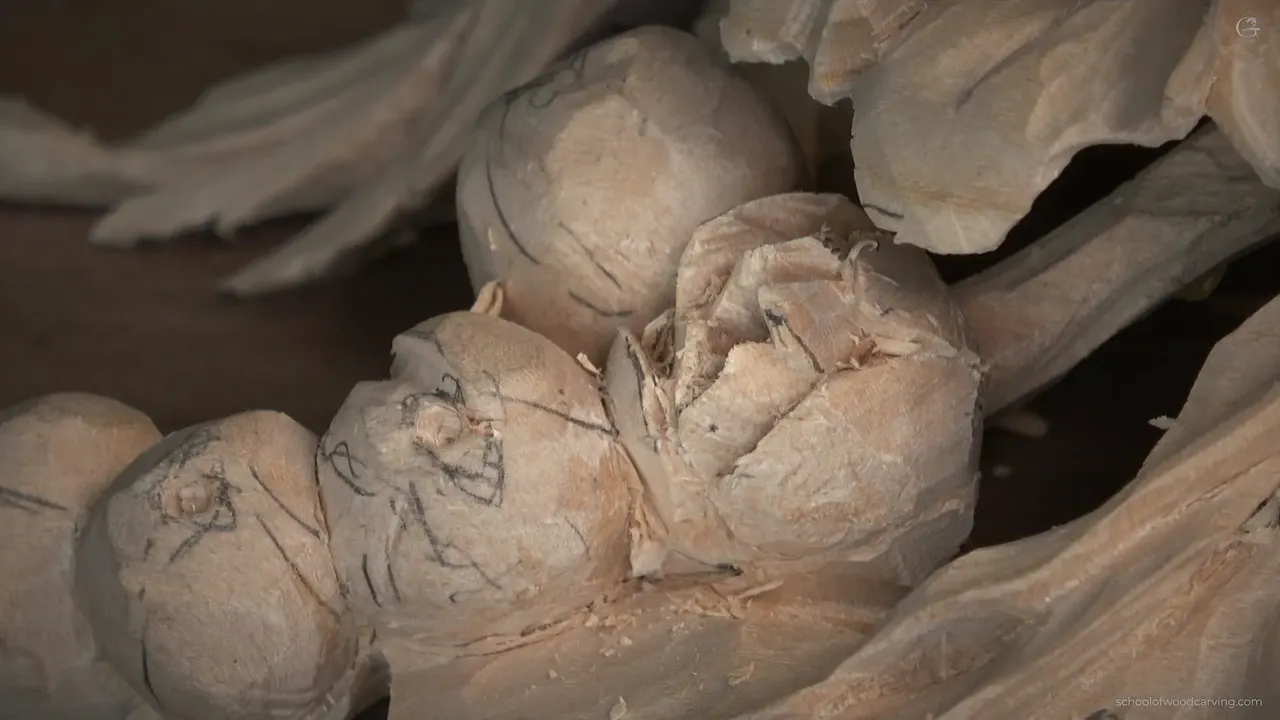
Eye-shaped openings are what turn the round buds on this Gibbons panel into small layered flowers. The opening sits in the middle of each bud, pointed at both ends like a human eye. Petals wrap around it, each one tucked under the next, and the darkest spot of the whole flower is right inside.

Have you ever carved a tiny bud and watched it turn into a round ball with a few lines on it? Did the petals come out all the same size, all pointing one way? On these small ones the whole trick is the opening in the middle, and which petal goes under which.
In class 18 of the Maine course the panel is almost done. What is left is these small flowers, and I carve one of them on camera so you can follow along. They are simple flowers, but small tiny things like them add up, and they look great.
What each small flower needs
- An opening shaped like an eye.
- A number 16 V tool opens it, and a micro gouge of 1.5 mm (1/16 in) drills a plug inside it for the dark spot.
- Up to eight petals, all overlapping one way.
- A skew hides each one.
- The deepest spots take a micro knife, or a micro gouge worked slowly.
- Waves along every edge, and a small bulge in the middle of every petal.
How big is the eye-shaped opening?
About 10 mm point to point, three eighths of an inch. I draw it first, right on the bud, so you can see what I mean. It looks almost like roses, but it is not a rose. There are still multiple layers of petals, and the opening in the middle looks like a human eye.
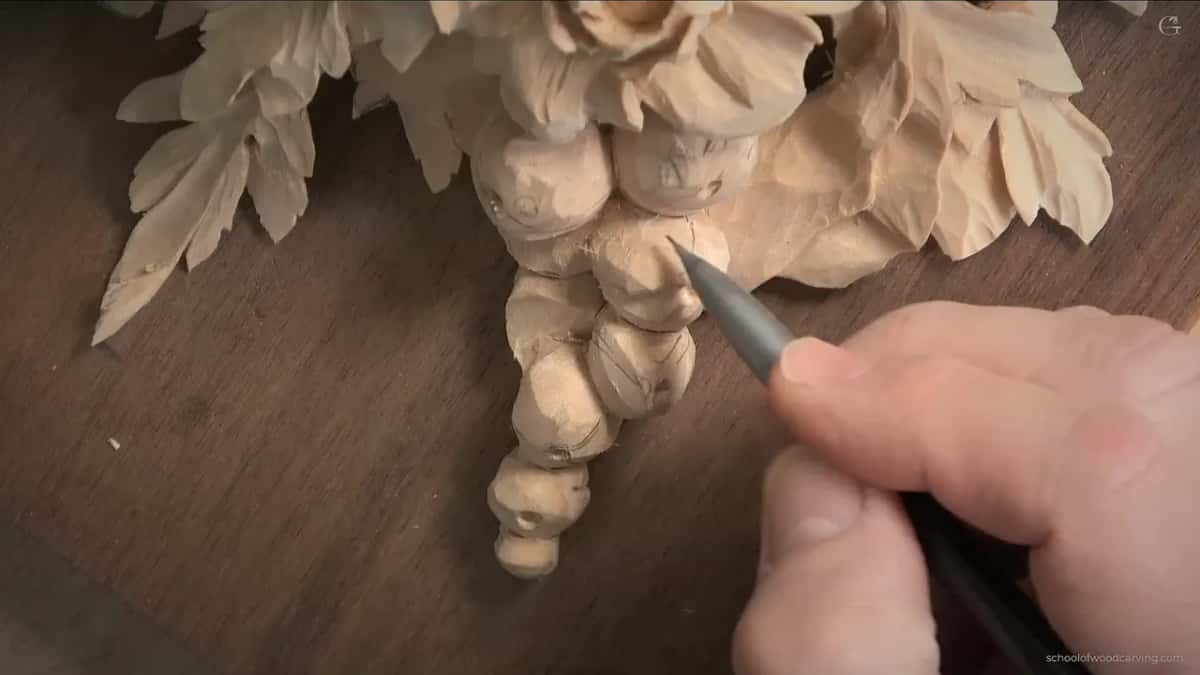
They don't all face one way. Each one turns a little differently, because I don't want them to look the same. At the school in Maine we pre-established the directions of the middle parts.
Which tool opens the eye?
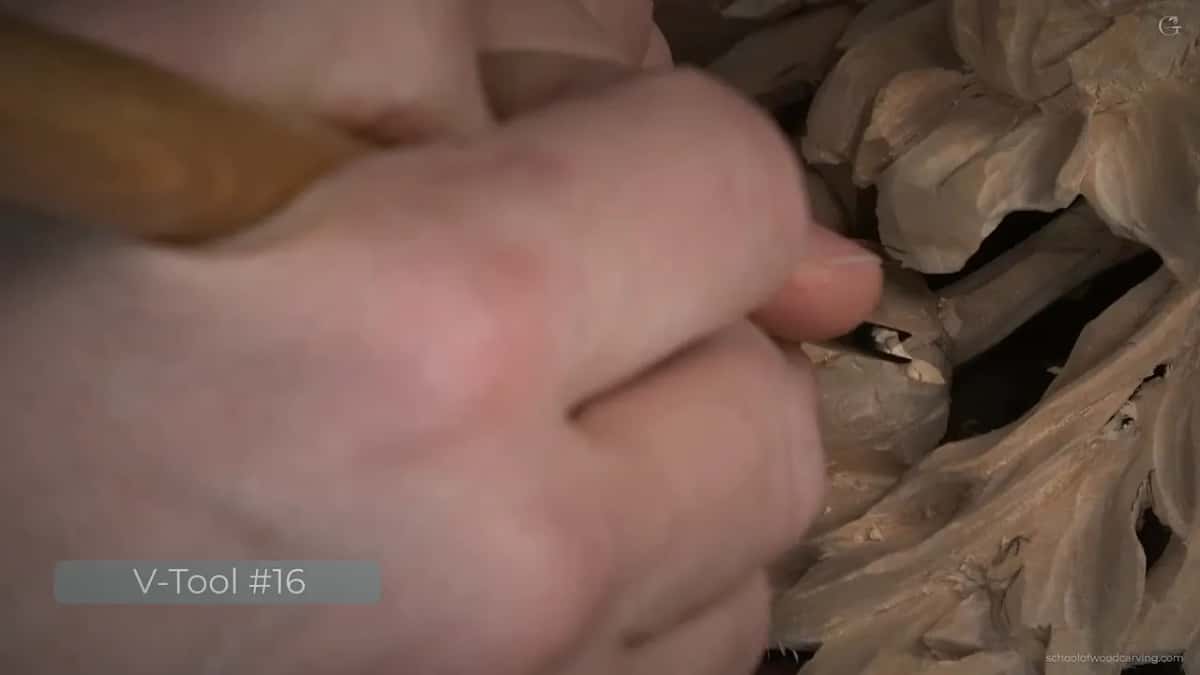
My number 16 V tool, at 35 degrees, if I can find it. My bench got a little messy lately. I like to keep only a few tools on my workbench, but it's all right.
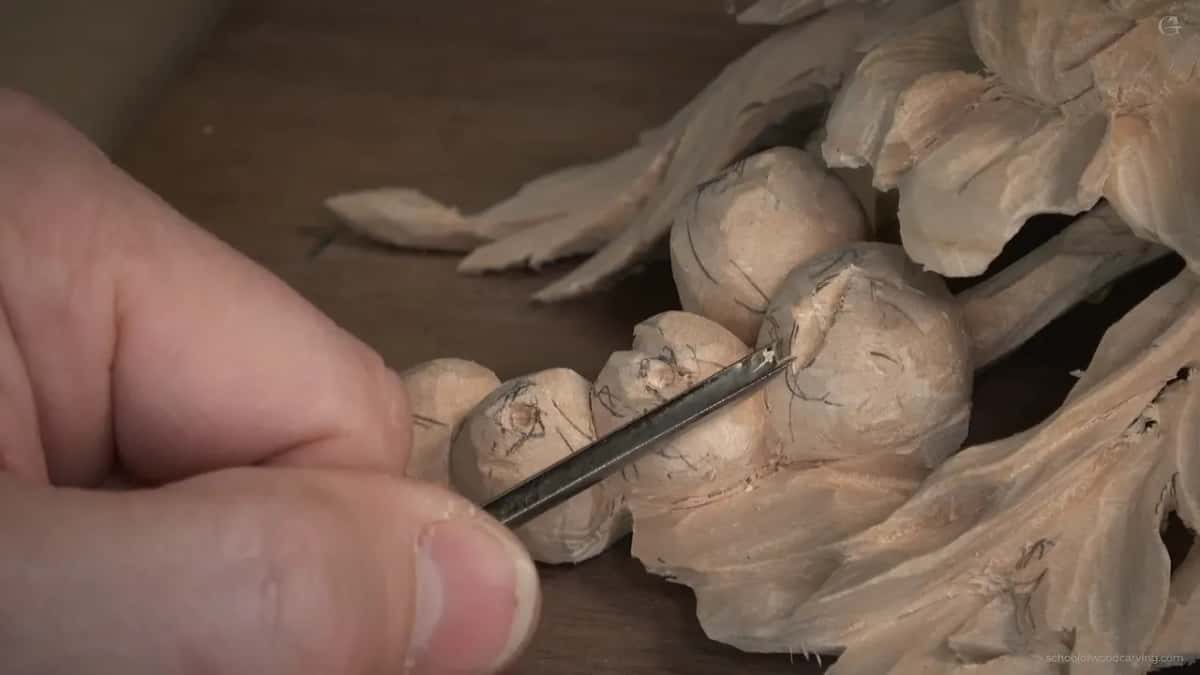
With the 16 I pre-establish the opening and attack it from two sides. Get the idea of this one and you will get all of them, on a smaller scale. The smaller ones just get a lot fewer petals.
What goes inside the opening first?
A plug cut, for the dark spot. I grab a number 9, a number 8 in my case, about a sixteenth of an inch, a millimeter and a half. Mine is a Dockyard. Not necessarily the best brand, but I like their micro tools. They look cheap, and they are not that expensive, but the steel is really good. It holds the edge.
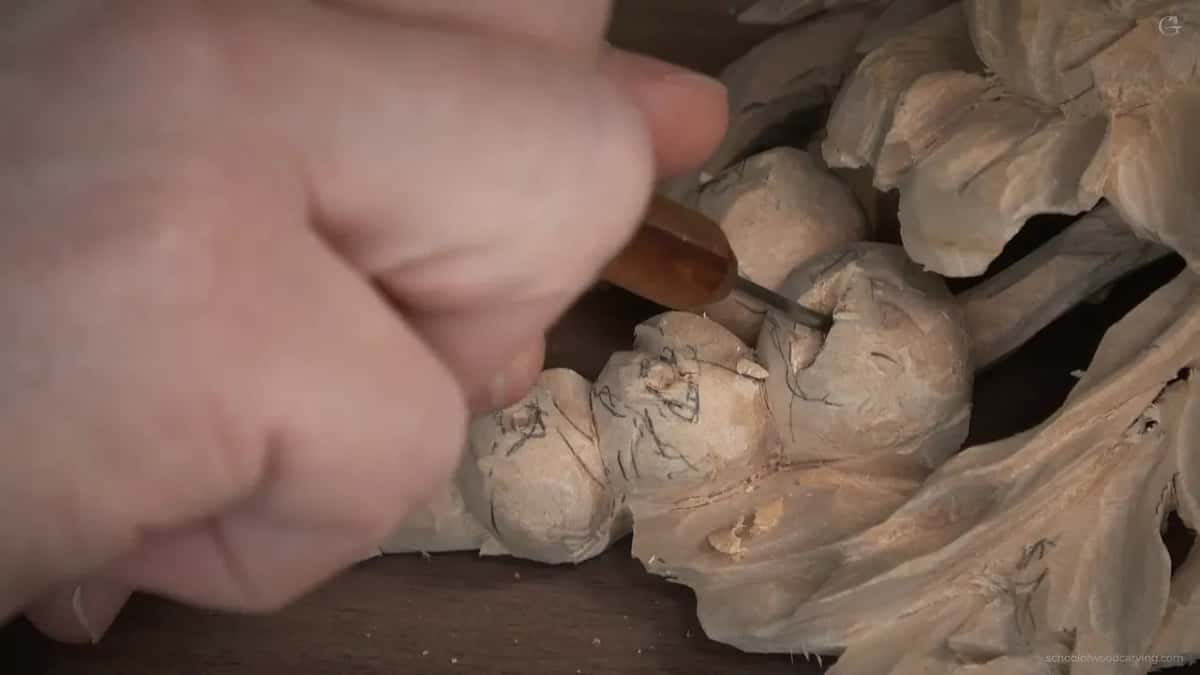
Then I excavate inside, pretty much like drilling. Not too deep, but I am after a really dark spot. I don't go to the edges yet, just a little, to make it darker. What I am after is a human eye shape, and around it a really beautiful overlapping motion.
Where does the first petal start?
At the center, and in your head before the tool. You really have to think about where the center of that small flower is. Mine was somewhere right there, which means the cut has to be brought to that center. It's got to start somewhere, and that's the logic behind it.
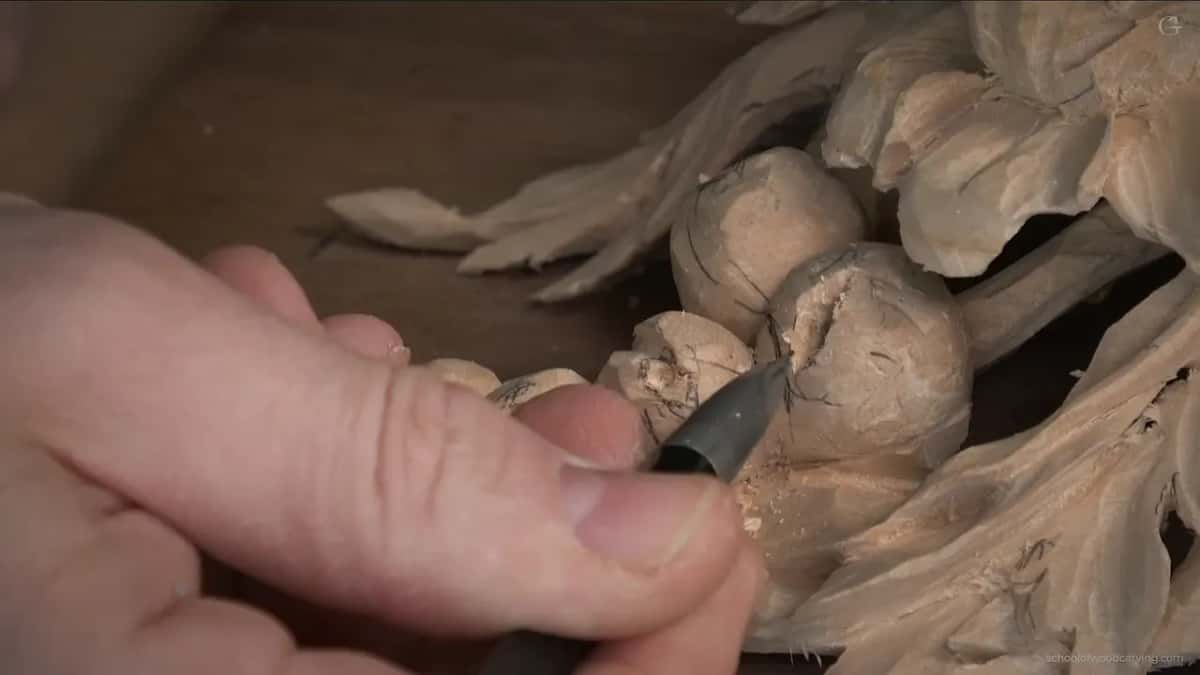
Don't worry about cleaning up yet. That is only the preliminary cut, and I open it up so much because of the flowers I already carved. Look at them and you will see spots where a petal goes to the outside, and this is exactly the same idea on a smaller scale. It is hard to see on camera, I know. I zoomed in as far as the camera goes, and as long as you get the idea, it should not be a problem.
How many petals does a small flower get?
Eight on this one. I had four, and because of the Fibonacci sequence I went to eight in total. All of them overlap in exactly one direction, which means each petal goes right underneath the next small one.
On one side I kept it simpler. Too complex a layering there would be too much, I guess. How a carved flower gets its number of petals is a whole lesson in the Hashemi flowers course.
Does it have to be the 16?
A number 11 will do it as well. I just find that the 16 at 35 degrees expedites the job, and for me it is much quicker.
Which skew tucks a petal under?
A quarter inch skew, number 2 on the London pattern. Mine is an Ashley Iles, and they follow the London pattern, so in England it is a number 2. With European brands like Pfeil, it would be a number 1. I could have used a smaller one here, but that's all right. Why I like one maker and still reach for the other is in the tools course.
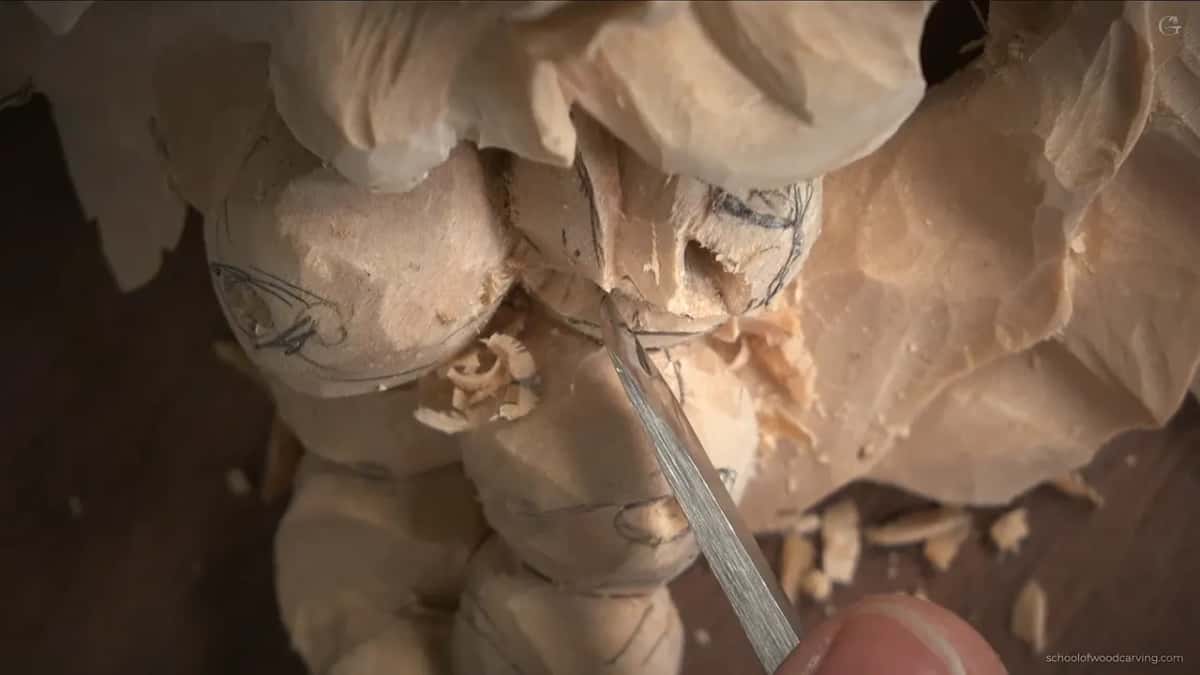
With the skew I blend the petal right underneath its neighbor and remove the little triangle that is left, because it just does not look good. The space that stays turns into a dark spot, a shadow line, and I excavate it later.
What reaches the deepest dark spots?
A really nice micro knife, if you have one. I have a knife by Drake. I think it is one of the best knives, a beautiful little tool with pretty details. Production is limited, though. You have to wait a couple of months before you can place an order, and then you get your knife.
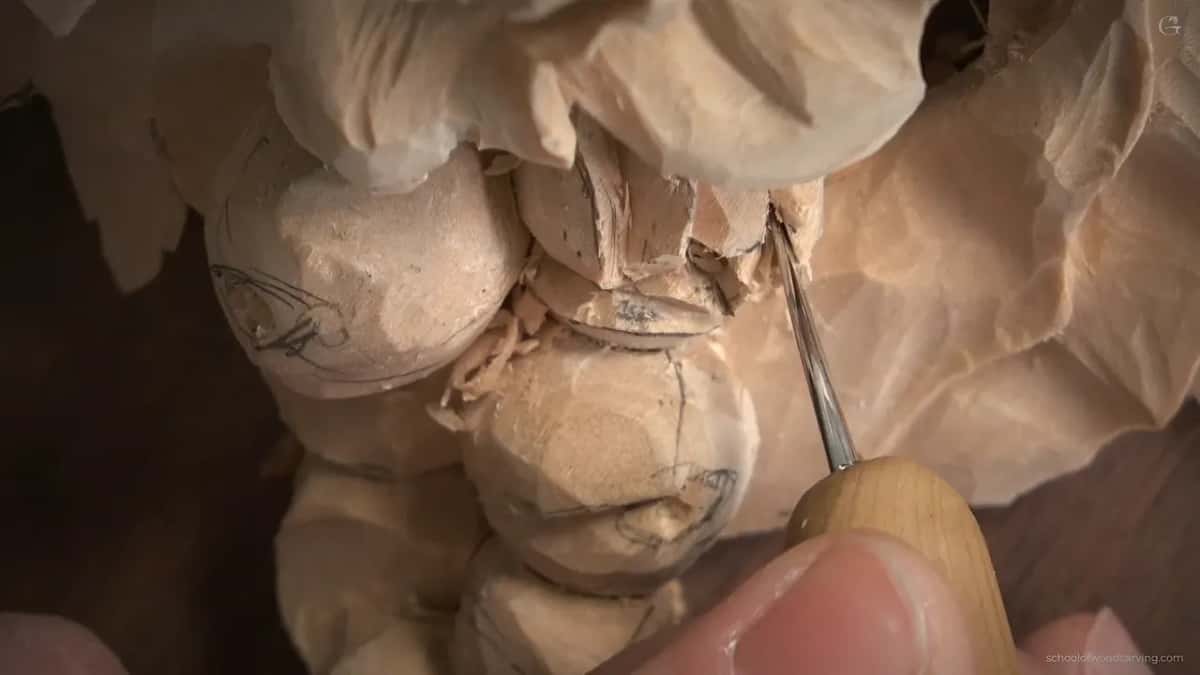
With this knife you can get really deep without damaging anything. You just keep excavating. At this point I highly suggest you not to rush anything. Take your time, and go little by little. From above you can see the dark spot, and that is what I am after.
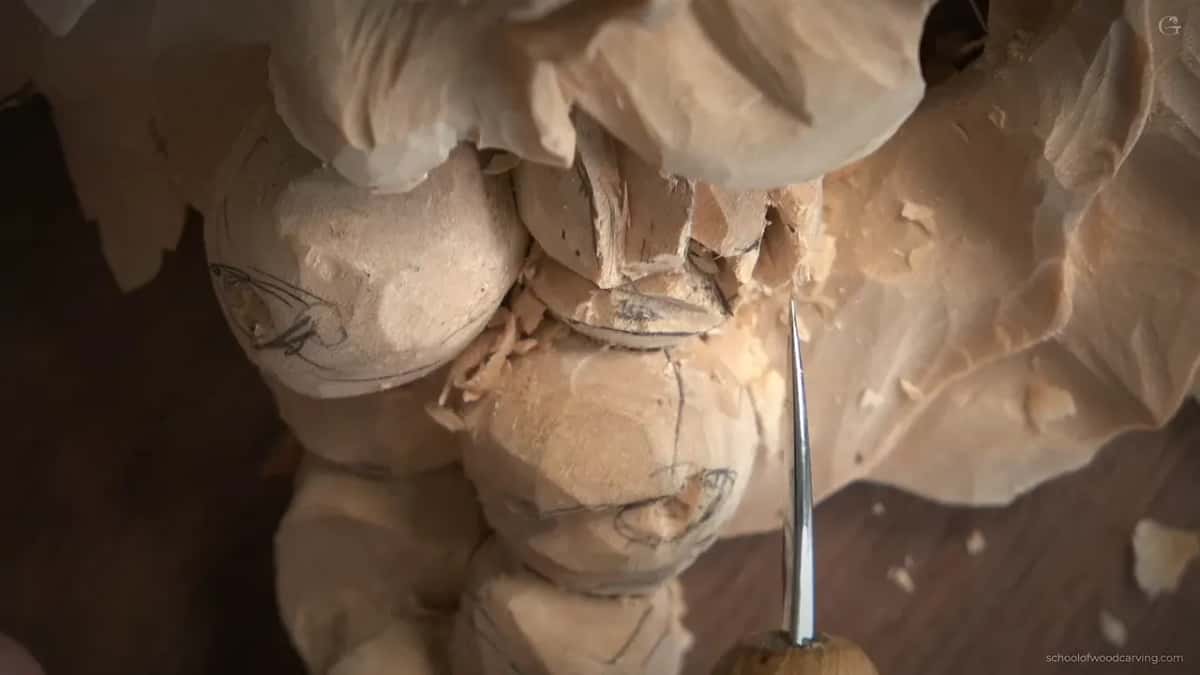
Can a micro gouge do the same job?
Slowly, it can. Micro tools are worth having for these flowers, and a Dockyard micro gouge works too. Same idea, we are after that shadow. Excavate as deep as you can, really slowly, and it gives a really dark shadow.
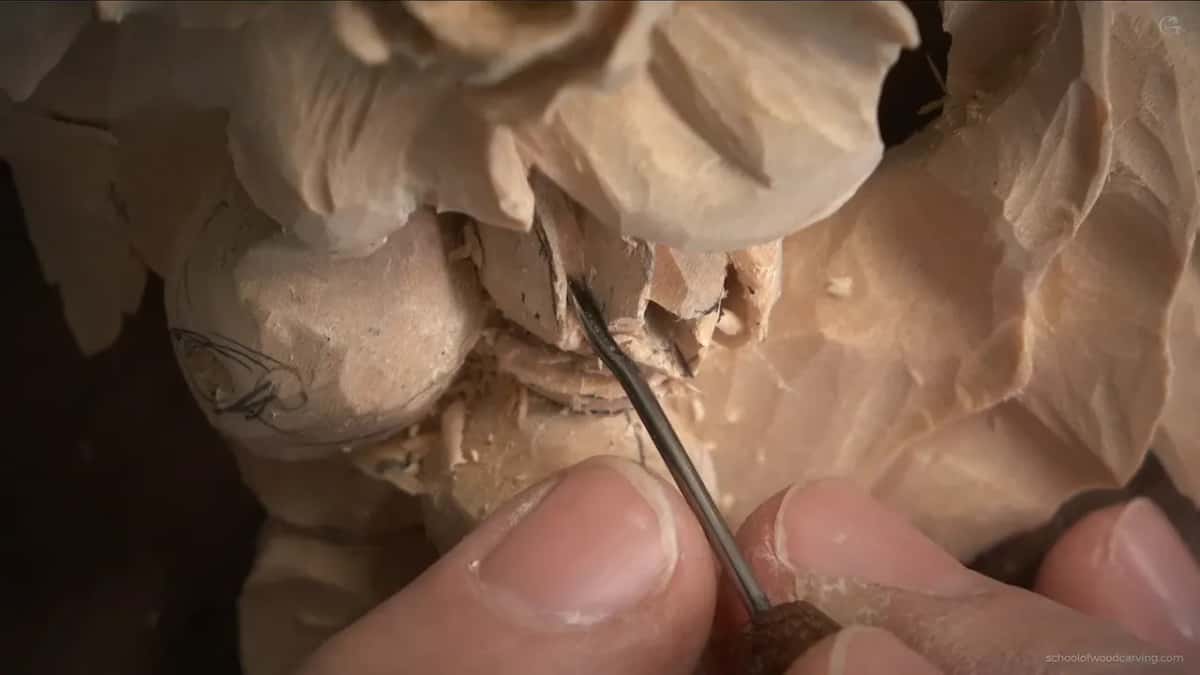
Where it doesn't blend in nicely, I take a smaller skew, only an eighth of an inch, 3 mm. Dockyard also makes a tiny V tool, a parting tool. Because it is so small, you can work your details with it upside down and remove the triangles where the petals overlap. Cleaning and refining can take a long time, but that is the idea.
Why do tiny petals need a wave?
Straight lines are no good, and I don't like to see any. This petal was not wavy. It was just an arch, and I don't like that, so it gets the same idea as the big flower, only on a small scale. With a micro tool equal to a number 8 or 9, I work the edge bit by bit until it waves. Dockyard doesn't even mark the number on those. It's just the gouge.
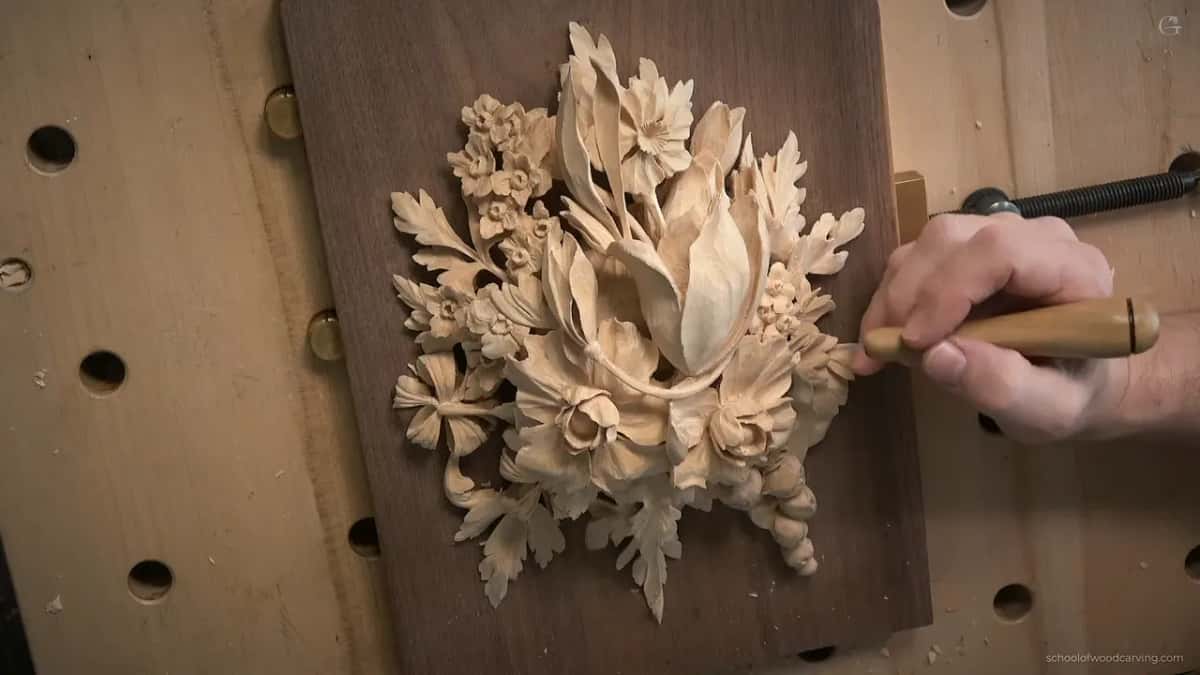
My apologies for the sound in that part of the video. Landscapers decided to trim my trees right at the moment I was filming. When I'm trying to film, somebody is always working outside. It is what it is.
The wave goes along the edge, and across the surface too. The middle of each petal bulges out a little, with two concaves at its sides and one bulge in the middle. For the concaves I use a slightly bigger micro tool, about an eighth of an inch, 3 mm or so, and I follow the movement, never straight down. Then a spoon gouge takes the sharp ridges and facets off and brings everything to the edge.
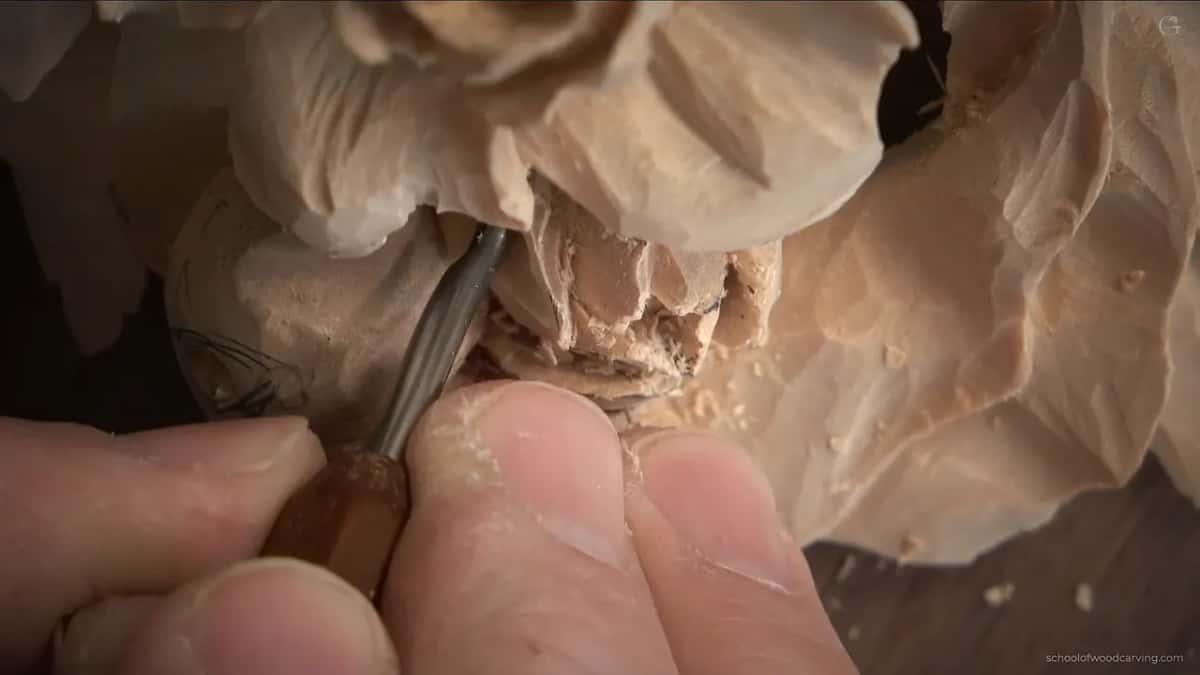
The same bulge and two concaves get a whole lesson of their own in the floral panel course, on a small flower in relief.
How far under a petal can you go?
Close to paper thin, and then stop. Inside, I get really close with the tiniest number 8, only 1 mm, and excavate all around for an even darker spot. You can go to the extreme with the tool upside down, under every petal, little by little. Just don't overdo it. Make it paper thin and you will break it.
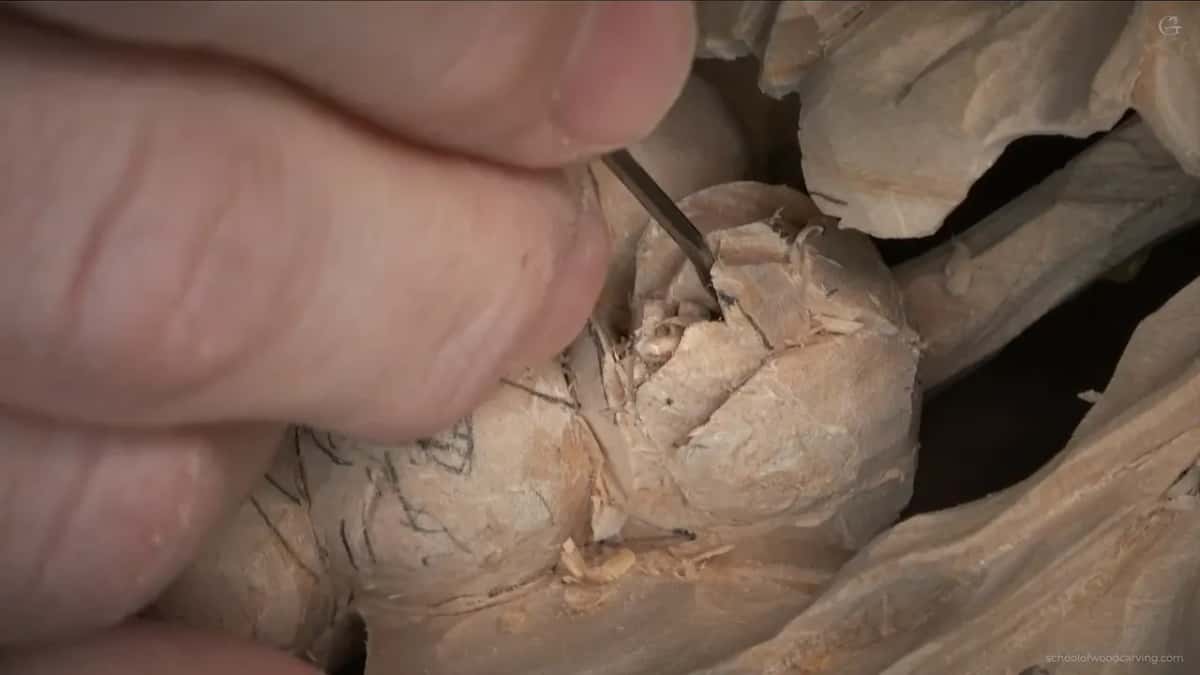
It becomes harder the deeper you go. But that's the way it's done, everywhere on this panel. How to keep a 1 mm edge sharp enough for this is its own lesson on sharpening micro tools.
Should you carve these before gluing the second layer?
If you still can, yes. It would be much easier to do while you work on the first layer. In the class in Maine we were limited on time, five days only, so we left it for later.
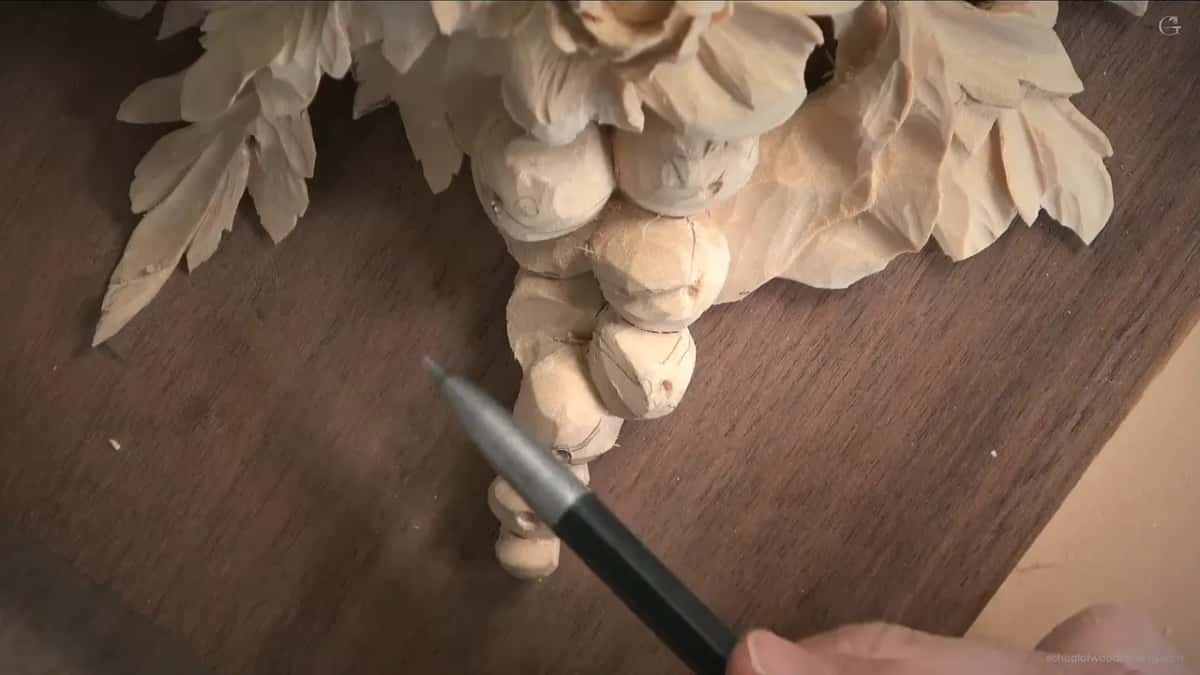
By the time you get to this video, you probably glued yours already. If not, get these done before you glue the second layer. There is a gluing spot right underneath them, which makes them really stable, and from the side they go all the way to the background.
Which tool does which job on a small flower?
| Job | Tool | Result |
|---|---|---|
| Eye opening | The 16, 35 degrees, from both sides | Roughly 3/8 in long |
| Dark plug | Micro gouge 8 or 9, 1/16 in | A spot drilled in, not too deep |
| Petal under petal | Quarter inch skew, London number 2 | No triangle |
| Deepest spots | Drake knife, or a Dockyard gouge | The darkest shadow on the flower |
| Wavy edge | Micro tool like a number 8 | No straight lines |
What does the whole panel look like now?
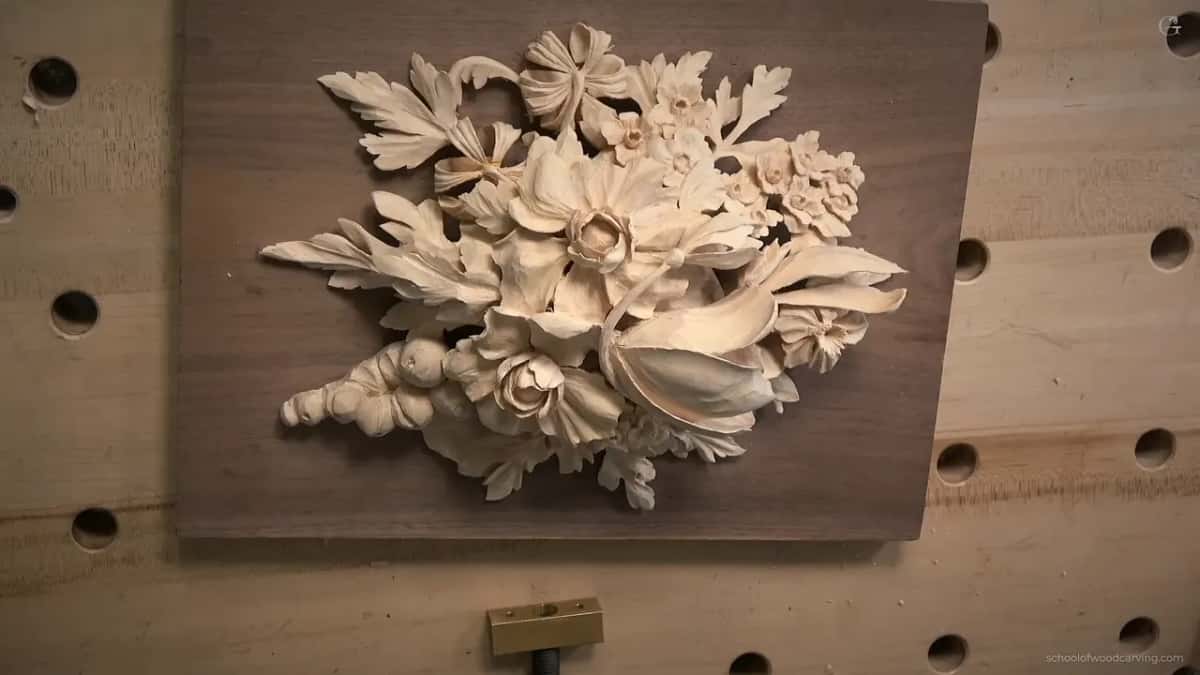
Almost done, and in my opinion there is no such thing as a hundred percent done. I agree with the famous da Vinci. A work of art never gets to a stage called done. You just abandon it.
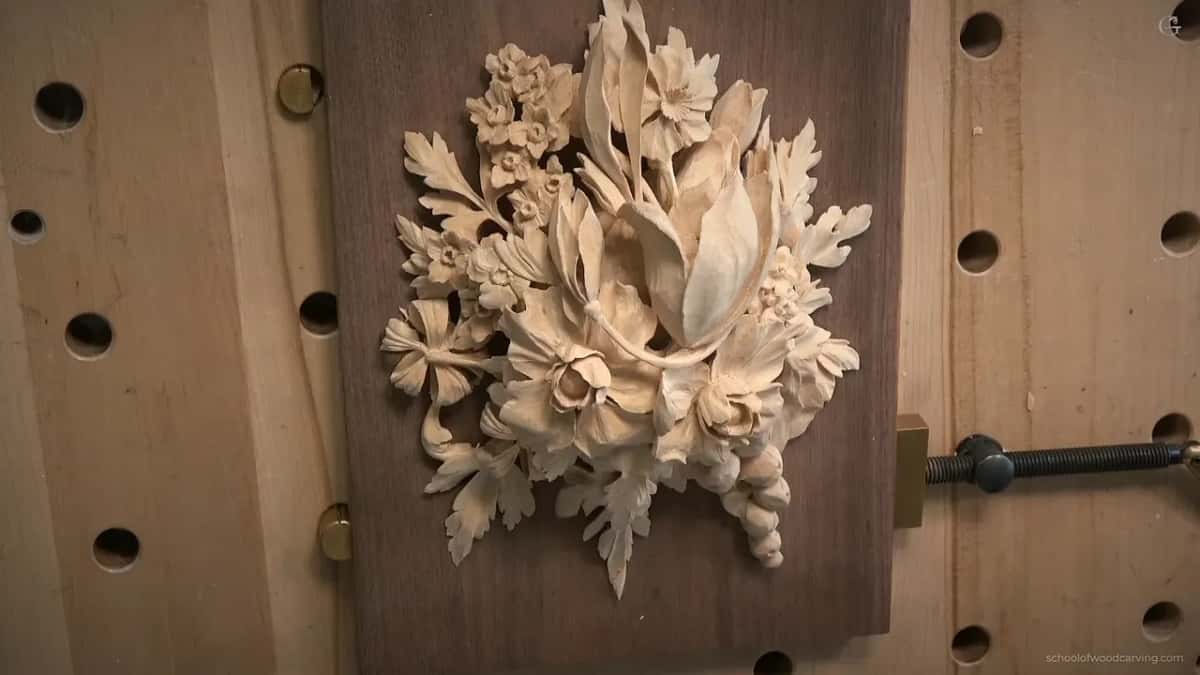
Some areas still look rough, and there is still a lot of work to be done. My mindset goes like this. If I spent too much time at the beginning cleaning everything and making it look perfect, and then wanted to change something, I would get frustrated. So I work on the whole thing first and make it look how it is supposed to look. Then I spend a lot of time, I mean a lot of time, cleaning up.
I added a couple of flowers that replicate one I already had, excavated a lot more openings, and made a bunch of stems on different levels. You can't even see some of them from the front. From the side it looks really complex. One small stem goes really low. I did not show you how I made those stems. That work is easier on separate layers, before gluing, and mine was glued long ago, back at the school. Try those overlapping movements yourself if you want.
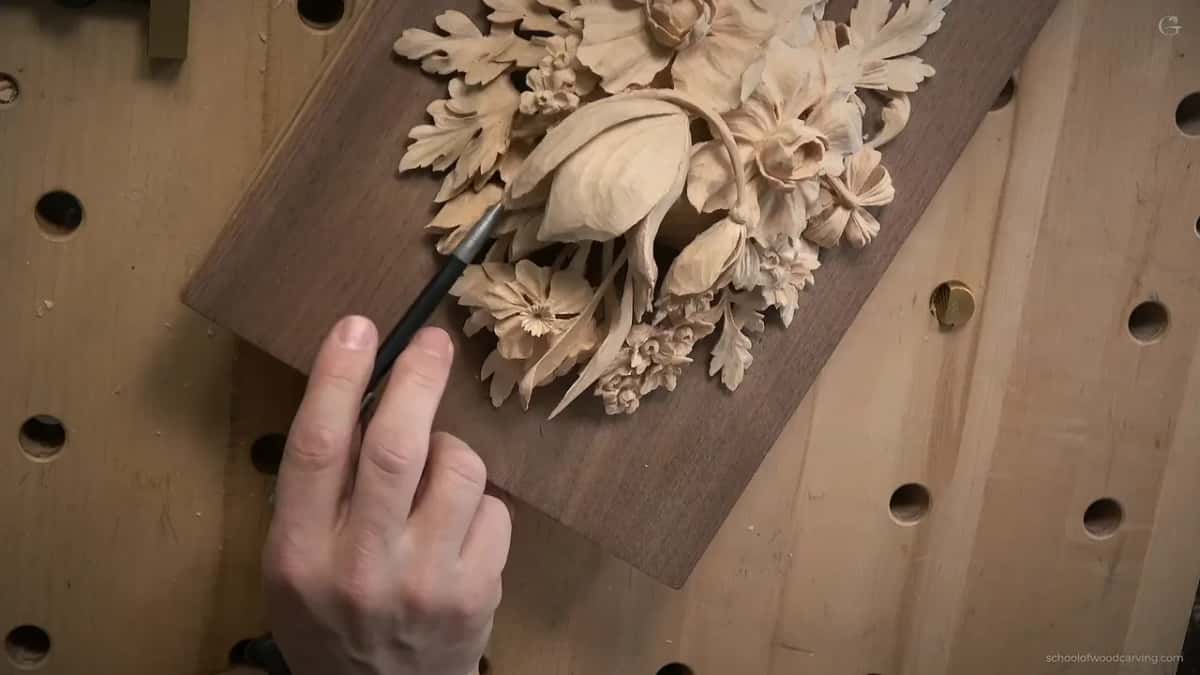
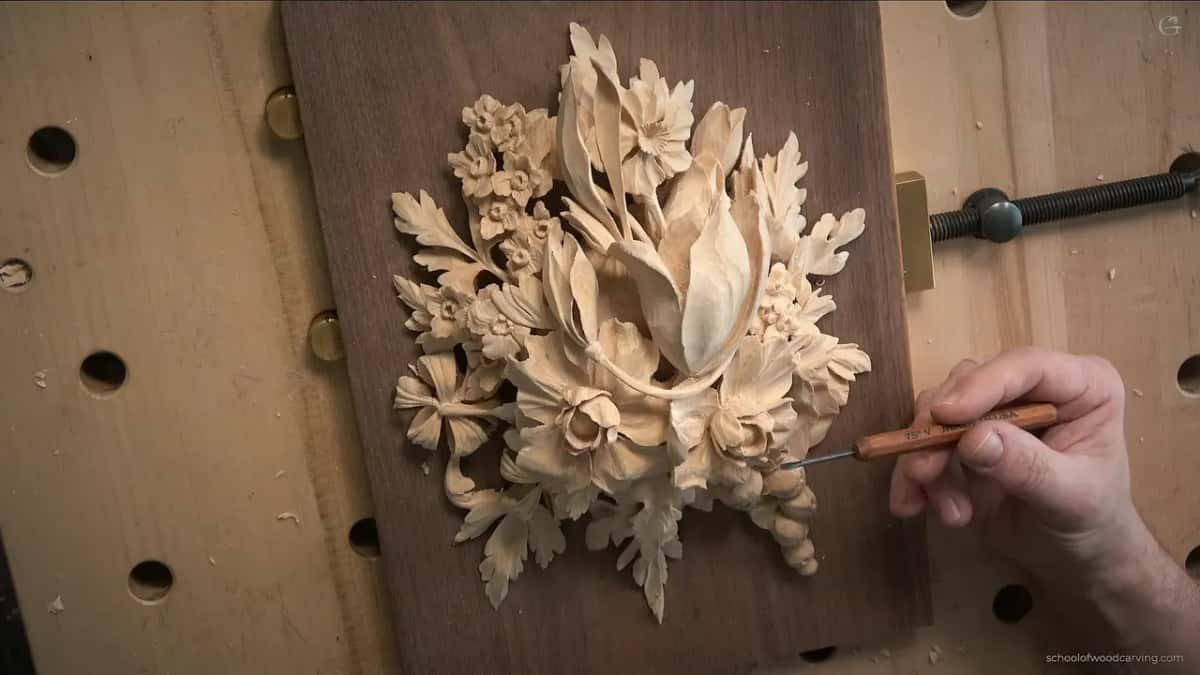
I rotated the piece for you, slow motion, like in the movies, so you catch how the shadows and lights fall on it. Flowers stick up above a lot of parsley leaves, exactly the way Gibbons did it. I excavated inside the two lilies too. Inside one flower I did what I showed in the Venetian flowers course, where the middle bulges out, and that gives a beautiful shadow. I introduced a slight texture there too. Those excavations between the petals make a huge difference. And Roy, this is just for you, because it doesn't look like a pancake now, does it?
Do you have to make them this complex?
You can leave them simpler. I am not going to show you the whole process on every one, because there is absolutely no reason to. Complex work on these is not required, but if you introduce some kind of waviness, it will help you. And the more details you introduce, the nicer it is going to look. I finish the rest of them off camera and show you the result in the final assessment.
My approach to wood carving is just my approach, and there are a lot more approaches. If the rotation helped you, let me know in the comments. It makes a huge difference to me.
Where does class 18 sit in the course?
Right after the swirling center of class 17 and the dark spots of class 16. When to bring out tools this small is the question of class 13, and which way overlapping petals run is class 8.
Every class of the Grinling Gibbons course, right up to the final piece, comes with tuition.
How it's done
- Draw the eye on the bud. Sketch a pointed opening in pencil, turning each bud a little differently.
- Open it from both sides. Use a 35 degree V tool, coming in from each end.
- Drill the dark middle. Push a tiny micro gouge straight in, stopping short of the rims.
- Aim each petal at the heart. Work out where the center of the bloom lies, then carve every petal toward it.
- Tuck and tidy. Blend petal beneath petal with the skew and take off the leftover triangle.
- Deepen the shadows. Go in slowly with a knife made for this, or a tiny gouge, never rushing.
- Wave the edges. Give every rim and surface a gentle rise and fall so nothing reads straight.
Frequently asked questions
What size should the opening of a small carved flower be?
On this panel the eye-shaped opening measures roughly 10 mm, three eighths of an inch, tip to tip. Smaller buds get smaller openings and fewer petals, while the idea stays the same on every one of them.
Which micro carving tools work for tiny flowers?
I use mostly Dockyard micro gouges and their smallest V tool, plus a micro knife made by Drake. Dockyard looks cheap and costs little, but the steel holds its edge well. Drake knives come in limited runs, and you wait a couple of months for one.
Why eight petals on a small carved flower?
I started with four and doubled them, following the Fibonacci sequence. Every petal slides under its neighbor, all in one direction, so the whole flower turns one way.
What to carve next