

Alexander Grabovetskiy, woodcarver, School of Woodcarving · Published 2022
Why is a carved leaf divided into three?
Quick answer: Dividing a carved leaf into three is how a carver gives it anatomy. One line down the middle with another on each side makes the top level, every third splits the same way lower down, and the nine parts that result are what make the shape read as a plant rather than a lump of wood.
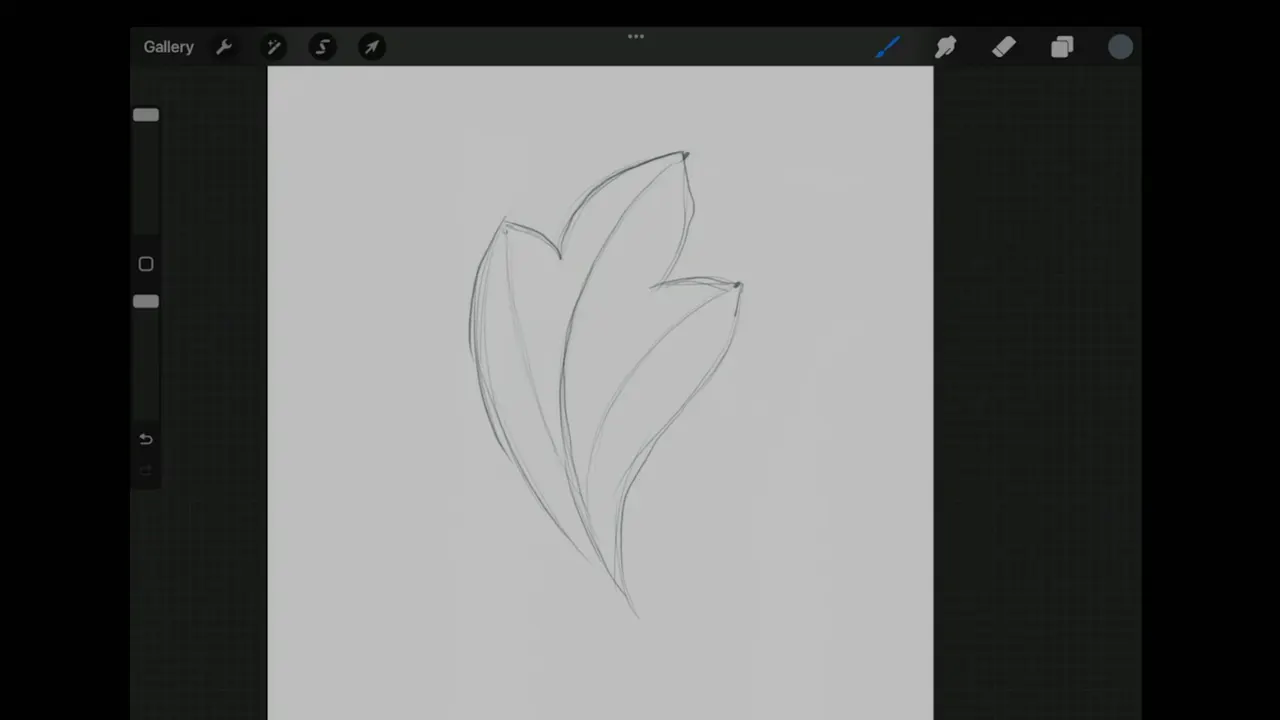
Every leaf on this panel is built on three lines. The spine runs the length of the leaf, with one more line to its left and one to its right. Each of the thirds you end up with gets the same treatment, and that is where a shape stops being a blob and starts being something that grew.
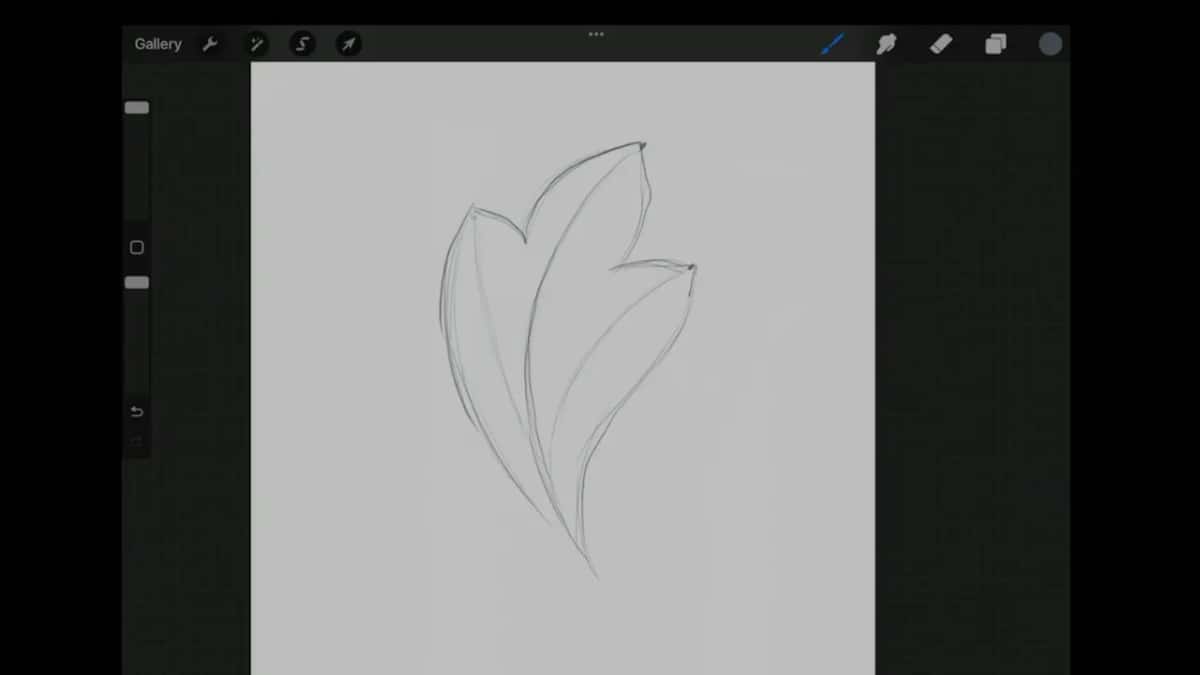
Ever carved a leaf that came out looking like a mitten? Or spent an hour on one and then could not say why it read as flat? Leaves have anatomy, the same way a hand does, and most carvers never get shown it.
Class four in Maine was the morning that came up. The room had a run of these leaves to carve around one flower, all of them roughly the same idea, and somebody asked how you keep track. I put the tablet on the bench and drew the thing instead of explaining it.
By the end of this page you will know what the three lines are and how far the splitting goes before it turns silly. You will also know why the people who authenticate Chippendale furniture spot a fake across a room by looking at nothing but the high spots.
The anatomy in six lines
- A spine, and a line to its left and its right. That is the top level, always.
- Split each third the same way and the leaf ends up with nine parts.
- Carry the splitting further if you have the appetite. The shape takes it.
- The crown of the leaf rides high, and so do its edges. Both flanks fall away between them.
- Waste in the corners comes away with a vertical stop, before anything near it gets shaped.
- Every leaf on the board shares this anatomy and no two of them face the same direction.
- Four gouges carved the whole thing.
What are the three lines?
A spine down the centre, flanked by one line on each hand. Put a point on all three and run a movement outward from it, and the skeleton of the leaf exists before you have carved anything at all. Everything afterwards hangs off those points.
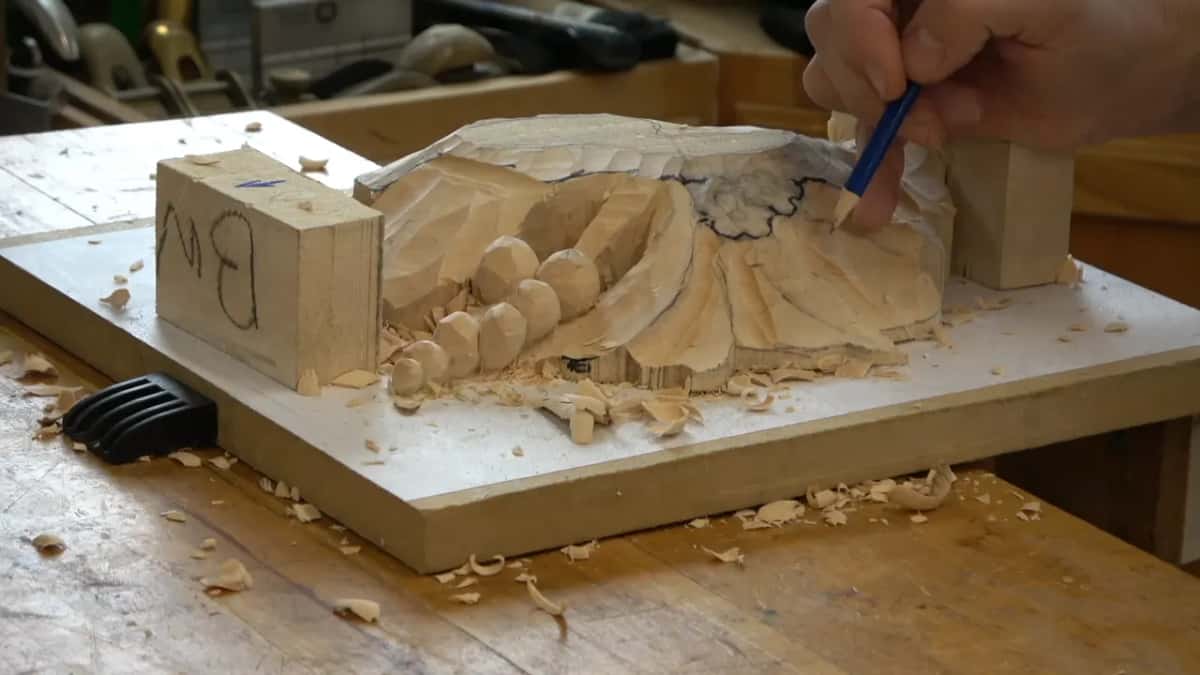
Where the spine sits is worth a second. Take the place the leaf begins, which here is underneath a flower, take the far end, and the division between them lands near sixty forty. Close enough to the golden ratio to be the same instinct. Gibbons did not worry much about it, and I put it there on purpose anyway.
The method is laid out properly in the design course, where the same proportions turn up at the scale of a whole panel rather than one small leaf. Little shapes obey the rules big ones obey. That fact is really the only reason any of this is teachable.
Why split the thirds again?
Three parts still comes across as a fan. Nine looks like a plant. So inside every third goes another set of three, and each one of those can take a further set after it if you want to be crazy about the thing. I stop at nine here. The wood is 50 mm thick and a whole second layer is coming on top.
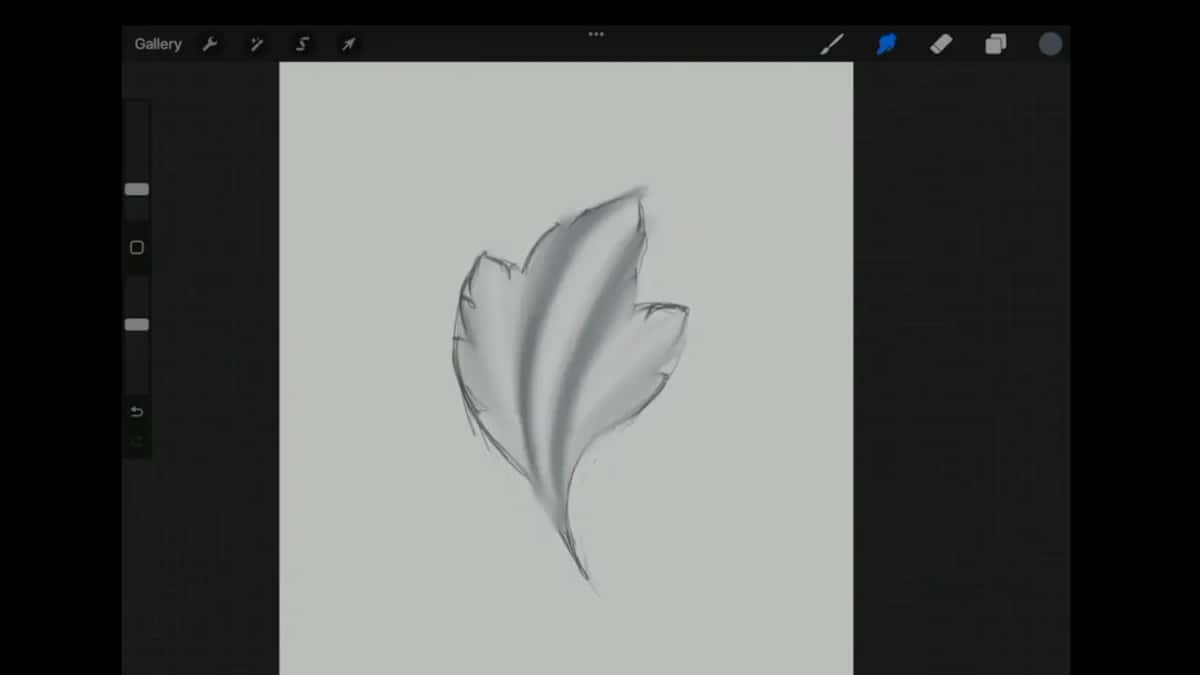
Shading it on a screen makes the point faster than talking does. I used the spray paint tool on a new layer, light along the crown, dark down both flanks, and the argument was over. Carvers who have watched the Roman acanthus course recognise the shape immediately, since it is the same logic wearing different clothes.
Somebody asked whether I could show the drawing from above. I would have loved to and I had no idea how. A tablet, a camera pointed at a bench, and a room of people who all needed to see the same small thing at the same moment.
Is this a parsley leaf or an acanthus?
Parsley, and it borrows from the other one without going all the way there. A parsley leaf sometimes looks almost like an acanthus if you squint, which is convenient, because the acanthus is the shape every carver has to learn sooner or later.
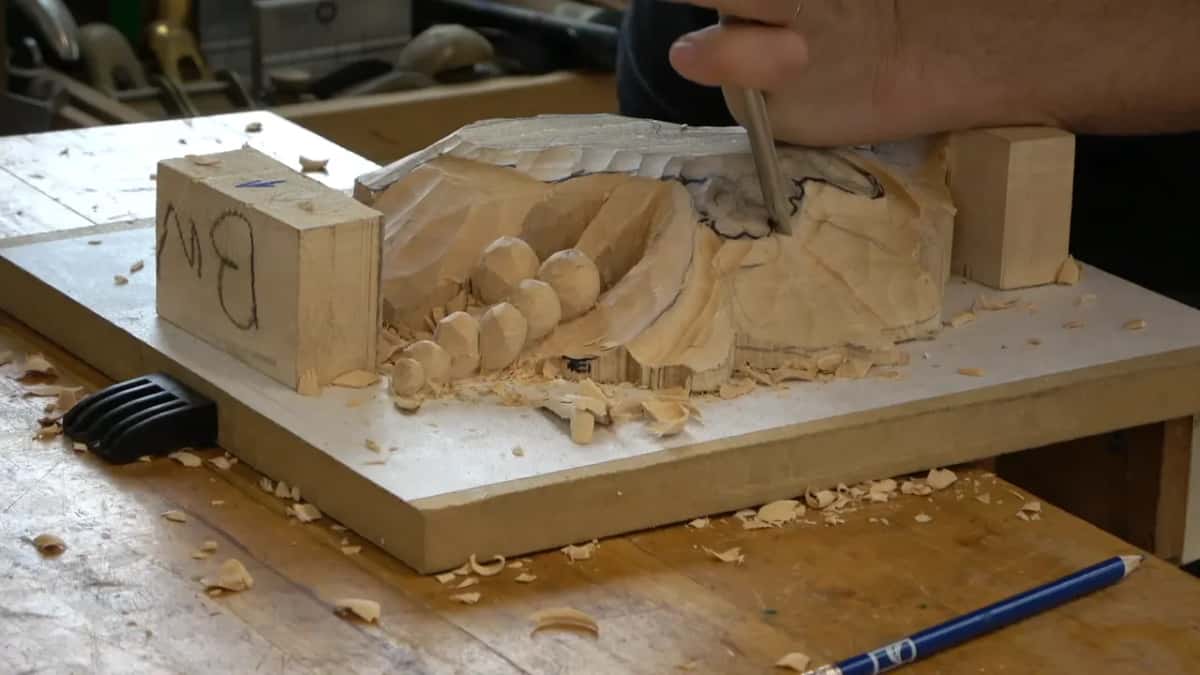
Stop short of the whole way. Acanthus carries its own rules about eyes and pipes and claws, and dragging all of that into a filler leaf makes a busy panel out of a calm one. Those rules stay where they belong, in the Greek acanthus course and its Roman and Corinthian neighbours.
One more parsley trick. Carve away the boundary line between two sections and the pair of them run together into a softer, looser shape, which is much closer to real parsley than a tidy row of lobes ever gets.
Which tool opens the separations?
A number 11 at 3 mm, and it was the fourth tool this project had touched. Three of them got us from a sawn blank to a modelled leaf. People turn up to a class like this with a roll full of gouges and I keep having to point that out.
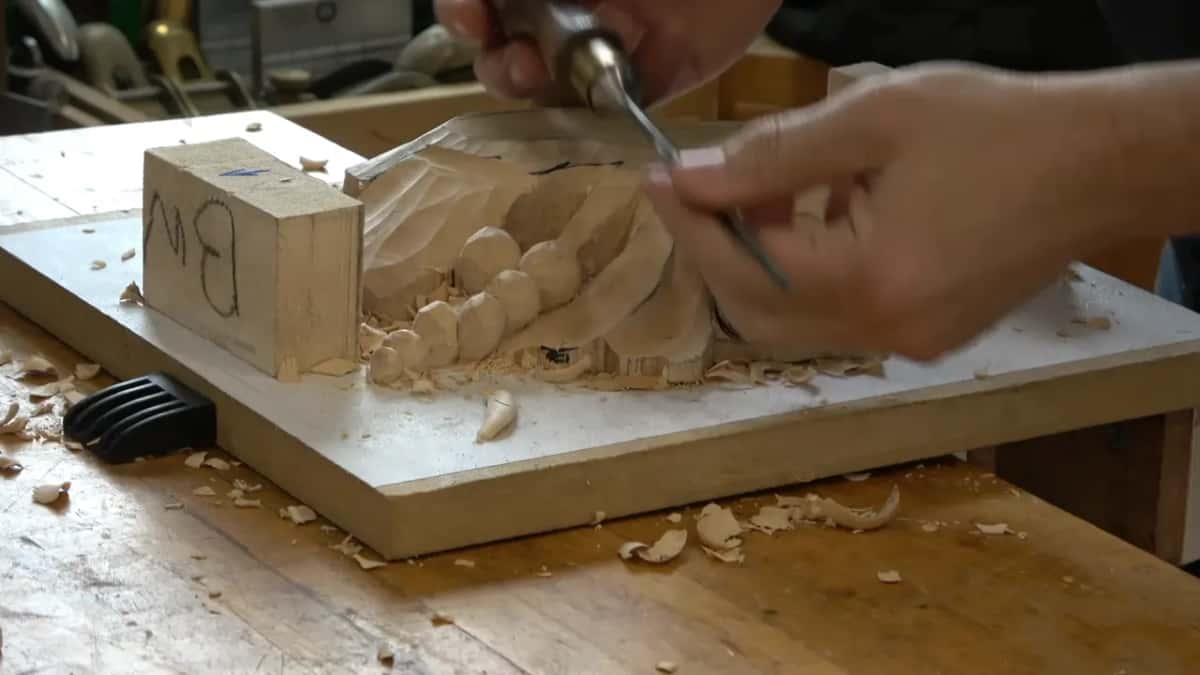
Lean the flute over to about eleven o'clock as it goes in. The flute is the hollow of the blade, and tipping it means one corner runs deeper than its opposite, which puts a dark edge on one wall of the separation and leaves the other open to the light.

I call that blade the little zipper. When an outline needs to go deeper and a bigger tool would tear the shape about, the zipper runs the line again and takes it down another millimetre without arguing. Half the carving here is that one blade going back over its own tracks.
What is a relieving cut?
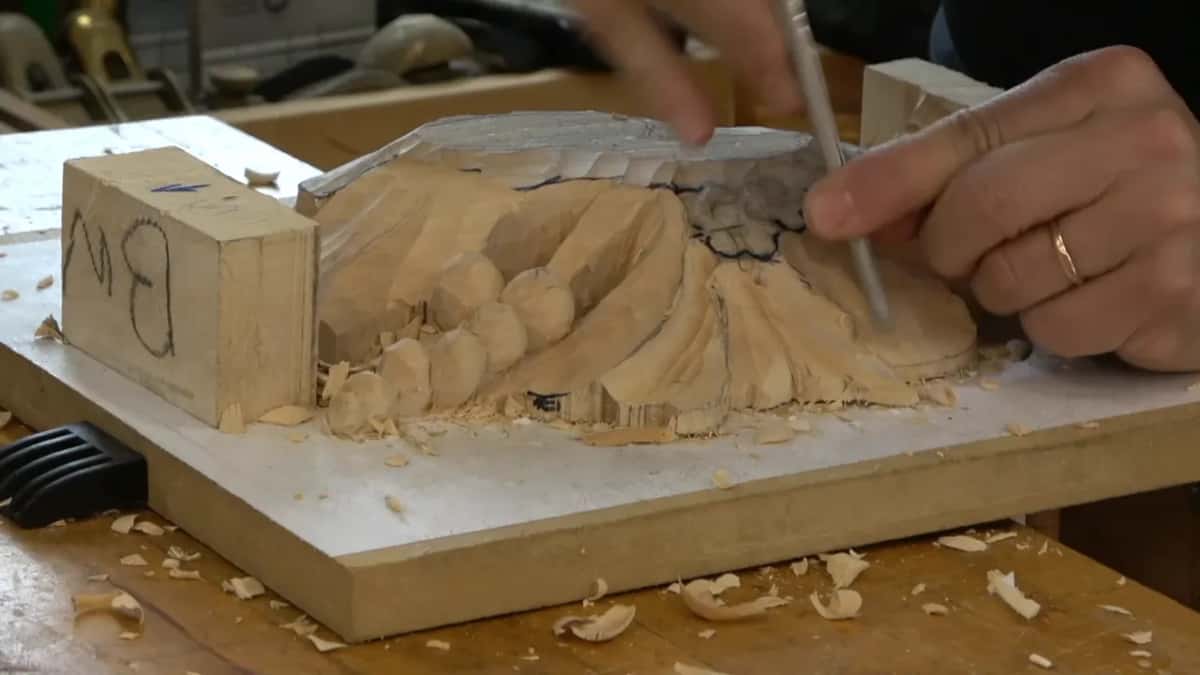
A vertical stop, straight down at ninety degrees, made before you try to shape anything beside it. Wherever two sections come together they leave a small triangle of waste behind. I call them triangles because that is what they are.
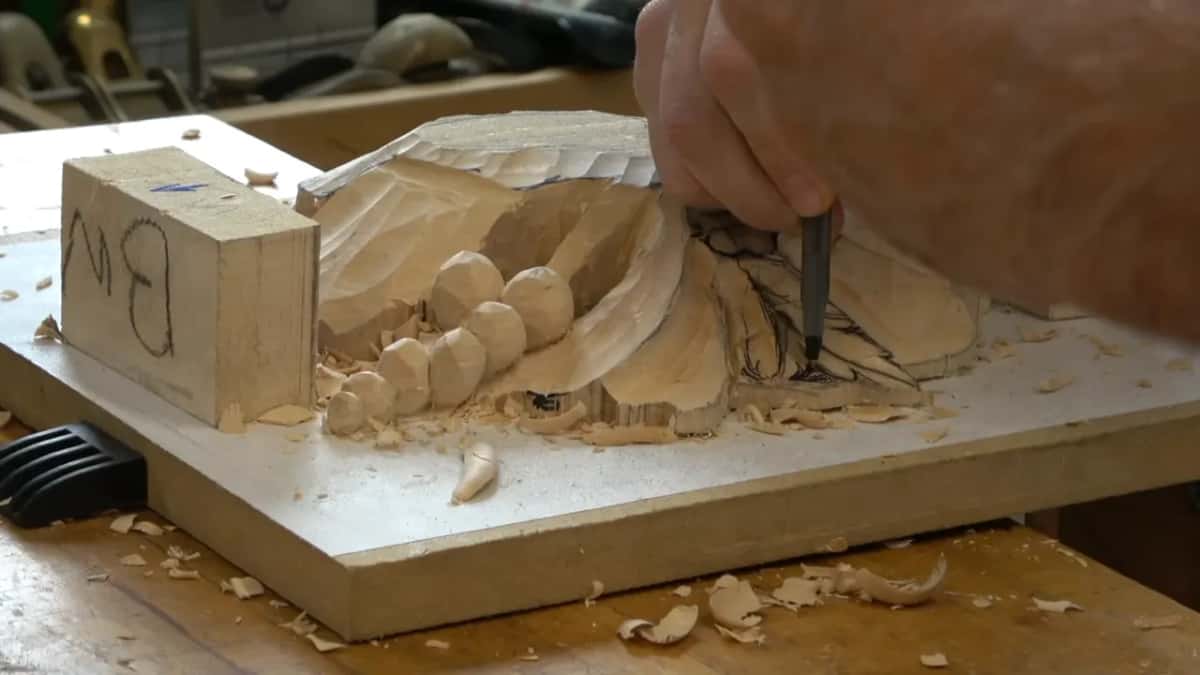
Drop the nine at 10 mm straight in on the line first. The zipper follows and clears the corner out. Reverse that order and the tool wanders, the wall breaks down, and the separation you wanted turns into a dent you now have to design around.
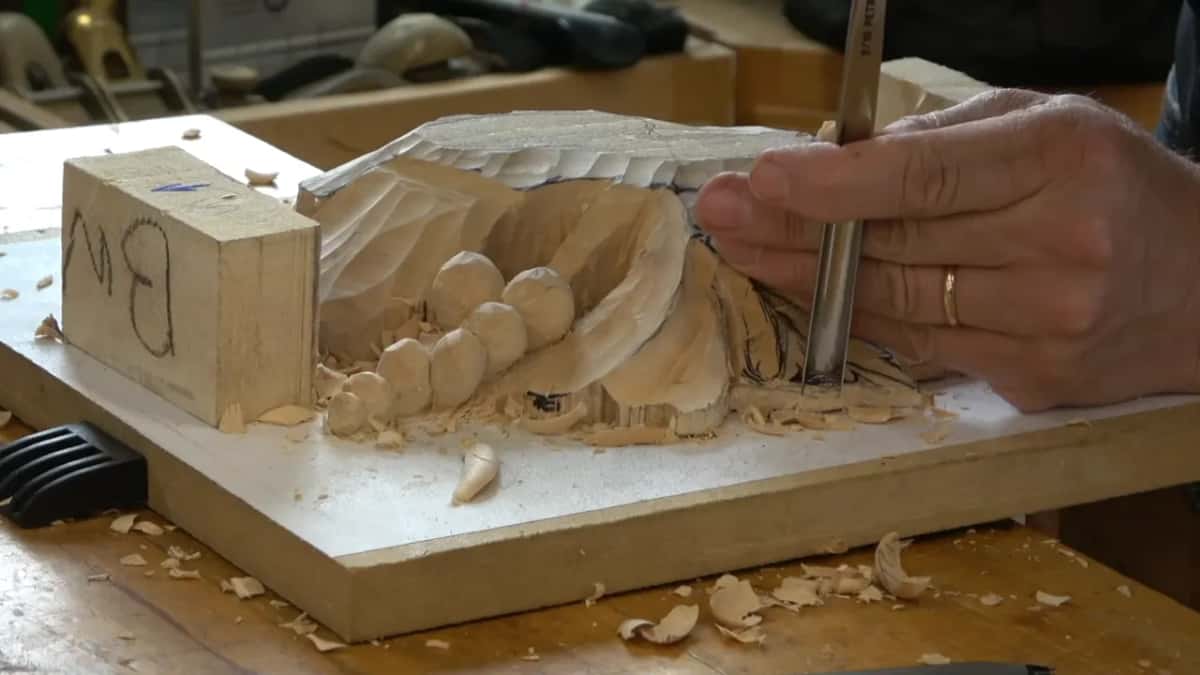
Small areas need small tools. Written down that sounds obvious, and it is the single most common thing I say out loud in a workshop, usually to somebody trying to reach a tiny corner with a 20 mm sweep because it happened to be in their hand.
Before any shaping happens near it, the boundary itself takes a deeper pass with a small undercut right beneath. Not a full undercut, not yet. Just enough that a line of dark sits under the edge and the section above it starts to look like it is lying on top of something rather than drawn on.
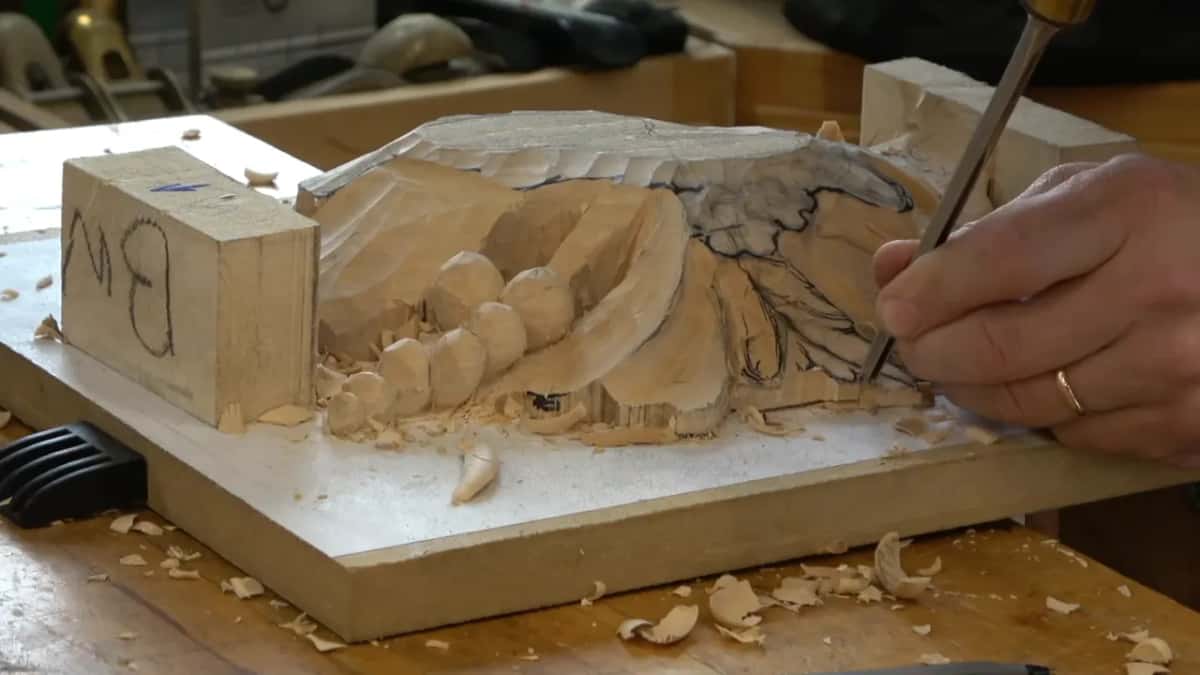
Do not try to keep up with me, either. I told that room to hold their horses more than once. Watching a hand that has been at this for over forty years and then starting at the same speed is how a good blank gets ruined before lunch.
How high does the crown of the leaf sit?
Proud of everything beside it, and you get there by carving two hollows instead of one hump. Run a concave down one flank with the nine, run a second down the other, and the ridge standing between them is your crown. Blend it with the side of the same blade until it stops reading as a ridge.
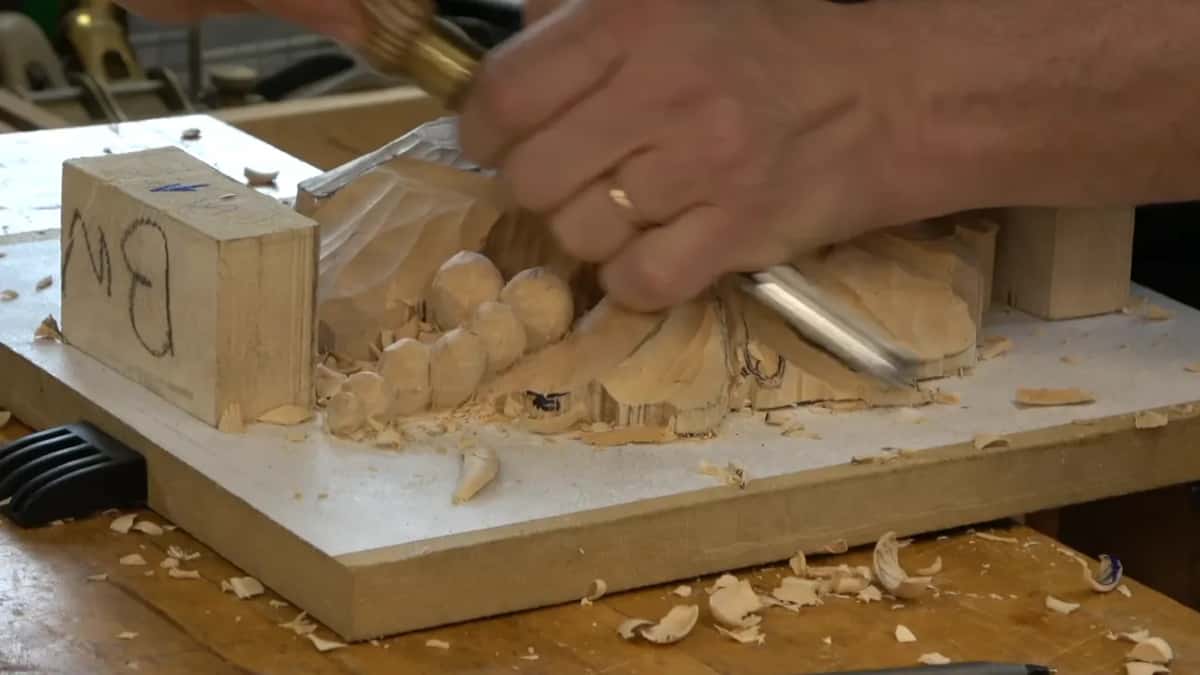
On old work the centre is always raised. Find a hollow running along the crown of an eighteenth century leaf and somebody did not know what they were doing. Style moves that around a little, so take it as a strong habit rather than a law of physics.
What else on a leaf stands up?
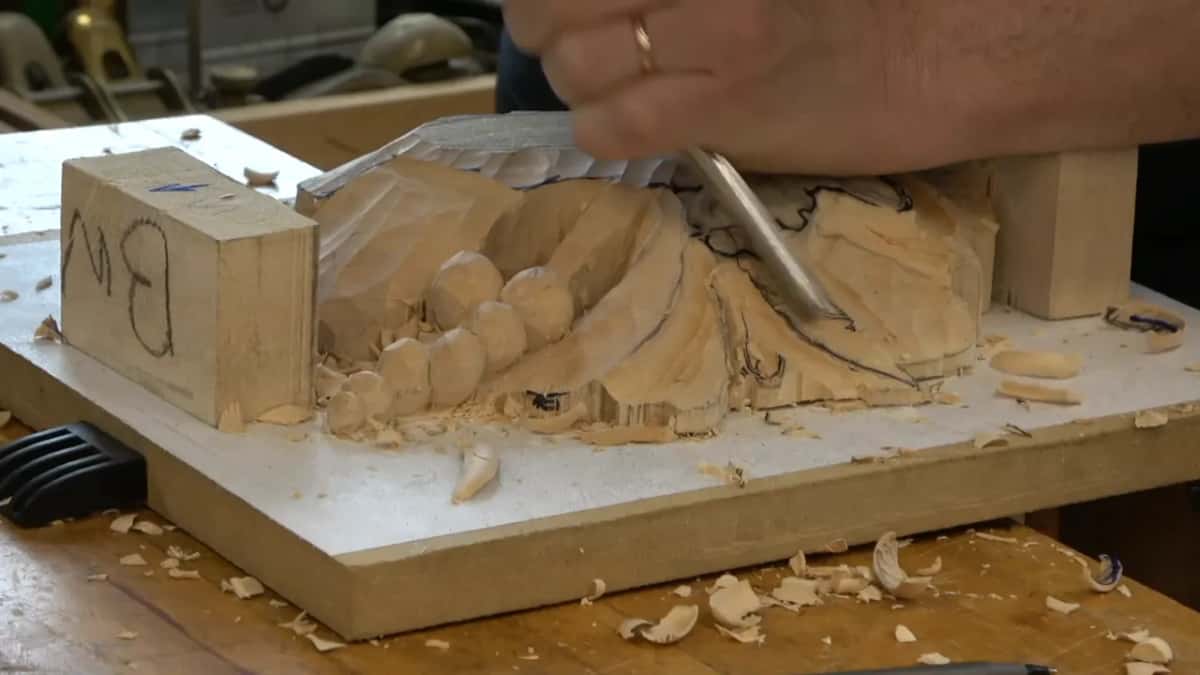
The edges. Along the outer rim of each section the wood wants to come up slightly, so the leaf ends up a surface with a lip round it instead of a mound sitting on a board. Between that lip and the high centre you get a real hollow, and a hollow is what throws shadow.
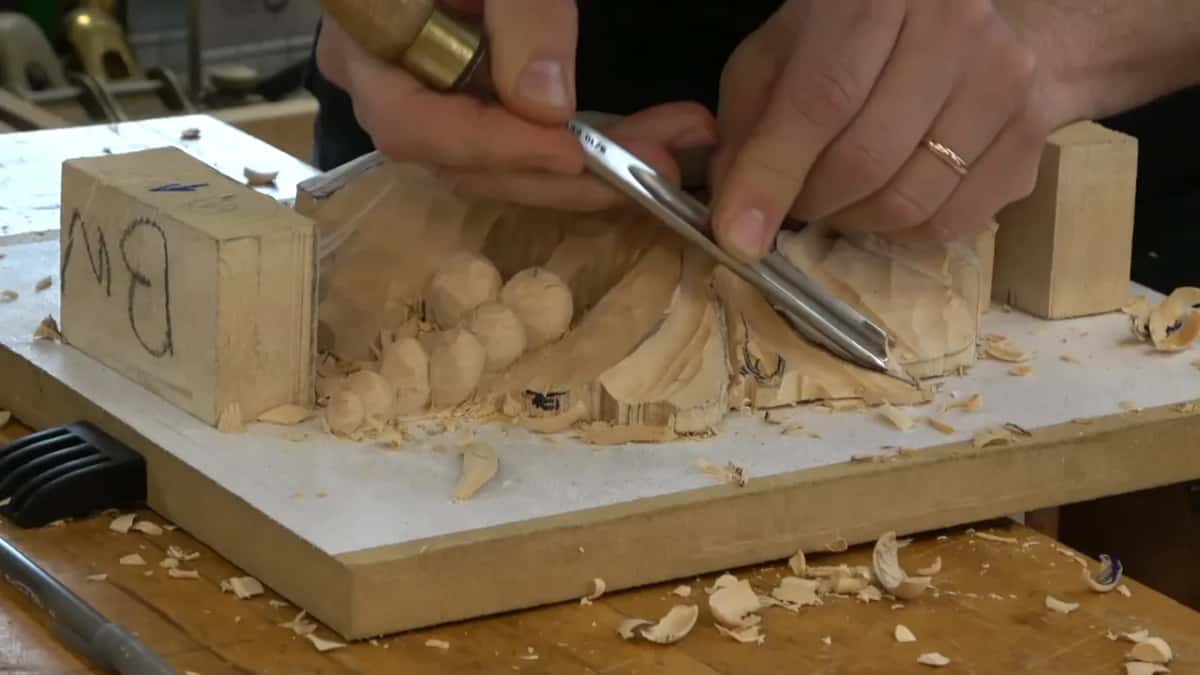
Three heights, then. A high centre, then the lip, with a hollow running between them. Leave the lip out and the leaf still works, but it works the way a photograph works, which is not how a thing standing off a board behaves in raking light.
How do you tell an original from a copy?
Look at the high spots and the low spots, and at nothing else. That check is what separates a genuine Chippendale acanthus from a later imitation on period furniture. An imitator copies the outline, because the outline is what a photograph gives them.

What gets missed is which parts stand up. Outline is cheap. The hierarchy of heights takes a carver twenty years, and it is the part that survives three hundred years of being looked at from the side.

| Tool | Where | Doing what |
|---|---|---|
| The nine at 10 mm | Straight down on a line, and down each flank | Stops the wood, then hollows it |
| A 3 mm eleven | Inside every corner where two sections meet | Opens the separation with the flute leaning over to eleven o'clock |
| The seven, also upside down | Round the outside boundary | A cleaner edge than a flat chisel leaves on basswood |
| The flat number 2 | Everywhere the facets still show | Slices the steps away at about forty five degrees, held upside down |
Do all the leaves point the same way?
They share one anatomy and none of them faces the same direction. Same idea, different movement. I said that more than once that morning, because it is what turns eight repeated shapes into a design instead of wallpaper.
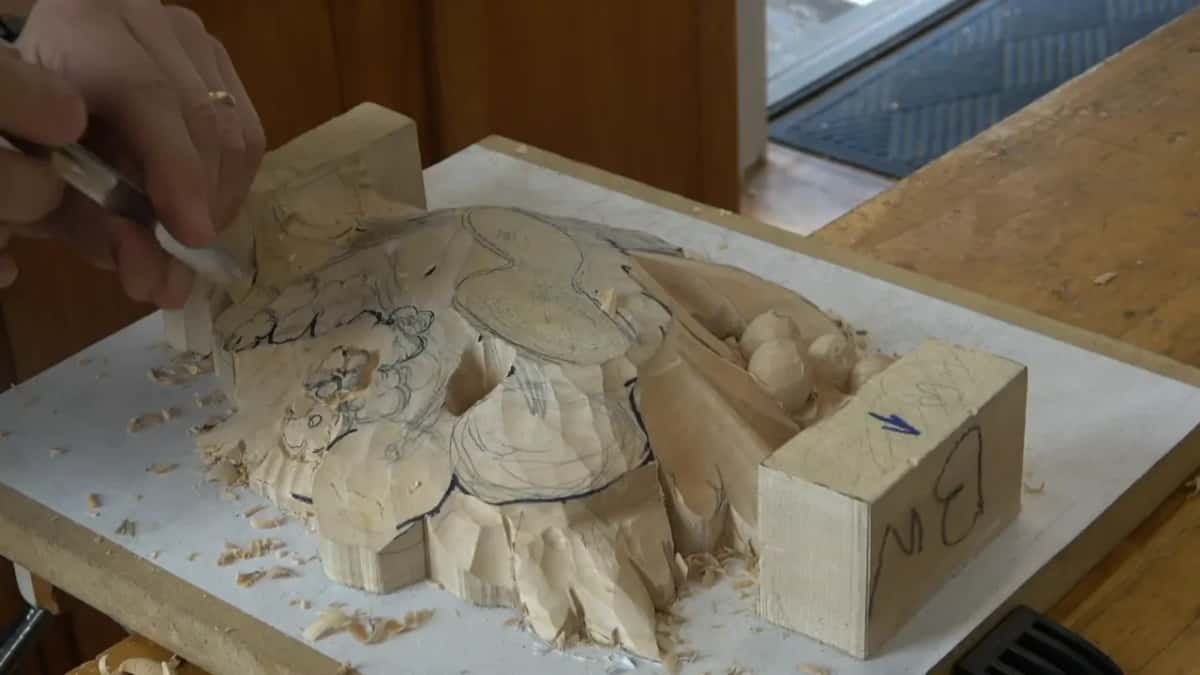
Do not make them symmetrical either. A leaf with a perfectly matched left and right looks pressed out rather than grown, and your eye catches that long before your mind works out what is wrong. Our antique rosette course leans on exactly the same instinct.
One anatomy, and as many directions as there are leaves. A row of acanthus along a moulding behaves the same way and has its own problems, which is why it gets a course of its own. The furniture panel course takes the idea across a much bigger board.
How do you take the ridges off?
With a number 2, held upside down and leaned over to about forty five degrees. Slice rather than push. The facets a gouge leaves behind come away, and underneath them is a surface instead of a flight of steps.
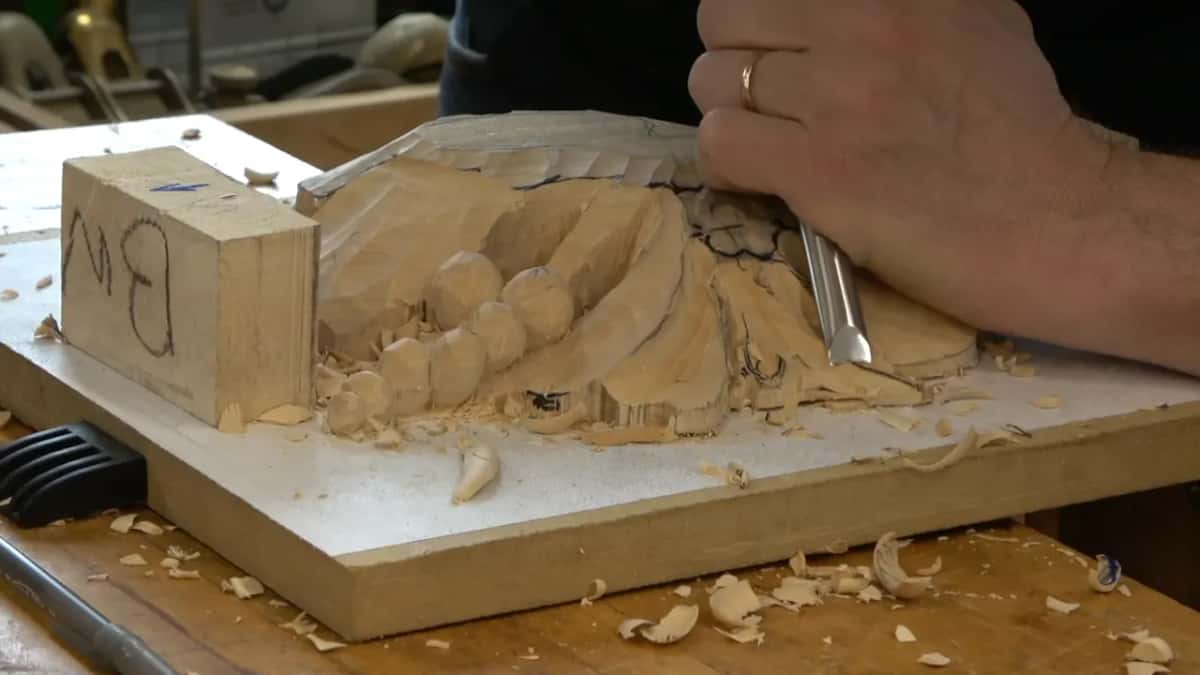
Turning a blade upside down feels wrong for about a week. Then it becomes how you clean everything, and you start reaching for the flattest chisel in the roll whenever a surface has gone lumpy. A whole techniques course is built around passes like that.
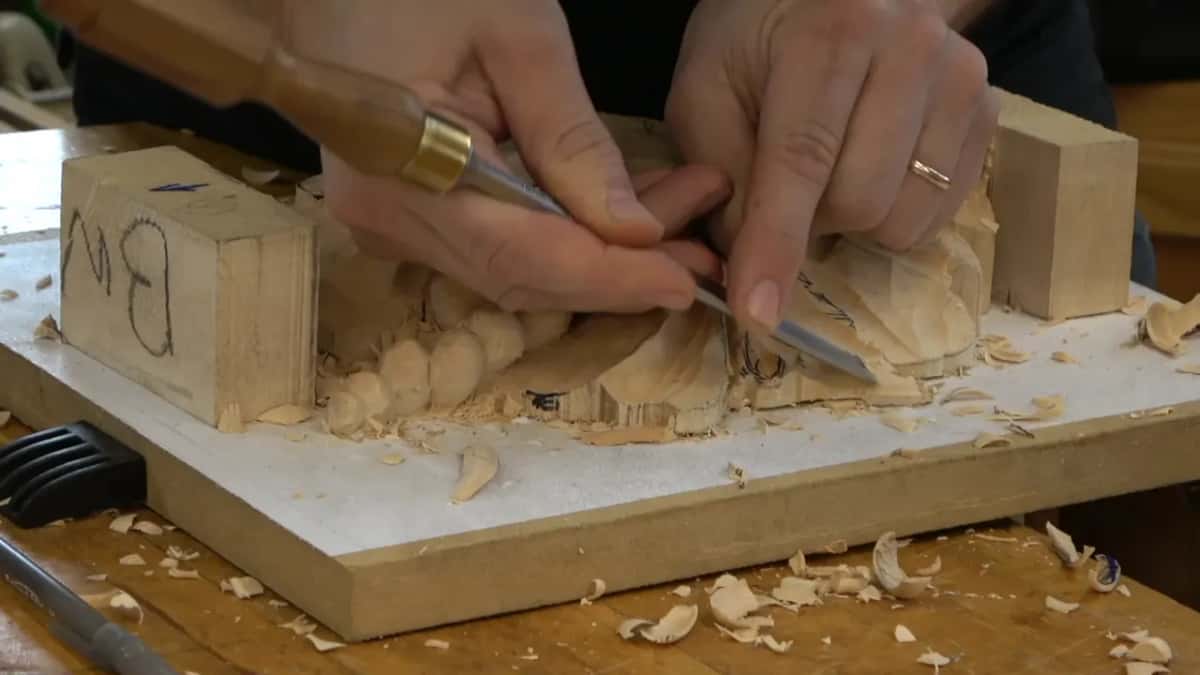
The seven does outside boundaries, also upside down. It gives a cleaner line round the edge of a shape than a straight blade manages, and on basswood you feel the difference come up through the handle.
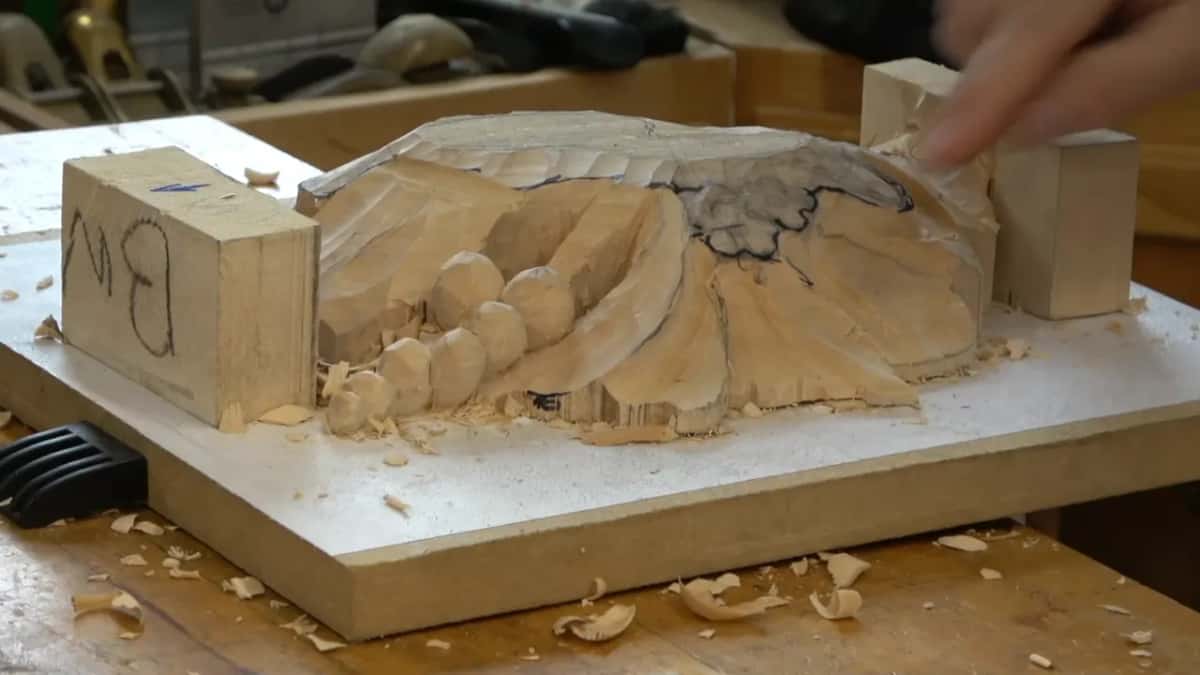
How deep do these leaves go?
A quarter of an inch, 6 mm, at the lowest places, with the edges taken right down to meet that. I want as low as I can get in some areas, especially where the work runs toward the handle at the end of the blank.
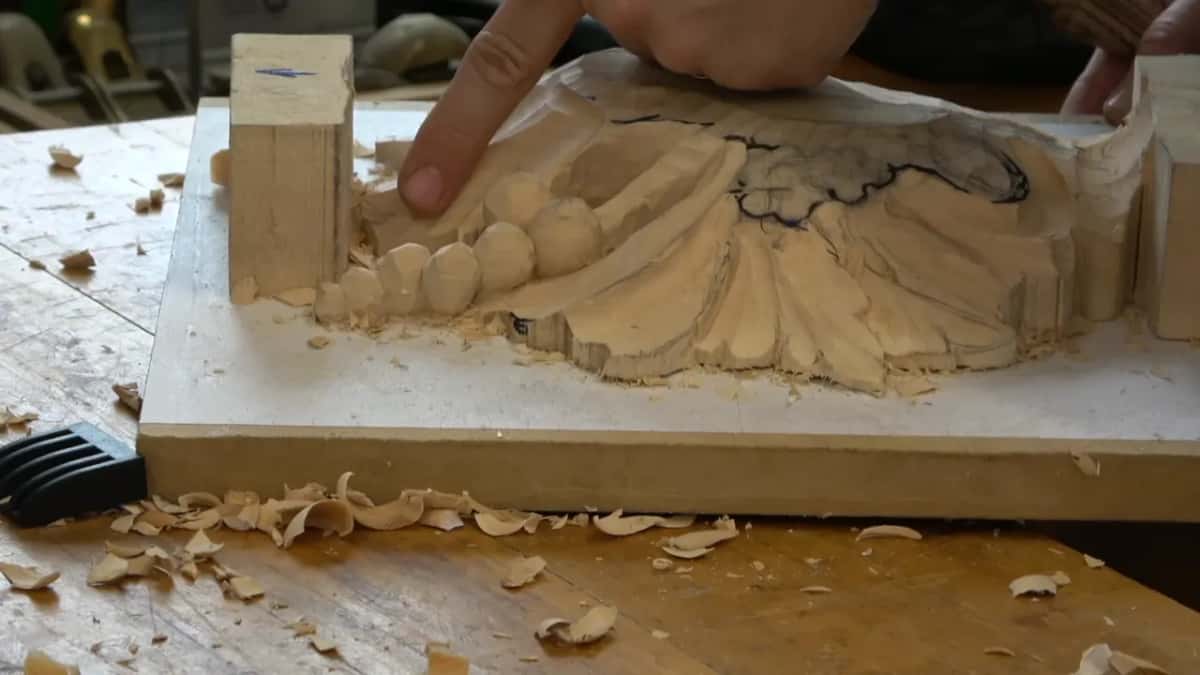
Outlining passes stay shallow, though. A millimetre and a half, maybe two, and an eighth of an inch is already too much. Cut deeper than that on a first pass and you have spent wood you will want back when the relief needs undercutting.
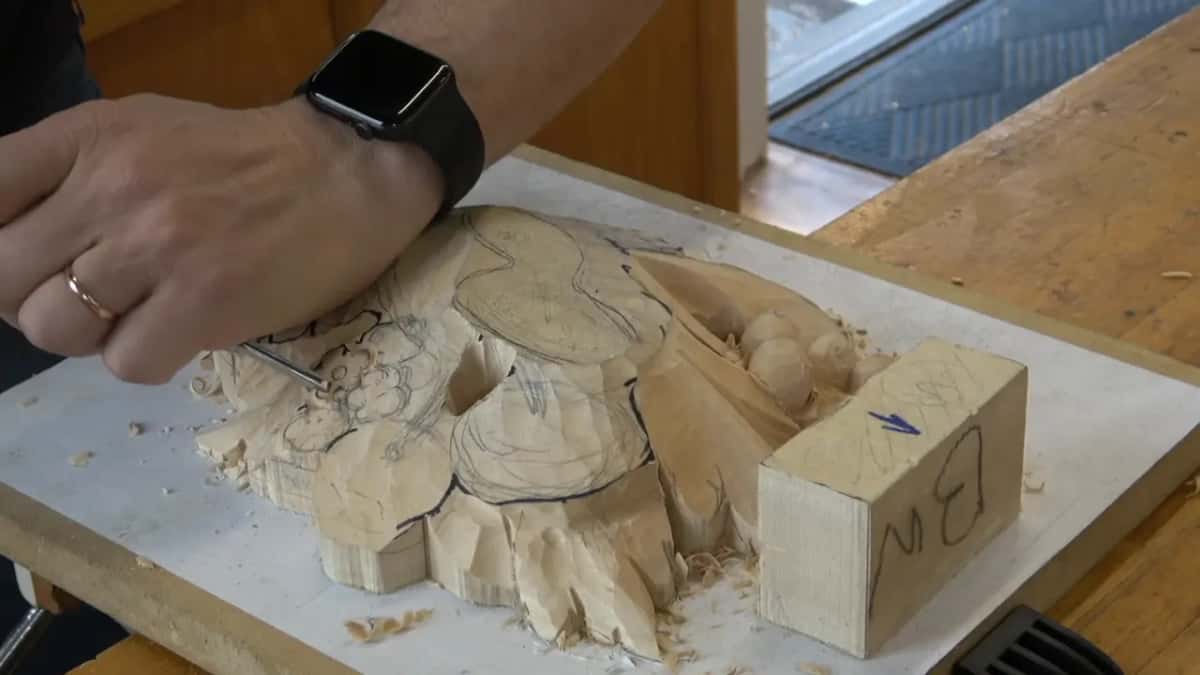
Most of this first layer ends up hidden anyway. A second layer goes over it and you can still reach in afterwards to refine whatever shows. That is the argument against finishing too early, and it is why I keep saying do not overcomplicate the thing.

Is one leaf worth this much thinking?
They run right round this board and they are the quiet part of the design. Nobody photographs the leaves. They are what the flower stands on, and a panel whose leaves are guesswork never settles, however good the flower turns out.
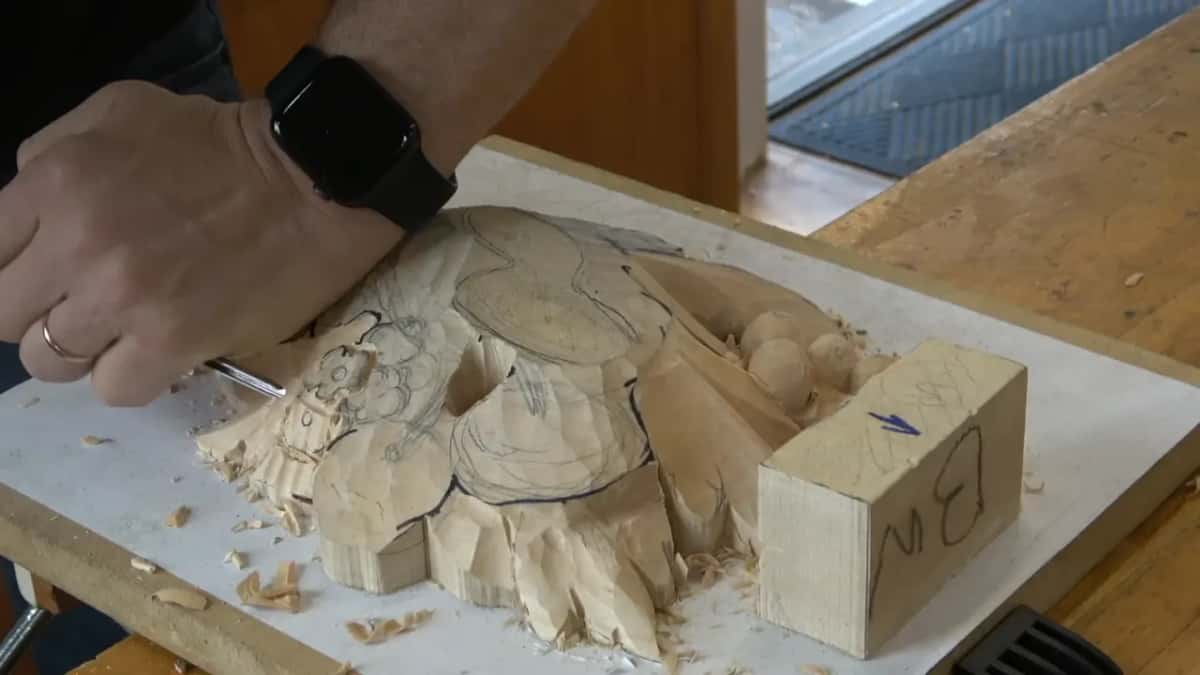
Something else happens once you can see the anatomy. You stop copying lime leaves off other people's panels and start drawing your own, because a leaf is no longer a picture you have to remember. It is a structure you can build.
If you want the rest of it, the way in is the tuition page. The whole Maine course sits inside, along with the Hashemi flowers and the sharpening course that keeps a 3 mm blade carving like one.
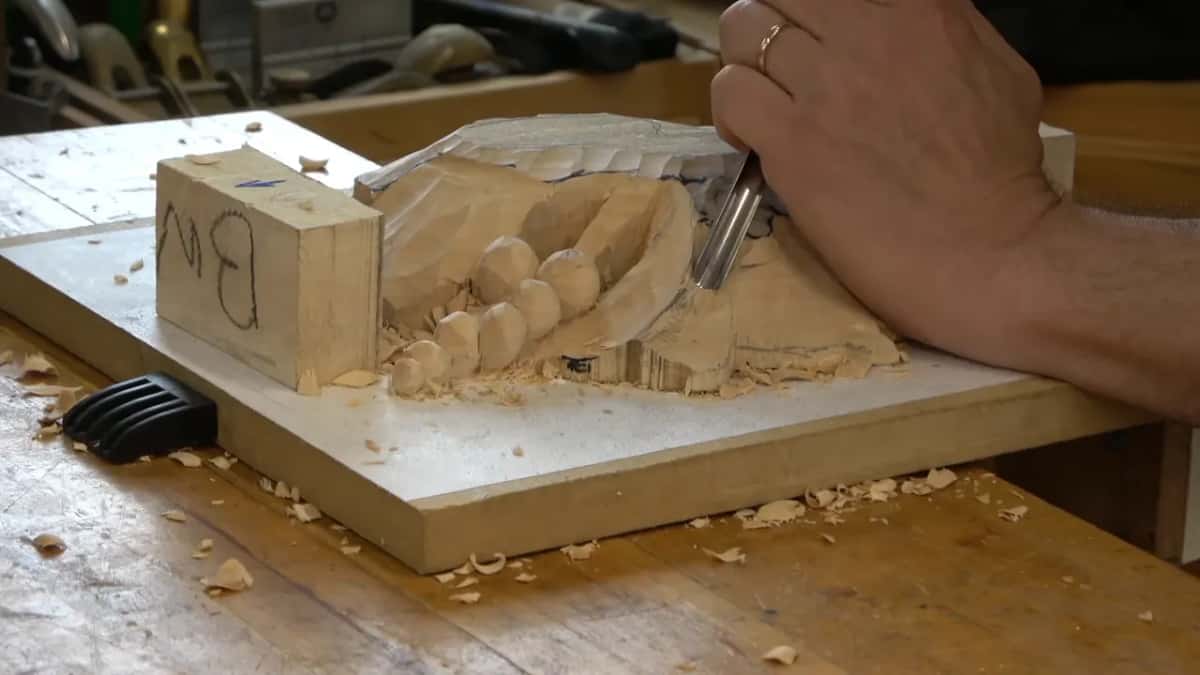
How it's done
- Draw the spine. A single line, straight down the leaf. Where it begins and where it ends puts that division near sixty forty, near enough to the golden ratio to be the same instinct.
- Flank it with two more lines. Put a point on all three and run a movement outward. The skeleton exists now, before any wood has moved off the blank.
- Repeat the split one level down. Every third takes the same treatment, so the leaf arrives at nine parts. Carry on further if you have the appetite for it.
- Stop the wood before shaping it. The 10 mm nine drops straight in at ninety degrees on the line. Then the 3 mm eleven clears the triangle out of the corner behind it.
- Hollow both flanks. One concave down each side. What stands between them is the crown, and the flank of that same blade blends it until it no longer reads as a ridge.
- Slice the facets away last. The flat blade turned over and laid at a shallow angle. A seven does the same job round an outside boundary, and it leaves a cleaner line there than any flat chisel gives you.
Frequently asked questions
How many divisions can a leaf take?
Three at the top level, nine after the first split, and as many as your patience allows below that. I stop at nine on this panel, since a second carved layer is going over it and most of the fine work down here ends up hidden.
Which gouges does a leaf like this need?
Four, and three of them were already out of the roll. The 10 mm nine, a narrow eleven, a seven for outside boundaries, and a flat number 2 to slice the facets off at the end.
Should the two halves of a leaf match?
Better if they do not. Matched halves read as something pressed out by a machine, and your eye catches that long before your mind works out what is wrong with the shape in front of it.
What to carve next