

Alexander Grabovetskiy, woodcarver, School of Woodcarving · Published 2022
Can you copy a Grinling Gibbons carving exactly?
Quick answer: Copying a Grinling Gibbons carving is part tracing and part translation. You take his composition, split it across two boards, and redraw whichever passages run finer than the gouges on your bench. The shapes stay his. Depth, tool marks and every judgement about shadow finish up yours.
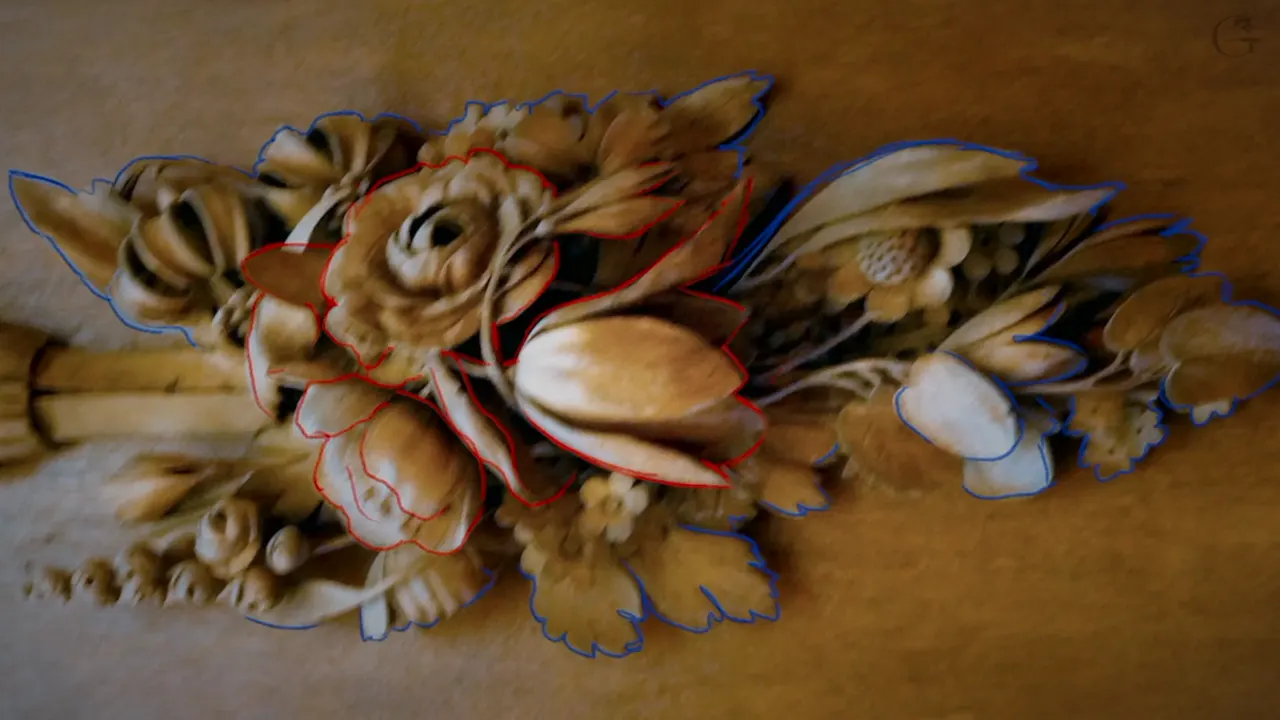
A Grinling Gibbons panel gets copied as a plan, never as a photograph. You keep his layout and his two layers. You redraw whatever runs finer than the gouges you already own. After that, every depth on the board is a decision you make yourself, and those decisions turn out to be the whole job.
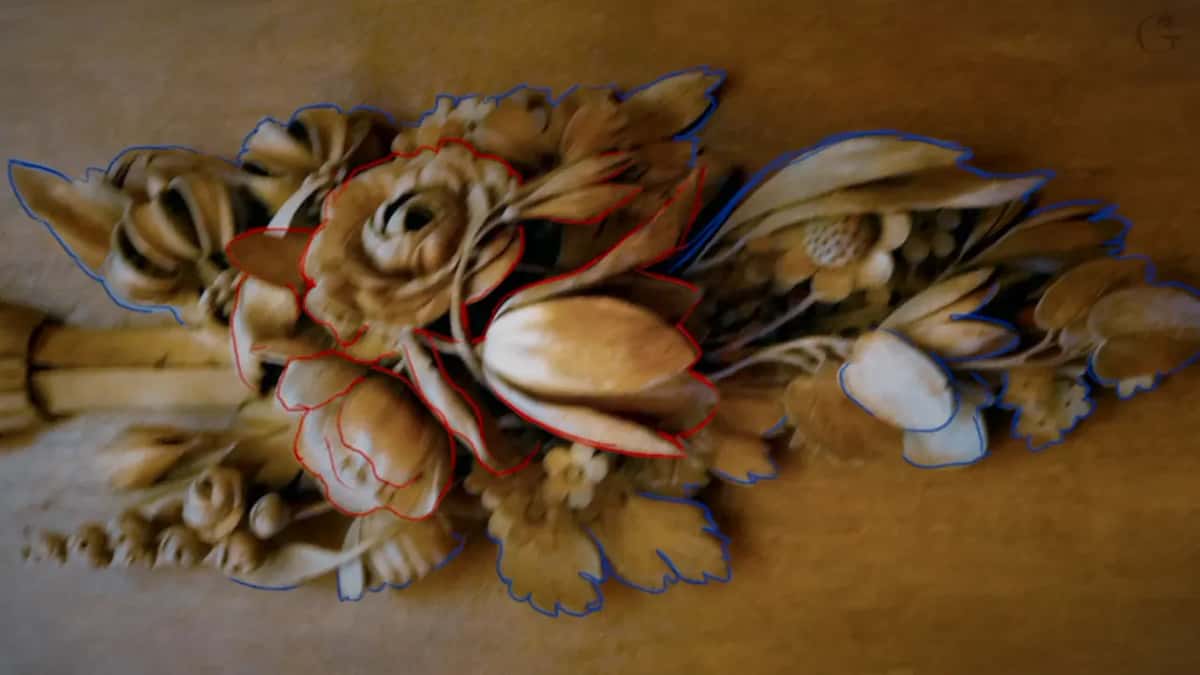
Have you ever set a photograph of his work beside your own bench and felt the size of the gap? Counted the petals in one corner and stopped halfway? Wondered how thick that wood even is? Plenty of carvers stall right there, before a single chip comes off.
What happened in Maine went like this. The room had chosen this project themselves, and I told them plainly that if it turned out too hard, that choice had been theirs. Then we opened the first class without carving anything at all. We pulled his design apart into layers instead, and that one hour decided everything that came after it.
By the end of this page you will know which parts of a master drawing you are allowed to move, why the tracing goes onto plastic rather than paper, and why a pair of basswood boards beats one thick slab.
What gets decided before the first chip
- Each carved layer comes off 50 mm stock, 2 inch, and the background is a separate 1 inch board.
- The drawing goes onto clear plastic in two marker colours. Red lives upstairs, blue lives downstairs.
- Label those sheets in words, upper and lower, big enough to read from across a bench.
- One element rules the panel, and everything else on the board is there to hold it up.
- Passages finer than your smallest gouge get simplified. His composition survives that easily.
- Legs and the handle sawn onto the blank stay whole right through to the end.

Which parts of his design are you allowed to change?
Anything your tools cannot reach, and very little else. The parsley leaves Grinling Gibbons put into this design run finer than most benches can follow, and a couple of his tulips do the same. We took the shape of each one and let some of the fuss go.
Simplifying is not the same as improving. Looking at one empty spot I nearly dropped a leaf into it, and then stopped, because putting a leaf there would have broken the main idea of the design. So the leaf went somewhere else and a tulip took the empty spot instead, because a tulip already belonged to that family of shapes.

When somebody in the room said a passage looked odd, I told them to blame the guy who drew it. That sounds like a joke, and it is half of one. The other half matters: your eye is three hundred years younger than his, and a shape that reads as wrong to you is usually just unfamiliar.
How do you split one design onto two boards?
Trace the whole thing twice on clear plastic, once for each layer. Study the original first and sort every flower, leaf and stem into one camp or the other. Gibbons built this piece on two layers, and the majority of the carving lives on the lower one, which surprises people who expect the drama to be up top.
Both carved layers come off 2 inch stock, which is 50 mm. The whole Maine course sits on that thickness, and it is the reason a flower can stand clear of everything behind it with air underneath. A one inch board goes behind the pair as plain background.

There is a deeper walkthrough of that sorting stage in the opening part of this class. Sorting sounds clerical until you try it, and then you find that a single leaf can honestly belong to either layer, and you have to choose.
Why does the drawing go onto plastic?
Plastic flips, and paper does not. Say the design in front of you has a mirrored half in it. Draw one side, turn the sheet over, and the other side is already there in the correct direction, matched perfectly, with nothing drawn twice. Try that with paper and you are looking at pencil through the back of a page.
Two marker colours do the sorting. Blue for everything on the lower layer, red for everything on the upper. I like the point made in colour rather than in notes, because you can stand back from a bench and read a colour at four feet.

Then write the actual words on the sheets. Upper on one, lower on the other. That looks like something no adult needs until the morning a student lays a sheet face down, traces it happily, and carves an entire layer in mirror image. I have watched that happen more than once, in one single room.
Where should a carver want the eye to land?
One element carries the panel and the rest works for it. Pick that element before any wood moves, because the choice sets every height on the board. Your main element stays the tallest thing there. A secondary element sits under it. Everything else falls away behind the pair of them.
Draw a line through a good composition and the main element tends to land near the sixty forty mark, which is close enough to the golden ratio to be the same instinct. Placement like that is why an old panel feels settled instead of busy. Our course on design principles takes that apart properly.
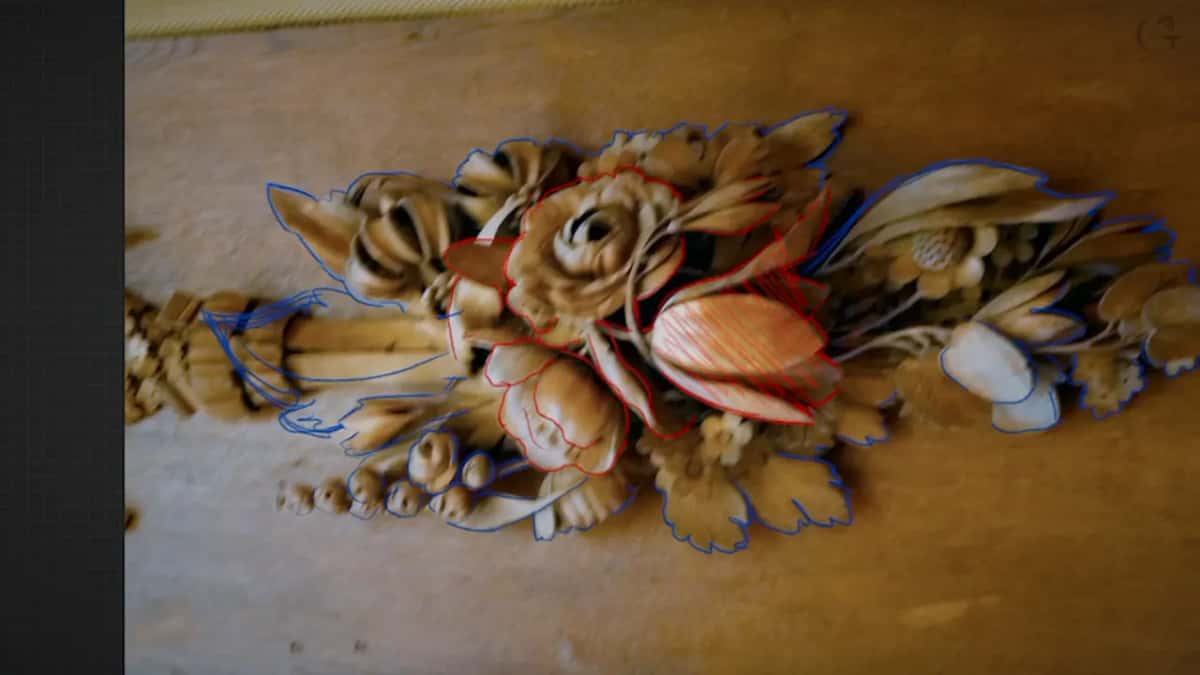
Add something in the wrong place and the panel loses its argument. That is exactly what nearly happened with the leaf. A design can carry one hero and a supporting cast, and the moment a second hero appears, a viewer has nowhere to look first.
Which gouge starts a two inch blank?
A number 9 at 20 mm, near enough 3/4 inch, and bigger stays better while mass is still coming off. Beginners reach for small tools out of nerves and then spend a week removing what a wide sweep clears in an hour. Small tools have their day, and their day is not today.
| Stage of the work | What is actually sitting in my hand right then | What it does |
|---|---|---|
| Chopping the waste away | A number 9 sweep, 20 mm across | Clears mass fast |
| Doming the lower board | The same nine, held low and moved gradually | Rolls a convex surface with no pit in it |
| Working around the legs | That same nine again | Runs up to the tabs and stops dead |
| Reading where the depth belongs | The plastic sheet and a pencil | Says which two high spots must stay standing at full height |

My own number 9 is an Auriou, made in France. Brand questions come up in every class, so here is the honest version: the steel matters less than the sharpening, and a cheap gouge kept sharp will outcarve a famous one left dull. There is a whole course on sharpening if your edges are fighting you, and another on choosing tools if the bench is still filling up.
Do you need to know why, or can you just follow along?
Understanding beats obedience every time, and it separates a carver from a pair of hands. I tell students not to work the way a learner driver works with the person in the passenger seat, where one voice says push, stop, turn right, and the other obeys with no idea why. You turn right because traffic runs that way. Carve on the same terms.
Every instruction here has a reason underneath it, and the reason is what travels to the next panel. A rule memorised without its reason holds up until the day your wood, your tools or your drawing differ a little from mine, which will be the very next piece you start. Old apprenticeships ran for years on exactly that principle.
Two steps at a time is how the room works. I show a pair of operations, everybody carves, and nobody moves on until the logic behind both is clear. Watching the acanthus work later makes far more sense once you have felt why a cut belongs where it belongs.
What does a slicing cut do that pushing does not?
Rotation does the work instead of your shoulder. Start the cut on one corner of the edge and finish it on the other, turning the handle through the pass. Less force goes in. More wood comes out. The surface behind the tool comes off clean rather than torn, on a 50 mm blank as much as on a thumbnail of lime.
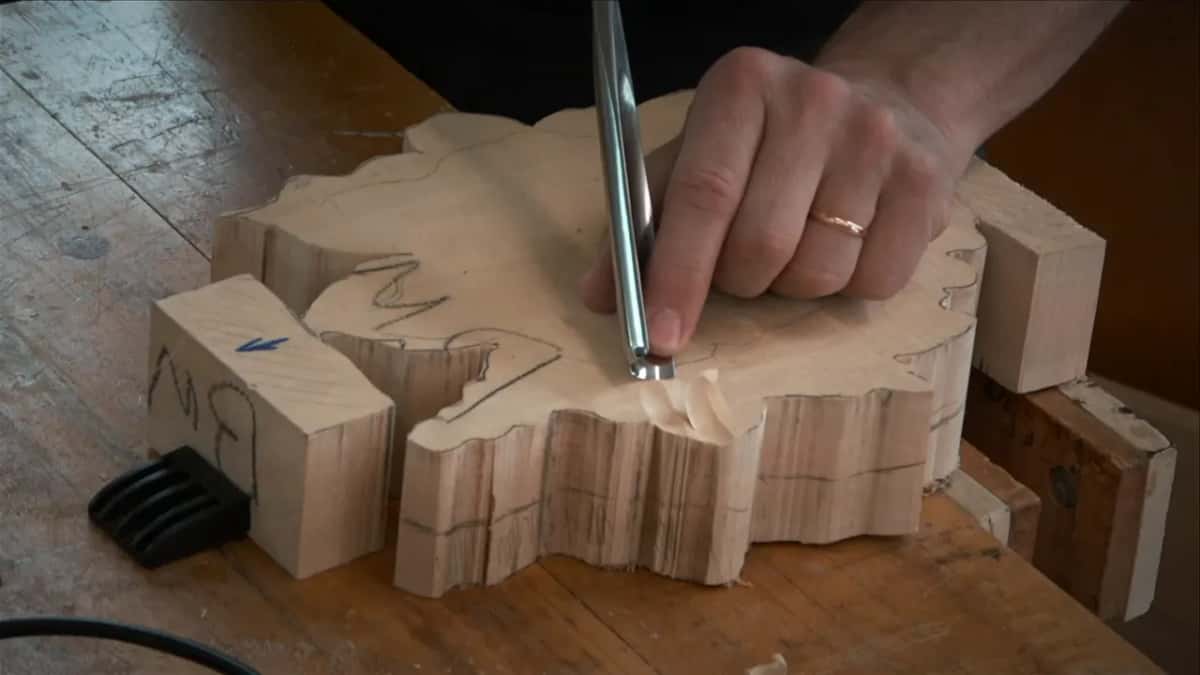
Push a gouge straight ahead and you are using your body to do what geometry should be doing. You get tired by lunch, the cut tears, and a long day of that is how people decide carving is not for them. I can take a full pass one handed when the rotation is right, and I am not strong.
Your other hand matters just as much. One hand rests solidly on the board or the bench at all times, never both floating in the air. A hand touching wood is a hand that knows where the edge is. More of that lives in the techniques course, where the cut gets its own workshop.
Why do the legs on the blank stay uncarved?
Flipping the panel over needs something to clamp, and those tabs are it. They look like scrap hanging off the ends of a sawn blank, which is precisely why a beginner carves them away in week one and then finds there is no way to hold the piece for undercutting.

Sequence runs like this. You carve the front until the shapes are settled. Then you turn the whole panel face down, clamp it by those legs, and open up the back, which is where the relief gets its shadow. Write the word untouchable on the tabs if it helps. I said it out loud twice in that first class, and somebody still nearly lost one.
Vice pressure follows the same logic. Enough to stop the blank walking, and no more than that. Squeeze a 50 mm blank hard between wood jaws and you will hear a leg let go, and there is nothing clever to do afterwards except glue and hope.
How far down does the first pass go?
Roughly 7/8 of an inch, about 22 mm, and no deeper on the first day. Leave an inch, 25 mm, of untouched wood all round the edge as well. You will want that material later, and every bit of depth carved into a flower has to come out of wood that is still standing.
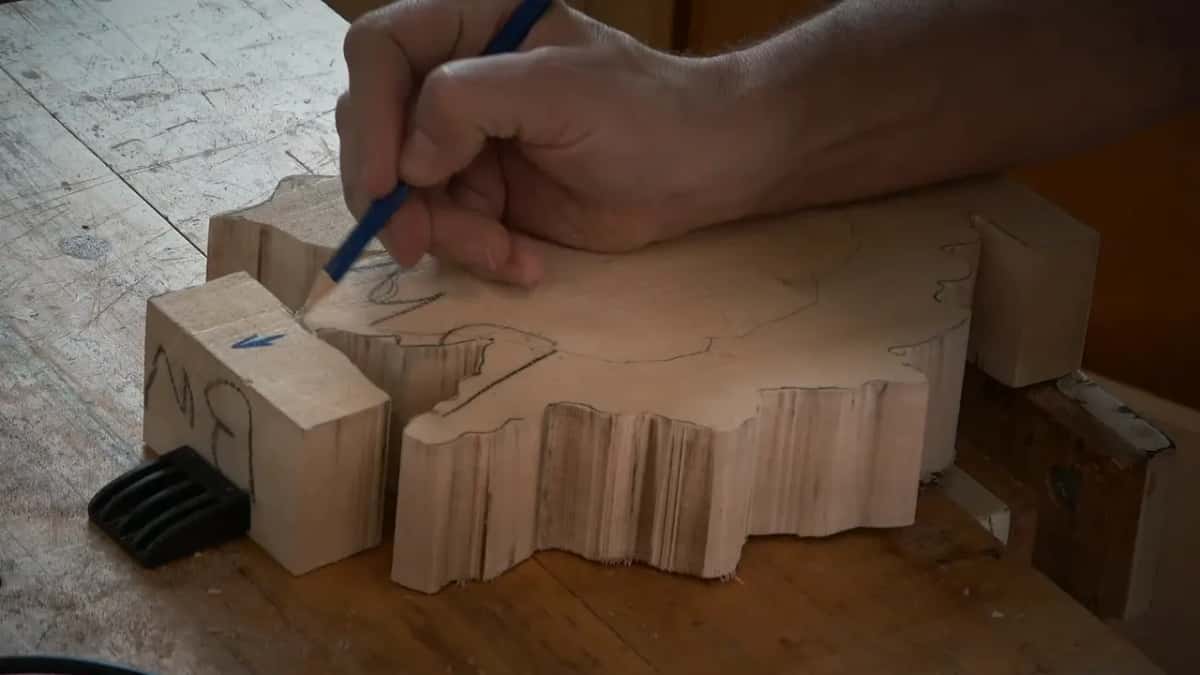
Two spots stay at full height, and marking them is the point of all that tracing. Lay the plastic back over the blank, find where the main flower lands and where the tulip lands, and pencil both. Everything outside those two islands comes down. Everything inside them waits.
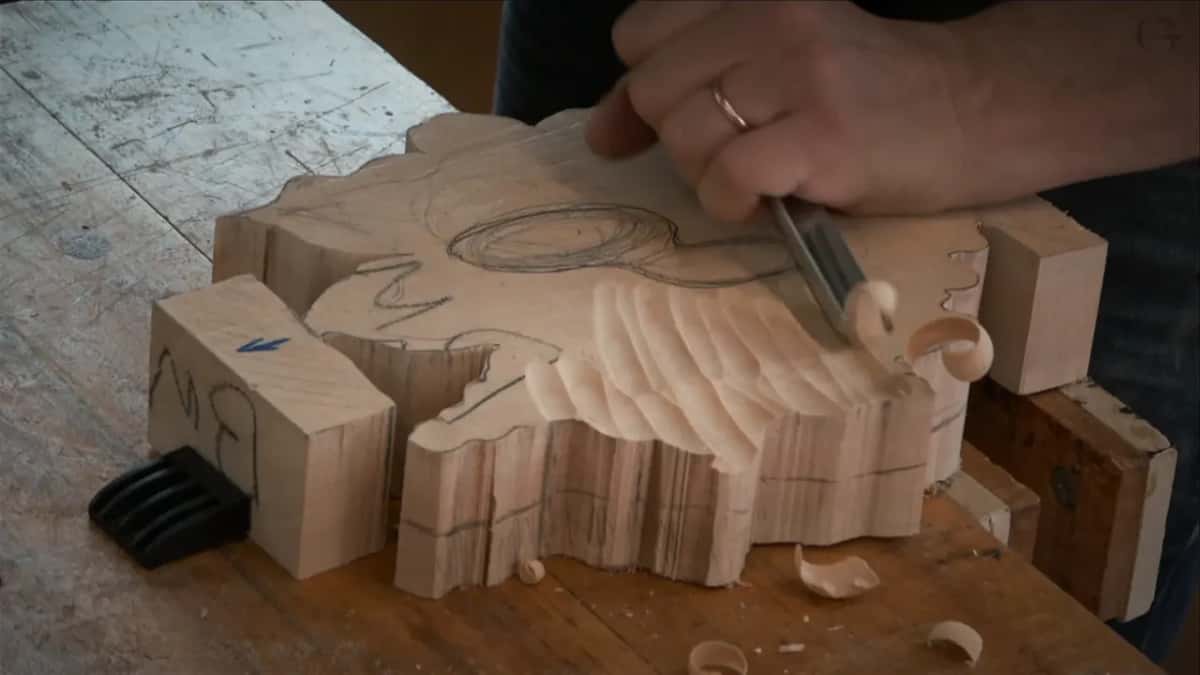
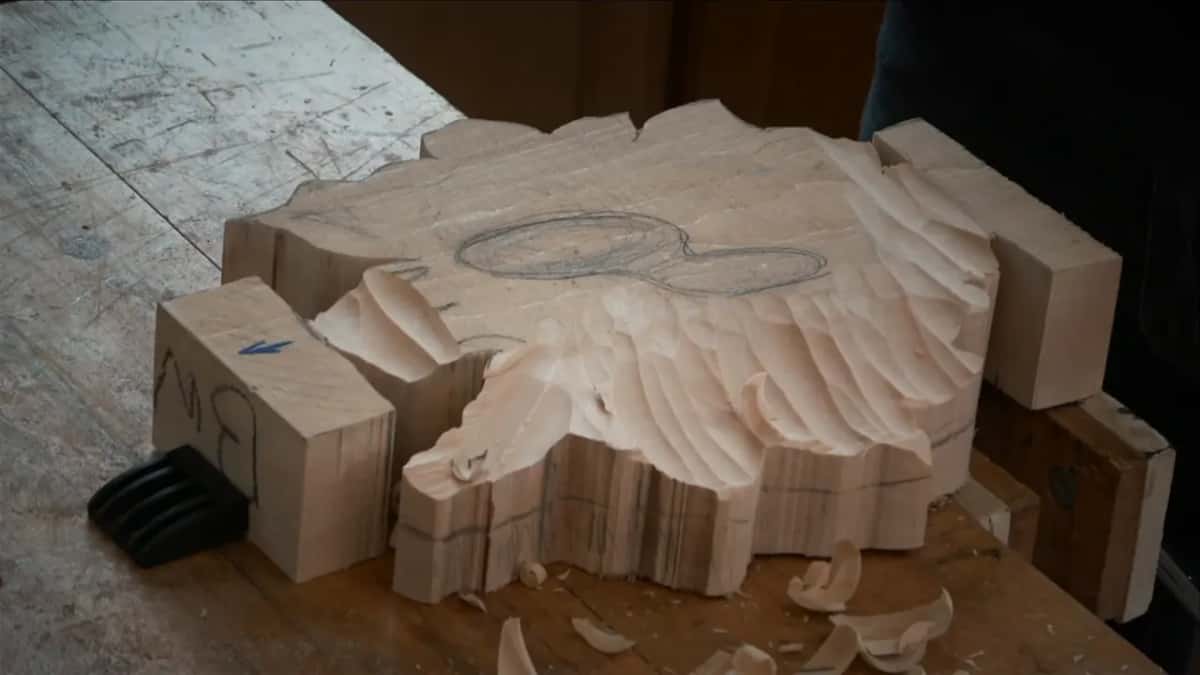
The surface that comes down is convex, not flat. From the traced boundary the wood should roll away like the back of a spoon turned over, so that the finished carving reads in three dimensions from any angle. Go straight down instead and the panel looks like a cake with decorations stuck on the top.
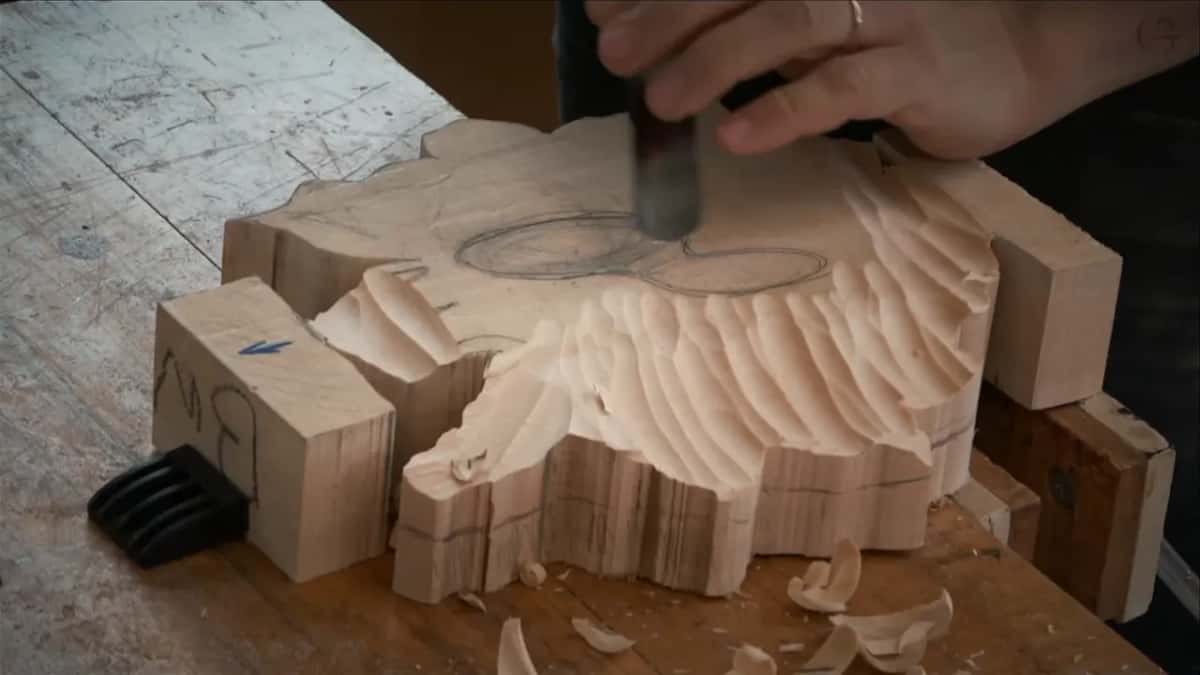
Concave and convex still trip people up after years, so here is the version I use in class. Concave is a cave, it goes in. Convex goes out. The lower layer of a Gibbons panel is convex, a low dome, and the back of the upper layer is hollowed to match it, which is how two boards end up reading as one carving.
If that idea alone is worth a morning to you, the way in is the tuition page. All eighteen Maine classes sit inside, beside the Hashemi flowers and the Venetian rosette.

Is a copy worth making at all?
Every carver I respect learned the craft by copying somebody else first. You are not competing with a dead man for originality. What you borrow is his eye, for a few months, and that borrowing turns up later in work which looks nothing like his, which is the only reason any of it repays the wood.
Photographs of his panels sit in the Victoria and Albert Museum collection, and the Carved Room at Petworth House is the one every carver should stand in once. He also worked at St Paul's Cathedral and at Hampton Court Palace, so the work is not hard to go and see.
Study the photographs for the dark spots rather than the petals. Those black holes between elements are carved all the way through the board, and light never reaches the back of them. Chasing shadow is the actual job, and copying his composition is just how a carver gets close enough to notice.
How it's done
- Trace the design twice on clear plastic. Heavy garden sheeting takes a marker cleanly and flips over, so a mirrored half traces off the same drawing without being drawn again.
- Colour the layers, red above and blue below. Sort every flower, leaf and stem into one camp or the other before any wood moves. Most of the carving will live on the lower board.
- Label each sheet upper or lower. Large enough to read across a bench. A sheet laid face down and traced happily produces an entire layer in mirror image.
- Pick the one element everything else serves. Your main shape stays the tallest thing on the board. A secondary shape sits under it, and the rest falls away behind both.
- Redraw whatever your tools cannot follow. Fine parsley and some of the tulips go beyond an ordinary bench. Take the shape, let the fuss go, and keep the composition intact.
- Dome the lower board with a number 9. A 20 mm sweep, three quarters of an inch, rolls the surface down to about 7/8 of an inch while an inch of edge and two high spots stay standing.
Frequently asked questions
What wood does a Gibbons style panel need?
Basswood, called lime in Europe, both being the same tree. Two boards of 2 inch stock, 50 mm, carry the carving, and a separate 1 inch board goes behind them as background. Thickness is what lets a flower stand free with air beneath it.
Do you have to use two layers?
Gibbons built this design on two, and matching his layer count keeps the depth he intended. Working from a single slab flattens the piece, because no amount of skill recovers the air between boards once you have chosen not to have any.
How long does a project like this take?
Eighteen classes ran in Maine, each one a working session rather than a demonstration. A carver at home should count on months rather than weekends, and the early hours go entirely to drawing and sorting layers.
What to carve next