

Alexander Grabovetskiy, woodcarver, School of Woodcarving · Published 2022
Why is one spot on the back of a carving left uncarved?
Quick answer: The untouched spot on the back of a carving is its glue joint. Everything else on the reverse comes back to a knife edge so light can travel under the work, while one patch beneath the heart of the design stays thick, because glue needs a flat face and nowhere else is flat any more.
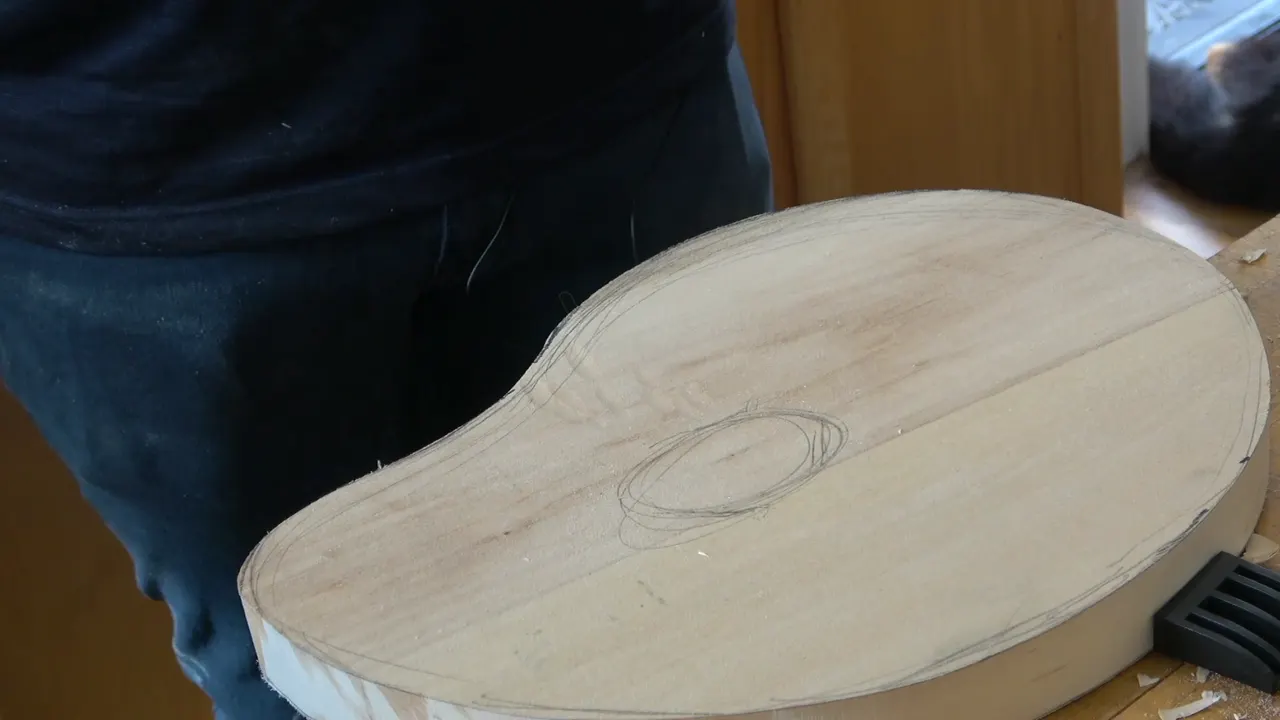
One patch in the middle of the back never gets touched. The rest of the reverse comes down to a knife edge so light can travel under the carving. That untouched patch will be the only thing holding this piece to its panel, and it gets decided before you ever turn the work over.

Ever thinned the reverse of a carving until the whole thing felt like a leaf, then realised there was nowhere left to put glue? It happens on the first pierced panel almost everybody makes. The fix costs nothing at all.
Class six in Maine was where that came up. We took the first layer off its board, clamped it face down, and started opening the reverse with a number 9 at 20 mm. I used my own chisel to prise it free rather than the one lying there, which belonged to Bill. Do not tell Bill.
By the end of this page you will know how thin the reverse actually goes, how the joint gets found and marked, and why the Gibbons ground behind it gets hammered with a filed nail before anything is stuck down.
Before you turn it over
- The reverse goes to a knife edge nearly everywhere. Light under a leaf is the whole point.
- Stems keep 6 mm. Thin them further and they let go under load.
- One patch stays thick and untouched, because glue needs a flat face to grip.
- Walls left standing behind a shape make the carving read heavy from the side.
- Flip the piece and look at the face every few minutes. Seconds, that is all.
- The ground gets textured and stippled before the two halves are joined.
- No clamps go anywhere near the glue up.
We took that layer off at the point in the day when everybody needed a rest from carving, and that was a scheduling decision, not a joke. Prising a piece free is about the only job on this course you can safely do with tired hands. Which chisel to reach for is covered in the tools course.
How thin does the reverse go?
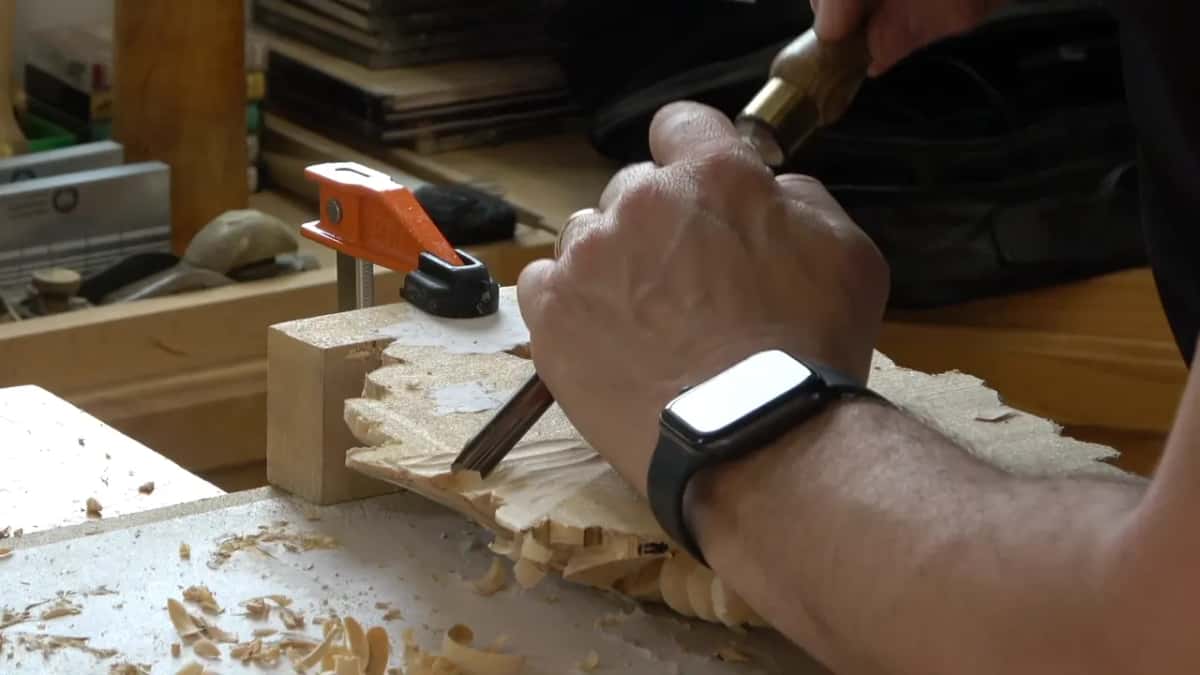
To a knife edge wherever an edge shows from the face. A leaf that ends in a blunt square looks like what it is, a shape sawn out of a plank. Thin it from behind until that edge nearly vanishes and the same leaf starts behaving like something with air under it.
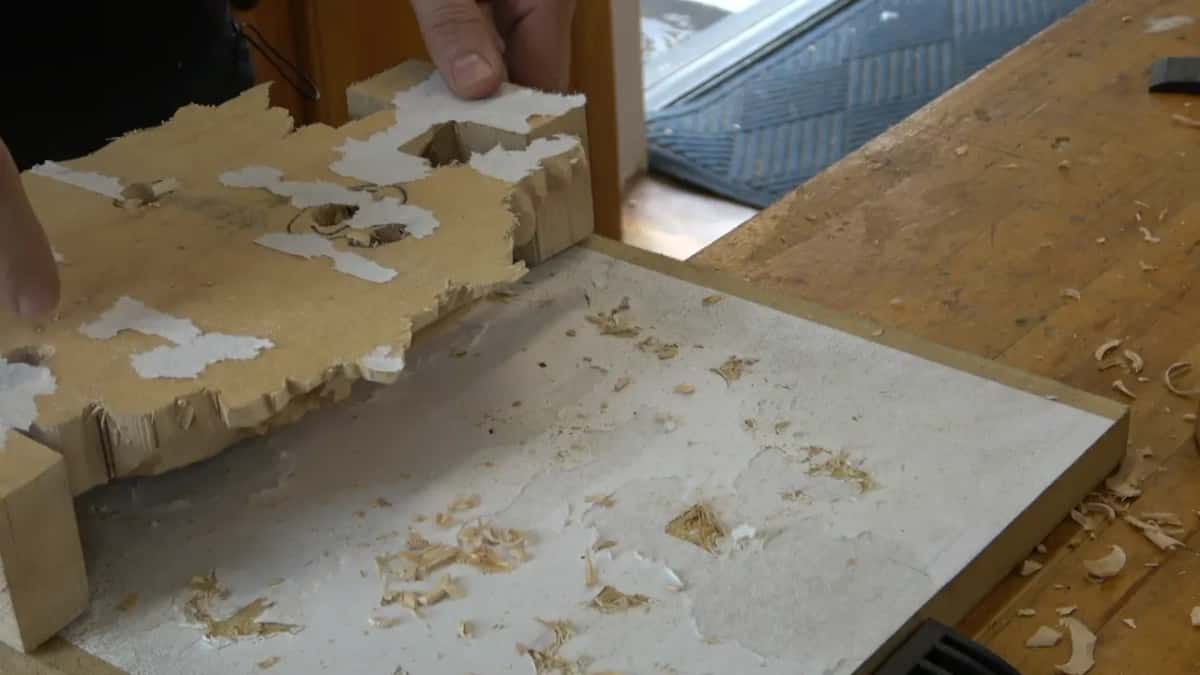
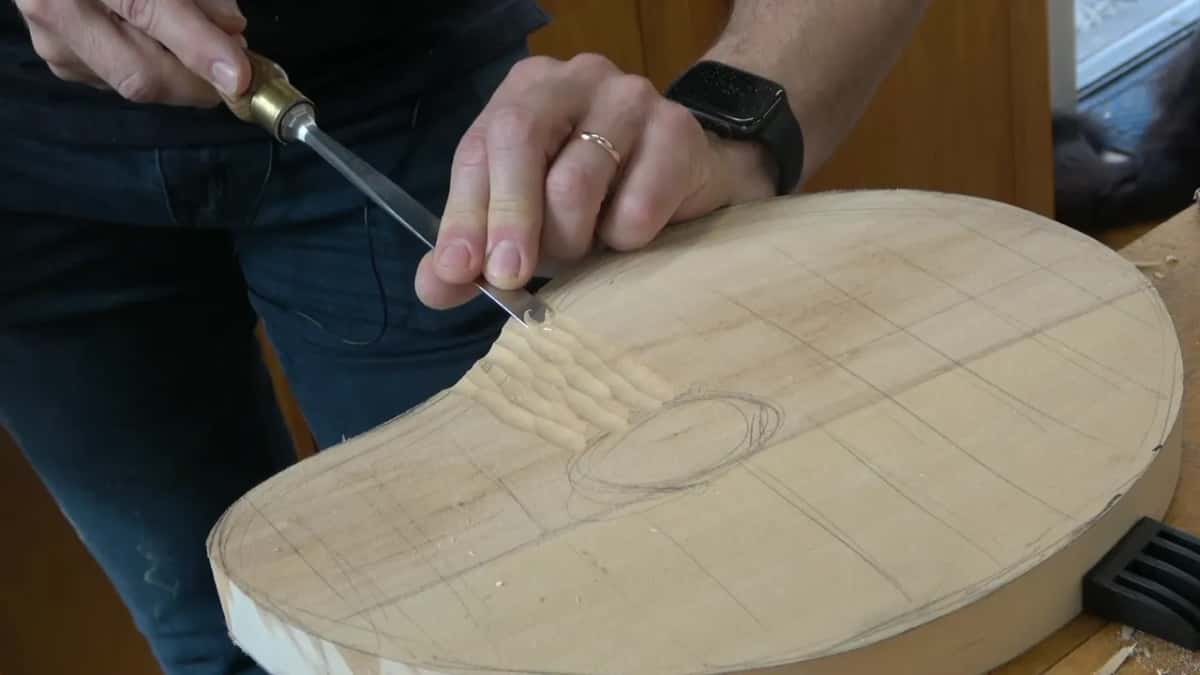
Use a number 9 at three quarters of an inch. A number 7 works too. Carve across the grain, slicing rather than shoving. Chips come away in curls when the angle is right, and in dust when it is not.

Stems are the exception. Those keep 6 mm in them, since a stem carries whatever grows off it and a thin one lets go at the worst possible moment. A great deal of material has to come out around them before they are even visible from behind.

What is a wall, and why must it go?
A wall is a flat face of wood left standing where the reverse should have curved away. It costs nothing to leave and it shows, because anybody standing off to one side sees straight past the edge of the carving and finds a slab looking back at them.

Walls come off with a smaller tool than the one that made them. Chase the whole reverse for them before you start feeling finished, because they hide in exactly the places your hand has been resting all morning.
Where does the glue patch go?
Under the heart of the design, and it stays thick while everything round it comes down. Untouchable, I called it, and I said so more than once, in the tone I keep for instructions people ignore.

Glue nowadays is excellent. So the joint will not be what fails here, and a small clean patch beats a large one spread over a surface that has just been hammered all over with a nail.
How do you find that place on the ground board?
Lay the carving where it will live, then reach a pencil through one of the openings and draw round that thick patch onto the board underneath. Both halves now know where the joint belongs.

The pencil oval matters more than it looks. Everything else on the ground is about to get textured and hammered, and the one area that has to stay flat and clean is the one you just drew round. Texture under a joint is a set of gaps.

| Where | Depth | Why |
|---|---|---|
| Leaves, petals, anything with an edge | Down to a knife edge | Light has to be able to get underneath it |
| Stems | 6 mm, and not a shaving less | Thin enough to read from the face, strong enough to last a lifetime |
| The middle | Not touched | It is the only glue joint this carving is ever going to have |
| Walls left standing | Gone | A wall makes the whole piece read as heavy from any angle but straight on |
Why keep checking the face?
The reverse gives you no warning at all. You are carving blind toward a surface you cannot see, and the first sign of going too far is daylight through a petal. Turn the piece over, look, turn it back. Being lazy here costs a petal.

By now, holding the thing is a skill in itself, since there is very little left to grip. The handles are about to come off at the bandsaw and the piece is fragile. Hands go solid in the middle, on the one patch of wood still at full thickness, which happens to be the patch you are saving for glue.

Fitting the upper layer into the lower one
Excavate, offer it up, excavate again, offer it up again. You keep going until the upper piece drops into the lower one and locks itself in place, and there is no clever way to shortcut that. A bigger tool is quicker for chopping a handle down out of the way, so use one.
Fit before you develop. Anything the upper layer is going to cover completely is work you never have to do, and you cannot know what that is until the two pieces sit together properly. The furniture panel course runs on the same order of operations.
If the first layer is not finished, carry on anyway. You can still reach in and work on it after the second layer goes down, and some areas get harder rather than impossible. Nobody in that room needed to stress about it, though several did.
One more thing about the arrow. A blue arrow is drawn on the end block of each blank and it stays there through every stage, because once a piece has been flipped, sawn and refitted three times, nobody in the room can remember which way up it was meant to go. I still had mine when the second piece went on.
Two steps at a time is how the room runs. I show a pair of operations, everybody carves, and nobody moves on until both make sense. This project is intensive enough without me stacking six instructions on a bench at once. Anyone who lost the thread was welcome to walk over and photograph my piece, and I said so out loud more than once.
The wood under all of this is basswood, which Europeans call lime and which is the same tree, Tilia. Lime takes a stipple without crumbling and it lets a chisel slide under a glued layer without splitting, which is two favours in one afternoon. Try this sequence on oak and you will learn quickly why a lime board is the first thing I reach for when a carving has to be opened from behind.
The pattern itself is old. Stippled grounds run right through the Chippendale era and a long way before it, made by people working with a hammer and a filed nail, exactly like this. Nothing about the method has improved since, which is unusual and worth saying out loud.
Why texture the ground before gluing?
A bare sawn ground behind a carving looks like a bare sawn ground. Texture gives it a surface a hand made, and the work in front reads better against something alive than against a blank. This is where old furniture and modern work part company most obviously.

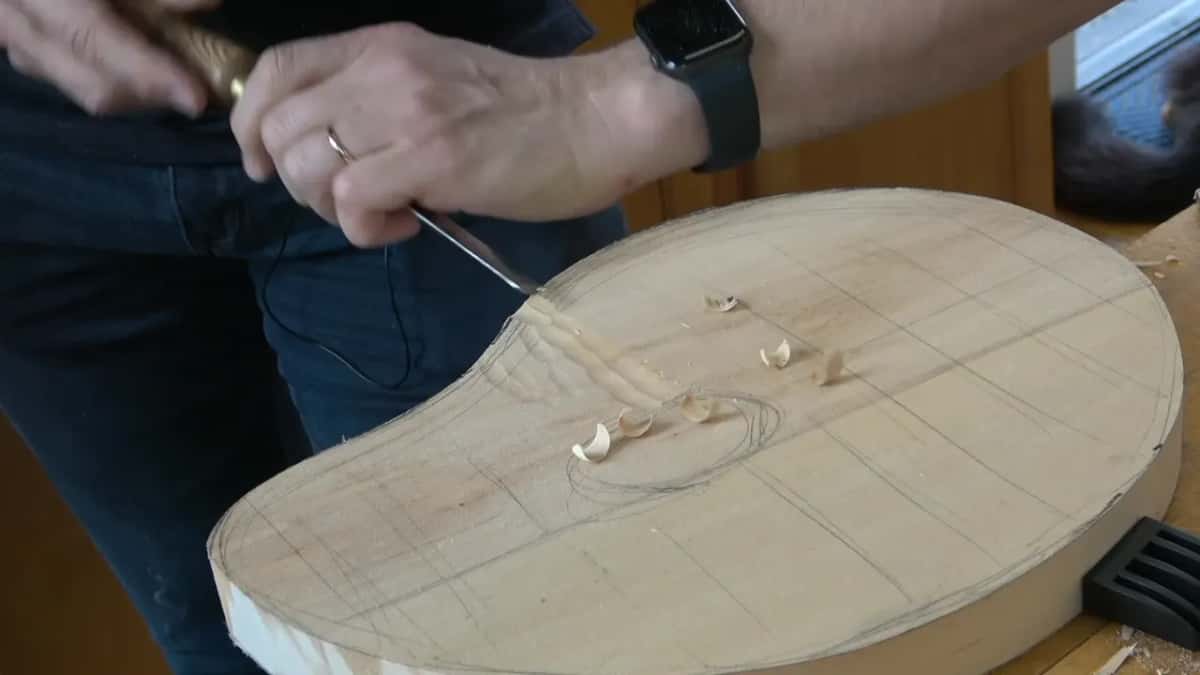
The pass is a number 7 at 14 mm, taken at about ninety degrees to the grain direction, each one around five eighths of an inch long and never much more than a quarter of an inch either way. Then the next lands on the final third of the one before it, so the surface builds in overlapping steps instead of stripes.
What stops the texture looking busy?
Knock the tops off it. A number 2 laid over the ridges and worked in small circles takes the high points away and leaves everything below them alone. Almost flat, still obviously done by hand, and quiet enough that the carving above keeps the attention.

Do it or skip it, your call. I like it. What I would not do is leave that first pass standing at full height, because a loud ground and a loud carving fight each other and the carving loses.
Where does a background punch come from?
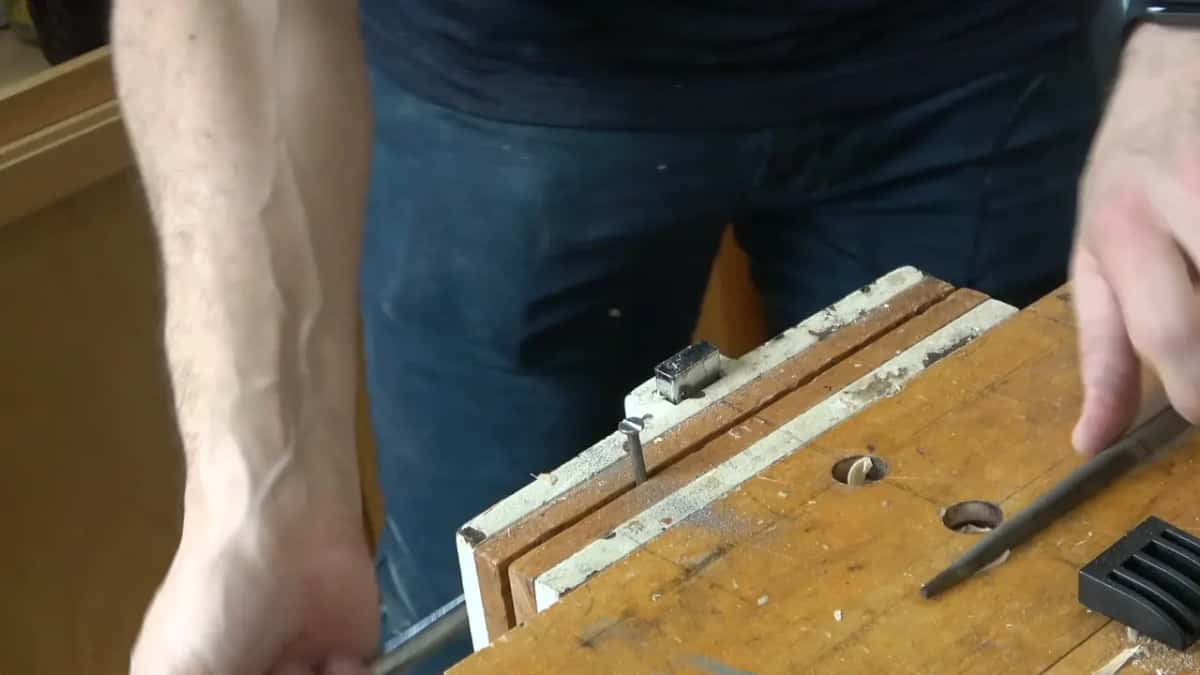
A nail and a file. Clamp a hard nail in the vise, file a set of crossing lines into the head, and you have a punch that prints a grid instead of a dimple. The job is short and the nail gets hot enough to complain about.

Make your own tools. Half the things hanging over a carver's bench started life as something else, and a punch is the easiest place to begin, since whatever shape you cut is the shape it leaves. Cross hatching or a grid, take your pick.
How is the punch actually used?
Hold it about three eighths of an inch above the board, not resting on it, and hit it with a hammer. Keeping it clear lets the punch land where it wants rather than where you aimed, and that wandering is the whole trick.

Work at random. No rows, no rhythm, and let the density fade as it travels outward. Seventeenth and eighteenth century furniture is covered in this, and it is covered in it precisely because nobody was trying to be neat.


Does gluing it down need clamps?
None at all. Spread glue on that thick patch with your finger, the best spreader ever made and always where you left it. Set the carving down, rock it until it grabs, and walk away for half an hour.

Rocking does the work a clamp would do. Two faces pull together, the glue line closes, and the piece holds itself while it sets. If that makes you nervous, drill through the ground inside the joint and put a screw in from behind, where nobody will ever see it.

Glue the patch and nothing else. Spreading it over the whole reverse sounds safer and is the opposite, since squeeze out has to go somewhere and where it goes is up into the undercuts you spent two days opening. The grape onlay course has the same joint carrying a much heavier piece.
The upper layer is sitting on top of all this too, waiting. Its own back gets hollowed to match the dome underneath so the two read as one carving instead of a stack, and that hollowing is the job the Byzantine acanthus course opens with. The techniques course covers holding fragile work while you do it.
Is any of the reverse ever seen?
Almost none of it, which is exactly why it gets carved. What a viewer sees is the shadow a thinned edge throws and the light coming through the openings, and neither exists if the back is left as it came off the saw.

Three hundred year old work in relief is full of this. Nobody was paid extra for the backs. They did it because the face does not work without it, which is about as good a definition of the craft as I have ever managed.
I did not travel up from Florida to do a bit of scratching. Maine is beautiful and the trip is long, and there is no reason to make that trip for a simple project that bores everyone including me. This one is ambitious and hard, and I said so on day one.
If you want the whole thing, the way in is the tuition page. The Maine course sits inside with the Hashemi flowers, the design course and the sharpening course, since a blunt number 9 will not open a reverse at all. Beginners should start with the cutting board project instead.
How it's done
- Clamp the freed layer face down. The carving comes off its board with a chisel worked along the grain, then gets held upside down so the reverse is reachable.
- Open the reverse with a wide nine. Across the grain, slicing rather than shoving, because a shove tears the fibres it should be parting. A seven will do it too.
- Leave the stems alone at 6 mm. Any thinner and a stem lets go under the weight of whatever happens to be growing off the end of it.
- Save the middle patch. Left thick and never touched. That patch is the entire mechanical joint between this carving and the panel it will live on.
- Mark the joint on the ground board. Lay the carving where it belongs, reach a pencil through an opening, and draw round the thick patch. Keep that oval clear of texture.
- Glue the patch and rock it home. Spread with a finger, set the piece down, rock it until it grabs, then leave it half an hour. No clamps anywhere near it.
Frequently asked questions
How much of the back should stay thick?
Enough directly under the design to give glue a flat face, and no more than that. A small clean joint holds better than a wide one spread across a surface that has been hammered, and glue today is good enough that the joint will not be the weak part.
Can you clamp a carved layer down instead?
There is nothing flat left on the face to clamp against, which settles the argument. Rocking the piece until the glue grabs pulls the two faces together on its own, and a screw driven through the ground from behind adds certainty if you want it.
How thin is too thin on the back?
The moment daylight shows through the face, you have gone past it. Edges can go to nearly nothing, stems want their 6 mm left in them, and turning the piece over every few minutes is the only reliable way to know where you stand.
What to carve next