

Alexander Grabovetskiy, woodcarver, School of Woodcarving · Published 2022
What wood did Grinling Gibbons carve in?
Quick answer: The wood in a Grinling Gibbons carving is lime, called basswood in America, and it was mounted on an oak ground behind it. Pale, fine grained stock for the flowers and fruit, something dark and hard for the wall they stand against. The contrast does half the work.
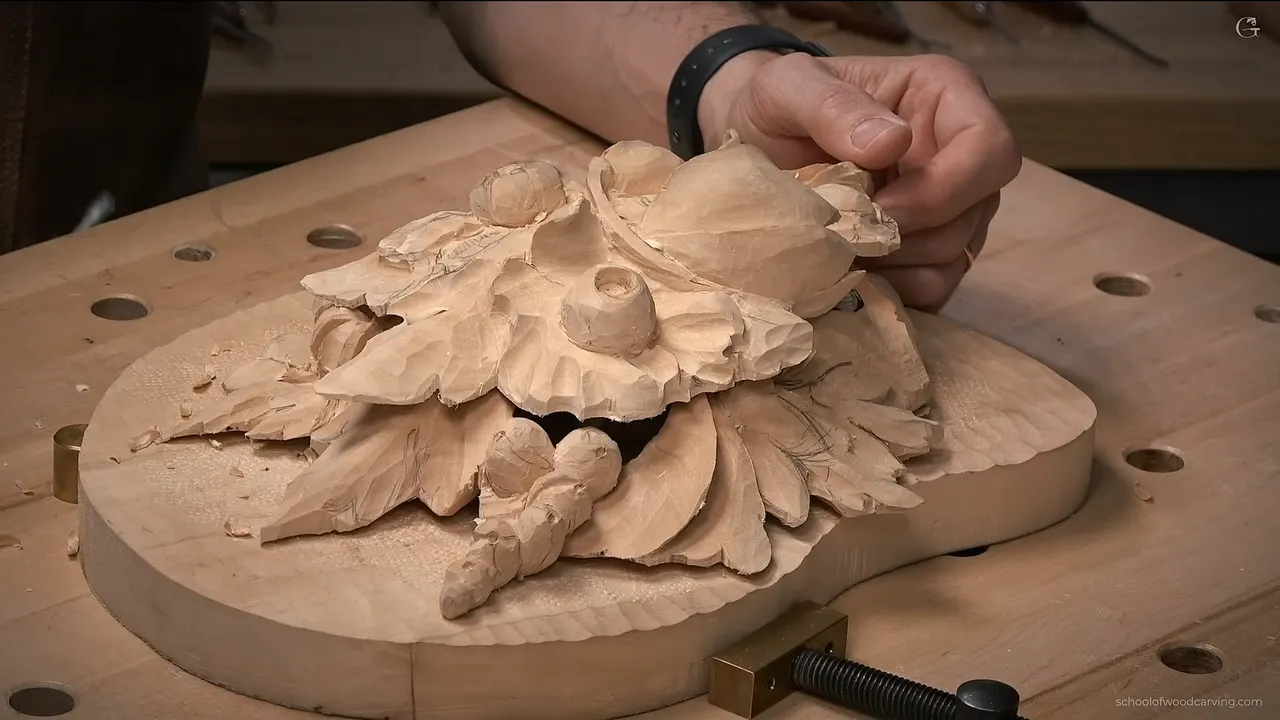
Gibbons carved in lime and hung it on oak. Pale, soft, fine grained wood for the flowers and fruit, and a dark hard ground behind them. That pairing is doing as much work as any of the carving, and almost nobody copying him bothers with it.

Ever finished a panel, stood it up, and found the whole thing looked washed out? Same wood behind as in front will do that every time. The shapes are fine. There is nothing for them to be seen against.
Class ten is where I take the piece off its own background and start planning a darker one. Along the way the wood tells me twice that I have gone too far, and I change the design rather than argue with it.
By the end of this page you will know which two timbers Gibbons used and why, what lime does just before you carve through it, and what a hole in the wrong place is actually worth.
The short version
- Lime for the carving, oak for the ground behind it.
- Pale against dark is half of why his work reads from across a room, and a panel carved and mounted in one timber throws away that contrast for nothing.
- Lime turns translucent before it breaks, and that colour change is the only warning you get.
- Crowded areas need separations, not more detail.
- Holes are an invitation to redesign.
- Originals allow that. Replicas do not.
Which wood did he actually carve?
Lime, which is sold as basswood in America and is the same tree either way. Fine, even, pale, almost no figure to fight, and soft enough that a sharp blade goes where you point it. Nothing else behaves like it at this scale of detail.
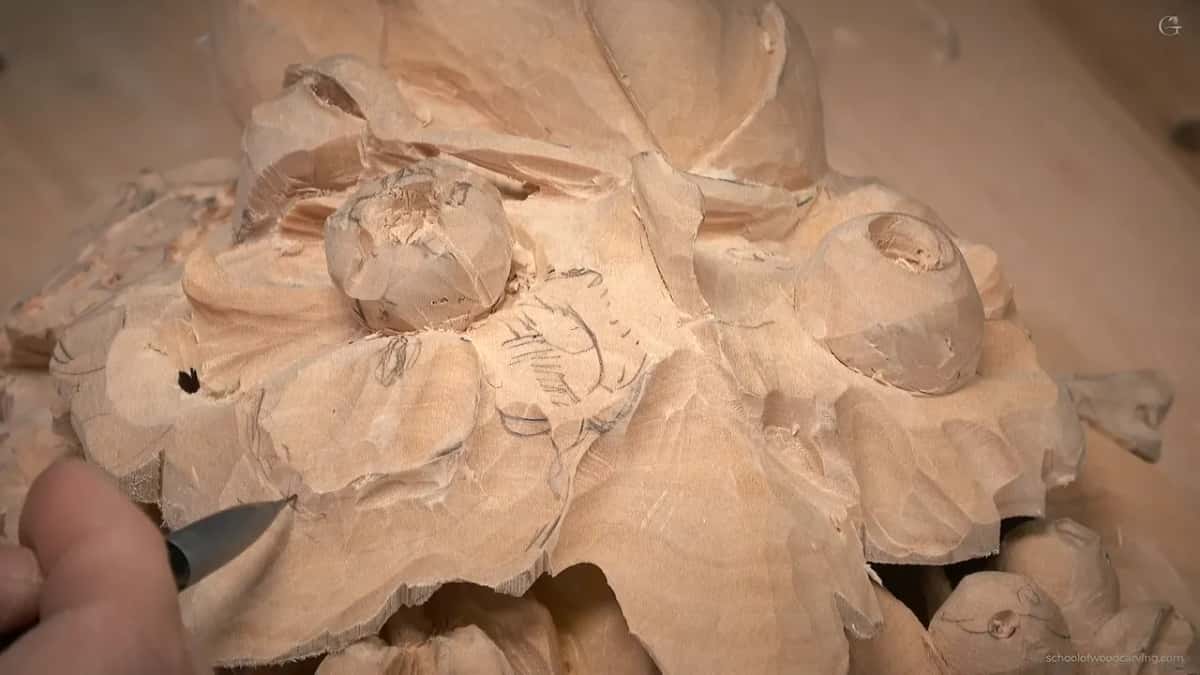
Then oak for the background board. Hard, dark, strongly figured, and a complete nuisance to carve, which does not matter because nobody was carving it. It only had to be a wall for the carving to stand against.

Why bother with two timbers?
Contrast. A pale flower in front of a dark ground separates right across a room, and the same flower in front of more lime does not separate at all. Every shadow you spent a week carving gets its value from what sits behind it.

Exactly the plan for this piece. The two carved layers come off the board they were glued to and go onto something darker, and the relief will gain more from that single decision than from another day of blades.
What does lime do before it gives out?
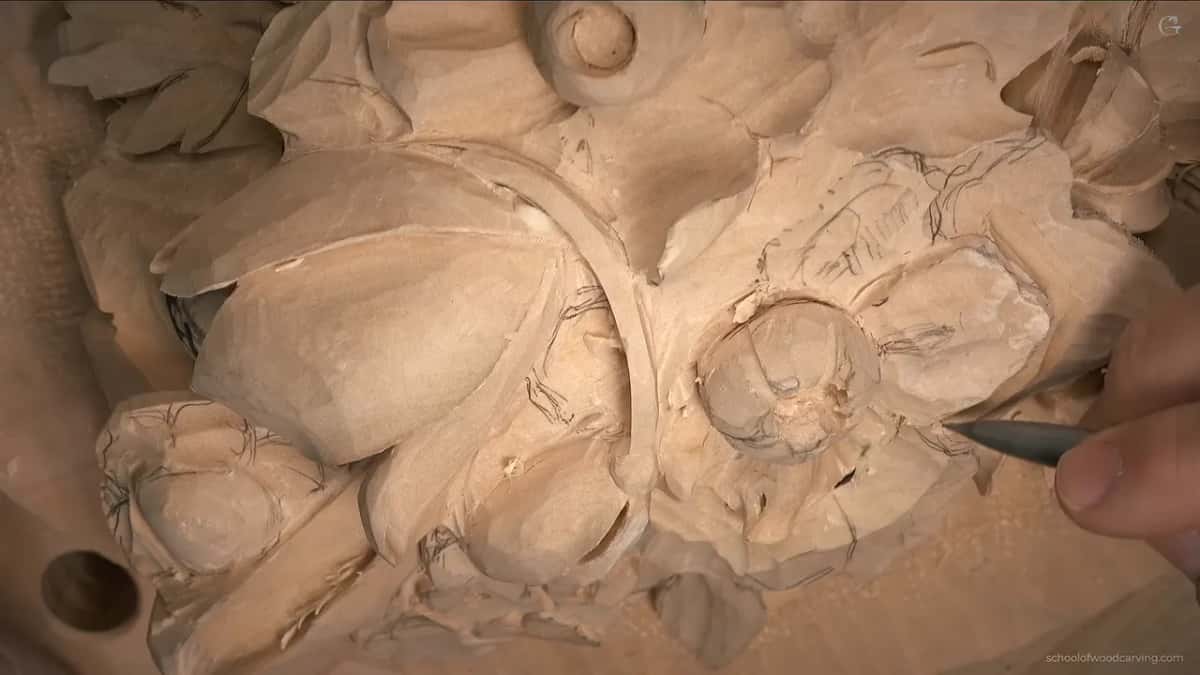
It goes translucent. Carving along the back of one leaf I noticed a patch turning darker, almost see through, which is the timber telling you that light is nearly coming the other way. Another pass there would have been a hole.

Nothing else warns you at all. Wood does not creak before it fails at this thickness, and there is no sound and no resistance to feel through the handle, so the colour change is the whole alarm system, and it only exists in a pale timber. Try that on walnut and the first sign is the sound of something coming off.
What stops the changes drifting?
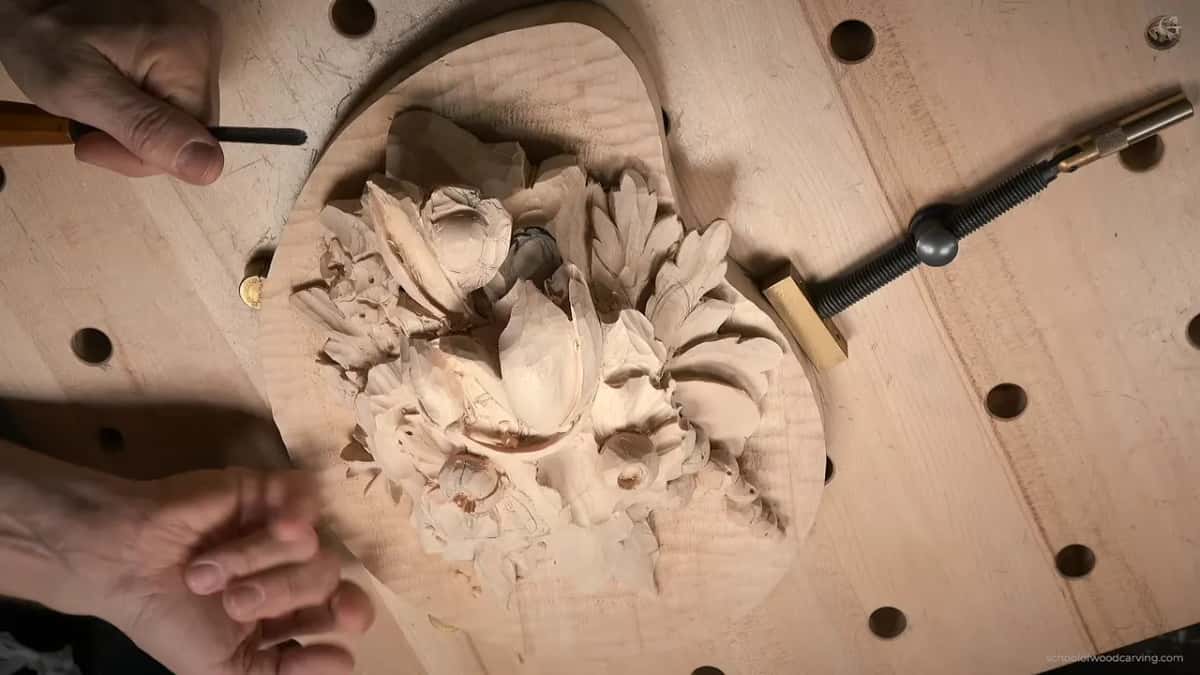
Keep looking at the original. I had the iPad propped up all session, because we had already changed a great deal from the photograph and I did not want those changes going off in random directions.
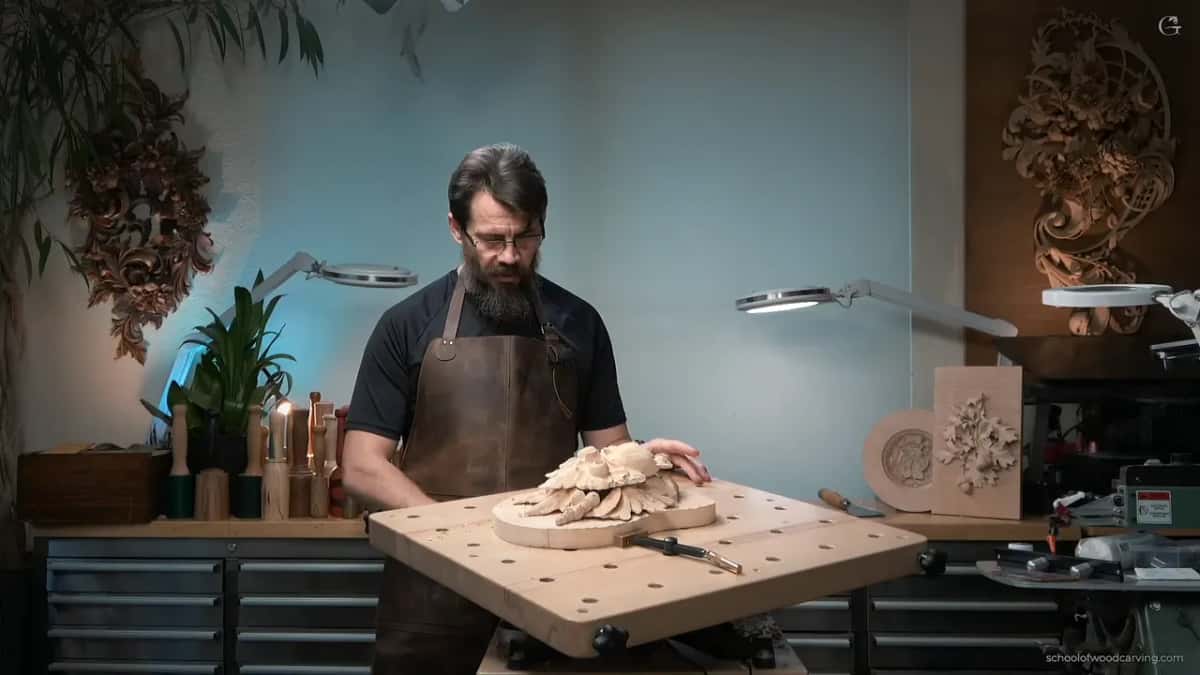
A design drifts one small sensible decision after another. Each one looks reasonable alone. Ten of them and the panel no longer belongs to anybody, which is why the design course spends so long on keeping a scheme coherent while it changes.
What do you do with a busy area?
Separate it rather than detail it. One section of this panel had too much going on, and the fix was not finer work. It was gaps. Openings between shapes give the eye somewhere to rest and let each form be read on its own.

Holes help with exactly this, which is why one arriving by accident is rarely a loss. I used one to split a mass into three leaves, and another let me turn a single leaf into a pair without redrawing anything.
Does it still look like two pancakes?
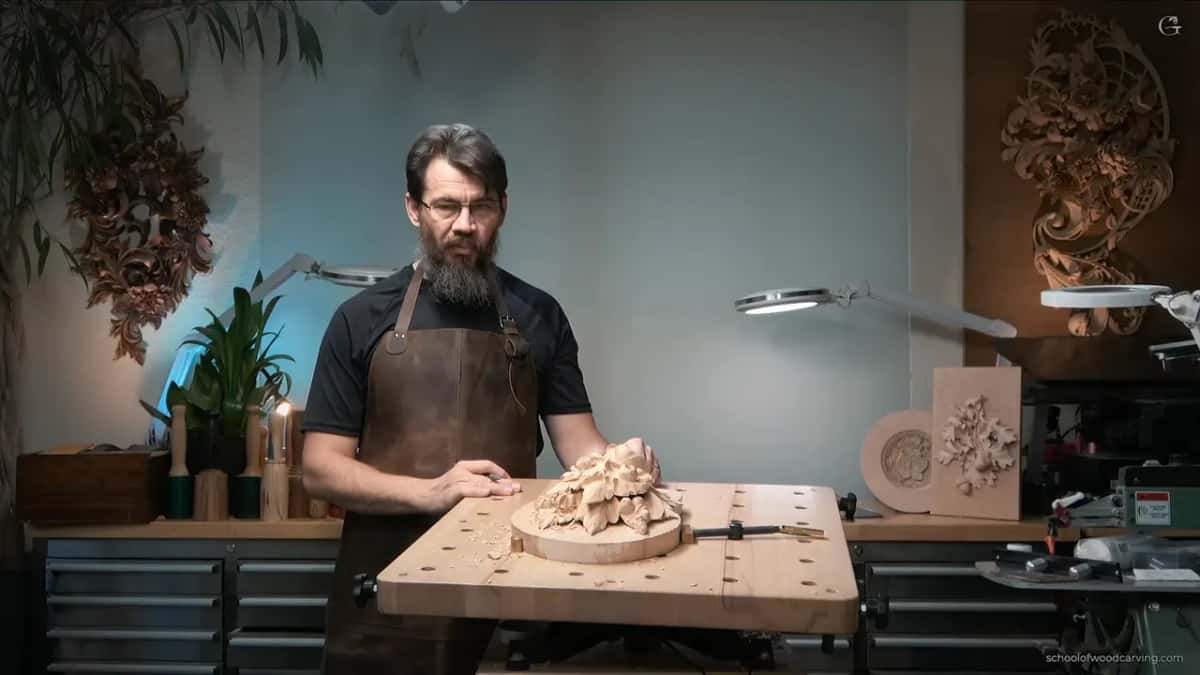
From the side, yes, and I said so out loud. Two flat things stacked. Layered panels do that, and the work of this stage is carrying shapes between the layers until the stacking stops being the first thing anybody notices.
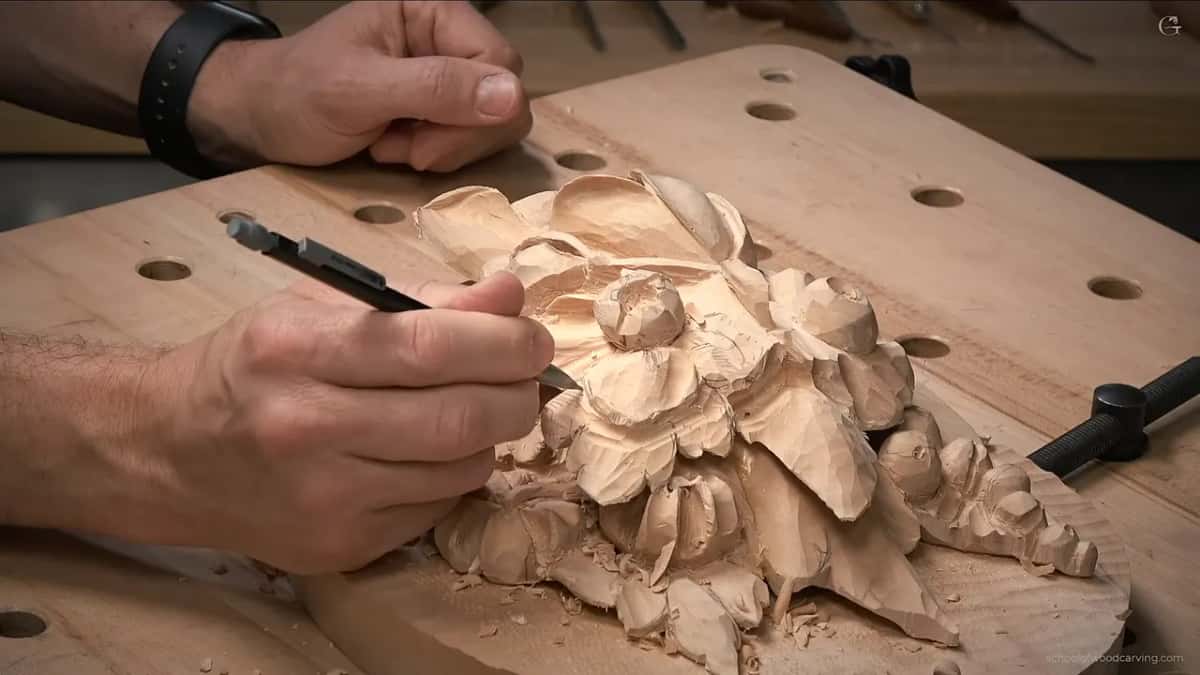
His own early panels do the same. Look at one from an angle and the construction is right there, not always, but often enough that it clearly never troubled him. Worth knowing before you spend a day trying to make a seam vanish.

Which tools came out for this?
More than the class used, and older. A number 8 at 5 mm did most of the digging, an early Marples that I keep for the way it sits in the hand rather than for anything it does better than a modern one.

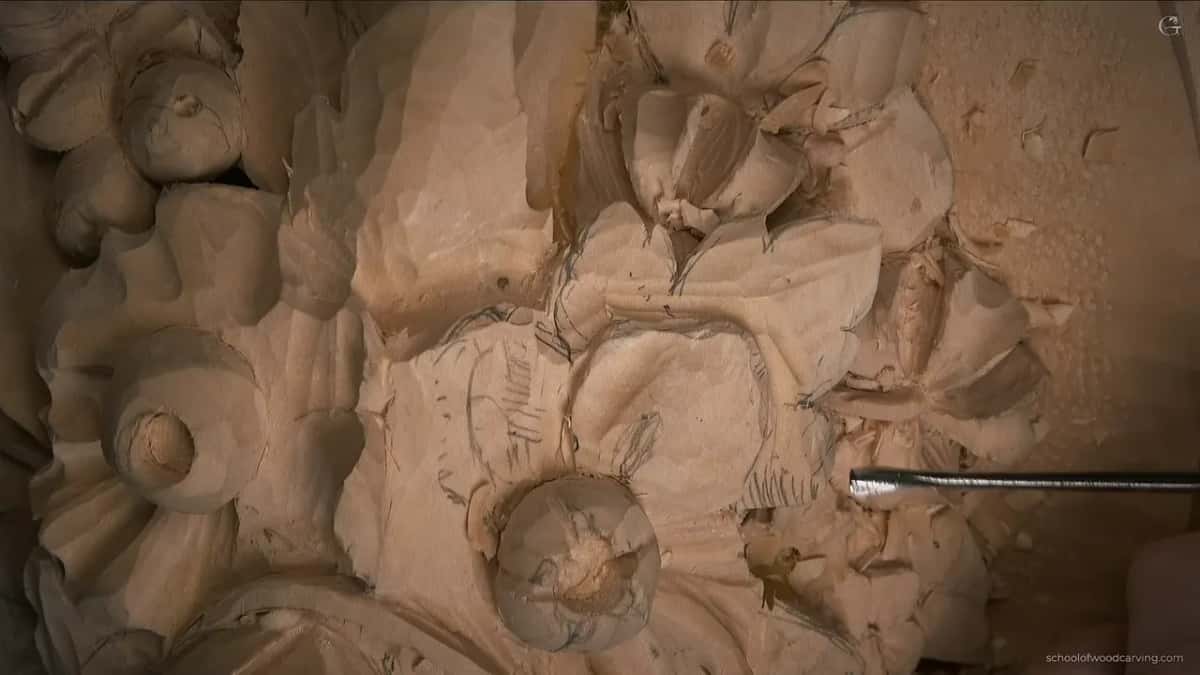
Beside it sat a number 11 spoon at 4 mm, for reaching under things, and a shallow number 3 for cleaning up after it. Then a number 9 at a sixteenth of an inch to exaggerate an undercut, and an eleven ground to half a millimetre for work I can barely see.


What is a number 16?
A V tool, and mine cuts at about 35 degrees. Antique English, bought long ago, and the modern Swiss makers produce the same number if you would rather have a new one. It undercuts deeper than anything else I own.

Flute to the left, in this case, and then the same tool from the other direction afterwards. Working a V tool from both sides is how an undercut gets wide enough to throw shadow without the walls closing back in on each other.


| Signal | Meaning | Answer |
|---|---|---|
| The wood goes translucent | You are almost through | Stop there and go and work somewhere else on the piece |
| A section looks busy | Too many shapes sitting at one depth | Open separations |
| A hole appears | The reverse was thinner than it looked from the face | Change the design round it |
| It still reads as two flat pancakes stacked up | Nothing travels between the layers | Carry a shape from one board across into the other |
| Nothing is left to undercut | Paper | Leave it |
And when a hole turns up anyway?
You get a free change of design. None of which is me being cheerful about damage, and it is the genuine reason I would rather work on something of my own than on a copy. I said as much with a fresh hole in front of me.
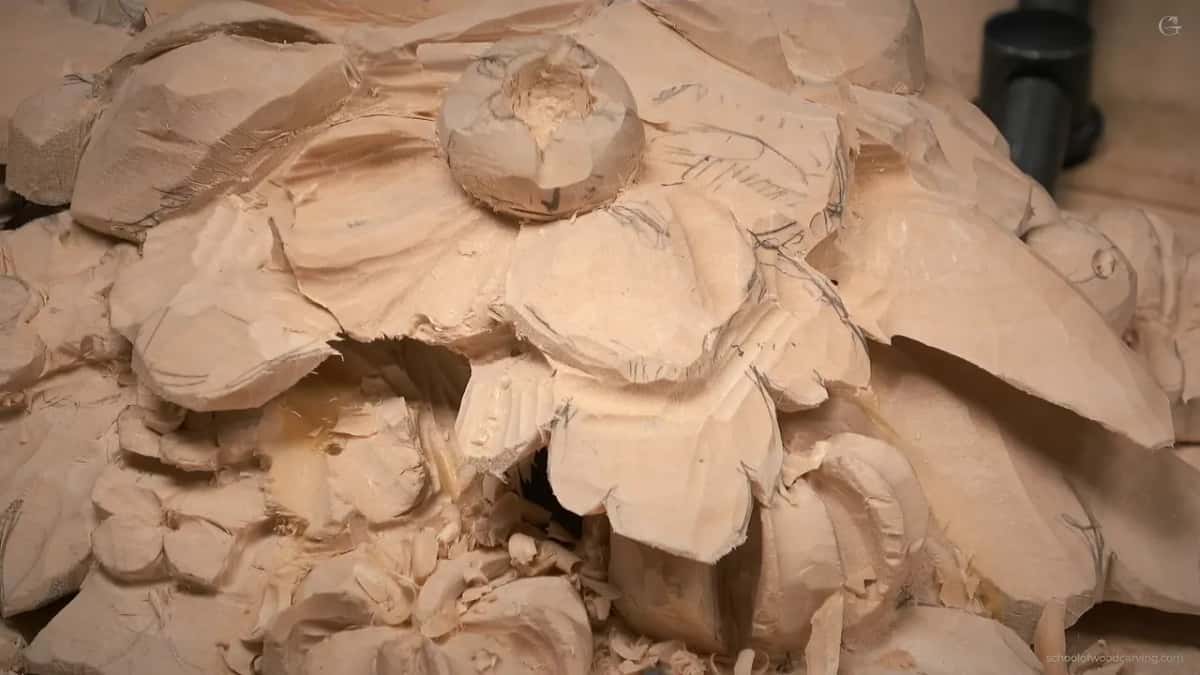
A replica has to be accurate, so every accident on one becomes a repair. An original owes nothing to anybody. It becomes a gap, the gap becomes part of the scheme, and nobody seeing the finished panel knows which was which.
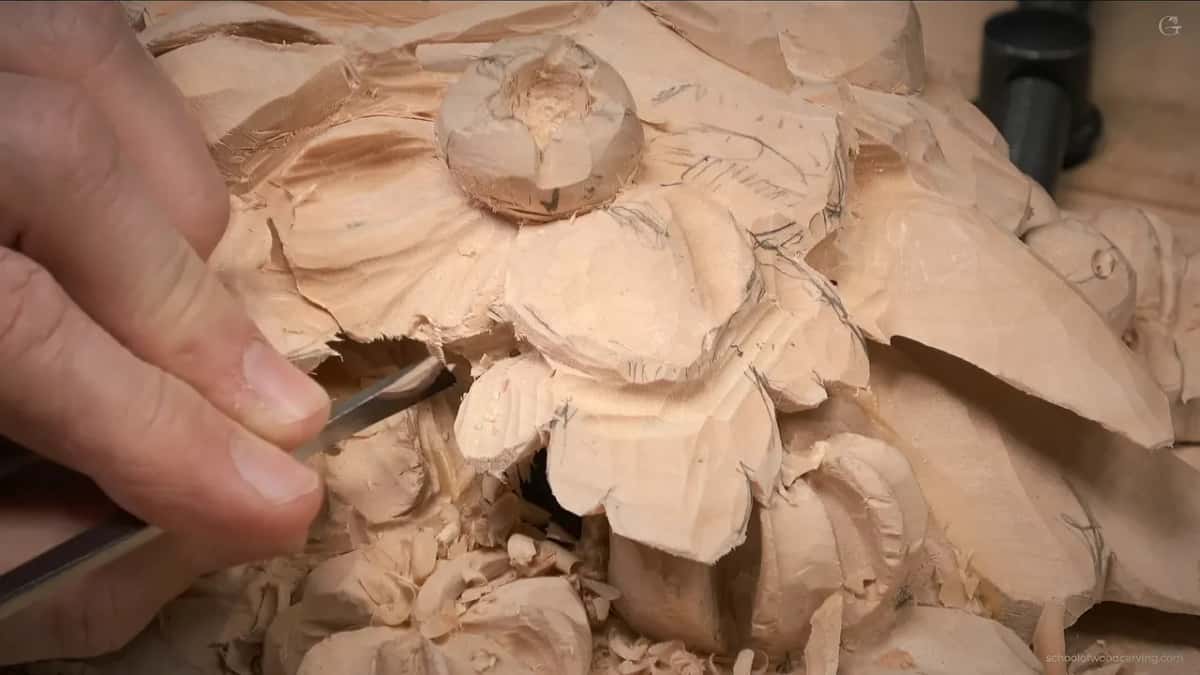
The hole on this piece even landed somewhere useful, which I will admit was luck rather than judgement. Two of them did. The third simply stopped me undercutting a petal any further, and the petal is fine.

Where does the extra depth come from?
Angles you cannot see from straight above. Looking down at one petal there seemed to be nothing left, and tilting the panel showed about ten millimetres of material running away underneath it at a slant. That became the deepest shadow on the piece.

Which is an argument for picking the work up rather than leaning over it. A panel clamped flat only ever shows you one view, and the thickness you are hunting for is usually hiding in the ones you have not looked from.
Sometimes the answer is to come at a shape from below instead. A bent tool attacking upward from underneath reaches places a straight one cannot, and on this leaf that was the only way in. It is awkward, and it works, and those two things are not in conflict.

How little can you take in one pass?
Less than feels productive. Small chunks, checked constantly, with the grain read before each pass rather than during it. There is no way to know how deep you can go except by arriving there slowly.
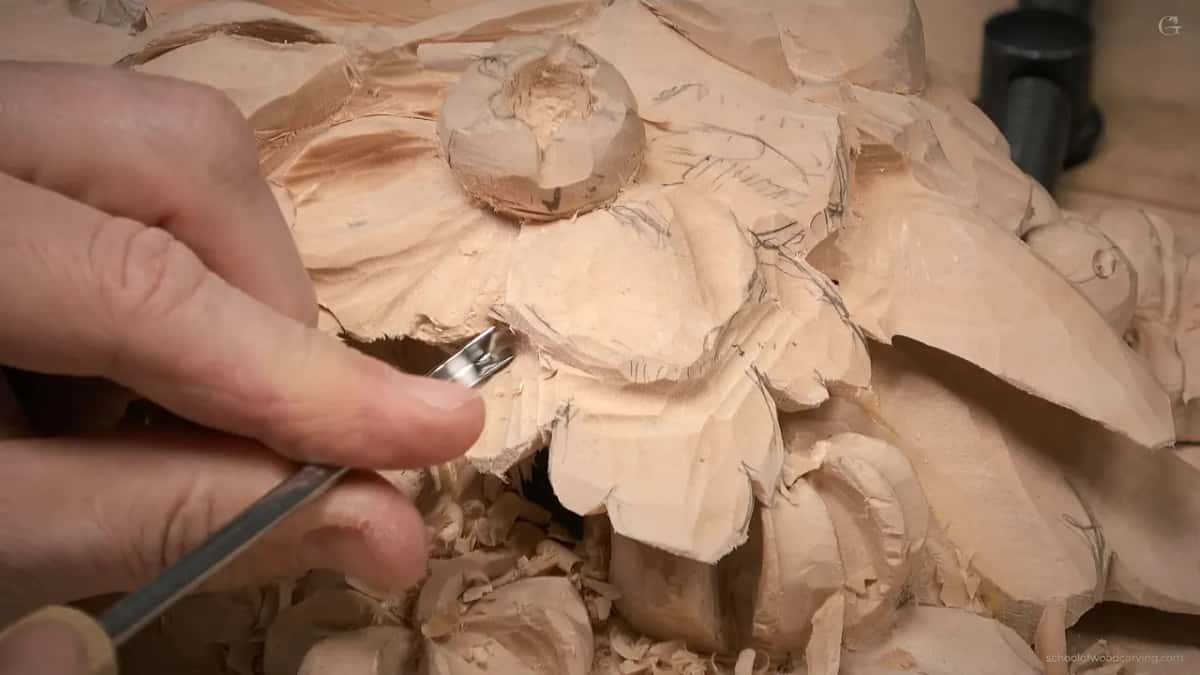

Forcing a blade is what turns a thin area into a broken one. I say do not force it and then I say it again, because everybody nods the first time and nobody believes it until a petal lets go in their hand.

Does the exact tool matter?
Far less than people hope. Reaching for a narrow eleven at one point I said out loud that a number 16 would do the same job and nobody would ever know, which is true of most choices at this scale. If you own the V tool and not the veiner, use the V tool.
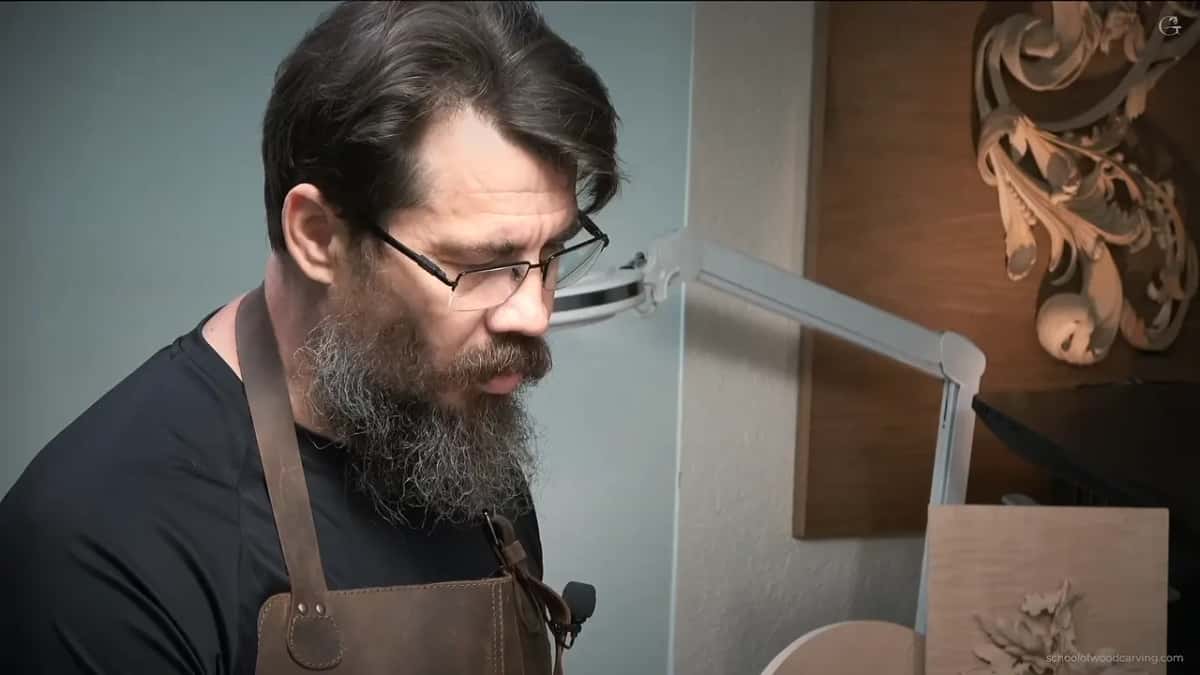
What a finished surface remembers is the angle you held the blade at and how sharp it was. It does not remember the number stamped on the shank. Students spend money on a tool roll when the same money would buy them a reliable edge and a year of practice.

What shape does a petal edge take?
Up, then down, then up again. The rim rises at one end, drops through the middle, lifts where the centre sits highest, falls away and comes up once more at the far side. Drawn flat it looks fussy. Carved, it is the difference between a petal and a leaf shaped biscuit.

I want the passes themselves running in a direction too, not sitting wherever the tool happened to land. A run of cuts travelling one way across a shape gives it movement that survives being looked at from the wrong angle, which the Hashemi flowers course goes through one bloom after another.
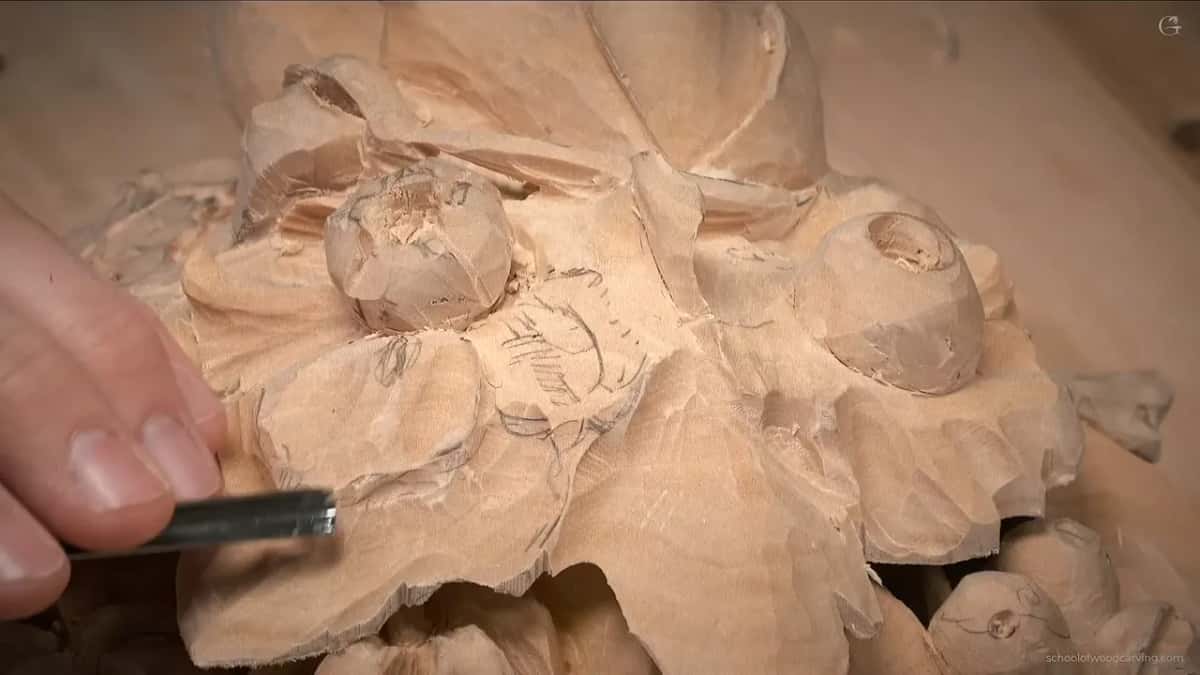
How do you know how deep you can go?
You do not. That is the honest answer, and it is why material comes off in amounts that feel absurdly small. Somewhere under the surface is a hollow carved from the reverse in an earlier class, and its exact position is a guess.

Feel underneath with a finger, take a little, look again. Pushing a blade because the shape is nearly right is how a nearly right shape becomes an opening. I stop and move to another area instead, then come back once the panel has told me something new.

Does any of this reach a viewer?
Honestly, some of it does not. I said exactly that about one undercut while carving it, that it did not really matter, and then carved it anyway because I thought it would look better. Both halves of that are true at once.
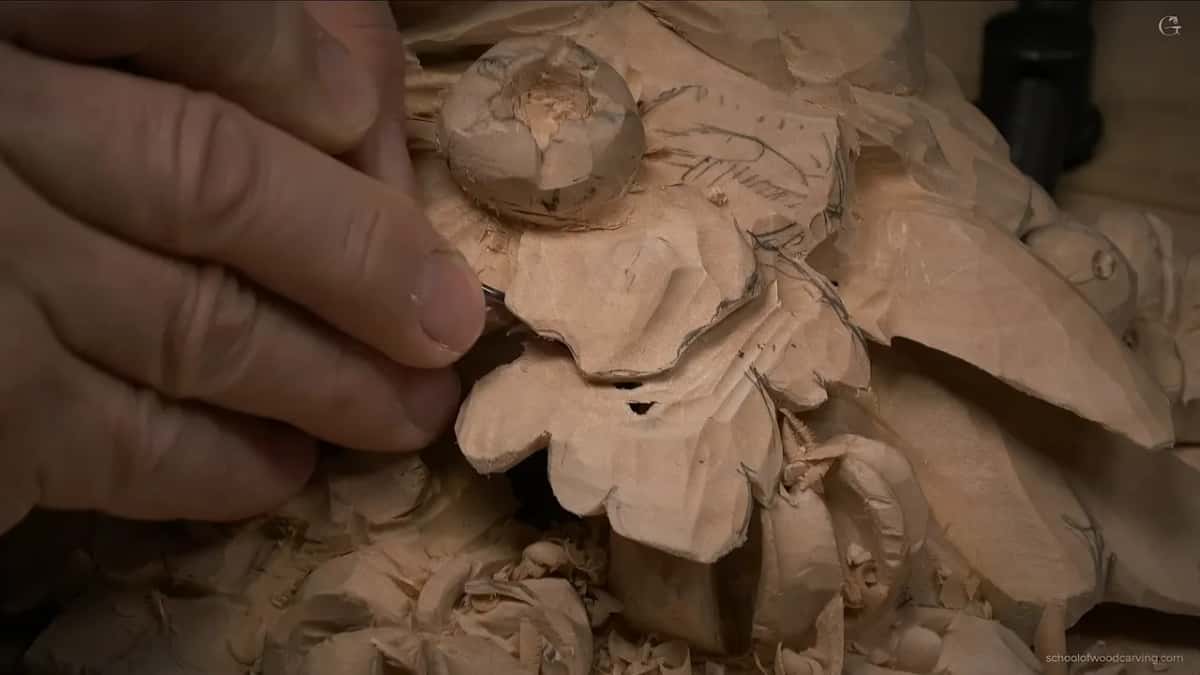
Plenty of a carving works like that. Nobody inspects the inside of an opening or the underside of a petal, and the work still shows, because a surface finished properly throws light differently from one left alone. You cannot point at it, and it is unmistakably there.
Was a second background really worth planning?
Cheapest improvement on the board, by a distance. Days of blade work against one board of the right timber, and the board wins. Anybody who has stood in front of his work at Petworth or in the Victoria and Albert Museum has seen what the dark ground is doing.

Pale lime in front, dark oak behind, and three hundred years of people standing at the right distance. The whole trick, and it costs less than any of the carving in front of it.

All eighteen Maine classes sit behind the tuition page, with the course itself and the class where the back gets hollowed. Wood choice comes up again in the tools course, and sharpening matters more on a half millimetre blade than on anything else you own. If none of this is familiar, the cutting board is where to begin, and the techniques course covers presentation and grain.
What happens to the piece after this?
It comes off its board and goes onto the dark ground, and then the leaves that are still a block of wood get separated properly. One area in particular is a mass rather than a group of leaves, and until that opens up the whole corner reads as something unfinished rather than something dense.

Small leaves go in where the holes allow, a big one takes the space that is left, and whatever cannot be reached stays partial on purpose. Nobody carves the parts they cannot see, and a carver who does is spending a week on a surface the light never finds.

How it's done
- Choose lime for anything carved. Fine, even and pale, with almost no figure to fight. Americans call it basswood and it is cut from the same tree either way.
- Put something dark behind it. Oak in his case. Hard, strongly figured, miserable to carve and never carved, because its only job is to be the wall the work stands against.
- Watch for the colour going. A patch turning dark and almost see through means light is nearly coming the other way. One more pass there and you have an opening.
- Keep the reference in sight. The photograph stays propped up beside the bench. A scheme drifts one reasonable decision at a time until it belongs to nobody.
- Open gaps in a crowded area. Separations, not finer detail. Shapes stacked at one depth need air between them before any of them can be read properly.
- Redesign around whatever breaks. A hole becomes a separation, and a separation becomes part of the scheme. That freedom is what an original has and a copy does not.
Frequently asked questions
Is basswood the same as lime?
Same tree, different name on each side of the Atlantic. Europeans say lime or linden, Americans say basswood, and a carver moving between the two finds the timber behaves identically. Fine grain, pale colour, very little figure and enough softness to take detail.
Why did Gibbons not carve in oak?
Oak fights fine detail at every turn, with hard summer growth, coarse rays and a tendency to split along them. Anything approaching the delicacy of his fruit and flowers wants a timber that lets a blade go exactly where it was pointed.
When is a carving getting too thin?
Pale wood changes colour before it fails. A patch goes darker and slightly see through as light starts finding its way from the far side, and that is the only warning you get at this thickness.
What to carve next