

Alexander Grabovetskiy, woodcarver, School of Woodcarving · Published 2022
Why should carved flowers be connected instead of carved apart?
Quick answer: Connecting carved flowers is what turns a scatter of blooms into one mass of shadow. A deep valley sunk between neighbouring blooms looks wrong, and it gives nothing but trouble when the time comes to clean it and to undercut it. The corner of a number 7 rolls each bloom against the next one instead.
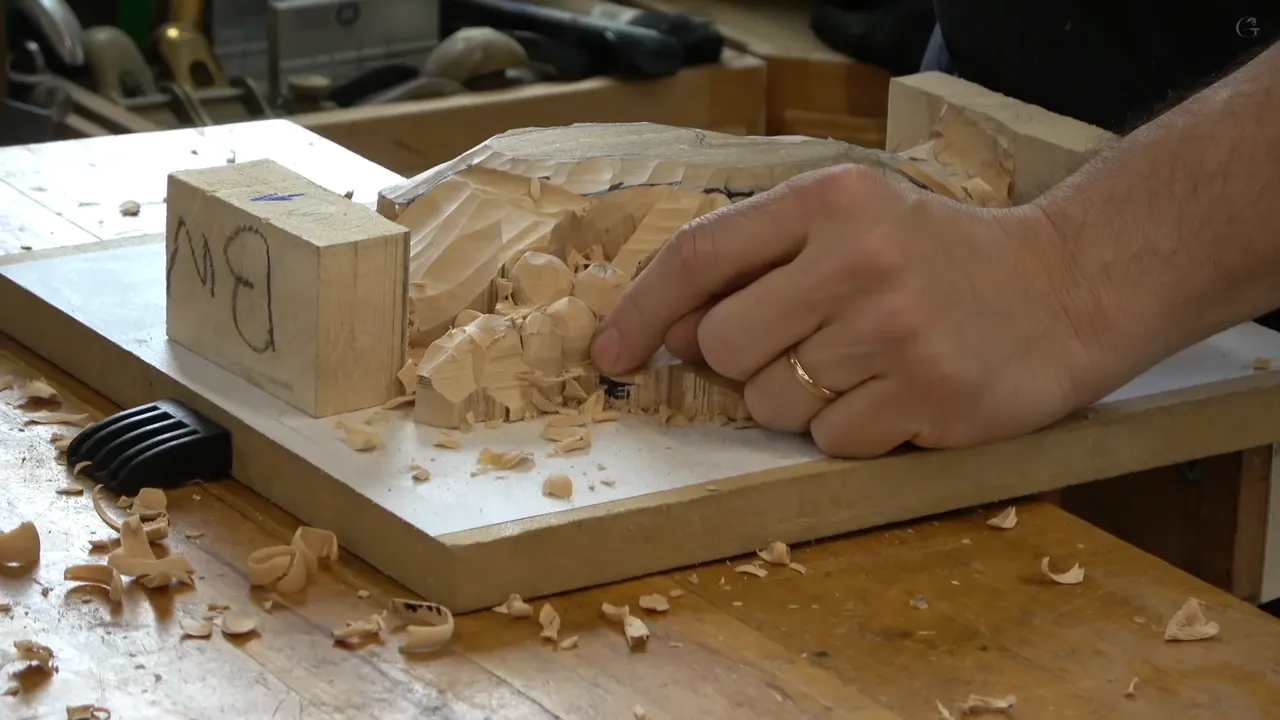
A cluster of carved flowers wants to be shaped as one lump of shadow, not as a row of separate buttons. Sink a deep valley between two blooms and you have made trouble for yourself twice over, once when it needs cleaning and again when it needs undercutting. Roll them together instead, and the group reads as a single mass.
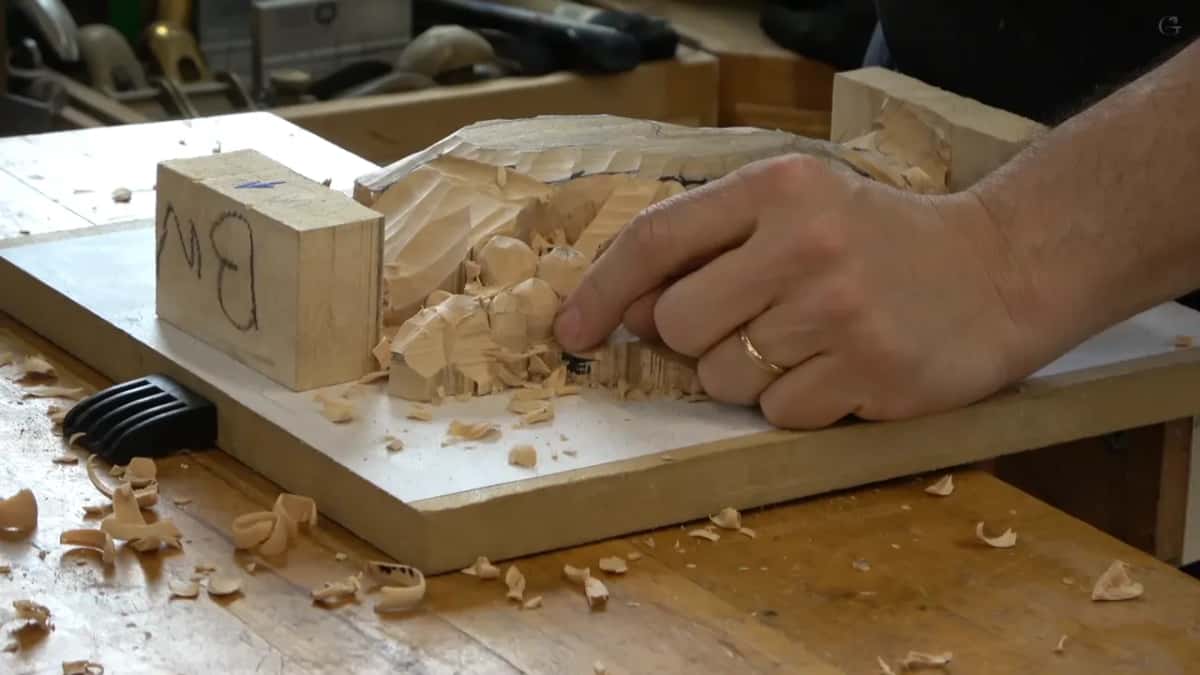
Have you carved a group of flowers and ended up with something that looked like eggs in a carton? Spent an evening trying to clean the ditch left between a pair of them? Found a spot your smallest gouge simply cannot reach? The fault was decided long before the detail stage.
By the third class in Maine the outlining was behind us and the real shaping began. What I wanted the room to see that morning was a way of working where one gouge, held at one angle, does the whole job, and where the flowers arrive already joined to each other rather than being joined afterwards.
Below is the order the work happens in, which gouge does it, what angle that gouge sits at, and why a group of blooms must never be carved as individuals.
What decides whether a cluster works
- Outline first with a 10 mm number 9, going down a quarter inch, 6 mm.
- Lower the surrounding ground another quarter inch, gradually, keeping the dome.
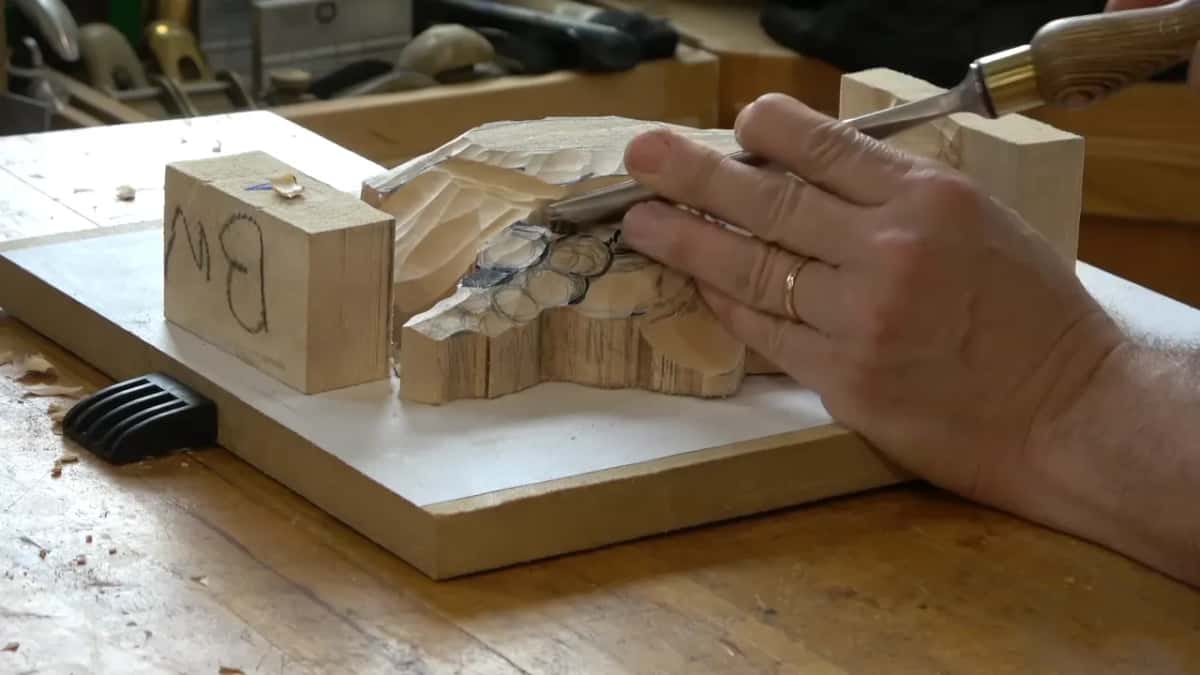
- Shape each bloom on one corner of the 14 mm number 7, held near 45 degrees.
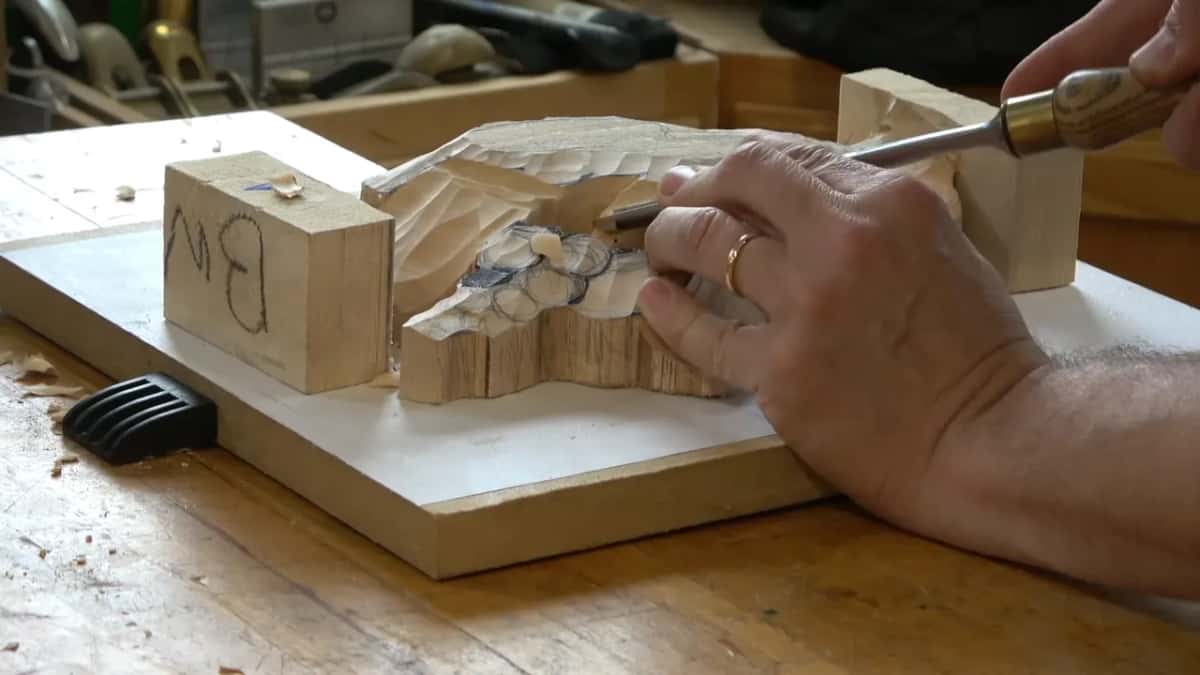
- Run the cut round until neighbouring blooms meet each other. Three arriving together form a small triangle.
- Perfect circles are wrong, and a bloom that finished slightly lopsided looks alive.
- Stems climb out of nothing and reach 12 mm, never sitting flat on the ground.

What goes wrong if you carve each flower on its own?
Deep gaps appear between them, and every one of those gaps is a trap. A narrow valley 10 mm deep has two steep walls, and cleaning the bottom of it means finding a tool that fits, which usually means buying one. Undercutting in there is harder still, and the light does nothing interesting once you have finished.
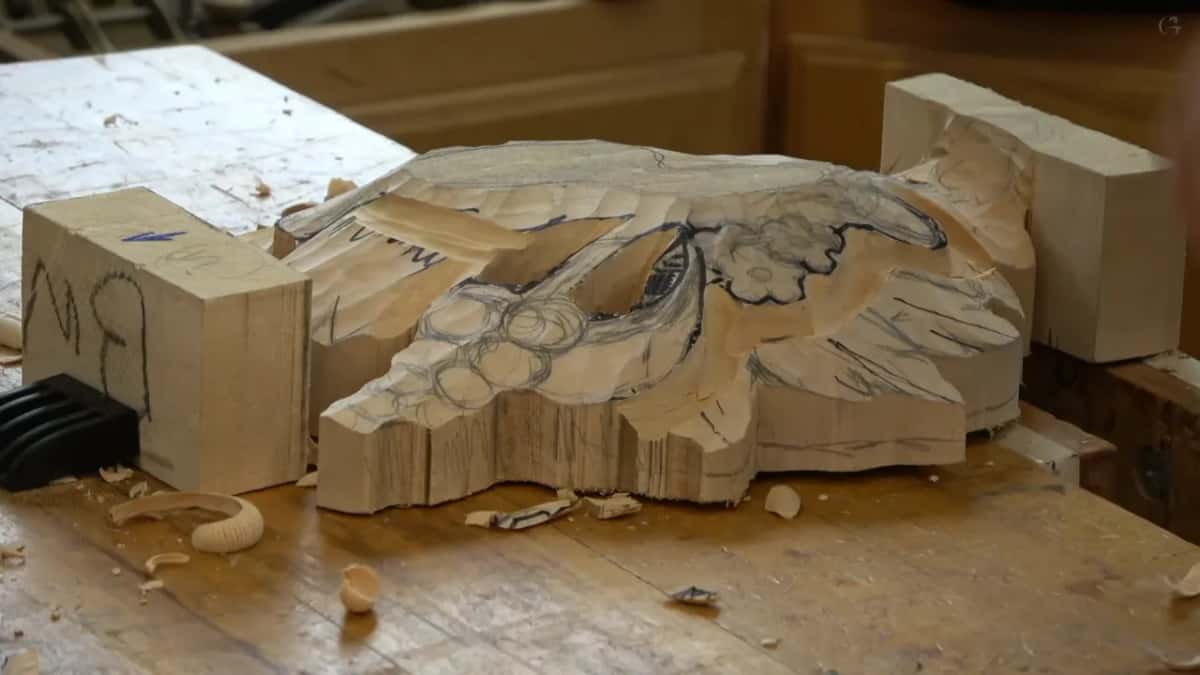
Carved as a group, the same blooms share their edges. Where two meet there is a soft fold instead of a ditch, and where three meet you get a small triangular hollow that catches shadow beautifully and cleans out with a single pass of the same gouge you have been holding all along.

Look at a real bunch of anything, grapes, berries, blossom on a branch, and you will see the same thing. Nothing in nature arranges itself with even gaps. Things crowd, overlap and press against each other, which is what your eye expects from carved ornament even when nobody has explained why.
How do you round a bloom with one corner of a gouge?
Present the tool on one corner only, at roughly 45 degrees to the surface, and slice around the shape from there. Most carvers meet a number 7 flat to the wood and try to scoop. Turn it up on a corner and a completely different cut becomes available, one that rolls a curve instead of digging a dish.
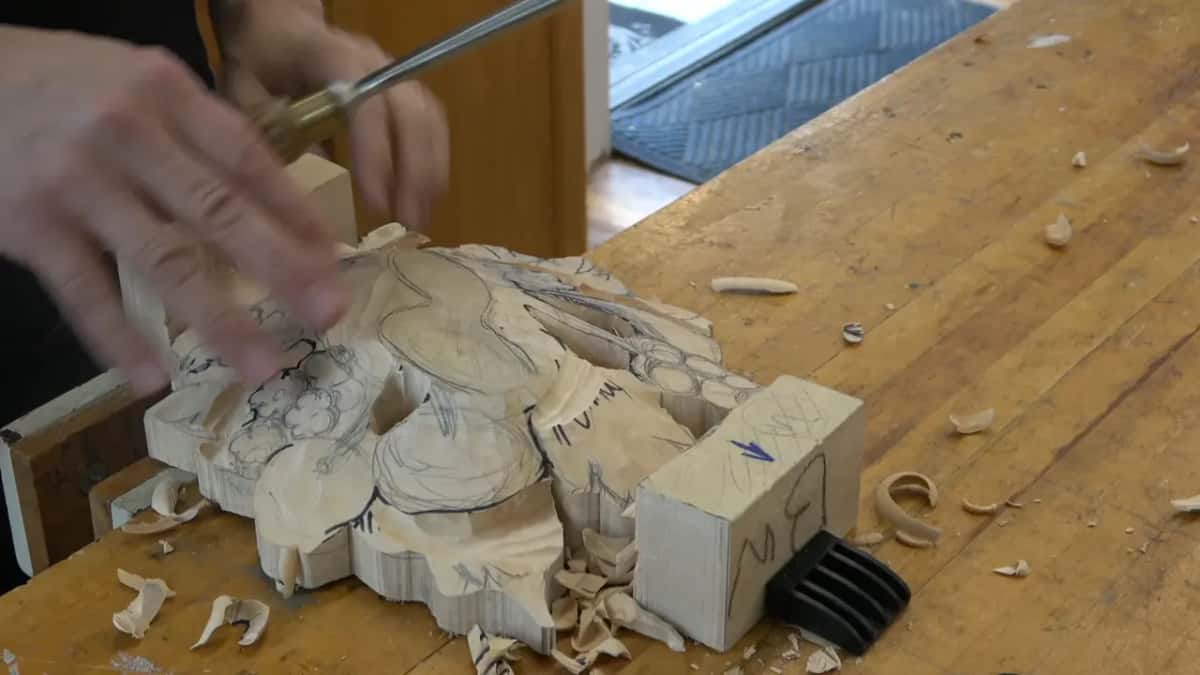
Start on one side of the bloom and work round. Then go to the opposite side, make the same cut in reverse, and bring the two passes together. Roundness appears almost immediately, well before you have thought about petals or centres, and the waste stays put until you choose to take it off.
Speed surprises people here. A whole cluster takes a few minutes at this point, because nothing is being modelled yet, only establishing which lump sits where and how each one runs into the next. The careful work comes later, on shapes that are already correct.
Which gouge does the shaping?
The number 7, 14 mm wide and a shade over 1/2 inch, does nearly all of it. One tool, one angle, one motion. I carved an entire group in front of the class with nothing else in my hand, and the tools course makes the wider argument for owning fewer sweeps and knowing them properly.
| Step of the work | The gouge, and how wide it is | How far down it travels into the wood |
|---|---|---|
| Outlining the whole group | Number 9, 10 mm wide | A quarter of an inch, which comes to about 6 mm |
| Dropping the ground around it | The wider nine, 20 mm or 3/4 inch | Another quarter, taken gradually |
| Rolling each bloom over | That 14 mm seven, up on one corner | Surface shaping only |
| Sinking a stem | Back to the 10 mm nine | Nothing at the tip, roughly 12 mm at the far end |

Every one of those passes is a slicing cut, long or short. The handle turns through the pass so the edge enters at one corner and leaves at the other, and the surface behind it comes away clean rather than crushed. Some carvers call it the carver's cut, and the techniques course gives it a workshop of its own.
Do carved flowers have to be round?
Roundish is the word I use, and a true circle is actually worse. Blooms that came out slightly uneven, one a little squashed, another leaning toward its neighbour, read as living things. Ten identical domes read as upholstery studs, and no amount of detail carved into them afterwards repairs that first impression.
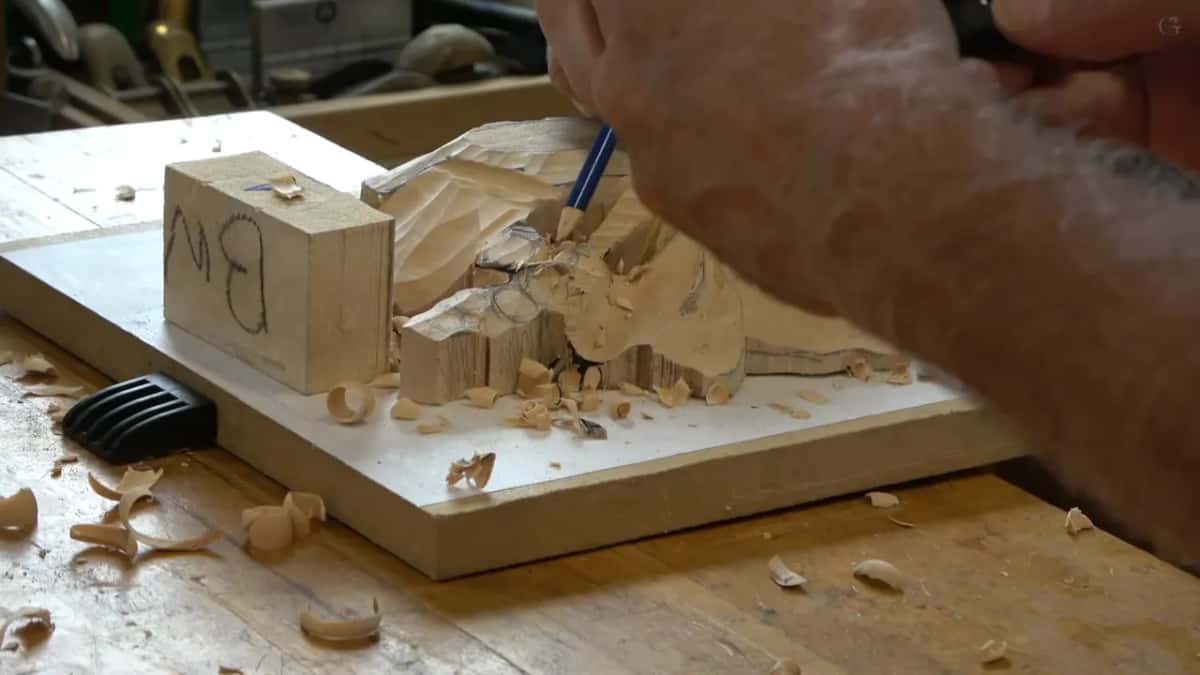
Movement goes into them later anyway. Once the group is roughed you carve the turns inside each bloom, and any small irregularity from this stage becomes an excuse for a more interesting shape instead of a fault needing correction. Chasing perfection now costs time and takes life out of the panel.
Grapes are the exception worth naming. A bunch of grapes wants each berry slightly elongated instead of round, which is the one adjustment between the two subjects. Everything else about the technique is identical, same gouge, same corner, same angle.
What has to happen before any shaping?
Outlining, which older books call setting in. Take the 10 mm nine and cut a channel right round the group, a quarter inch or 6 mm deep, using short cuts instead of long sweeping ones. Short cuts follow a curve accurately. Long ones run wide and take a neighbour with them.
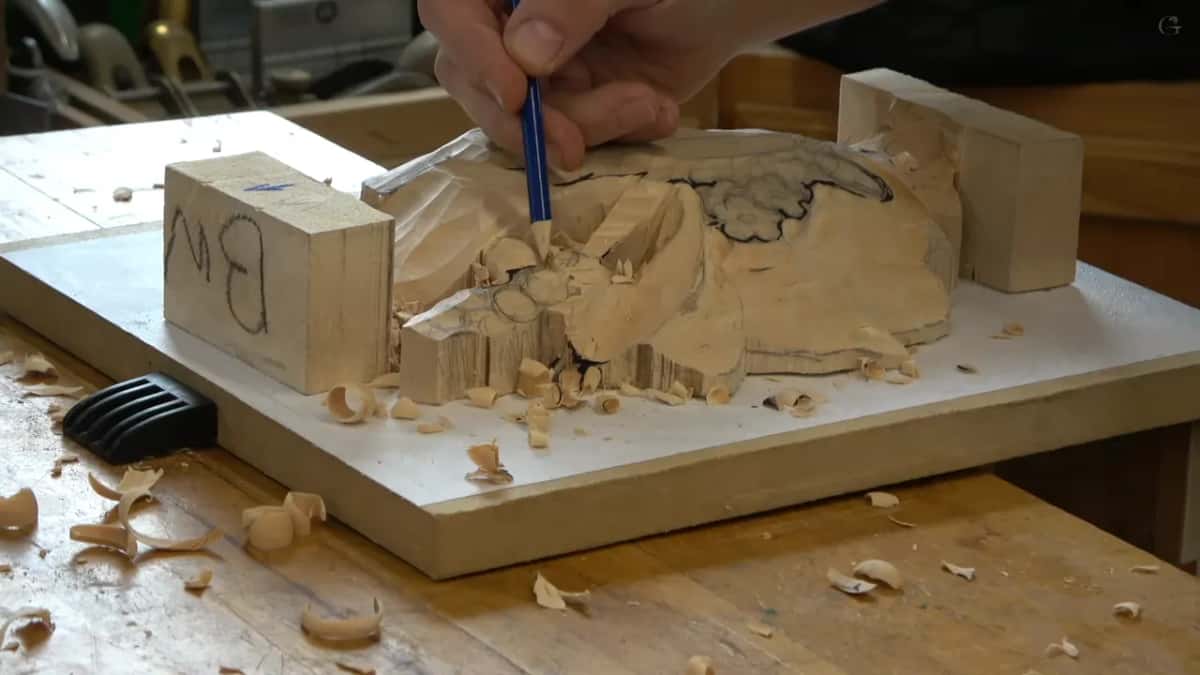
Then the ground around the outlined group comes down another quarter inch, gradually, with the wider number 9. Gradual matters more than the number does. Drop it abruptly and you leave a cliff that fights every later operation, while a gentle fall keeps the whole surface reading as one relief and not a stack of steps.
Those two operations should take about a quarter of an hour, and I say that in class because carvers fall into a trance over outlining. It is preparation, not the piece. The previous Maine class covers what fills the ground you are now lowering.
One side at a time, as well. I start on whichever side reads simpler, work it through both operations, and only then move across. Splitting attention between two halves of a panel is how carvers end up with two different depths on one board, and the basswood will not tell you until the light hits it.
How does a stem get its depth?
Barely anything at one end, and about half an inch at the other, which is 12 mm. A stem carved at even depth along its length looks like a line drawn on a board, and that is the commonest giveaway of shallow work. Real stems dive under things and come back out.
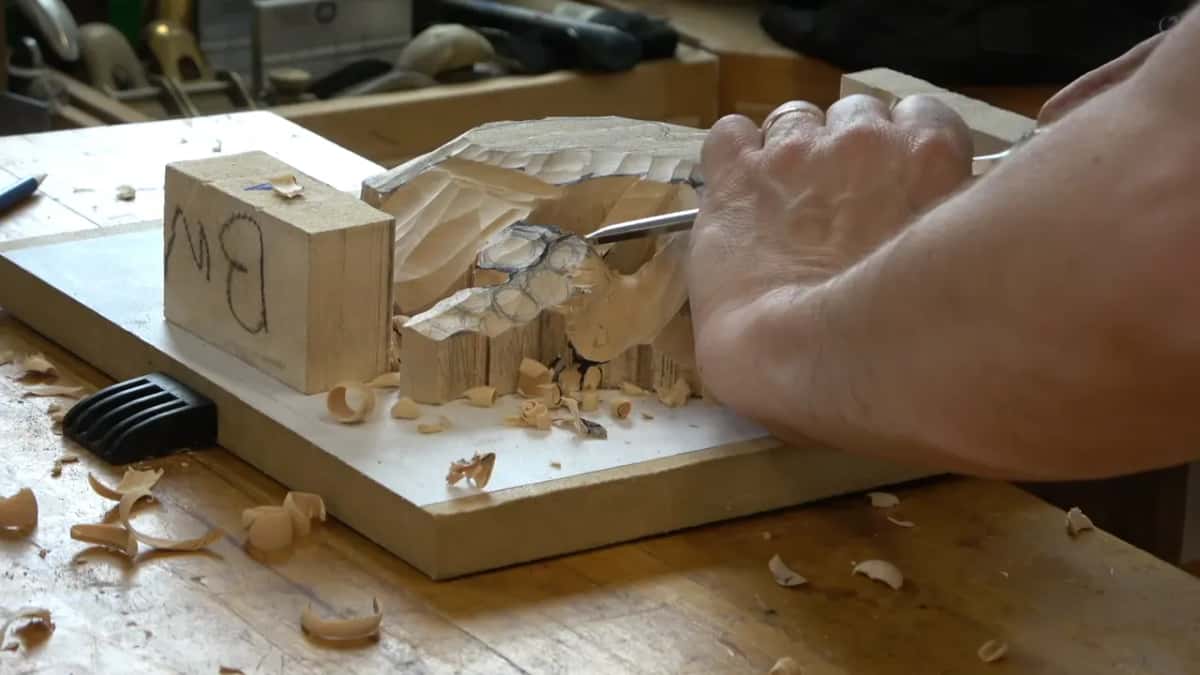
Each cut starts at the surface where the stem meets a flower and deepens as it runs away, blending into whatever passes over it. Near the centre of a group it may drop three quarters of an inch, about 19 mm, and near the edge barely a few millimetres, all on the same stem.
Thinking in three dimensions is the whole battle here. Nobody is decorating a flat board here. The work releases shapes that already own fronts, backs and undersides, and the design course is where that habit of seeing gets built properly.
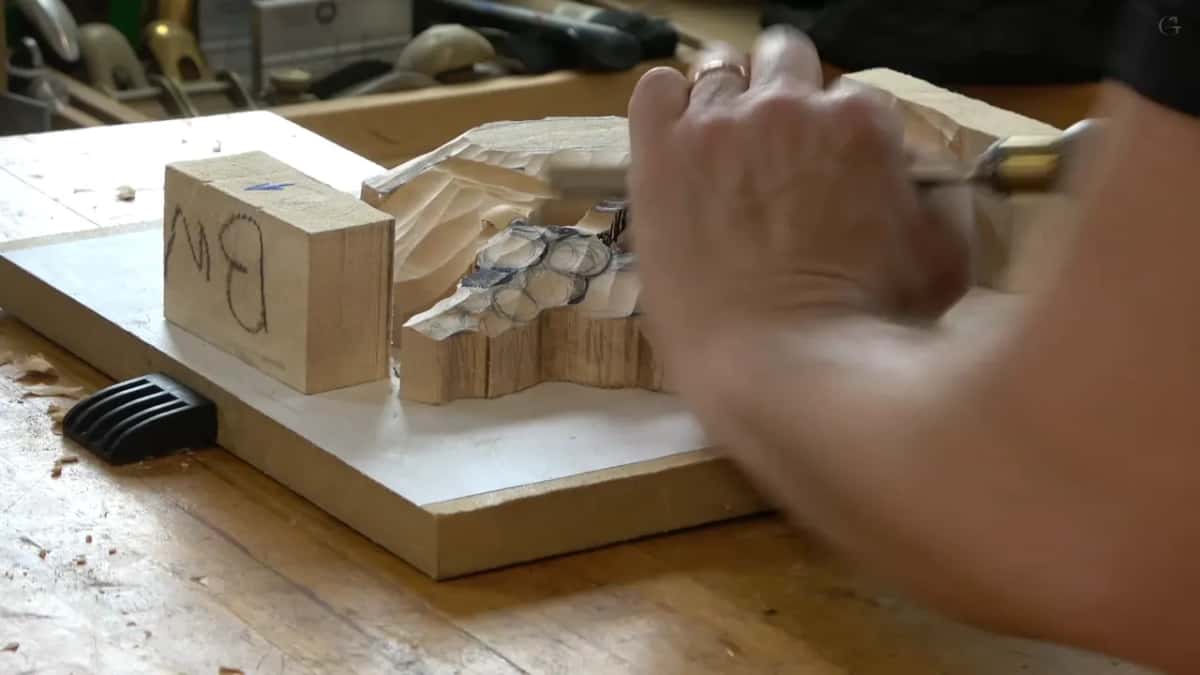
Michelangelo supposedly looked at a block and saw the figure waiting inside it. Nobody ever interviewed the man, so treat that as a nice story and not a method. The useful half is real enough: you carve toward a shape you can already picture, not away from a surface you are decorating.
Why shape the whole group before any detail?
Detail carved onto a wrong shape is work you will throw away. At this stage the cluster should look like a cluster of grapes and nothing more, a group of plain lumps sitting at the right heights and turning into each other. Petals, centres and folds all wait until that is true.
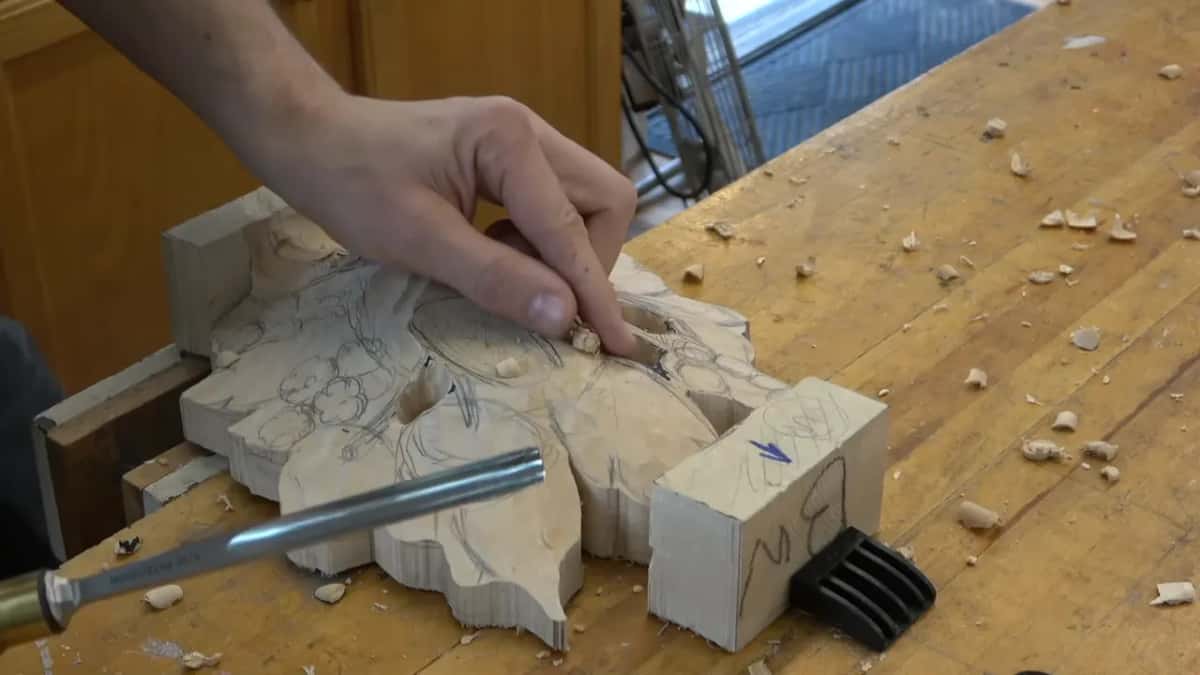
Picture the alternative. You model one bloom completely, beautifully, and then step back and find the whole group stands 4 mm too high against the leaf behind it. Correcting the height takes the surface off, and every hour spent on that flower goes with it. I have watched a student learn this once and never repeat it.
Working in that order also keeps the group honest with itself. Heights get compared while they are still simple, so a bloom that should sit behind its neighbour actually does. The same discipline runs through the Venetian rosette and the chamomile rosette, where a single misjudged height throws the whole ring out.
Old shop practice agrees with it. Look at unfinished carving from any period, the pieces that were abandoned halfway, and you find exactly this: masses established everywhere, detail nowhere. Museum collections hold several like it, and they teach the order better than any lesson can.
What holds the panel while all this happens?
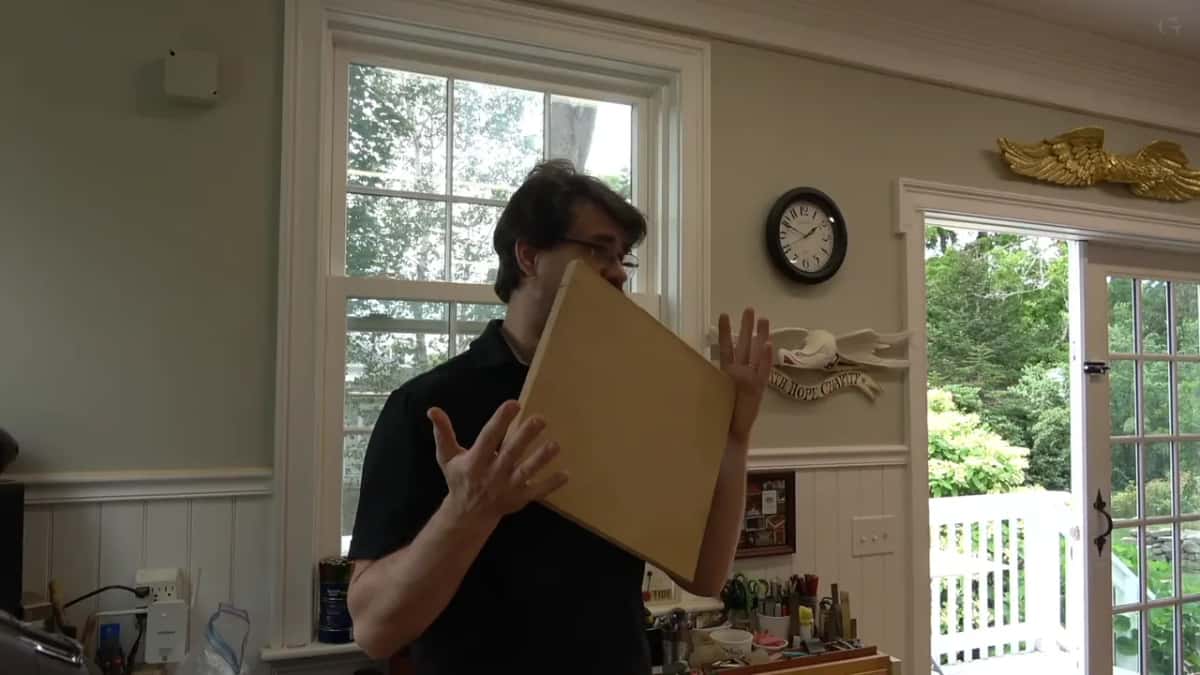
A backer board with paper between, which carvers call the sandwich. Take a piece of MDF, cover it with paper using spray glue, then glue your blank down on top of the paper. When the carving is finished, a chisel slides into the paper layer and the piece comes free.
Spray both surfaces, the board and the back of the paper, then wait two or three minutes before pressing them together. Contact adhesive of that sort grabs properly once it has gone tacky rather than wet, and going straight in while it is wet gives a bond that lets go at the worst moment.
Butt the sheets of paper edge to edge. Leave a gap and the blank has an unsupported patch under it. Overlap them and the blank sits on a ridge and rocks, which you will feel through every cut for the rest of the project. Two minutes of care there saves a week of irritation.
Do the flowers in this design actually exist?
Hardly any of them. Gibbons invented most of what he carved, and once that is pointed out you can see it everywhere in his work, blooms that belong to no family, leaves that borrowed from three plants at once. He was paid to fill a wall beautifully, and botany was not the commission.
Some carvers have gone the other way. There are panels built strictly from plants that flower in one season, and the discipline shows in them. Both approaches are honest. What is not honest is inventing a flower badly, and a made up bloom still has to obey how a real one arranges itself.
Freedom like that is a relief once you accept it. Nobody asked for a botanical plate. What the panel needs is something that looks alive from eight feet away in bad light, and a group of joined, slightly irregular blooms does that better than an accurate drawing of a real flower ever will.
Where does this technique turn up again?
Everywhere ornament has a cluster in it. The same corner cut with the same number 7 shapes hazelnuts, berries, the small blooms in a rosette, and any bunch of fruit you will ever be asked for. One angle learned in an afternoon covers decades of work.

Study any carved festoon from the period with this in mind and the method becomes obvious. Fruit and flowers press against each other, gaps are shallow folds rather than ditches, and the whole swag throws one big shadow. Three hundred years on, a number 7 held on its corner still does it.
Practise it on something small before you commit a panel to it. A single flower rosette gives you six or seven blooms in one afternoon, which is repetitions enough for the angle to stop being something you think about. Lime and butternut both take it well.
All eighteen Maine classes sit behind the tuition page if you want the rest of this panel. Shall we carve?
How it's done
- Outline the group with a number 9. A 10 mm sweep cuts a channel right round, 6 mm down, one quarter inch. Short cuts follow a curve; long ones run wide.
- Drop the surrounding ground a quarter inch. The wider number 9 takes it gradually, keeping the dome. An abrupt fall leaves a cliff that fights every later operation.
- Turn a number 7 up on one corner. Fourteen millimetres, a shade over half an inch, held near 45 degrees to the surface. Only the corner touches wood.
- Roll each bloom from both sides. Slice round one side, repeat in reverse from the other, then bring the two passes together until roundness appears.
- Carry the cut into the neighbour. Blooms meet at a soft fold. Where three of them arrive together a small triangle forms and catches shadow.
- Sink the stems from nothing to 12 mm. A stem at even depth reads as a line drawn on a board. Real ones dive under things and surface again further along.
Frequently asked questions
Should carved flowers in a cluster touch?
Grouped blooms want shared edges rather than gaps. A narrow valley between two of them has steep walls, needs a tool you probably do not own to clean, and gives the light nothing worth doing when you have finished.
What gouge shapes a small carved flower?
A number 7 at 14 mm carries nearly all of it, used on one corner at around 45 degrees. Presenting the full sweep flat to the wood scoops a dish, while the corner rolls a curve, which is the shape you actually want.
Do carved flowers need to be perfectly round?
Roundish beats round. Blooms that finish slightly uneven, one squashed, another leaning toward a neighbour, read as living things. Ten identical domes read as upholstery studs, and later detail never quite repairs that first impression.
What to carve next