

Alexander Grabovetskiy, woodcarver, School of Woodcarving · Published 2022
What do you do when you run out of wood under a carved flower?
Quick answer: Running out of wood under a carved flower is a reason to redesign it, not to force it. Find where material is left, usually on the sides, raise the middle, and carve a slightly different bloom around what the block still holds. Undercut only as deep as the wood allows, even a single millimeter.
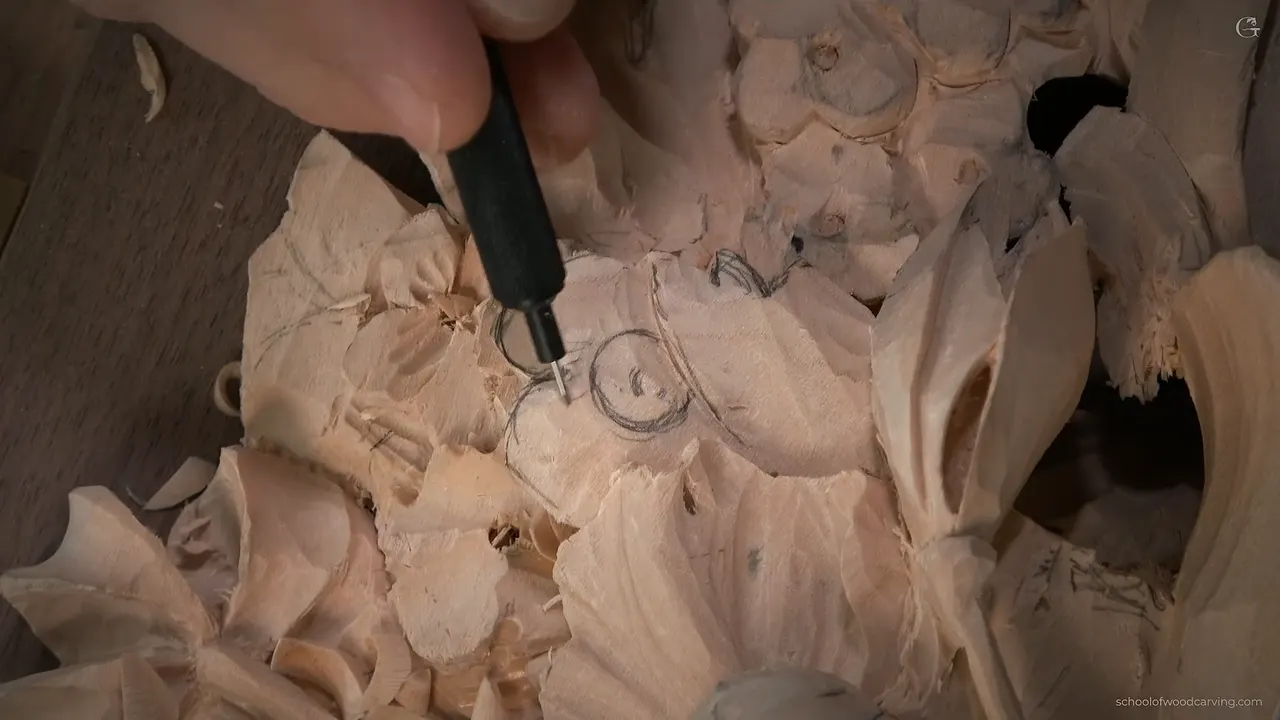
When the wood runs out beneath a flower, change the flower. I had almost nothing left in the middle of this one, just some meat on the sides. So I raised the middle, kept the petals where the wood allowed, and carved a different kind of bloom. It still looks nice, and nobody will know.
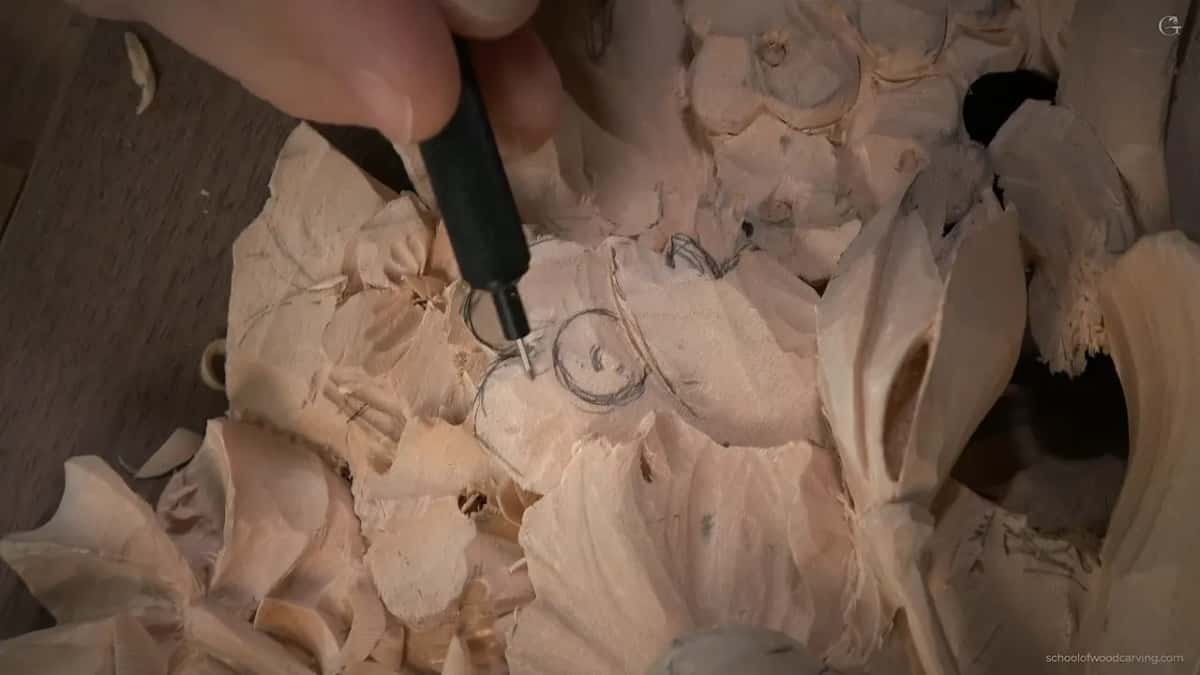
Has a hole ever opened under something you were carving and made your stomach drop? Did you ever look at a drawing and realize the wood under it is a millimeter deep? Then this class is for you.
Class 12 of the Maine course opens with me saying I am not restricted on time anymore. I had a chance to study a little deeper what Gibbons did, and I wanted one corner of this panel to look the way his do. That corner had very little wood to give me.
Key takeaways
- Work with what you have, since the design can bend and the wood cannot.
- One millimeter of undercut still casts a shadow line.
- Where the center is gone, change the style of the flower.
- On a fragile petal, carving the wrong way on the fibers puts less downward pressure on it than going the easy way.
- Petals are usually concave in the middle, the way they unfold in nature.
- Dried stropping paste softens again with a few drops of mineral oil in the tin.
Why was there so little wood?
The block is wider than the original. In the photograph that part of the carving is narrow and long. We used the whole block Bill provided, and I mean William Brown, the owner and founder of the school in Maine. He got some wider stock, we used it, and I think that was good.

On the original there is a small parsley leaf in that spot with a flower right beside it. I have plenty of thickness for the parsley. The flower is the problem, and I have to be mindful of how much material I have, because it is not much.
So I drew my own version. It is not exactly what he had. The flower sits hidden underneath the parsley, only a couple of petals sticking out, and the parsley gets subdivisions, partly visible, like a leaf lying on top of something.

How deep can you undercut with one millimeter?
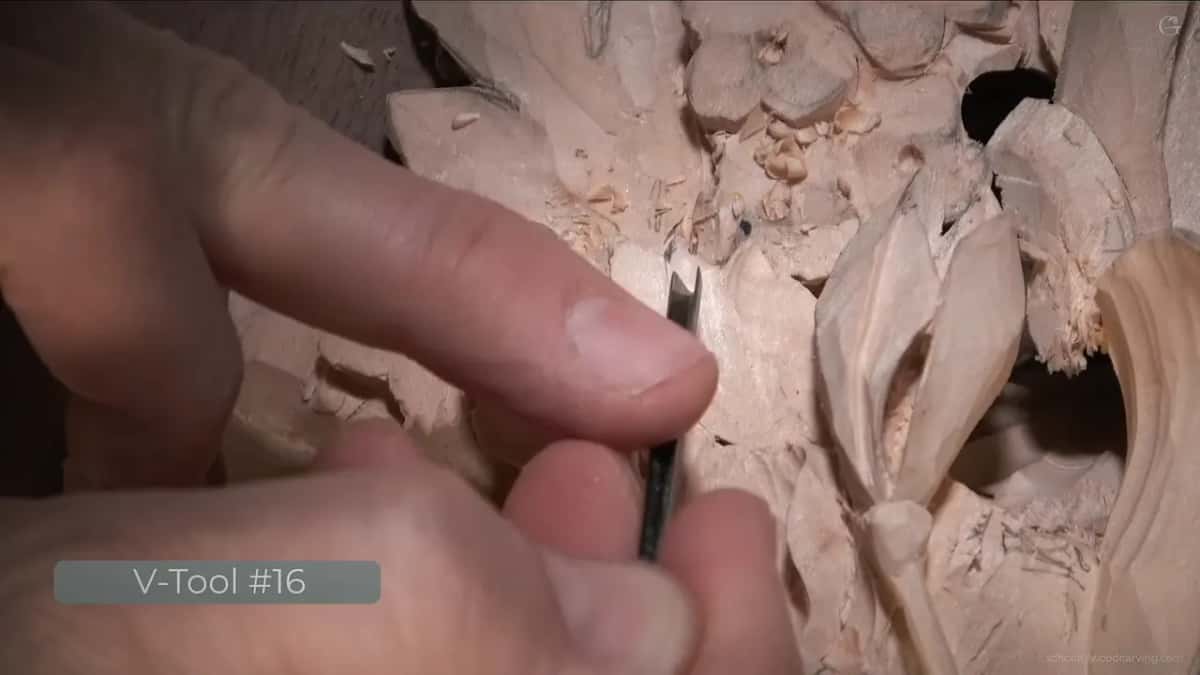
About one millimeter, and not a hair more. I took a number 16 V tool, three millimeters, a 35 degree one, the number Pfeil sells if you buy theirs. Flute slightly to the right, about one o'clock, and I started undercutting. Just a separation.

Then a number 11, half a millimeter, a Two Cherries one from Germany. It does not matter which brand. I slid it under the line so the parsley looks like it is lying on top of the future flower. Not a deep undercut. A shadow.
I will be honest with you. I regret that I removed so much material under there in an earlier class. I got too close. It would have been helpful to think about all these details ahead of time, and I did not.

What happens when a hole opens between the layers?
You keep it. With an antique Marples chisel, three millimeters, an eighth of an inch, double sided, I went in on the parsley edge, and a hole opened between the first layer and the second. I really like that. It gives the three dimensional look.

Holes on a layered relief panel are part of the design once you stop being scared of them. Class 10 turned holes into separations. Here the new one simply shows the first layer through a gap, and that is enough.
The filler flowers around it I did not carve for the camera this time. I showed you how already. I do not want to repeat myself. That part is up to you, so be creative with them; nobody is checking yours against a photograph.
What do you do when the center is gone?
Change the style of the flower. After the parsley I found another hole underneath, and when I looked under that flower from the back side there was almost no material left at the center. On the sides there was still some meat.
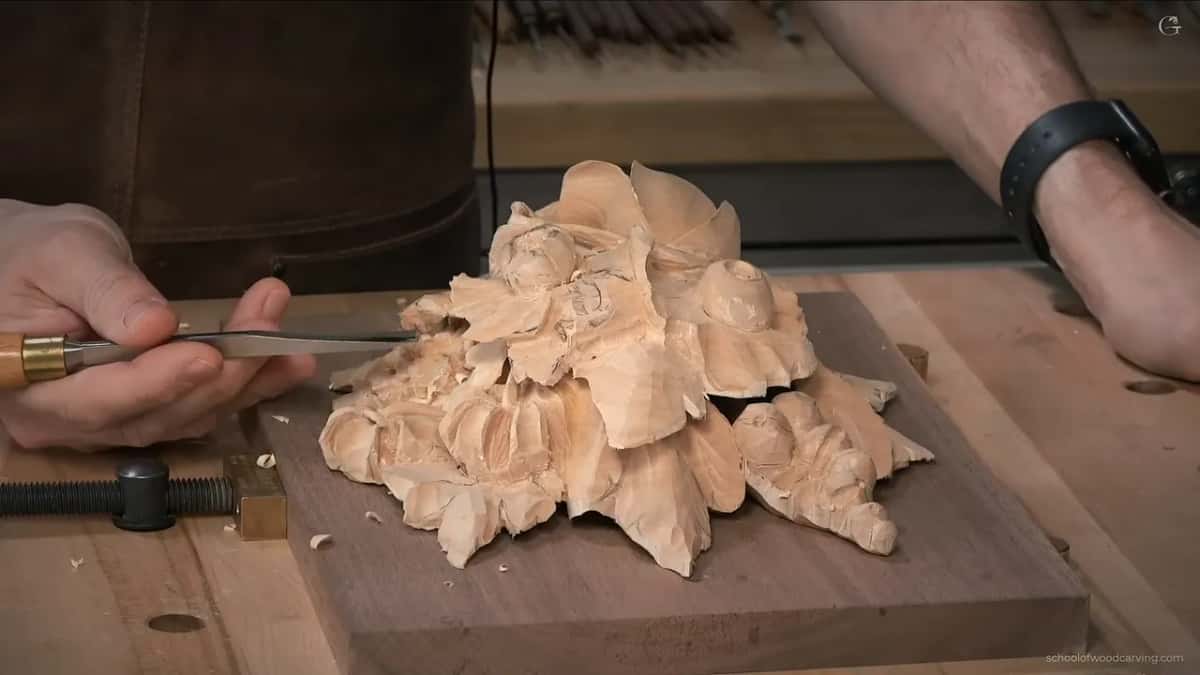
That is what I like about wood carving in general. You can change things and nobody is going to know, and it is still going to look nice. So the middle part became raised, connected all the way around, with a shallow excavation on the side. A slightly different looking flower, and I think a better one.
If I do not like it, I will chop it off completely and carve it the way it was supposed to be. A preliminary stroke with the tiny number 16, no more than a millimeter, a stop along that wall, and a blend inward. For me it is important not to take too much.
Does grain direction change on a fragile petal?
The rule changes. Normally you carve with the grain. On this flower, when I carved that easy way I was pushing down too hard, the petal moved under the tool, and it could break at the point where it connects.

Carving against the grain I do not put as much downward pressure on it, and with sharp tools it is still fine. So on this material I broke the rule on purpose, with almost no pressure and really, really small strokes. It is so fragile I could not press at all.
Why is the middle of a petal concave?
They grow that way. In nature the petals start out folded up, the way a bud holds them, and as they grow each one opens outward. Right in the middle there is usually a concave. Not on every flower, but on a lot of them.
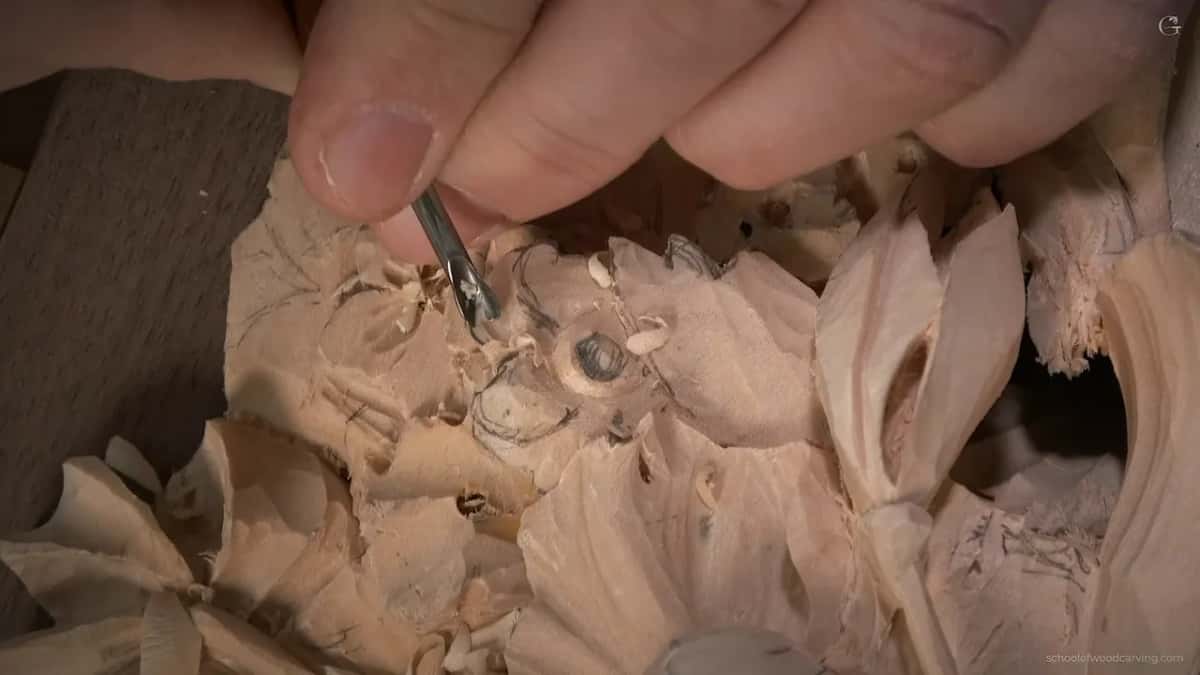
Does it really matter? I think it gives a more natural look. I placed that small concave about sixty to forty along the petal, which puts it near the golden ratio. Being exactly in the golden ratio was not needed here, but it is okay.

The rest of the curl came from two concave strokes, one on each side, with the center raised between them. I used a tiny Dockyard gouge, a sixteenth inch one, somewhere near a number 8 or 9, turned upside down, and held the petal with my finger because it moved.
Which way should the petals move?
The same way as their neighbors. Every flower around this one travels in one direction, so these petals follow it, a slight wave at the edge, almost like a clover shape. I call it the law of flow, and the design course is where I teach it properly. Everything is supposed to be connected.

Which petal goes on top? Logically the one sitting a little higher when you look from the side. That one casts its shadow on the lower one. Class 8 spends a whole session on that question.

What does each problem need?
| Problem | What I did | Tool |
|---|---|---|
| A millimeter of wood below the leaf | Separation only | Number 16 V tool at three millimeters, then a half millimeter 11 |
| Center gone | Raised the middle and turned it into a different kind of flower | Tiny 16 |
| The petal moves when you press it | Reversed direction | Anything razor sharp, stropped a minute ago |
| Flat, lifeless petal | Two concaves with the center left raised between them | Dockyard, 1/16 inch |
| Round center looks like a coin | Wavy stop, then five divisions | A Dockyard gouge, then a tiny Dockyard V tool for the divisions |
| Stropping paste dried in the tin | Mineral oil | None |
How do you keep a flower center from looking like a coin?
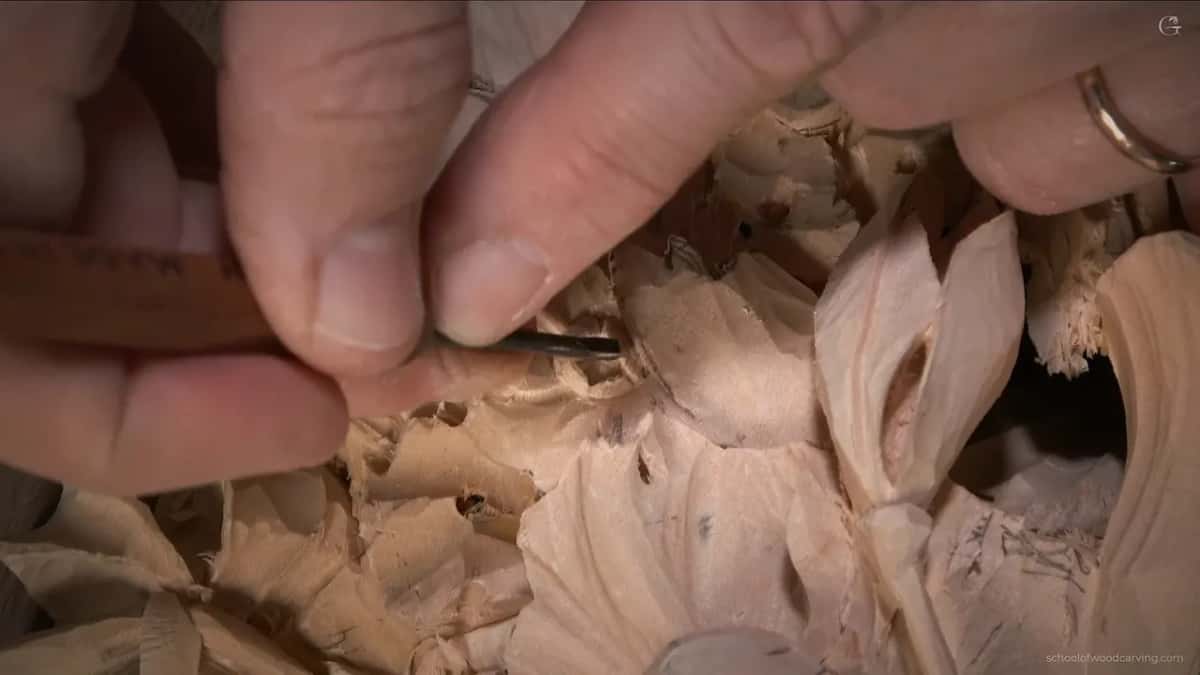
Make the edge wavy. I stood the same sixteenth inch gouge at ninety degrees around the center, maybe a millimeter and a half deep, then carved toward that first stroke from outside. I do not want to see a perfect circle.

Then an even smaller Dockyard, claiming a millimeter and a half and looking smaller, went in under that wall right around for the shadow. I finished with five divisions in the center, three big ones and two small ones, using a small Dockyard V tool. Most likely I will spend a little longer on those off camera. The Venetian rosette course has flower centers of its own.
What tricks help at this size?
Three small ones. First, the smallest skew I own, a sixteenth inch, made by Dockyard, a company in the United States that went out of business a few years ago. It blends every little facet and gets under things nothing else reaches.

Second, a clay modeling tool with a small ball on each end. A few strokes with it soften the surface and leave a movement you do not really see, but the human eye still picks it up.

Third, the paste. I use Mirror Paste by Trend for stropping, and it is not cheap. I have gone through about three tins. It dries out if you do not close it properly. When it does, add a little mineral oil and it goes soft again, and the compound is still the same compound.

More stropping in general, too. When I work on details I strop more often, and I know I say it too many times. Sharp tools are important, most of all when you are going the wrong way on something this thin. The sharpening course is where the edge itself gets taught.
Why change tools when one works fine?
Honestly, it gets boring. I could have done every separation with a number 11, which is what I like to use. Using the same tool over and over becomes boring after a while, so for the petals I went back to the number 16, flute to the right at about two o'clock, maybe two thirty.
That separation stroke went under right away and cast some shadow. I would love a full undercut there. With what is below it, I am not going to get one, and that is all right as long as the petal casts some kind of shadow.
Should you sand a flower like this?
You can. If you want to sand it, you could probably sand it even now. For me it makes no sense here. I think it looks better without sanding, so I blend with steel instead.
A small back bent is always helpful for that. Mine is six millimeters. A few strokes over the petals and the flower starts to look somewhat finished. Maybe I change the angle of attack now and then. The facets that are left will come off later.
One odd thing on this piece. There was red stuff showing on one petal, and for a second I did not know what it was. It came from the back side. Marker had soaked right through the wood. Not blood.
How does the parsley leaf get its movement?
The same law of flow. The whole panel moves in one direction, even the small flower at the micro level, so the leaf repeats that movement without fighting it. I used a number 3 at six millimeters for shallow concave indications, then a smaller one, a London number 4 at an eighth of an inch, the hard direction again.

Where about a sixteenth of an inch was left, I used it for a deeper concave that drops almost to the first layer. Then long V tool strokes, about six millimeters each, to direct the eye. They are not deep. They make the separations feel deeper than they are.
Will anyone know the design changed?
They will see a flower lying under a parsley leaf, with shadow around it and a center that is not a perfect circle. The photograph of the original says something different, and the panel is better for listening to the wood instead.
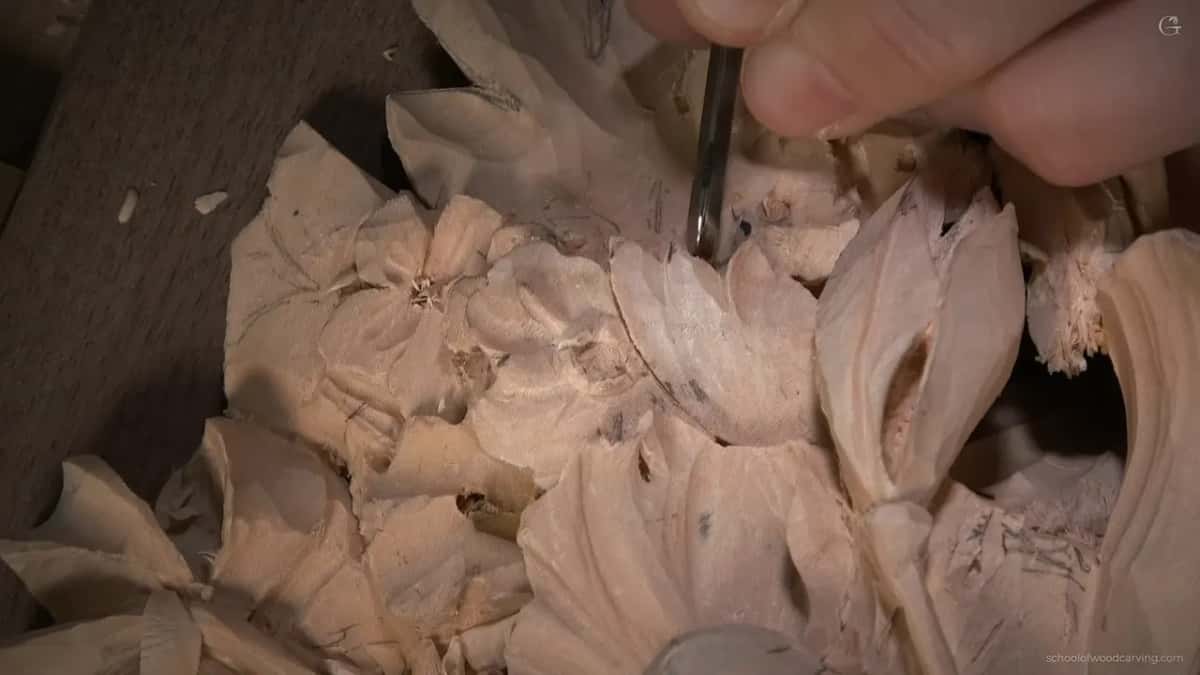
I will clean all of it later with a magnifier lamp, off camera. For filming it is not convenient, because the lamp blocks my camera so many times. It used to be easier for me to do without one. Don't judge the mess you see in the video; it is will look nice once it is cleaned.
Every class of the Grinling Gibbons course is open with tuition. Before this one comes class 11, the back bent gouge inside the tulip, and after it class 13, where the tiny tools really take over. The tools course sorts out tool numbers in general, and the Hashemi flowers course has forty-nine lessons of petals.
How it's done
- Check the back first. Look at the flower from behind and find where material is left. On this one the center was gone and the sides still had meat.
- Redraw around the wood. Hide the flower under the parsley leaf, keep only the petals that have thickness, and raise the middle.
- Separate, do not undercut. A number 16 at three millimeters, then a half millimeter 11, never more than a millimeter deep.
- Go light, the hard way. On a fragile petal it pushes down less than carving with the grain. Sharp steel, tiny strokes.
- Give each petal a concave. Two concaves with a raised center for the curl, and a small one in the middle, a bit past halfway.
- Break the circle. A wavy stop circling the middle, an undercut under its wall, then five divisions.
- Clean up later. Tiny skew, a clay modeling ball tool and a magnifier lamp, off camera.
Frequently asked questions
Can you change a carving design halfway through?
On an original, all the time. I changed this flower because the center was gone, and the finished panel gives nobody a reason to suspect it. A replica is different, since it has to match the photograph.
How thin can a carved petal be before it breaks?
Thin enough to move under the tool, which is where this one was. At that point every stroke has to be tiny, the reverse way if that pushes down less, and with an edge you just stropped.
What is a Dockyard carving tool?
A small American brand of micro gouges, skews and V tools. The company went out of business a few years ago and somebody else bought it. Its sixteenth inch skew is one of the tiniest you can get.
What to carve next