
Alexander Grabovetskiy, woodcarver, School of Woodcarving · Published 2022
How do you undercut a carved stem so light shows behind it?
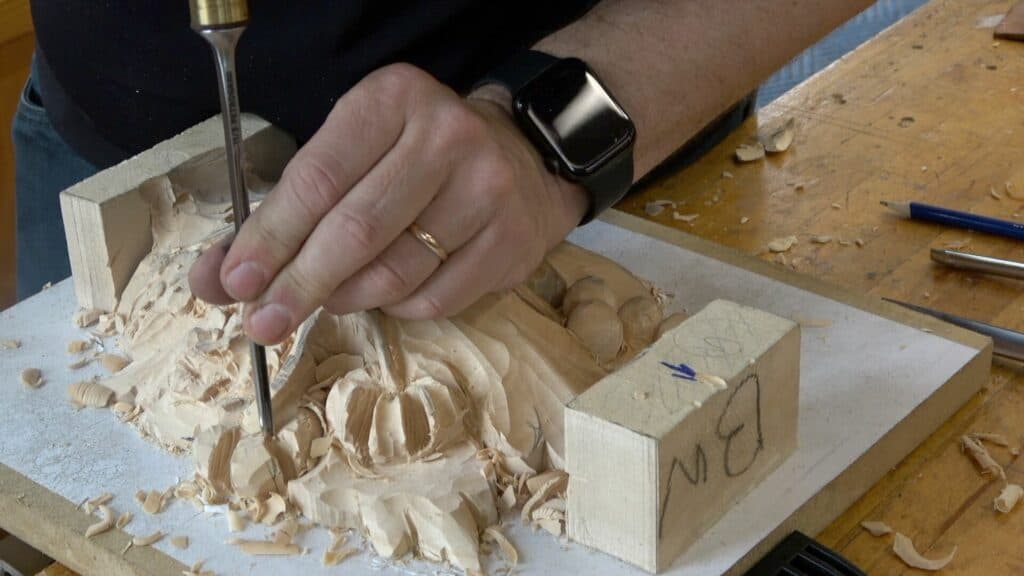
Quick answer: Undercutting a carved stem is taking the wood out from beneath it, one side and then the other, until light shows through. In Maine class 5 I used a number 11 that is 3 mm, or 1/8 inch, wide, held at three o'clock, and said in class that going through is a choice.
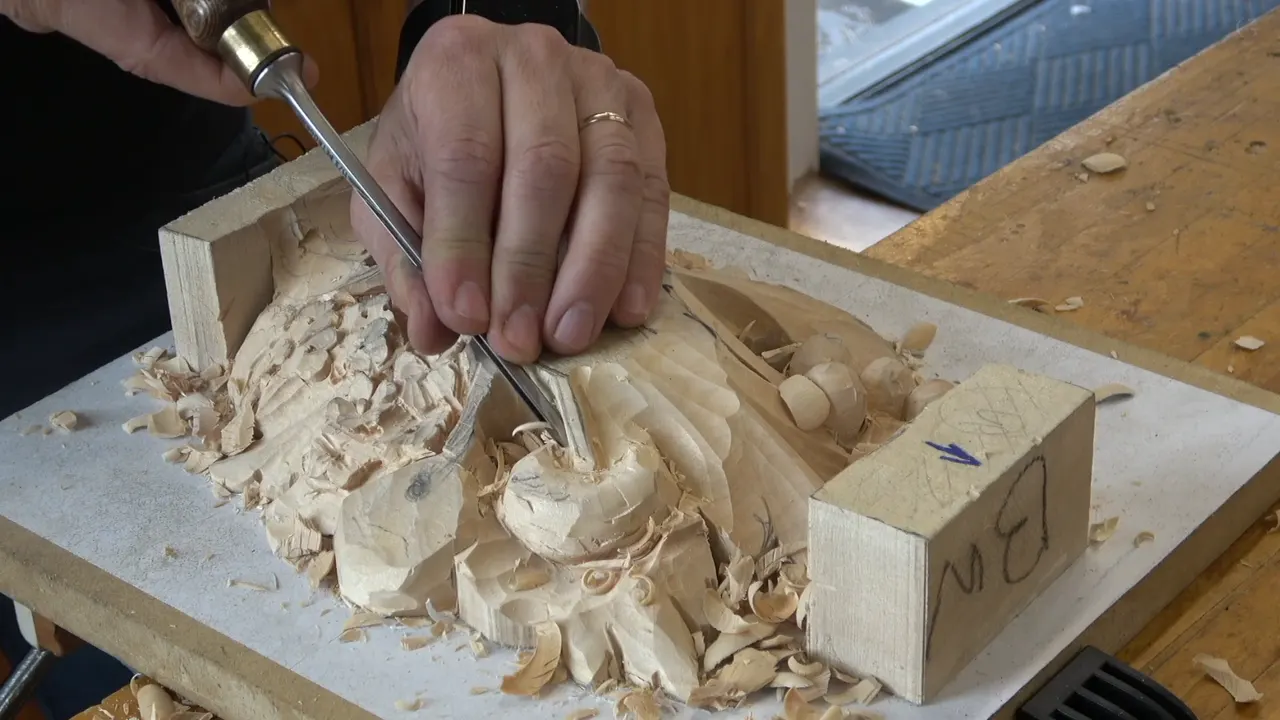
An undercut stem is a carved stem with the wood dug out from under it until light shows behind. I did one live in class 5 of my Grinling Gibbons course, the one we recorded in Maine, using a 3 mm (1/8 in) number 11. One side first. Then exactly the same on the far side, slowly, while I kept asking the room if they could see the hole. It is undercut relief carving at a very small size, and in that same class I also told people it is optional.
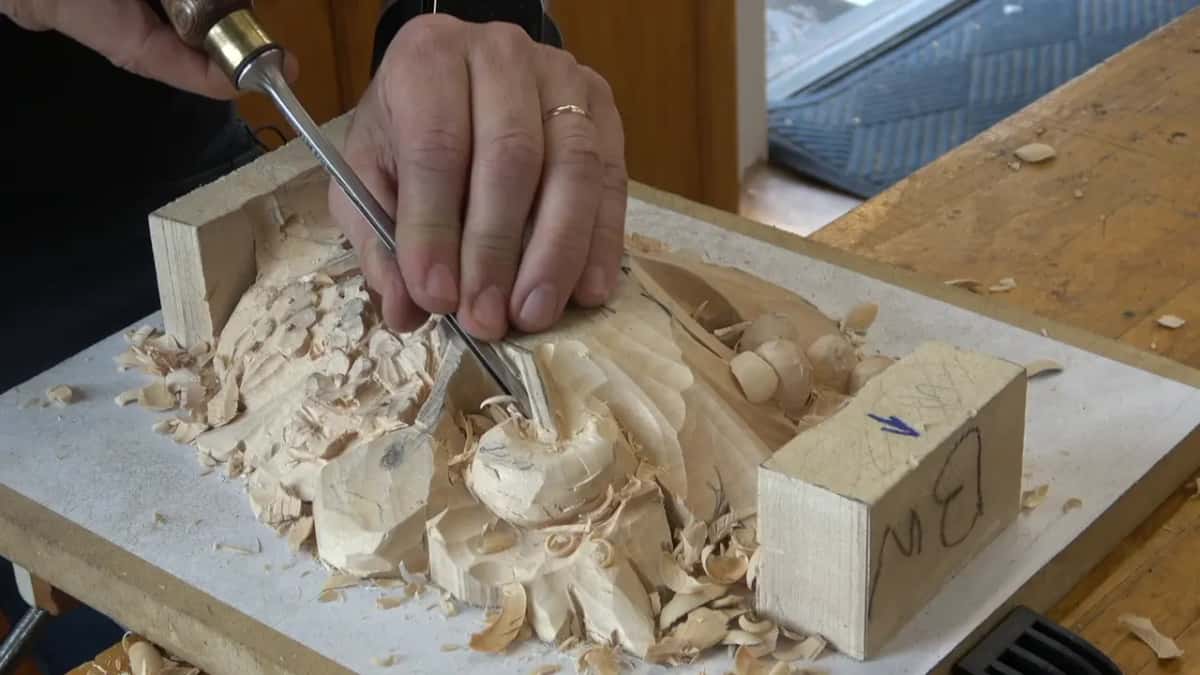
Seen a carved stem that looks painted onto its board? Wanted a thin dark line of shadow under it instead? That line is wood taken out from underneath, a little at a time. I'll show you the stem from Maine, the two sizes I gave at two different moments, and what I said about going through or holding back.
Six lines about one stem in Maine
- My 3 mm eleven, about 1/8 inch wide, went in along the stem with the tool sitting at three on the clock.
- I worked one side first and only later the opposite one, taking my time on purpose.
- A little light shows up before the hole does.
- One stem I wanted about a quarter inch (6 mm) thick, since I saw a weak spot there.
- A smaller stem I planned at an eighth inch at most (3 mm).
- Going through is your choice, since a lot of that area gets covered later.
What does airborne mean on a carved stem?
Airborne is my word for a part you can see light under, and I said it straight out on the Tray of Blessing: I'm through, see that hint of light, so that is absolutely airborne.
Early in class 5 I gave directions on the panel with state names. Lower right was southeast, and I said I was in Georgia, right there. I pointed at the stem in that spot next and said we can make it airborne. We were on the lower layer of a design by Gibbons, carved in basswood, and the plan for that stem was modest. You can just indicate it now, I said, and come back to it from behind later on.
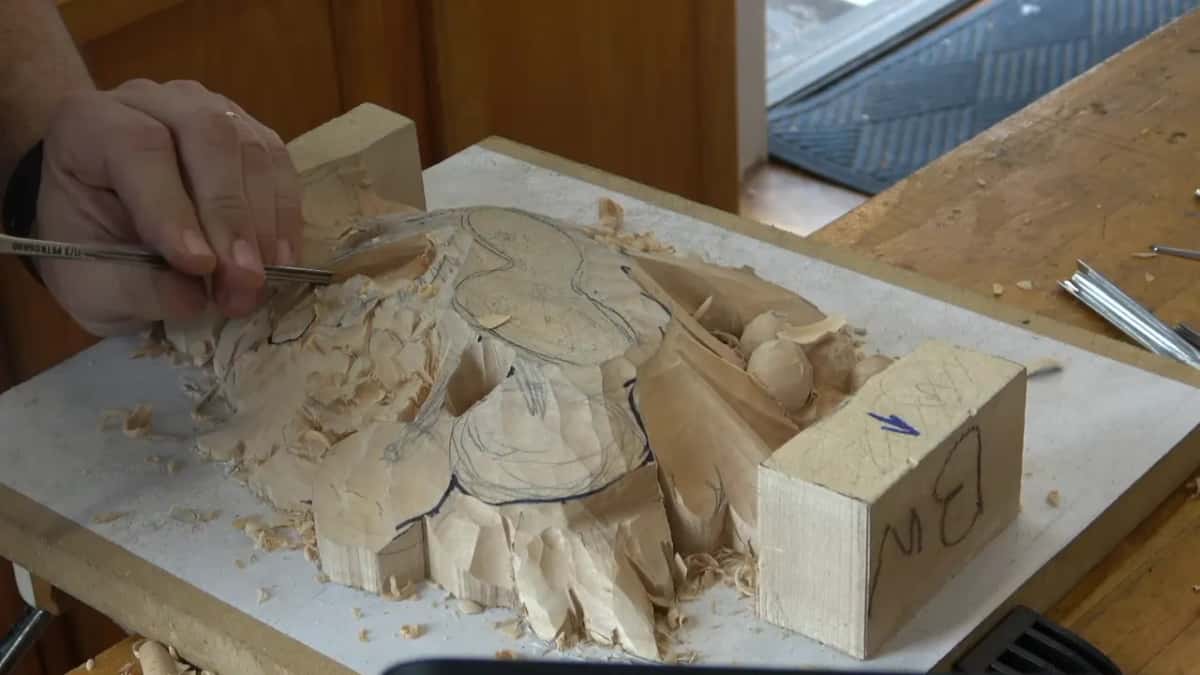
The reason is shadow. Right after that stem I said create a shadow right here. The course page calls chasing shadow the whole job on a Gibbons panel, so I won't repeat the big picture. This page stays on one small spot, the dark line under a stem.
How did I undercut the stem in Maine?
I set the narrow eleven against the stem and held it at about three o'clock. That was the second part of the class. A student asked if I could do it, and I said yes, I can show you.
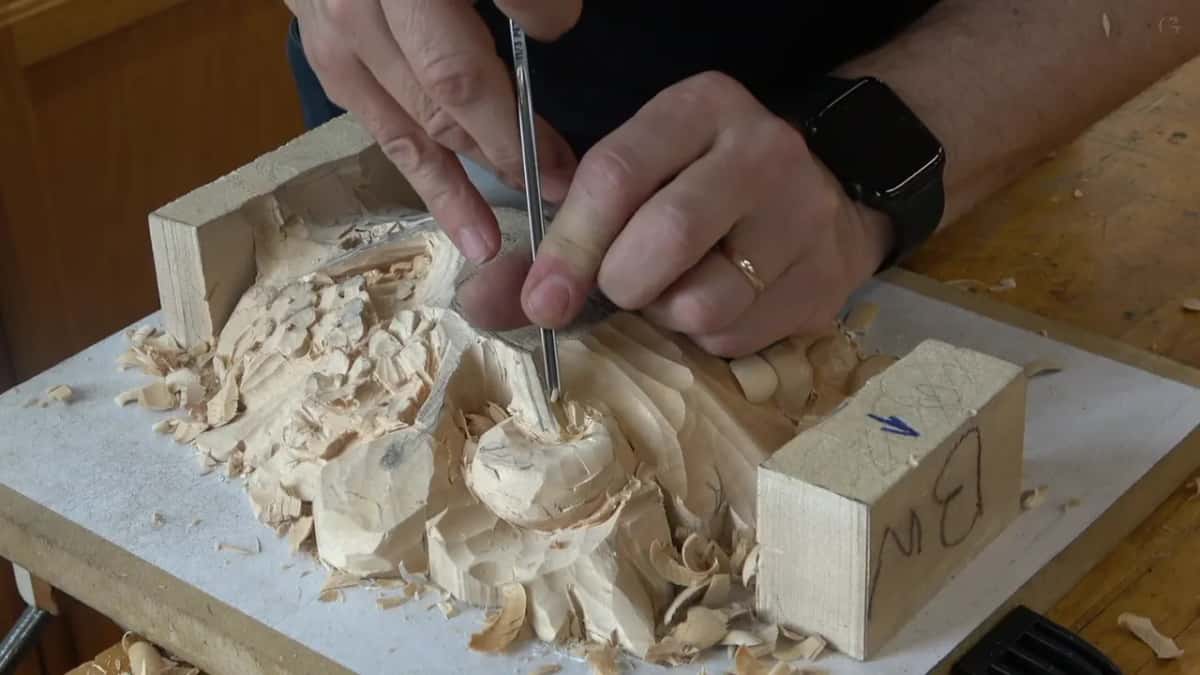
Just before I started I called it a really deep undercut. I asked them to watch where the tool sat. I started on one side. I told them I would do exactly the same on the opposite side, and that I would take my time, because I did not want to rush that movement. Maybe you'll be able to see it, I said, and kept going.
That stem came out of a round form I had shaped earlier in the same part. Two middle stems ran across that area and wrapped around to make movement. While I rounded the form next to them I said there's a stem here, and I don't want to destroy it. So the stem was protected first and undercut later.

Knowing where a stem goes comes before any of this. On the hazelnuts I came in from another side first with a number 7, so I'd know exactly where the stem is supposed to be. My plan was to make it completely airborne, I said, but at least I know where the boundary is. My grape tray started the same way in lesson 8, just the outline first.
Before the tool went under that stem, I lowered one area slightly, because most likely it would be visible, and said it's still not final. Then I laid the upper layer over the lower one to check how it would fit. What would be exposed, what would not. It looked like I was okay.
Why go in from one side and then the other?
Both edges get the tool, one after the other, and I admitted in Maine that it is kind of hard. The first part had the short version: you start from one side, then you attack it from another. The second part was the same, only slower, with the class watching the tool.
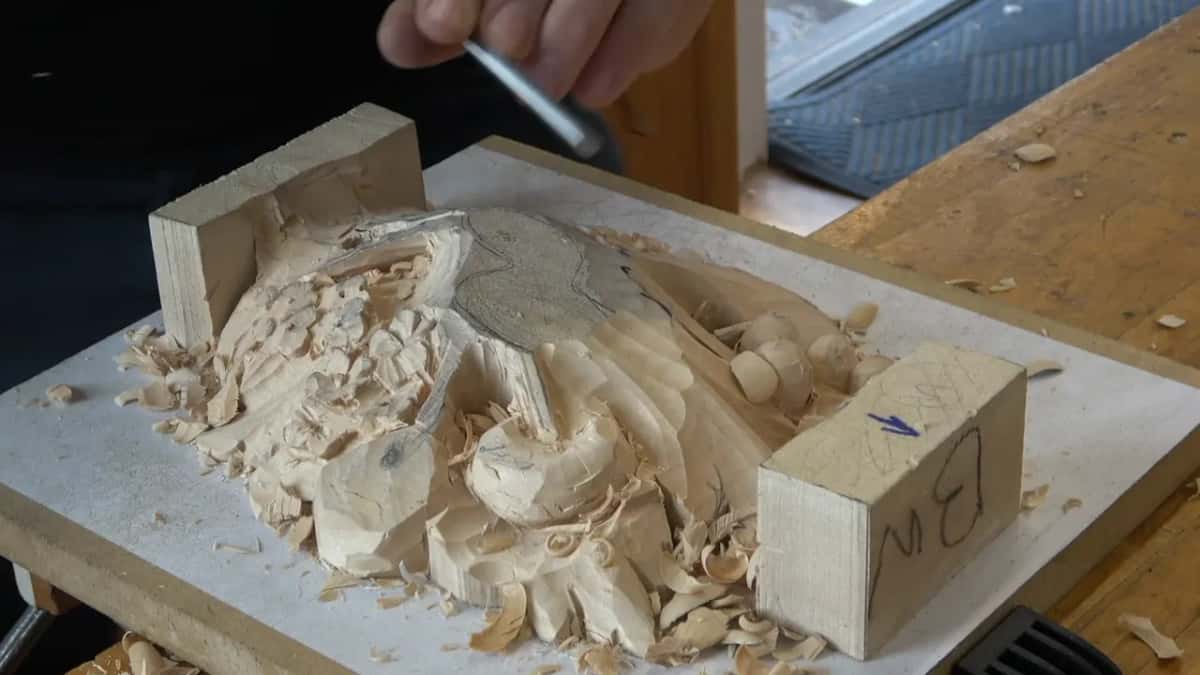
The habit shows up in other courses too. For the grape leaf vase I took a number 3, an eighth of an inch, three millimeters, made the first pass on the near edge and did the same idea on the far one. A 2 mm spoon veiner got me almost through in the Venice Room, workshop 112, so I went at it from the other direction and there it was. Lesson 8 of the tray had me drop to a half millimeter tool and come in on both sides again, and I said it out loud: I'm airborne. Perfect.
Where did the flute point under each stem?
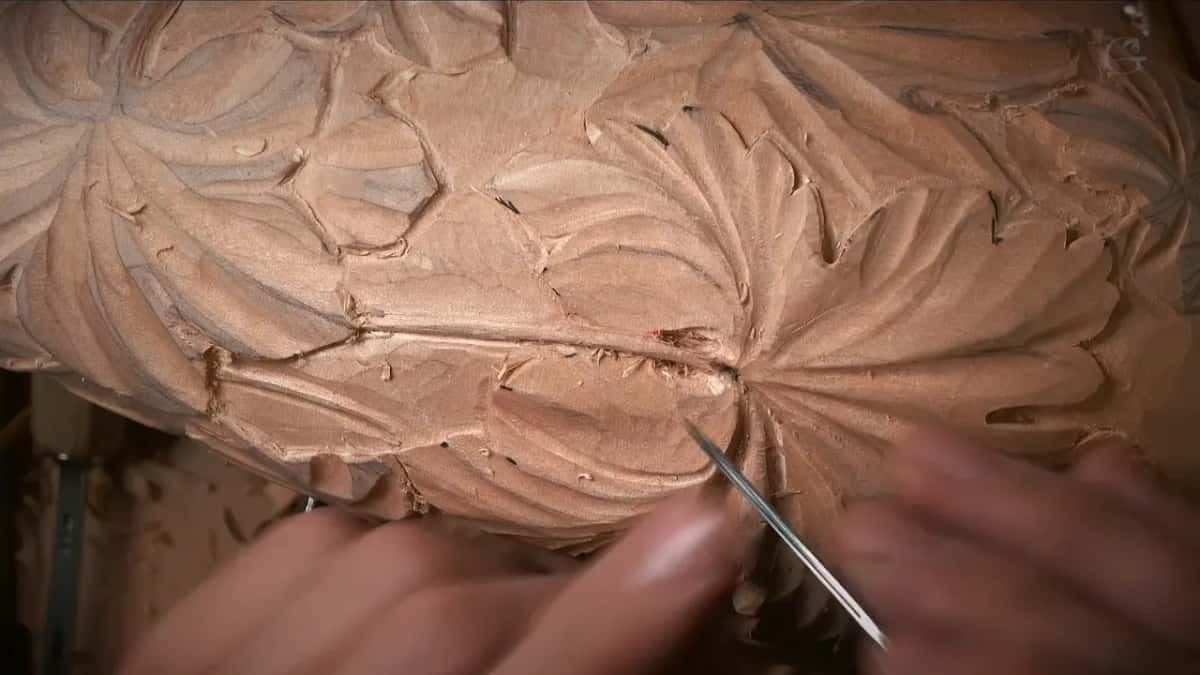
Three o'clock, on the Maine stem. After that the hour moved with the piece, and later that same class I put the tool at about one o'clock to start my undercutting. With the tray I turned the flute the other way, to nine o'clock, and carefully dug right underneath.
The vase got a half millimeter number 11, one of my go-to tools, with the flute facing out at about eleven. See how beautiful a shadow that creates, I said. I could make it airborne if I wanted to, just go in on each edge, and I wasn't sure yet if I would.

How thick should a stem stay in undercut relief carving?
Thick enough that it lives, and I put a number on it twice in Maine. My first stem got this: go deep enough but make it thicker, because that's going to be a weak spot. Make it like a quarter inch. That is about 6 mm.
The second part had a stem I called smaller. No more than, I don't know, an eighth of an inch, about three millimeters. Two stems, two moments. I gave each number for the stem in front of me.
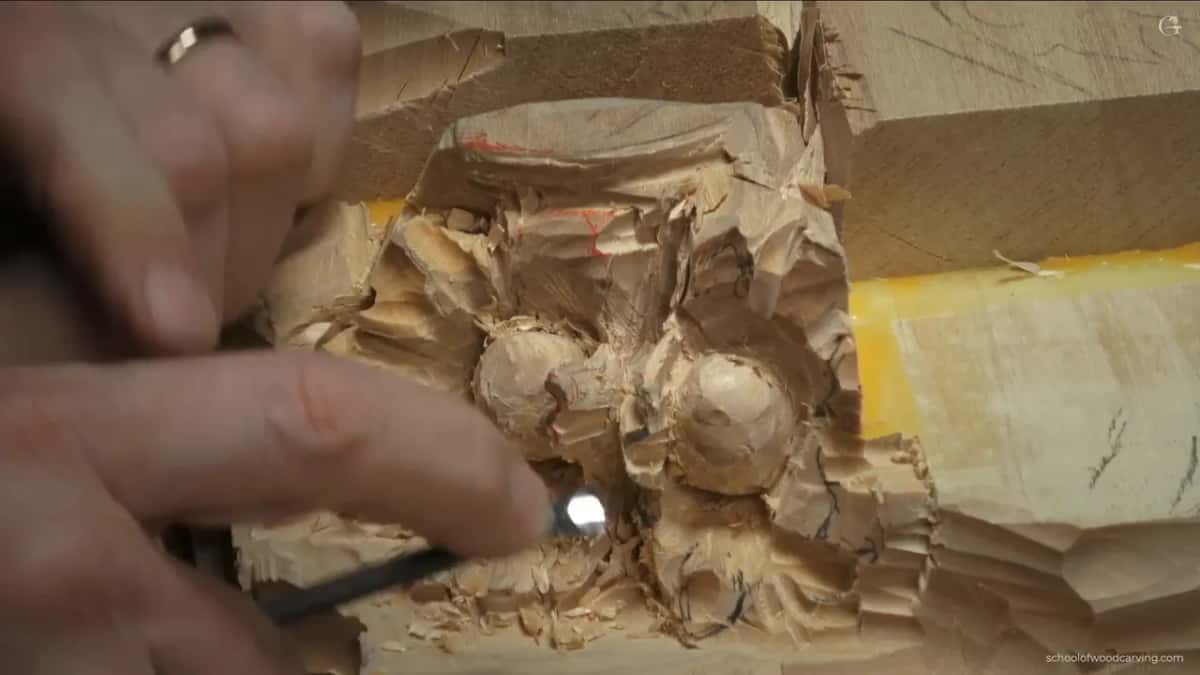
Carving a hazelnut husk, I was already about three-eighths of an inch, about 10 millimeters, inside, and I still wanted to keep some thickness. I was not forcing anything there, just slicing. I want more details in it, I said, so I didn't want it too thin at that stage. That whole husk is in the hazelnut course.
That grape tray went thinner. In lesson 5 I wanted the illusion of one stem to be really thin. By lesson 8 I said a part can go down to a sixteenth of an inch (1.6 mm), or even a thirty-second (0.8 mm) in some places. But one piece I said I'd probably keep a little thicker, because that was a longer area to be airborne.
Later in the Maine class I was rounding small shapes using a number 2 or a number 3, and gave the same warning. If I do not create too much pressure, I do not break it. Take it to the extreme and that becomes a really weak area.
How do you know the stem is through?
You see light first, then a hole. Back in class I stopped and asked the room about a light right there, and said it was not there yet because I was not through. A few passes later I was asking about the hole, about ten times in a row.
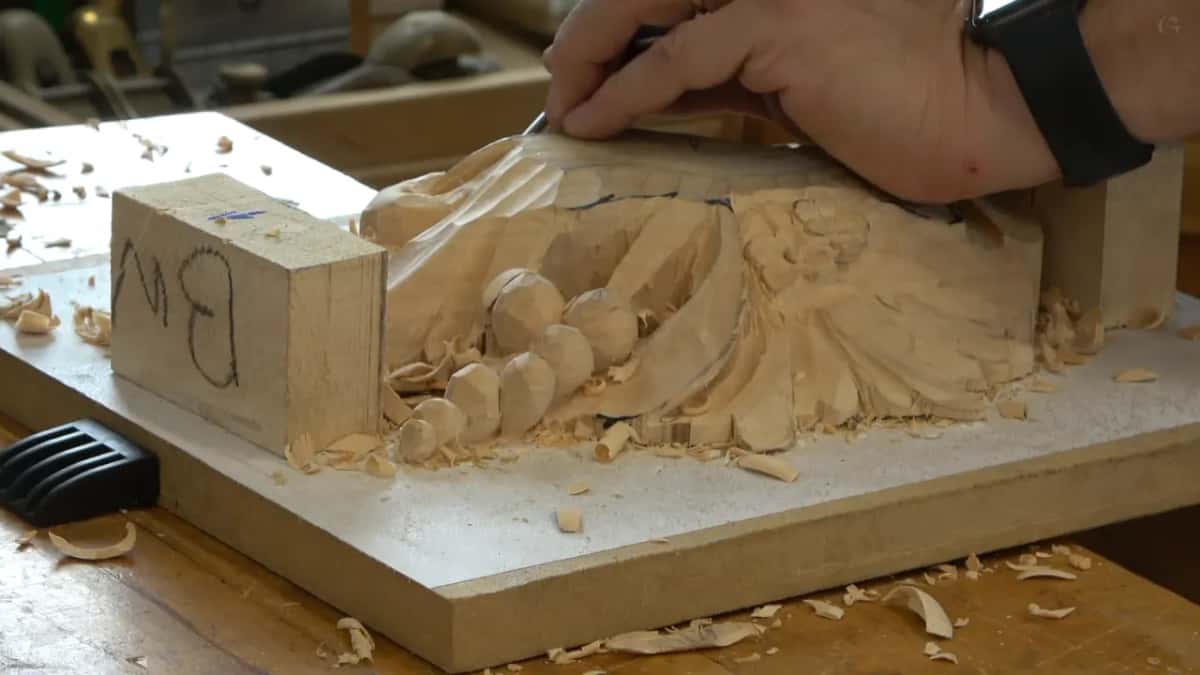
The camera struggles with it, and I said so more than once. Working the vase, I said it is airborne, so you can see, and then admitted I was not sure the lens would catch it. That vase hole I called a little detail, not a necessary one, but I thought it would look really nice. Undercutting at about one o'clock in Maine, I said it does not show really well on the camera and changed my angle. Even where it would not show, you should be able to understand, I told them.
My tray lesson had the same moment. Take a look, see that hint of light, can you see it or no.

Which tools went under the stems?
These are the tools I reached for under stems and tight spots, piece by piece, with the lesson each one came from.
| Tool | What it was doing right then | Piece |
|---|---|---|
| Eleven, 3 mm wide | Went in along both edges of the Gibbons stem, set near three | Maine, class 5 |
| The 10 mm number 9 | Sank shadow under the upper layer and stopped before going through | Same Maine panel |
| Number 3 at 3 mm | Opened one section from each side until you could see through | Vase course |
| Spoon veiner, a 2 mm eleven | Got almost through, then went at it the opposite way | Venice Room 112 |
| A flatter number 3 | Cleaned up the mess underneath once that part was open | Venice Room 112 |
| Half a millimeter tool | Came in again on both sides of the tray piece until it was airborne | Tray of Blessing |

Do you have to go all the way through?
You don't, and I told the class exactly that. You can always do it, I said, but you really don't have to, because a lot of that stuff is going to be covered. The exception is movement. If you're planning a really beautiful movement with the flowers, those stems have to do the job. And if you like airborne and really airy, you could take it to the extreme.
In the first part I even held back on purpose. In one section I sank a somewhat deep shadow with a number 9, 10 mm, and said I didn't want to go too deep, because I didn't want to go through. It would sit underneath the upper layer anyway. But that shadow will still make a huge difference, I said.
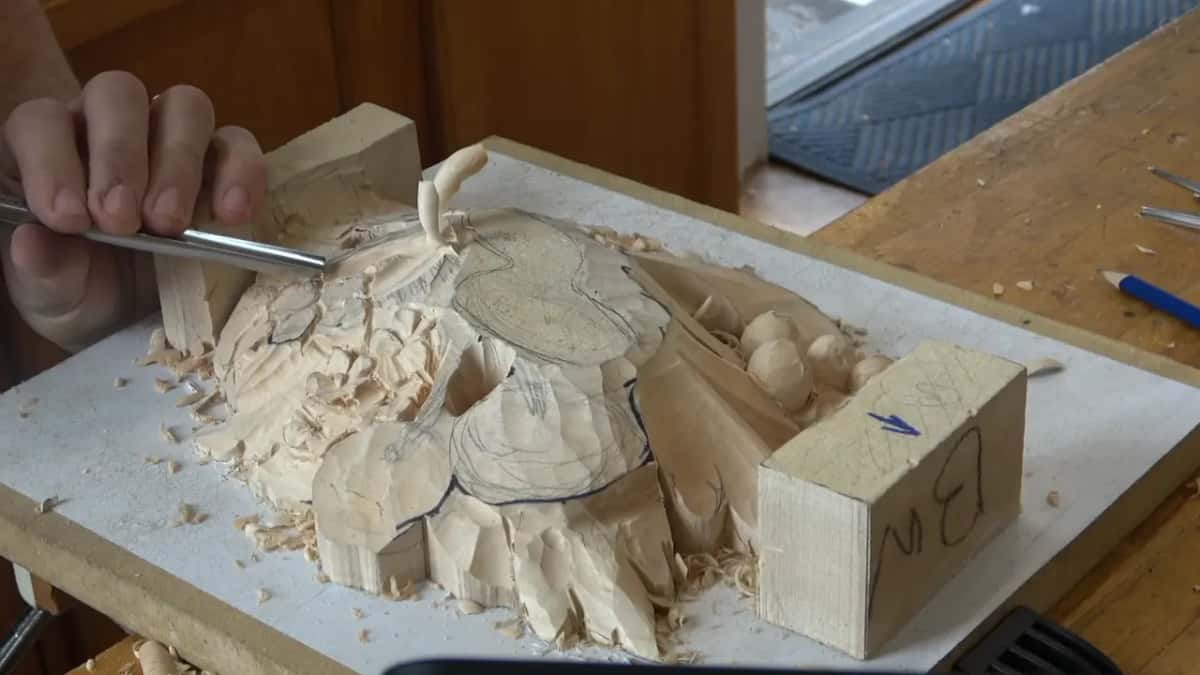
Part three brought it up again: in my own shop, I told them, I would probably go through there. The tools they had in that room, though, didn't give them the ability. When someone asked for a tool to use on their own bench, I showed a small back bent and worked it in from each side.
Elsewhere I went back and forth out loud. Workshop 90 of the Venice Room has me saying this part could be airborne, I don't really need to do that, but it's possible. In workshop 87 I said there would be an open spot right underneath, hanging in the air, and that I didn't know yet. It would look really nice and something different, I said. I broke off in the middle of that thought to say that was my granddaughter.
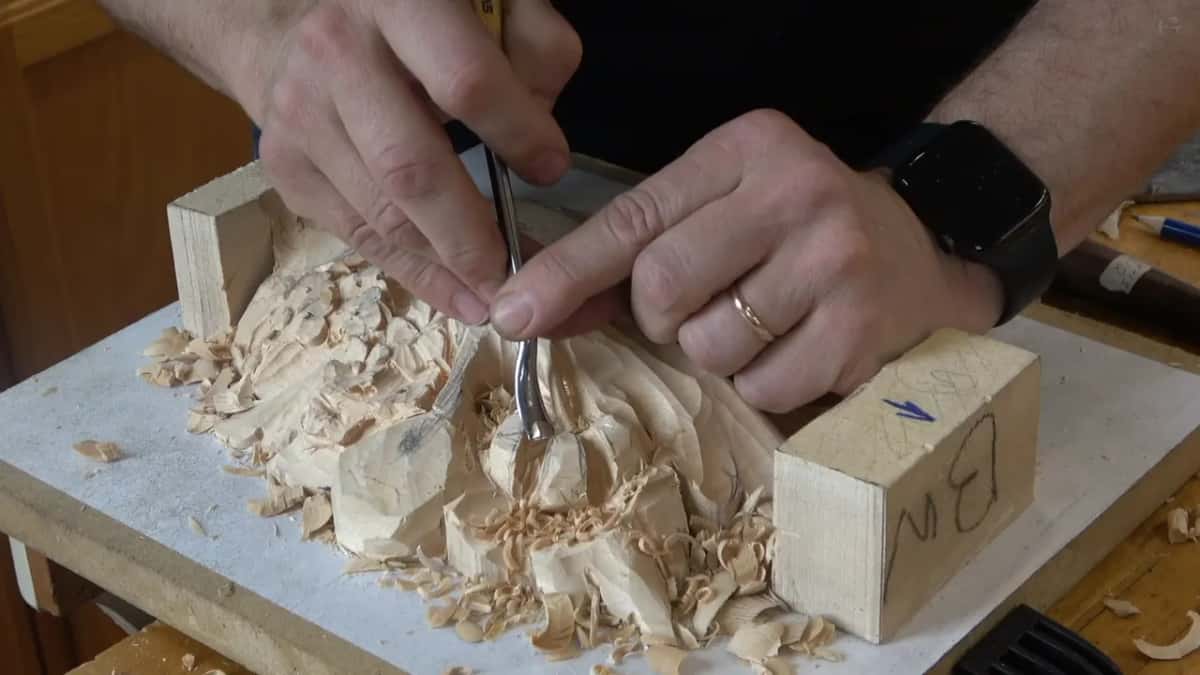
Other times the piece itself argued against it. The tray had me say that if it were not for my dining table I would probably dig underneath and create an airborne part, and a few minutes later I did it anyway. For a furniture panel I said you don't make too much airborne stuff, because it sits low and people hit it. In modern acanthus, lesson 7, the warning was the grain: a stem you plan to make airborne has to run with the grain, or it breaks. And in workshop 66 I went the other way on purpose, kept a connection point, and tried to hide it.
What happens after you are through?
The back comes next. I said it in Maine while pointing at the stem in Georgia: later on we can attack that from the back side. The panel gets flipped and carved from behind in later classes, and class 6 is where the back starts to matter.

The tray shows the second half best. I'm airborne, I said, but that's not the end yet. I came from the backside next, blended everything, and made it much thinner. I left plenty of the material on purpose, because I can always make it thinner. In workshop 112 it was a flatter number 3 to clean the mess underneath, then a 1 mm tool to get it a little nicer.
Back in Maine, in the third part, I said I can keep working, working, working, but the final shape I would probably give it at the end.
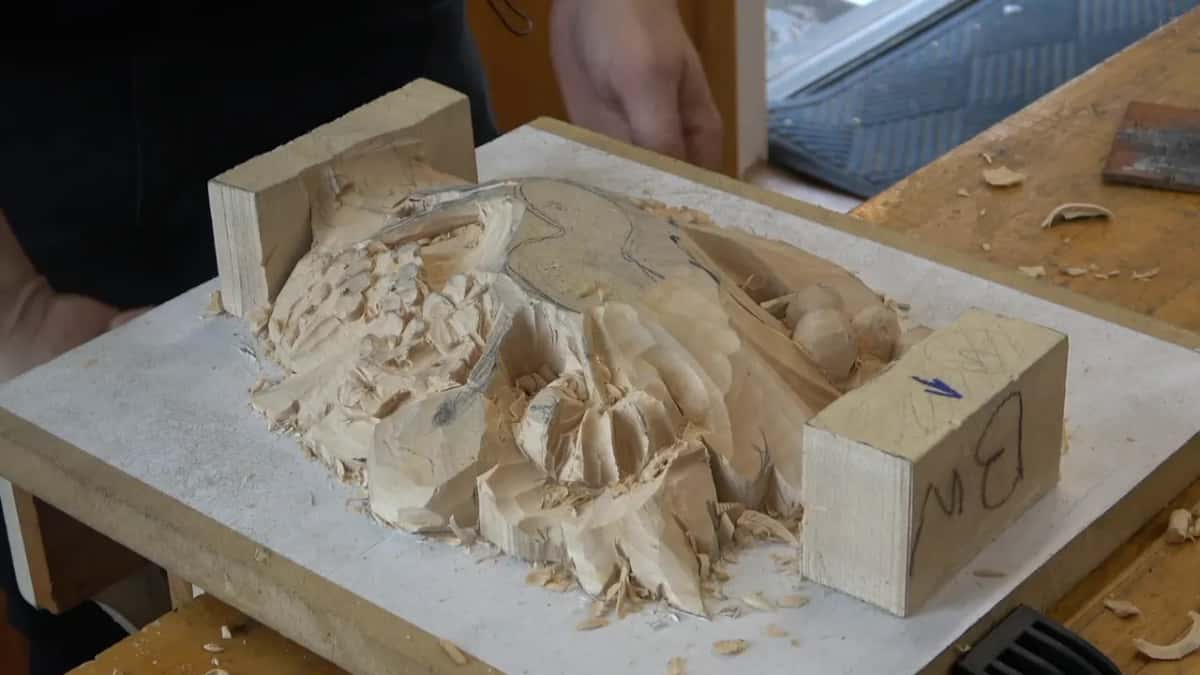
Class 5 sits between class 4 and class 6. The first eight classes were recorded live, so you hear the room, questions and all. Somewhere in part three I even taught the class the English word roundy, and told them that is the word.
If a dark line under a stem is the kind of thing you want in your own carving, every class of the Grinling Gibbons course is open with tuition, from the first tracing on relief boards to the last stem.
How it's done
- Decide if the stem needs it. Ask whether that stem carries the movement of the flowers. When most of the area will be covered later, the hole is optional.
- Leave it thick. Like a quarter inch (6 mm) where the stem is weak. On a smaller one, an eighth (3 mm) at the most.
- Set the eleven on one side. The small eleven goes against one edge, set at about three o'clock. Take your time and don't rush the movement.
- Repeat on the far side. Repeat the pass on the far edge until a little light shows, then a hole.
- Save the final shape. Come back to it from behind later on, and give the final shape at the end.
Frequently asked questions
What gouge goes under a small carved stem?
Mine was a 3 mm eleven (one eighth inch) on the Maine panel, with the tool set around three. On a Venice Room panel a 2 mm spoon veiner did the same work, and a number 3, flatter, cleaned underneath afterwards.
How thick should an undercut stem stay?
A quarter inch, about 6 mm, on the one I flagged in Maine as fragile. For the smaller stem in the next part I said no more than an eighth, about 3 mm, and I don't know came right before that number.
Is going through to the ground required?
Only if you want it. In class I said you can always do it, but it isn't needed, since much of that area gets covered later. Stems carrying the movement of the flowers are the exception, and those earn the extra work.
What to carve next