

Alexander Grabovetskiy, woodcarver, School of Woodcarving · Published 2022
What is a back bent gouge used for on a carved flower?
Quick answer: A back bent is a carving gouge with its blade bent the opposite way to a spoon. Turned upside down inside a flower, it follows the round wall of a petal and slices along it, so the tulip opens up and keeps its roundness. Keep it sharp, since much of that work goes the wrong way on the fibers.
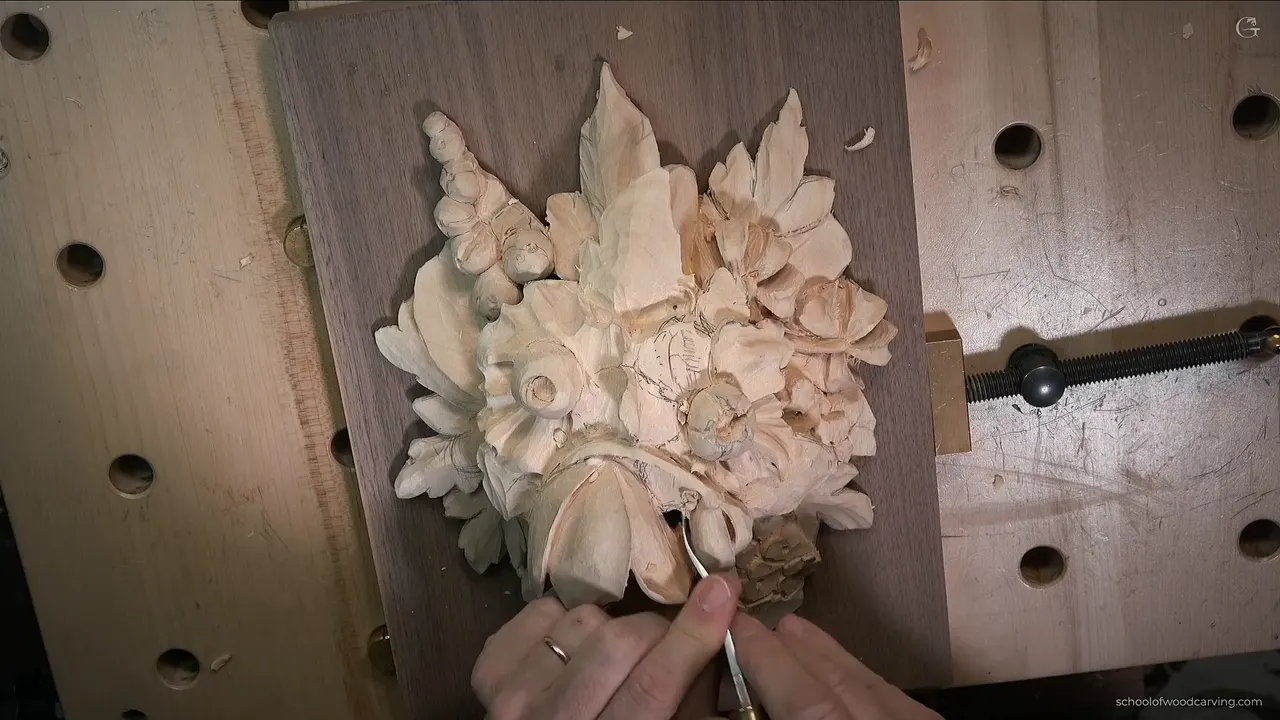
Turned upside down, a back bent rounds a flower from the inside. The blade bends backward just behind the edge, so you flip it over and roll the wall of a petal without flattening it. On flowers I put it on the must have list, right beside a sharp number 11.
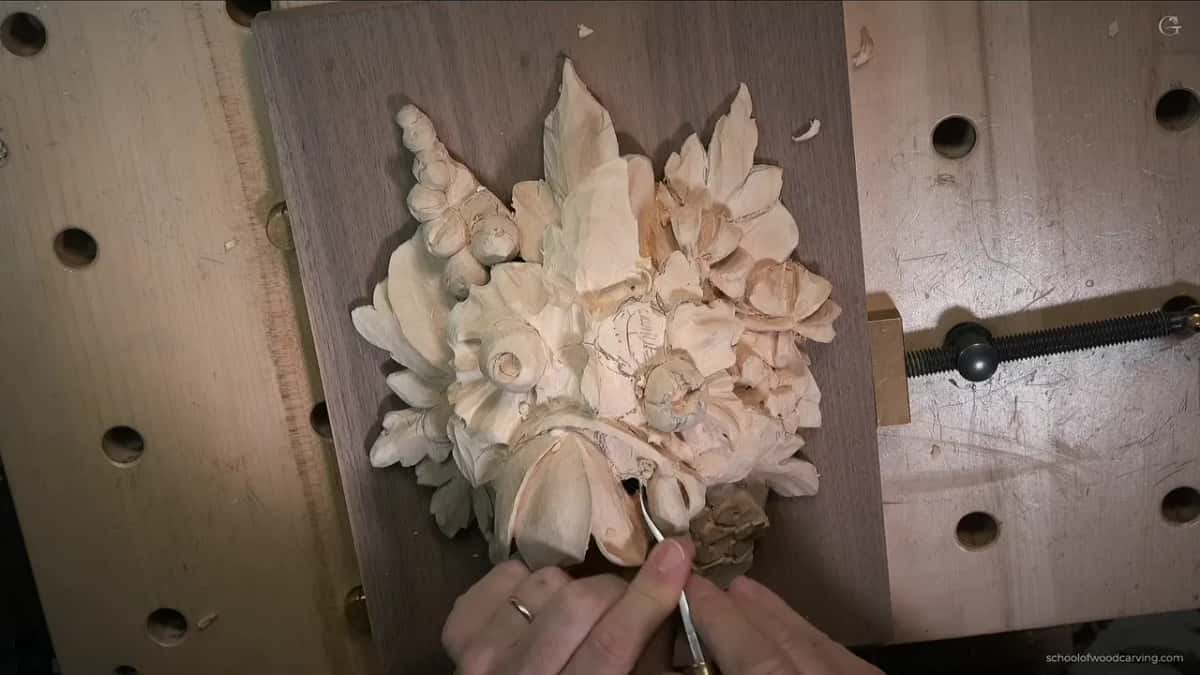
Ever carved a tulip that looked flat from the side? Ever pushed a straight gouge into a flower and watched the round shape turn into a funnel? That second one is what this page is about.
Class 11 is back at my own bench with the panel we started in Maine. I had a short list of things I did not like about what we carved in class, and the big tulip was on it.
Key takeaways
- Used upside down, the back bent rolls a petal round without losing the shape.
- Open a hole all the way to the ground board and you get the darkest shadow a panel can have.
- Going the wrong way on the fibers is allowed.
- A bigger tool leaves a cleaner surface, right up to the moment it no longer fits, and then you drop a size.
- Keep every stroke aimed at one point in the middle.
- One small triangle removed can put a petal on top of its neighbor.
What is a back bent, exactly?
A gouge with the blade bent the opposite way to a spoon. Spoons dip down so you can scoop a hollow. The back bent lifts, so the curve of the steel matches a round, domed shape instead of a hollow one.
Mine is a Henry Taylor. In the London pattern that is a number 4, and in the European numbering the same sweep is a number 3, which is about the same thing. Do not let the two charts confuse you; hold the tool against the shape you want and look.

Why use it upside down on a flower?
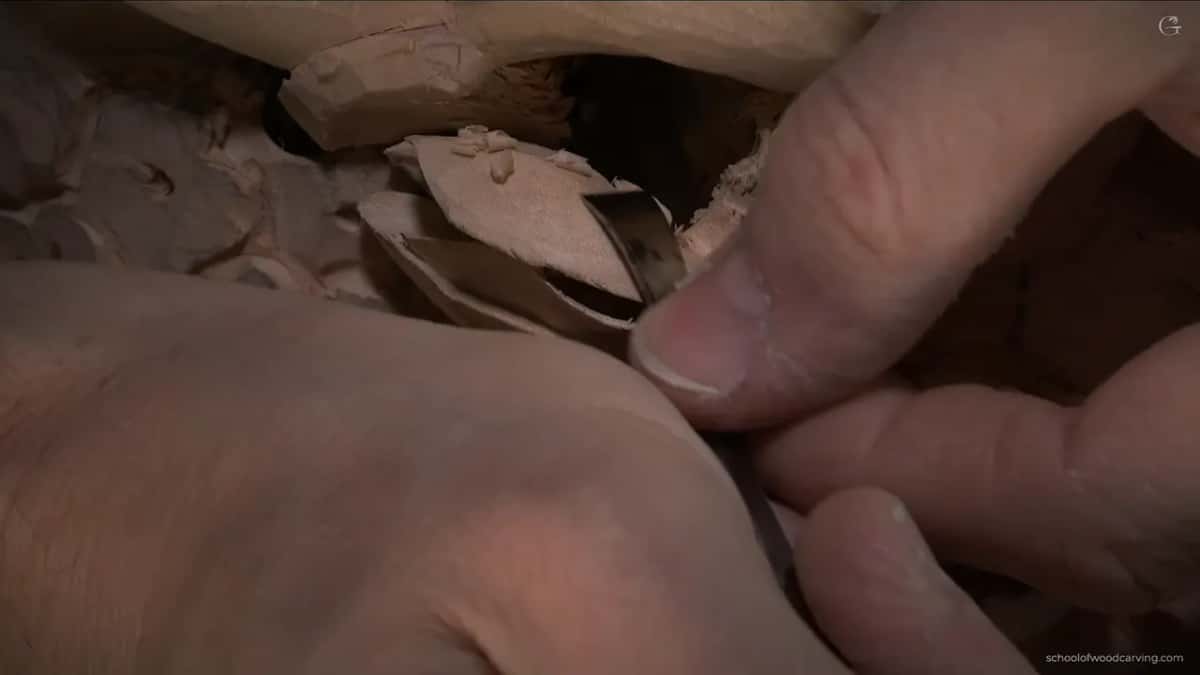
The inside of a tulip is round, and I did not want to lose that roundness. Turn the back bent over, get it in under the rim, and the bend lets you slice along the curve of the petal from the inside. There are several ways to shape it. With this tool that result is much easier to get, and I like it best.
Then flip it the other direction for the opposite wall. Same tool, same effect, mirror image. You do not force anything. Forcing is a big mistake on a petal this thin.
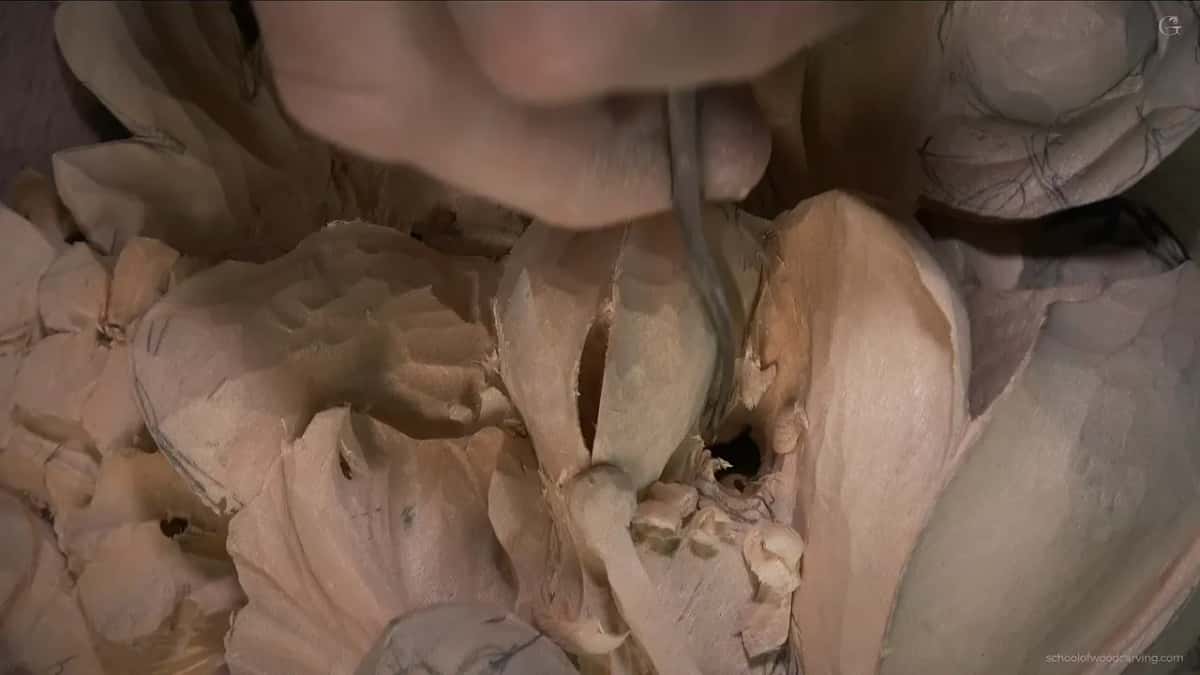
Something useful happens as the roundness develops. The opening gets wider and wider, the shadow inside gets deeper, and you start to feel how much material is left on the petal wall. The tool is telling you the thickness while it carves.
Why go right through to the background?
For the darkest spot on the panel. Where I wanted deep shadow inside that flower I stood a number 9, six millimeters, about a quarter inch, straight down and turned it back and forth like a drill. I did not know how deep the spot was. Then I was through.
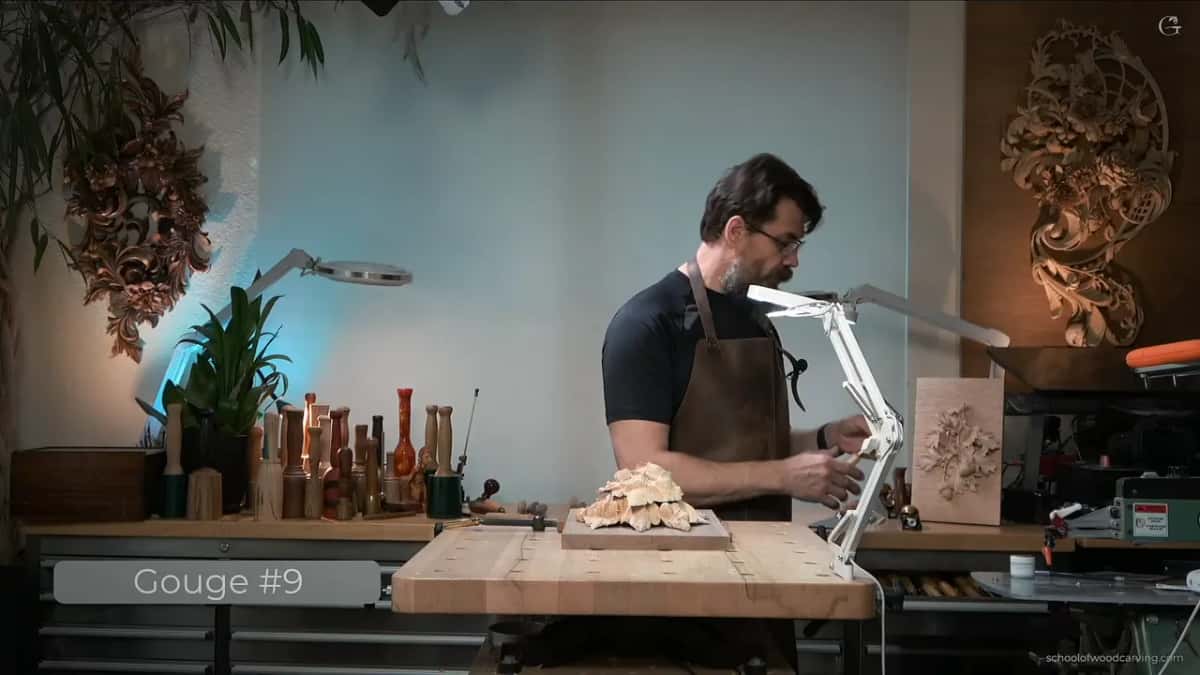
The ground board behind this piece is walnut now. The old background had to go. Nothing is wrong with it, we chose it in class, but that style is more French, and the French and the English of Gibbons' time did not care much for each other. It would not be honest to his style.
Gibbons put his lime carvings on something darker, most likely oak. My source is books. Nobody alive ever talked to the man, but I have several books on him, some of them antique, and the authors mostly agree. You can also go to the palaces in England, Hampton Court for one, and look for yourself.
I may have oak somewhere in the shop, but I did not want to dig for it. A piece of walnut was right there, and it gives the same darker ground.
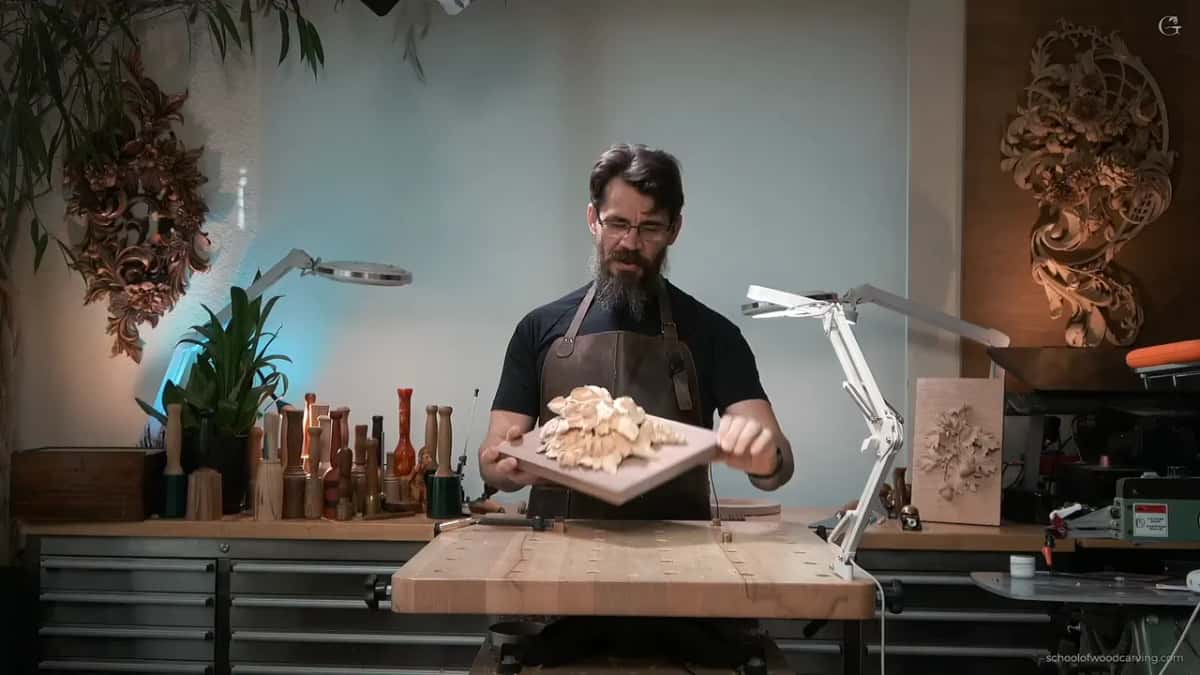
Does a layered panel look like pancakes?
From the side, it can. Roy, one of the best carvers of the human face, said it looks like pancakes, and it does. You can see the layers stacked up. Some of Gibbons' own early work looks the same from that angle.
One petal broke on me last time. I had excavated too deep underneath, it was paper thin, and I decided to take it off completely. That exposed the first layer and the flower beneath it, and I kept it, because it gave the corner more of a 3D look.
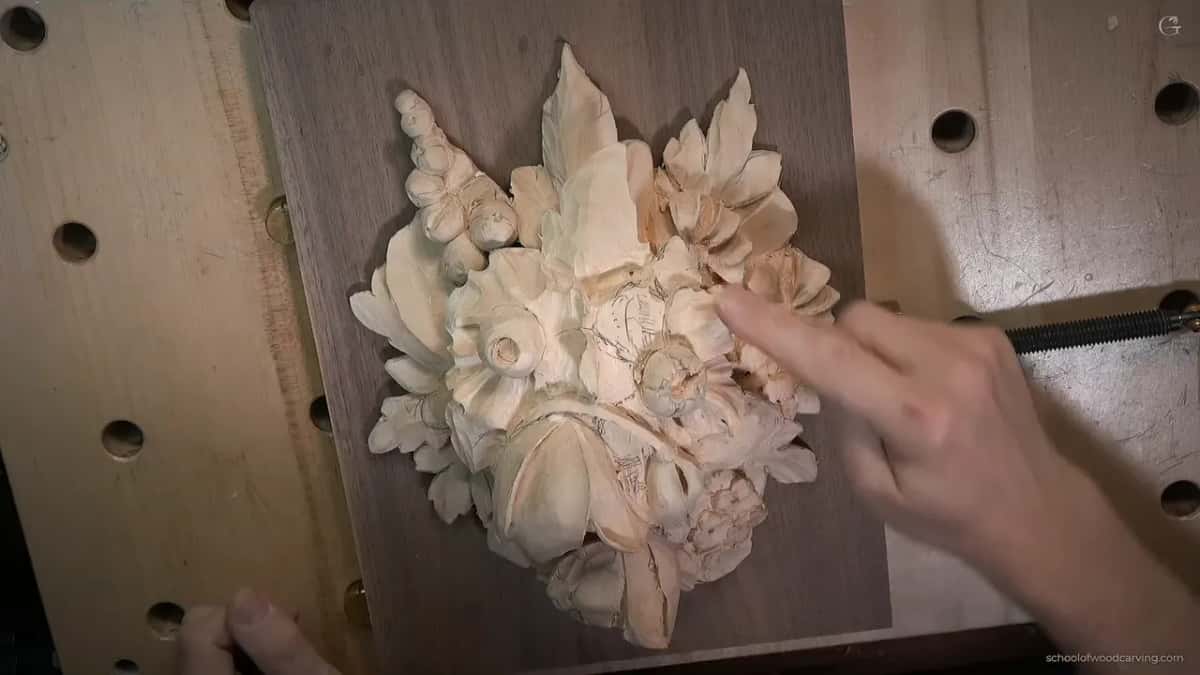
By the end of the session one flower sat on the first layer and blended into it so well that you could not see where one board stopped. Not pancake anymore. That one was for you, Roy.
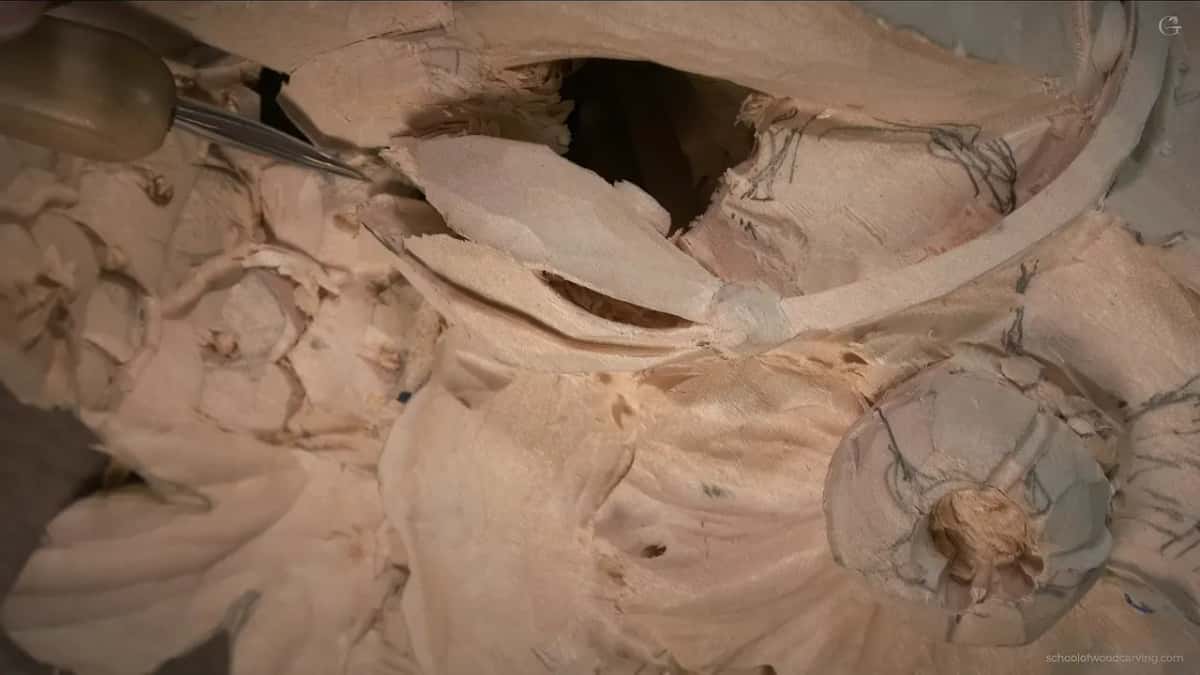
Is it wrong to carve against the grain?
I did plenty of it on this panel, on purpose, with sharp tools. You are not always able to carve with the grain. Doesn't matter what people say. In there the stem is in the way, the next petal is in the way, and you attack from whatever angle is possible.
What makes it work is sharpness. The wrong direction plus a dull edge makes a mess, and it never looks as nice. A sharp tool leaves a surface you can clean up later. I told the camera more than once that I would fix it, and I did, working back the other way once the shape was right.

When do you change to a smaller tool?
When the big one stops giving a clean stroke. If I can get the pass done with the bigger tool, my surface is much cleaner, fewer facets and fewer ridges. There is a point where it no longer fits, and then I drop a size.
Inside the tulip that went quickly. A number 11 at two millimeters, a German one and a good one, then a number 11 spoon at four millimeters, then back to two, then down to one. Your two millimeter 11 does not have to be antique. Any sharp one does the job.
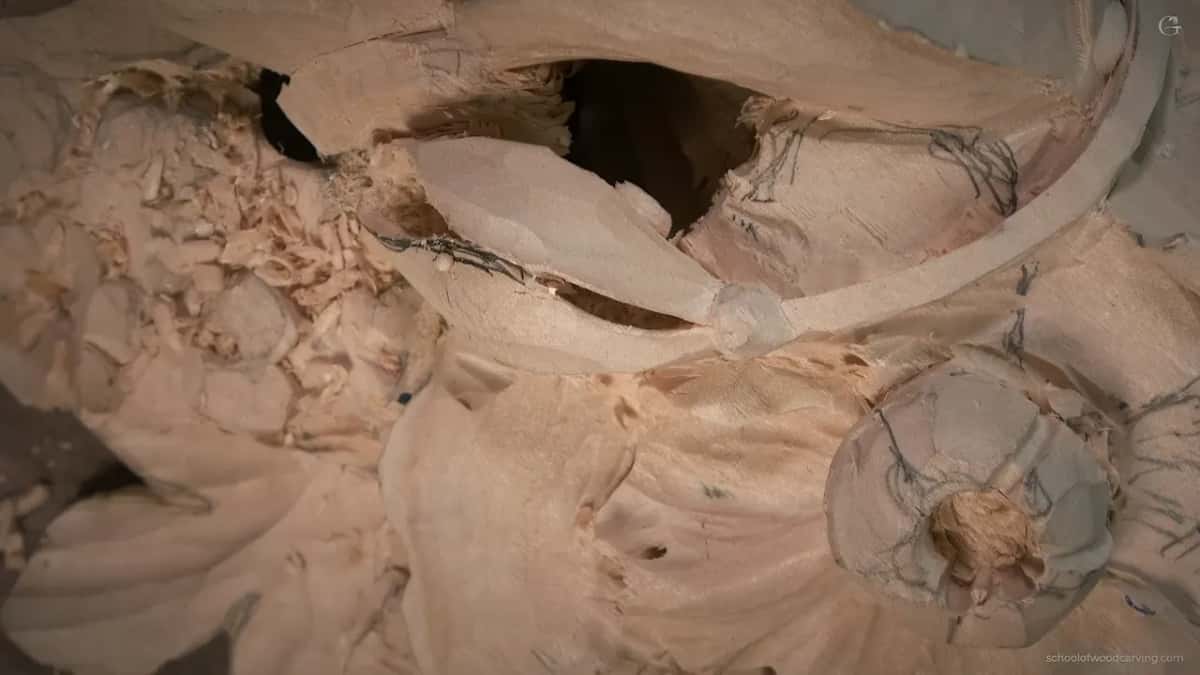
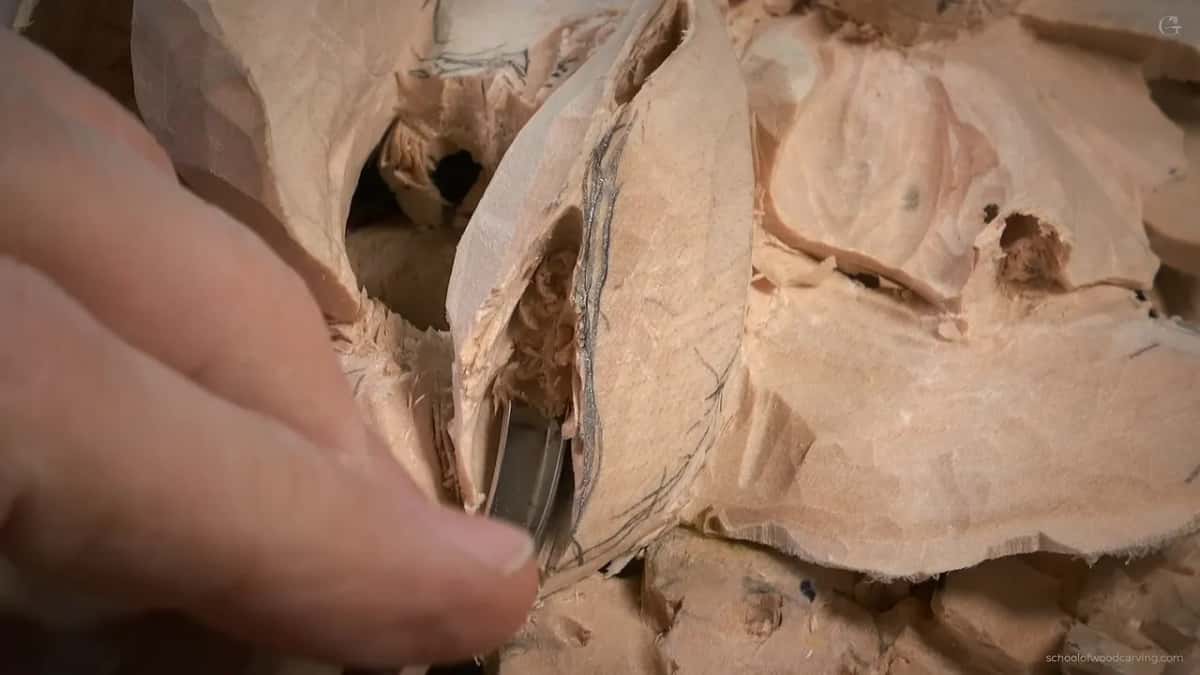
A spoon earns its place when there are limits on the angle. I cannot raise the handle up high in there, so the bend of a spoon does what my wrist cannot. At one point I wiggled it too. Those of you who took my class in person know I am against wiggling. Sometimes it is the only way to get the wood out from between the petals.
Where should every stroke point?
At the center. I kept telling the camera I was aiming, and that is not a figure of speech. Every pass inside the tulip travels toward one spot in the middle, from the right, from the left, from above, and at last in through the small hole with the tool upside down.
You may not see that on the video. That thinking goes on in my head the whole time, and it is why the inside ends up round and even instead of a collection of separate dents. The walls near that hole were so fragile a crack started, so I took my time and came from the other side.

Which tools came out for this flower?
| Tool | Size | Job on the tulip |
|---|---|---|
| Number 9 | 6 mm, about a quarter inch | Opened a hole into the walnut behind the flower |
| Henry Taylor back bent | London 4 | Rolled both walls round, first upside down, then turned the other way |
| Number 11 | 2 mm, and later 1 mm for the tightest spots | Waste |
| The spoon, a number 11 | 4 mm | Got under the petal where the handle could not rise up |
| V tool, number 16 | 3 mm | Undercut the narrow second petal so it floats |
| Big skew | Large enough to take a real bite | Bulge |
| Drake knife | Small and very sharp | Triangles and edges, plus the joint right at the base of the petals |
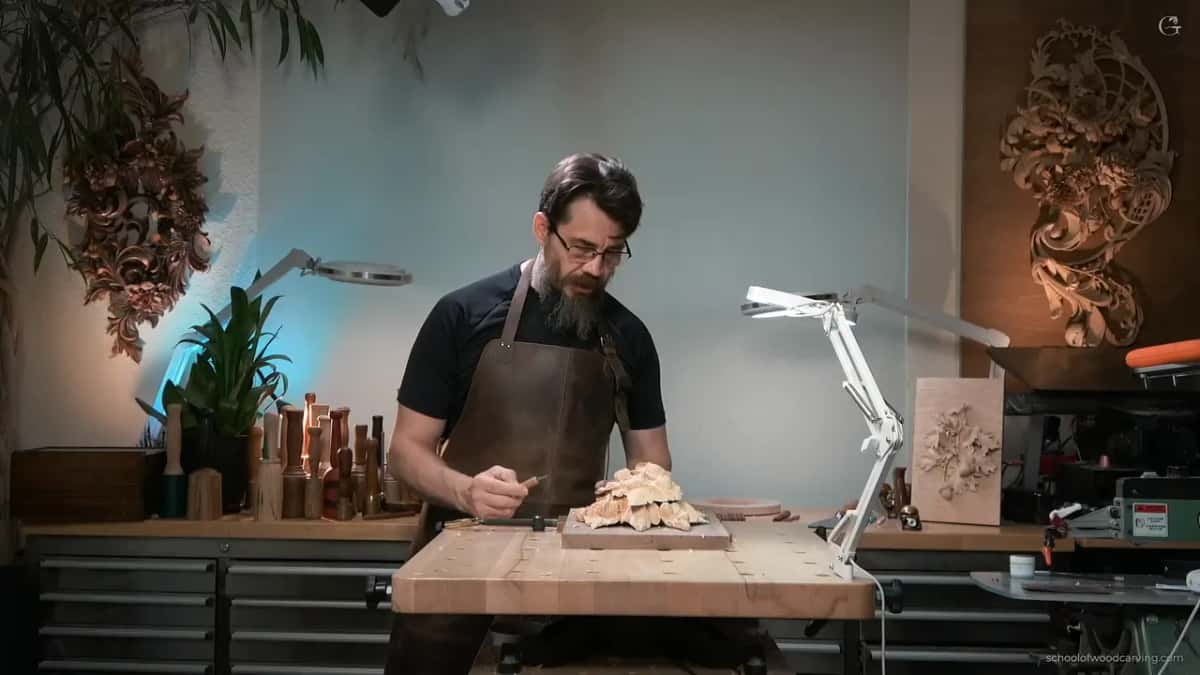
That Drake knife is a beautiful little thing. For keeping edges like these, and for the numbering that confuses everybody, the course on carving tools goes further than I can here.
Why a V tool on a flower?
The original has a second, narrow petal right underneath the first. To give that feeling of lightness I placed a number 16, three millimeters, cutting at 35 degrees, in an undercutting position along the line. I am not going to gold leaf or paint this piece, so a V tool is safe to use here.

Undercutting leaves a big ridge behind it. I blended that ridge with the back bent again, this time with the grain, from above down, and it went smooth. Then a half millimeter number 11 made the shadow line even deeper. It did not have to. It gave a better shadow.
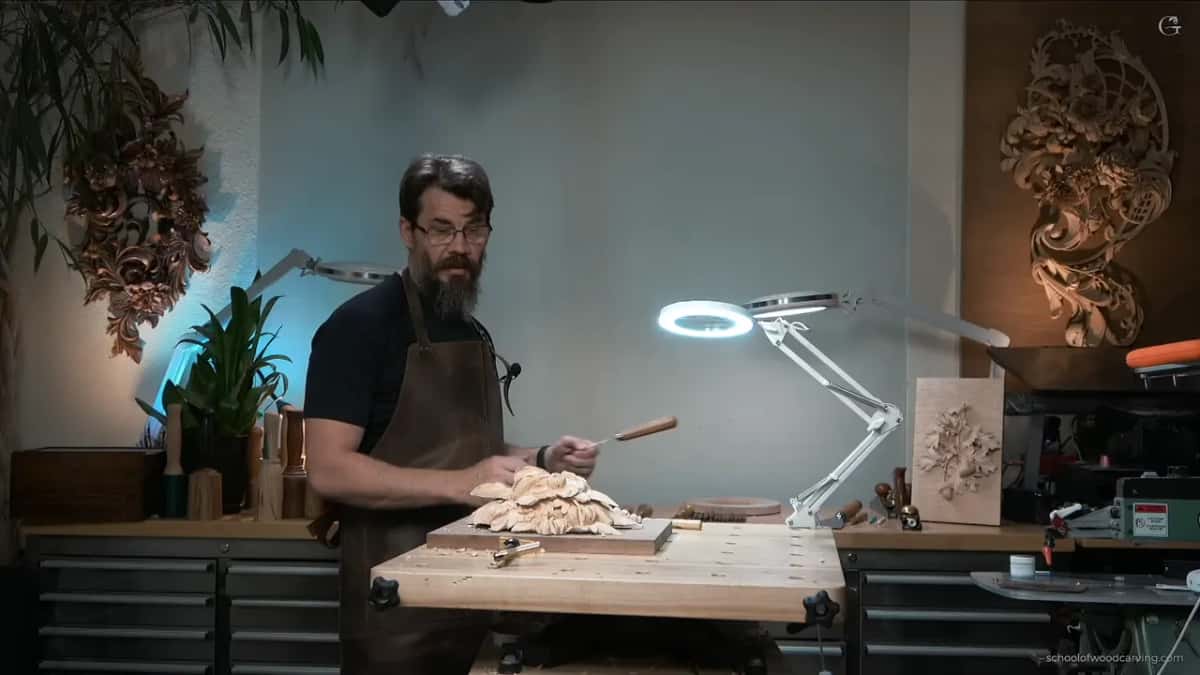
How can a small triangle change a petal?
It gives the eye a place to stop, right where the petal ends, and on this flower that was all it needed. The narrow petal did not look right to me, so with a small detailing knife I took out one tiny triangle where it ends. Then, on the original, one petal lies over the next one, and to make that true I carved right along the side of the flower and removed another triangle.
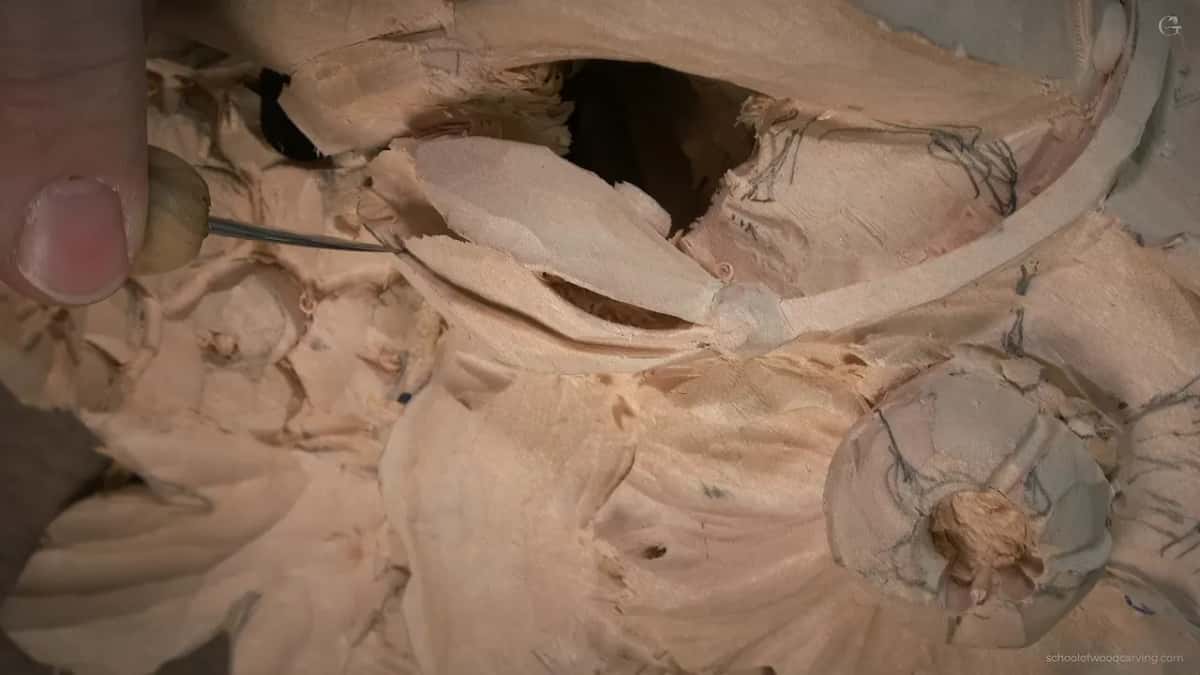
Little detail like that makes a whole world of difference. Before it, two petals sat side by side at the same height. After it, one of them clearly overlays the other, and the flower reads like something that grew. How to decide which petal goes on top is the subject of Maine class 8.
How do you clean the facets without losing the shape?
Go slowly, on top of them, following the fibers. For cleanup I took the same number 3 back bent and moved it in really slow motion right over the facets, riding on them rather than digging under them. That way the surface gets clean and the roundness I worked for stays where it is.
While I was doing that I saw a chance for a little curl backward on one petal. Not much. Just enough to cast some shadow on that side, which you may not even see on the video.
One section opened up completely. It is airborne now, and when I touch the panel you can see that part moving. That told me better than any measurement what I could still do with the chunk next to it.
What about the place where petals join?
The joint between the petals and the part below them still bothered me. So, before any cleanup, the same knife went in and made a slightly deeper excavation right at that connecting point. I want you to really see the shadow where one petal meets the next.
Another part near it is still too bulky for me, and I told the camera I am not sure what kind of flower that is supposed to be. For now I keep it like the original. Later on I may try to do something better with it.
What if you cannot tell what a detail is?
Then you decide. I looked at the photograph of the original and honestly had no idea what one little shape was supposed to be. I knew it sat lower, so I dropped it lower and treated it as a leaf.
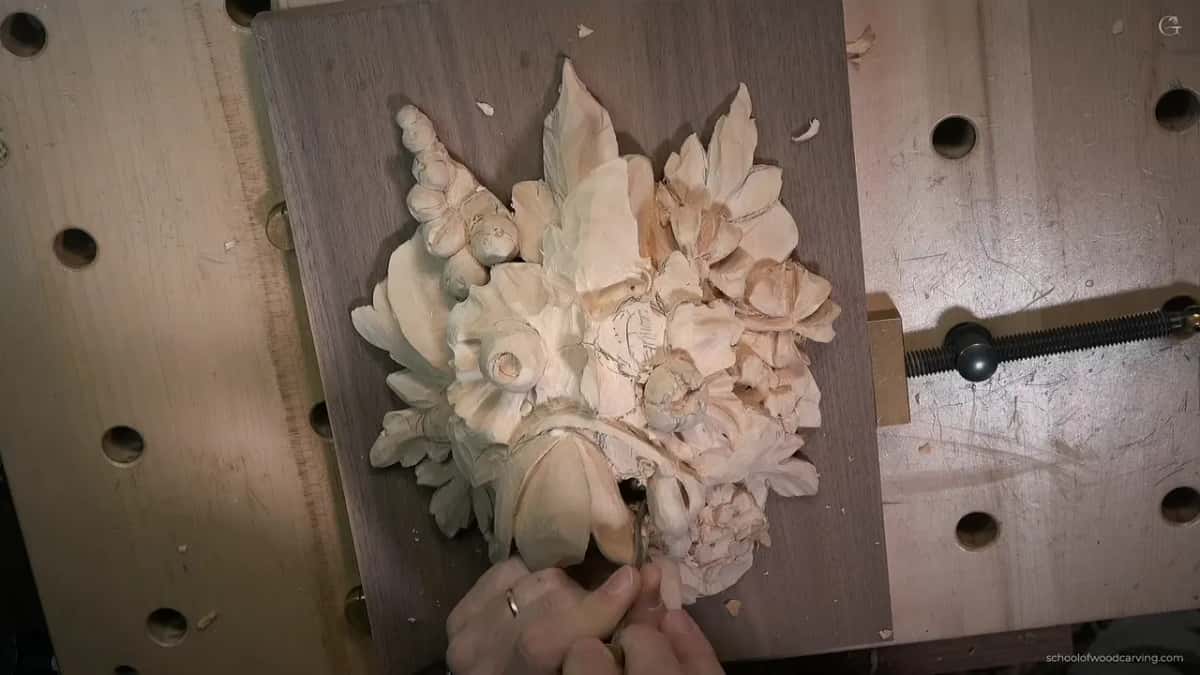
One bulge near it was just too fat, and a big skew took it back. Another of my petals came out longer than the original. I thought about fixing it and left it. A copy has to match. This is not a museum replica, and the first class is where we talked about why an exact copy of Gibbons is not the point.
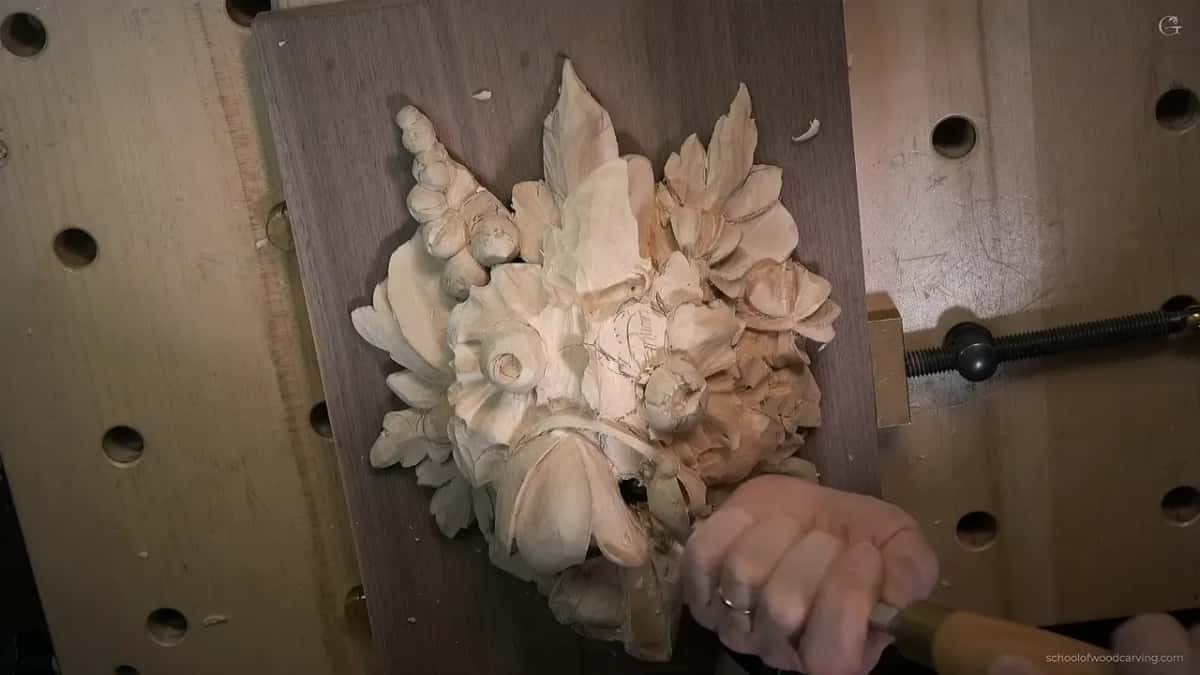
A detail you cannot read in a photograph is a design decision waiting for you. Make it by the laws of design, make it match the movement around it, and nobody will ever know it was a guess.
Where does this class sit in the course?
After the tulip got its place in class 7 and the ground was chosen in class 10. Here the flowers get refined one by one. The next session, class 12, deals with a flower that has almost no wood left behind it.
If flowers are your weak spot, the Hashemi flowers course takes forty-nine lessons over them, one bloom at a time. For undercutting and grain in general, the techniques course is the place.
Every class of the Grinling Gibbons course is open with tuition, all nineteen lessons. Some of this is hard to see even on the video. I kept covering the work with my head and my hands, and I apologized for it more than once. A tulip is small, and a camera cannot stand where a carver stands.
How it's done
- Drill a dark spot first. Stand a number 9, a quarter inch, upright where the deepest shadow belongs and turn it until you reach the ground board.
- Turn the back bent over. Slide it in under the rim of the petal and slice along the curve from inside, then flip it to do the opposite wall.
- Clear waste with a narrow 11. Two millimeters, then one. A four millimeter spoon where the handle cannot rise.
- Aim for the middle. Every pass travels toward one point in the middle of the flower, including the last ones up through the hole from underneath.
- Undercut the second petal. Number 16 V tool, three millimeters, in an undercutting position along the line.
- Blend the ridge from above. Back bent again, from above down, until the undercut leaves no step.
- Take out a triangle. A small knife removes the wedge so one petal sits over the next.
Frequently asked questions
Is a back bent the same as a spoon gouge?
Opposite, in fact. The spoon dips down to scoop a hollow, while a back bent lifts so the steel follows a dome. In a tulip, used upside down, that lift is what keeps the wall round.
Which number is a back bent in each chart?
Mine is a Henry Taylor, number 4 in the London pattern, which sits at about number 3 in the European charts. Hold the edge against the shape you need and trust your eye over the stamp.
How do you get a deep shadow inside a carved flower?
Go through. A number 9 stood upright and turned back and forth like a drill will open a hole to the ground board, and a dark wood behind it, walnut here, makes the spot read black.
What to carve next