

Alexander Grabovetskiy, woodcarver, School of Woodcarving · Published 2023
How do you carve a swirling center in a flower?
Quick answer: A swirling flower center is a group of inner petals carved so every one slips beneath its neighbor, turning in a single direction like the leaves of a cabbage. Separations go in with a small V tool, a skew blends each petal under, and a deeper cut all around gives a second layer.
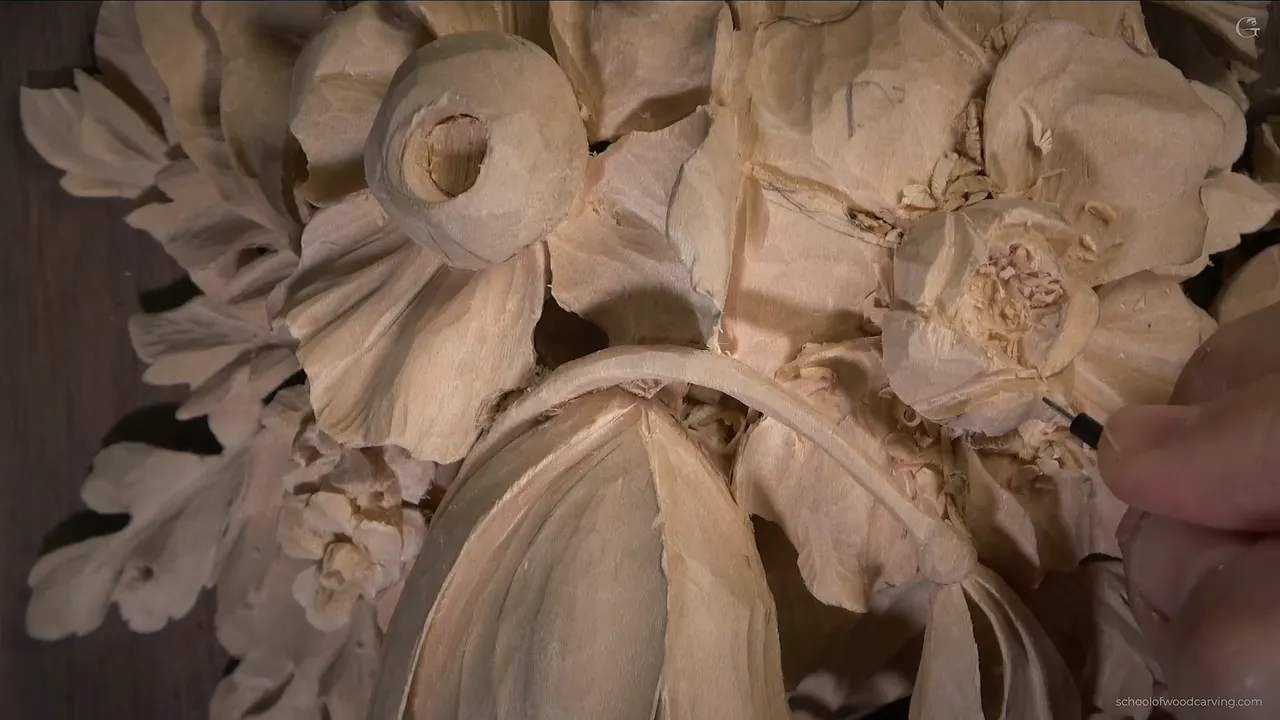
A swirling center is what you carve inside an open flower when the middle should look like it keeps turning. Each small petal starts under the one before it, and all of them run the same way around. Mine went counterclockwise, and I got the first petal wrong.
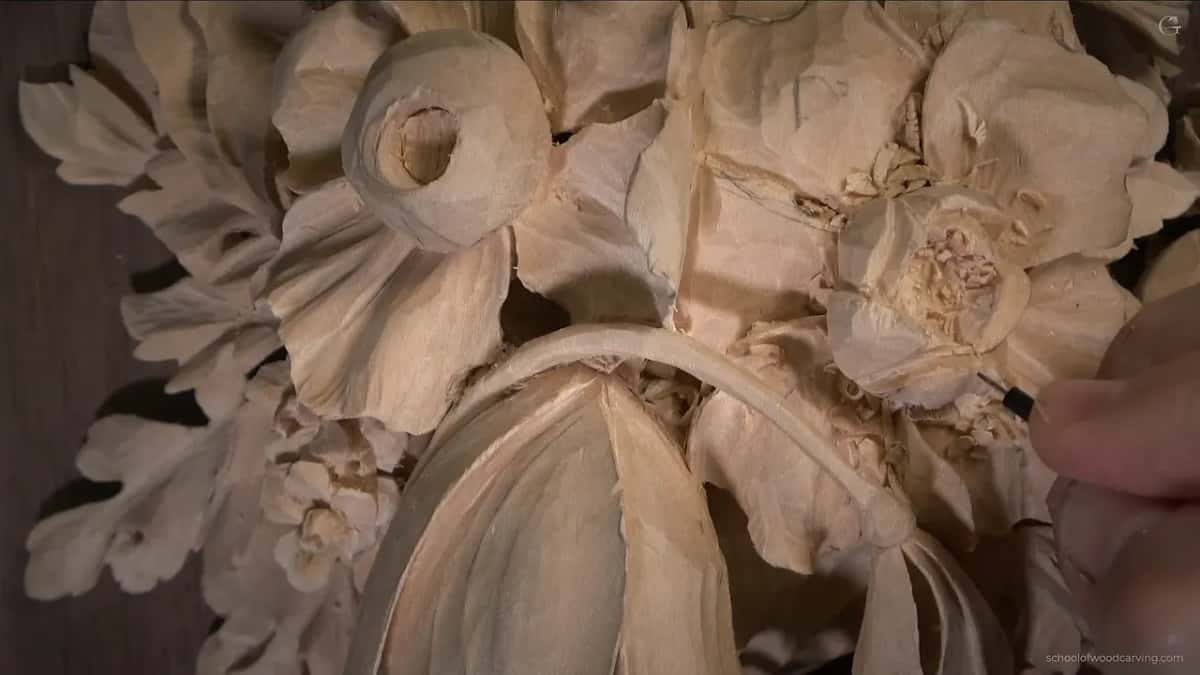
Have you ever opened the middle of a carved flower and then stood there, gouge in hand, with no idea what goes in? Did you leave a plain hollow and call it done? There is more than one good answer. In class 17 of the Maine course I picked the one Gibbons used.
This is the last new element on the panel. After it, the work is cleaning up and making everything lighter, which I do mostly off camera.
What this class settles inside the flower
- An open center can hold a rose swirl, or baby petals that grow straight up.
- A small skew tucks every petal beneath its neighbor and takes away the ridge the V tool leaves, so the joint disappears.
- Every separation starts with a V tool.
- Pick one direction and keep it.
- Petals get a bulge with a hollow on each side, then a wavy tip.
- Walnut behind pale carving darkens every opening.
What goes in the middle of an open flower?
Either a swirl of layered petals or a cluster of small ones standing up. The first way is like a rose, layers on top of layers, almost like an onion, turning all around the middle. The second is a bunch of smaller central petals. You could call them baby petals. They are not developed yet, they do not swirl, they just grow straight up.

Both work, and it is up to you. I went with the swirl, because that is what Gibbons did on the original, and I put my iPad close by to see exactly how he did it. To be honest, I am not the biggest fan of that kind of swirling. I carved it anyway, to prove the point that there are different variations.
Do you have to draw the swirl first?
You can skip it. I grabbed a pencil and asked myself, should I do what Gibbons did, or something different? Then I decided I don't even have to draw it. Some separations were already started and had to change anyway, so I just went ahead with the V tool. The final form can wait at that stage, and so can the mess. We clean all of it later.
Which tool opens the separations?
My number 16 V tool, 35 degrees on the European chart. You have probably noticed already that from all my V tools, this is the one I use most. On a London pattern chart, the same number means something absolutely different.

With the 16 I establish the separations first. For me it is really important not to carve a straight line. I want a wave, the same as everywhere else on this panel, where there are lots of waves going on.
The first petal wraps around. I chip a little more off one side to give it mass, so it feels like it just wraps around. The next petal starts right in the middle of that first one, and a big part of it stays hidden behind.
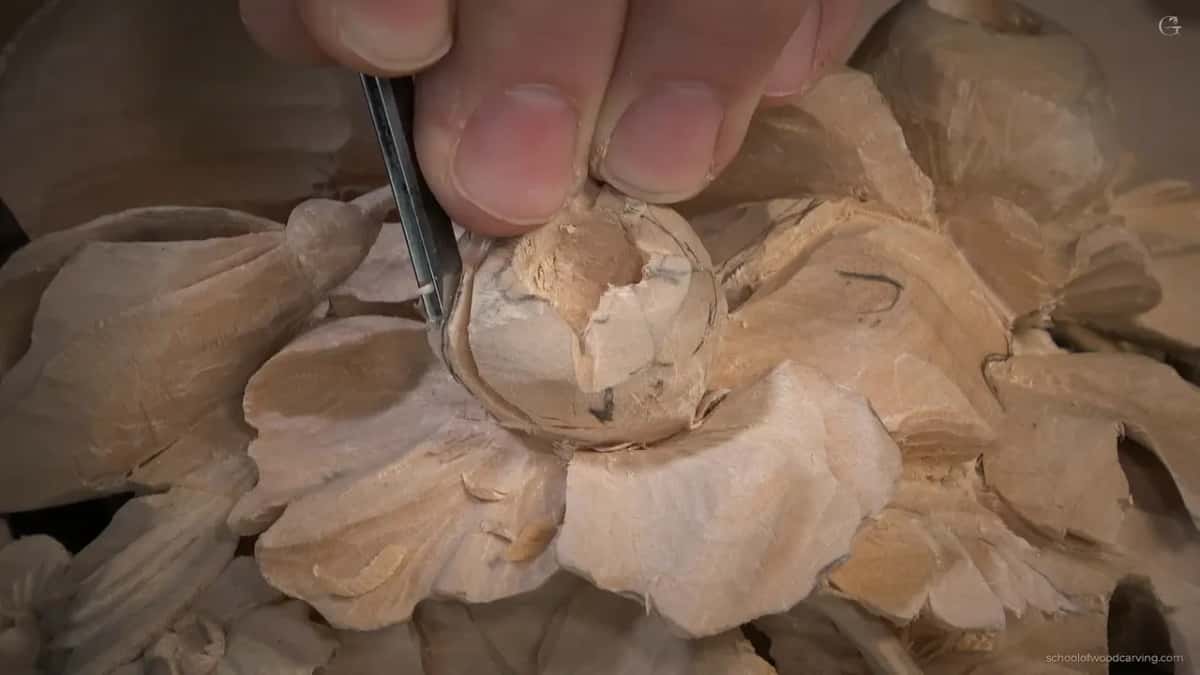
How does one petal slip under the next?
With a skew, in a couple of strokes. Mine is a small one, a number 1 at 6 mm, a quarter inch. I use it to blend the new petal right underneath the old one and to get rid of the ridge the V tool leaves behind.
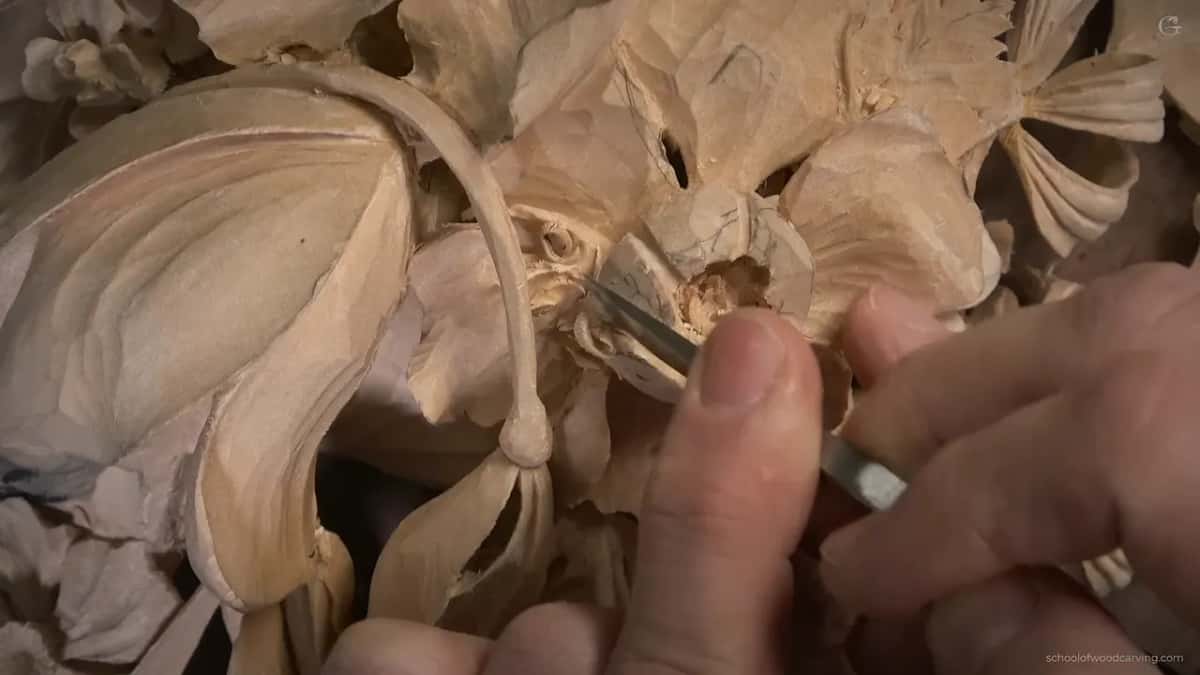
I don't want to see that ridge at all. The place where two petals meet should feel like it blends right in. And every petal still has to look like a petal, with the right shape of its own.
What does double layering mean on a flower?
Two rings of petals, one inside the other. I wanted a darker spot on the opposite side, the way Gibbons has it on his original. I ran the number 16 almost all the way around, and then went right underneath the cut, so it becomes two layers.

Picture an onion husk. One ring is the layer that sits below, and the ring inside it is the inner layer. I am not sure I can explain it more clearly than that. When you see it on the video, you will know what I mean.
Which way should the petals turn?
All of them one way, and in my case the movement goes counterclockwise. Keep the whole movement in your head. As long as you hold the same direction, it is not a problem. On the inner part, I should say, it is so important.
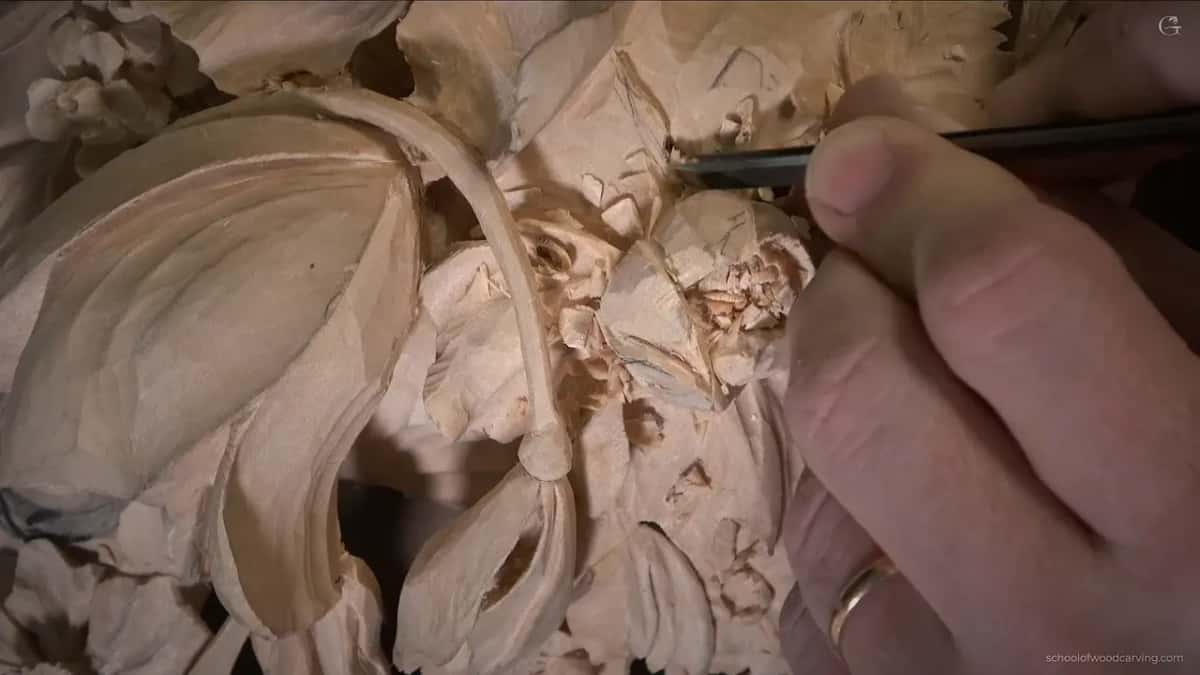
And here is the honest part. I had the first petal in the wrong position. It was supposed to go right underneath its neighbor, and it didn't. I fixed most of it with the skew and one more cut with the 16. One small part I decided to leave alone. I messed up at the beginning, and I am showing you anyway. The general rule for which way overlapping petals run is in class 8 of this course.
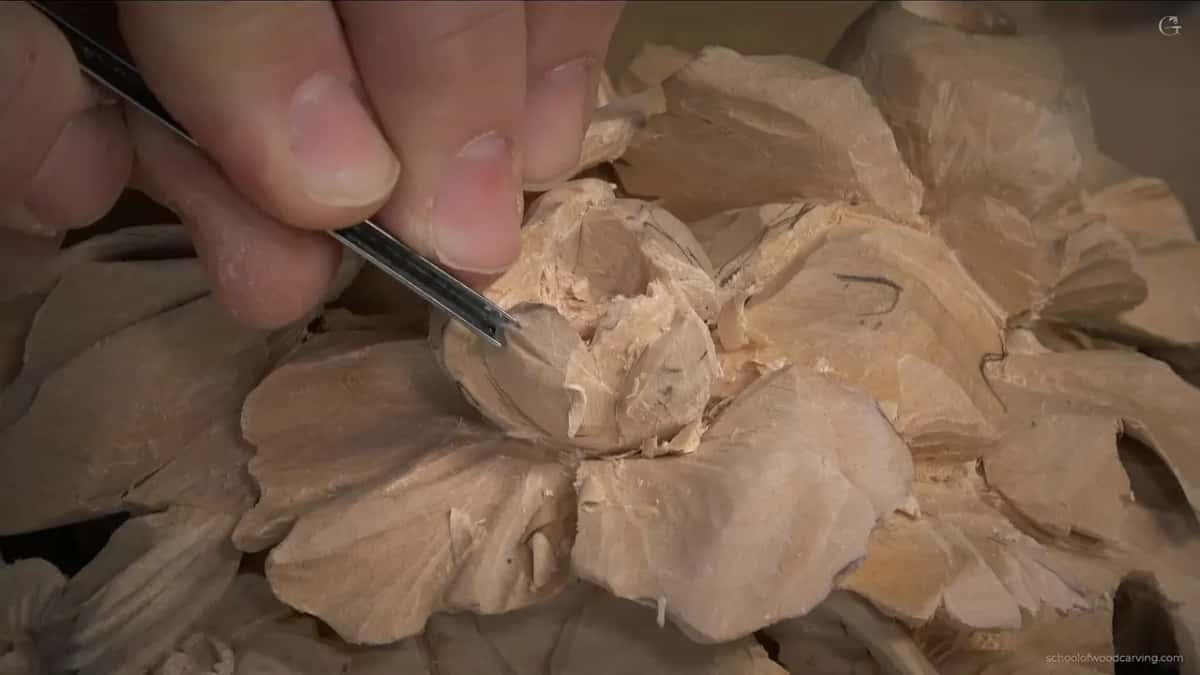
Does it look like an onion?
More like cabbage, to be honest, though I kept saying onion the whole time. When I stepped back and looked, I was somewhat happy with the overall movement.
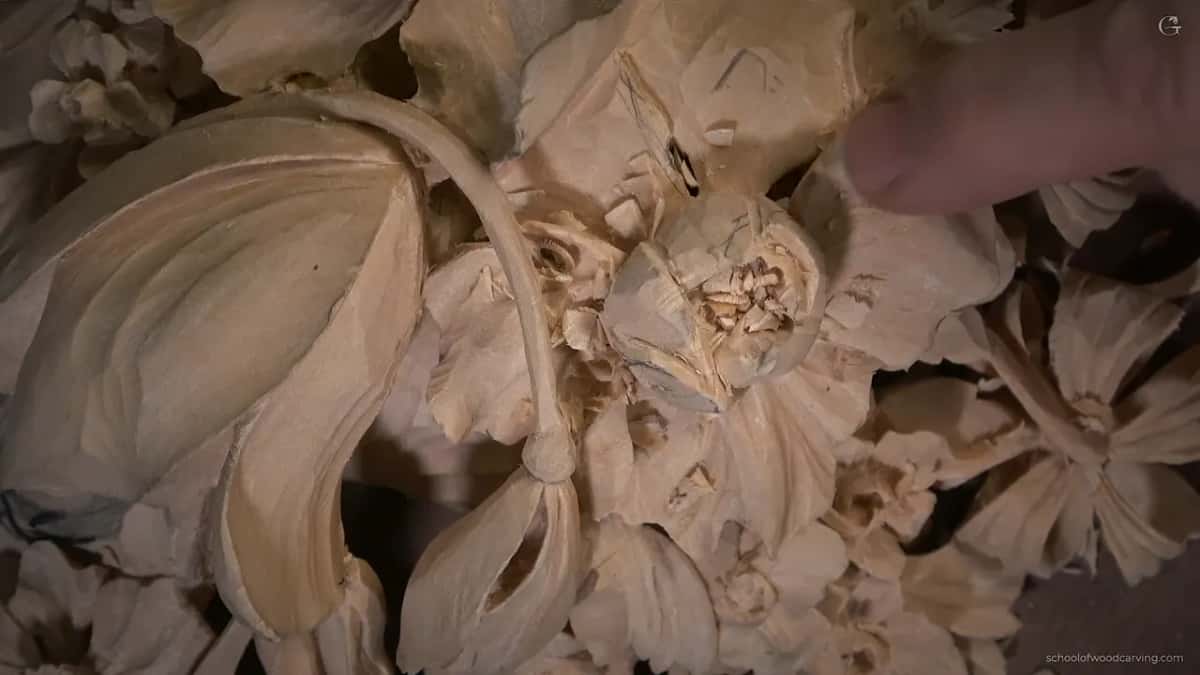
In one more area I exposed only three of them, and I went carefully, because the grain in that spot is not easy. That's okay. Where the grain fights one direction, I attack from the other side.
Should a petal be flat?
Never flat, especially near the center. The middle of each petal bulges, with a concave on either side of the bulge, and the whole shape runs toward the center of the flower. For the two concaves I used a number 8, though a number 9 does it too, about 3 mm or an eighth of an inch. Mine happens to be a Dockyard.

Those concave cuts do not go straight down. They twist from the middle of the petal toward the center of the flower, following the movement.
Don't spoon out. If you start at the edge and scoop back, you get a spooning effect you do not want. Don't be afraid. Just excavate, in and in and in, one side, and then the second side exactly the same way.

To make the bulge smoother, take a number 5 or a number 4, use it upside down, and blend the bulge in nicer.
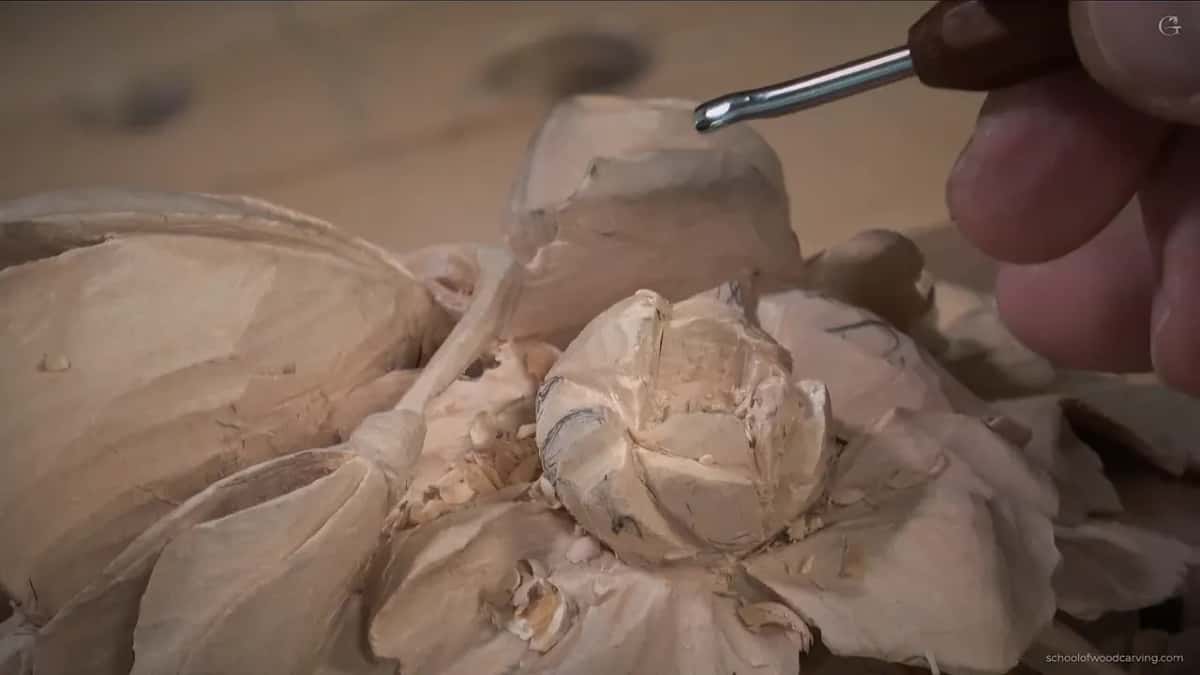
Why give the petal a wave?
Without a wave, a petal is boring. After the concaves, this one was a simple arch, and I don't want to see that. I want what I see on the bigger petals, some waviness. The end of the petal bulges out, and wherever there is a concave, I make a small cut like it along the tip. Same number 8 as before, sometimes upside down. It does not have to be Dockyard, and any brand will do.
Which tool does which job in the center?
| Job | Tool | What you get |
|---|---|---|
| Separations | The 16, a 35 degree V | Wavy lines |
| Tucking a petal under | Skew number 1, 6 mm (1/4 in) | No ridge left showing between petals |
| Inner ring | The 16 all around, then underneath the cut | Two layers, like husk |
| Two concaves | Number 8 or 9, about 3 mm (1/8 in) | A bulge twisting toward the middle |
| Smoothing | Number 5 or 4, turned upside down | Softer bulge |
Does the panel still look like pancakes?
Less and less, the deeper I excavate. Roy, a friend of mine and a really good carver of human faces, was at the school, and he pointed it out. When you work in layers, you can detect the layering, one pancake on top of another. It applies to Gibbons himself. Look at some of his earlier work from the side and you can see it.
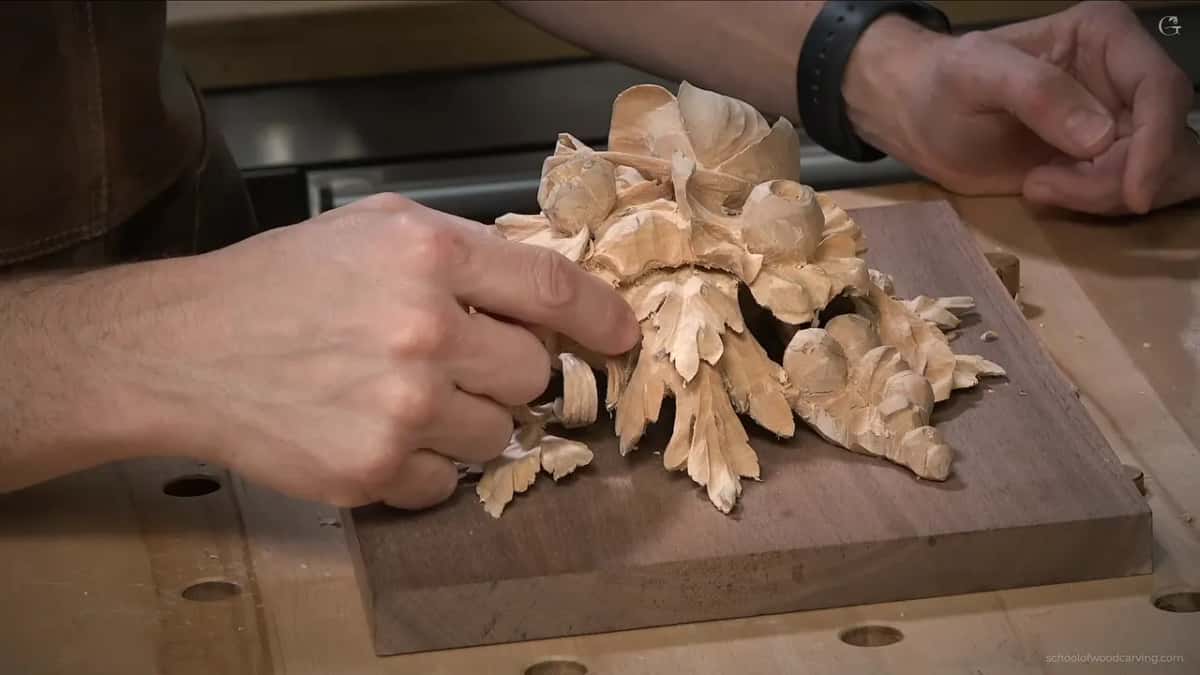
The more you excavate, the more openings you create, and you almost lose that feel of layers. Between two petals near the center there is a hole all the way through to the first layer, and I have several spots like that on both flowers. Each of those makes a dark spot and a separation, and it gives the whole piece a little lightness. The carving is still solid. It is nowhere near paper thin. It just feels lighter and lighter when you look at it.
Most people are going to look at this piece straight on, and even at a slight angle it still looks good. If it looks a little bit like pancakes from the side, that is not a big deal.
Why is the background walnut?
For contrast. I decided on walnut for the background. Gibbons used English brown oak behind his carvings, and a dark ground exaggerates every excavated area. Even before cleaning, I think it looks great. What Gibbons carved on, and why, is its own lesson in class 10.

Why is one flower different from the original?
We chose another form for it during the class in Maine. On the original, this flower looks absolutely different, and we made the decision to carve a new kind, which I call a Venetian style flower. The same kind turns up in another course of mine, Venetian flowers.
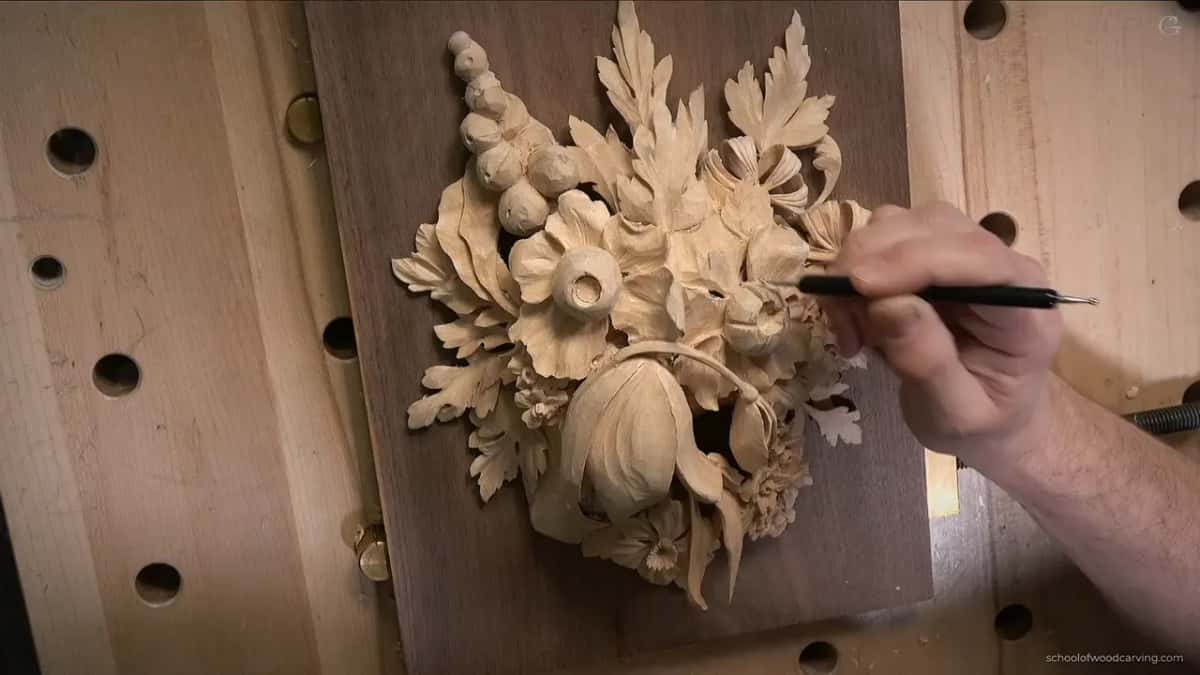
The style was common in Venice. Wood carvers used it there, and you find it in stone carving and in fine art as well. It is somewhat simple, but you can play with those flowers and give them a lot of waves and a lot of movement.
Why not carve both flowers the same?
I did not want them exactly the same. A couple of areas were still waiting for me, part of those flowers among them, so I introduced some variation. One spot near the parsley leaves was underdeveloped too. I had not decided yet what goes there. You can fill a place like that with smaller flowers, the kind I already showed you how to carve. There is plenty of thickness left to work with.
What about the little flowers in between?
Filler flowers, and I took mine one step further than he did. A filler flower fills a space, and carvers all over the world use them. Gibbons made his simply, with a plug cut inside a small flower and five petals, and that was it. I think he was being a businessman there. He wanted to get paid and still fill the space.
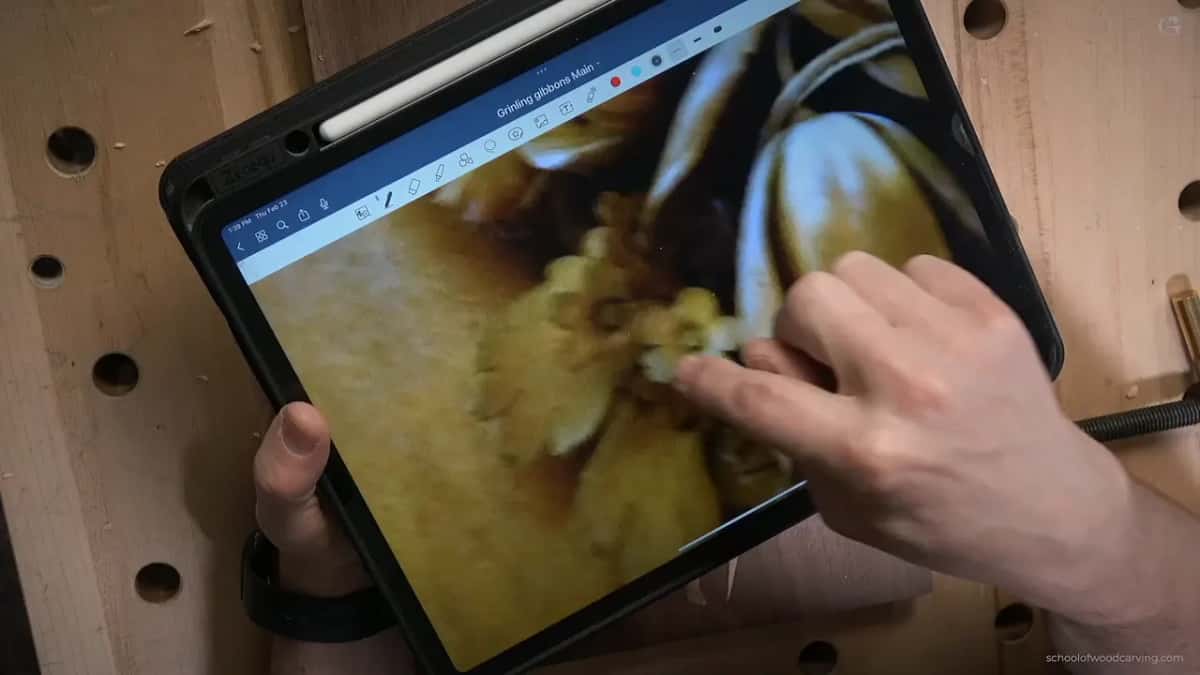
Check his pieces yourself and you will find those filler flowers everywhere, especially on the first layer, right under the second. Mine took a little longer to make. In my opinion they look better, but that is just my opinion. You don't have to do it my way. Carving them exactly the way Gibbons did is fine, and it is really simple. How the empty ground gets carried by small flowers is the subject of class 2.
What is left after class 17?
Cleaning, and more excavation. I will finish the piece and show you the final, but there is nothing new to show after this point. From now on it only takes making it lighter, excavating more, and taking everything to the extreme, which I do not want to show on camera.
Is this class too advanced for a beginner?
More advanced, yes, but you are welcome. In this class I am not going to talk to you like a beginner. Some of the people who took this class in person in Maine had pretty much never carved, and they pulled really good results. If that sounds like you, every class is open with tuition.
Where does class 17 sit in the course?
Right after the dark spots and the hidden petal of class 16, and the openings between petals in class 15. Next comes class 18, where the small flowers get their own layered petals, and then the final assessment. The last flower, on the other side, will be more simple, most likely five petals like the Venetian ones or the filler flowers, only on a bigger scale.
Petal shape and movement run through the whole Hashemi flowers course, and the reason a line should wave is in the design course. A skew that blends without tearing starts with sharpening, and the tools course helps you choose what to own.
The whole Grinling Gibbons course is part of that tuition. Did I break some of this flower? Yeah, I did, and I am not going to show you. That is why we have glue.
How it's done
- Pick the kind of middle. Decide between turning layers and small upright petals before any tool touches the flower.
- Mark the separations. Run a 35 degree V tool along curving lines, never straight ones.
- Hide each petal under the next. Slide a narrow skew beneath the neighbor and clean off the ridge.
- Cut the inner ring. Go round with the V tool once more, then beneath it, for a second layer.
- Keep one direction. Turn every inner petal the same way round, clockwise or counterclockwise.
- Shape the petal surface. Carve a raised middle with a hollow either side, twisting toward the heart of the bloom.
- Break the plain arch. Add small cuts along the tip until the edge waves.
Frequently asked questions
What is the difference between a rose center and baby petals?
A rose center builds layer on layer, each one turning around the middle like onion skins. Baby petals are small central ones that have not opened yet, standing upright with no swirl. On this panel I carved the first kind, following the Gibbons original.
Which V tool works best for flower separations?
Mostly a number 16, which is 35 degrees by the European numbering. A London pattern chart numbers V tools differently, so one figure can mean a very different tool on that chart.
How do you avoid scooping a hollow into a petal?
Skip setting the edge first and scooping back from it. Create the overall shape and keep excavating deeper, first one side and then the matching side, taking out a little at a time. A number 4, turned over, evens the raised middle afterward.
What to carve next