

Alexander Grabovetskiy, woodcarver, School of Woodcarving · Published 2022
How do you make two glued layers look like one carving?
Quick answer: Making two carved layers read as one is a matter of movement rather than joinery. You carve a form on the upper board down behind one on the lower until depth travels across it. The seam stays visible in profile. Nobody keeps looking at it.
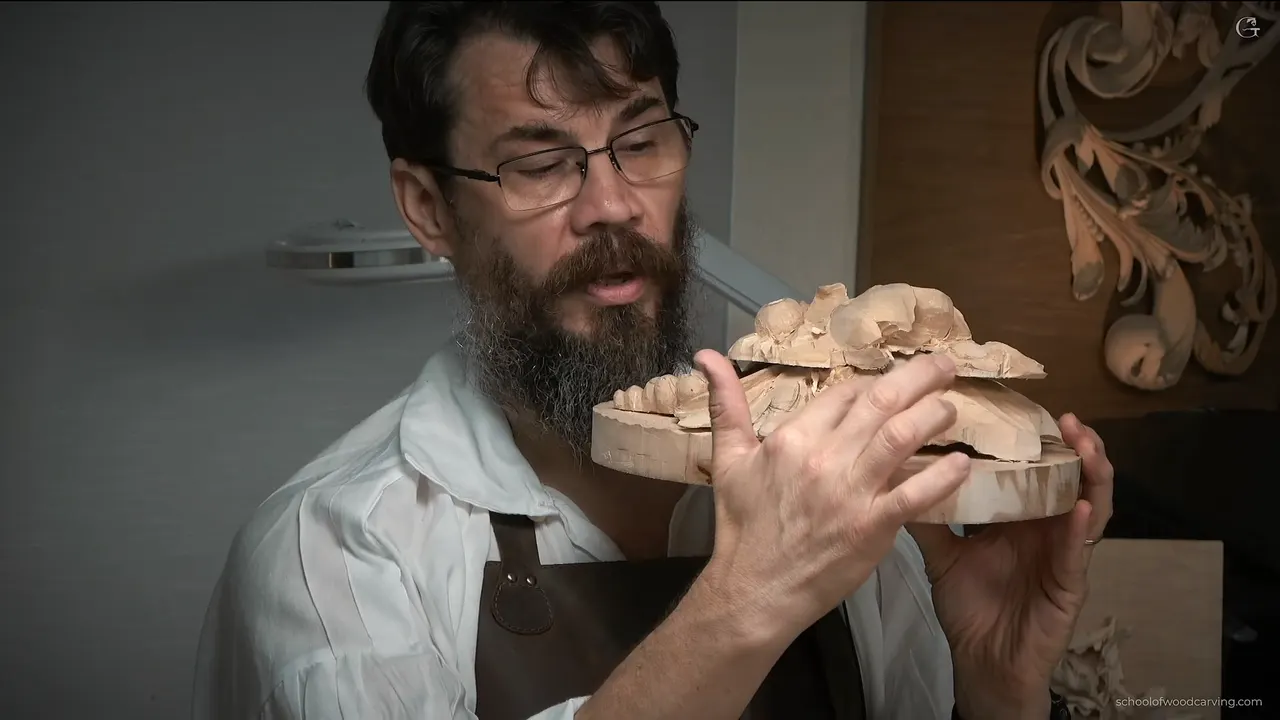
Two glued layers always show in profile, and the fix is not glue. You carve across it until a shape on the upper board dives away behind one on the lower. Nothing hides a seam. Enough movement travelling through stops anybody looking for it.
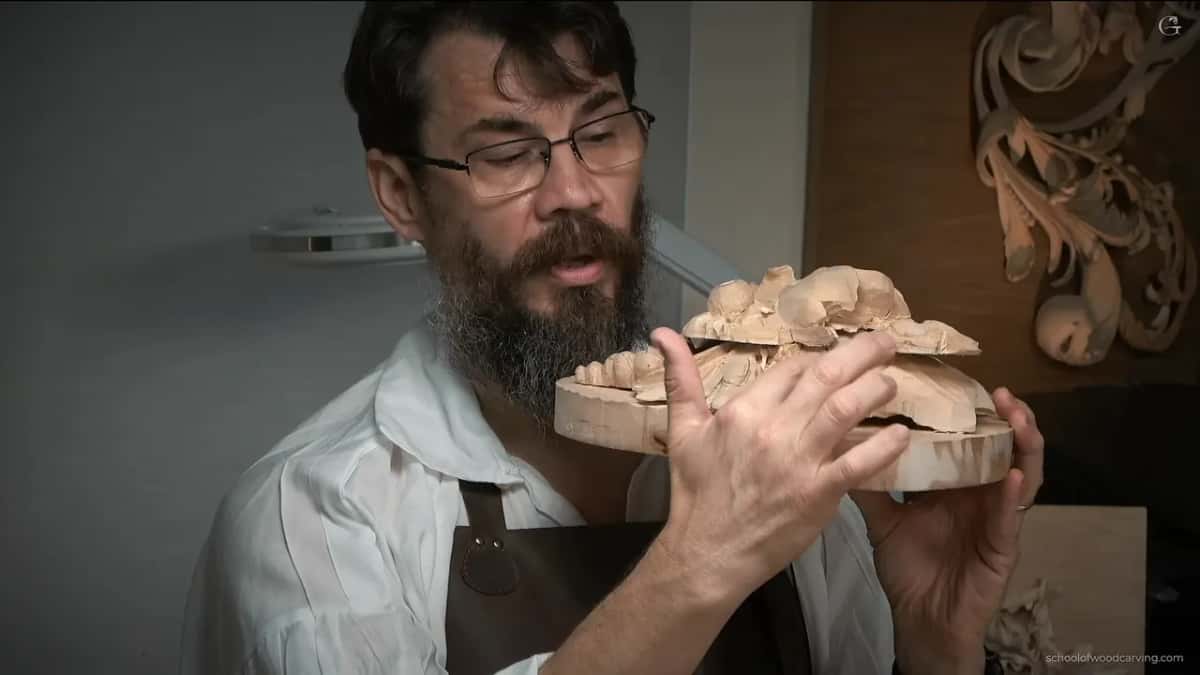
Ever glued a second layer onto a panel and then caught it from an angle, sitting there like a biscuit on a plate? It happens on every layered piece, and we ran out of days in Maine before getting anywhere near it.
So I brought the thing home. Maine gave us four and a half days of actual carving, less once sharpening and talking are taken out, and Friday is always short. This page is what happened on my own bench afterwards, in my own studio, with nobody waiting.

By the end of it you will know why that line shows, what Gibbons own panels do about the same problem, and how far a leaf can be thinned before the wood simply stops being there.
What the second pass is for
- The join shows in profile. Always.
- Movement carried across the seam is what stops the eye resting on it, and no amount of filler or clever gluing will do that job for you.
- Flat surfaces are the enemy here, more than any seam.
- A leaf can go to paper before it fails.
- Holes through the back are not a disaster, and they stop being visible once the leaves crowd in.
- The class used a handful of tools, while this stage needs most of a drawer.
Why does the join show?
Two boards are two boards, and no glue line argues with that. Look at the piece straight on and it reads as one carving. Tip it toward the light and a horizontal line runs right through the middle of everything, and once you have seen that line you cannot stop seeing it.
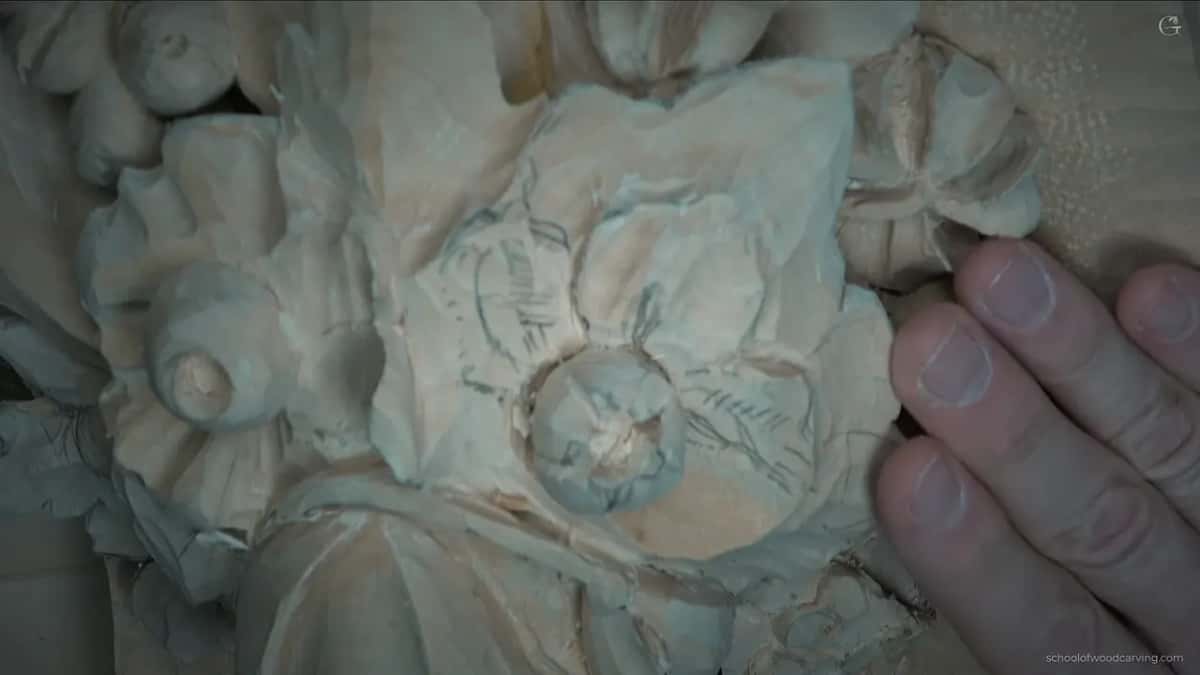
The other half of the problem is flatness. Surfaces on the top layer had come out too even, with nothing travelling downhill, so the upper board read as a slab with detail on it rather than as the front of one deep thing.
Did Gibbons have this problem?
He did, which is the part nobody expects. I have looked at his work from the edge, and on some of it the layers are just as detectable as they are on mine. Not always, and more so on the earlier pieces, but the seam is there in the original too.

Reassuring or disappointing, depending on your temperament. I find it useful. A relief built from stacked boards carries its own evidence, and three hundred years of people admiring the results suggests it was never the thing to solve.
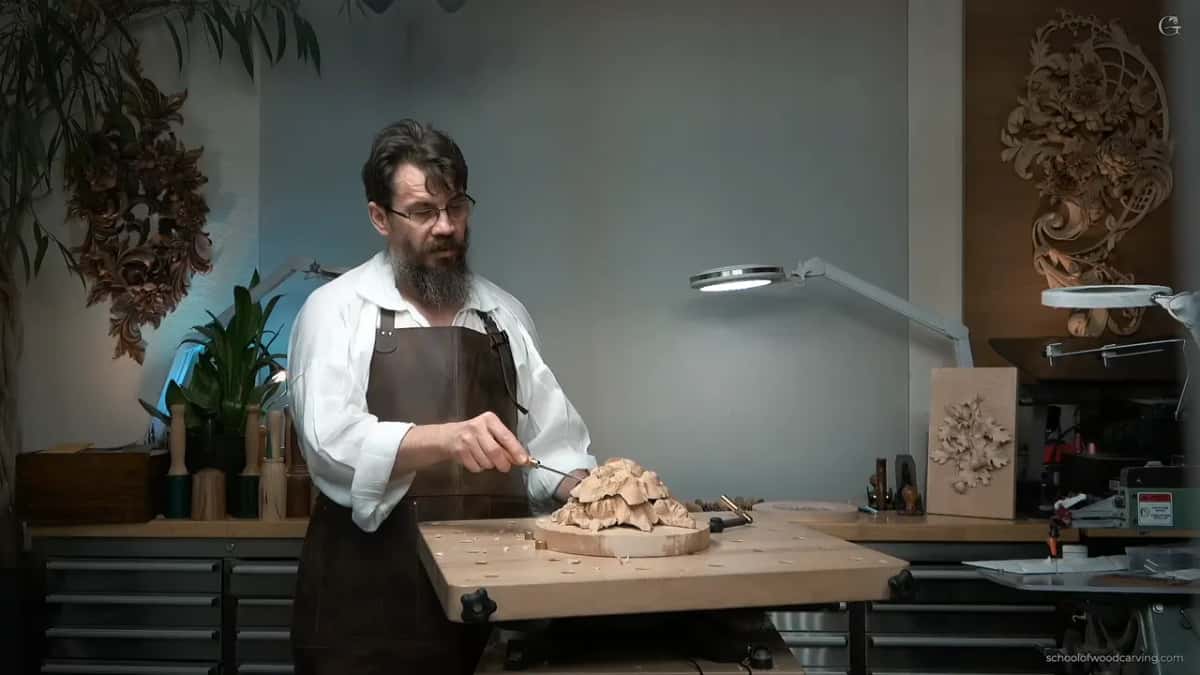
I taught the same subject again at the Marc Adams School and blended everything rather better there. Naturally I did not film that one. The class I did film is the class where it needed more work, which is how these things always go.
So how do you carve across the join?
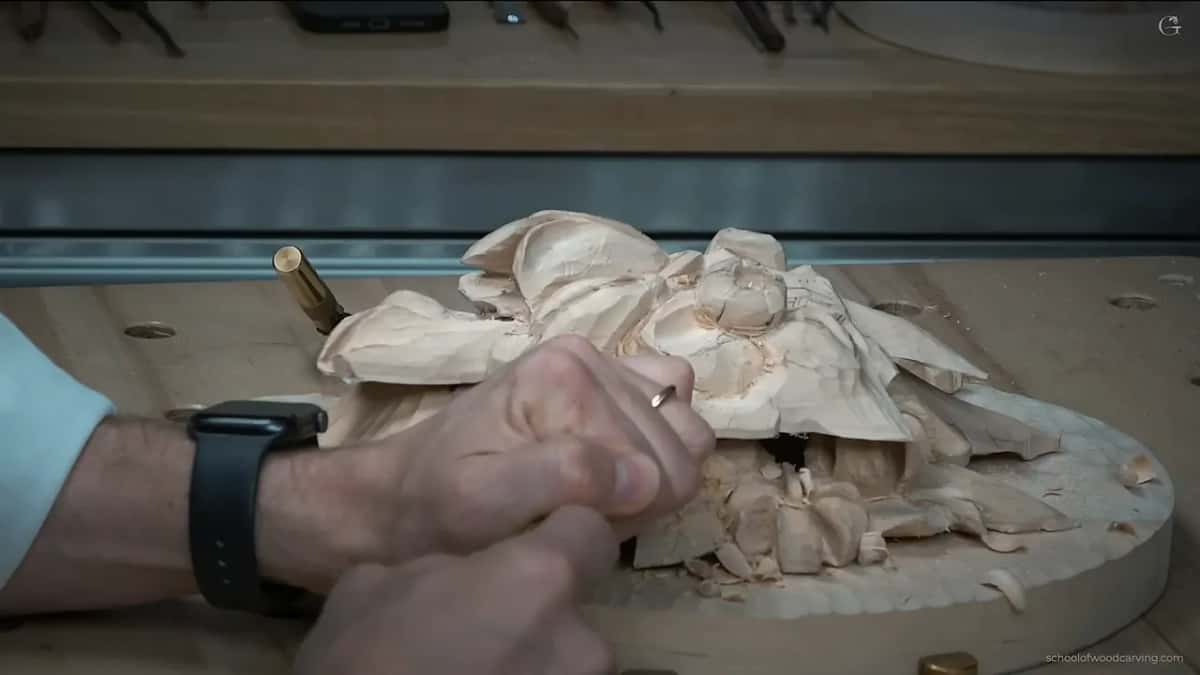
Deeper, and downhill. I take the top petal and twist it further than it went in Maine, roll its edge back, and hollow underneath until the shape has real depth rather than the suggestion of it. That depth is what carries the eye past the horizontal line.

The first tool is a number 5, around half an inch across, used upside down. It takes a genuinely deep cut and then cleans the same cut without being swapped out, which matters when you are working at the top of a shape that could snap.
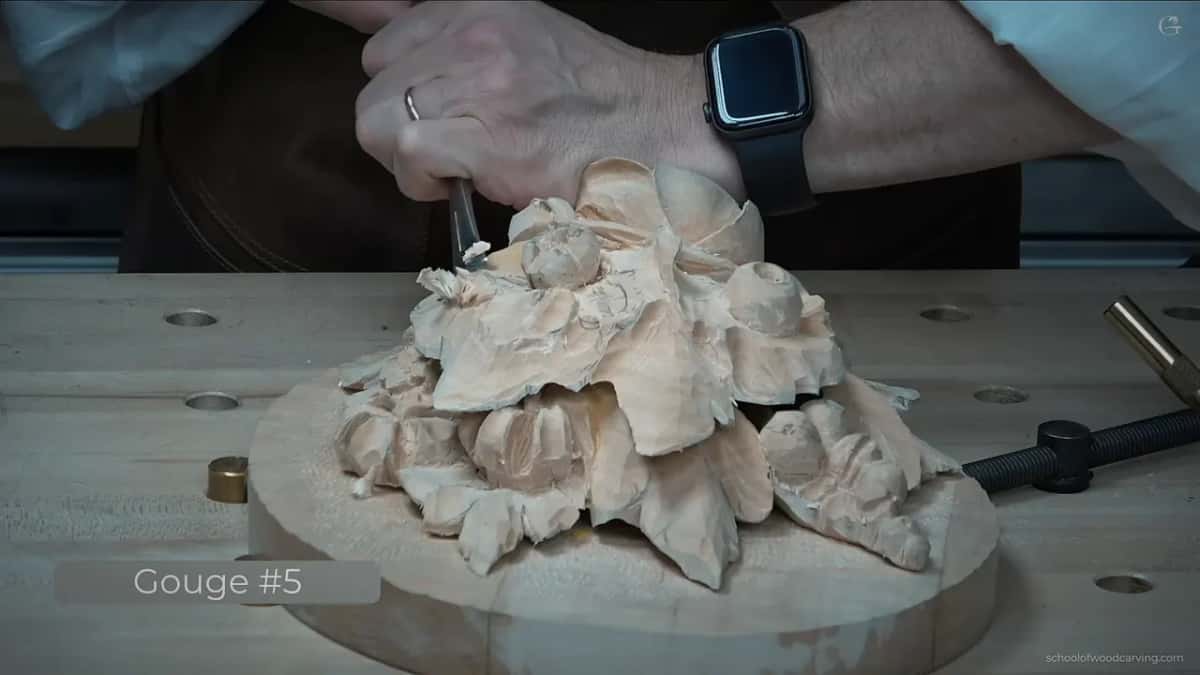
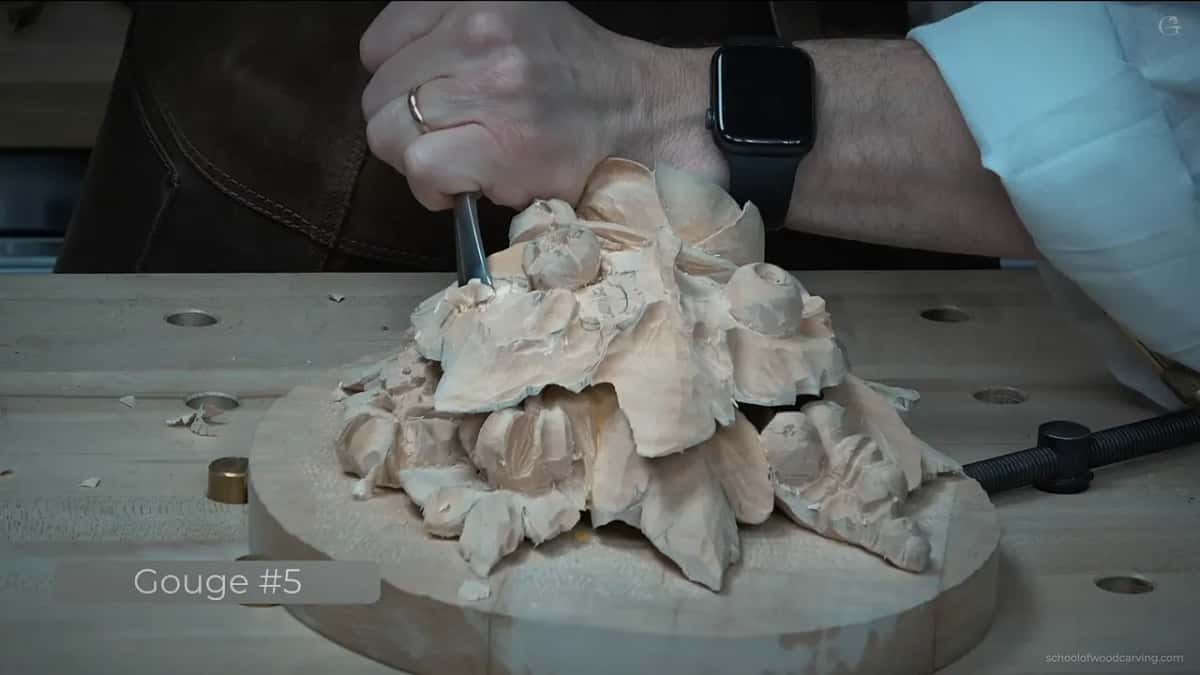
What does a twist in a leaf give you?
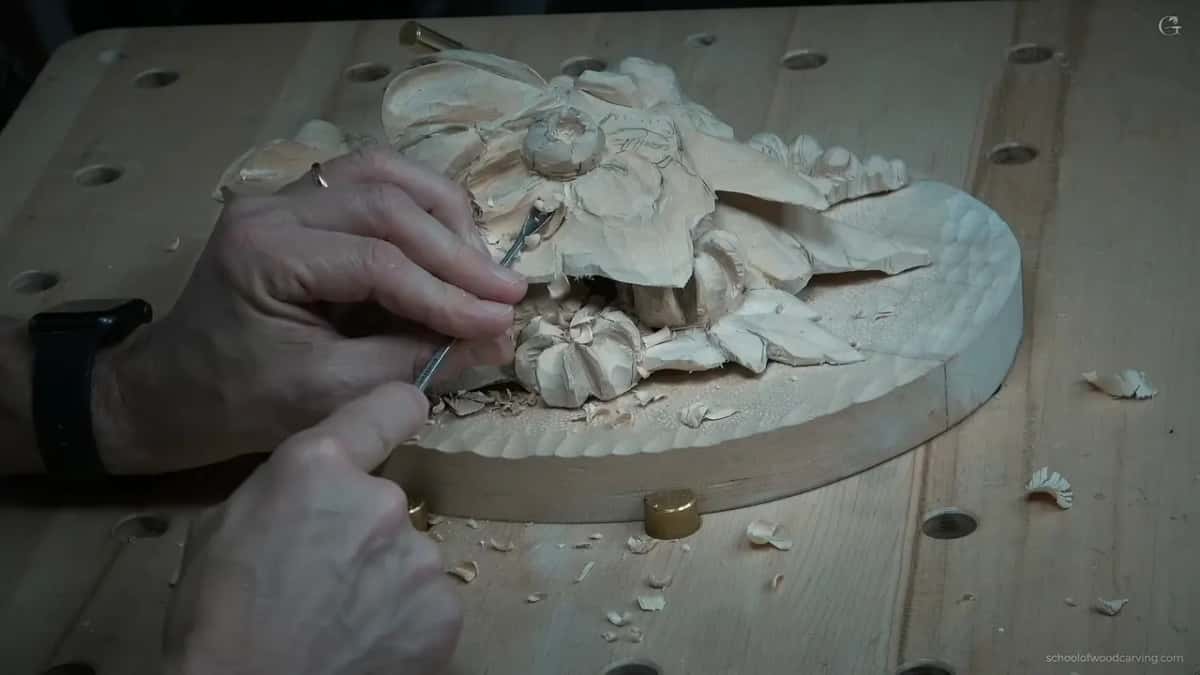
A place to put a hole. There was a twist already in that leaf from the class, and instead of flattening it out I opened it up, which turns an awkward bit of geometry into the thing a viewer looks at first.
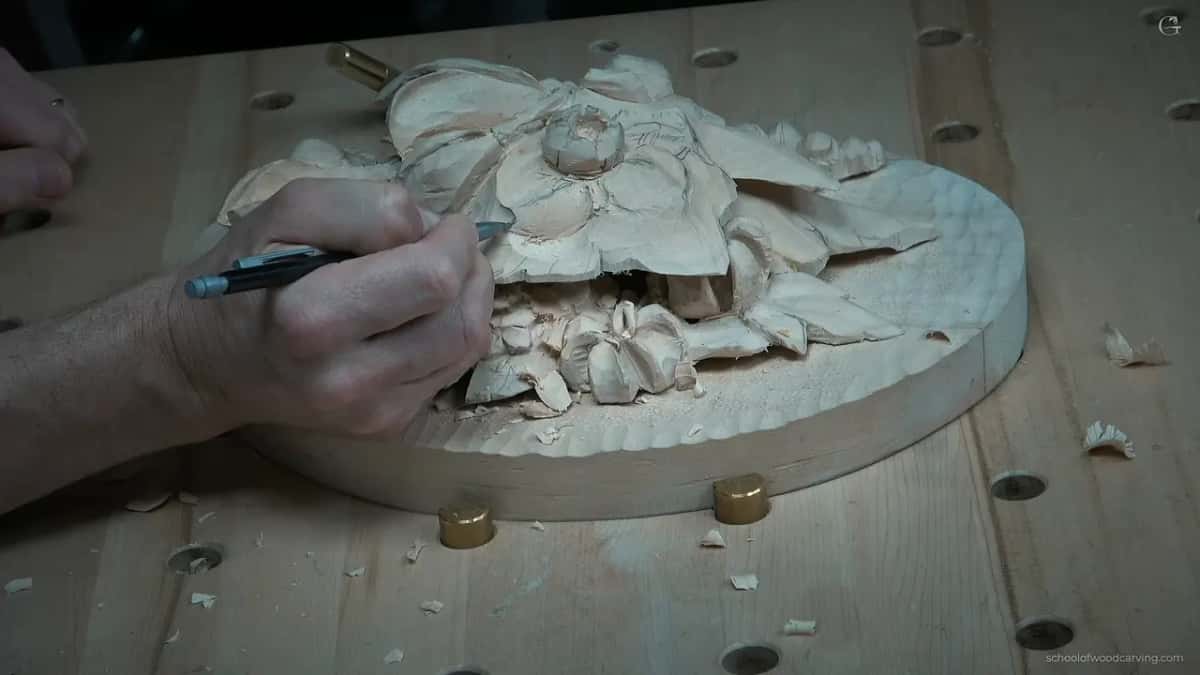
A plug cut does the opening, taken with a number 9 at 3 mm and set to the same angle as the leaf rather than square to the board. You could drill it instead, by hand or with a machine, and nobody would know. I like the gouge because the hole comes out the shape of the leaf.

Which tools does this stage take?
Far more than Maine did. We worked from a small set there on purpose, because a beginner with sixty gouges carves worse than a beginner with six. Taking a piece to this stage is a different question, and I never published a tool list for it.

Out of the drawer came the 5, a 9 at 10 mm, that same 9 in 3 mm and a number 11 spoon at 4 mm. Then a 3 at 12 mm, a number 8 at 5 mm, an 11 at 2 mm, and a skew chisel a quarter inch wide. Some are old Marples, which I keep because they suit my hand.
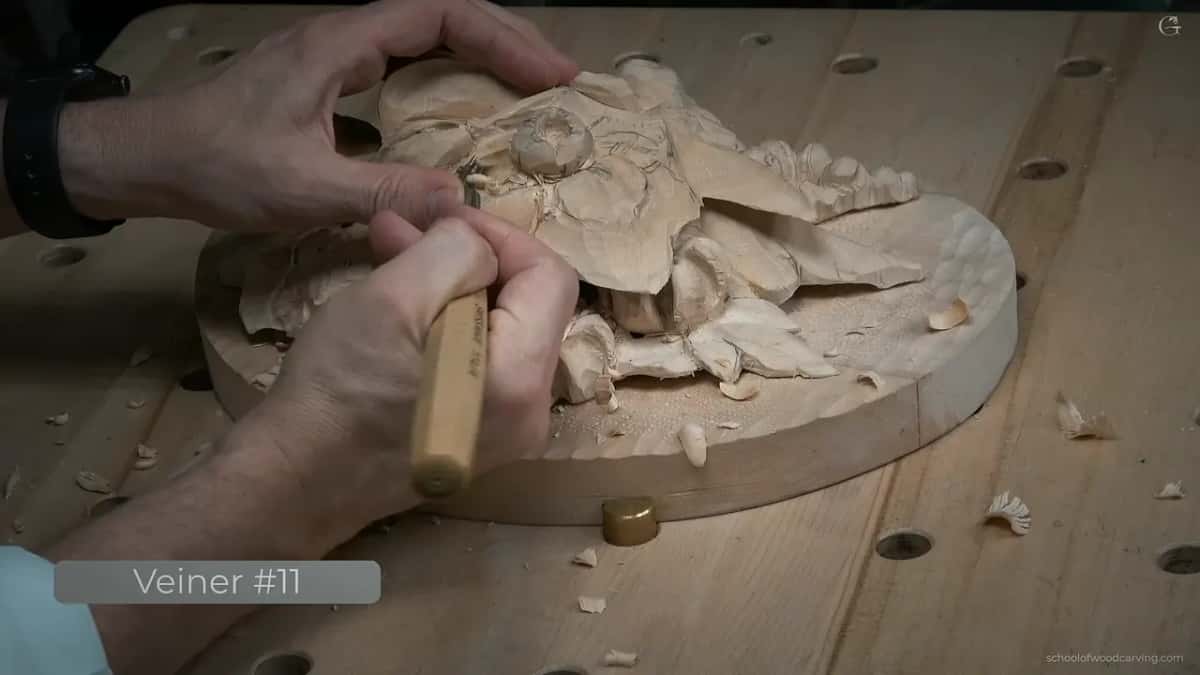
How much waviness is too much?
More than you think, and then a bit more. I run the excavation up, down, back and up again inside a single curl, and the result is a surface with no flat left in it. Waviness has to go inward as well, not sit politely at the edge.

Curly curl is what I called it while carving, and I have not improved on the phrase since. One extra concave usually goes in on whichever side looks lazy, running toward the middle of the shape, and that single cut is often the difference.


Why a hollow inside a bulge?
Growth works that way. A petal opens from the centre outward, and while it is still unfolding the middle of it stays dished. Put a slight concave right in the centre of a bulging area and you have copied a stage of growth instead of inventing a shape.

Only an indication is needed. I say that out loud while carving it, because the temptation is to keep digging, and a deep version of this cut reads as damage rather than as growth.
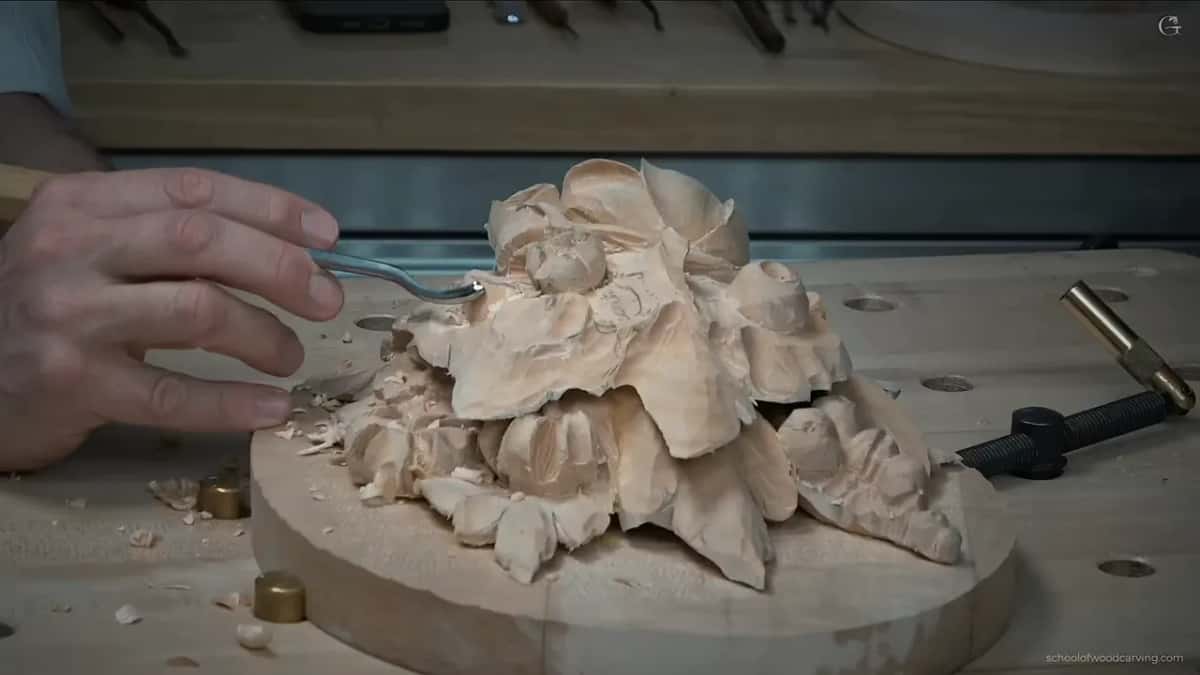
How thin can a carved leaf go?
Paper. My own word while carving it, and I meant it literally. The edge comes down until light is nearly through it, and stopping there is the whole skill, because there is no version of this where you take one more pass and get away with it.
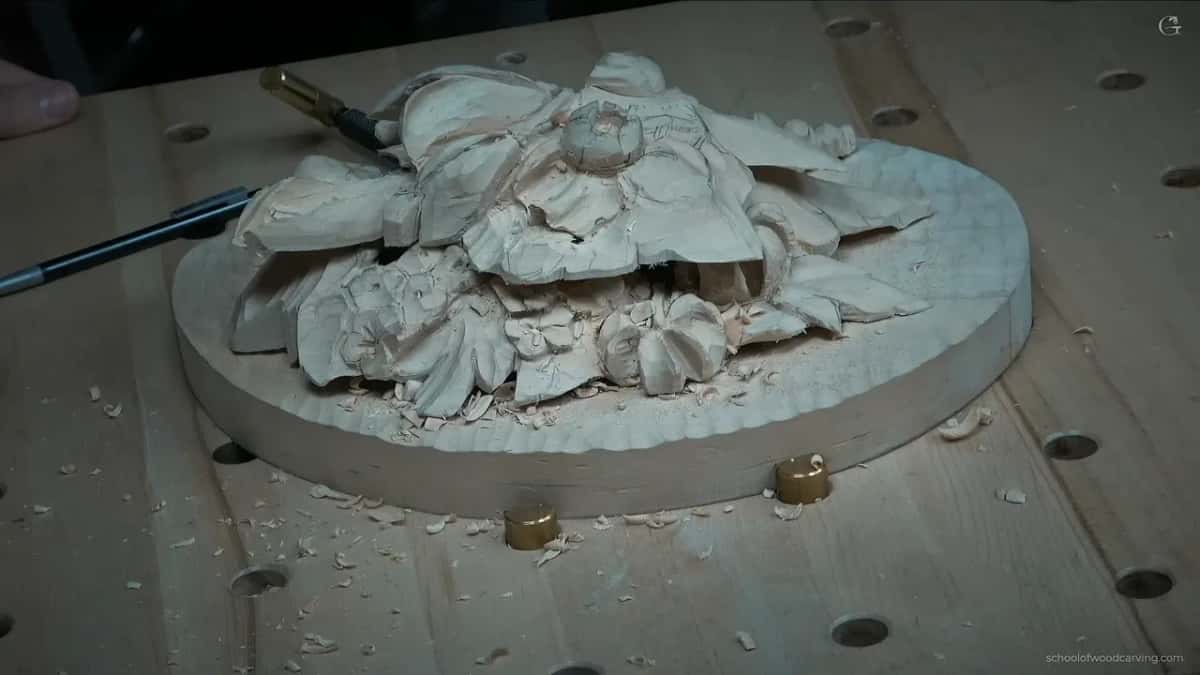
Getting there means removing very little at a time. Little by little, checking the back constantly, with the grain direction decided before each pass rather than during it. A small spoon lets you work with the grain in a hollow where a straight tool would have to fight it.


What happens when you go through?
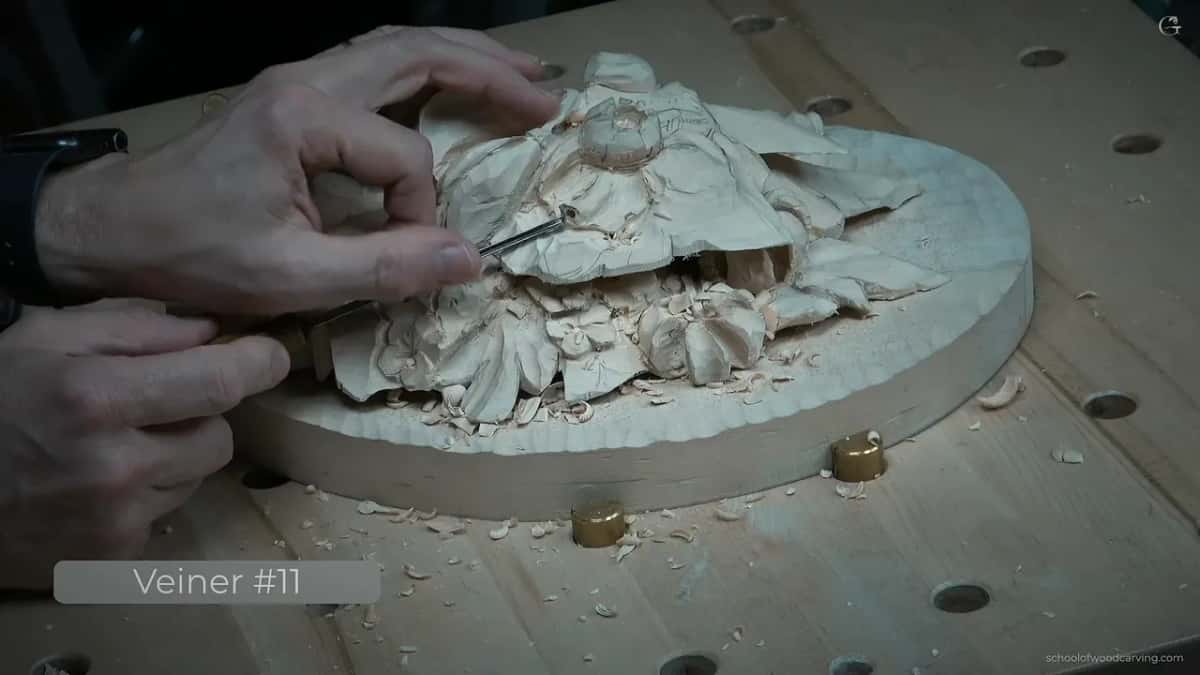
Very little, as it turns out. I went through in several places on this piece, partly because we had already hollowed the reverse back in the sixth class and there was less behind the surface than there looked.

My line at the time was that it would look as though I had done it on purpose, although I had not. Openings between crowded leaves are what the whole style is built from, so a hole in the right region joins the design rather than damaging it.
| Problem | Fix | Tool |
|---|---|---|
| The seam reads in profile | Carry a form from the top board down behind something underneath it | A number 5, inverted |
| Flat faces | Twist, roll and run the surface downhill until no plane survives on it | The 12 mm three |
| A shape with nothing in it worth looking at | Open a hole | A 3 mm nine, tipped over to match the leaf |
| Edges that still look like edges | Take them to paper and stop when light shows | Small eight |
| Facets everywhere | Knock the worst down and deliberately leave the rest | A back bent three |
Do the facets all come off?
Not completely, and that is a decision rather than laziness. Facets carry movement. Take every one of them off and the surface goes dead, so I knock down whatever is shouting and leave the rest exactly where the tool put it.
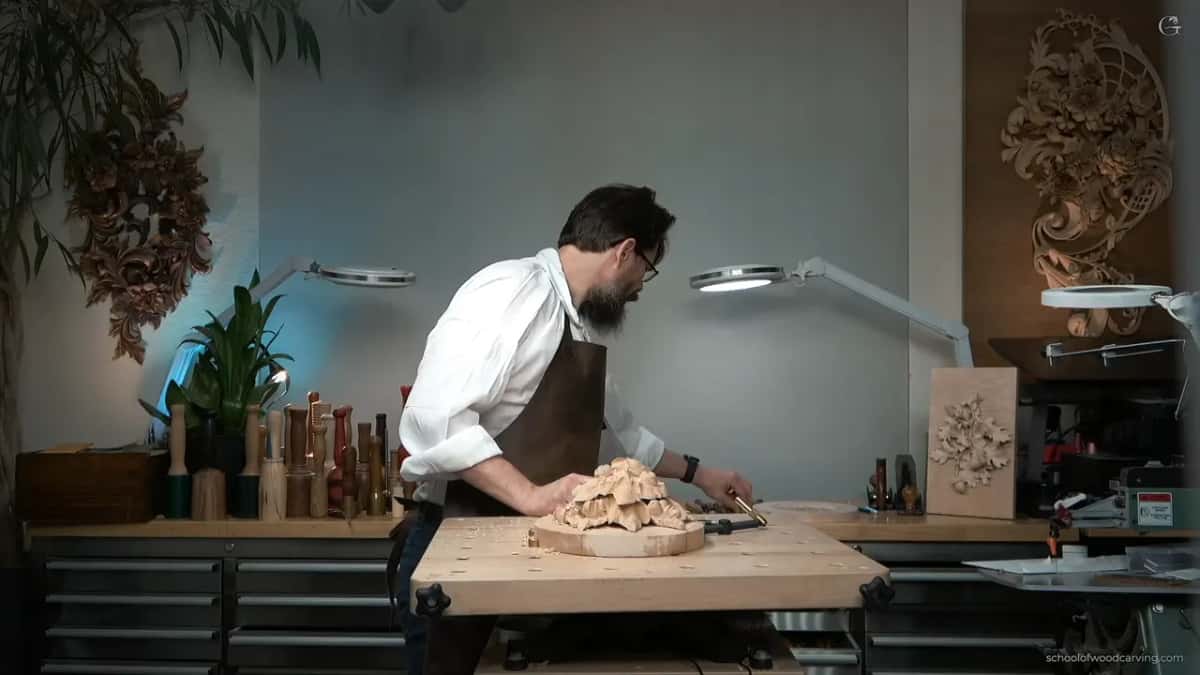
A back bent blade does that work in a hollow no straight tool reaches. Mine is a number 3. It is not a subtle tool and the job does not need subtlety, only reach.

Is this still a Gibbons?
Loosely. I said out loud that I would not take a client's piece this far, and that on my own work I am willing to reach for tools he never owned. The style is a set of habits about depth and light, not a rule about which blade made the cut.
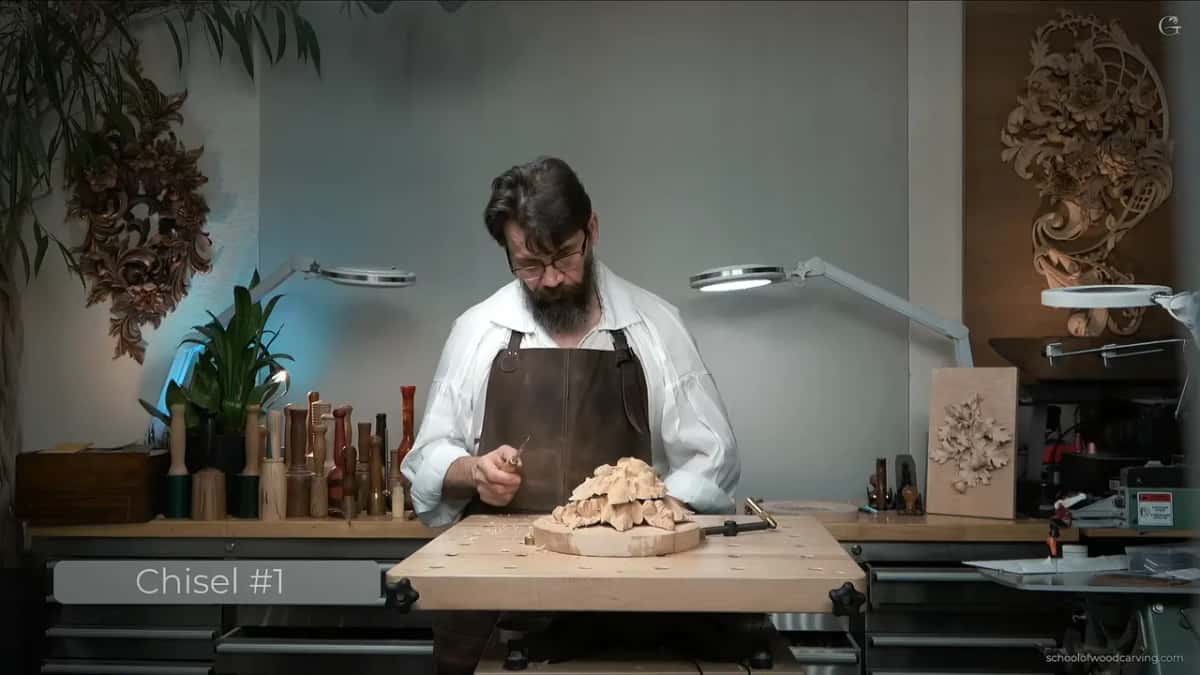
That tool earns its place here. It excavates deeper into a tight corner than anything else in the drawer, and it went into shapes on this panel that a carver in 1680 would have solved some other way.
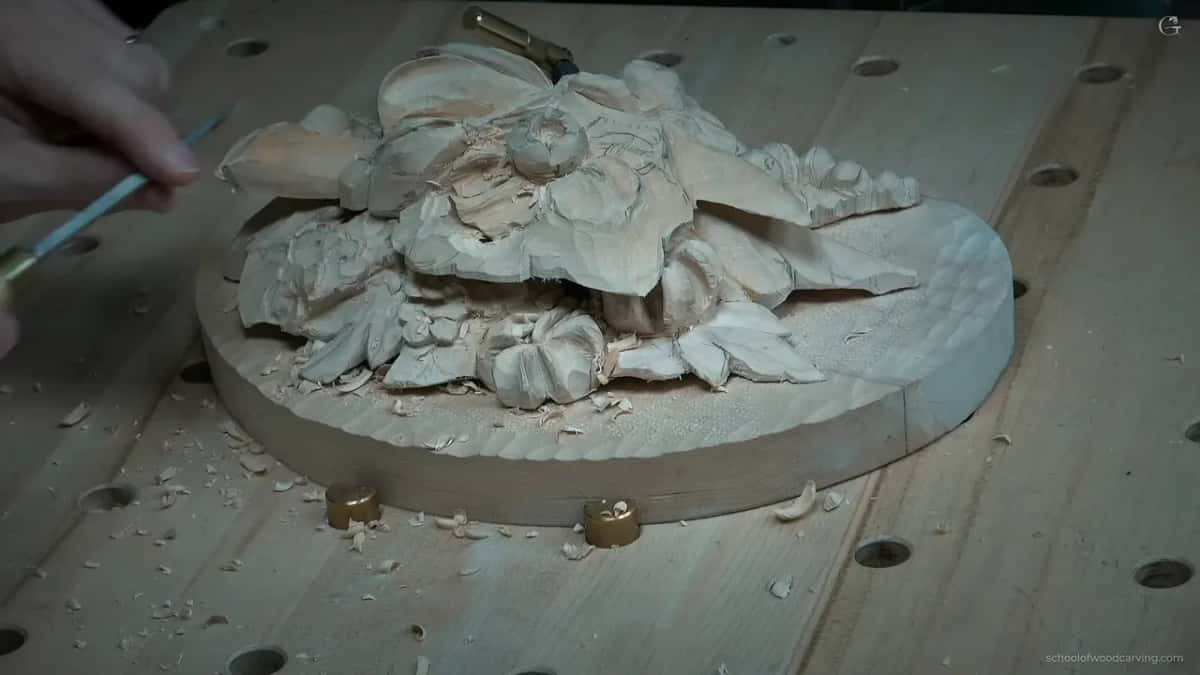
That freedom is the difference between an original and a copy. A replica has to be accurate. Something of your own can go wherever the wood allows, which on this piece turned out to be further than I expected.

Look how far that leaf travelled in the end. All of it is what makes a flower read as alive rather than assembled, and none of it was in the plan when the blank came off the saw. I never expected this project to be carvable in five days, and it was not, which is the honest version of what a short class reaches.
Somebody will ask whether the extra work makes the class piece look unfinished by comparison. It does, a little. Anybody who carved along in that room finished the week somewhere near the first photograph on this page, and the work after it is all reachable at home, which is rather the point of filming the second half at all.
What do you do when a blade stops cutting?
Reach for the next one. Halfway through the undercutting I said out loud that a tool felt like it needed sharpening, looked at the edge, decided it was sharp enough, and picked up a 6 mm instead. Stopping to strop in the middle of a delicate pass costs more than the swap does.

That only works when the drawer is already sharp. Sharpening happens before a session, not during one, and a blade you have to think about will make the decision for you at the worst possible moment. The sharpening course exists for exactly that.
When do you take the last of it?
Last possible moment, and never before, because more can always come off later while nothing goes back on. Every edge stays fractionally heavier than I want it while there is still shaping to do around it, and the final thickness waits until nothing else needs to move.
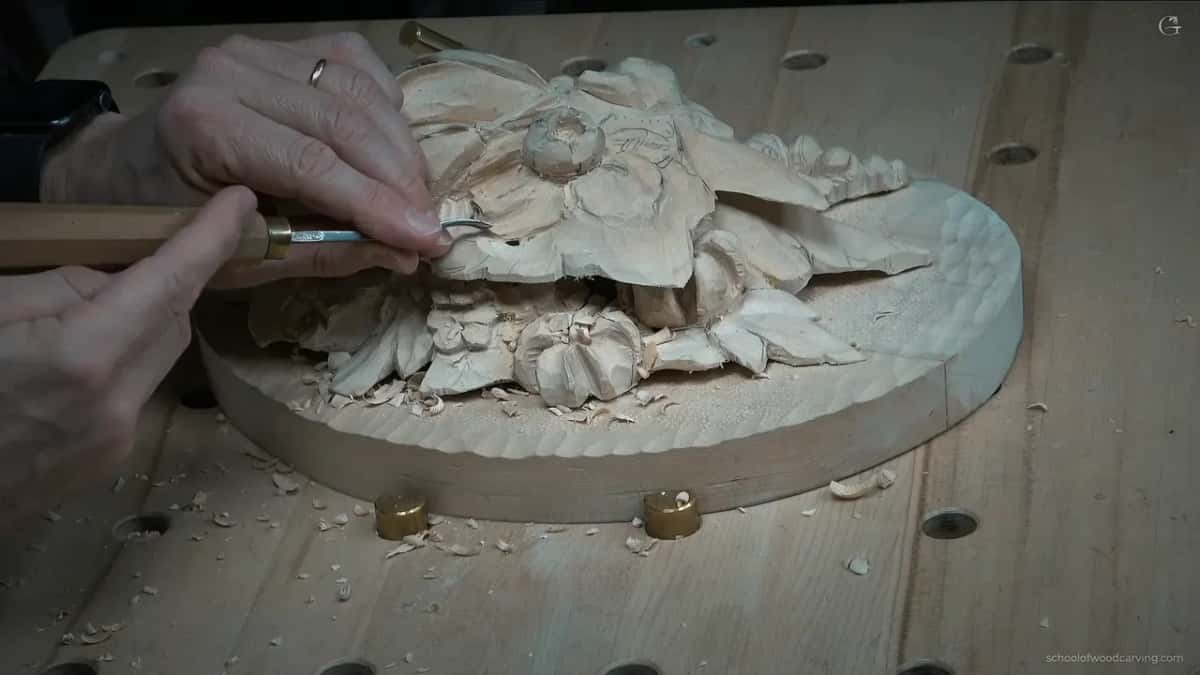
Some of this runs against the grain and I let it. Fixing a torn patch later with a sharp blade is easy. Reaching a shape from the correct direction at the cost of losing the shape is not a trade worth making, and purists on that point tend to own tidy panels which say nothing at all.
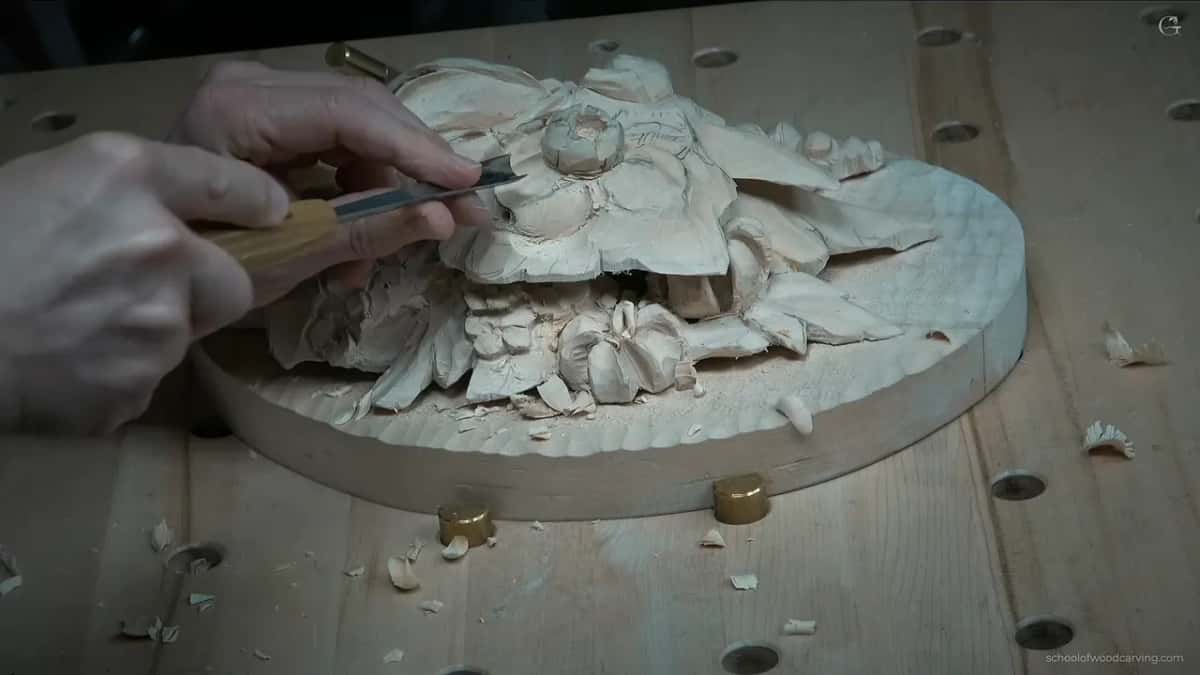
This is also where the piece stops being an exercise. Old panels at Petworth and in the furniture collections were not made by people following a worksheet. Put something of your own in here, since this is the one region of the panel where nobody can hand you the answer, and the design course only takes you as far as the edge of that decision.
Was the extra day worth it?
The piece looks like one object now, edge on as much as face on. That is the whole return, and it took longer than the whole class had spent on that one leaf. Nobody will ever know which part happened in Maine and which at home, and that is the point.
The wood took it, too. Basswood will go to paper without crumbling, which is exactly why every carver of ornament ends up with a board of it. Try this on oak and you will spend the day picking splinters out of a design.
All eighteen Maine classes sit behind the tuition page, along with the course itself, the Hashemi flowers and the Byzantine acanthus. Sharpening has its own course, which matters more at this stage than at any other, and the tools course covers what a drawer like mine actually needs to hold. Passes, grain and tool presentation live in the techniques course. Start on the cutting board if none of this is familiar yet.
How it's done
- Find the join edge on. Tip it toward the light before deciding anything. The horizontal line running through the middle is what the rest of this work answers.
- Deepen the top shape first. A number 5 around half an inch, used inverted, takes a deep pass and cleans it without a tool change. Twist the petal further than the class took it.
- Open the twist. A 3 mm nine, following the lie of the leaf instead of the board. A drill does the same job and leaves a rounder hole than the leaf wants.
- Run waviness inward. Up, down, back and up again inside one curl, until no plane survives. Edges alone are not enough, and one extra concave usually rescues a lazy side.
- Dish the middle of the bulge. A slight hollow at the centre of a raised area copies a petal still unfolding. An indication is all it takes, and depth there reads as damage.
- Thin the edge to paper. Little by little, checking the reverse constantly, grain direction settled before each pass. Stop the moment light is nearly through.
Frequently asked questions
Can you hide the join between two carved layers?
Hiding it is the wrong target. The line stays visible in profile on any layered panel, including original work from the seventeenth century. What removes it from a viewer's attention is depth carried through the join, so a form on one board plainly continues behind something on the other.
How thin can basswood go before it breaks?
Thin enough that light is almost coming through, which is where I stop. Getting there safely means taking almost nothing off per pass and checking the reverse constantly, since the back of this panel was already hollowed in an earlier class.
What do you do about a hole carved through by accident?
Very little, in a design like this one. Openings between crowded leaves are part of the style, so a hole in the right region looks deliberate. Mine were not deliberate, and the piece is better for two of them.
What to carve next