
Alexander Grabovetskiy, woodcarver, School of Woodcarving · Published 2019
What does tangent mean in wood carving?
Quick answer: Tangent in wood carving is a curve leaving the line it grows from while still heading the same way, with no kink where the two meet. For a small carved leaf, that means the middle line runs out of its stem, so stem and leaf look like a single movement instead of two parts.
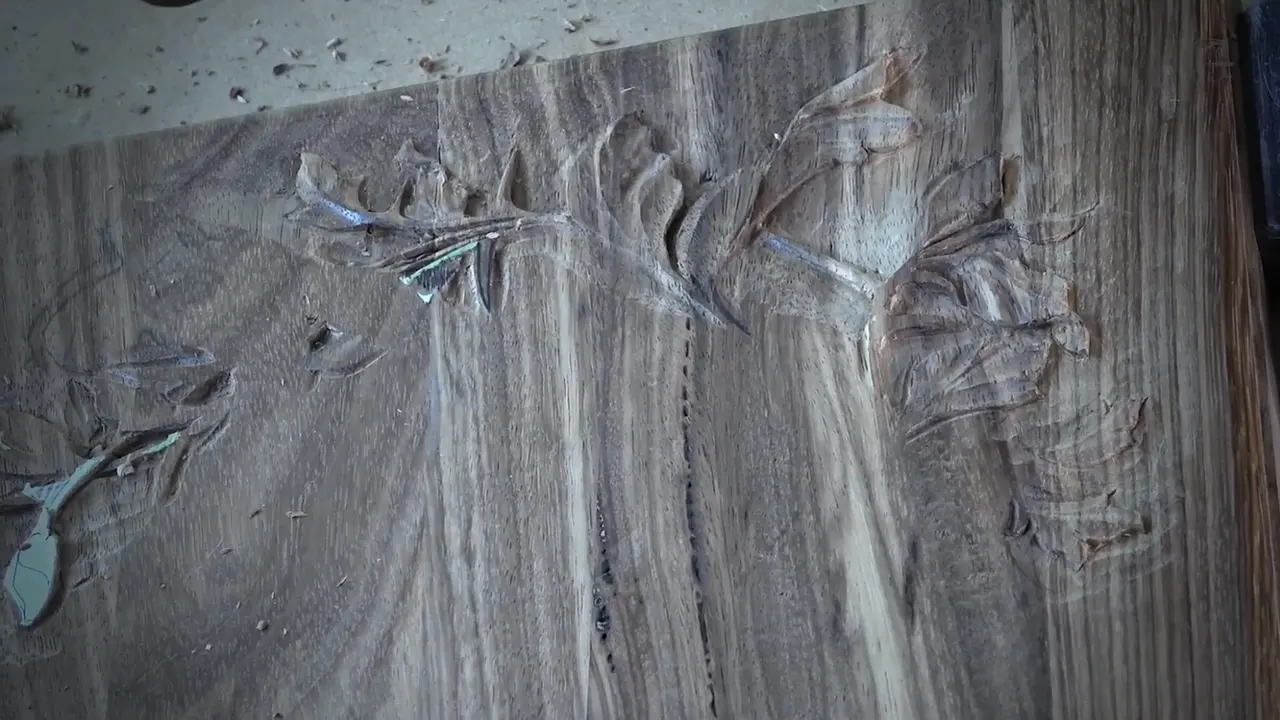
A tangent in wood carving is the place where one curve leaves another without a corner, so your eye slides over the join and never catches. On this lid that join is where each small leaf's middle line comes off its stem. Get it right and the two read as one movement.
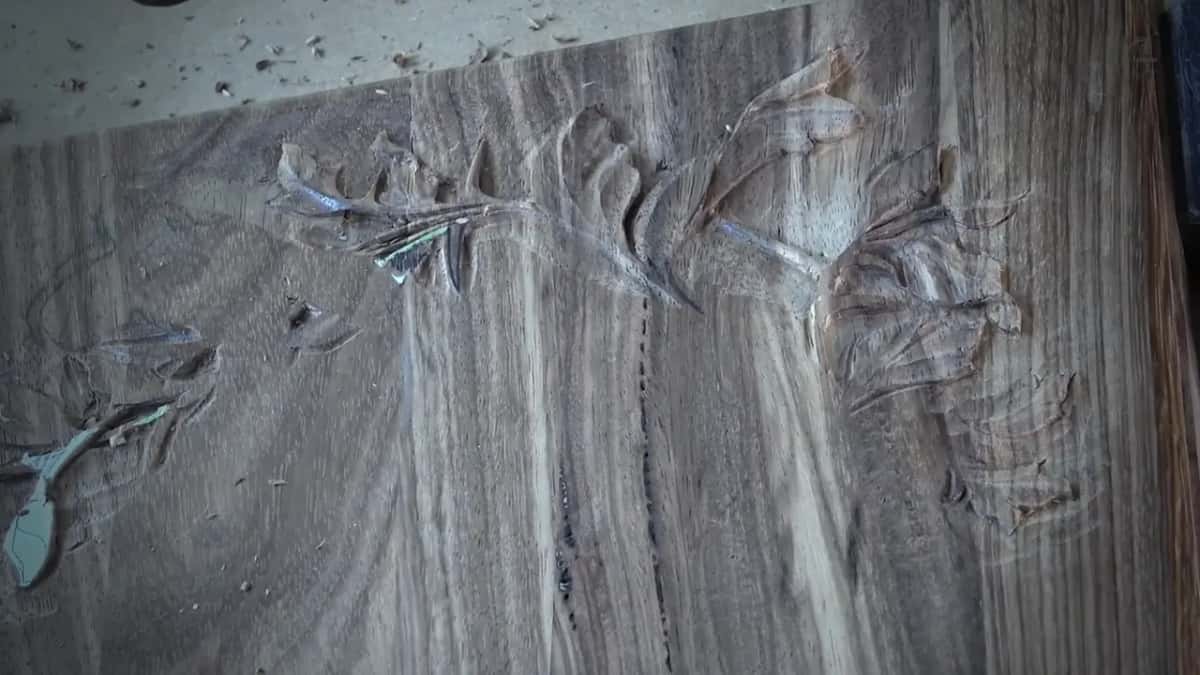
Ever carved a leaf that looked fine on paper and stiff on the wood? Lost your middle line with the pattern? Then your stem and your leaf are arguing, and tangency is how they stop.
This is lesson three of my lily box course. Eleven videos, and every one of them goes into the first layer, the small leaves and thorn stems carved straight into the acacia lid. The olive wood flowers and olives come later and sit on top. So down here, underneath, the whole job is movement. And the word I repeat on camera, so often that I admit it out loud, is tangent.
What a tangent asks of each little leaf
- The middle line leaves its stem pointing where the stem already runs.
- A paper pattern takes that line away with it, so draw it back before any shaping.
- A gouge whose sweep matches the curve gives the cleanest arc.
- Stem into leaf is an arc, never a point.
- Close to the ground the slope stays shallow, or the transition never arrives.
- Leaves the flower will hide still get their line.
What does tangent mean when you carve a leaf?
Two curves are tangent when they meet at one point and run the same direction right there, with no angle between them. On camera I call it three things, flow, a tangency line and curvature continuity, and I mean one idea by all three.
On the lid it looks simple. The leaf's middle line grows out of the stem and keeps the stem's direction for a little while before it bends away on its own. Keep that direction and the leaf looks natural; break it with a kink and the eye stops there.
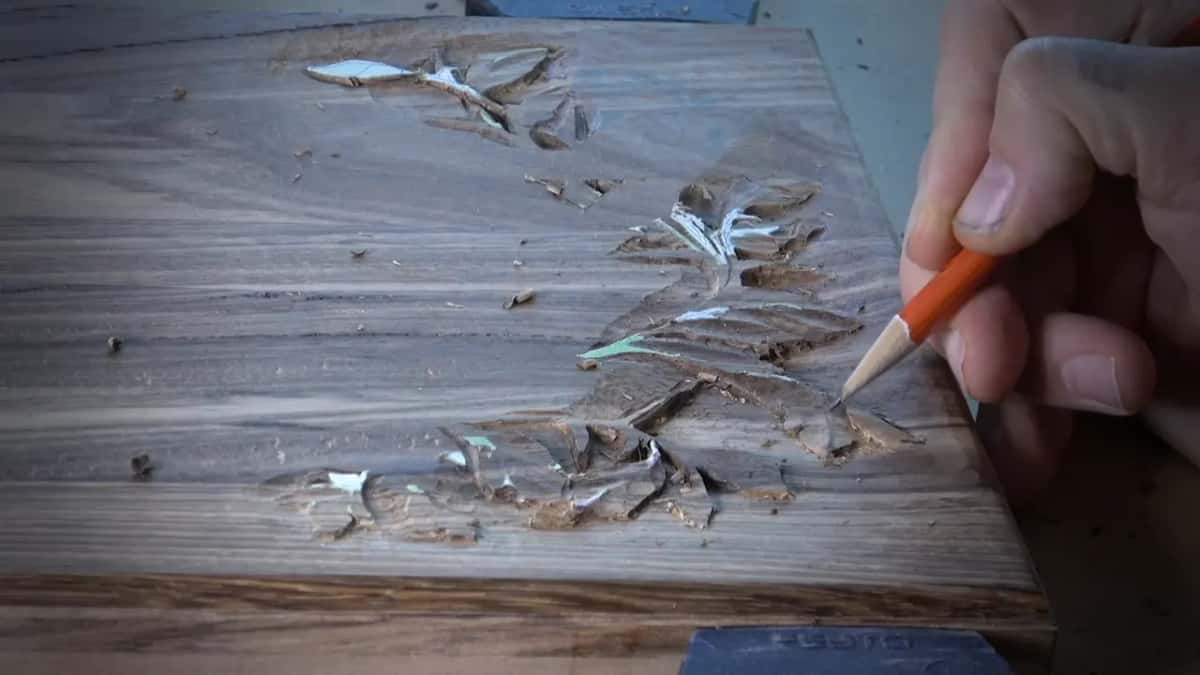
Everything has to flow to the same movement. I said that in the second video, right after I drew a new middle line. A leaf on this lid has veins like any leaf, and the number 11 gouge is called a veiner because that is its job. The middle one is the vein that has to leave the stem clean.
Making a carved line look organic instead of stiff is a bigger subject, and it lives on the curly cutting board lesson.
Why does the middle line vanish once the pattern comes off?
The paper was carrying it, and you carved right through the paper. Once it peels away, the line that told you where the vein runs is gone.
I draw it back with a black marker. The tiniest leaves get pencil. Where three stems tangle together I switch to pink and number them one, two and three. I know it looks messy and a little confusing at the beginning, but it should be fine. Keep the printout close and redraw from it.
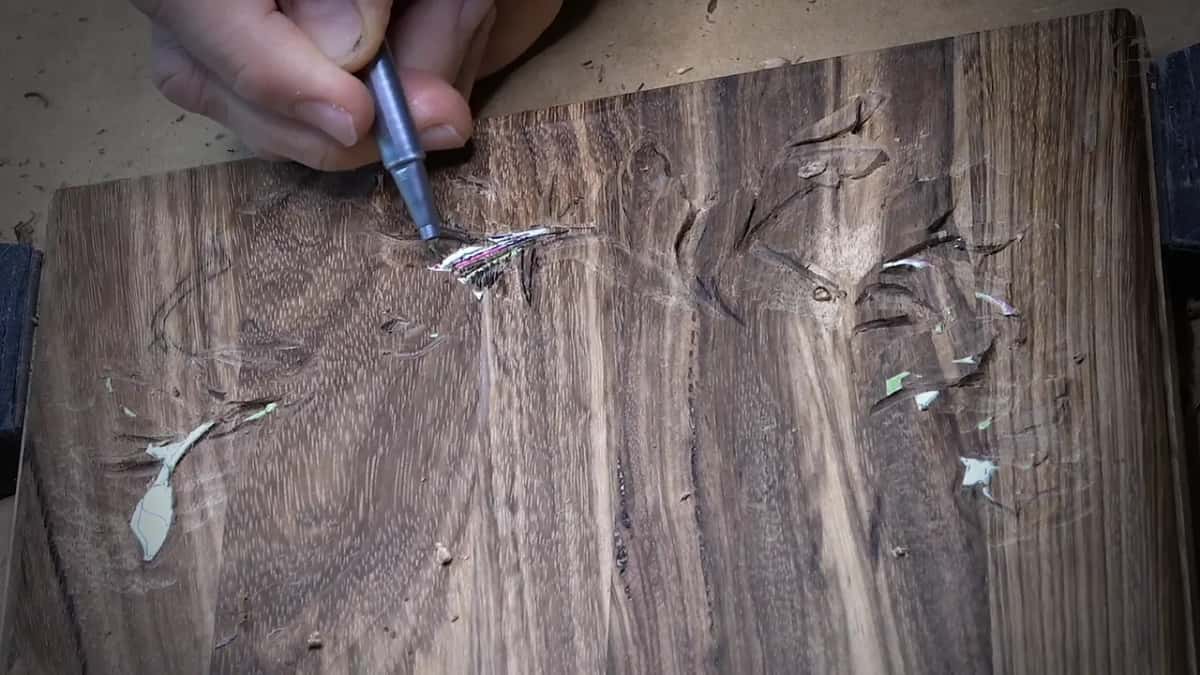
A marker has one fault. On a jagged line it soaks in, and that is not good either. I do not worry much about that, because a knife works as a scraper and shaves a black line right off. You might ask whether scraping dulls the knife. It is just wood. The edge goes dull from carving anyway, and I can always buff it or sharpen it again.
Drawing the line is half the work. The other half is carving it so it stays when the ink is gone. On each side of the line I take a shallow hollow, a concave, with a number 7 or a number 5, both about a quarter inch (6 mm) wide. Without those two hollows the middle line on a small leaf is almost impossible to see. On a small area I exaggerate, which the grape onlay lesson covers on its own.
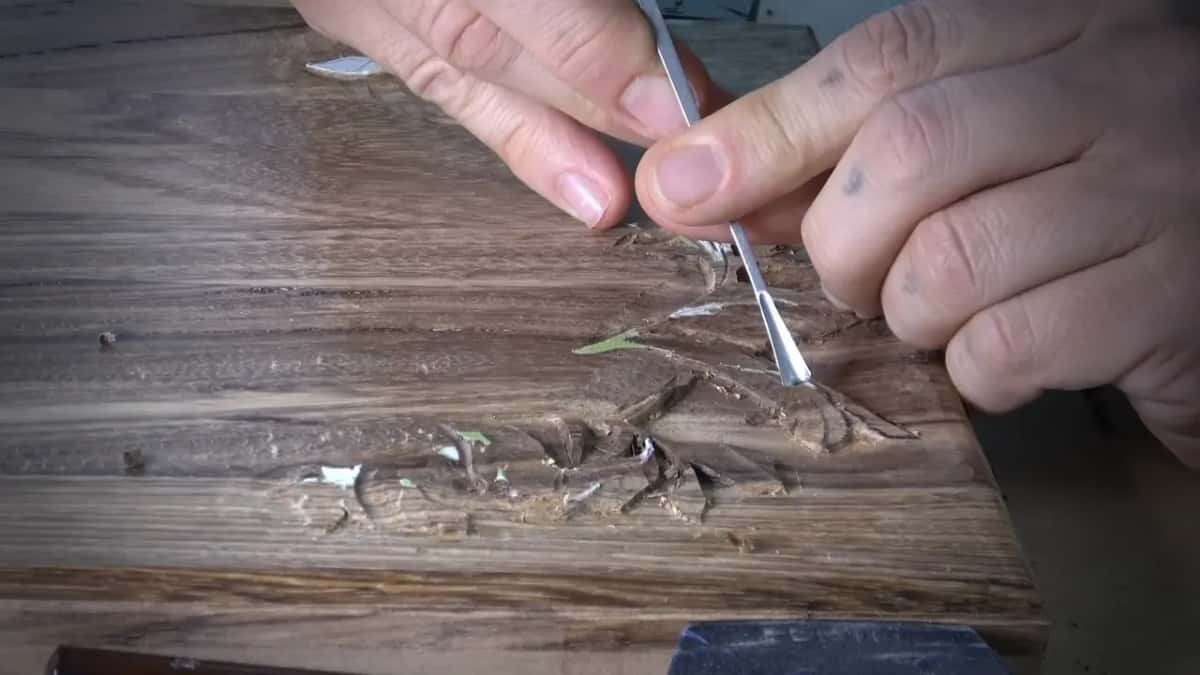
One ridge ends up a little higher than the other. The line left standing between them is about one millimeter wide (a hair over 1/32 inch). Telling whether a carved line flows properly has its own page in the Hashemi flowers lesson.
Chips hide the line too. Most carvers learn to blow them away constantly, and when I teach in person the room goes quiet. Nobody talks. All you hear is carving and blowing, carving and blowing. A brush helps too, and a one dollar painter's brush from Home Depot, Lowe's or Menards does the job. Mine just looks better.
Which gouge gives a curve that runs true from its stem?
The one whose sweep already matches the arc you want. I went hunting for it on camera. A number 7 was too big, and so was a number 5. The six fit. When I set the tool against the edge I had just carved, the curve was perfect, and I love that moment.

One side of another leaf took a big number 6, one inch (25 mm) wide, and it fit perfectly. Maybe I took too much with it. It still made a beautiful flow, and I ended up a little inside my drawing, which I am okay with. Where the room is only an eighth of an inch (3 mm), I take a number 8 that same width, because nothing wider fits.
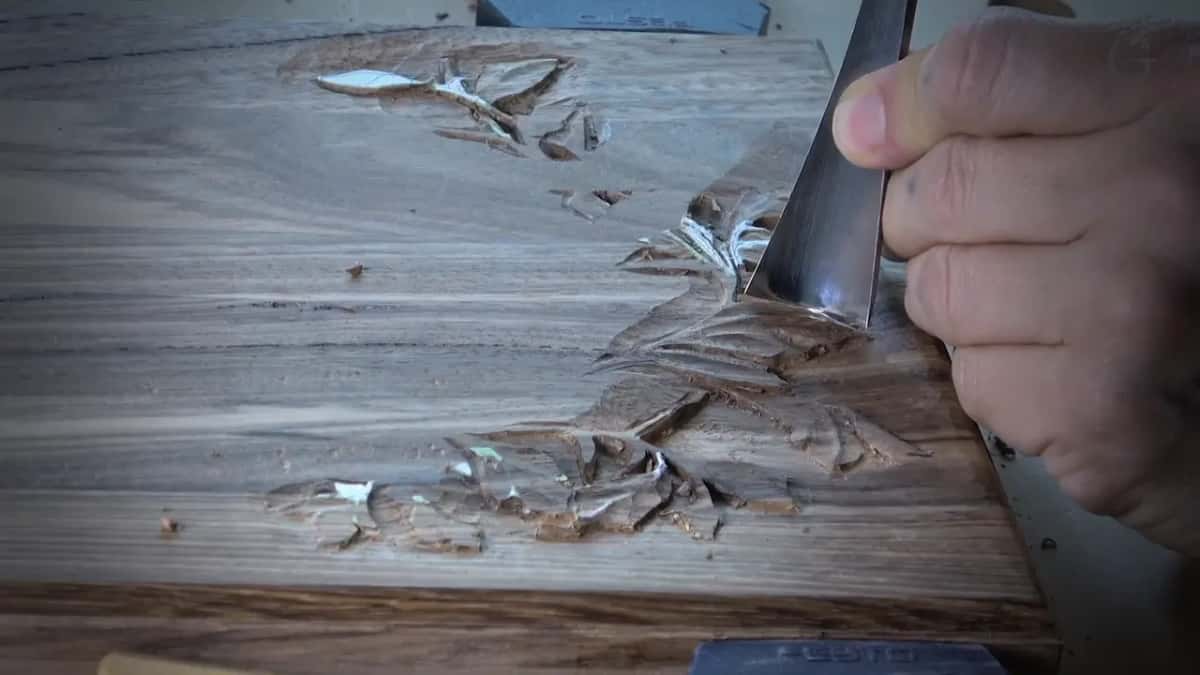
There is a faster way, if you like that approach. Find a gouge whose profile fits the line, set it on the line with a slight lean inward, and give it a tap with the mallet. You get a really sharp, clean line. It takes a lot of different sweeps, though, and not everybody owns them. The tool also leaves a mark. Drive it straight down at 90 degrees, undercut later, and that mark stays in the background, which does not look professional. Lean it in and you can still clean the mark away.
No right sweep in the drawer? A knife does the same job, and so does your eye. I eyeball plenty of these curves and use my judgment.
Work a curve like this and you will often end up carving against the grain. On one leaf the surface ran downhill, and flipping the tool around to go the right direction would have been almost impossible. If your tool is sharp, you should not have any problems. Go slow, rotate the tool as you go and slice. Don't push. A push is how you slip.
| What I saw on the wood | My fix | Tool |
|---|---|---|
| A deformed leaf | Redrew it on the wood, then chopped the waste out | Number 11, 3 mm (1/8 inch) |
| A ridge that came out too sharp where the leaf turns over | Rounded the ridge over | Number 3 |
| Jagged flow line on a small leaf | A new middle line | Number 5 |
| Middle line gone once the pattern paper came off | Hollowed both sides of it | Number 7 |
| One side of a leaf wanting a nicer curve | Took one wide sweep that fit the whole side | Number 6, 25 mm (1 inch) |
| Where the stem met its leaf in a corner | Pared into an arc | The knife |
Every one of those fixes happens on camera in this lesson. All eleven videos of this layer open with monthly or yearly Access, and the tuition helps the orphans and widows the school supports.
How does a leaf stay tangent when it flips over?
A flip starts underneath. In the first video I had a leaf that belonged to the same stem, and left alone it would not have looked good. So I made it look as if it grows from underneath that section, then flips upward and runs right above it. It sounds complicated, I know. It is not that complicated.
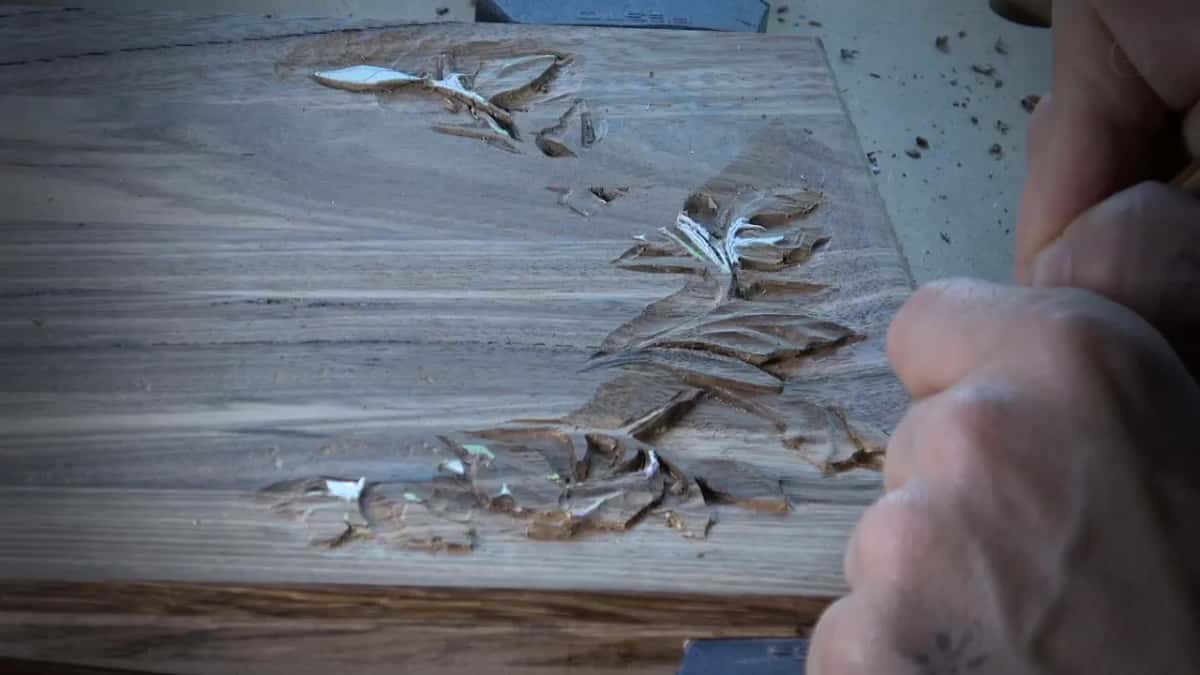
The part that goes under has to travel downhill first. I free it with the 3 mm number 11, lower it with a number 3, then run a groove with the 1 mm number 11 and undercut the side. A half millimeter number 11 goes in last and deeper, and now it reads as growing from underneath. The ridge where it turns over gets rounded with a 3 mm number 3, so the leaf seems to rise from below instead of sitting on a sharp edge. The same thinking, one shape passing under another, runs through the floral panel with a molding.

A twist asks for the same care. A small twist sits across the middle line of one leaf, and the line has to run right underneath it. I did not want to lose it there. A number 7 concave, 6 mm (1/4 inch) wide, took that side away.
Undercutting is not a necessary step, and I do it wherever my tools can reach. You don't have to go as deep as I do. A slight angle on the tool still looks really nice, and a V tool laid on one side can stand in for the tiny veiners, just not as deep.
Can a stem meet its leaf at a corner?
An arc belongs there, never a point. Late in the sixth video I came to exactly that spot. It should not be a corner. An arc transition goes there instead, a curvature if you wish, and the knife is how I get it.

Why no line in a leaf should finish at a right angle is a lesson of its own, on the Byzantine acanthus page. Two shop words help me explain the rest. A chamfer is just a 45 degree flat on an edge, and your eye will find the edge it leaves. A fillet is a rounding. With the knife I really chamfer, but gradually, one angle and then in and in, until the little flats add up to roundness.

One stem on this lid was about a sixteenth of an inch (1.5 mm) thick, and I wanted it no more than one millimeter, maybe 1/32 of an inch. I thinned it with a small number 3 and then filleted its edges. That rounding creates the illusion that the stem is really, really tiny. Furniture carvers have their own reasons to stay away from sharp edges, and a fillet is one of their answers too.
How deep can the leaf drop beside its stem?
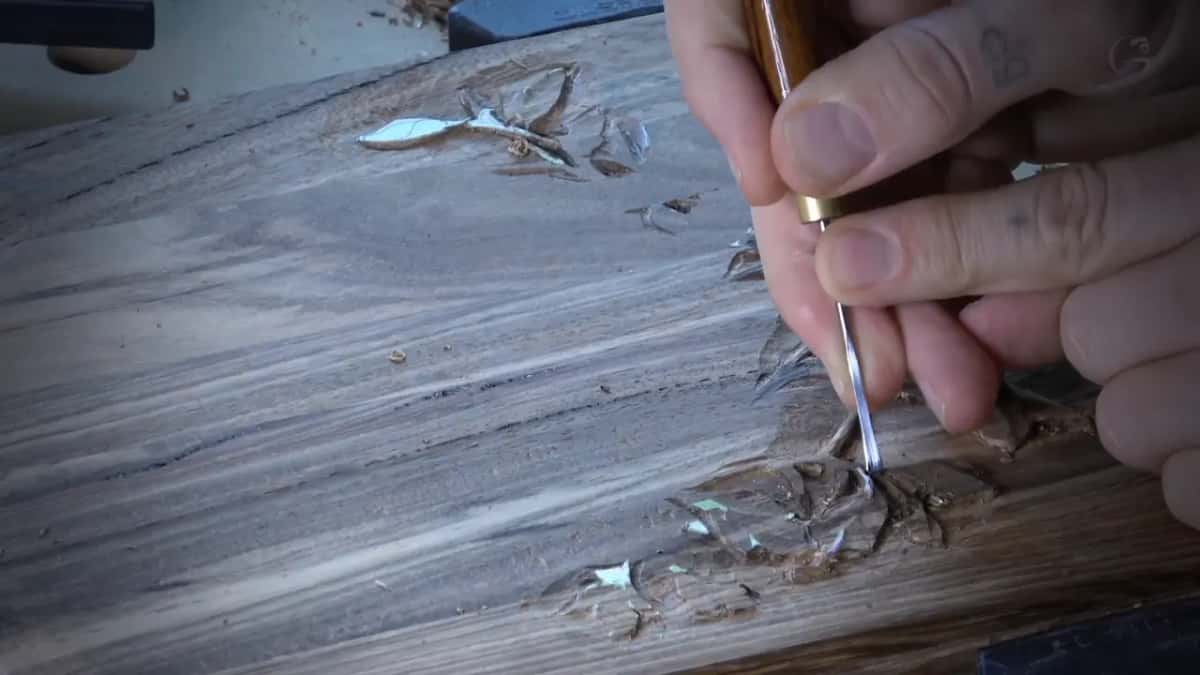
Shallower than your hand wants to go. Along one leaf I made a long pass with the number 7 and had to warn myself on camera. Don't go too low right here, because I'm already close to my background. Go too low and the leaf does not ease down to the ground, it just drops, and there goes your transition.
I left less than 1/32 of an inch there, under a millimeter. It could create a problem for me. It shouldn't. But it could.

Near the edge, where a flat area has to blend into the leaf, I stay as shallow as I can, because a deep hollow there is much harder to blend. On the smallest leaves the outline goes no deeper than a sixteenth of an inch (1.5 mm), maybe less. Depth has a second price on a lid like this one. Go too deep beside a stem and you make a weak point in the stem itself. I forced one undercut too hard and a piece partly broke. That is what happens when you force too much, and the finish will hold it together.
Does a leaf that will sit under a flower still need its tangent?
The hidden ones on this lid got it too. Most of one leaf will be covered by a flower, and I told the camera I did not want to spend too much time on it. All I worried about was the middle line. That was the most important thing.

Another small leaf got the same care a different way. I gave it a deeper hollow on the side that will face outside the box, because with the second layer on top the shadow will fall that way, and a hollow on that side makes the shadow deeper and the leaf more three dimensional. One tiny leaf got a micro pipe, carved with a gouge about 3/32 inch (2.4 mm) wide, the same thing you see on acanthus leaves. There is also a leaf so small it is almost invisible, a secret leaf only you are going to know about. Those small details make the whole world of a difference.
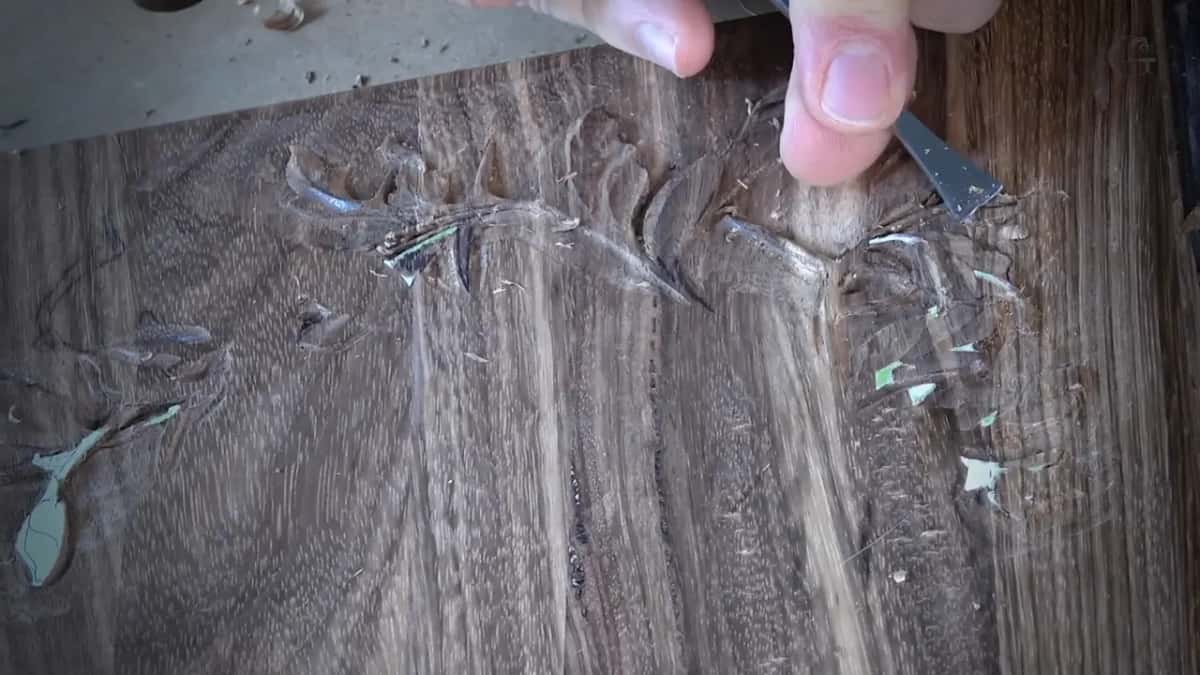
The last area is missing from the videos. I filmed it, the recordings came out really bad, and I destroyed them. At the end of the lesson the olive board is glued on top, and the second layer starts from there. Lesson two is where this first layer begins.
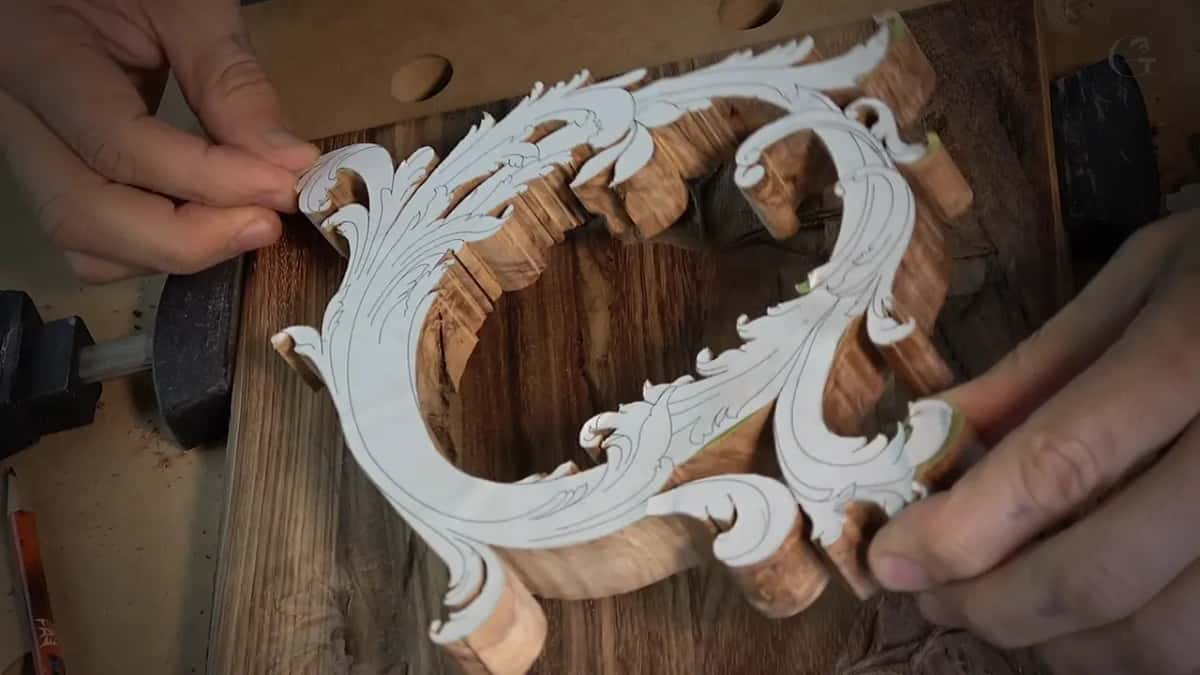
Go and look at the last leaf you carved. Does its middle line come out of the stem, or out of nowhere? Is there a corner where there should be an arc? Pick the smallest leaf on your board, the one only you know is there, and give it a proper line first.
How it's done
- Mark the center again. Peel the pattern away, then put the leaf's center line back from the printout with marker or pencil.
- Free the outline. Make small straight-down relief cuts around the shape first, so the fibers do not break when the waste comes out.
- Leave the stem proud. Lower the leaf on both sides of that line while the stem and the line itself stay high.
- Hollow each flank. Scoop a shallow concave down each side using a number 7 or number 5, leaving one ridge a touch higher.
- Fit the sweep. Try gouges against the curve until one matches it, then set that one on the line, leaning in slightly.
- Round the joint. Use the knife to pare any corner where stem turns into leaf until it reads as one arc.
- Shade under the edge. Go under the outline with a 1 mm veiner and then a half millimeter one; a slight angle is enough.
Frequently asked questions
Is a flow line the same thing as a tangent in carving?
Close enough that I use the words together. The flow line on this lid runs down the middle of each leaf, and tangent is how that line comes off its stem, with no angle where the two touch. Smooth handover, and the flow reads; kink it, and the eye catches.
What sweep of gouge makes a leaf curve tangent?
Whichever sweep already matches the curve drawn on the wood. One leaf needed a number 6, after a number 7 and a number 5 both proved too big. On another, a number 6 an inch (25 mm) wide fit a whole side. No matching sweep? A knife and your eye can do it.
What should I use to put a center line back?
A black marker works on most leaves, and pencil on the tiniest ones. Where stems cross, a brighter color like pink keeps them apart, and each one gets a number. Marker soaks into a jagged line, so shave any stray mark off with the knife used as a scraper.
What to carve next