
Alexander Grabovetskiy, woodcarver, School of Woodcarving · Published 2019
How do you carve wood with curly grain?
Quick answer: Carving curly grain is working a board whose fibers wave and turn inside it, so one gouge slices a stretch cleanly and tears the next. Start wide, lift the tool the moment it grabs or chips, come from another side or go narrower, and finish thin details before heavy cuts go near them.
Curly grain is grain that waves and turns inside one board, so a gouge that slices clean in one spot grabs and tears in the next. You carve it by feeling and hearing that grab, then turning the work or dropping to a smaller tool, and by treating weak spots like detail work even while you rough out.
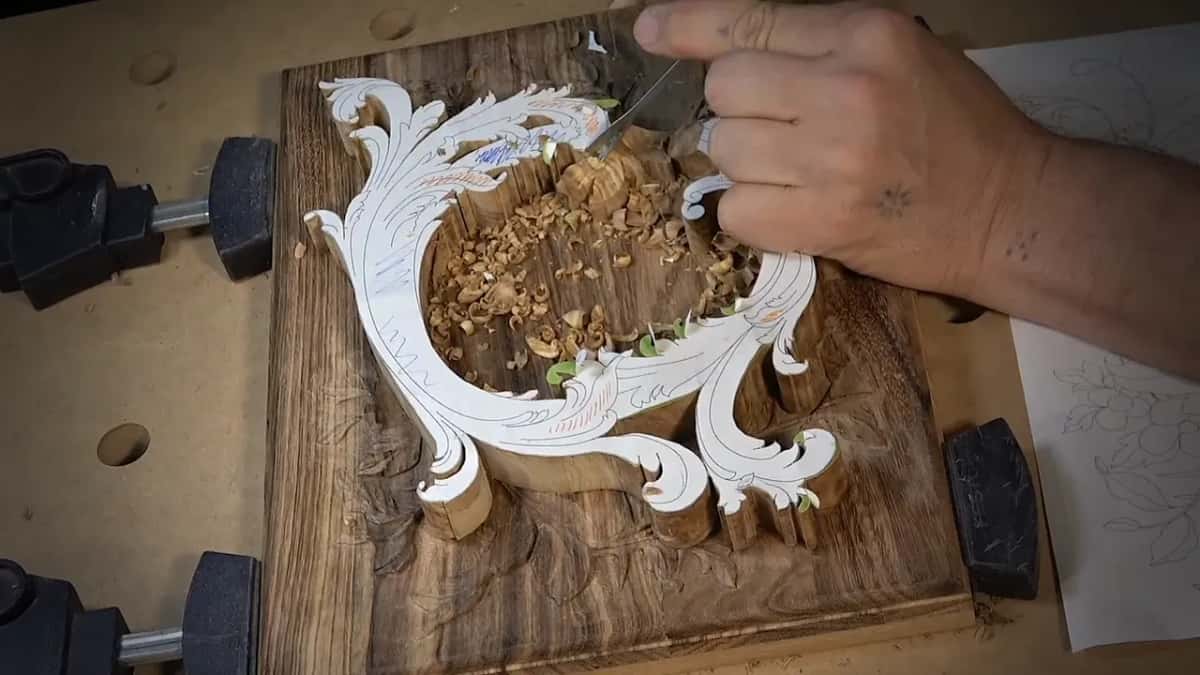
Has a board ever carved like butter under your gouge and then, one pass later, torn out a chunk you never asked for? Did you sharpen, come back and lose another piece in the same place? Often that is the wood, not you. When a void showed up inside this slab, I said it out loud: it's in wood, actually.
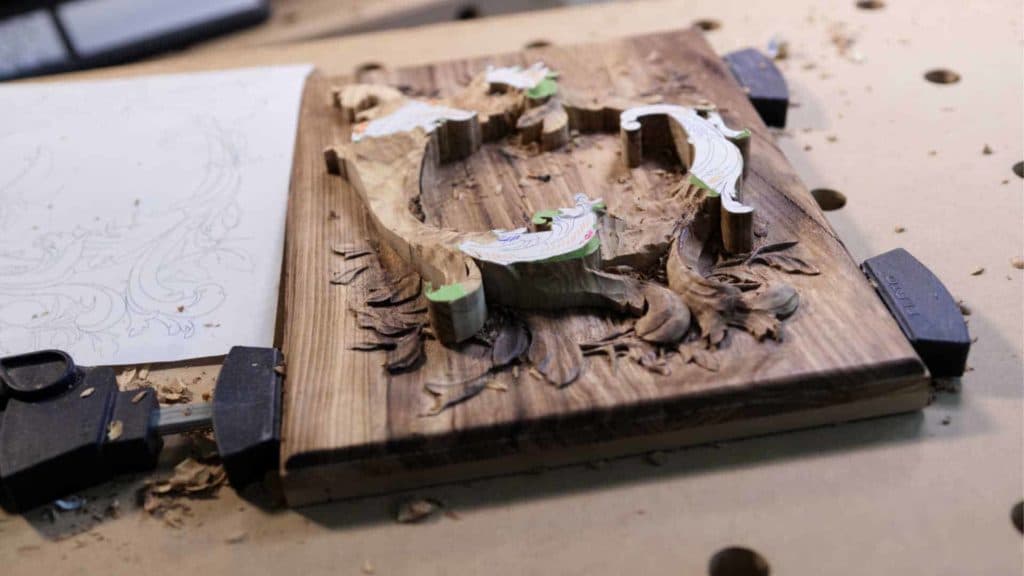
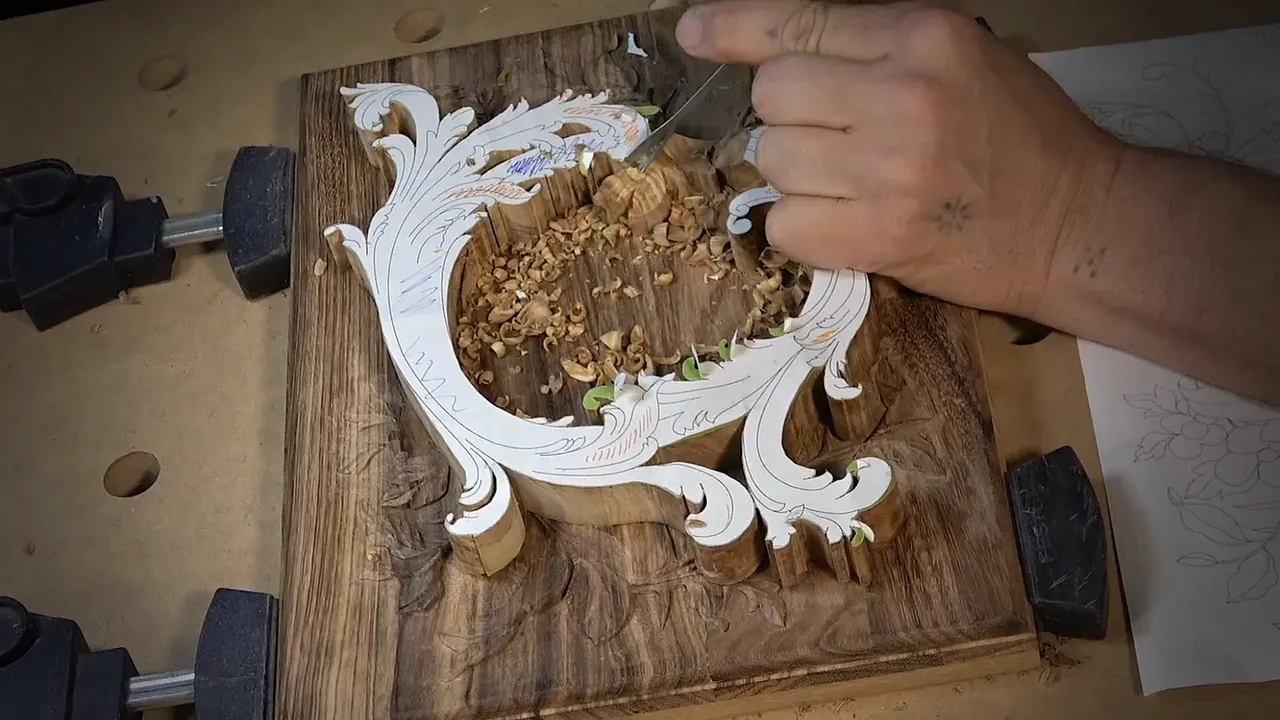
The second layer on this lid is a slab of olive about 20 mm thick, a bit more than three quarters of an inch, and it was really curly. I told the camera I did not know how it was going to behave. I hoped it would be good. The thirteen parts of this lesson in the lily box course are what that slab did to my tools, and what I did back.
What to do the moment a curly board grabs
- Lift the tool at the first grab or chip, then come at that spot from somewhere else.
- Rough out wide, and go narrower only where the catching keeps coming back.
- On crunchy wood your hand feels more than a mallet does, so a tapped pass stops short of the exit.
- Darker olive carves harder than the pale wood beside it.
- Weak little details get done first, from the outside in.
- Keep every tool really sharp, because in this olive the grain goes in all directions.
What does catching grain mean?
Catching grain is my name for the moment a tool starts taking more than you asked for and chips it away. I say it all through this lesson. Once I corrected myself on camera: catching grain of the wood, not my grain. A few minutes later I said my grain again, and fixed it again.
With this olive it meant big chips. The wood was just so crunchy that I had to be really careful.
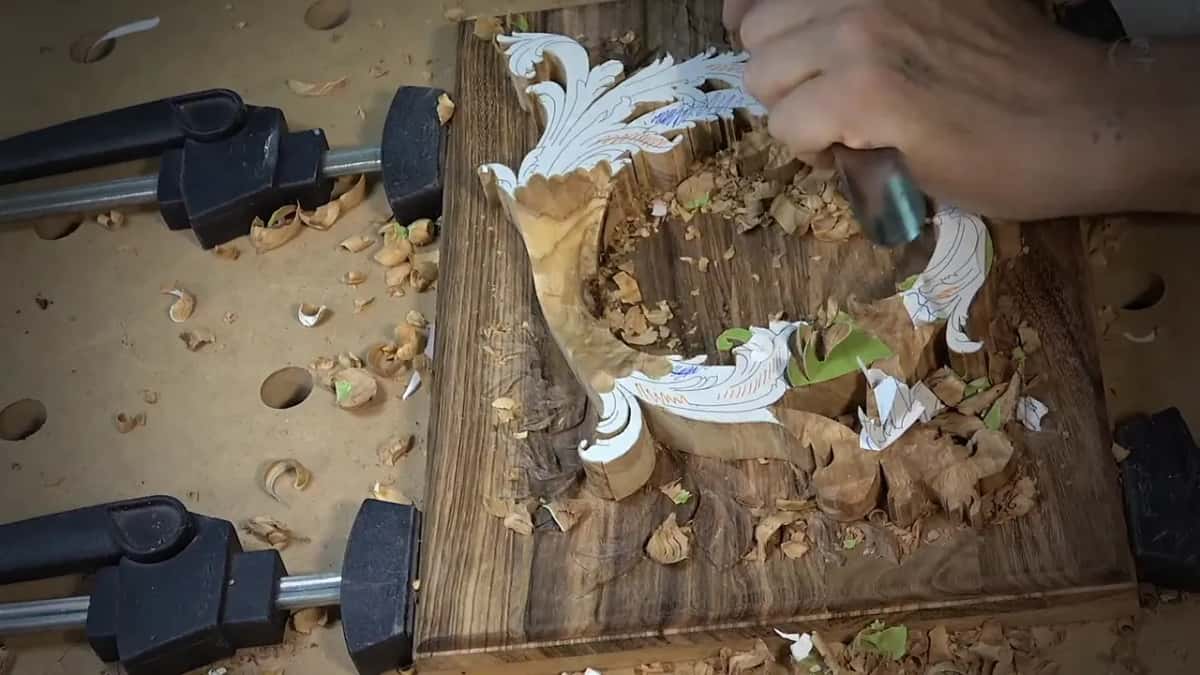
I know it makes no sense until you try it, and I said as much on camera. Some areas of the slab carved nicely, and then, in the curly spots, the grain changed, and carving it was almost impossible.
On a curved leaf the grain usually reverses once, somewhere in the middle, at the spot I call the marriage line, and I cover that in carving against the grain without tearing. A curly board does not hand you one line to find. During the first part I said out loud that in this curly grain, sometimes you really don't know what is with the grain or not.

Can you hear curly grain catching?
Twice in this lesson I asked you to listen. The first time I had just called the curly spots almost impossible, and I showed you the spot right there.

The second time a number 7, about 7/8 in or 22 mm, was blending an area down toward the first layer, and a moment later I said it worked well.
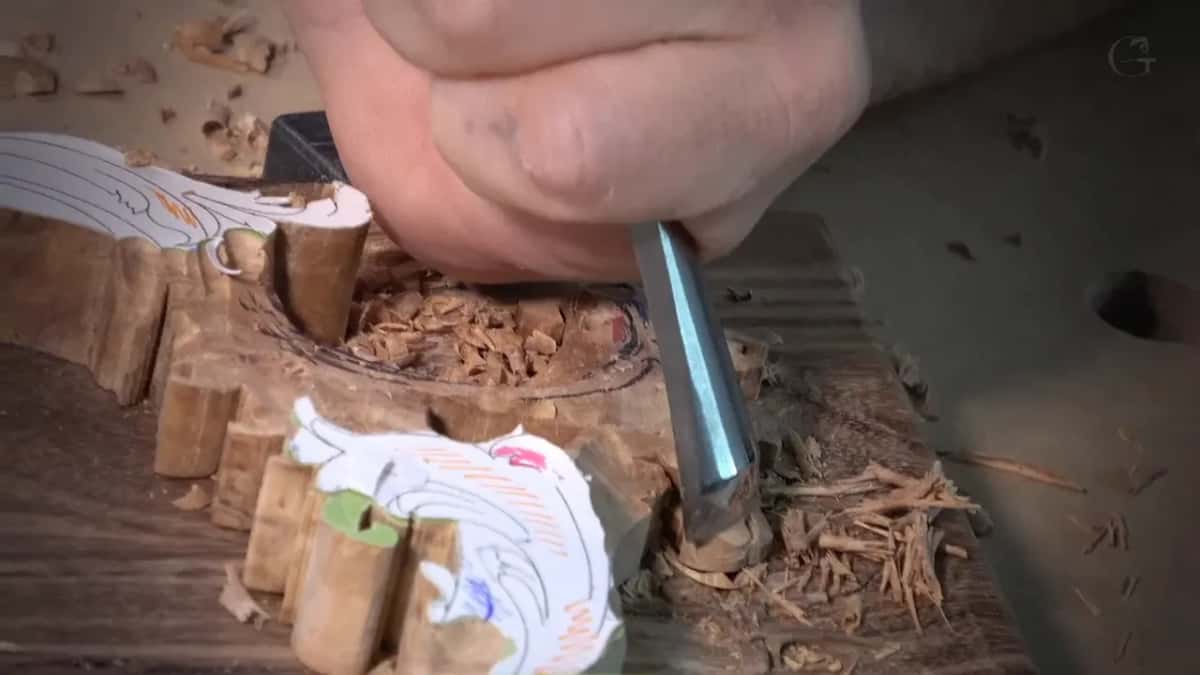
Your hands hear it too. You can usually feel when it is time to switch the tool, the moment it starts catching the grain and taking more than you need.
Why drop to a smaller gouge on curly grain?
On this lid the wide gouge was the one doing the catching. I started with a number 9, 20 mm or three quarters of an inch, working beside the high spots, and told you it did not have to be that big. Half an inch, 14 mm, would do, or even 6 mm, a quarter inch, if you feel more comfortable. Where the slab got crunchiest I went down to the 14 mm, the half inch, and then to the quarter inch, 6 mm. I gave the reason as I carved. It was so curly that the bigger tool kept catching grain.
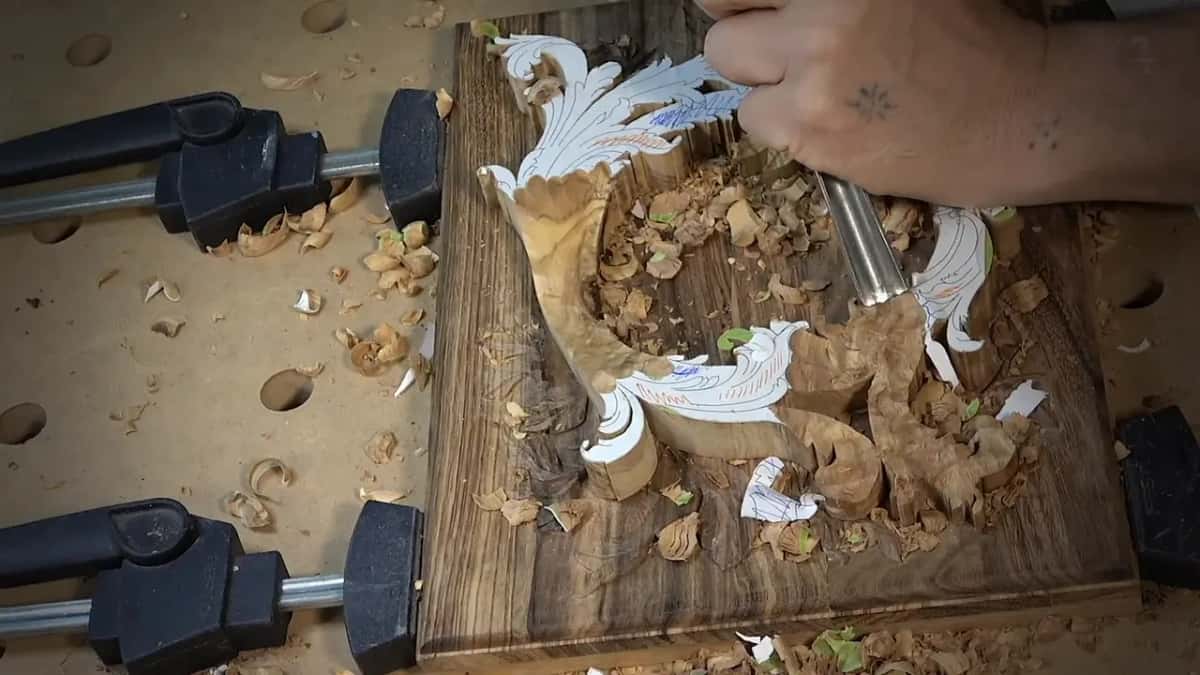
Smaller is safer and slower, and I said both. I am okay with the longer process if the result is going to be really good. I still like the bigger tools, though, especially at the beginning stage, and on a quiet board a bigger gouge does the same job in fewer passes.
Even a huge gouge would work at the beginning stage, I said in the first part. Then I looked at how curly that grain was, decided it was maybe not a good idea, and picked up the number 9, attacking from different positions.

Size matters most at a fragile detail. One small piece stood above the first layer and moved when I touched it, and a big tool there would have been a big mistake.
Each of those changes of tool is on camera across the thirteen parts inside the school.
Which tools did the curly olive call for?
Most of this list is small. These are the sizes I picked up on this slab, from the first rough cuts to the finest shadows.
| Tool and size | Where it earned its place on this curly slab | What I said |
|---|---|---|
| Number 9 at 20 mm, 3/4 in | First cuts | Could be smaller if you feel more comfortable |
| Half inch number 9, 14 mm | The crunchy stretch where the wide one kept catching | Almost like carving marble |
| Quarter inch number 9, 6 mm | Curly spots, and around a detail I wanted to keep | Used a lot |
| Number 11 at 3 mm, 1/8 in | Separation cuts | One of the best tools, actually, for this type of wood |
| Tiny number 11s, 1 mm and 0.5 mm, about 0.04 and 0.02 in | Undercuts and the deepest shadows | I am going to those tools all the time |
| Dockyard number 8, 1/8 in or 3 mm | A small pipe effect, not a real pipe, but still like a vein | Not designed for a mallet |
| Pfeil number 2 at 12 mm, a bit under 1/2 in | Convex cuts | Almost flat, but still it has a little sweep |
| Small bronze mallet | Held in my palm for small spots | I have to be really careful in those small spots |
Two brands in there deserve a note. My Pfeil number 2 at 12 mm, just under half an inch, equals a number 3 in English brands like Ashley Iles. It is almost flat, with a little sweep left in it. How makers number their sweeps is laid out in what the numbers on a gouge mean. Dockyard is the brand of the micro tools I was using.

When should you turn the board instead?
The moment the grain catches is the time to change direction and attack from a different position.
I really love my setup, and the first reason is that it rotates. It wobbles a little on camera, and I apologized for that in the first minute, but I can stay in one spot and come at the piece from any angle without walking around it. You could carve on just a dining table, too. This is my personal preference.
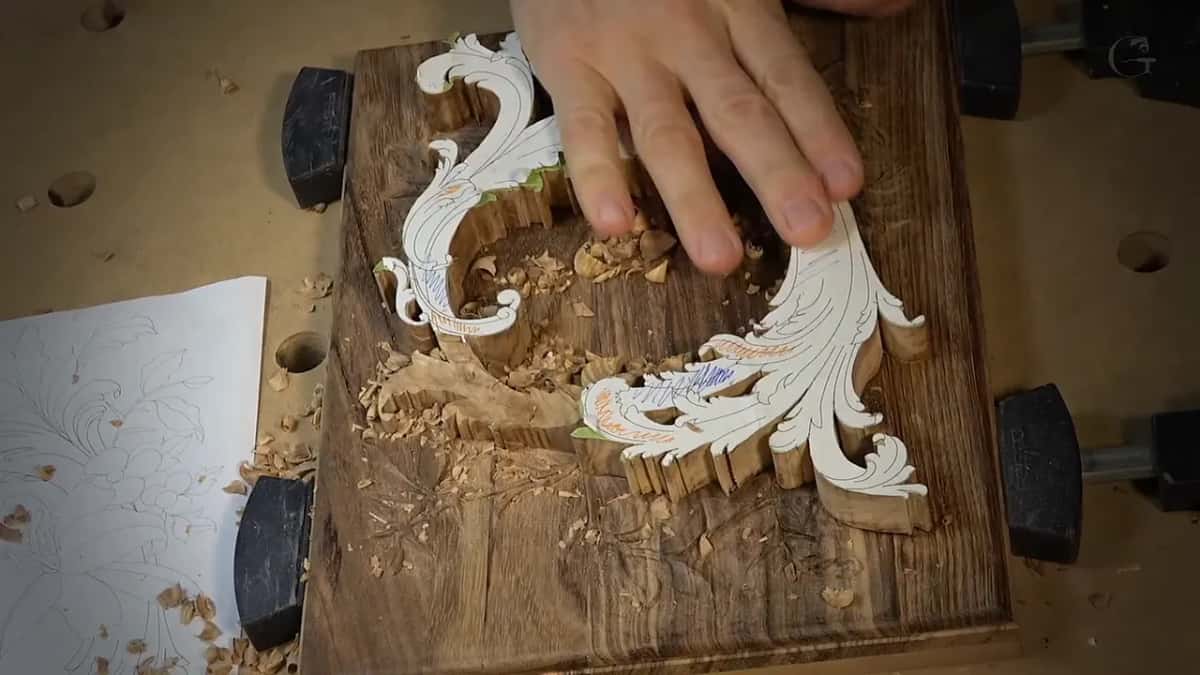
Sometimes the new direction runs the wrong way through the fibers, and I go anyway. Cutting against the grain, breaking the rules, I said in part 12. In part 8 I knew I was going the wrong way in one spot, so I said I would come from the other side and clean it a little later. One wall of a pass tears while the other stays clean. Why one side of a cut comes out rough explains it, and how turning the board swaps the clean wall.
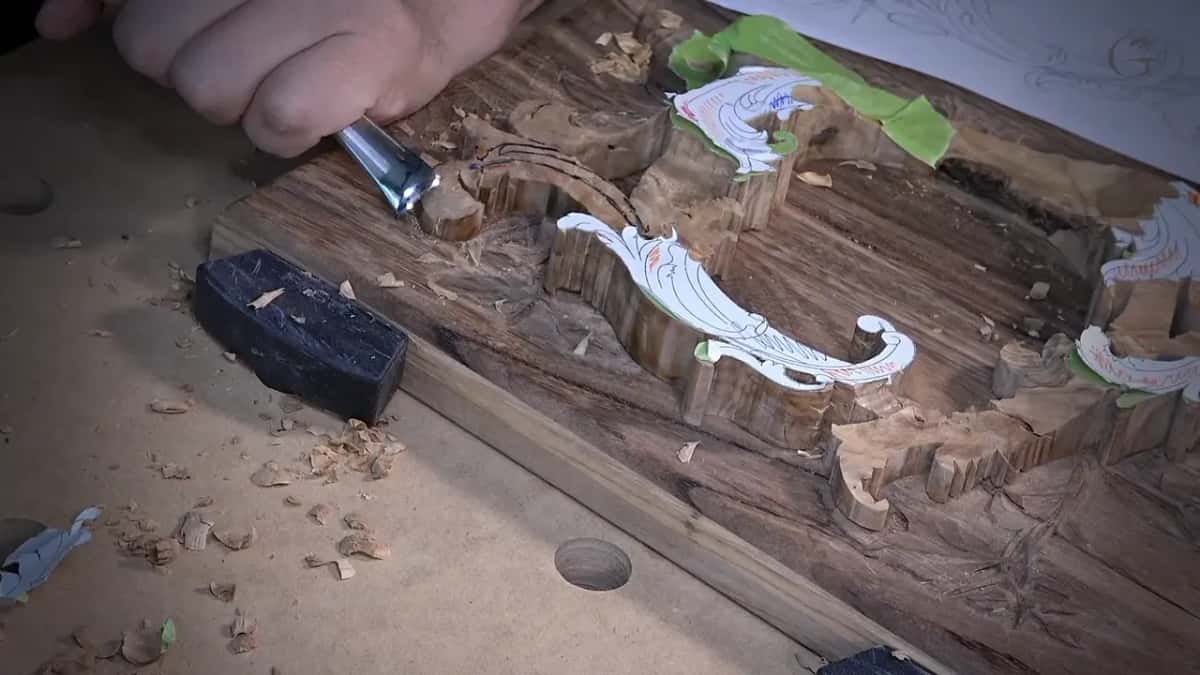
The short-to-long rule in carving with the grain does not go away on a curly board. The board just hides which way is which, so the catch has to tell you.
Should you use a mallet on curly wood?
Use one lightly, and put it down when you stop feeling the wood. I picked up a mallet in the first part and said it helps a lot, much better control. Within the same minute I said I should switch. With a crunchy wood like this you really can't feel the movement of the wood, so I went back to just a hand cut.
When I did tap, I stopped before the escape. Escape side is my word for where the tool leaves the wood, opposite the entrance side where it goes in. For the small spots a little bronze mallet held in the palm took over.

Micro tools are not designed for a mallet, so be careful. I use one on them all the time anyway, and I barely hit.
Does dark olive carve harder than light olive?
It did on this slab. One area I called stubborn, really stubborn, and I put it down to the nature of olive wood. The variation of color shows across the slab, and the darker wood was harder to carve while the lighter wood carved easier. The density is different.

At its crunchiest it felt almost like carving marble, about the same feel under the tool, except that stone has no grain to fight. I compared this olive with walnut and with the so-called carvable woods, lime and basswood, and it was absolutely different from all of them.
How can you read the shape when the grain hides it?
Mark it, and feel it with your fingers. Beautiful grain, and I really love it, but with grainy woods you sometimes lose the overall picture. That is why I like basswood so much. It doesn't have a lot of grain, just a really nice canvas, beautiful and white. Not really white, but you get the point.
On the olive I marked my high spots with a marker, orange in my case. Without marks you keep checking the reference, going back and forth, and you lose time. With them you jump straight to the right area.

My fingers find what my eyes miss. Rub the surface and you feel the ridges and high spots you cannot see by eye, especially on a dark wood like this one. And when my own black marks started getting in the way, I took them off, because they were distracting to my eyes.
How do you keep fragile spots from breaking off?
Carve them first, from the outside inward, with a small tool. Curly wood makes it easy to catch the grain and break a detail, so I took care of the weak spots before anything around them. Small details get attacked from the edges, where it is not as dangerous. Even at the roughing stage, a spot like that gets treated like detail work.
A notch is the classic trap. Don't try to fit your gouge and create that notch right away. You're going to break it, and just guess how I know that. Make a small relief cut first with a tiny 1 mm tool, about 0.04 in, then carve the true notch.
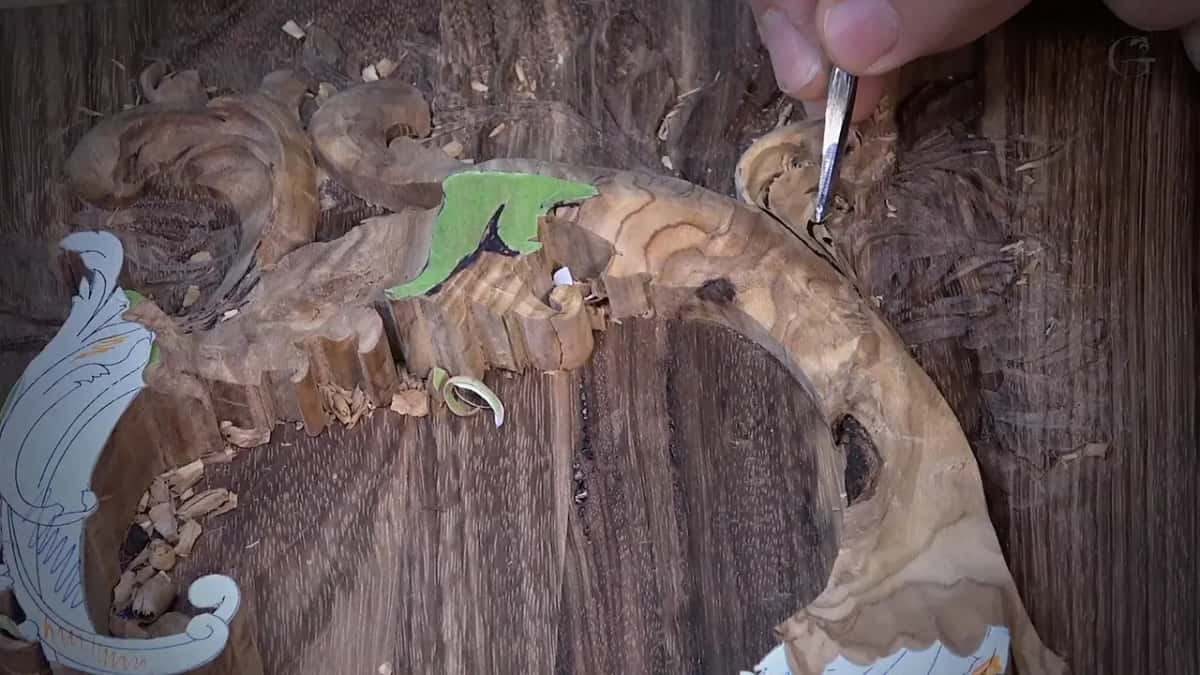
Some people take a V tool and dig right down the line. That works on softer woods, probably on basswood, and on crunchy olive it is not going to work. Another way in is a micro tool, maybe 3/32 of an inch or about 2.4 mm, used to make multiple holes. The waste comes out easier later on, and it helps especially on harder woods.

And I still lost one. About a minute and a half after warning you about a small detail, the detail came off. I glued it back. It's not a mistake, I said, and in the next breath I admitted I could be more careful, and I could. The wood was really crunchy, and I should have taken more time on that little section. You won't see the seam later.

Another piece broke apart on its own in the next part, after I had felt it move as if there was a crack inside.

Part of it was still glued to the background, so I pushed yellow glue inside, clamped it with painter's tape and left it for half an hour. I glued this layer only along its center line, so some small parts have no glue under them at all. The next lesson keeps carving the same layer.

Does curly grain behave the same in other woods?
Curly cherry did. A few years before this box I had a project where I had to make legs, like Queen Anne legs, and the wood was just curly cherry. Exactly the same thing. Curly wood carves differently, and the process is different on different woods. Basswood is nothing like it.
Is slower really better on curly wood?
It costs you time, but some mistakes you really can't fix. Most of them you can. Lose a tiny part, though, like one of these twists, and sometimes it is impossible to recreate. With the small tools it is a much slower process, and I would rather spend a little more time than make a mistake like that.
Wood carving is an art of deduction. Before you make a cut, decide whether you really want that cut. In part 7 I made one of those calls, and it was the right decision. In the last part I broke an edge and said that was okay. It's not okay, but what can you do? You just have to refine it.
Is there a curly board in your shop you have been saving because it scares you? Olive, cherry, something with a bird's eye in it? Mine had a big curl like a bird's eye, and a number 9 took that section down to about 3/8 in, 10 mm, above the surface.
How it's done
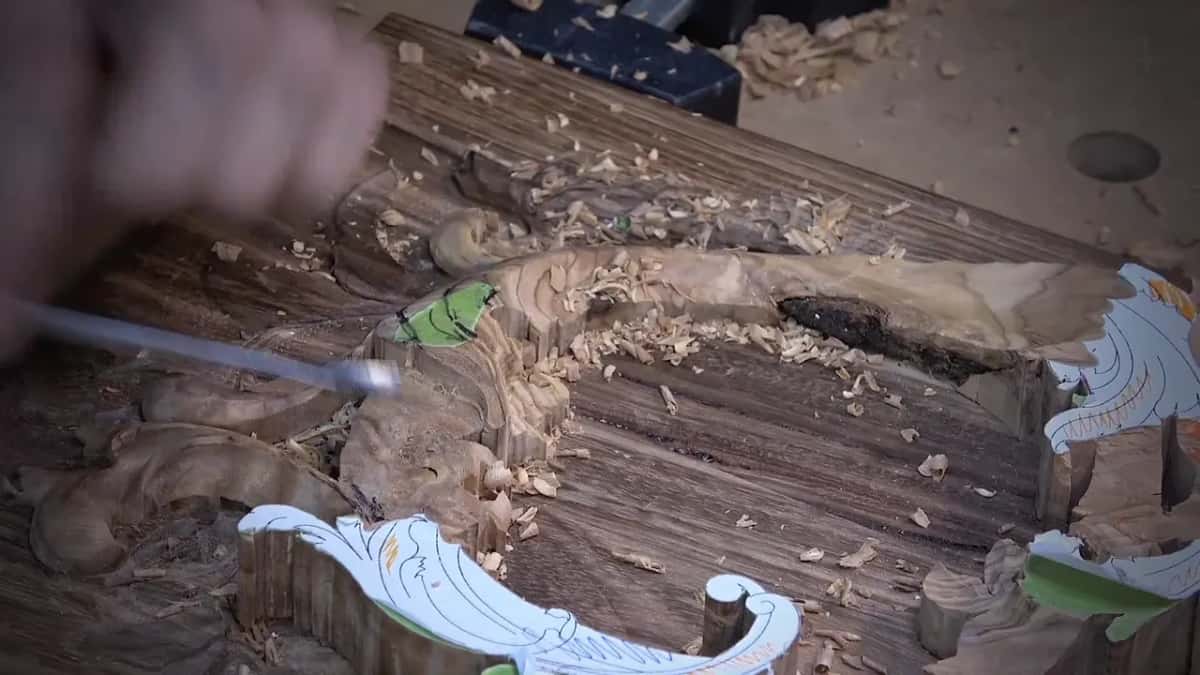
- Rough it out. Use a wide number 9 beside the high spots you marked, and keep every pass slicing.
- Stop at the first catch. Lift the edge when it grabs or throws a big chip.
- Come in from another side of the board. Turn it and attack from a new position.
- Step down in width. Pick up a 14 mm, about 1/2 in, then a quarter inch, 6 mm, only where the wide gouge keeps catching.
- Feel the cut by hand. Put the mallet down on crunchy stretches so your hand can feel the wood move.
- Save weak spots first. Carve small details from their edges inward before anything heavy happens around them.
Frequently asked questions
Why does curly wood chip out under a sharp gouge?
Curly fibers wave up and down inside the board, so your edge slices one stretch and lifts the next. Lifted fibers break off ahead of the tool, and on crunchy olive those chips come out big.
Why do dark streaks in olive fight the tool?
Density. The color shifts across one olive slab, and on this lid the dark parts were the stubborn ones while the pale parts carved easier.
Can you use a mallet on figured wood?
Lightly, and only while you can still feel what the wood is doing. On crunchy olive I switched to a hand cut, and with micro tools I barely tap.
What to carve next