
Alexander Grabovetskiy, woodcarver, School of Woodcarving · Published 2019
Can you carve all the way through a wood carving on a box lid?
Quick answer: Carving all the way through the leaves on a box lid is fine when each pierced piece keeps a little wood tying it to the layer under it. A wall carving can float free. A box lid gets opened and handled, so I kept that bridge, watched my fresh olive for cracks, and reached under with small bent gouges.
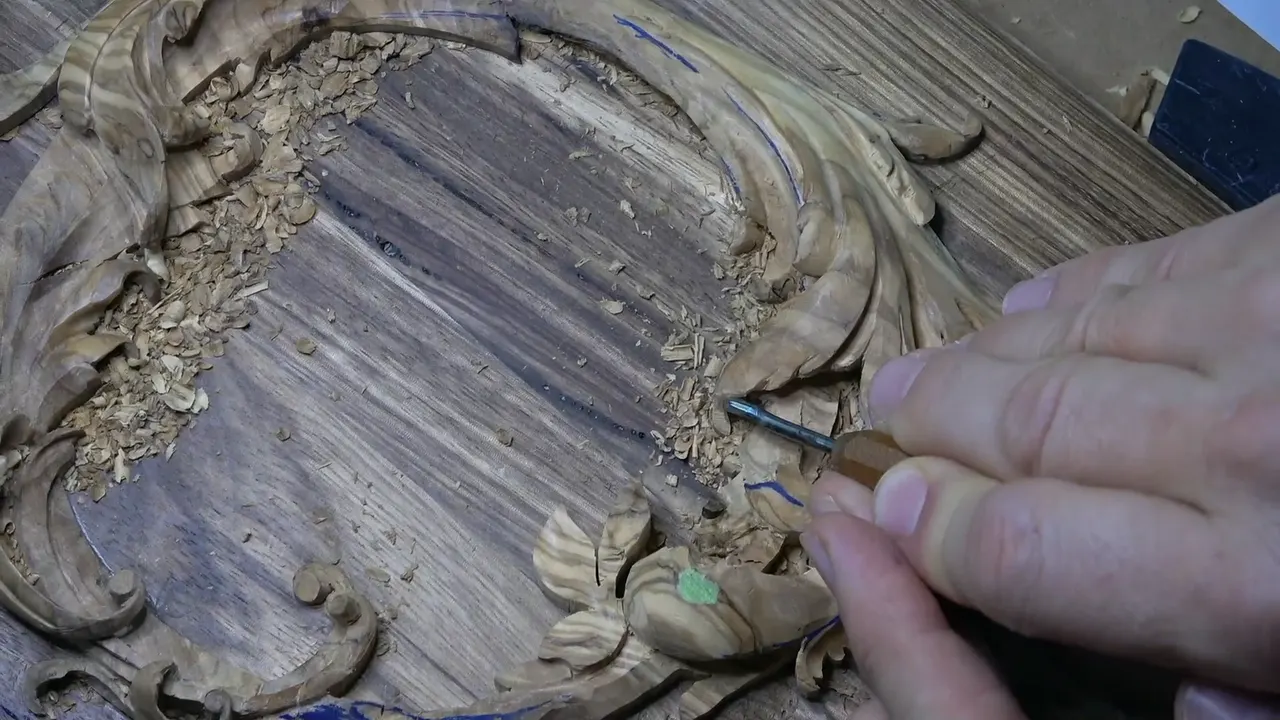
You can, as long as each piece you pierce stays tied to the layer under it. Five times in this lesson you hear me say I have gone right through the olive carving on this acacia Bible box, so light can travel down inside it. I kept a little wood under the pierced pieces, because this box is going to be opened and handled.

Have you ever stopped with a gouge over a thin spot, sure the next push would break through? Or wished light could get down inside your carving, under the leaves? Think about the hands that will hold the piece first, and about holes after that.
I had doubts about this lid, and I said so on camera. The olive had not dried very long, and it had a lot of cracks inside. So this page is about deciding, and the digging itself is in the lesson.
What decided each opening on this lid
- Hung on a wall, a carved piece can float with no connection at all.
- A lid that people open and close keeps a connection point under each pierced piece.
- Fresh olive moves.
- Spoon gouges and small back bents reach where a straight tool cannot.
- Clean inside every opening.
- Once the wood is open, a slipping tool has somewhere to go.
Why carve an opening into a box lid at all?
For the light. Once there is air under a leaf, light gets in behind it, and you get light and shadow down inside the carving as well as across the top.
Before the first one I told you my idea, to dig a little more, get right through, and make that piece look like it is flowing in the air.
Right after the first opening I said it to the camera. Light is going to travel inside, and that gives a really nice effect. Later, with another one, I called it light play. The last opening in this lesson was in my plan from the start, because it gives some lightness to the overall design.
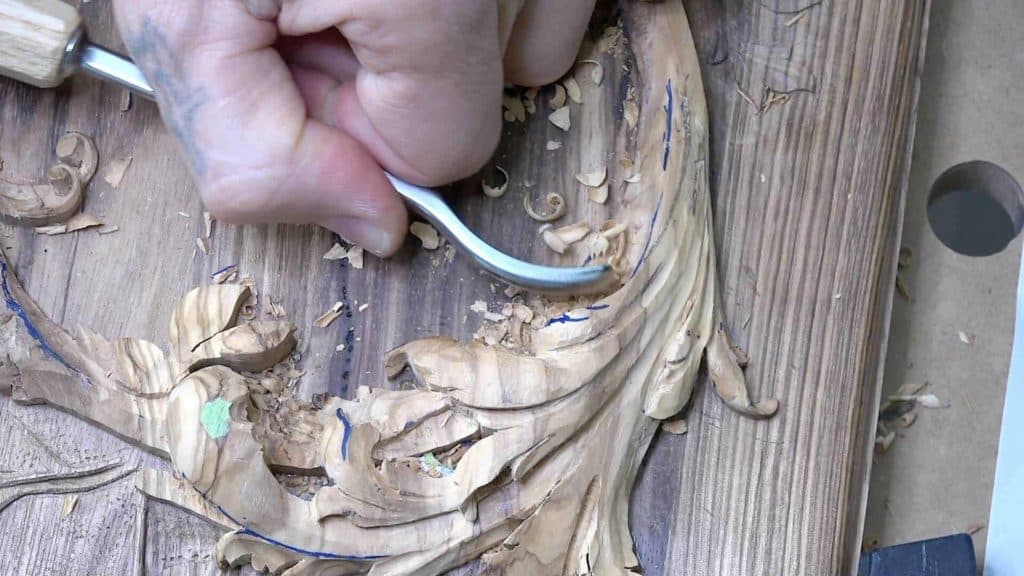
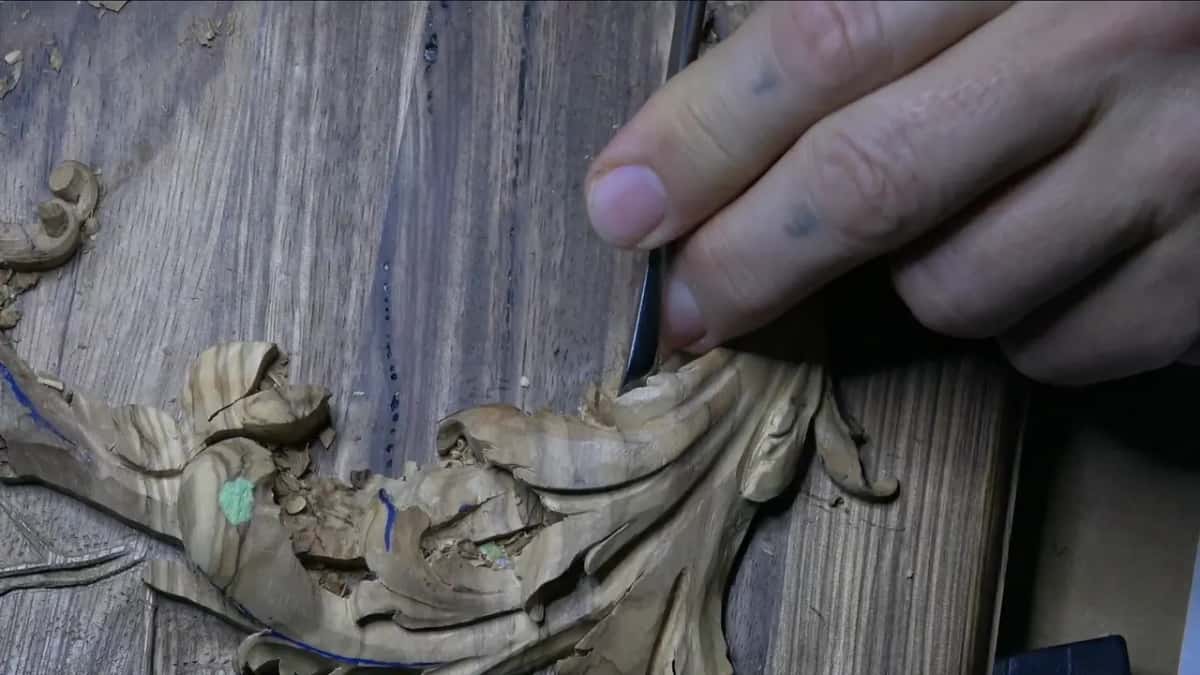
That first one is in part 8.3. I had already gone really deep from both sides with number 11 spoon gouges of 4 mm, 5 mm and 2 mm (5/32, 3/16 and 5/64 inch), until it was almost through. Some of that digging you will never see. The day before, I lost about half an hour of video, sound with no picture, and had to throw it away.
A quarter-inch number 5 (6 mm) lowered one part to about the level of the surface under the leaf. One more try from another angle, and I was through. I hoped out loud that it would make an interesting effect, and a couple of minutes later I said it really did.
Does a box lid need more wood left than a wall carving?
A lid does, and I said why while I was down inside one of these holes. If this were a wall decoration, I could separate that piece completely, with no connection below it at all. But this is a practical thing. It is going to be used, and I want it to be hard to break.
Furniture carving avoids sharp edges where people touch it for much the same reason. On other work I go further and carve pierced parts out of one board, so the connections have no seam at all.
How much wood should stay under a pierced piece?
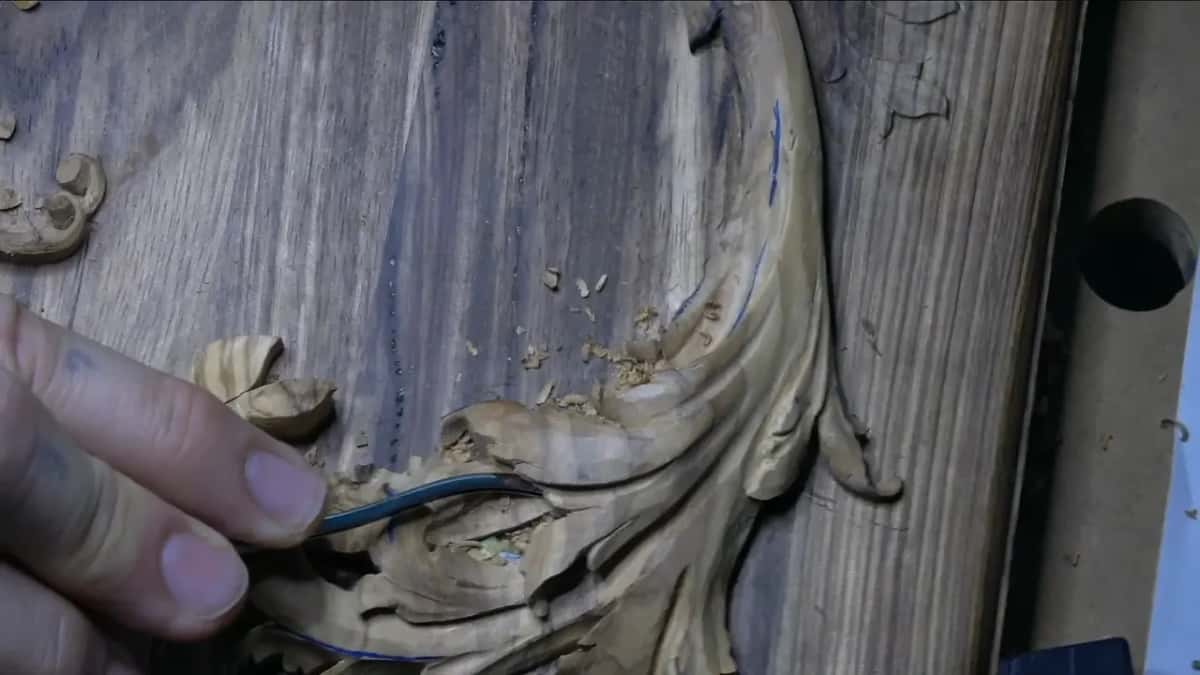
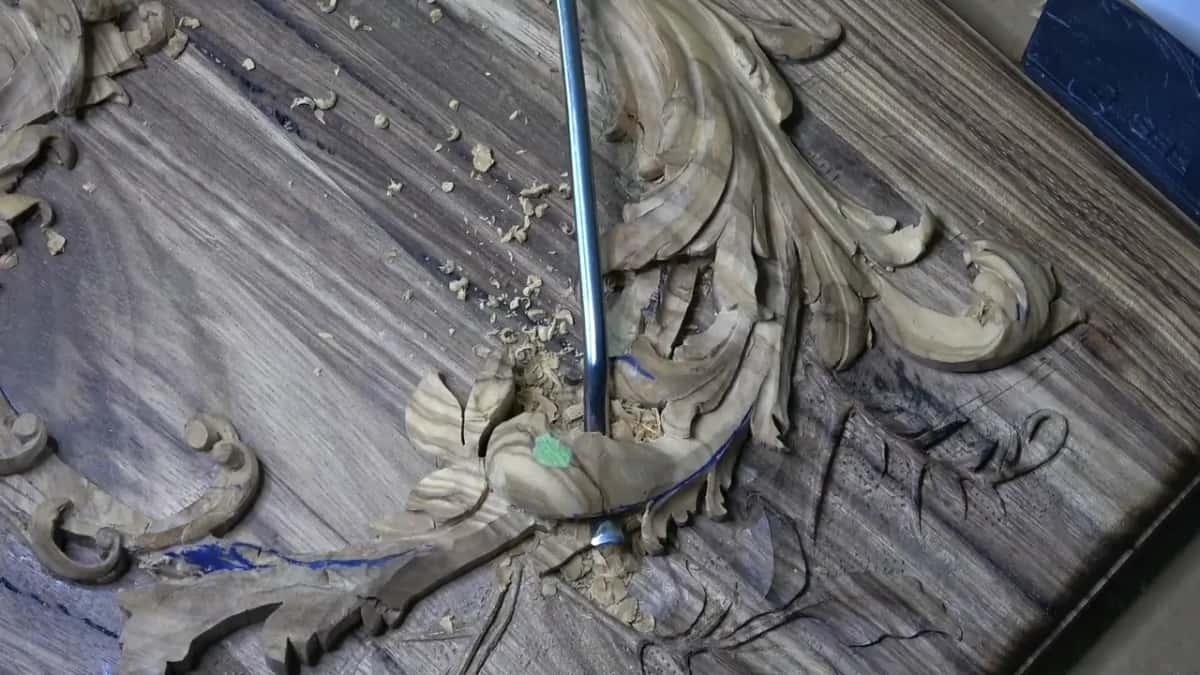
A little is enough, as long as it is really there. Part 8.4 has me digging under one piece with a tiny number 8, and I stop to say I won't dig too deep, since the piece could come off completely. I left just a little bit to connect it to the bottom.
The bridge does not have to reach the ground floor. A connection to the first layer is enough if the piece stays stable and not fragile.
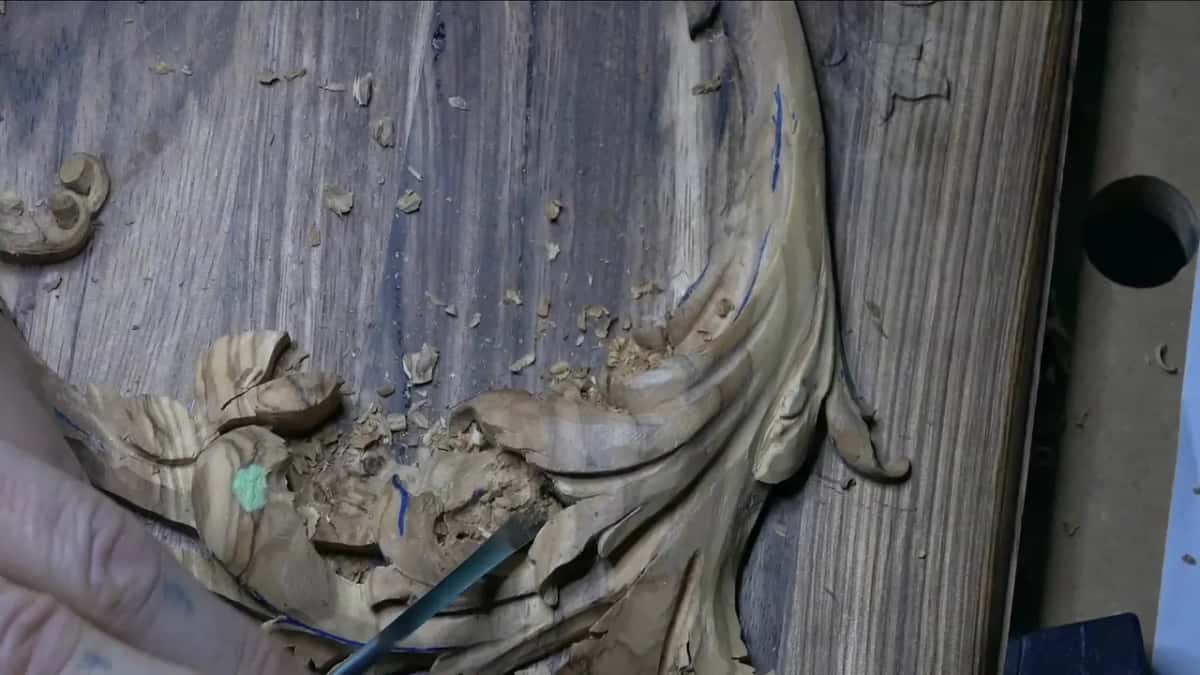
Part 8.12 went right through another one. I still had a connection point, so it should be stable. At the start of the next part I cleaned that same hole with a small back bent until I could see the first layer through it, really clean, with only a little glue left to scrape.
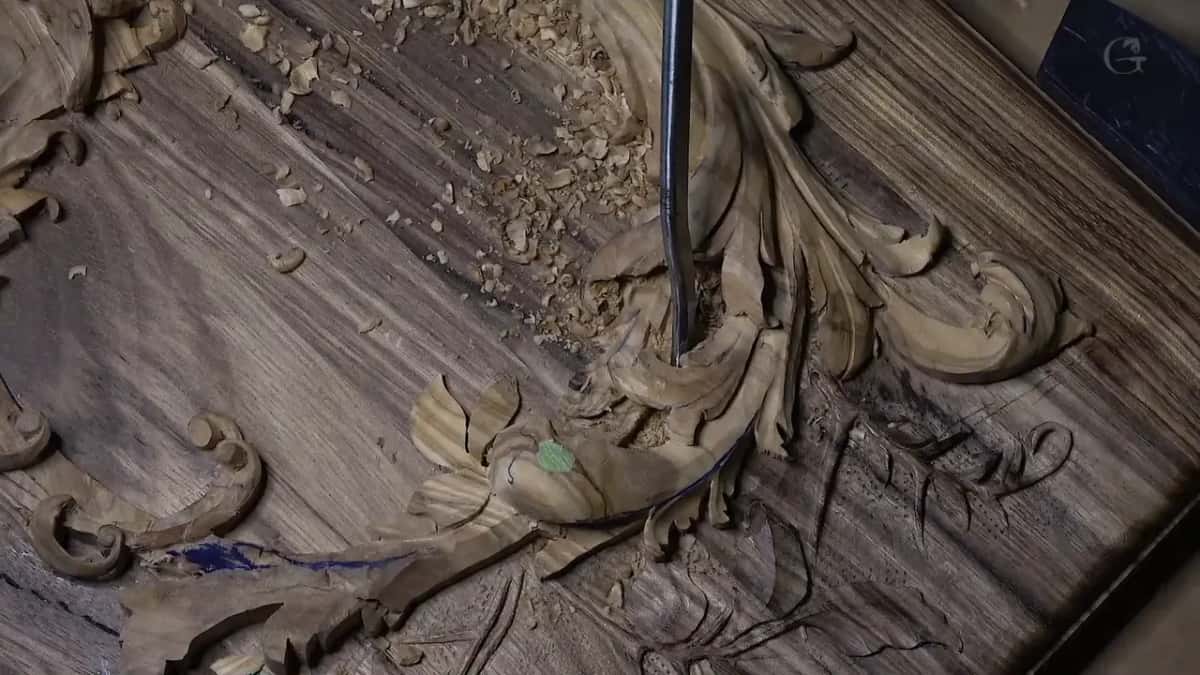
Why fuss over one small bridge? There is no glue at the edges of these pieces, and they are really fragile. Where the area was wider there was glue, and once, where it had spread a little, it even helped me.
Wood is alive, too. Even after it is carved it keeps moving, some spots end up weaker than others, and sometimes it moves like crazy. One piece had come loose earlier and I had to glue it back. When I lowered that area later, I went almost down to the main lid and left a couple of millimeters (about 5/64 inch), no more. There are micro cracks in there, so I had to be really careful.
Is fresh olive wood safe to carve through?
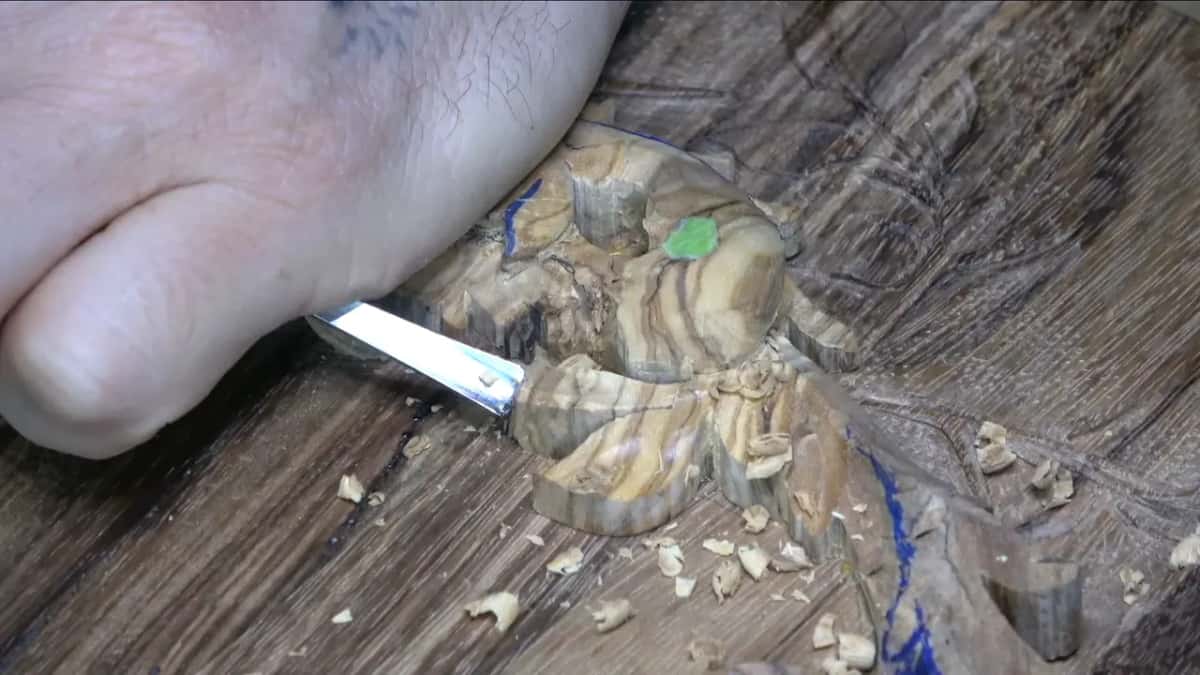
Fresh olive gave me doubts. This olive felt a little too fresh, and it did not have a long period of drying. Right below the main acanthus leaf I had a micro crack. On the surface it showed, but not whether it went on inside, or what it would do if the wood dried more.
My idea was to soak it with a stable finish that goes in deep and stabilizes the movement. We'll see, I said, and left it there. For thin edges that are already carved there is a separate fix with thinned glue.
This olive also crunches. On the video you can hear it, and it does not come off in chips, just really, really crunches. Early in this lesson I cracked one part and found a void inside the wood again. If I have to deal with that, I just have to deal with that. What can I do?
The third opening, in part 8.10, was one I decided on right at the bench. I told you to be really careful with it, because what I was doing is a little extreme, and I did not know how the olive would behave.
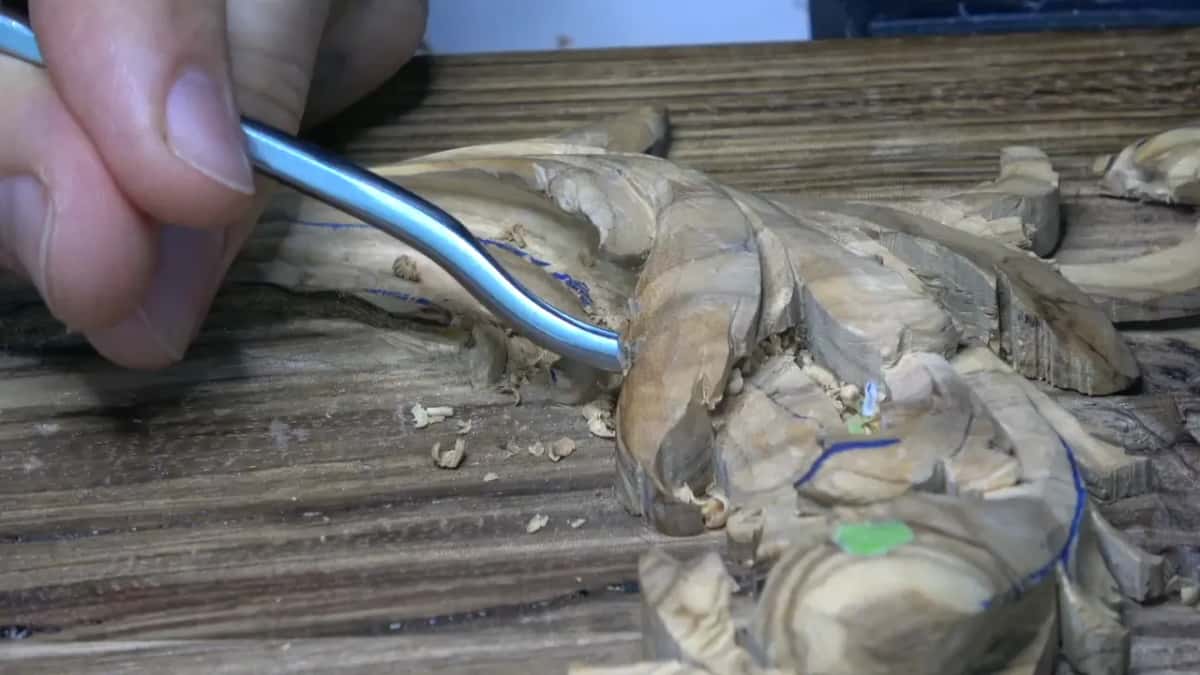
The first hole still felt stable when I checked it right after, no problem.
Not every piece made it. A small flip on one leaf flew away in part 8.4, and with that many cracks in the spot I could not save it. Nobody is going to know except me and you. I still wanted a flip there, so I made a smaller one in its place.
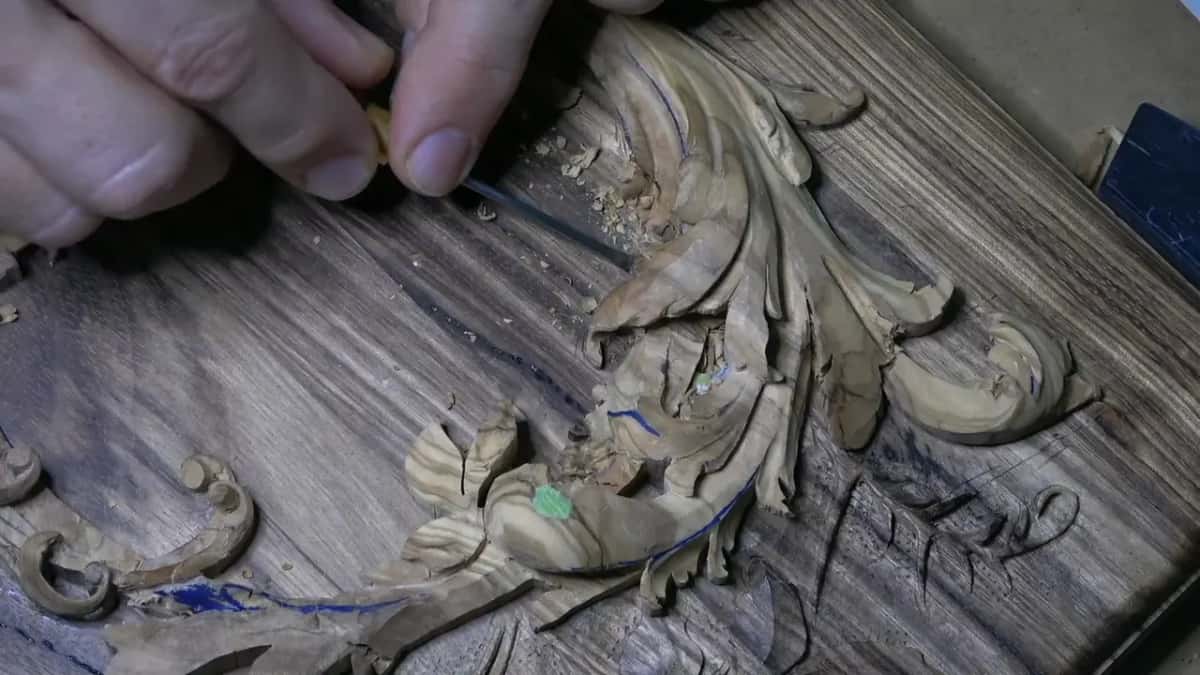
Which gouges reach behind a carved leaf?
Small bent ones. For the undercuts I stepped a number 11 down in size as the space got tighter, 3 mm, then 2, then 1.5, then 1, and half a millimeter at the end. That runs from 1/8 inch down to about 1/50, and we are talking about really small, tiny micro tools here. A number 11 that small is also what makes openings between the petals of a flower.
The one I reach for most in these holes is a 2 mm (0.08 inch) number 11 spoon gouge, a short bent. In part 8.3 that 2 mm was a Pfeil. Most of my steel on this box is Ashley Iles. In part 8.8 I switched to a 1 mm (about 1/25 inch) of a different brand, because its metal is a little thinner and it gives a little different effect. Keep every spoon gouge sharp, since down there you are often carving against the grain.
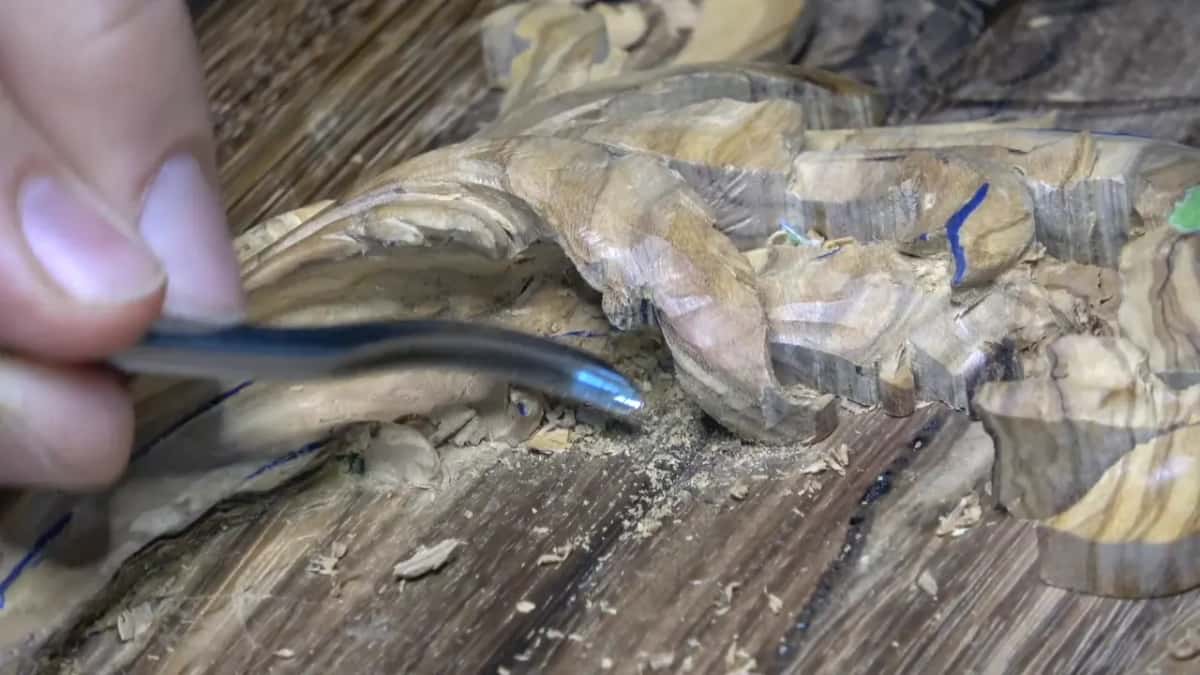
When a higher leaf hangs over the spot, a straight tool hits it before the edge gets in. That is where a back bent earns its place. Its blade bends backward like a goose neck, so it goes above the upper detail and still gets really deep underneath.
On this lid that meant a number 2 and a number 5 at 6 mm (1/4 inch), the number 5 again at 3 mm (1/8 inch), and a number 5 and a number 7 at 2 mm (5/64 of an inch). In a fragile spot the back bent did not go first, because I wanted a relief cut there before anything else. So the smaller tools went in ahead of it.
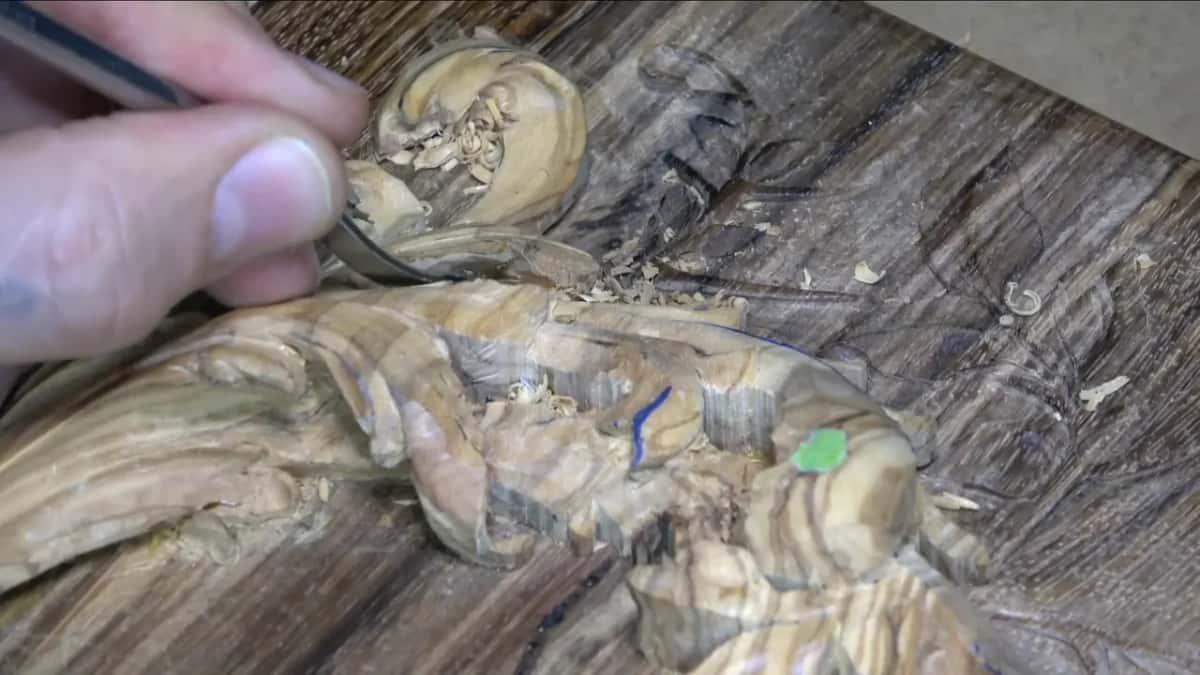
Own no back bents? Then skip this kind of deep undercut, you really do not have to do it. Buy a couple of small ones if you want the better result. Go easy with the mallet, though. Tiny spoon gouges are not made for it and can break, so I barely tap them, only for control.
Piercing a flat relief panel is a lesson of its own, and so is piercing an acanthus leaf without a drill. Here are the five times I say out loud that I am through.
| Part | What opened it | What I kept watching |
|---|---|---|
| 8.3 | Three spoon gouges and a quarter-inch number 5 | Cracks inside that I could not see |
| 8.5 into 8.6 | Small gouges, then a spoon gouge from inside | Roughness inside |
| 8.10 | Number 5 back bent, from one side and then the other | Micro cracks, and how olive would behave |
| 8.12 | Spoon gouge to clear the waste, then a number 7 | The connection point it still had |
| 8.13 | Relief cuts with a tiny number 8, finished with a number 3 and a 7 | I forgot it was open and nearly slipped |
The lesson has all five, and the near slip too, and the school opens it along with the rest of the course.
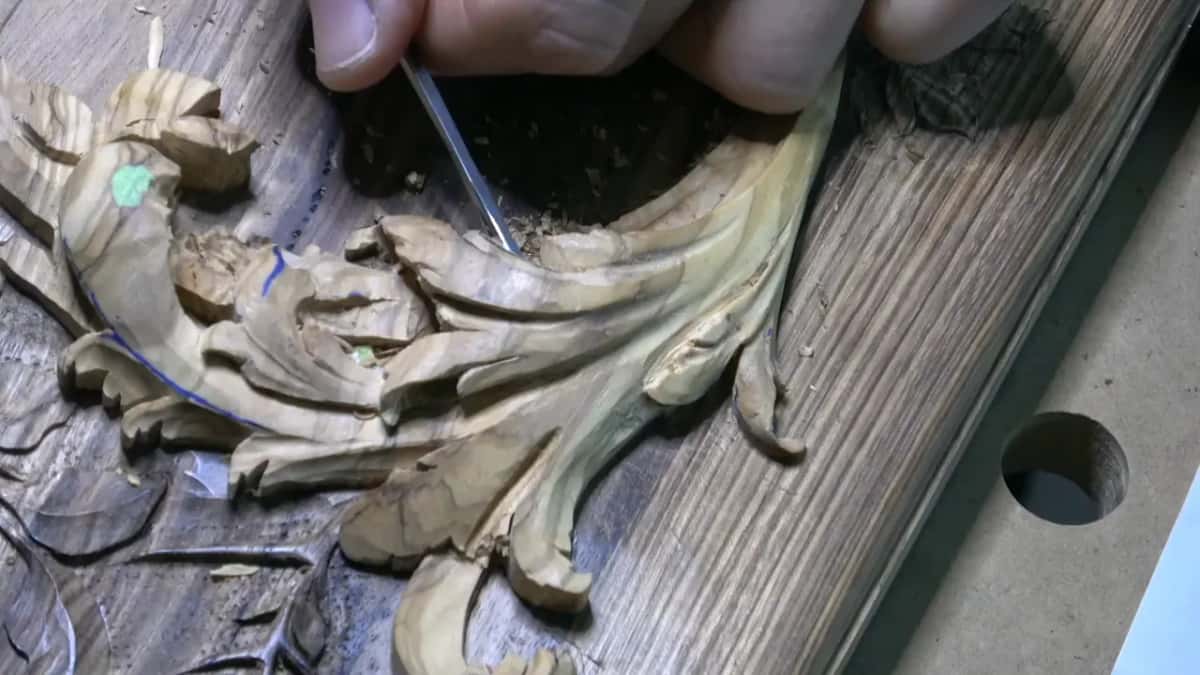
What happens inside an opening no camera can see?
Blind cleaning, most of the time. More than once I told you I could not put a camera in there, so just try to guess what I am doing. Another time I said you can't see what I can see, and promised pictures. Even so, I would not leave a hard step inside. I started to say I would try to clean it and caught myself. There is nothing to try, just clean, and get it as nice as possible.
People may never see inside, and I will still know. Some of it shows only if you look really low, from a low angle, and I still call that important. From above, a rough inside wall hardly shows. Look from the side and you see right away if it is rough or clean.
Part 8.11 had a chunk of junk deep inside that people wouldn't even know about. I went after it anyway, because it is a lot more professional. Light gets in through the openwork and shows what sits inside, the same reason the back of a pierced panel gets carved.
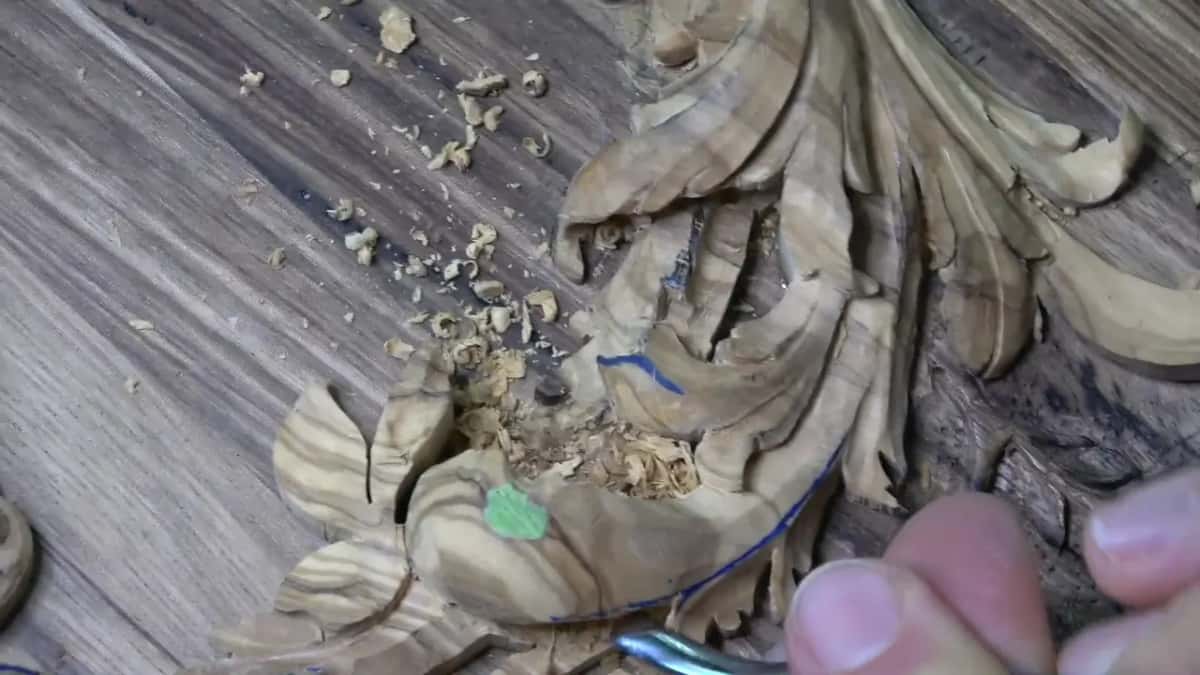
Down in a hole you also lose your choice of direction. Late in part 8.10 I wanted one more small opening, just so a flip curling inward under the first part would show. To make it I break all the rules and carve against the grain, because in that spot it is the only way. At one spot I can almost not control my tool, and I say so.
What is the real danger once the wood is open?
Your own tool, because now it has somewhere to go. Near the end, in part 8.13, I was cleaning a new opening with a number 7 and forgot it was through. I almost slipped with my tool, and I don't want to do that.

Support gives you control. One finger sits right on the board in part 8.5, and it creates leverage for the gouge. Near fragile edges I place the tool straight, then turn it inward and downhill, without force. Force does the opposite. On one final form in part 8.12 I went really, really carefully, because forcing it would just break it.
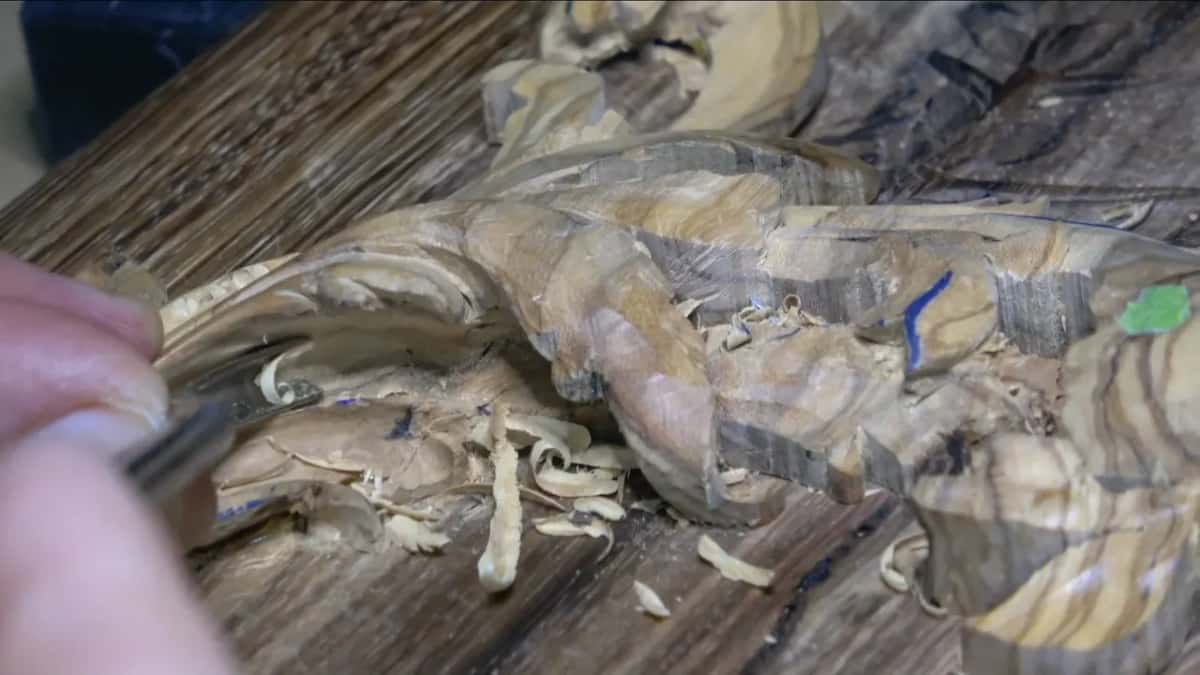
Once an opening is made, can you take it back?
You can't. Part 8.6 is where I told you some decisions are not reversible, and there is no Control + Z or Command + Z in carving. That is why a carving sometimes takes me a much longer time. I want to think before I make a cut, so I think and carve, think and carve.
Close to the first layer I listen, too. Twice in one part I said I did not like that sound, and I did not want to dig into the first level.
When should you leave the wood solid?
Leave it solid when one more pass would make the piece too fragile for a box. I could go even more, I say in part 8.13, but I really don't want to create a too fragile piece. Three times I stop short for that reason.
Some openings are in the plan from the start. Others get decided at the bench, when an extra detail looks like a good idea.
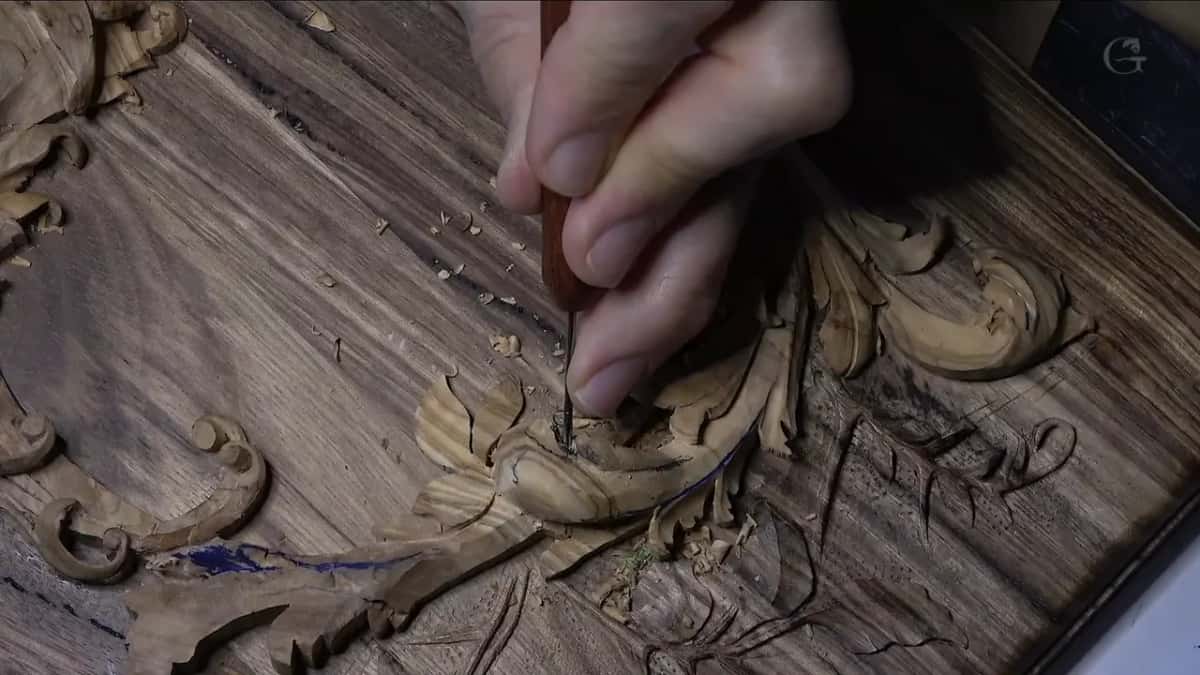
Listen closely to part 8.5 and you will hear landscapers mowing my grass outside. I apologize and keep going. By the last part this layer is almost done. Lesson 9 keeps working on it, and after that the lily itself goes on the bench.
So what are you carving right now that could use a little light inside? And who is going to hold it when it is done?
How it's done
- Decide who will be handling the lid. A carving for a wall can hang free. Anything people open and close needs a bridge of wood under every piece you pierce.
- Read the wood. Look for micro cracks and ask how long it has dried. Wood that feels too fresh needs more left under its thin parts.
- Dig from both sides. Go deep with small spoon gouges from each side of the spot until a thin wall is all that stays, then come in at a new angle to open it.
- Make a relief cut before the back bent. Where the wood is fragile, make a relief cut with a narrow gouge before the back bent goes in.
- Leave the bridge. Stop while a couple of millimeters (under 1/8 of an inch) still tie the piece to the layer below.
- Clean inside the hole until it is smooth. Blend every surface you cannot see into its neighbor, with no hard step left in the hole.
- Watch the open spot. An open spot gives your tool a way out, so slow down and keep a finger on the board for leverage.
Frequently asked questions
Does carving through a lid make the box weaker?
Only if you take away the last bit of wood holding a piece down. Keep a small connection point under every pierced part, so the lid is not easy to break when it gets used.
What tool reaches under a carved leaf?
A back bent gouge. The blade curves back like a goose neck, so the handle clears the higher leaf and the edge still gets deep underneath. Mine on this lid ran from 2 mm up to 6 mm (5/64 to 1/4 inch).
Should you carve fresh wood that has not dried?
With care. Fresh wood keeps moving after it is carved, and a crack you see on top may go on inside where you cannot see it. My olive felt too fresh, so I kept wood under the thin parts and thought about a finish that could stabilize it.
What to carve next