
Alexander Grabovetskiy, woodcarver, School of Woodcarving · Published 2019
What size scroll saw blade cuts 3/4 inch hardwood?
Quick answer: The scroll saw blade I like best for hardwood around 3/4 inch, or 20 mm, is a number 5 skip tooth. It stayed in my saw for olive that thick. The finer number 2 still gets through, yet its twenty teeth per inch tend to burn. A number 7 leaves a wide line and saves no time.
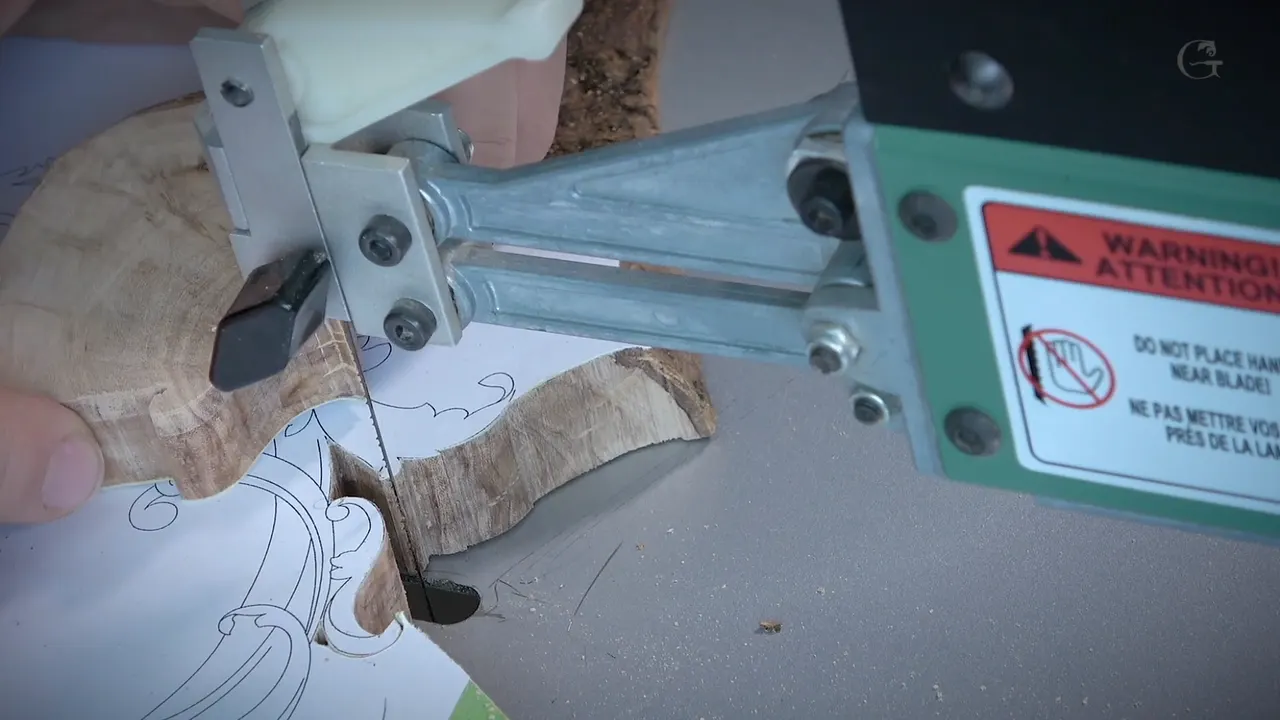
Olive a hair over three quarters of an inch thick, about 20 mm, is a job for the number 5 skip tooth blade in my saw. I tried the smaller number 2 and the heavier number 7 on the same slab, on camera. Both cut. The 5 is the one that stayed in.
Have you ever fed a hardwood board into a scroll saw and smelled it start to scorch? Has a blade ever let go of its clamp halfway around a curve? Mine let go more than once while I sawed this layer. Every one of those is on camera.
The job was the first sawing on my olive wood lily box, a box I carved to hold a Bible.

What the olive slab settled about blade size
- My number 5 got through 20 mm olive, a bit more than three-quarters of an inch, at half speed without a whiff of smoke.
- Even the little number 2 made it, but its fine teeth are prone to burning hard wood.
- Number 7 left a fatter line and was not one bit faster.
- Scratch the blade ends on a stone first.
- Fit the teeth pointing down, and set the tension by ear.
- For the openings inside the layer I fed a reverse tooth 5 down through drilled holes.
Why was this olive a hard test for any blade?
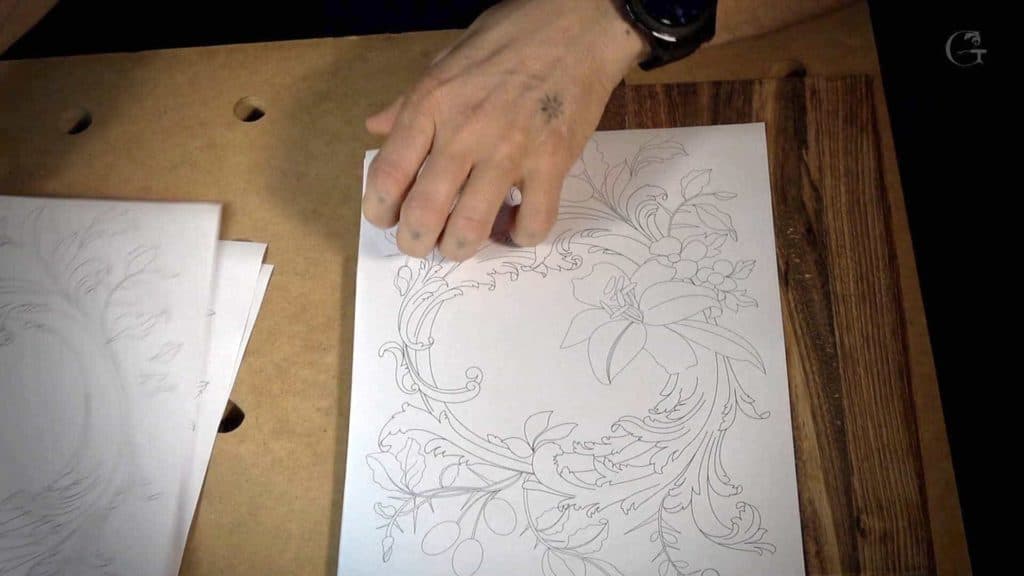
Olive is a hard wood, and this slab ran a little past the three-quarter-inch mark, around 20 mm. It was one of three layers in the design, the one for the main acanthus movements. I laid the paper so my lines would miss the knots, because I did not want a knot in any of the carving.
Hard wood can burn on a saw. Nicer hardwoods all do it once the blade speed climbs. By hand with a fretsaw you get no trouble there, and my scroll saw will take stock two inches thick, about 50 mm, so the thickness was never the worry. Heat was.

What does tape under the pattern do for the blade?
Tape between the paper and the olive keeps the blade cooler, and a cool blade lasts. First I ran blue tape around the outline to mark the borders, so the paper could go back in exactly the same spot. Then the whole face got green masking tape, the kind made for lacquer work, and the paper went onto that tape instead of bare wood.

I had three reasons. Hard wood burns under a fast blade. I did not want glue left behind on the olive. And I wanted to save my blades, because the tape cools and lubricates the steel as it passes through, and the blade works longer without breaking. It peels off easily afterward, too. On basswood I could glue the paper right onto the wood and skip all of this.
Green tape like that is not cheap. In the United States a roll of peel and stick shelf liner from Walmart does the job for less. I sprayed Scotch Photo Mount onto the tape inside a cardboard box, so the glue would not get all over the place, and glue on one surface was enough. Before this box I had used that glue on bare wood but never on masking tape, so it was also my test of how well it holds.
The extra tape I trimmed with my carving knife. Nope, it does not dull it. And if it ever does, I sharpen it again. The patterns for every layer are there for you to download, all of them drawn to scale.

What do the numbers on the blade package tell you?
Each number tells you how thick the blade is. My set keeps the same skip tooth pattern from size to size, and only the thickness changes. I buy Olson blades, and not because I think they are the best in the world. Olson is simply what I can get in the United States, and they work fine for me, so I do not hunt for better ones.
All three are five inches long, about 127 mm: a number 2, a number 5 and a number 7. Olson rates the number 2 for wood up to a quarter inch, about 6 mm. For the number 5 it is three quarters, about 19 mm, and for the number 7 it is two inches, about 50 mm. My olive was roughly three times what the number 2 is rated for. I put it in anyway, to prove a point.
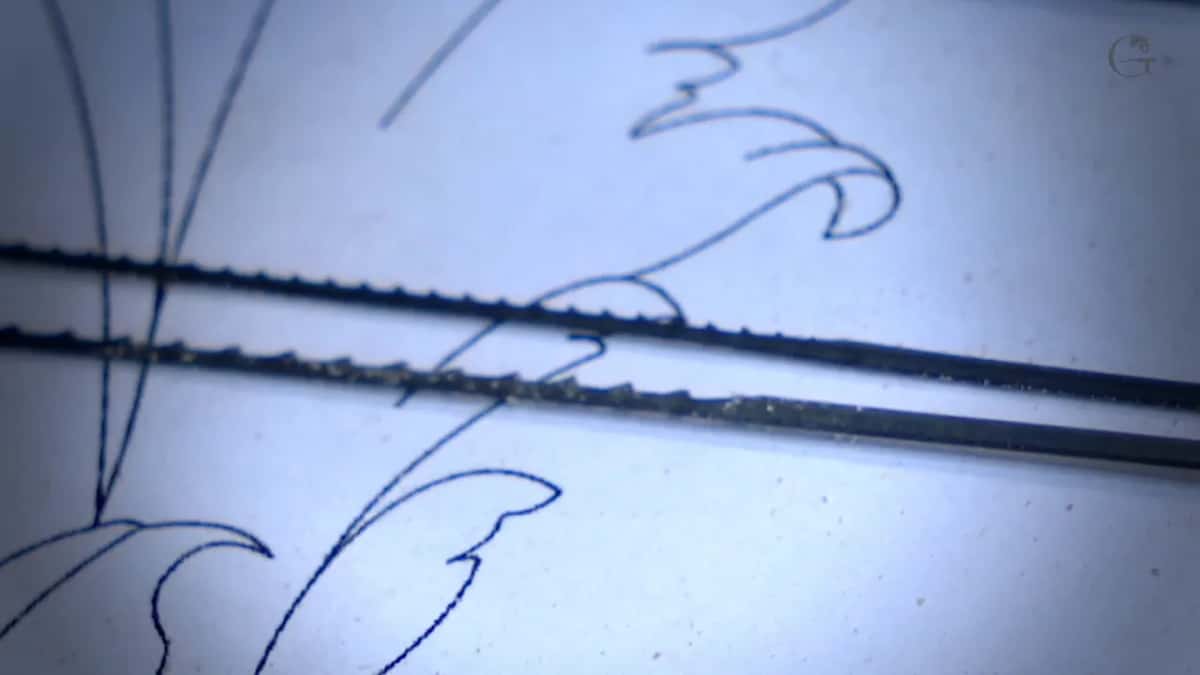
This is how each blade behaved.
| Blade | What it did in the 20 mm, three-quarter-inch olive | Kept in the saw? |
|---|---|---|
| The tiny number 2 | Got through with no problem, yet it tends to burn hard wood | For fine work |
| Middle size, number 5 | A wider kerf, a slightly more aggressive cut and not a trace of smoke | It stays |
| Heavy number 7 | Thicker line, more aggressive, and not one second quicker | Not for this olive |
| Reverse tooth number 5 | Sawed every opening inside, fed through drilled holes | Yes, inside |
Why does a fine blade burn olive?
The tooth count is the reason. My number 2 carries twenty teeth per inch, so in olive it has a tendency to burn a little more, which makes the number 5 the better choice here. If you want to be even safer, a number 7 will do.
Please understand, I am not afraid of a burn mark. Burnt olive just does not smell good. So I changed to the number 5, set the saw at about half its speed and watched the line. The kerf came out much wider than the one the number 2 made. I could not smell any smoke at all, and the cut was a little more aggressive.
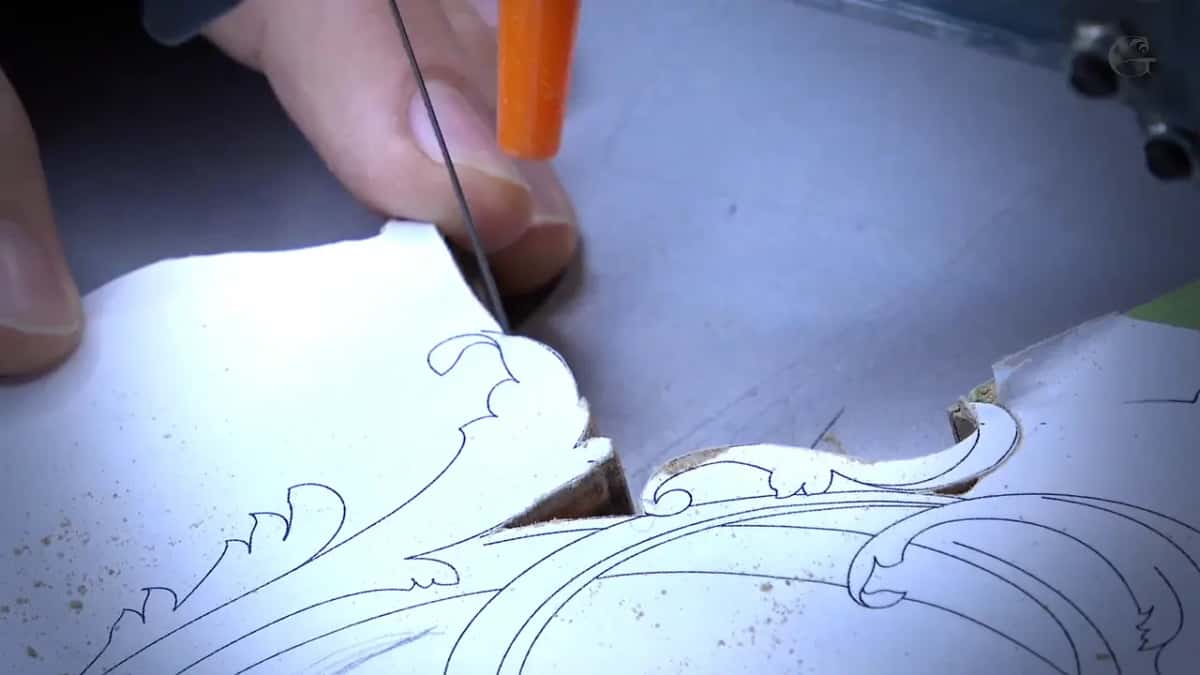
Speed is the other half of it. I keep the saw around half power and half speed. When I sped it up for one long run, the extra pressure pulled the blade loose from its clamp, and I went back to half.
And I do not lean on the work. I press a little and release, press and release, one small movement at a time. While you ease off, the blade keeps cutting on its own for a moment, and it stays cold. Mine was not hot at all.

Reading this is one thing. Watching the blade do it at the bench is better, and if you want the whole lesson, blade changes and all, here is where to start.
Does the saw matter as much as the blade?
A better saw gives you better results, though you can still get good work out of a bad one. Mine has absolutely no vibration, and I have had it a long time. It is quiet enough that I can talk into my microphone while it runs. Scrolling is not complicated, honestly. I think any child could do it.
How do you get a new blade ready for the clamp?
Scratch both ends first. A blade straight out of the box goes into my clamp only after I rub each end on an Arkansas stone, on both sides, until it carries scratch marks. Sandpaper works too. Those scratches let the clamp grab the steel and hold it a lot better.
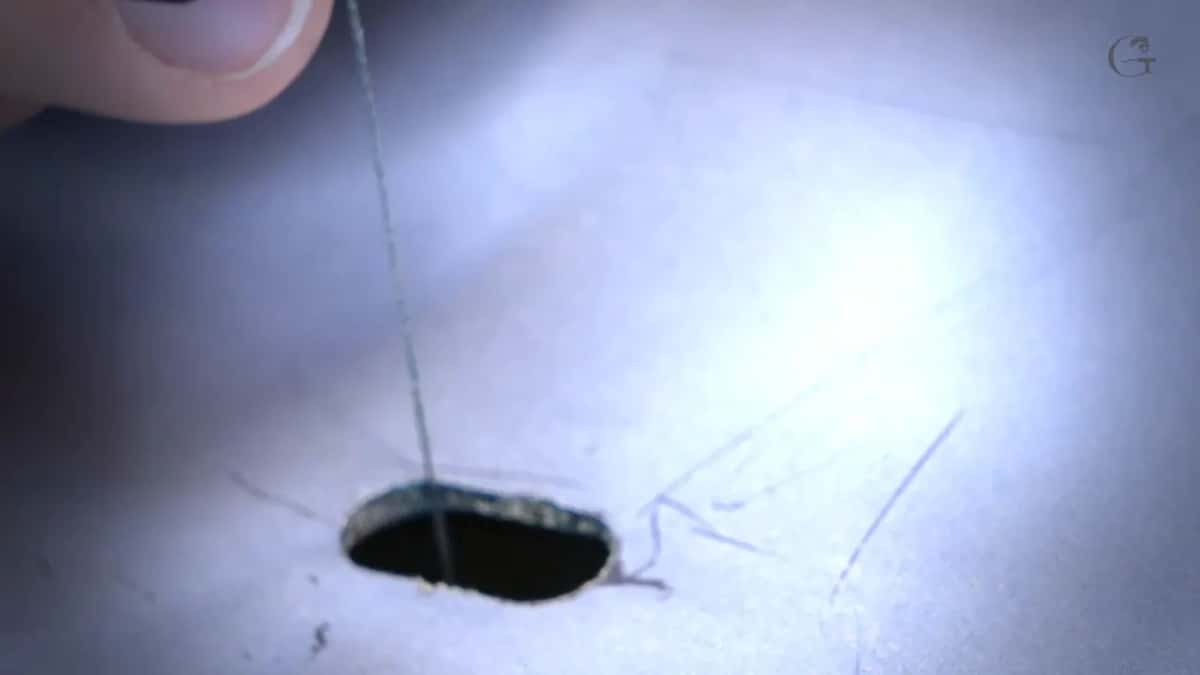
Direction matters just as much. The teeth point down toward the table, a down cut, so the top face of the work stays clean. I clamp the bottom end first. Then I hold the same stone against the back of the blade and round that edge a little, to make it smoother.
Tension I set by the sound. I fasten the blade, turn the knob, and when it sounds about right, it is ready to cut.
Why does the blade keep slipping out of its clamp?
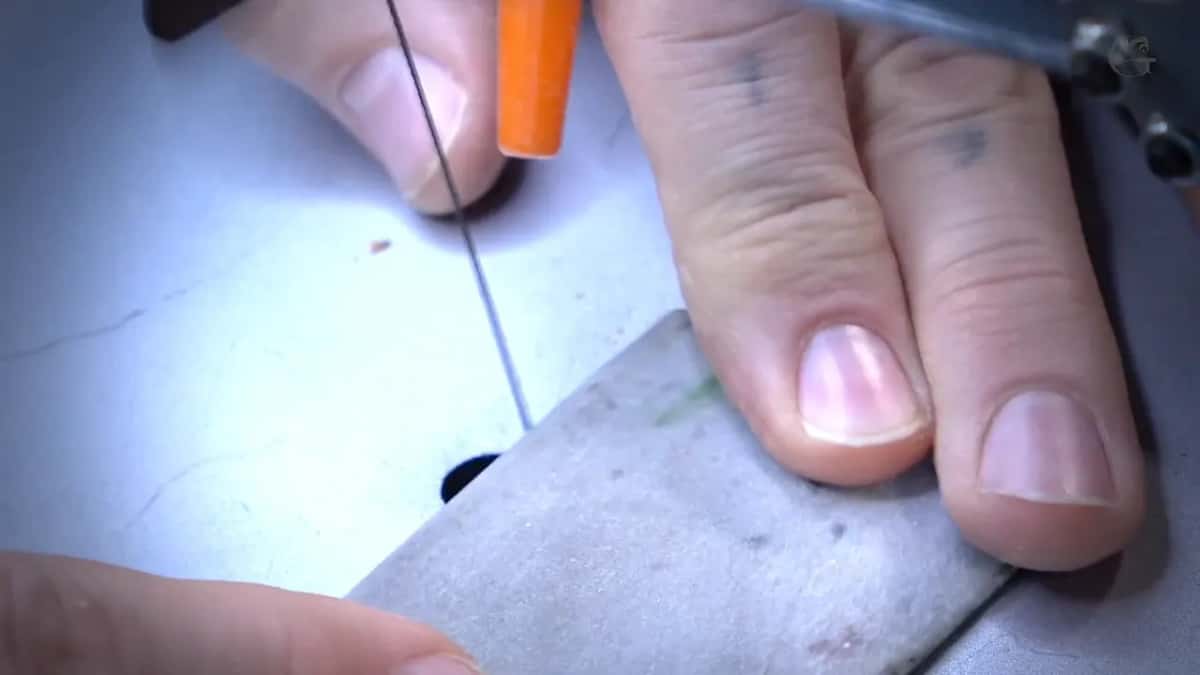
More speed puts more pressure on the blade, and on an older saw that pressure can pull it free. In the blade test it happened more than once, and not once did the blade break. Each time it was fine. I fastened it again and kept going.
My saw is a few years old, and I probably should change the clamps. That does not bother me. A blade is soft metal, too, and it stretches while it cuts, so once in a while I stop and listen. If it does not sound right, I tighten it.

Please do not rush. Rushing can break a blade, and the minutes you meant to save go into fitting a new one. Your cut can also wander off the line. I know because I have done it many times. Even on this layer, when I tried to go a little quicker with the number 5, I ran a little too far. It was okay.
Does a thinner blade give a cleaner line in hardwood?
At times it does. A small blade is not as aggressive, and I control it much better. Slower, that is true. The line it leaves is much nicer, much more finished, and I have run a tiny blade through basswood thicker than this olive.
The angle matters too. With the blade at a true 90 degrees to the table, both faces of the cut match, whichever side you look from. I sawed a sliver only about 1/64 of an inch thick, less than half a millimeter, and it stayed even along its whole length.
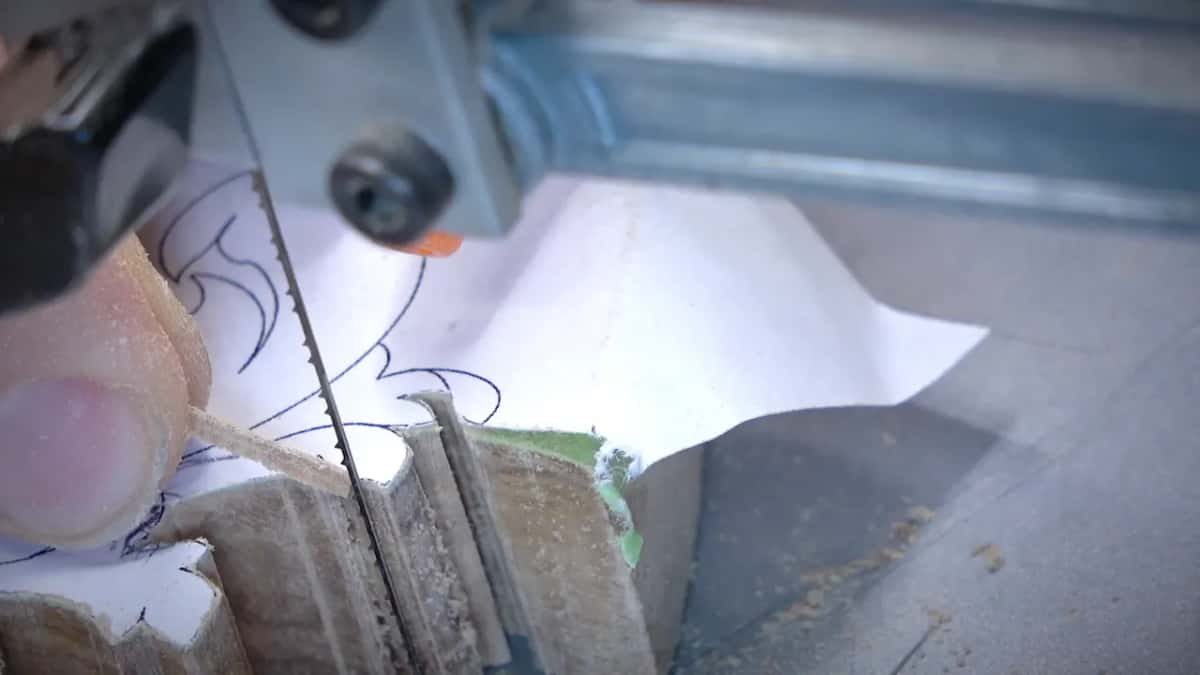
At a sharp point I stop pushing just before I get there. Pressing bows the blade, so when I stop and hold the work still, it straightens and cuts the last little bit up to the point by itself. There are two ways into a point. A tiny cut in from one side will not be noticed. For a really sharp point, I come at it from another side. Where I do not need it sharp, I leave it and clean it up with the knife later. For a tight inside corner I loop out and come back, or zigzag back and forth until there is room to turn the blade without breaking it. Make as many loops as you like. You can always come back to a loop and start a new cut from there, which is why I like having plenty of them.
I try to stay right on the side of the line. If you drift off it slightly, that is not the end of the world, and it will still look nice.

A magnifier lamp over the saw is a really nice thing to have. Mine has LED settings for brightness and color, and even with my glasses I do not see much without it. Check under the board now and then, too. A small offcut stuck under the work tilts it, and then your angle is off.
Which blade cuts the openings inside the pattern?
A reverse tooth version of the number 5 cut the openings inside this layer. It has the same thickness as my other number 5, also an Olson, also five inches, but near the bottom the teeth turn and point the other way. That short reversed section goes down.
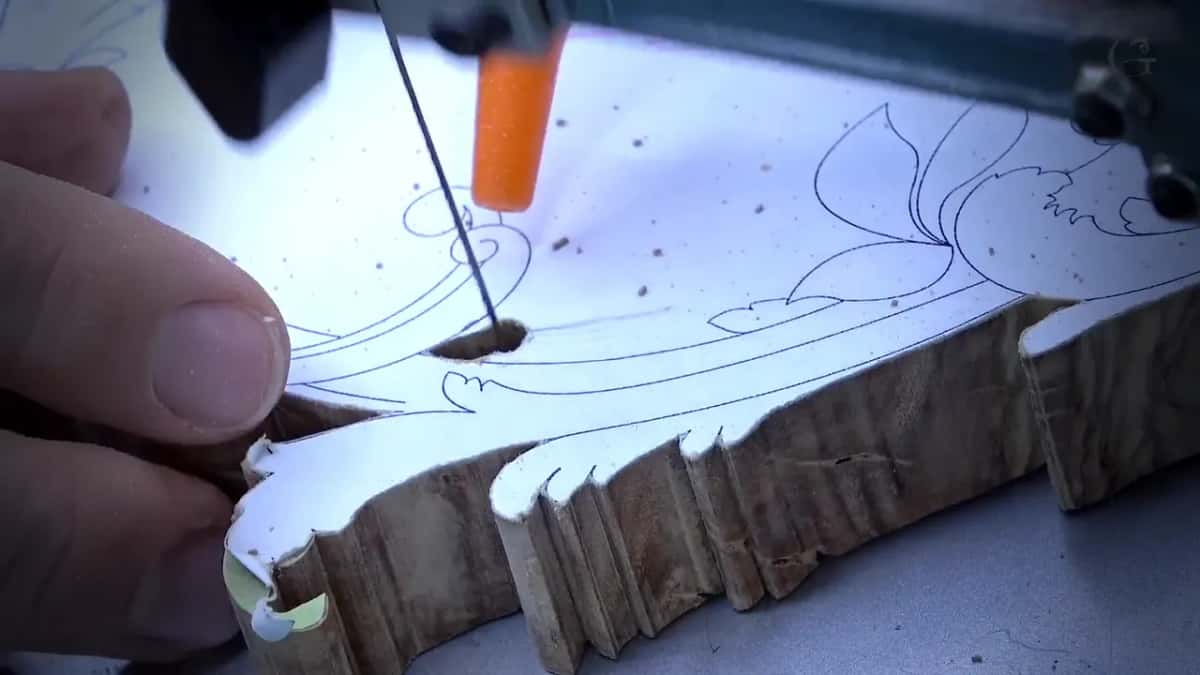
First I mark the waste spots with a marker, so I do not miss one. Then I drill one hole per opening with a 5 mm bit, about 3/16 of an inch, and a 1/16 inch bit, around 1.6 mm, for the smallest spot. My saw arm lifts, which lets me bring the work in over the blade from the top.

I do not put the hole in the middle of an opening. It goes off to one side, so I can work my way around, and the middle stays in one piece. I can still saw small elements out of that middle later. The big section comes out first, and then I go after the small ones.
One mistake of mine sits in this part, too. When I drew one layer of the pattern I missed a line, and I had to fix it and ask everyone who downloaded it early to get it again.
Do you need all three sizes?
Both the 2 and the 5 work really fine for me, even in thick stock. Of course, it depends on the wood. I tried the number 7 last, and its line was much thicker. A thicker blade is sometimes not as accurate as a thin one, and it did not make my cut any quicker, so the number 5 went back in.
You can use more than one blade on the same project, and I do. I have even sawed wood with metal blades made for jewelers, and the cut came out really nice and sharp. It takes time.

You do not need a scroll saw at all for this, by the way. A fretsaw does it by hand, slower, and on the course page I talk about that and about how close your fingers should come to the blade.
So which blade sits in your saw today? How thick is the board waiting beside it? The olive layer came off my saw with every opening sawn, and the middle piece still whole for the small parts. Carving starts in the next lesson.
How it's done
- Tape the face. Cover the olive with tape first. Then spray glue onto the tape, lay the paper pattern on it and line up the drawn triangles.
- Rough the ends. Rub both blade ends on an Arkansas stone until they show scratches.
- Fit it teeth down. Fix the lower end first, teeth aimed at the table. Round the back edge a little, and tension it by sound.
- Pick the size. Olive near 20 mm, about three-quarters of an inch, gets the number 5. Save the number 2 for fine lines.
- Saw gently. Run near half speed. Move in small presses and releases, and ease off right before every sharp point so the blade can straighten.
- Cut the openings. Mark the waste first. Drill one 5 mm (3/16 in) hole near one side of each opening, and saw each one with the reverse tooth 5.
Frequently asked questions
Will a number 2 blade saw hardwood thicker than its rating?
Mine got through olive around 20 mm, or 3/4 in, which is roughly three times the quarter inch it is rated for. Heat is the catch. With twenty teeth to the inch it scorches hard wood more readily, and scorched olive smells unpleasant, so I reach for a number 5 instead.
Which way should the teeth face when you fit a blade?
Down, facing the table. That down cut leaves the top face of the board clean. If the blade has reverse teeth near its lower end, that short section goes at the bottom, pointing the other way from the rest. Then set the tension by listening to it.
How do I keep a blade from pulling loose in the clamp?
Rough up both ends on a stone or a scrap of sandpaper before fitting it, and the clamp gets something to bite. Keep the speed near half, since more speed means more pressure on the steel. On an older saw, the clamps themselves may need changing.
What to carve next