
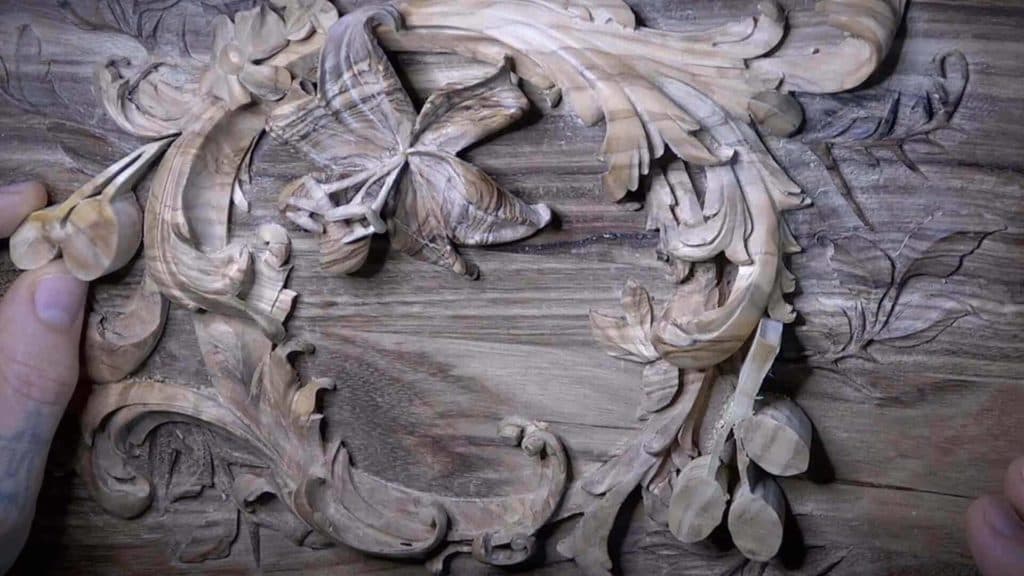
Alexander Grabovetskiy, woodcarver, School of Woodcarving · Published 2019
How do you carve small olives on a thin stem?
Quick answer: Olive carving this small is knife work first and gouge work second. You saw each cluster close to its outline, brace it against a scrap of oak, and shave the domes with pressure on a single point. Leave the pieces joined behind, and keep the gluing face flat and untouched.
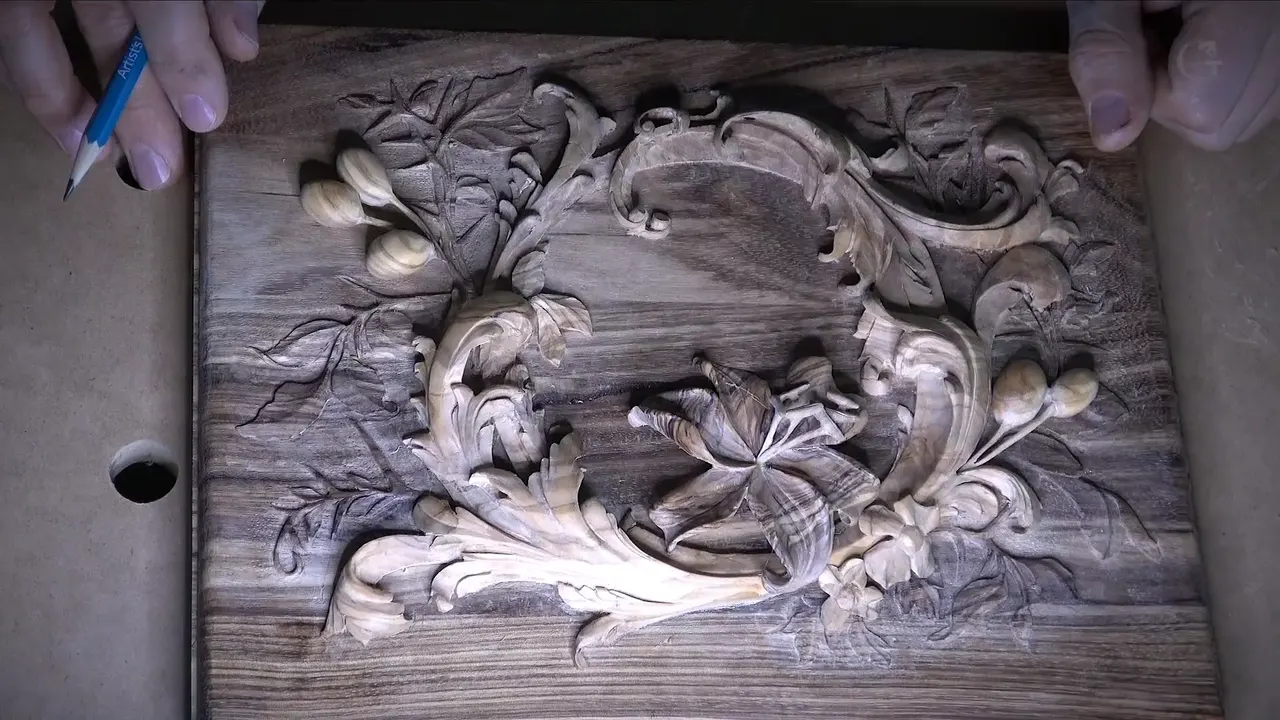
Carving small olives on a thin stem is mostly knife work, done against a scrap block you are happy to ruin. The knife rounds each olive while you press on one spot at a time. A gouge comes in late to take off ridges, and the olives stay joined near the back, where glue will hold them to the lid.
Do a few olives hanging off one stem look like the easy part of a carved lid? Would you like to know where a stem that thin gives way before yours does? Mine gave way more than once in this lesson, on camera.
They look simple. Don't be fooled. Sometimes they take longer than some of the flowers, and this lid belongs to a box for a Bible, acacia underneath with olive wood laid over it. The client was making it as a gift for a bride.
Two clusters sit on the lid, a pair and a three. I sawed each cluster out on the scroll saw, right to the end of every olive. On pieces this fragile, the more the saw does, the less chance of damage later.
What keeps the stems whole
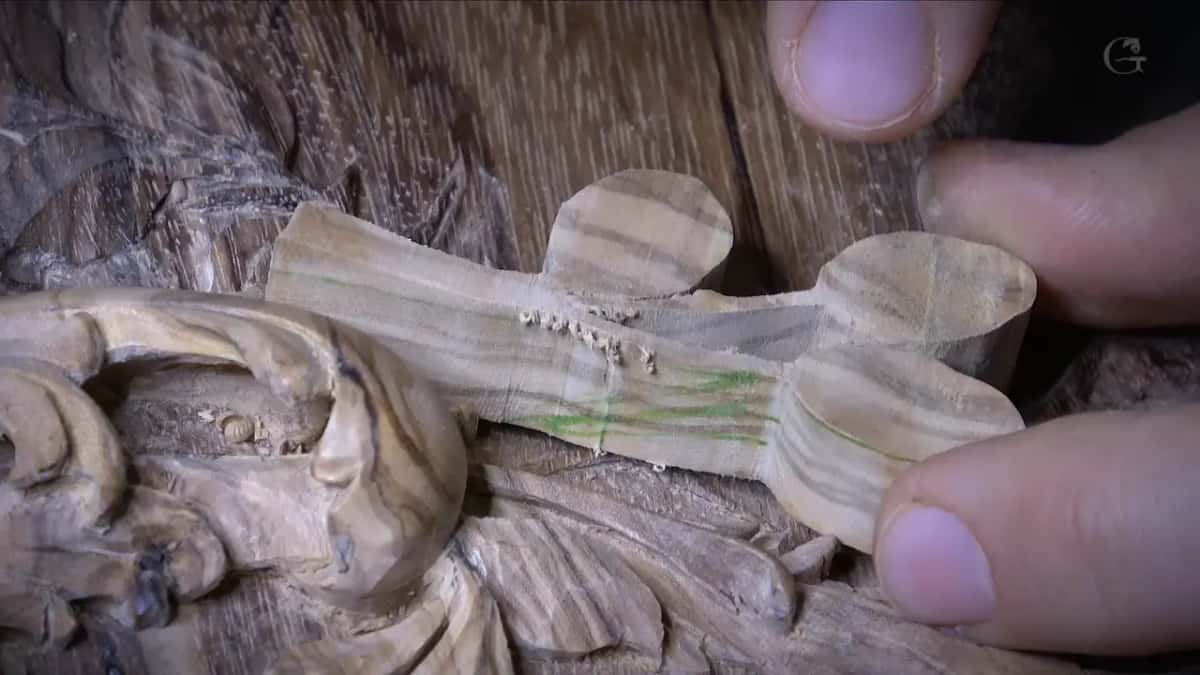
- About 90 percent of the shaping comes from a knife, since big tools press too hard.
- Slips go into a scrap block you set behind the blank, around 10 mm (3/8 in) of any wood.
- Leave a leg on the blank when the design allows one.
- Keep the olives tied together toward the back, and never carve the middle of the base.
- After a break, glue it and switch to the other cluster.
- Where stem meets olive, a faint groove stops one from simply growing into the other.
Why do tiny olives give more trouble than the flowers?
Your own head is the trouble. When a part looks easy you stop being as careful as you should be, and the easiest parts give you the most grief for exactly that reason. An olive is also thicker than its stem, so the pressure is harder to control, while the stem beside it can be a single millimeter thick.
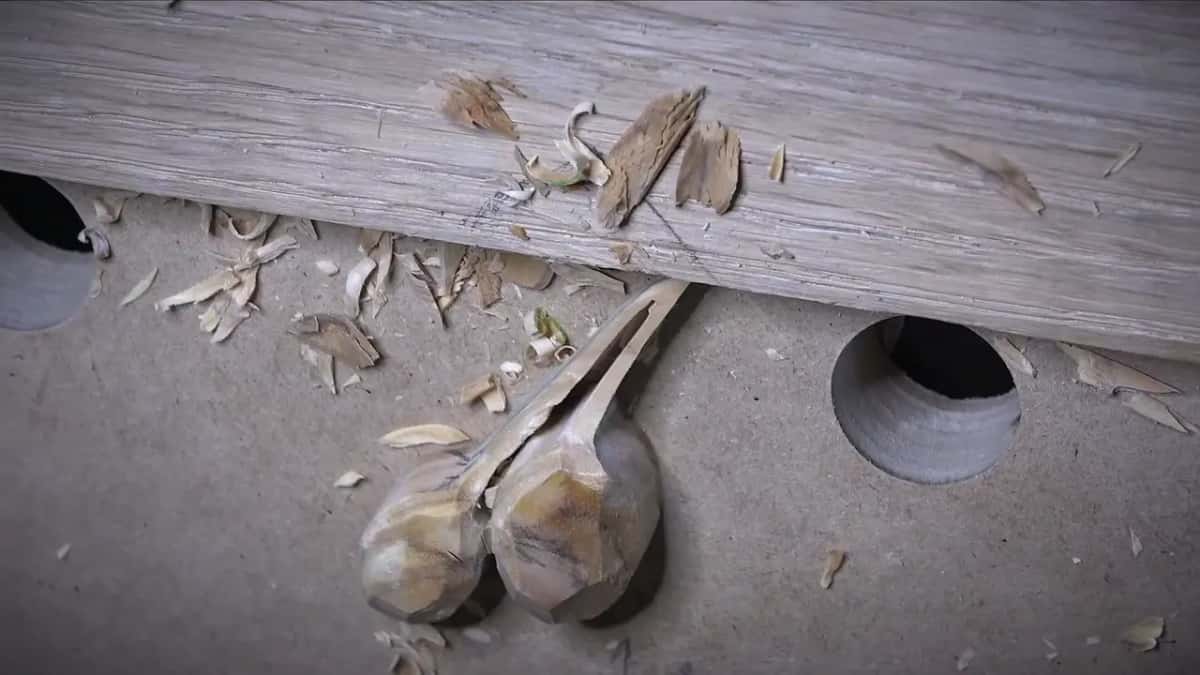
They take patience for another reason. Every olive has to come out round from all four sides, and I do not want to see square blocks anywhere when I turn the piece over.
Should you rough small olives with a knife or a gouge?
Mostly with a knife. Nine tenths of the work on these olives came off with one, and my favorite for it is a number 12 by Pfeil, Swiss made, because it is so much quicker for me. Smaller tools help too. A little Pfeil palm tool puts your fingers right up by the blade, and being that close gives you better control.

The reason is pressure. A bigger tool puts a lot more pressure into the wood, and with a gouge you can break a stem. You can watch it on one dense spot, where the knife barely took any olive off while the same push went deep into the white oak block behind the piece. White oak is not easy to carve either, which is why a little tool goes first.

I relearned it in the third part. One piece broke because I took a big tool straight to a fragile spot, when a really small tool should have gone first and the larger one after it. Wherever a spot worried me, I went back to the knife.
The gouge still earns its place once the knife has the form. I take a number 7 by Pfeil, 14 mm (9/16 in), and run it upside down to take off the ridges the knife left. Slice, never push, and keep the tool sharp, because olive is not a forgiving wood the way some others are. Turn the tool a little as you go. Then a slip goes onto the table instead of into your finger. Watch for the little concave a slicing pass wants to scoop at the end. Ease downhill gradually rather than escaping early.

Late on the first cluster I picked up my new rasp, and it gave the olive one more roundness. A really good tool. I like it.
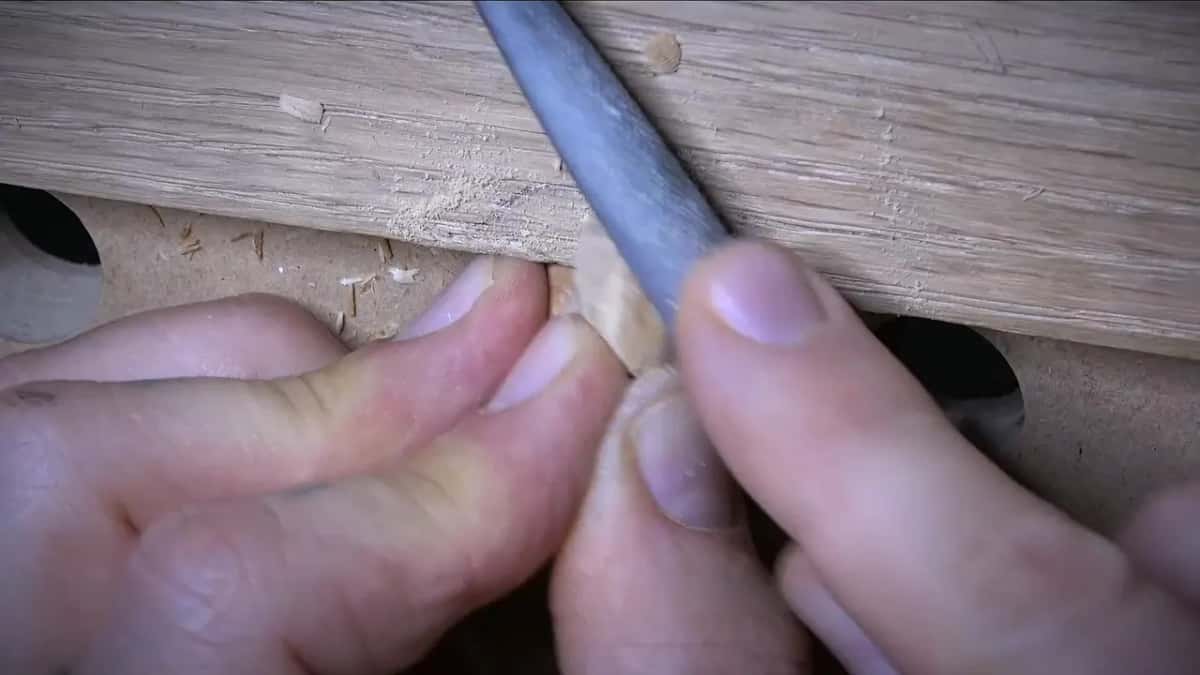
A small gouge can lead where the grain runs straight and one side is less dense. On the last cluster I also roughed a dense side with a small gouge the normal way, not upside down, which digs little valleys everywhere, and then cleaned those facets. On some passes only the heel of the knife touches the wood, and on one of my knives I reshaped the back of the blade to make that heel bigger. The front of it does nothing there.
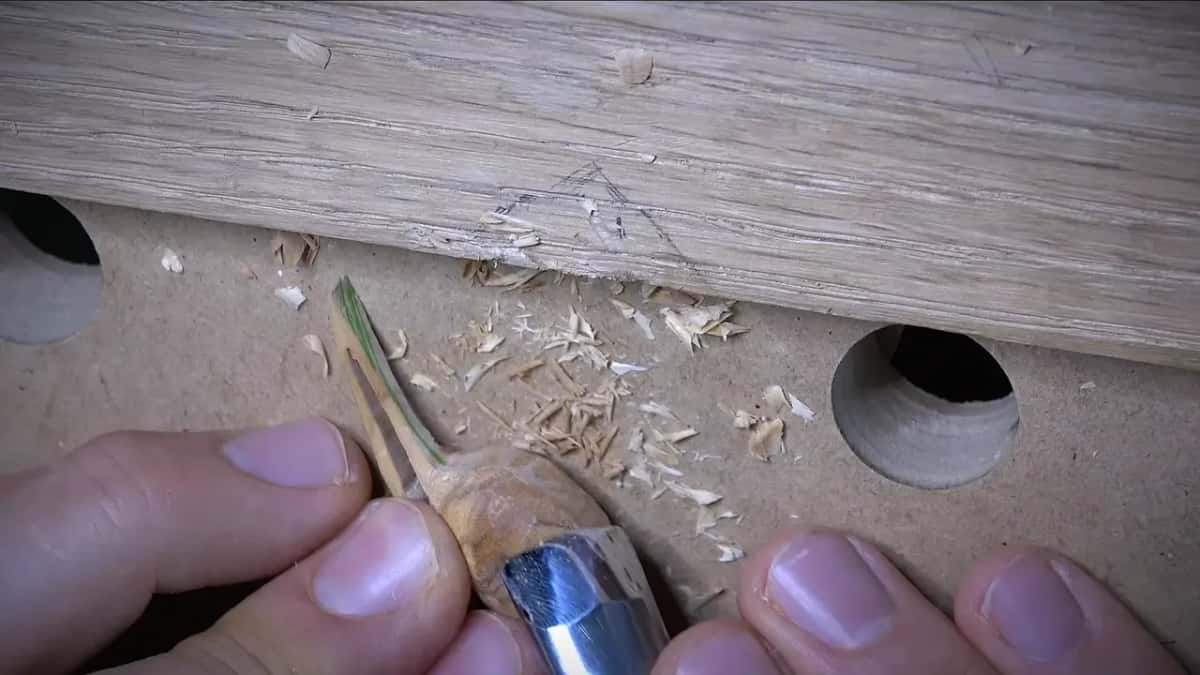
What holds a piece this small while you carve it?
A scrap block behind it, one you are not afraid to ruin. Mine was a leftover piece of white oak, about 10 mm (3/8 in) thick, just what I found in the shop, and it could be any wood. I push the olive against it, and when the knife slips past the piece, it goes into the scrap. Earlier in the course I held the work with a Festool clamp, and I really do not like digging into the clamp.

The block is one way among several. On other carvings I glue small work down to a board with paper in the joint instead of clamping it. Some carvers cut a notch into a block and set the piece in it so it cannot slide left or right. A bench hook with a fence at the back does the same job flat on the bench, and its body can be sacrificial too, basswood or maple or any scrap. A non-slip pad on the board helps as well, the kind sold as a kitchen liner or a router pad. I skipped the pad that day.
| Method | When | Catch |
|---|---|---|
| Leftover block | Whenever the knife might run past the piece | Any species you will not miss |
| Leg left on | Design allows | Optional, one cluster had none |
| Block with a notch | Some carvers set the piece in a notch | Keeps it from moving sideways |
| Bench hook | Laid on the bench top | Sacrificial body |
| Festool clamp | To hold the blank down firmly | Tools can dig into the clamp |
| Non-slip pad | Under the piece, on the board | Kitchen liner or router pad |
| Your fingers | Once a leg gives them a grip | Turn the tool as you slice |
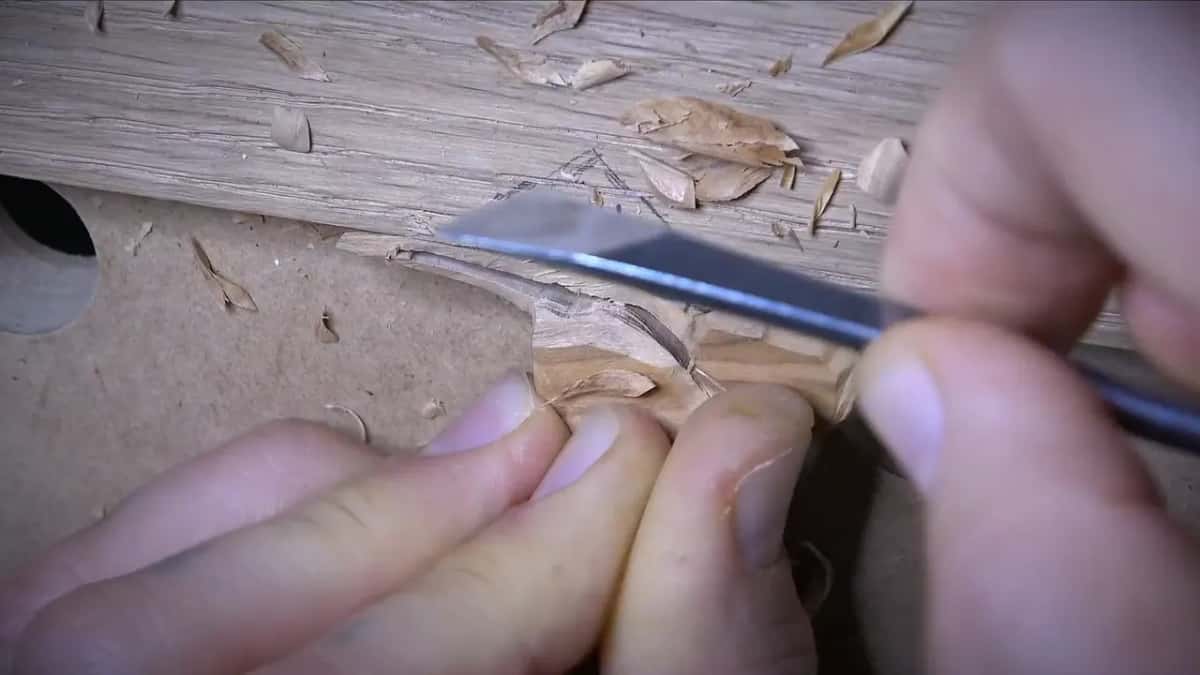
What is the leg on a small carving for?
Holding. A leg is a bit of extra wood left on the blank so there is something to grip besides the carving. With it on, I can bump the piece against the block, clamp it, or hold it in my fingers and work on it more safely.

I read in books that carvers of the 17th and 18th centuries used legs like these. Ask me how I know, and I have to say I don't, beyond those books. Nobody asked those carvers, of course. Some research was done, and I trust the people who wrote it up.
You can carve without a leg, and one cluster on this lid never had one. When a small part can carry a leg, though, leave it on, because it is a really smart idea.
Where should the olives stay joined?
Near the back. I keep the olives tied to each other somewhere, even if the tie shows a little, because the stems are too fragile to stand alone while the work goes on. The connection should not sit in the middle of an olive. Closer to the back, it is far less visible.

The back has a second job, since it gets glued to the lid. Both sides of the base stay on one flat surface, and the middle is left alone for the glue. The olive wood layer under them went down on a single line of glue along its own middle, and the olives need their middle kept free for glue as well.
Keep some meat on the piece until the back is finished. Every bit you take off makes the olives weaker, and they are fragile already, so taking a lot more before then would be a big mistake. Work one side of a cluster and you push the next olive away, which can break it, so slow every pass down.
What happened when the stems snapped?
Glue, a clamp, and the other cluster. The first stem went in the second part, and I cannot swear it was the tool, because there may have been a micro crack in it already. I finished the pass I was on and glued it with a gel super glue, the Gorilla brand. A clamp and blue tape held it, and I moved to the second cluster while it set.
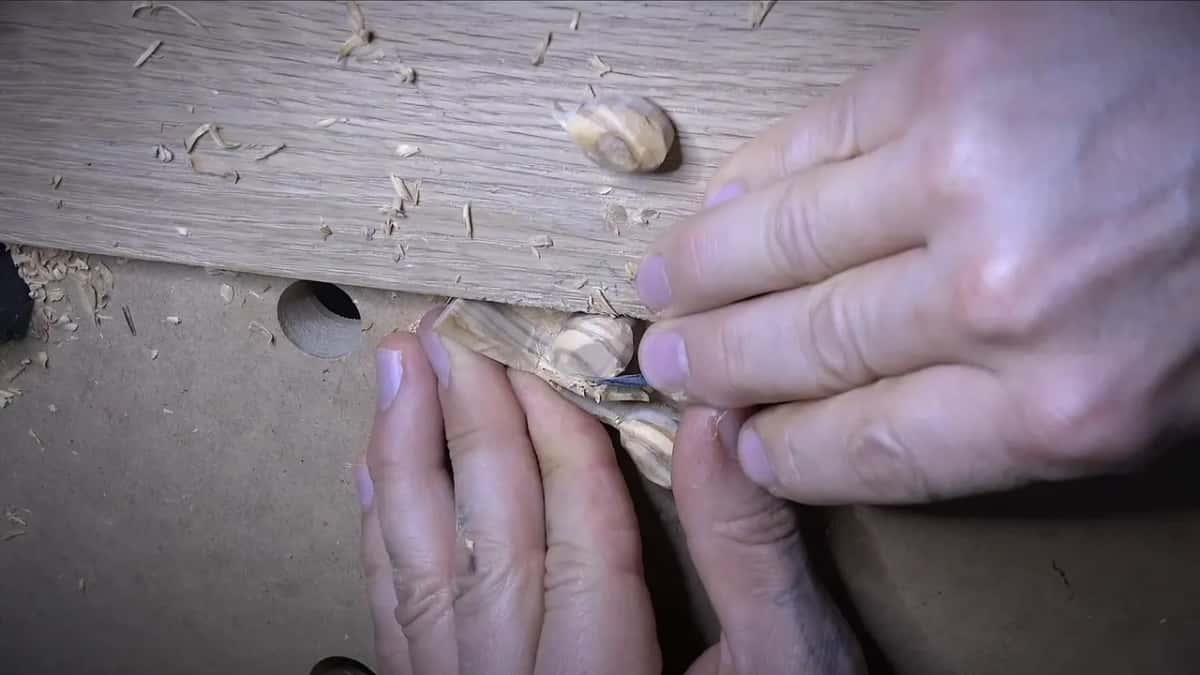
Even super glue needs time, so do not rush back to it. The second break, in the third part, was a tiny spot I could fix without anybody ever seeing the problem. Two olives there had a gap carved between them, and the break let me put a drop of glue right in the middle and tie them together, which made that cluster more stable. Maybe it was a good thing it happened.
You are watching a real commission here, not just an instructional video, so the decisions get made on the fly and the mistakes stay in. I wish I made none. I am not there yet, and small stuff goes wrong on almost every project. Both breaks and both repairs are in this lesson, and an Access plan opens every part of it.
How thin can the stem be where it meets the olive?
One millimeter in one direction and two on the side. That is what the stem measured on this lid, 1 mm (0.04 in) in one spot and 2 mm (0.08 in) on the side. The side could have come down to 1 mm as well, and there was no reason for it. The extra millimeter makes the stem more stable, and once it is rounded, the fact that its section is a little rectangle hardly shows.
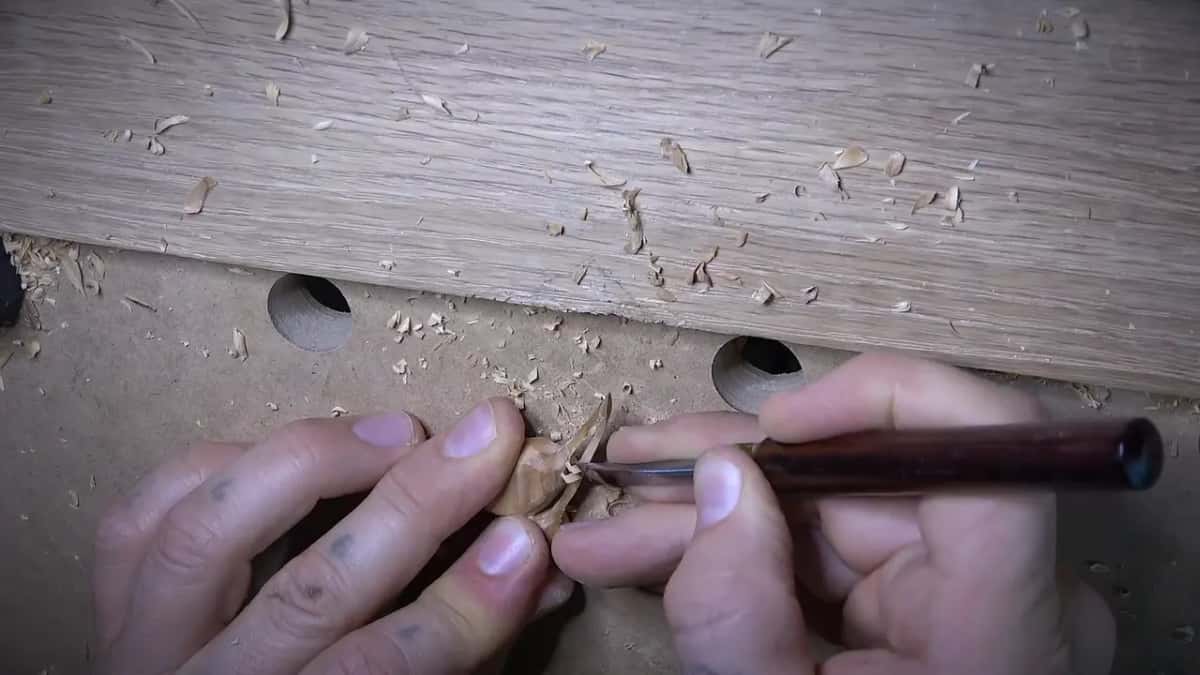
Watch the grain while you do it. On one stem I kept catching the grain at a marriage line, where two grains meet. One olive had a slight raised bump in the middle, and I left it, following the same curve from the back so the movement looks more natural.
To round a stem, I take a chamfer first, then more chamfers, until the corners turn into a fillet. Both sides of each stem get that, and so do all four sides of the piece. Go slowly. At that size it is so fragile. So fragile.

Then the joint itself. A stem should not simply grow into its olive, so the two need some separation. I give them a small groove where they meet, not a true V, and let the stem widen a little right at the joint before it turns inward. A 0.5 mm (0.02 in) veiner can do it and leaves a really nice shadow, though I used the knife there because it gave me much more control. The groove does not need to go all the way round, and it can skip the back.
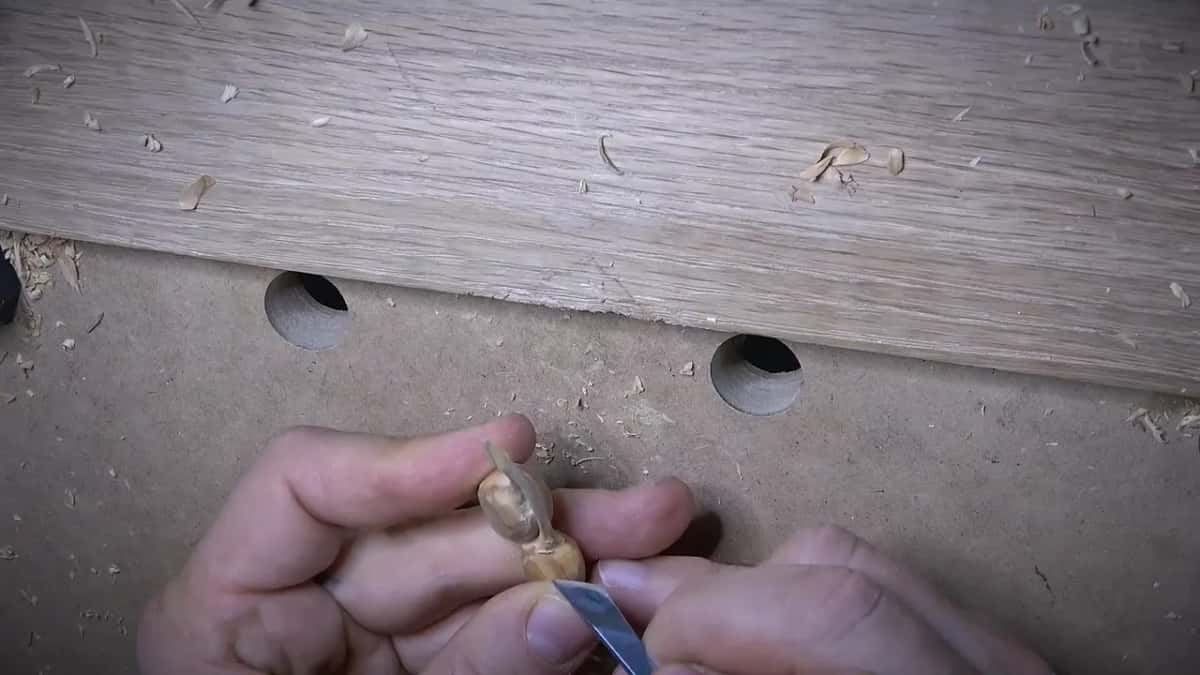
Keep it subtle. Overdo it and it stops looking natural, since all you want is a hint that the stem goes inward. Stopping is the hard part. On camera you can hear me say that I just can't stop.
Why carve the olives apart from the lid?
Grain. I could have carved them into the second layer as one piece with it, and that would look awesome too. My goal was better grain, so I chose a leftover that was curly and gorgeous, one even color except for a darker spot, because I wanted to play with the grain of the wood.
Curly grain has a price. Go one direction and it starts to split, turn around and come at it from the other side, and it can split again, so you keep hunting for the best spot to approach it. On the densest patch I could not carve at all, only shave a little at a time, almost taking nothing out.

Olive wood is not required either. It suited this box because the box is tied to the Bible and the Holy Land. Cherry works, walnut works, and so do curly maple or tiger maple, and yes, you can carve tiger maple. Both clusters also answer the lily beside them. When I shaded the flower later, I left its middle alone, since the olives already give the lid some domes and that middle connects well with them.
What finish goes over olives like these?
Lacquer, on this box, because wax and shellac were both wrong for it. The box will sit on a table every day with a Bible inside. Wax softens in a warm house, and hands that touch it and then the book leave smudges on the pages. Shellac I am fine with, only it comes out almost too shiny here, and a spill of spirits or wine would destroy it.

What I wanted was the look of wax without the wax, dull everywhere and shiny only where a rag would have buffed it. So I sprayed Mohawk lacquer from small touch-up cans, four or five coats, at a 10 to 15 percent sheen. Their 25 percent would have been too shiny, and dead flat is fully matte. Then a 4,000-grit Mirka sponge went over the high spots only, and they came up shiny with matte all round them. A can runs about $7 or $8, and one usually does a project.

You will not find it at Home Depot or Lowe's, so ask a cabinet shop where they buy their finishes. The claim is that it lasts 10 or 15 years, and some people say 50. I am not sure about that.
If a knife still feels strange in your hand, carve something flat in the first cuts course before you try a stem this thin. Then look at your bench. Is there a part on it right now that looks too easy to be careful with?
How it's done
- Saw right up to every olive. Run the scroll saw to the end of each olive before any knife touches the blank. On parts this fragile, whatever the blade removes is less risk later.
- Brace it on scrap. Set a leftover block at the back of the work, where a slipping blade can bury itself. Mine was oak, and any scrap you will not miss is fine.
- Shape with the knife. Round each olive using the knife, bearing down on a single point, and keep turning the piece until all four faces come out round.
- Guard the joints and the base. Leave the olives connected low on the back, keep spare wood on until the back is done, and never carve the center of the base, where the glue will go.
- Clean up with a gouge. Take the knife ridges off with a small gouge turned upside down, slicing, and ease downhill to the end of the pass so you do not scoop a hollow.
- Set the stem apart. Chamfer the stem again and again until the corners become a fillet. Then carve a faint groove where stem and olive meet, letting the stem flare slightly before it vanishes inside.
Frequently asked questions
Which knife works best on olives this small?
My favorite here is a number 12 Pfeil knife, and a little Pfeil palm tool comes second, since your fingers ride close to the steel and control gets easier. Whichever one you pick, keep it sharp. Olive wood does not forgive a dull edge the way some woods do.
Can olives like these be carved from basswood?
Plain lime or basswood would have worked for this whole box, as I say at the end of the lesson. Olive and acacia went in because a Bible lives inside. Cherry, walnut, curly maple and tiger maple all work for the olives too.
Does every small carving need a leg?
One of the two clusters here never had a leg, and it got carved anyway. Leave a leg wherever a small part can carry one, since it gives your fingers or a clamp something to hold other than the carving itself. Holding it that way, you can work on the piece more safely.
What to carve next