
Alexander Grabovetskiy, woodcarver, School of Woodcarving · Published 2019
How do you check a carving in dark wood when you can't see the cuts?
Quick answer: Checking a carving in dark wood is a job for more than your eyes. On my olive and acacia lily box I angled a lamp in front of me and pulled it closer, rubbed high spots with a finger, watched for light through thin petals, looked at them sideways, and let raw umber tint show what I missed.
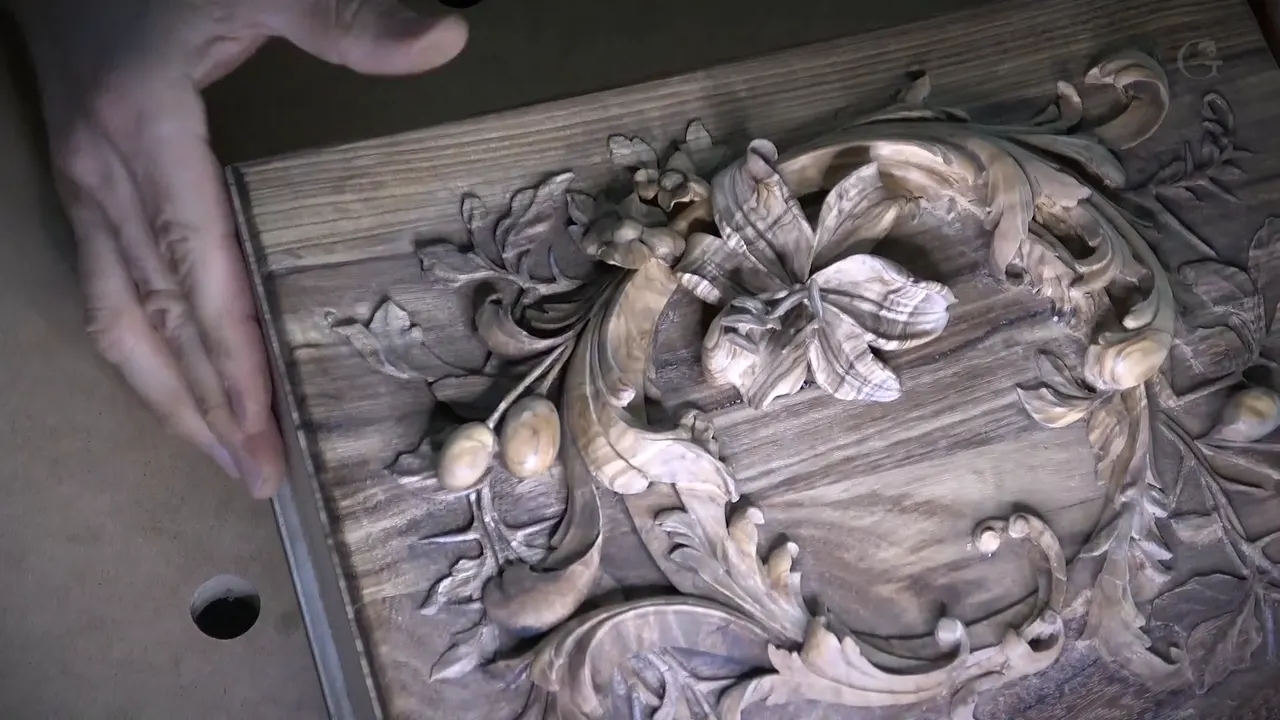
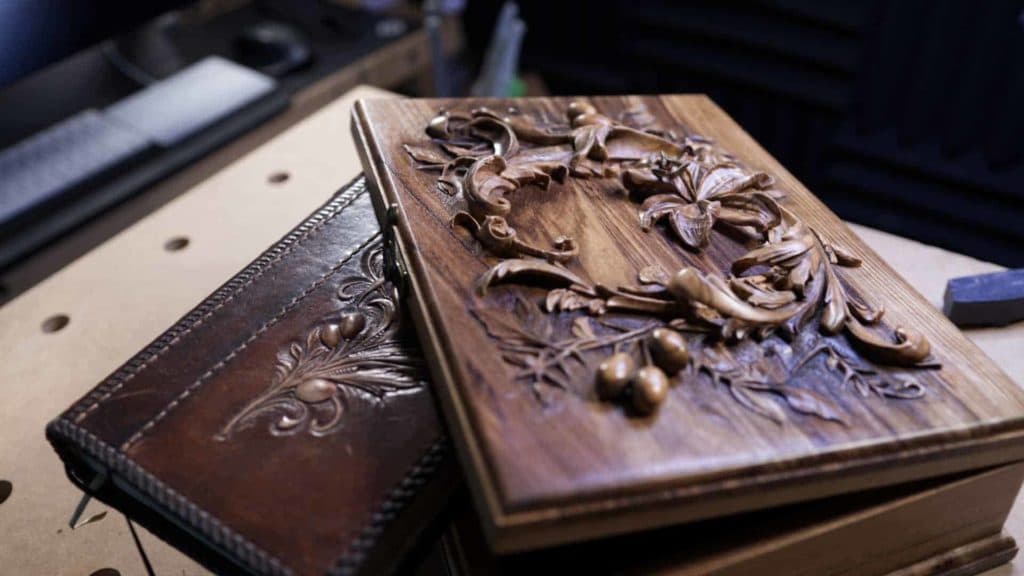
Checking a carving on dark wood is a job for a lamp and a fingertip as much as for your eyes. My lily box lid is olive wood laid over acacia, and most of it is dark. Over and over on camera I told you a darker wood hides it, so you almost can't see it. I had to check it other ways. If you picked a dark wood for carving, these are the checks from that box, each one with the lesson where it caught something.
Would you like to see your carving clearly, even on dark wood? Would you like to catch a fault while there is still wood left to fix it? Then go through this box with me, one check at a time.
This last page of the course has no video of its own. It asks for a picture of your work. I gathered what the other lessons say about seeing your work on dark wood. Half of how to carve details in wood this dark is finding them first, and the details on this lid are small. A thorn ends up about three eighths of an inch (10 mm), and I can cover the first filler flower with one finger.
The checks on this dark lid, one line each
The lamp went in front, at an angle, and came closer when I barely saw anything.
Rubbing the surface found high spots that my eyes did not.
Light coming through a thin spot on a petal meant it had gone paper thin.
One petal passed from above and was too long in profile.
On a black background I judged a loose flower before it was glued down.
Raw umber tint showed chips, missed spots and a glue line, and I let it dry before I trusted the color.
Why is a dark wood carving so hard to read?
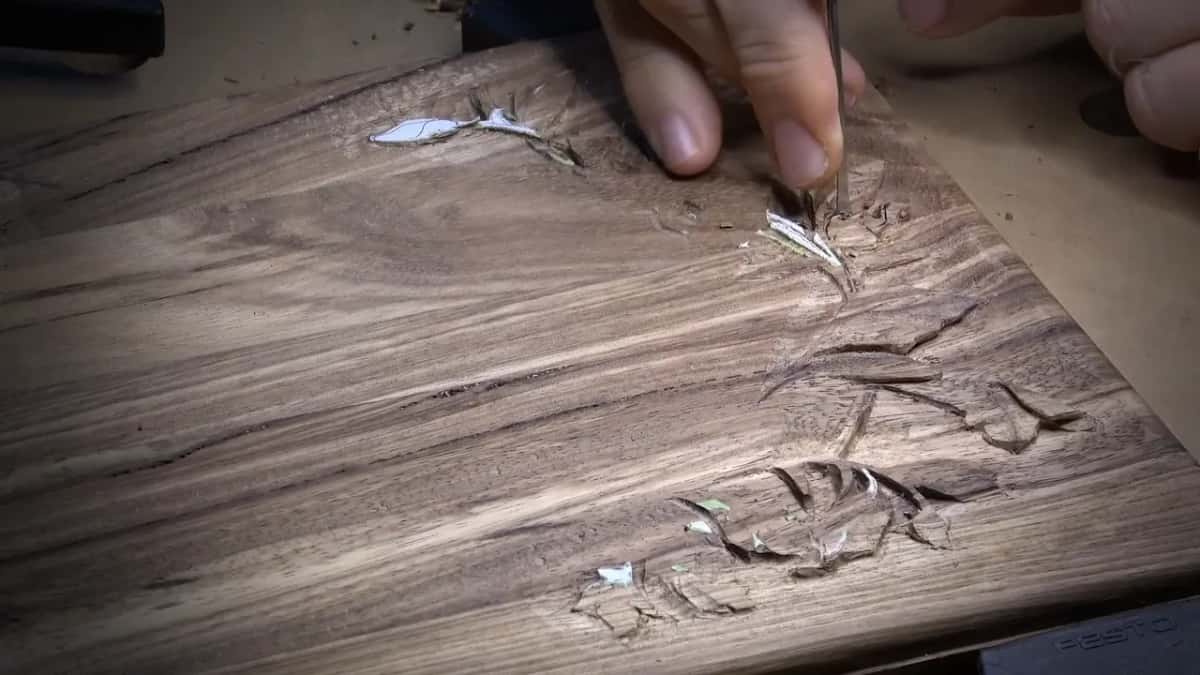
Shadow is what shows you a carved shape, and on dark wood the shadow barely shows. Wood carving is all about light and shadow, I said in lesson 2. Later, on the filler flowers, I put it plainly. Sometimes on darker woods it's harder to detect those shadows, and the more you exaggerate them, the more beautiful it's going to look.
The lid kept proving it. Carving a leaf on the first layer, I wanted its middle ridge kept high. I told you that on a darker wood it's almost impossible to see, but believe me, it's going to be beautiful if you keep that ridge higher. A few minutes on, a small flip in another leaf got the same words.

Olive is no easier. The grain turned stubborn in lesson 4, and the color changed from one part of the slab to the next. That's the nature of olive wood, I said, and it's harder to carve on a darker wood. Then on a filler flower I found a wall, which is my name for the flat side the saw marks leave. With the brown wood, I said, you can barely see it. It was still a wall.
Where does the lamp go when you carve dark wood?
In front of me, at an angle, on this box. At the start of the detail work in lesson 2 I moved my light there and tilted it, so I could see all the movements, especially on the darker wood. Right away I saw imperfections, facets I didn't like and rough spots, and I said I would clean up all of them.
A few minutes later I explained why the small ridges matter. Those tiny ridges make a big difference, because they cast a shadow when the light hits them from one point. Next I found a point that stood too high. It should not be higher than the main stem, I said.
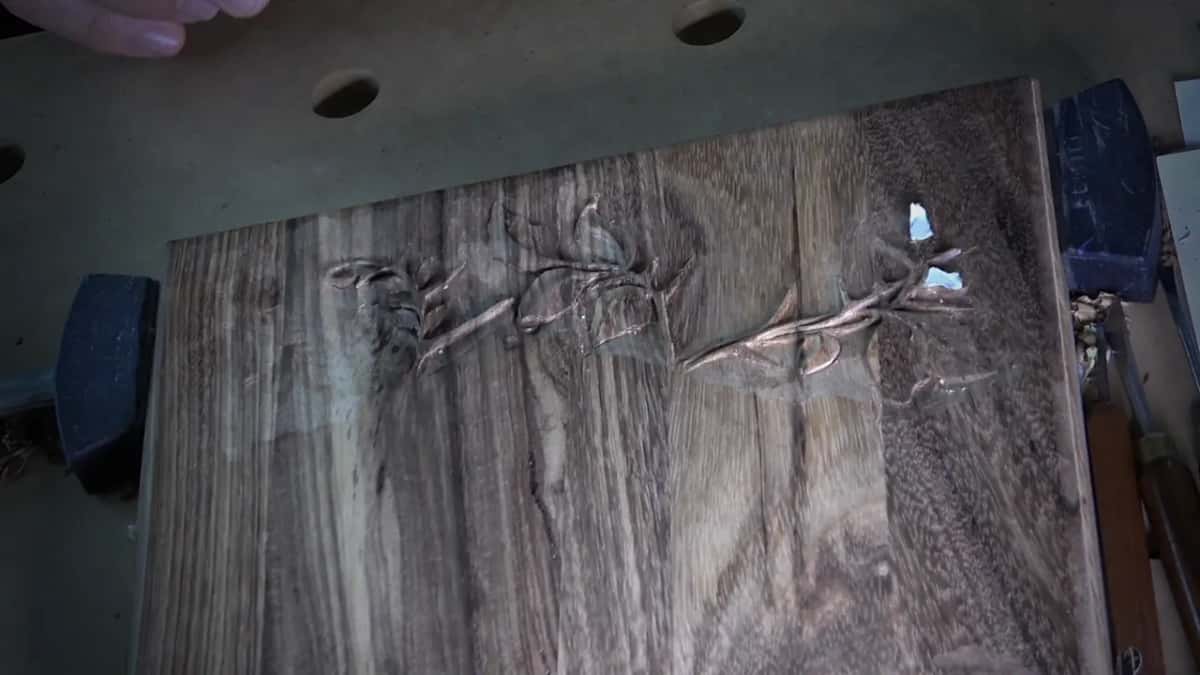
More than once in lesson 3 I pulled the lights closer, and one time I said I barely see anything. At the scroll saw in lesson 1 I talked about my magnifier lamp. It has LED settings, so I can change how bright it is and its color, down to a really low light or a really yellow one. In lesson 5 I even turned the lights off once, so you could catch a small concave I had just carved.
Can your finger find what your eyes miss?
It did on the olive layer. Shaping a leaf in lesson 4, I said I can feel the ridge there, and I don't really like it. Then I told you that sometimes you can't see it by eye, but you can always rub it with a finger and detect all those high spots you have to take care of. Especially, I said, on harder to see woods, like a dark wood like this.

Right after that I planned to leave about 3 mm (1/8 in) between a ridge and the surface in that spot, no more.
How do you know a petal has gone too thin?
Light came through it. In lesson 12, on the second filler flower, I was bringing the inside of a petal out toward its edge, using a 1/16 inch (1.6 mm) #8, all for the shadows, and I stopped. One spot had gone paper thin. It's almost impossible to see for you probably, I said, but I see it. The light hits through.
I touched only that edge, with a knife and nothing more. Moments later I said I just made a big mistake, then corrected myself, maybe not that big, because the piece was still in place. A small drop of super glue went inside, where it would be hidden anyway.
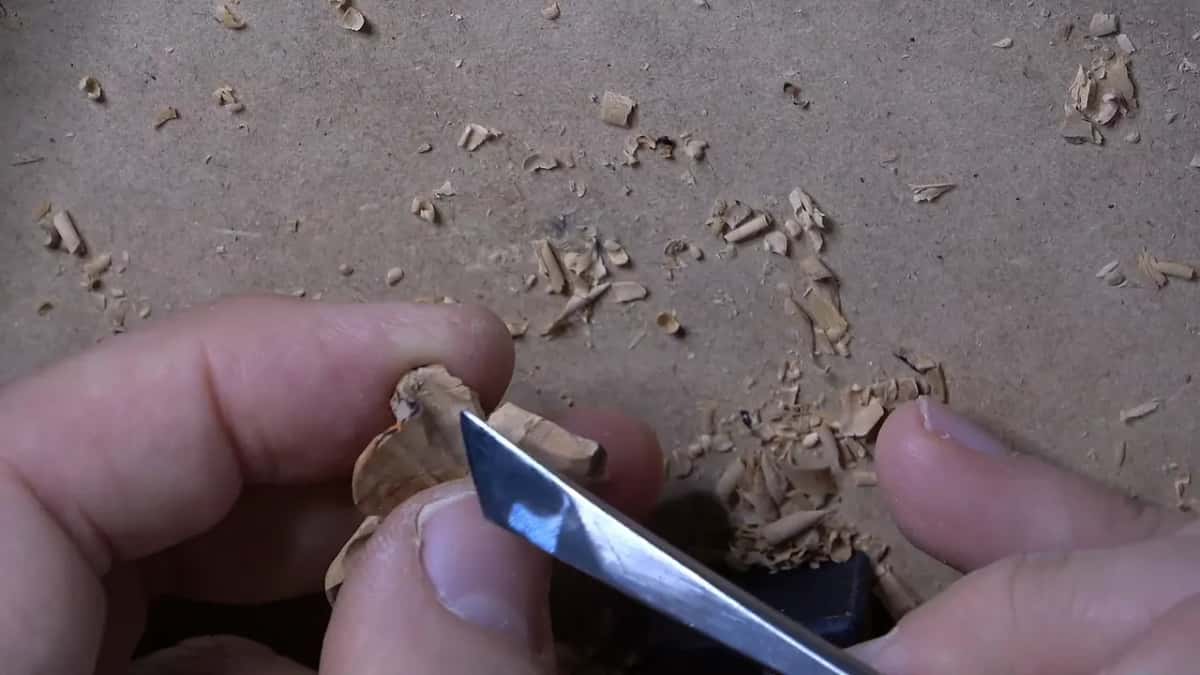
I have a tendency to make petals paper thin, and I said so on that flower. A wall decoration could take it. This box will be handled every day, and only the middle of the lily was meant to be that fragile.
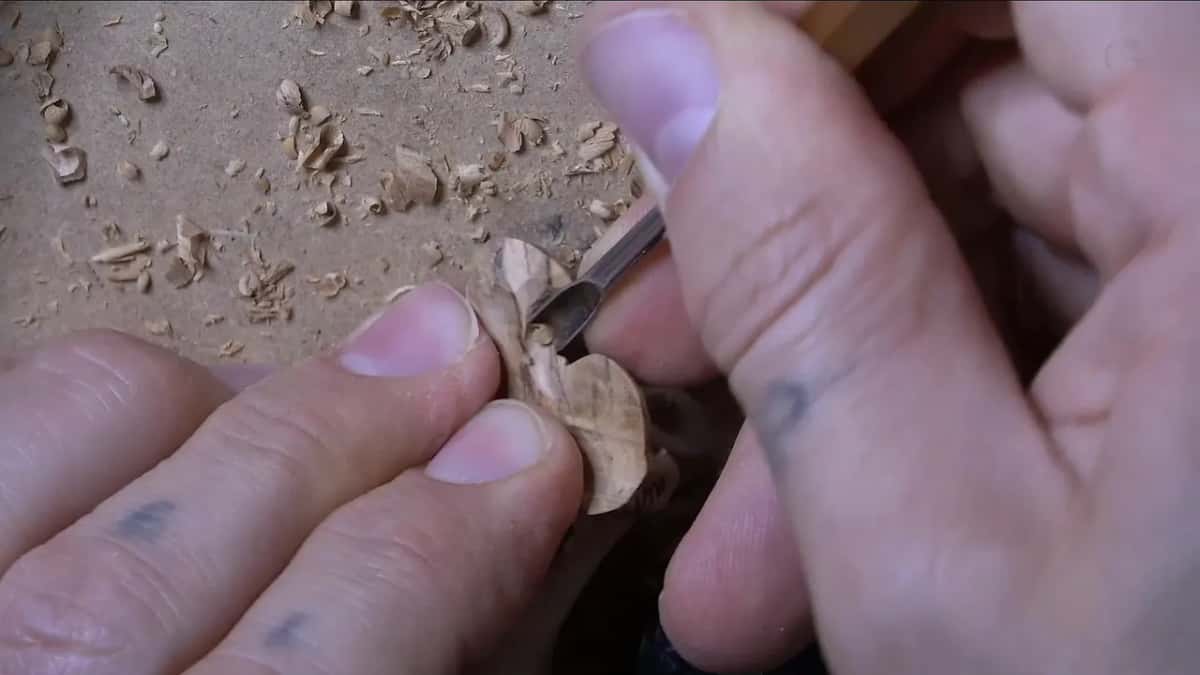
Why look at a carving from the side?
A petal can look right from above and still be wrong. Sanding that same flower, I saw that the dome I gave it had made one petal almost too long. If you look from above, it doesn't look too bad, I said, but if you look from the side, it's just a little too long. I didn't call it a mistake. I made it shorter, and that left a new wall, which I took off the same way as the others.
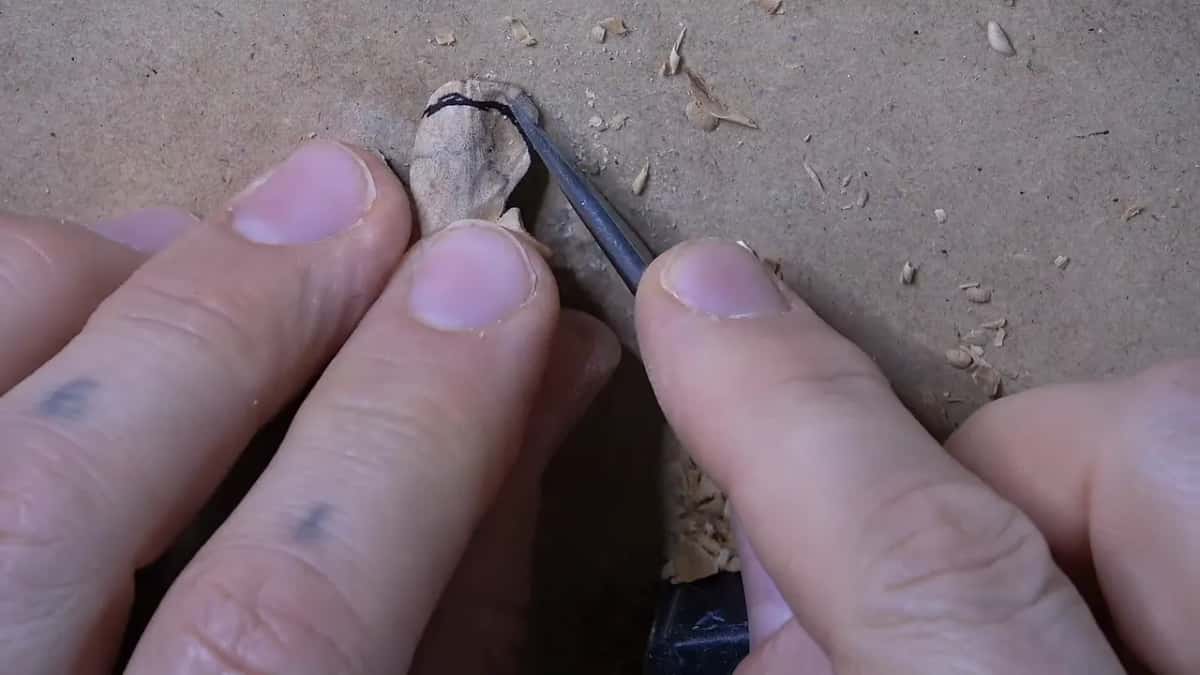
The small flowers were made for that side view anyway. About the first one I said that from above it still looks like it has just an oval shape, but seen sideways it has a really nice, interesting movement. Every little flower counts, I said in that part, even a minor one, because this box is fairly small and people will see it really close to their eyes.
What does a black background show on a small carving?
It let me judge the second flower by itself, before it was glued down. In the last part of lesson 12 I set it on black and said it does look really good. It does have a little flipping motion. I thought about going further underneath, then decided I really don't have to. Stuff like that, I said, shows some more professionalism.
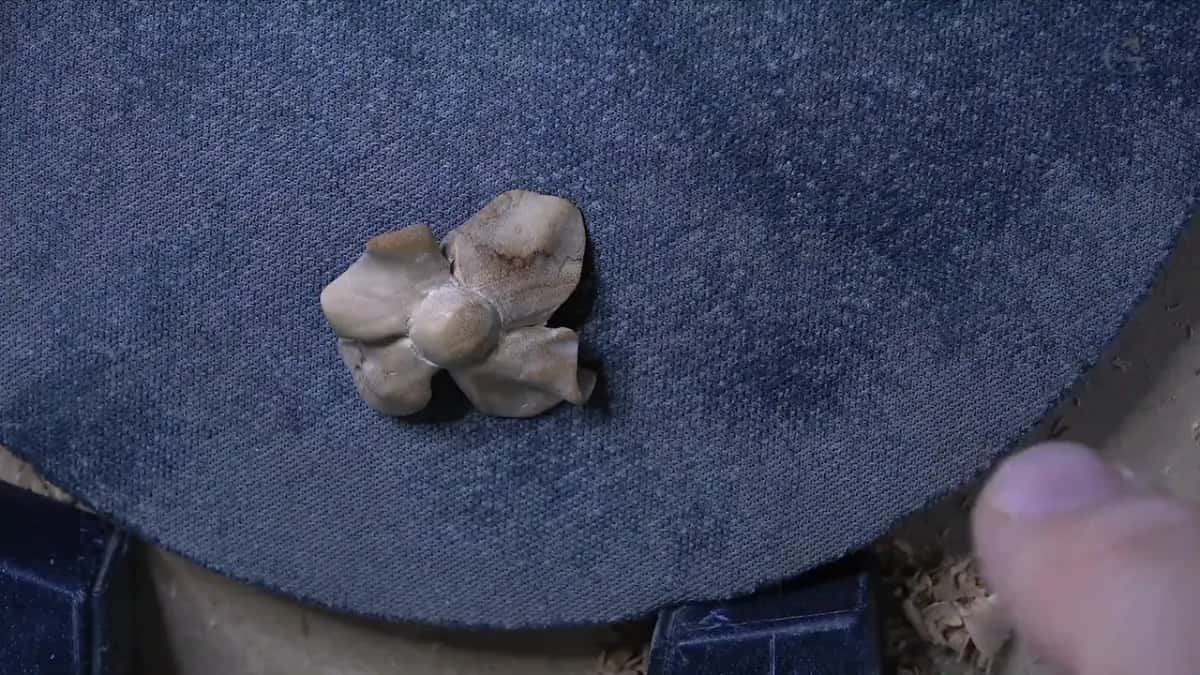
Checking once more, I found a wall I forgot to take care of. Next to it was a thick spot, a really good place for an extra shadow, and I carved across the grain there in small passes. I really don't like big facets, I said earlier in that lesson. Not on small flowers.
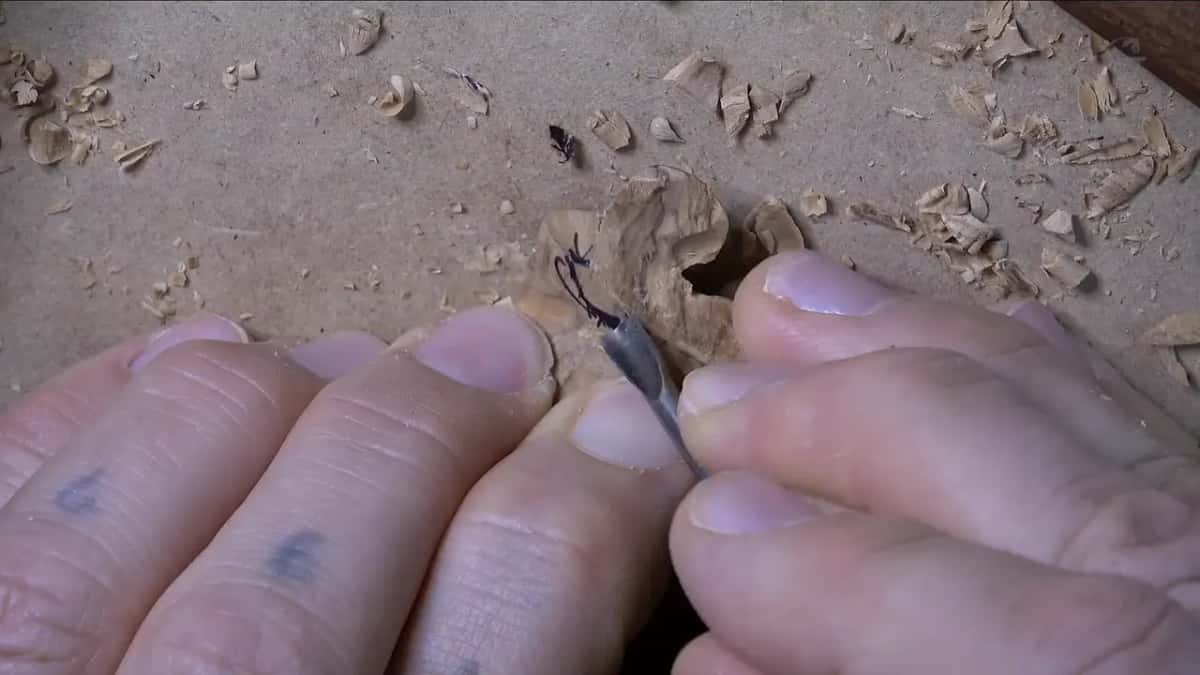
Can sanding dust help you see fine lines?
The first filler flower proved it. Its center got tiny spiral carvings laid out by the golden ratio, which I am really big on in design, and they were almost invisible. We had already sanded that flower a little, so I hit the middle with sandpaper too. The dust filled every line, and I could see much better.

Even then they were hard to see. Once the finish goes on, I said, all of those spirals will be visible. A shine helps the same way. After I sanded the second flower up to a shine, I said now I can see some imperfections, and I went into the undercuts with a half millimeter #11 to clean them.
Which faults did the tint bring out?
The ones I had missed while carving. The color on this lid is raw umber Cal-Tint thinned with water, brushed into the low places to blend the light olive with the darker acacia. While I worked it in, in lesson 13, I said that because we applied some color, you'll see all the areas that you need to pay attention and maybe fix. Those are the spots you miss while carving.

And it found them. In the second color part I said there are some chips inside to take out, and spots I missed that still need to be undercut. A glue-up line showed, so I blended it in. Twice I said I needed more glue underneath. I said that with olive wood you're probably going to experience the same thing, because glue doesn't stick too good to it.
The olive also took the color in a blotchy way that I did not want to see, so I had to be really careful there. One spot popped out too light, and I fixed it right away. Near the end a line I made with the tint was just too obvious, and I blended it with plain water in a rotation, the way you would wipe a French polish.
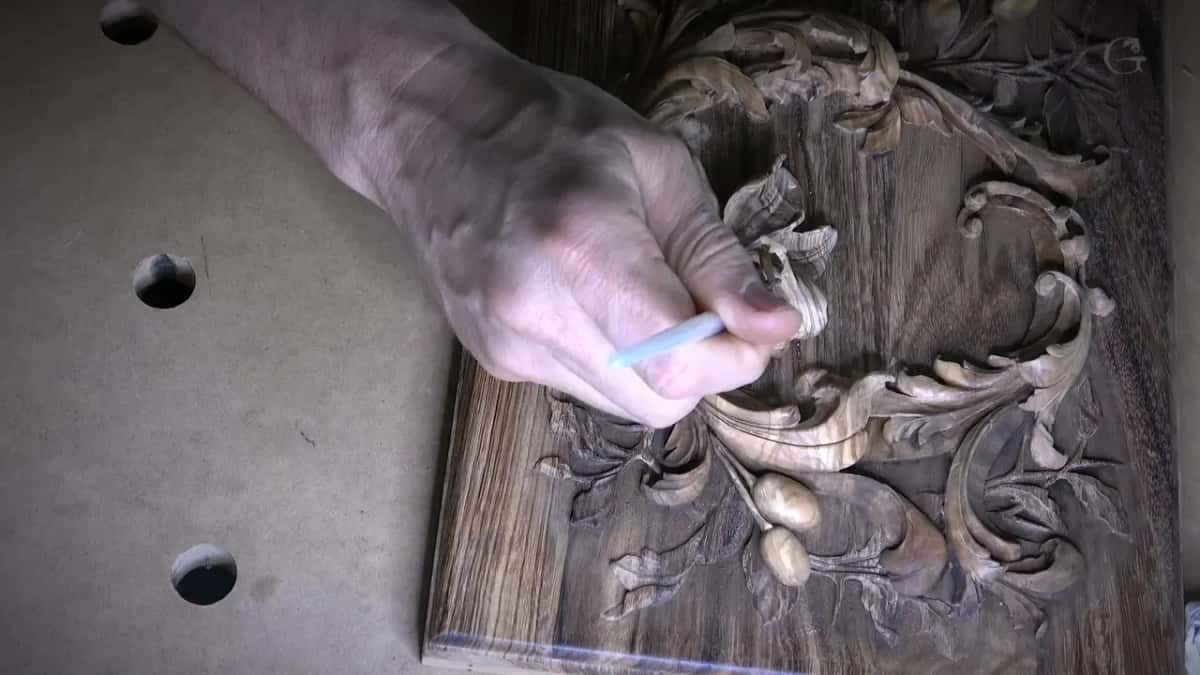
The thorns were the hardest case. They sit in very low relief, and when I reached them with the brush I said I can't even see the thorn. My client had asked for those thorns to be easy to see. So I darkened around each one, and later gave the spikes a hint of white acrylic on their edges. A finish makes all of this louder. Once the final coat goes on, I said, the darker spots will be really noticeable.
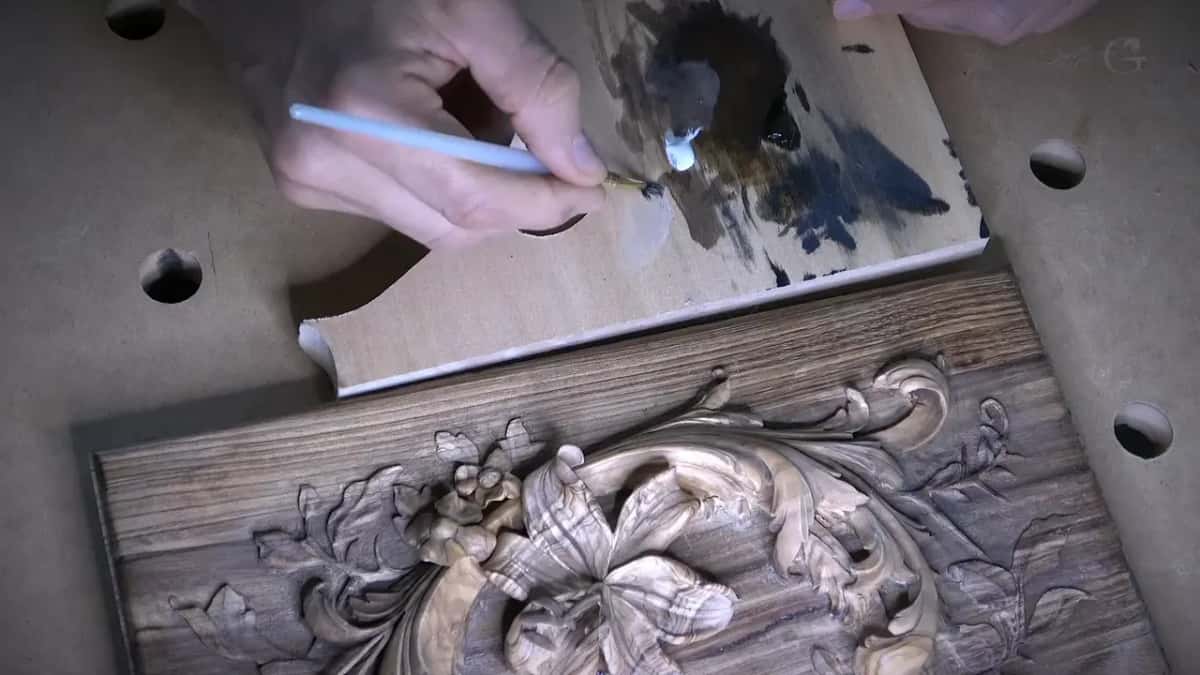
Why wait for the tint to dry before you judge it?
Wet wood reads darker. Remember, when you put water on, it's already going to look darker, I said, so wait until it's dry and see if you missed some spot. One area looked too dark while I was still brushing. That's okay, I said, because it's too wet right now, and once it dries it should look fine.
When the flowers were colored I said I would still inspect everything once it was dry. Before that I turned the lid and checked it from all the sides, in case I had missed something.
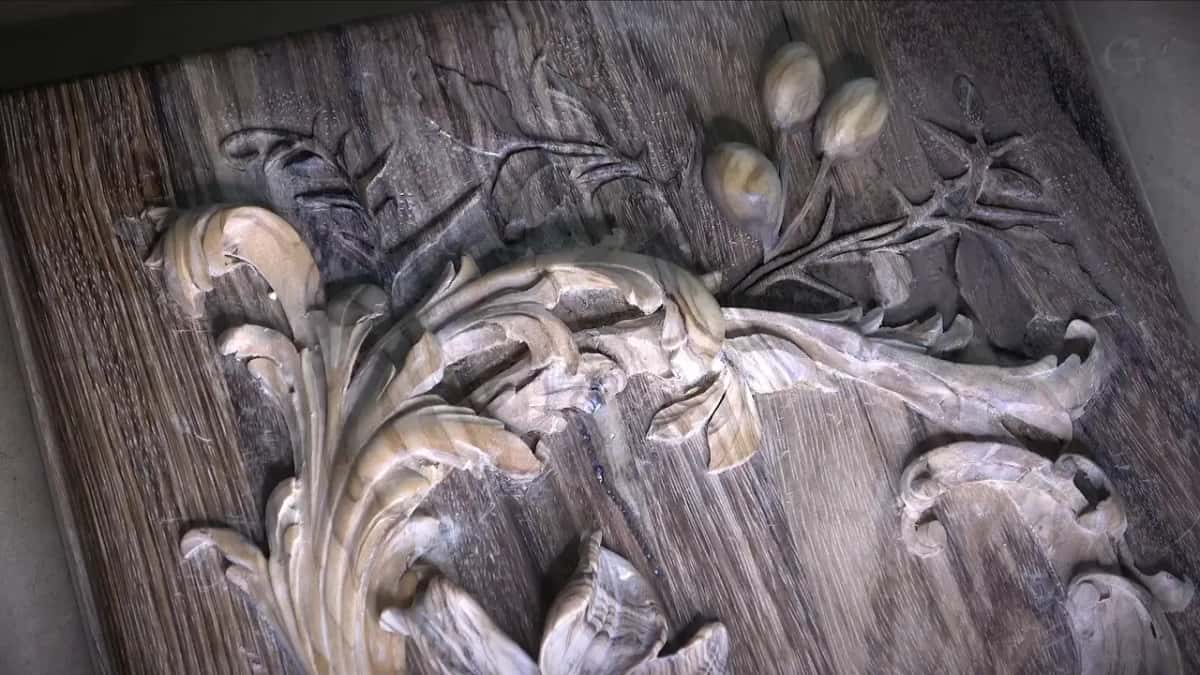
Why walk away from a carving and come back?
After the white went on the thorns, I said this is the time I'm going to walk away from this piece for a little bit, then come back and look at it. That was near the end, but I had said the same thing much earlier. Carving the second layer in lesson 5, I left one spot and said I can always look back with fresh eyes, and in lesson 6 and lesson 8 I said it again.
I know my own habit too. Looking at the olives I said I just can't stop, and during the color work I said I have a tendency sometimes to overdo stuff. I'm still working on it.
Each check on the lily box, and what it caught
Here is every check from the lid in one place, with what it found and what I did about it.
Check I used | What it caught on this lily box | Where checked | What I did next about it |
|---|---|---|---|
Angled lamp, closer | Facets and rough spots on the leaves | First layer | Went back over them right there |
Finger rubbed across | High spots my eyes could not see | Olive layer | Cleared them before the next concave |
Light through petal | A paper thin spot near the edge | Filler flower | Knife on the edge, then glue |
Looked from side | One petal had grown a little long | Same flower | Made it shorter, removed new wall |
Black background check | A small flip and one forgotten wall | Loose flower | Knife on the wall, extra shadow |
Dust in lines | Spiral carvings too fine to see clearly | Flower center | Sanded the middle, then cleaned up |
Tint brushed in | Chips, missed spots and a glue line | Lid carving | Blended first, then fixed the spots |
Tint left drying | Areas that only looked dark while wet | Whole lid | Planned to inspect once it dried |
Read your own box down the second column, and do it while every fault you find there still has wood behind it to fix.
What did I still check once the box was done?
The fit, mostly. When the color was done I set the lid on the box I built and said that, as far as the carving part, it's done. My client chose to leave the wood natural, with no stain. The inside got black flocking, and I waited more than 72 hours before I shook out the loose fibers.

For the hinges I bought an antique box and took its hardware, scratches and all, because it looks more authentic. I left about a 1/32 inch (0.8 mm) gap at the back. The sides stayed a little rough on purpose, so the box would look like it was built a long time ago. Then I tested it with my own Bible, about the same size as the client's, and left roughly an inch (25 mm) to grab it. Double check from all sides, I said, and it was looking really good.
The page after the last lesson asks for one course-related picture, a jpg or a png, and I review it and certify you based on your progress.
Do you want to see each of these checks happen, part by part? All the video lessons sit behind the tuition page. If dark wood feels like too much for a first try, the Hashemi flowers panel is carved in basswood.
How it's done
- Put the lamp in front, tilted. Move it nearer when the detail goes dark on you.
- Feel for high spots. A fingertip finds what the lamp misses on darker wood.
- Watch thin edges for light. Where light comes through, stop there and touch only that edge, with a knife and nothing heavier.
- Turn each flower on its side. From above a petal may pass and still run too long when you see it sideways.
- Set a loose piece on black. Judge it there, before it is glued down.
- Tint, wait, look again. Let the color dry, then look again for chips and spots you missed.
- Walk away for a while. Then come back and inspect everything once more.
Frequently asked questions
What is the best dark wood for carving?
For a darker hardwood I would probably use walnut, one of my favorite woods. This box is olive and acacia because it holds a Bible, and I found both woods from that biblical region. Raw umber, the tint I blended with on the lid, works really well on walnut too.
Can you find high spots you can't see?
Rub the surface with your fingertip. Working the olive layer of my lily box, I said you sometimes can't see a high spot by eye, but you can always detect it by touch, especially on harder to see woods like that one.
Does stain show mistakes on a carving?
Mine did. Brushing raw umber into the low places of the lid, I came across chips still inside, spots I had missed that needed undercutting, and a glue-up line. Once some color is on, I said, every area you missed while carving starts to show.
What to carve next