
Alexander Grabovetskiy, woodcarver, School of Woodcarving · Published 2019
How long should the petals of a carved lily be?
Quick answer: The right length for lily petals is the length of the longest one you can see, copied onto all the rest. I take it off with a narrow strip of masking tape laid inside the petal along its whole run, and any petal that falls short gets more curl until it reaches.
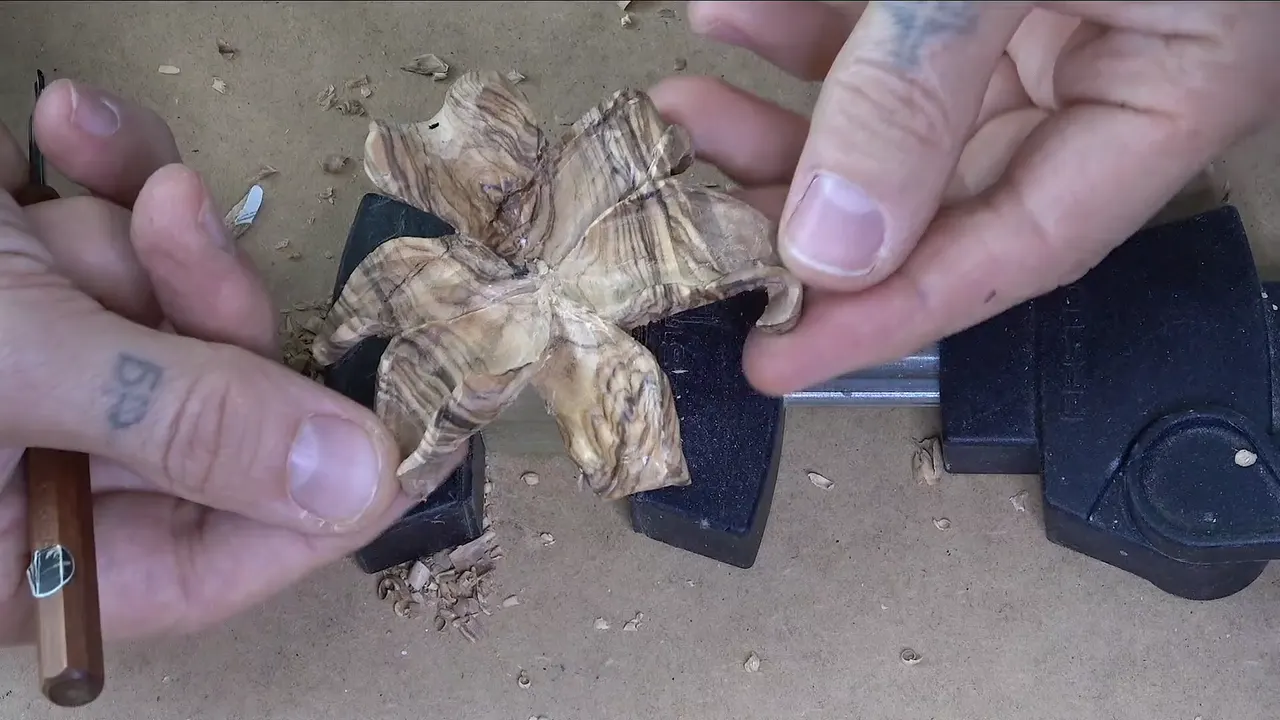
Petal length on a carved lily is one number that every petal shares. Measure from the heart of the flower along the surface, over every curl, out to the tip, and they all come out equal. The curl is what differs. One petal rolls over hard, the next barely turns, and from above no two look alike.
Have you ever carved a flower that looked right on paper and wrong in the wood? Did one petal come out stubby however you shaped it? A drawing is flat. A real lily is not, and it keeps a rule that the paper hides from you.
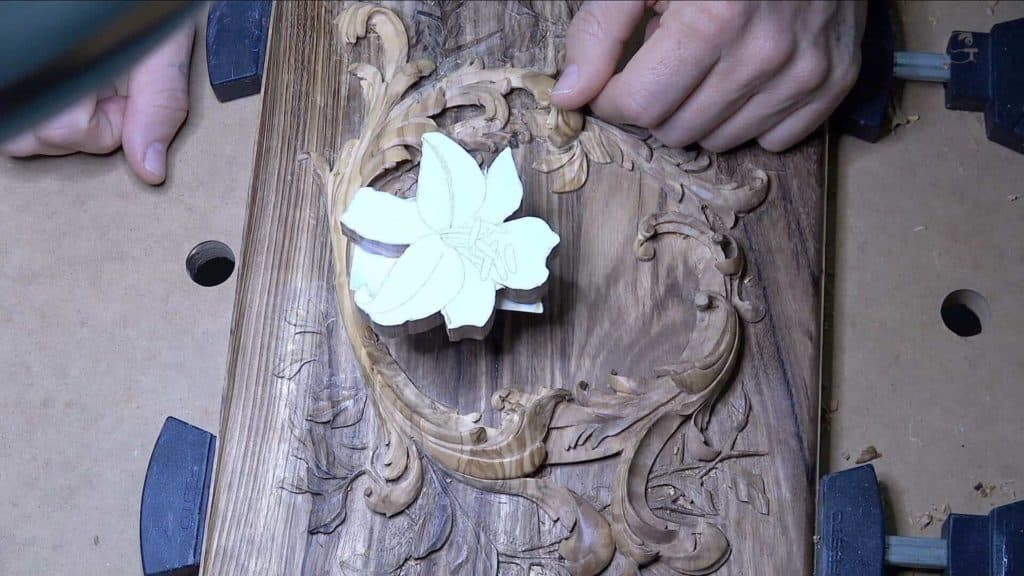
This is the main lily on the lid of the olive wood box that holds a Bible, the flower everybody looks at first. The second layer of the lid was finished in lesson 9, so the lily is carved as its own piece, from a beautiful olive slab cut at an angle. Underneath it I glued a block of poplar about an inch square, 25 by 25 mm, and that block goes into a Festool clamp so I can work around the whole flower. Try to find really nice olive in slabs like this. It is almost impossible. On camera I said it plainly. This is the main flower, and I really do not want to fail on it.

Fourteen parts of the lesson go into roughing it out, and one idea keeps coming back in them.
What a lily asks of you before any detail
- Every petal matches the others in length, counted along the surface with the curl included.
- Each one curls its own amount and stops in its own place.
- You carve the longest petal first, and its measurement becomes the rule.
- The gauge is green tape trimmed to 5 mm, 3/16 in, with a black line to keep the number.
- More curl fixes a petal that reads short, even if the drawing has to give way.
- Edges stay heavy until the whole flower is roughed out.
Why does a lily drawing show petals of different lengths?
Paper is flat, and every petal on this flower is going to curl down, some of them a lot and some only a little. When I sawed the blank out, I left some petals shorter on the pattern and some longer for exactly that reason. A curl uses up length you cannot see from the top.
A real lily has no variation of length. Every petal is the same, absolutely equal, measured between the central point and the end, and I carve them that way. Flowers are complicated geometry. Mathematics, really. It is not up to you, and on a lily especially it is true geometry.

When I was sixteen, the master who took me as his apprentice in Russia taught me that design means the laws of space. A sheet of paper has two dimensions. The day you carve, you are working in three, and some decisions get made on the fly.
Which petal decides the length of all the others?
Whichever petal shows the most length. For this lily it was a petal that curls, and step number one was simply finding it. That one gets carved first. Then I estimate how far its tip sits from the center, including all the curl, and that number settles every other petal on the flower.
It's like mathematics, I told the camera. They have to be really, really, really, really accurate about how long they are, and the only difference allowed is how each one curls and when it stops.
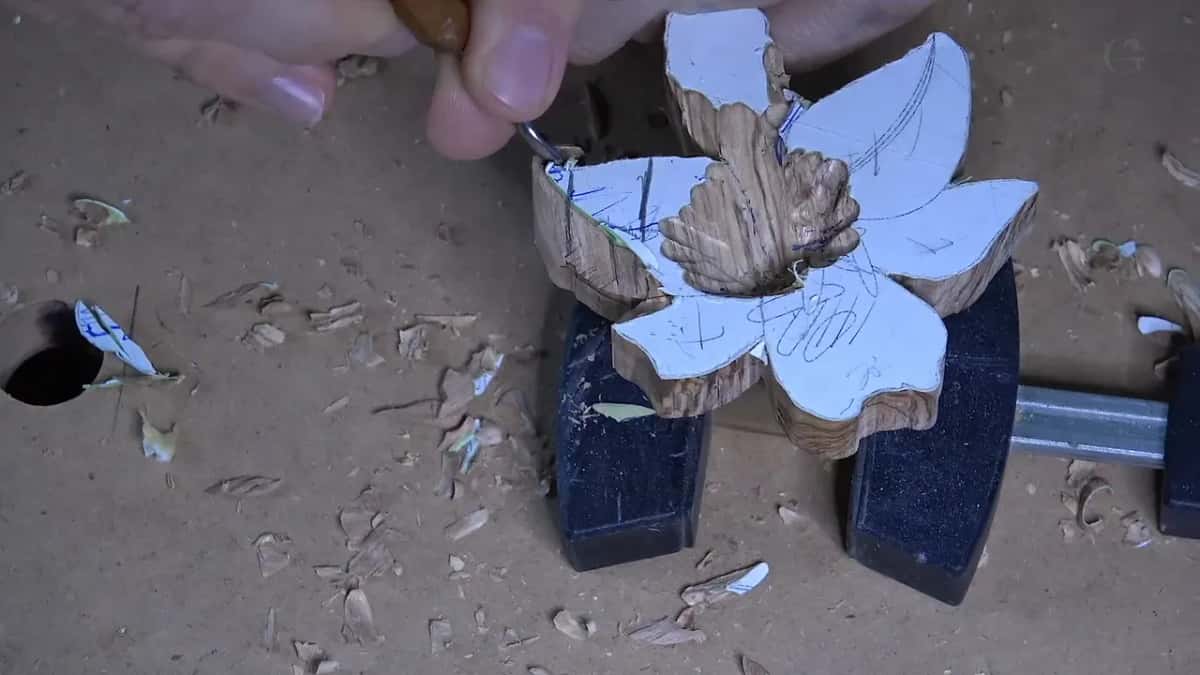
The center gets fixed early. The heart of this slab, the densest part of the grain, became the true center of my flower, and every petal grows toward that one point. I dug it out like a small bowl, first with a number 8 and then a number 9, both a quarter inch or 6 mm, with a mallet used really carefully once the wood turned crunchy. The slab is only 5/8 inch thick, about 16 mm. I stopped at half an inch, 13 or 14 mm deep, and left a couple of millimeters under it, just under a tenth of an inch, for everything that comes later.

How do you measure a curled petal with masking tape?
With a strip of green masking tape about 5 mm wide, 3/16 of an inch, pressed down inside the petal and followed out to its edge. A ruler cannot bend into a hollow. Tape can.
Measuring waits until the middle is dug, because after that I am not going to touch the center again, and the start point stops moving. Next I cut a small strip, stick it on the inside of that first petal, and run it along to the very end. A black mark goes where it ends, so I never lose the number.
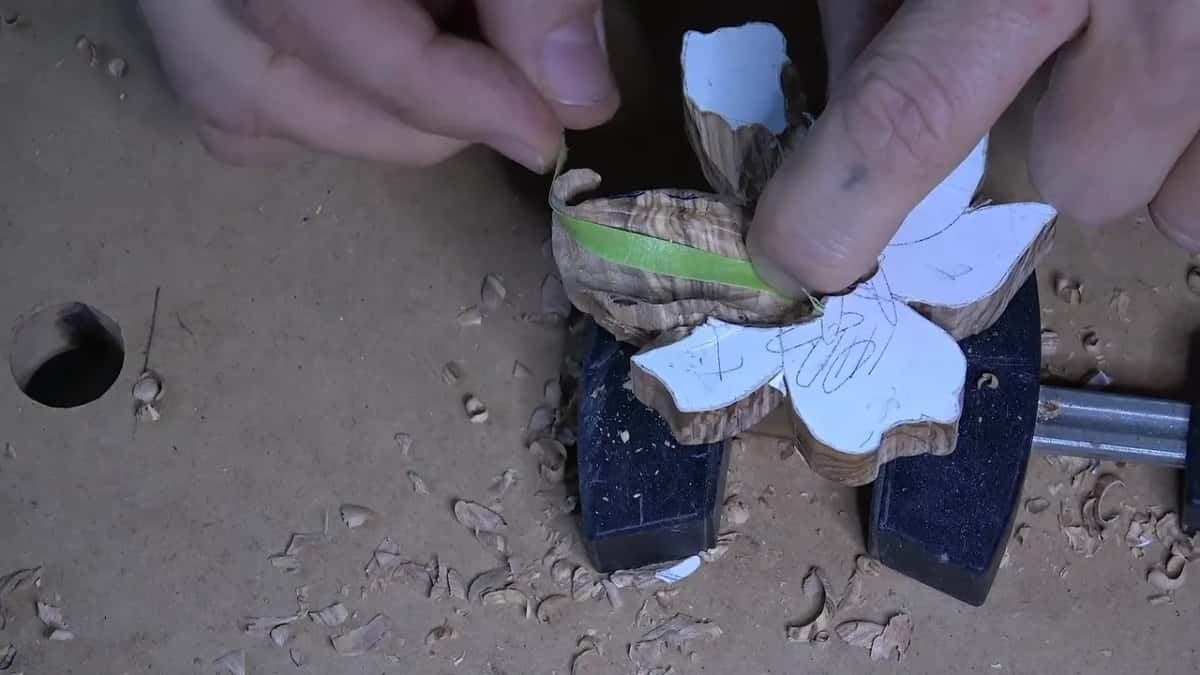
Next the same strip goes on the next petal, laid right in the middle from the center, and I can see exactly where that petal is supposed to stop. One petal curls under so far that its end sits on the backside, so that is where I marked it. Really important, I said, or it is not going to be as accurate.
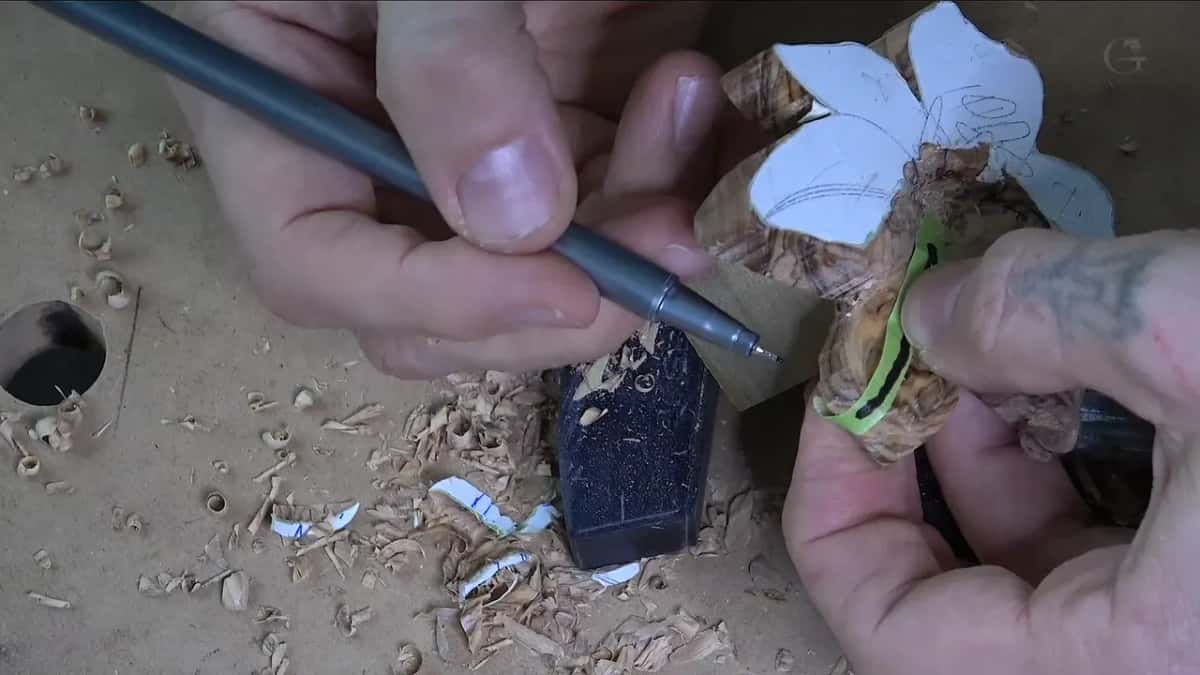
A few petals later the tape said I was really close, and with the concave finished I would be right on the money. From above they all look different, and measured on the wood they match.
Every one of those checks happens on camera, petal after petal, in the full lesson.

What do you do when a petal comes up short?
Give it more curl, or a deeper hollow, until the tape reaches the mark.
A different petal had to look really short and still carry the full length. Wrapped with the tape, it still measured long. I had to curl it somehow to make about the same distance. It could go one way or the other, and one of those would have repeated the shape next to it. I do not like that much repetition, so I sent it the other way, and it looks much better.

Another came up slightly short. Pushing the hollow deeper would have left me about 3 mm of wood, an eighth of an inch, maybe less. I curled the tip inward instead, and that put me back on the mark. It meant chopping a little off my original design, which is fine by me.
I could have left it. It was not a big deal. But if you want to be accurate to nature, to the creation, it is a really complicated mess, and for me being accurate to nature matters more than the drawing does.
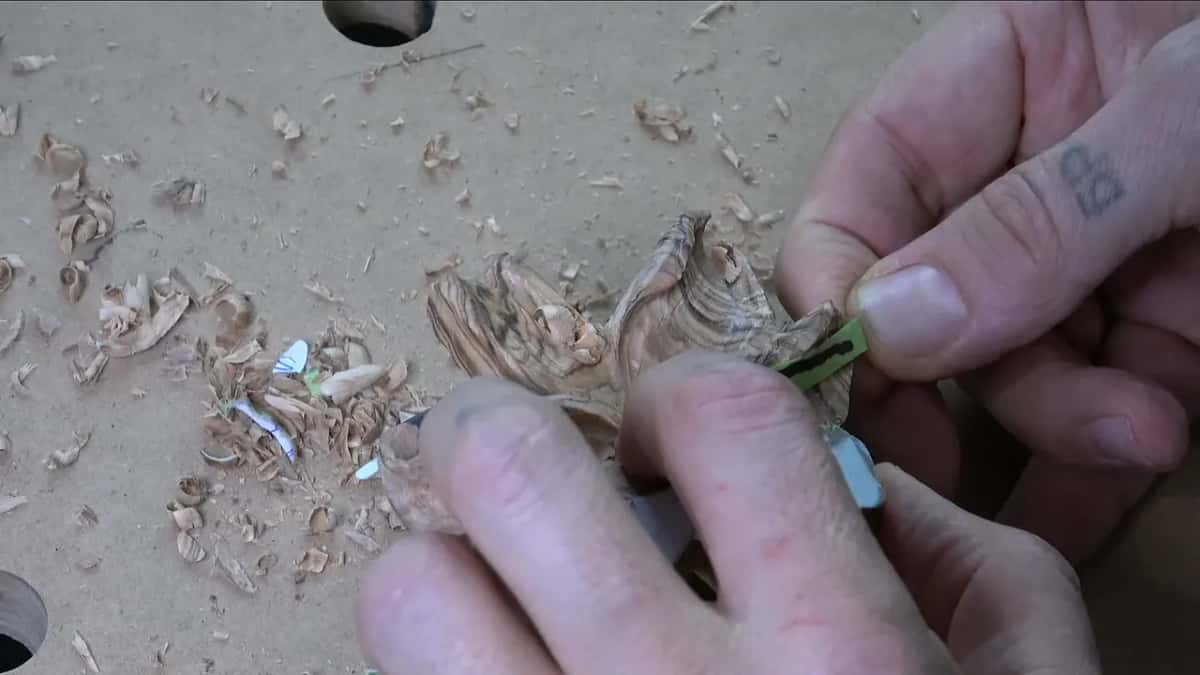
The shortest petal was the most interesting one. It had to curl all the way, and it was narrow for its place, so I chopped one side to widen it and curled both edges backward. A curl makes a petal look much bigger than it is. To make any flip look natural, I place the tool straight, then rotate it and go downhill.
The table puts the petals of this flower side by side, with what the tape said about each one and what I did next.
| Petal | What the tape strip told me | What I did about it |
|---|---|---|
| The longest visible one, curl and all, carved first | Nothing to fix | Its length became the rule for every other petal |
| Over the first layer | Room to drop on one side only | Hard curl on the free side, wood left where it crosses |
| A petal meant to look short | Full length had to hide in it | More curl, sent the other way so the shape beside it is not repeated |
| Slightly short | Deeper hollow would leave 3 mm, 1/8 in | Tip curled inward, a little chopped off the drawing |
| The shortest and narrowest | Narrow, with little room behind it | Chopped one side for width, then curled both sides backward so it looks bigger |
Do the petals of a carved lily all look the same?
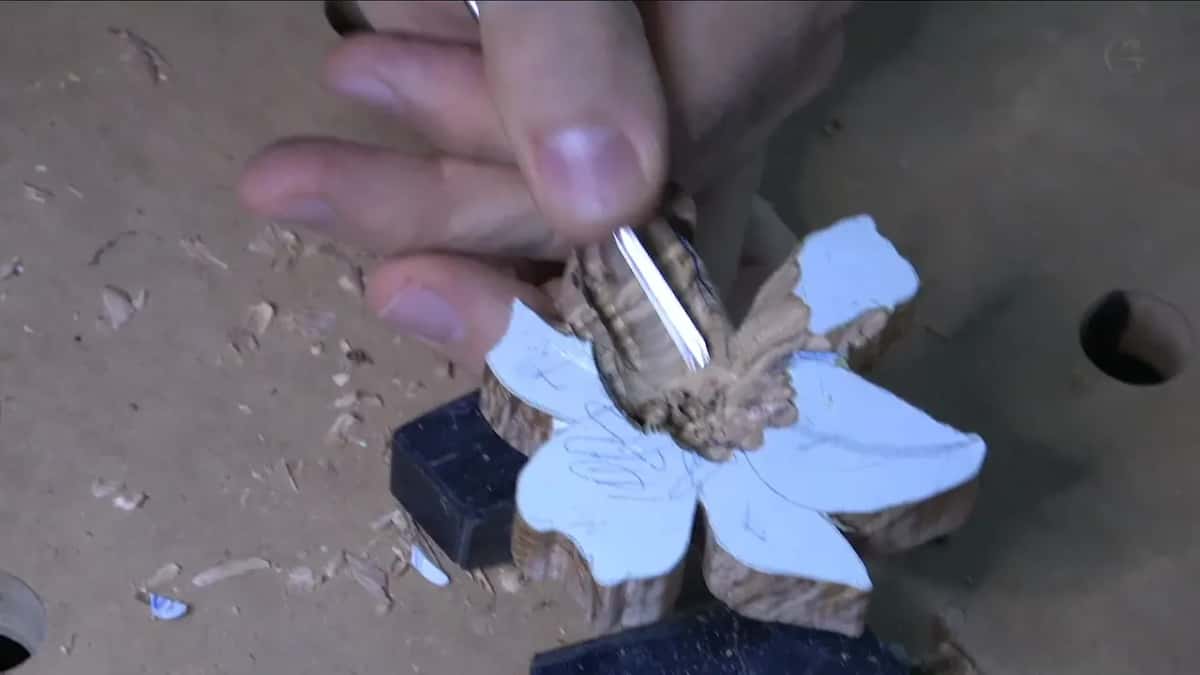
Only their length repeats. Each petal curls its own amount and stops in its own place, which is why no two match from above. A bloom of identical petals reads as something pressed out by a machine, and in the furniture panel course I explain why carved petals are left uneven. On a lily the length is the one thing that stays fixed. The curl stays free. So does the spot where each tip lands.
The room around each petal decided a lot of the curl on this lid. Where a petal passes over the first layer of the lid it has to stay high on that side, and where nothing sits underneath, it can drop nearly to the bottom. On other flowers the blank itself can suggest the curl. Either way the length holds.

Why do the petals sit on two levels?
A lily is made that way, in two layers, one set sitting a little above and the other a little below. For some reason, in nature, that is how it was created.
On a different type of flower I really would not care if a lower petal climbed over an upper one. In a lily it is a no-no. So I set the separation between them right away and keep each lower petal tucked underneath as I go.

Why rough out the lengths before any detail?
Roughing is framing. It looks really rough, I said on camera, and that is exactly what it is. If you are framing the main movements, there is no reason to pay attention to the final details yet. What I do want at this stage is no flat spots in three dimensions. Look from the side and every petal should arch.
The same goes for thin edges. No edge gets thin until every petal is established, and I left the walls thick enough to clamp with no problem. I kept some meat on the back for the clamp too. Get too close to an edge before the roughing is done and it turns fragile. I broke one in the sixth part doing exactly that and had to clean up the break before going on.
I also showed what not to do. Carving a hollow close to the dowel hole I had drilled, I told the camera, don't do it. Then I went all the way through. Yes, I struggle with that one, and I am always trying to overdo it.

What tools shape a lily petal in olive wood?
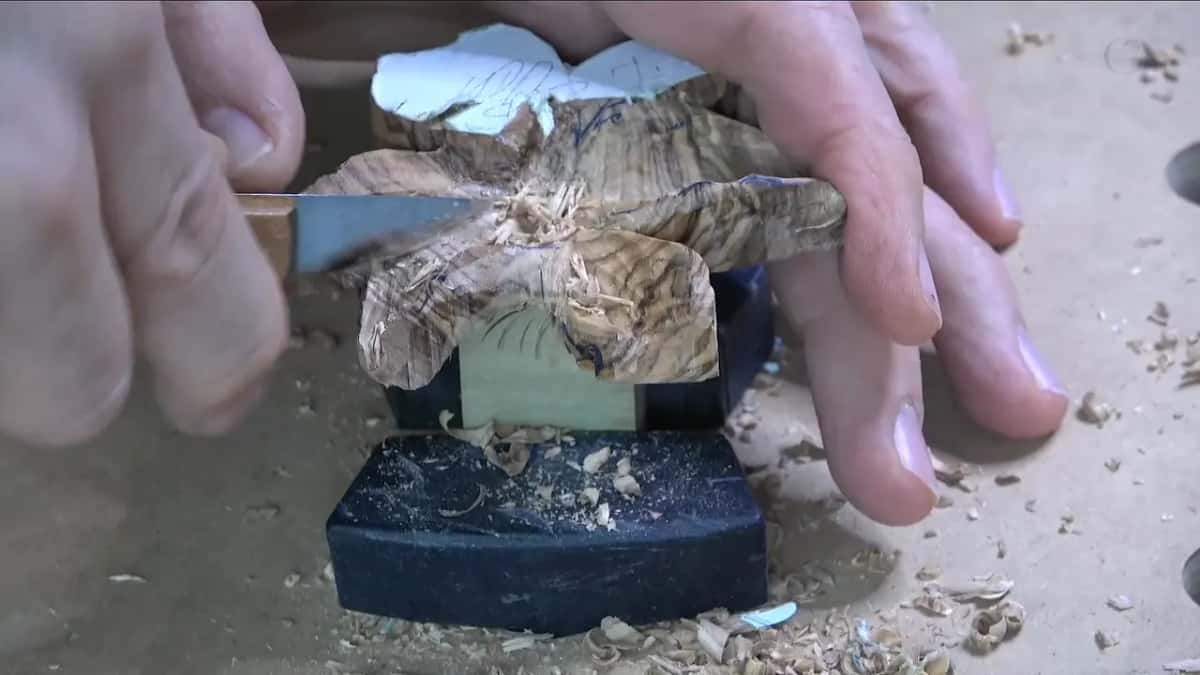
Small ones. And a chisel, more than you would guess. The number 1 double bevel I kept picking up is 10 mm, or 3/8 inch, and a number 1 is always a chisel. It rounds a petal and leaves a clean surface. A number 5 or 7 would do the same trick, only with extra facets on the back that you would see from the side.
For the hollows I used a number 9 at a quarter inch, and for the flips a number 8 at 1/8 inch, 3 mm, then a tiny one at 3/32. Under the curls it was number 11 veiners from 3 mm down to half a millimeter, about 1/64 of an inch, with a 3 mm number 5 back bent for the deepest undercuts. My favorite knife, a Pfeil number 12, could carve nearly the whole flower. The one thing it cannot do is the really extreme undercutting.
I picked up a number 16 V tool on this flower and put it back. In wood this dense it is easier to break one, and I wanted a round U at the bottom of each line where a V tool leaves a sharp one. Where the grain changed under the tool I wiggled it, the way jewelry makers work metal. Some carvers say that is not professional. Carving is my bread and butter, a hundred percent, and I wiggle all the time.
Olive this dense feels like working stone, and limestone would be easier, since limestone has no grain to deal with. Any wood is carvable, even ebony. It still beats the hard pine I had to carve a few years ago, harvested in the 19th century and so dry you could not drive a nail in it. Quite a few gouges broke on that job. This lily cost me a 2 mm number 11, and I was being careful. The little Dockyard gouges have never broken on me. My Auriou number 7 is sold as 6 mm, a quarter inch, and looks closer to 5, about 3/16.
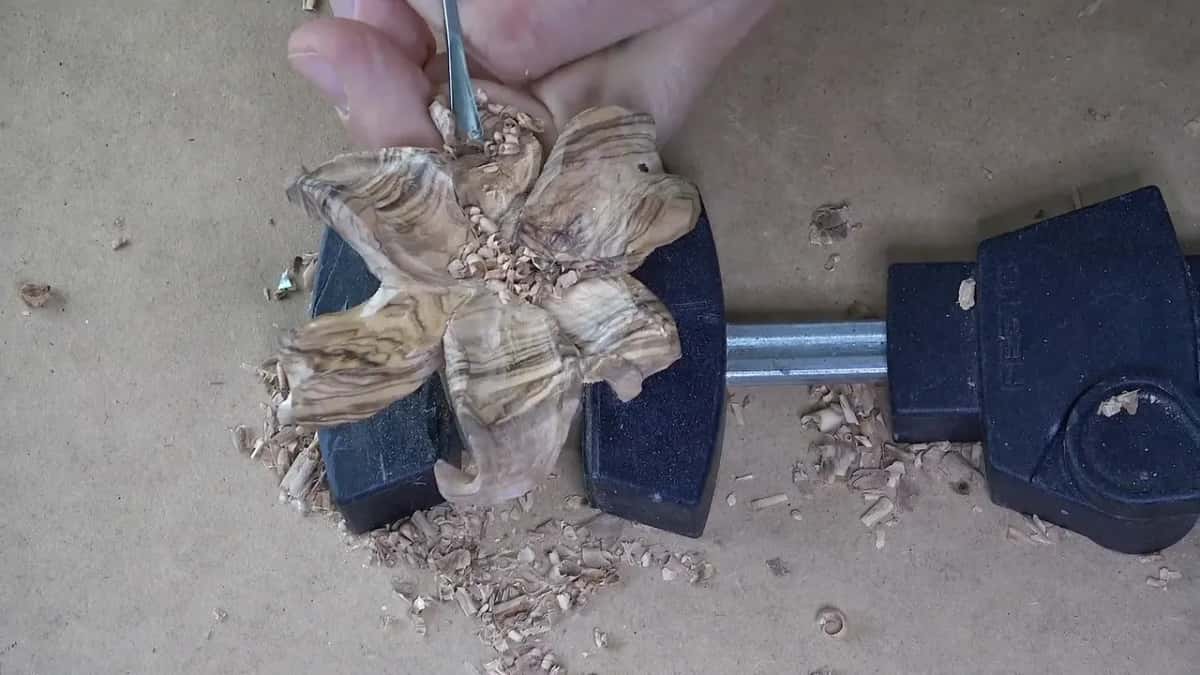
Where do your fingers go on a piece this small?
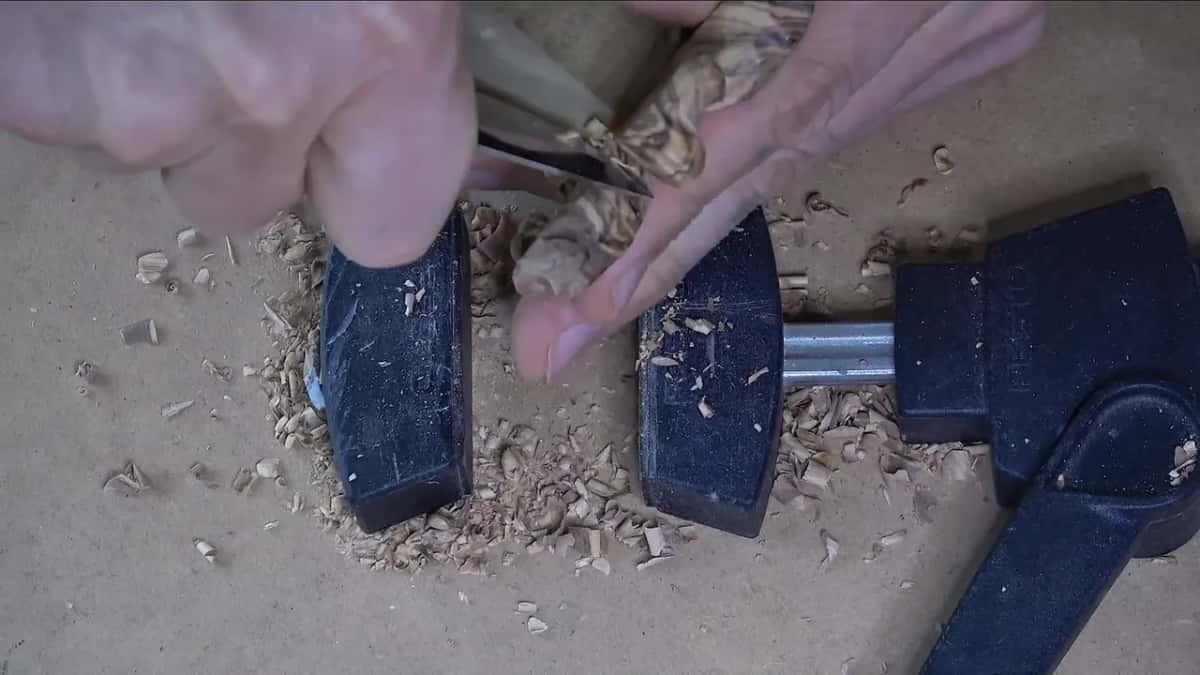
Watch my fingers in the sixth part. Two of them hold, and the other side of my hand is pressed hard on the table. That limits my movement, so I am not slipping. If you do not feel comfortable working like that, do not do it, because you can slip and cut your finger with ease. Limit your cut. Sometimes I put a finger underneath the petal as a support and hold the tool close to the edge for the tiny work, and in hard wood like this you have to be really careful doing it.
By the end of the fourteenth part the lily had its shape. For me, it does look like a lily flower. There are imperfections, and the one that bugs me a lot is a glued piece that still moves on its glue line when I touch it. The details come next, in lesson 11, and the small filler flowers after that in lesson 12.
If this is your first flower, carve one in basswood before you try olive. I said that on camera. The flower rosette course and the Hashemi flowers are both basswood. My granddaughter was visiting again while I filmed this one, and you can hear her in the background of part nine.
How it's done
- Dig out the heart. Hollow the middle of the blank like a small bowl with a number 8 or 9 at a quarter inch, 6 mm, and stop with roughly 2 mm of wood, under a tenth of an inch, left beneath it.
- Choose the petal that shows the most. Find the petal with the longest visible run and shape it before any other. Its measurement is the rule for the flower.
- Make a tape gauge. Trim a length of tape to 5 mm, 3/16 in, press it inside that petal along its whole length, and mark where it ends in black.
- Check every petal against the mark. Lay the strip into the next petal, starting at the heart, and see where the black line falls. When a petal curls under so its end sits on the back, mark it there.
- Curl the short ones. Where a petal falls short, deepen its hollow or roll its tip inward until it reaches the line, and trim the drawing if nature asks for it.
- Keep the edges thick. Leave every rim and the wood underneath heavy until all the petals are roughed out, then come back for the undercuts and the details.
Frequently asked questions
What kind of tape works as a petal gauge?
Plain masking tape, the green kind, trimmed to a strip roughly 5 mm or 3/16 of an inch across. Tape that narrow bends down into a hollow petal and lies along a curl without lifting. A black marker line on it holds the length, so the number travels from one petal to the next.
Where do you start measuring a lily petal?
Start at the center point, the spot the whole flower points at, and follow the surface to the very tip. Stay inside the hollow and ride over the curl the whole way, since a straight ruler skips exactly the length that a curl adds to a petal.
Is basswood easier than olive for a first carved lily?
Much easier, and I encourage students to try the flower in basswood first. On basswood I would reach for a spoon gouge right away for the hollows. Olive wood is dense, the grain changes direction under the tool, and some spots feel like carving stone.
What to carve next