
Alexander Grabovetskiy, woodcarver, School of Woodcarving · Published 2019
How do you fill cracks and voids in wood while you carve it?
Quick answer: Filling cracks and voids in wood while you carve is mostly about timing. Hairline cracks take super glue, sometimes with chips pressed in after it, while a wider gap can take a filler or epoxy and a void can take plastic wood. Where a finish will show, carving the crack into the design can beat any filler.
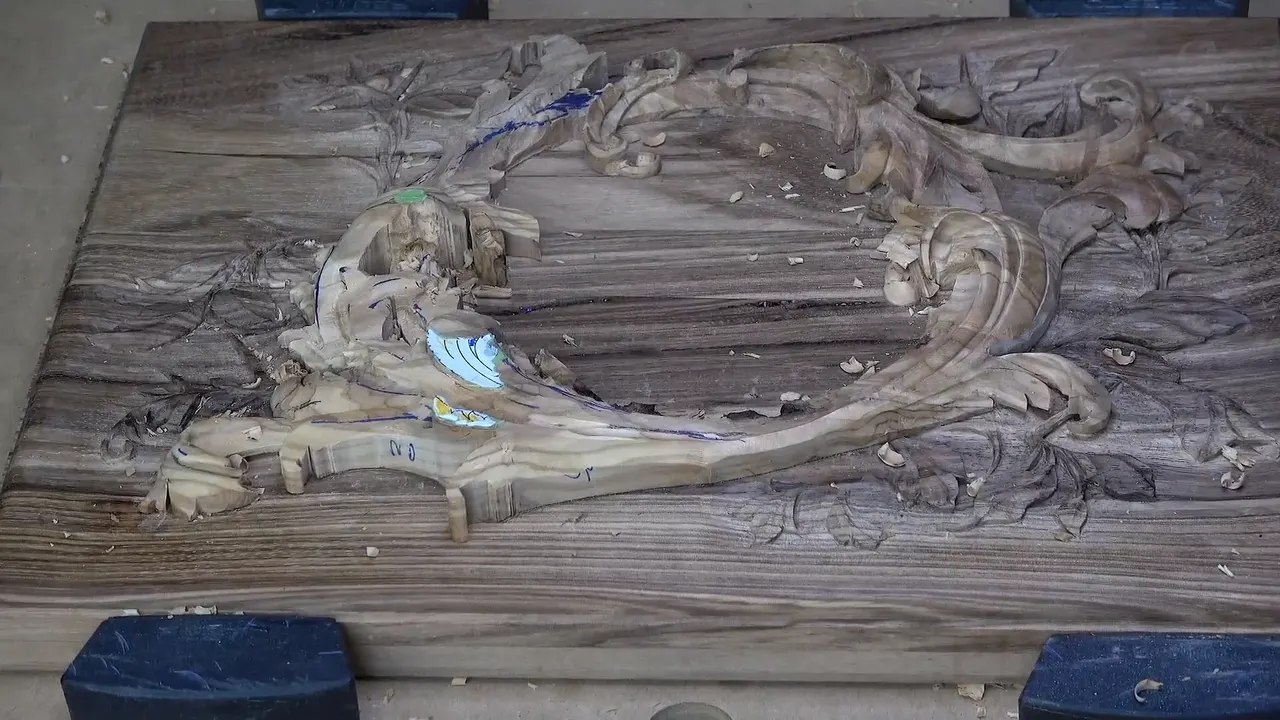
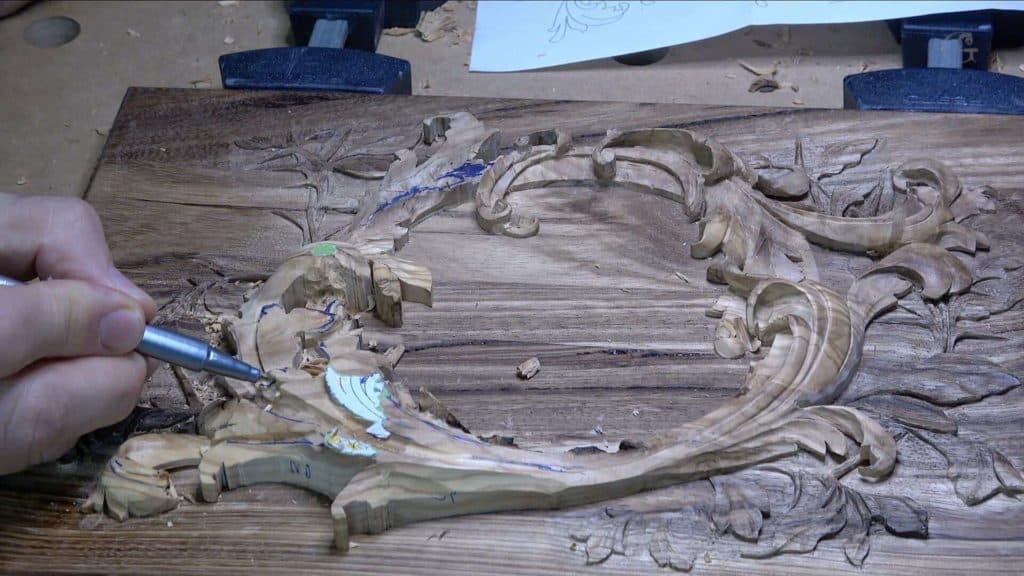
Filling a crack as you carve is a choice you can leave for later. Super glue goes into fine cracks, with a few carving chips pushed in. A wider gap or a void can take epoxy, a filler, plastic wood, or hide glue and chips. On this lid I kept carving and waited to see how each spot looked.

Ever found a dark line in a board you paid good money for? Carve around it, or throw the board out? Then look at what I would put into a crack, and at the times I put in nothing at all.
This is the second layer of a lily box lid, olive wood sawn out on the scroll saw and laid over the acacia. Thirteen videos of it, a little over four hours, and the wood opened up on me more than once. From the fifth video on I worked under a magnifier lamp, and the camera keeps adjusting to it, so the colors shift from picture to picture.
What went into the cracks, and what waited
- Hairline cracks can drink super glue, and carving chips can follow it in.
- A piece that came loose went straight back, glued to its break and to the lid.
- Epoxy or a filler stayed on the list for the gap beside it.
- Plastic wood, the putty, came up for the voids.
- Hide glue with chips stirred in is, to my mind, less stable.
- On an open face a crack can turn into one more line of the carving.
What goes into a hairline crack in olive wood?
Plain super glue, and maybe some chips after it. In the middle of one long pass I said out loud how much I love this grain, just gorgeous, and in the next breath I was looking at the micro cracks inside it. I could fill those, I told the camera, with super glue run right down into the cracks. Maybe even insert some chips, carving chips.

How long that glue lasts in wood is a separate question, and I answer it in the tip on back cutting. The first micro cracks here sat right beside the volutes from the lesson before this one. I called that spot a really bad area, and near it you go carefully. The green tape marks a high spot.
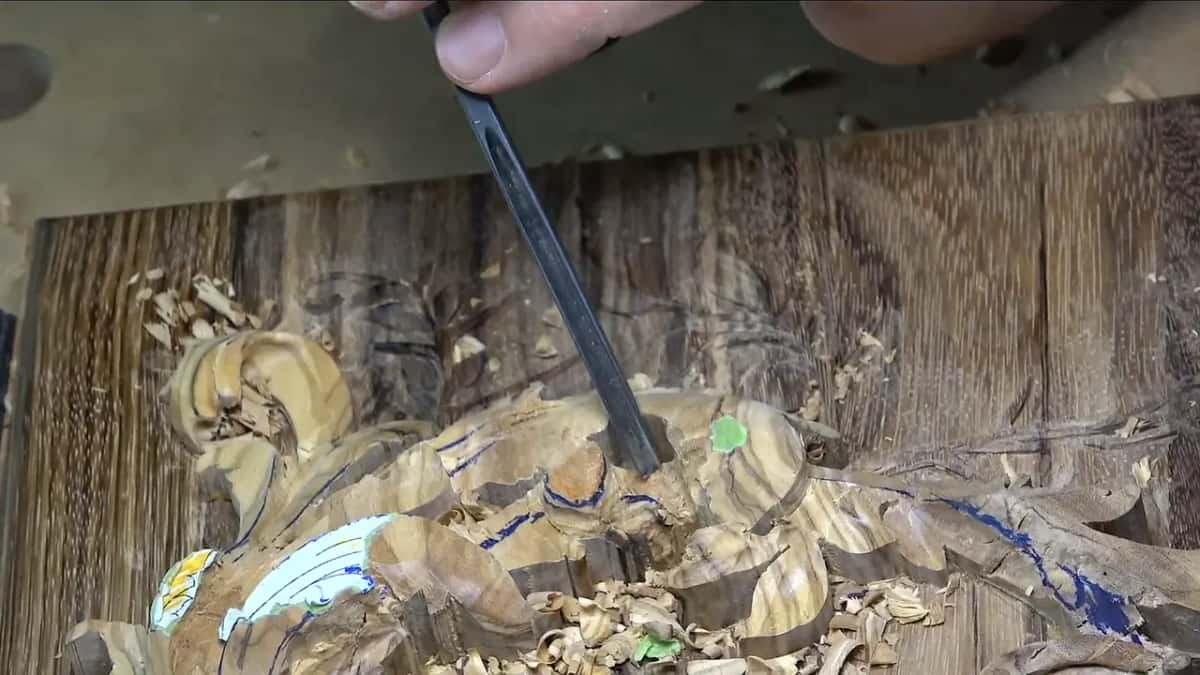
A little later a real crack showed up in there while I ran a line with a number 11 veiner, 3 mm (1/8 in) across, and my first move was not glue at all. I got even more careful and kept going. Soaking thinned glue into a fragile edge to make it stronger is a different job, and stopping a thin carved edge from breaking shows that one.
What do you do when a piece comes loose?
Glue it back right away, to its own break and down onto the background as well. Mine let go in the second video. I was taking a group of leaves almost down to the first layer, and it felt like there was no glue under them. Yep, that was exactly what I was afraid of.
Two things gave way together. There were micro cracks inside, and there was no glue under that spot, which I had chosen not to put there. The overlay was glued only down its center line, lesson 5 explains why, and that leaves the edges more fragile.

It happens. What can you do? More glue went in, onto the break and onto the lid underneath, and I did not think it even needed a clamp. I pressed it down by hand, left that area alone, and went to carve somewhere else. Later in that same video I lowered more leaves nearby, because they were really too high, and I did not touch the one I had just glued.
I did not want to see any squeeze out, but it came anyway, so there was cleaning to do later. When that time came, in the thirteenth video, I shaved off the glue and only the glue, without digging into the first layer under it. That is why I keep glue back from the edges of an overlay. Whatever runs out to the sides, you have to clean off again.
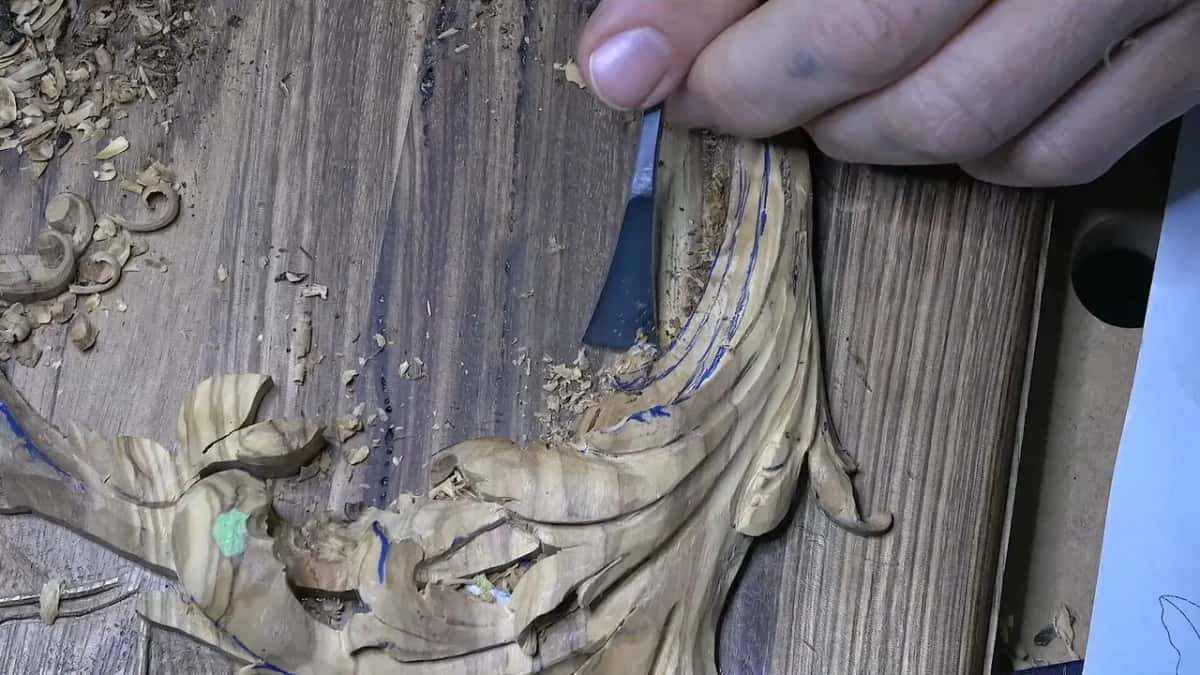
A dry edge has its good side, though. Seven videos in, I started an undercut along a dry edge, and I said it should be easy. I hoped so. Yep, no glue, and the waste came away easily and blended nicely.
Small details that have no glue beneath them are another story. Back in the fourth video I left only about 3 mm (1/8 in) on their sides, no more than that, and even with the mallet I went really carefully.
A chip that snaps off a thin carved part is a different case, and what to do when a carved part breaks covers that one. Mine belonged to the overlay, and back it went.
Can you fill a void with epoxy or plastic wood?
Both were on my list. By the time I came back to that loose piece it was glued, and I thought it would look better that way. The question was how big a gap would stay beside it. That depends on the crack. So maybe a filler, maybe even epoxy.
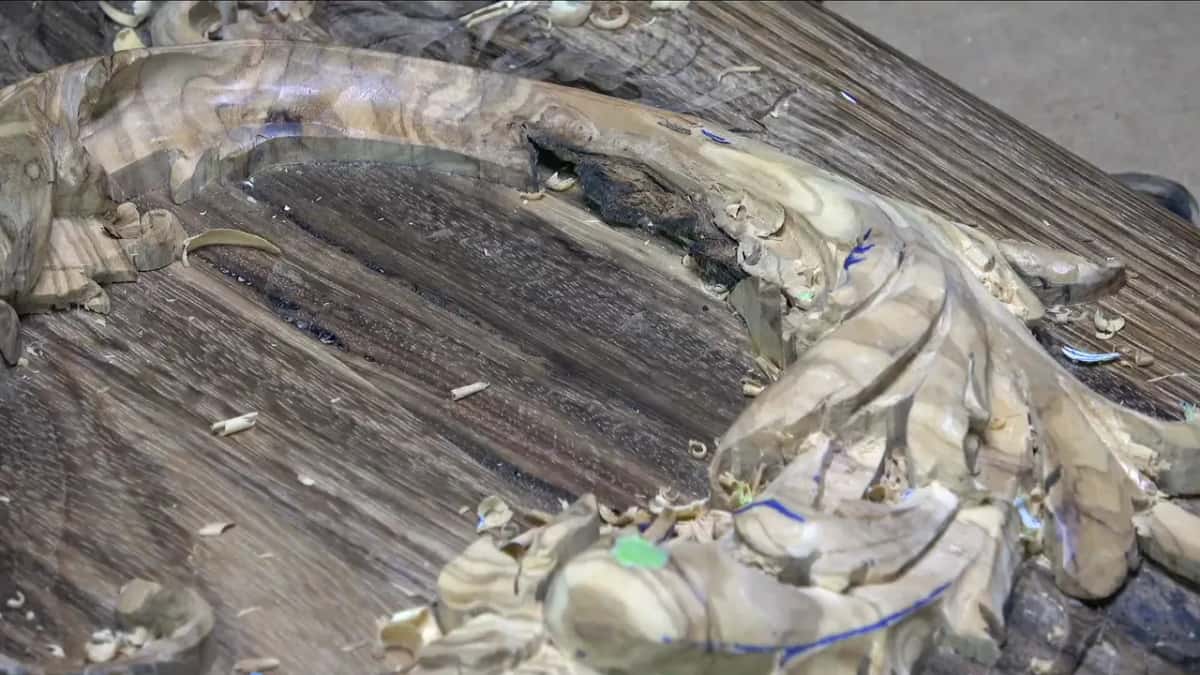
The last video turned up a crack on the inside, right where a small flip was going. Then I corrected myself and called it a void. A few minutes later I said it plainly: this wood has lots of voids. I could fill them with super glue. Or I might use plastic wood, a putty sold under that name.
Still, I was not sure I should. We'll see later on. If I don't like how it looks, I'll do it.

With hide glue I would mix some chips into the glue and fill the void with that paste. But hide glue is not as stable. Of course, that is just my opinion, and I said the stable part twice.

Much of this area will sit under the lily flower, which comes later in the course. I cleaned it anyway, because somebody might look at the box from the side, really low, and see it. A number nine, a quarter inch (6 mm), chopped the roughness out, and a flatter number five found the closest matching line, all the way to the first surface.
The open face of the lid is another matter. Two lessons later an opening of a couple of millimeters, about 1/16 in, turned up where a finish would show it. I said no to filler and epoxy there, because both would be too noticeable once the finish goes on. That crack became extra details in the carving instead, in lesson 9.
| What goes in | Where on this lid | What I said about it on camera |
|---|---|---|
| Super glue, then carving chips | fine cracks | could fill those, and maybe even insert some chips |
| Plain super glue | the voids this olive kept turning up | if I don't like how it looks |
| Plastic wood | those same voids | or maybe I'll just use that |
| A filler, or maybe even epoxy | the gap left beside the piece I glued back | depends on the crack |
| Hide glue with chips mixed in | voids | not as stable, and that is just my opinion |
| Nothing at all | a crack that a finish would show, two lessons later | too noticeable under a finish |
When should you wait before filling a crack?
Wait until you can see the shape around it, because the crack may end up as part of the design. I made a mistake in the fifth video and said so out loud. That is no bueno. Maybe I should have gone deeper first, but I still had plenty of meat, plenty of wood, so I could still go a little deeper.
Right there, next to a lot of cracks inside the wood, I kind of liked what just happened, and I said maybe I would just follow that natural movement.
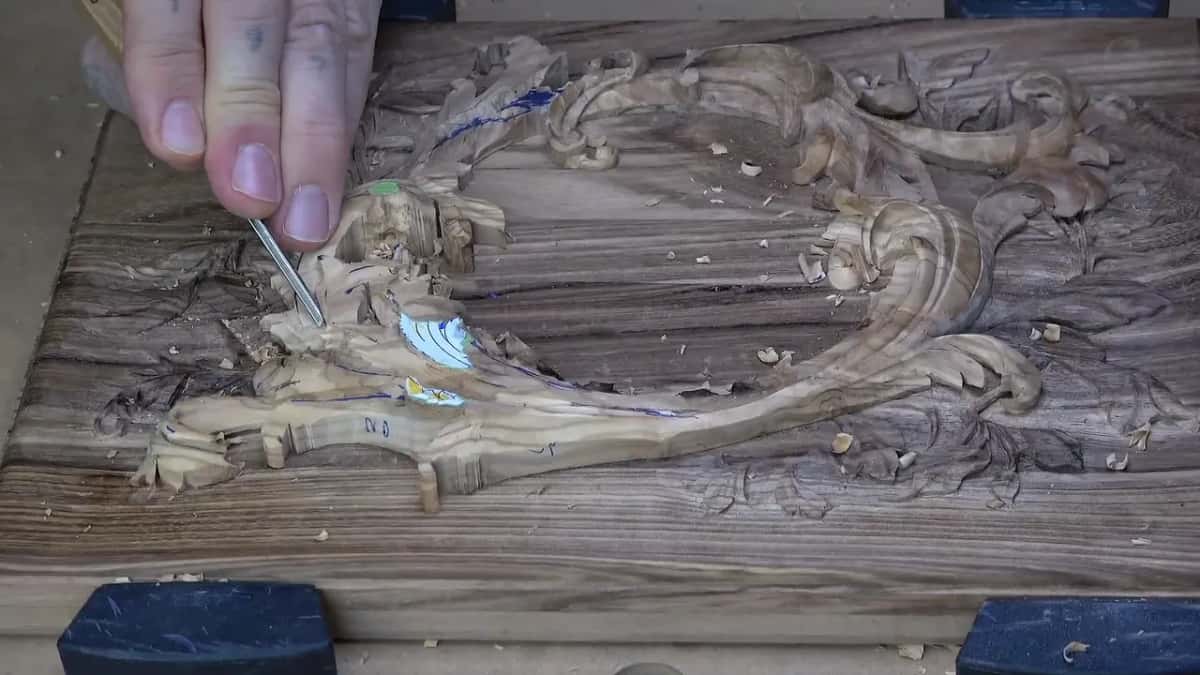
Later, beside a rough knot spot, I went for a concave that might get rid of some of the roughness and said maybe I would change the overall design. Then I exposed even more roughness. Maybe I have to be creative and create something right there.
One movement I had drawn fell right on that rough patch, so I planned to take it out and make that part of the design a little better. The rest of the rough spot was going into the undercut, where nobody would see it at all.
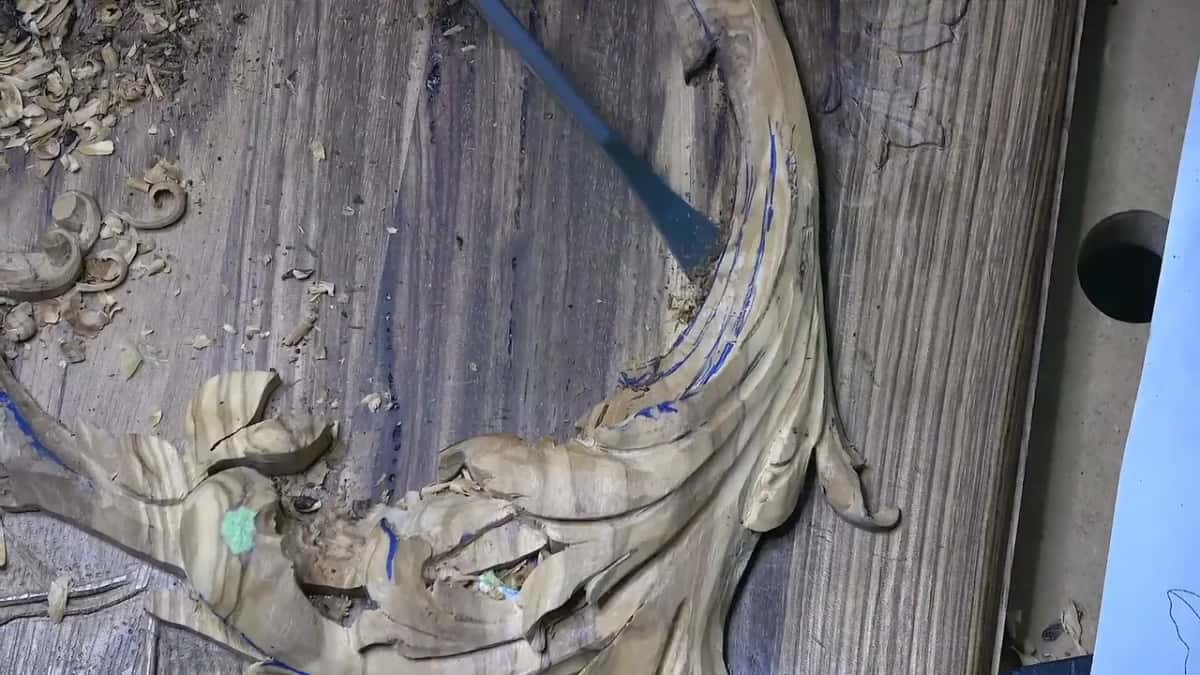
At the very end the roughness made one more decision for me. There was so much of it under one small part that a concave cut was out, so I curled that part inward instead, with a number five and then a number eight. It is a really tiny detail. Up close and from the side, it actually looks not bad at all.
I looked at all the cracks on the side of the wood too. They did not make me too happy. But it is okay. We will see how we can take advantage of them.
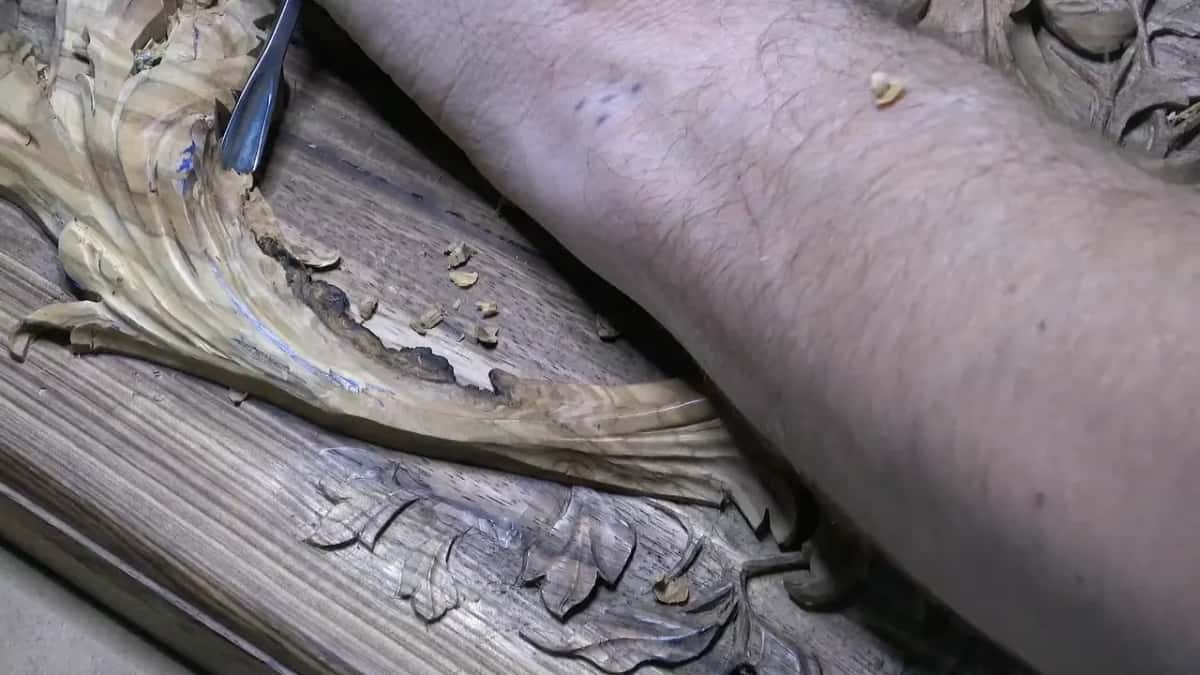
Cleaning waits for the same reason. You may see a rough spot on camera and wonder why I leave it there. I saw it too, but I wait until the final movement is there before I clean, because cleaning before you finish is an easy way to overdo it. Rushing does not help either. Near the end I skipped a relief cut, caught it, and went back for it, since sometimes rushing things is not the best idea.
A crack is not a reason to put the gouge down, and carving a board that already has a crack in it says the same thing from another bench. If you want all thirteen of these videos, with my mistakes left in, they sit inside the school.
How do you keep carving next to a crack?
With smaller tools and less force than you want to use. Near those micro cracks I tried a number seven, and it was not a good idea. A gouge about 10 mm (3/8 in) wide still felt shaky, so I went down to a number five, a quarter inch (6 mm) wide. With nothing glued under those small details, losing even one would hurt, because they make a world of difference.

A bigger tool is always quicker, but only when it is safe, and here it was not. The grain kept catching my tool as well, and I told the camera I was catching the grain of the wood, not a migraine.
A little after I found the cracks on the side, I kept every motion small, so the tool would not catch any grain. I was really cutting there, not chopping. Where it still caught, I came at it from the other direction and rotated the tool as it went, slicing. My finger stays close to the edge, too, to control the depth.
In that same last video, under one fragile curl, I was almost scratching the wood out rather than carving it. Then a spoon gouge, a number 11 about 2 mm (5/64 in) across, went in, and not deep, because that material was really fragile and overdoing it is always possible.

Somewhere in the middle I stopped digging on purpose. I did not want that part too weak, since the idea is that this box gets used every day.
Where were the cracks hiding in this olive?
Mostly inside the wood. The overview of this lily box course covers what olive does, so I will only tell you what this one layer showed me.
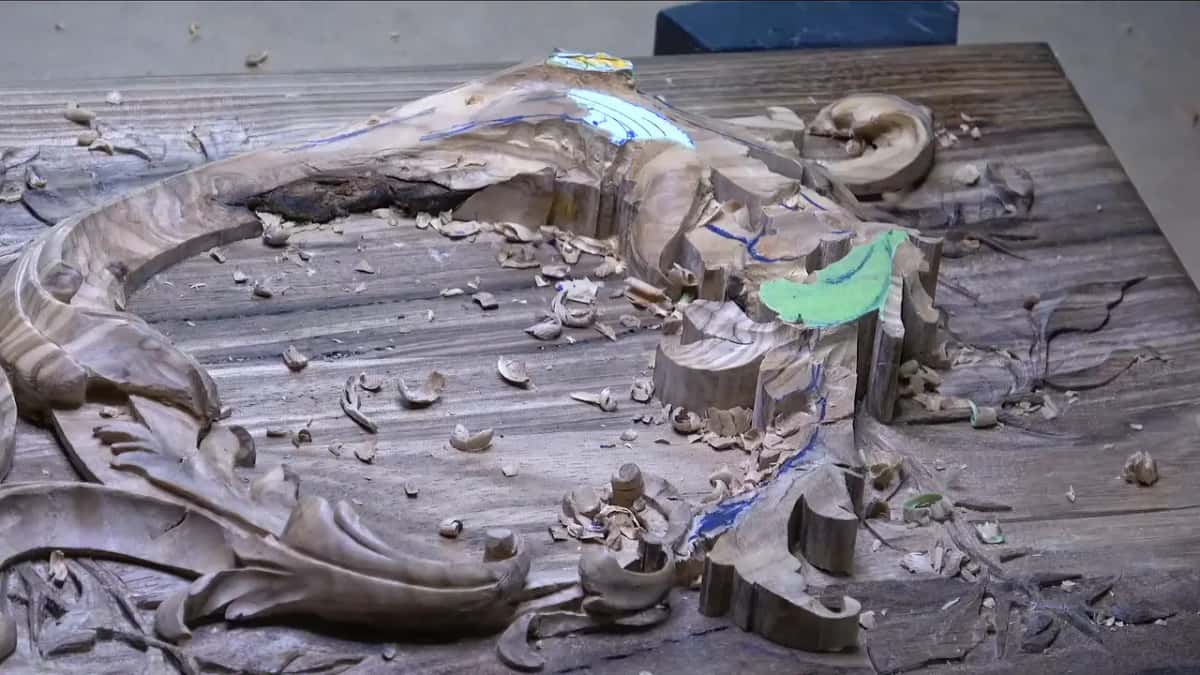
There were micro cracks next to the volutes, a crack by the leaves, more along the sides of the layer, and a few spots that were more void than crack. It also looks like this wood is not really dry, which does not help. The science of wood drying is written up in the Wood Handbook from the Forest Products Laboratory.
The layer itself is an acanthus movement in relief, thin in places. When I cleaned up one sawn edge I blamed the scroll saw, then took it back. The mess was mine, left from my own sawing.

What does the lid look like when this lesson ends?
Really nice. Except the cracks, which I should probably deal with. That was my own verdict late in that last video, and I was happy with it, at least for now. The last thing I did was a long notch, then I felt it with my fingers, because some of it you cannot see.
The piece I glued back is holding. The gap beside it is still waiting for its filler, if it ever gets one. The next lesson keeps going on the same layer.

Is there a board in your shop with a crack you have been afraid to touch? What would happen if you carved it anyway and decided about the filler later?
How it's done
- Keep carving near the crack. Work the area around it first, because the finished shape may hide it or use it.
- Glue a loose piece at once. Set it back on its break and onto the background, press it by hand, and leave that spot to set.
- Run super glue into hairline cracks. Let the glue soak down into each crack, then press carving chips into the opening.
- Pick a filler for a wider gap. A gap left beside a repaired piece can take a wood filler or epoxy, depending on the crack.
- Choose a fill for voids. Either plastic wood or super glue can go in, and hide glue mixed with chips also fills a void, though I find it less stable.
- Leave a show face unfilled. On a face the finish will reveal, carve the crack into extra details instead, as in lesson 9.
Frequently asked questions
Can you use super glue to fill cracks in wood?
For hairline cracks, super glue is the first thing I named on this lid. It goes right into the crack, and carving chips can be pressed in after it. Still, I took my time. I kept carving first, so I could see whether those cracks would still bother me once the shape was there.
What is the best filler for voids in olive wood?
For the voids in this lid I named super glue first, then plastic wood. A paste of hide glue and chips works too, though to my mind it holds up less well. I had not decided on any of them when the lesson ended. I wanted to see how each spot looked first.
Why did a piece of the overlay come loose?
Micro cracks in the olive, and the glue I had left out underneath. The olive layer had glue only along its center line, so its edges had nothing holding them from below. When I took a group of leaves almost down to the first layer, that piece let go, and I glued it straight back.
What to carve next