
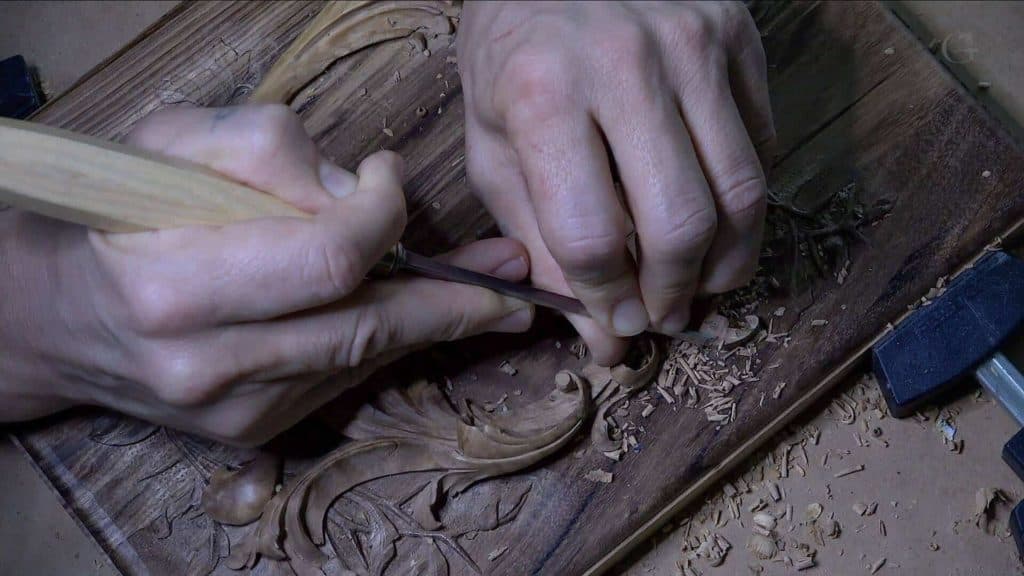
Alexander Grabovetskiy, woodcarver, School of Woodcarving · Published 2019
How do you hide a crack in a wood carving?
Quick answer: Hiding a crack is mostly a question of what the crack turns into. On this olive wood lid I left filler and epoxy out, since on the carved face they would show once the finish went on. Each of the three cracks became a new detail or separation, carved as if it had always been in the drawing.
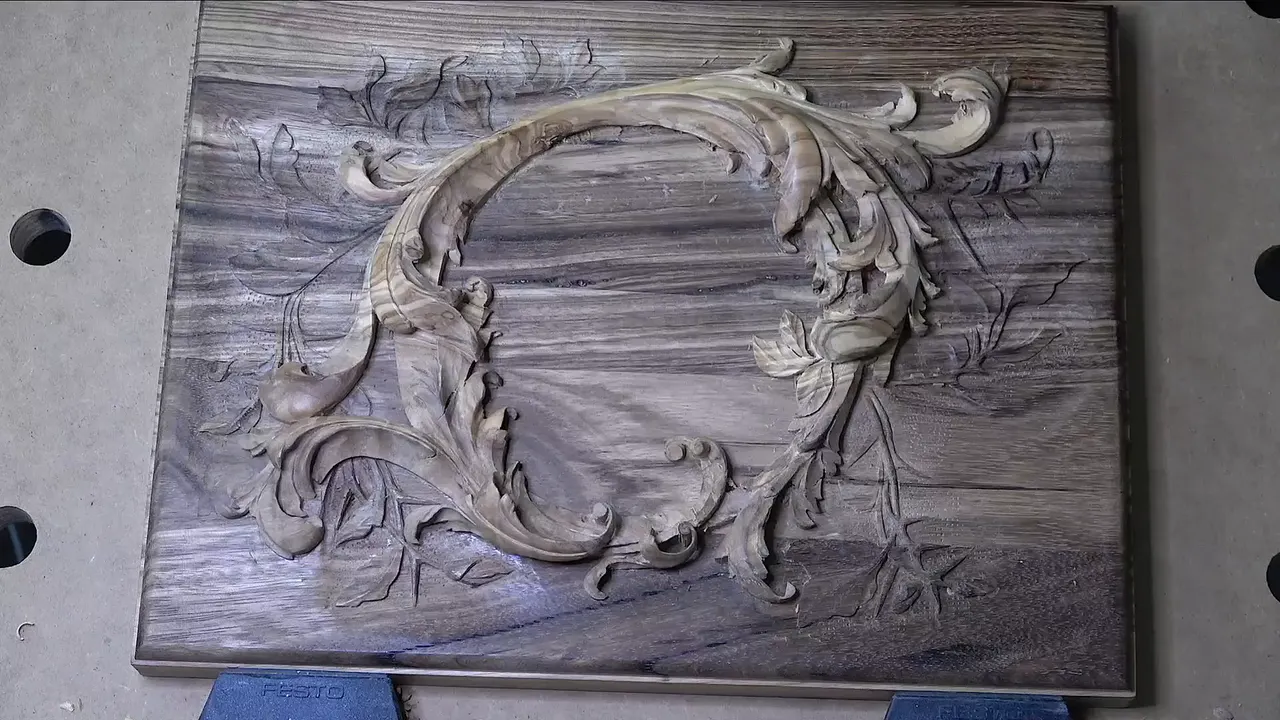
Hiding a crack in a wood carving is a design job more than a repair. A crack a couple of millimeters wide, about 1/16 inch, opened on the show face of this olive wood lid. I left it unfilled. Instead I carved new detail along it until the crack read like a line I had planned from the start.
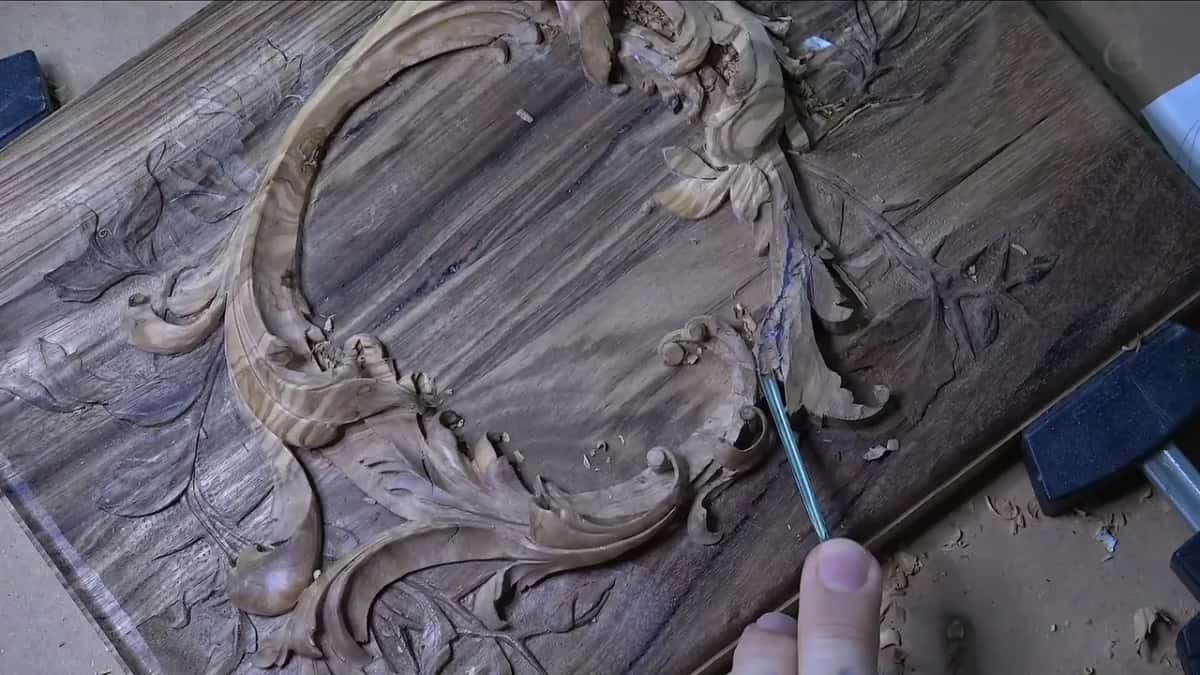
Has a gouge ever dropped into a hollow you could not see from the outside? Did a thin dark line open across a leaf just as the shape started to look right? Olive wood does that. Three times in one lesson it happened to me here, and all three times I answered with a gouge.
This lesson finishes the second layer of the Bible box, the one with a lily among thorns on the lid. That layer is olive wood laid over the darker acacia of the first layer, and it started back in lesson 4, so if you are coming from lesson 8, this is the last stretch. It is also one of the worst areas of the piece, full of micro cracks and voids you cannot see from the top. I said so on camera. After that I brushed the chips away and kept going.
If you already knew about a check before you started, that is a different job, and I covered it on a curly kitchen cutting board. This page is about the crack that opens in the middle of the work, on the side everybody is going to look at.
Three cracks on this lid, and what I made of each
- Treat a crack on the carved face as a design question long before a glue question.
- Filler or epoxy would have shown here.
- Take the wood down around it, then give the crack a job in the pattern.
- Relief cut first, then keep to the tiny gouges.
- Quit one pass early whenever the olive starts fighting the edge.
- A small concave and a clean undercut are what make the new line read as a separate piece.
Where do cracks hide in olive wood?
Inside the slab, out of sight, until an edge opens one up. The first warning on this section was the roughness of the material under my number 9. After I lowered the area and cleaned it, I could see big cracks again and a lot of void inside. Even the tiny spot where one curl hangs on by almost nothing had a micro crack.

The knots in this slab I had designed around long before, and that is its own subject; here is how I carve beside a knot on a furniture panel. Cracks give you no such warning.
Basswood usually spares you this. When you're working with basswood you don't have those issues, and I said so right in the middle of this crack. Olive is harder, the grain is gorgeous, and you never know what is inside of the wood until you are in it. There is more about that trade on the course page.
Why not fill the crack with epoxy?
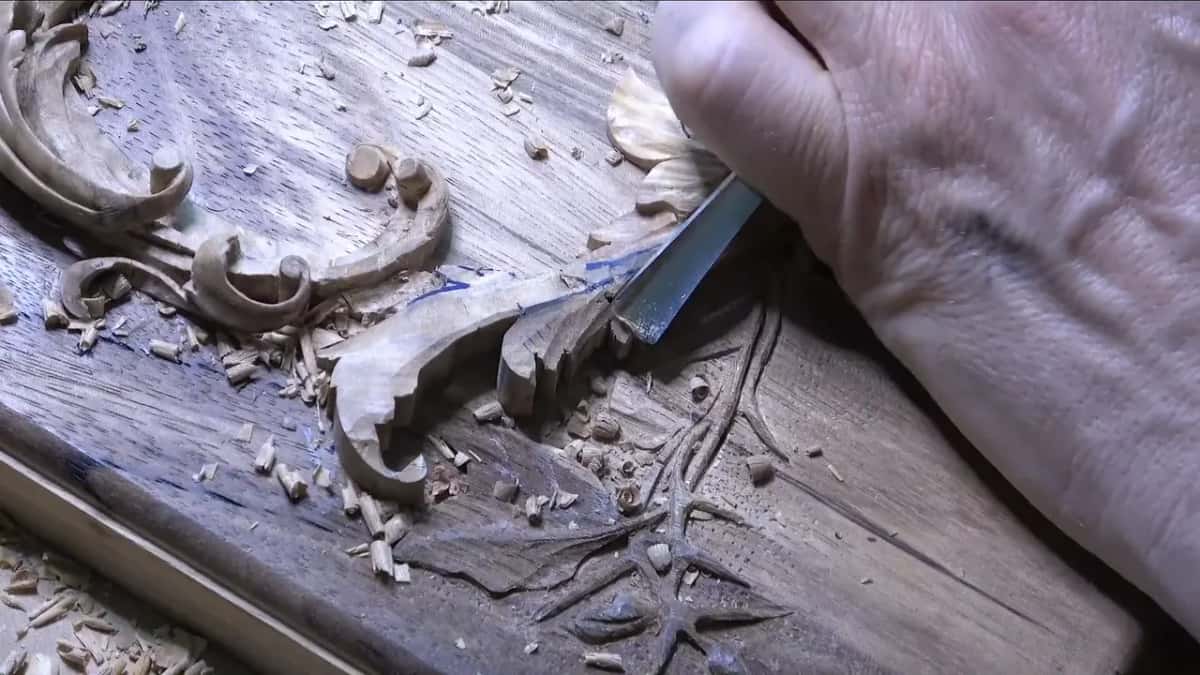
On a show face, it would have shown. The opening was a couple of millimeters, around a sixteenth of an inch. I could have used some kind of filler, or epoxy. Once the finish goes on, though, a fill that size gets too noticeable, and it would not look nice.
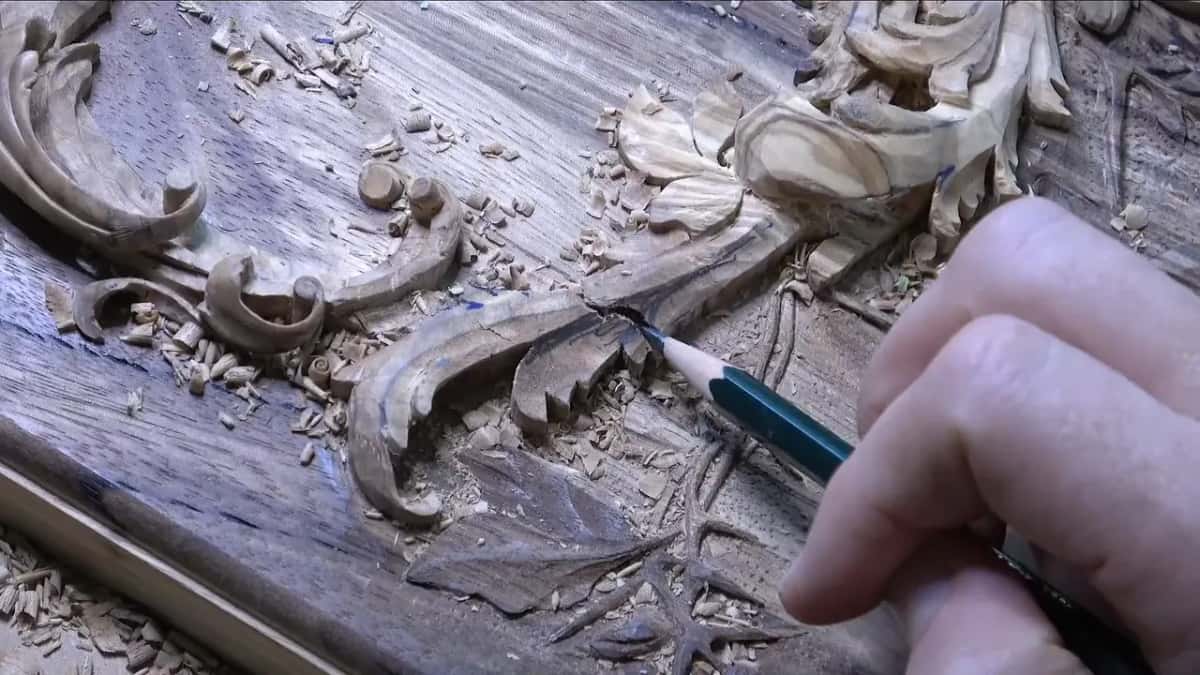
That was my call for this spot, on this lid, and only there. Later in the same course I carved a hole right through the lily by mistake, and for that one I did use a pre-colored epoxy putty stick, mixed and filled from the back. You can watch it in lesson 11. Filling a hole through the middle of a flower is one job. A crack across the face of a finished layer is another.
Filling is the other road, and lesson 7 of this course goes down it. For this crack I wanted the carving itself to do the hiding.
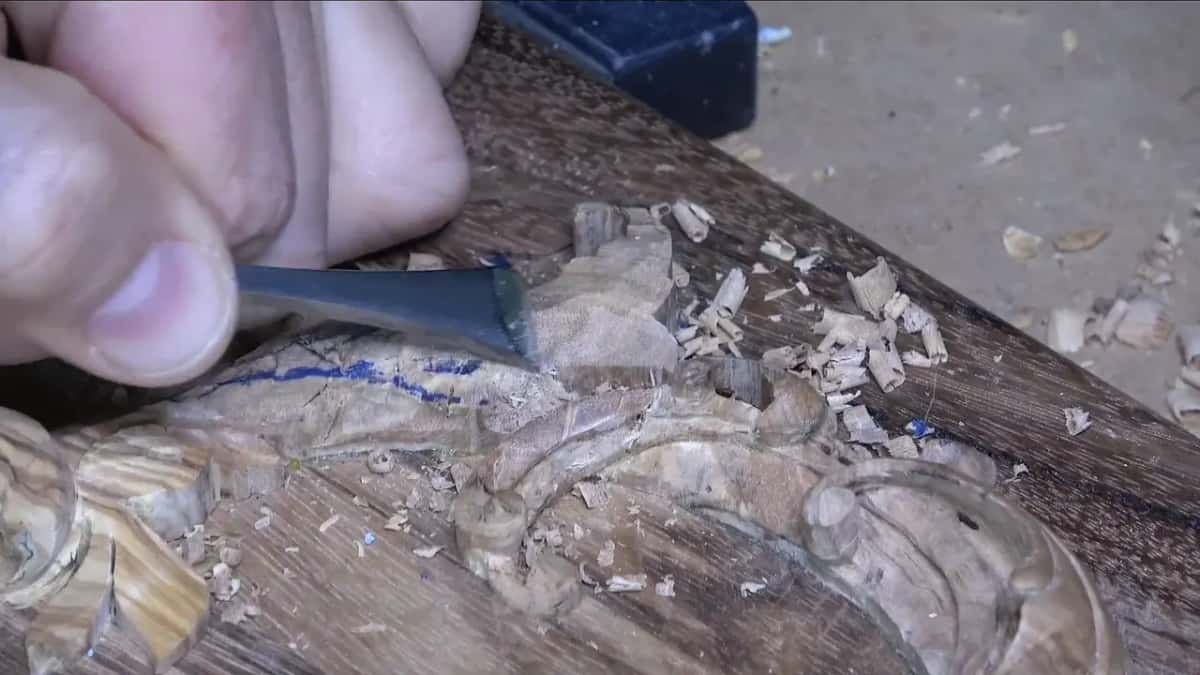
How does a crack become part of the design?
You give it a job. When I first looked at this crack I wondered whether I could take advantage of it, and honestly, I doubted it. Then the plan came together: a secondary detail right above the crack, the part below sloped downhill, another secondary detail beside that, and one small detail running underneath.
So I took the tool and sloped both details downhill first, then developed the upper part. Yes, it is a change to the design. But it is what it is. I called it another opportunity to create something different.
One small piece was still untouched. Originally it was supposed to go below, but I had left it to the last moment, and it's good that I did. Now it could belong to the upper movement instead.
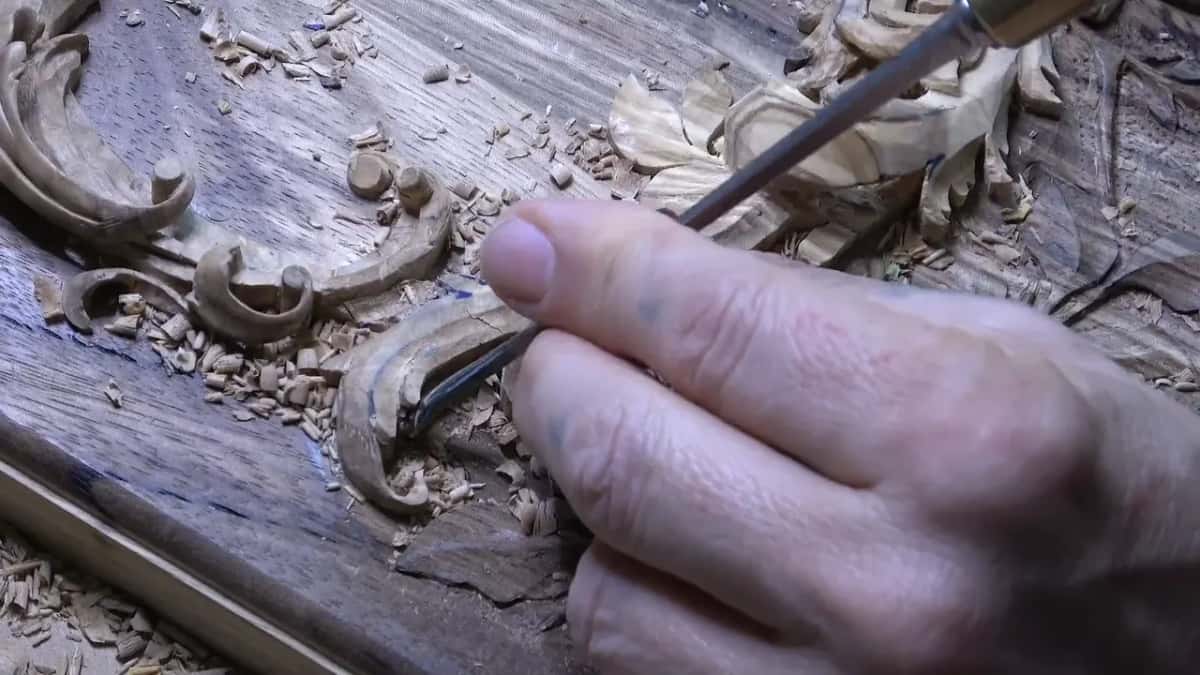
At the start of the next part I did not like how that detail looked. Too many repetitions of the same distance, right here and right here. So I let the upper leaf cover that detail, and the lower piece now reads with the first layer below it.
I pushed the idea further from there. Using a number 3 half an inch across, about 13 mm, I gave the new separation one clean line, nice and sharp, then went back in with a smaller number 3 to develop the detail. When it was done I said it out loud: a really nice separation, and we took advantage of a natural imperfection.
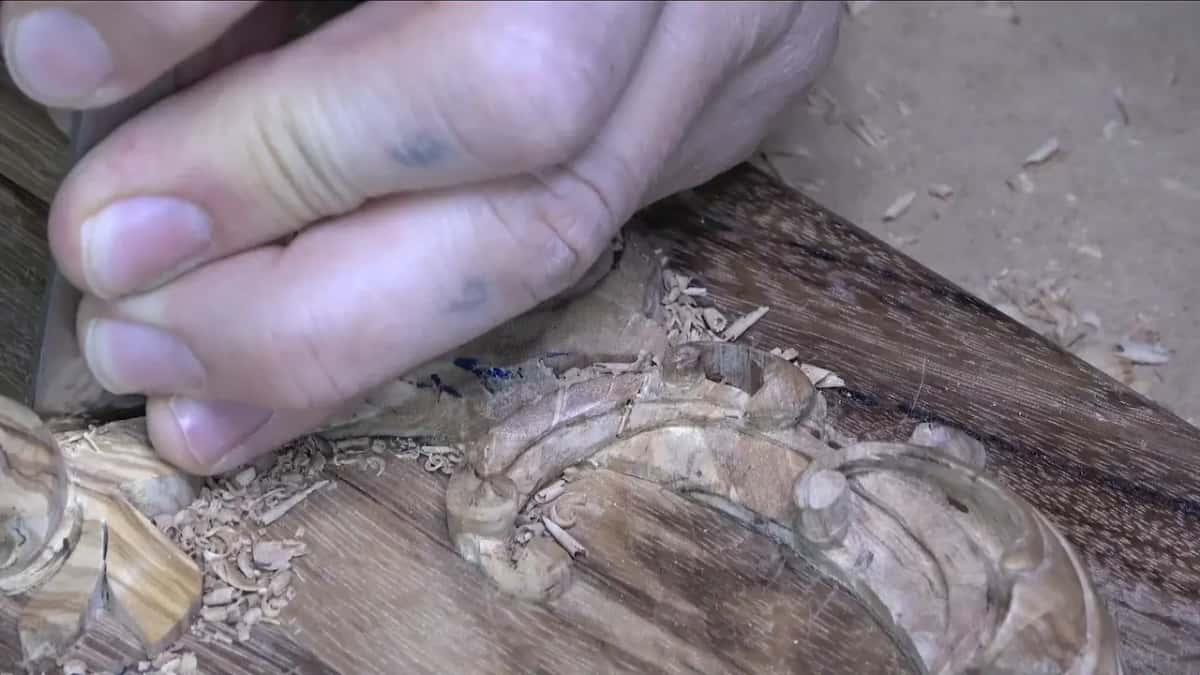
I usually like to see three divisions in a detail like this. Here I only had two, one separation giving two parts. Not a big deal.
| Which crack it was | What I did about it with a gouge | What the lid shows now |
|---|---|---|
| First one, right beside the flip | Both details sloped downhill and new detail carved above it | A clean separation between two small details |
| The void under a chip that flew out | Took that part lower and undercut it down to the first layer | One more detail, with a concave of its own |
| One last natural split | Defined by one line from a number 3 | An extra separation that looks drawn |
If you want to watch these three turn into detail pass by pass, all four parts of this lesson are inside the school, about ninety minutes of the layer coming together.
What do you carve first when a crack is close?
The relief cut, before anything else. Near the second void I took a number 11 at 1 mm, about 1/25 inch, and made the relief cut first, because I knew another crack sat in the wood right there. Then half a millimeter, about 1/50 inch. Even so, a bit of that part came flying out, because the void reached under it too. That's not good, I said, and it would have happened whether I wanted to see it or not. The crack went right through.
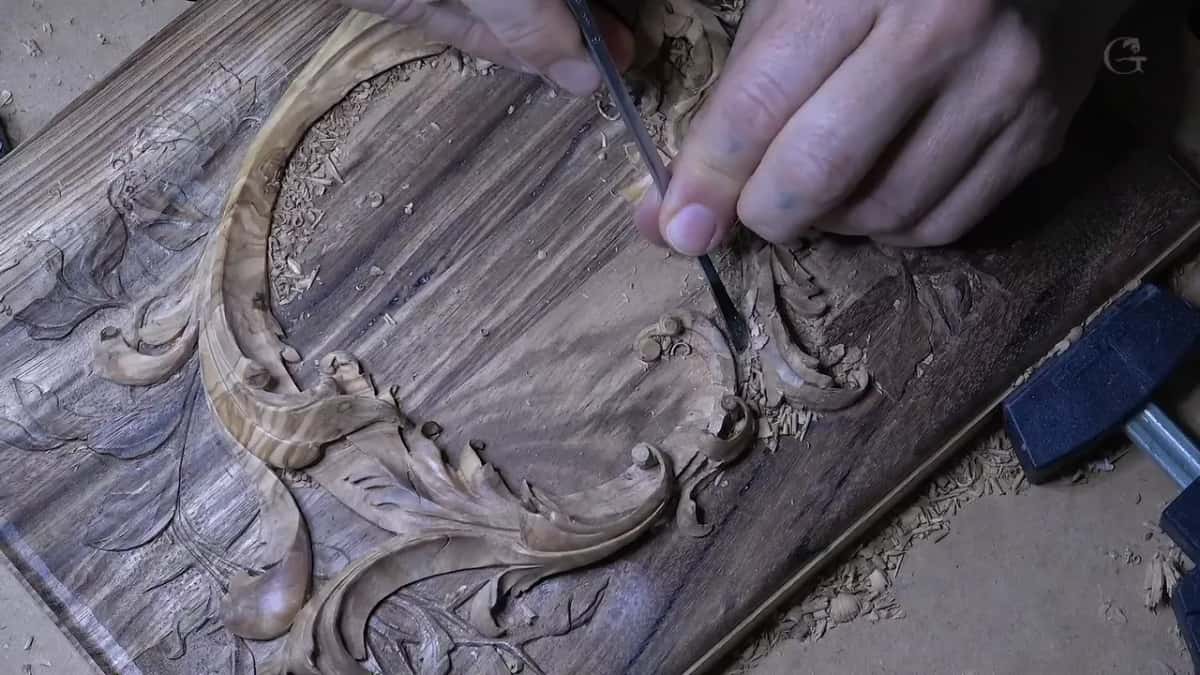
Close to the volutes, where I knew there were multiple cracks inside, I set my boundary first, a number 3 going straight down, and after that I went slowly.
On the first crack the same care held. Because of the void I had to use really tiny, small tools: 2 mm first, about 5/64 inch, for my relief cuts, and only after that the bigger shapes. Where I curled a flip beside it, I made that spot a little round on purpose, because the void carried on along that side, and you get a better result if you round it. Then I stopped. One more pass and I would have been too close to the crack.
How deep can you carve over a crack?
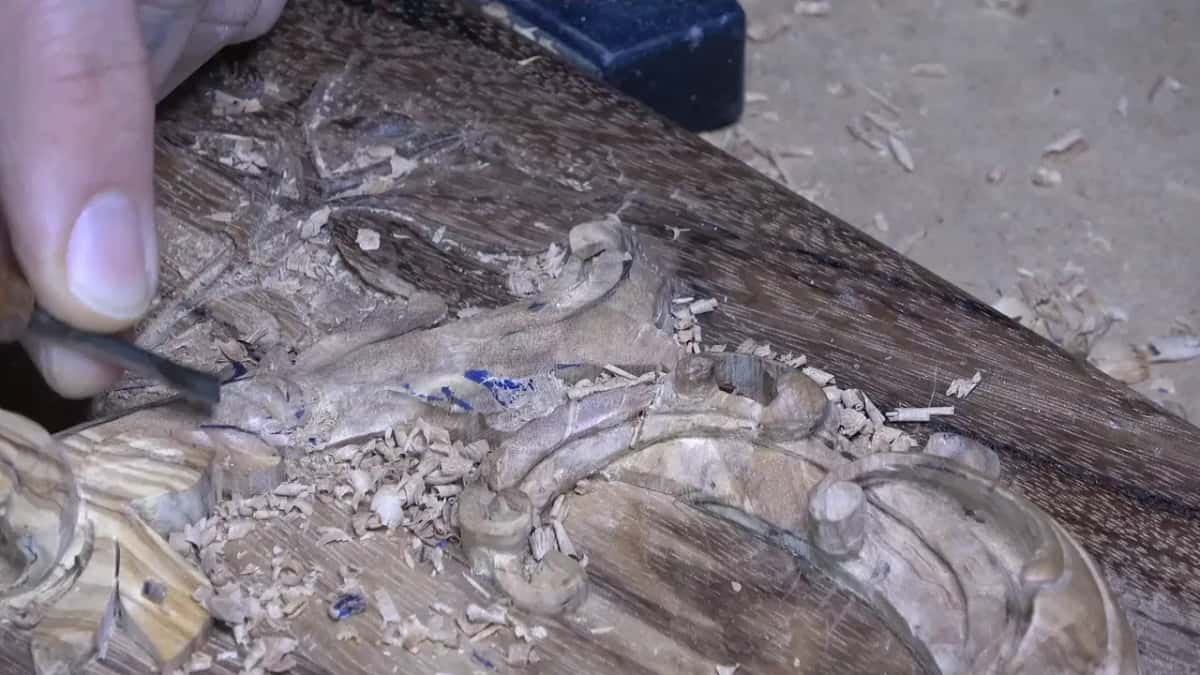
Less deep than you want, and the wood gets the last word. Early in the lesson I had a curl with no glue underneath it, held on by a connection of about a sixteenth of an inch, roughly 1.5 mm. A really weak spot. I used only small, tiny tools there, because anything bigger would have broken it, and I still watched it move under the edge. A knife would have given exactly the same effect there. It was fragile before. After, it was even more fragile.

I thought about putting some glue underneath later, if it was possible, just to give it a connection point. How much wood should stay under a small detail is a question I answered on another panel.
Order matters here too. On the volute side I first made a straight down cut and gave it only a slight angle, and I saved the real undercut for a number 11, after the overall movement was right.
For the far side of the section I made a straight down relief cut using a number 8, an eighth of an inch or about 3 mm, and I controlled the depth with my fingers, watching how close I was to the edge. That side had to stay at the same height as the other one, and I kept an eye on how high the wall stood above the first layer.
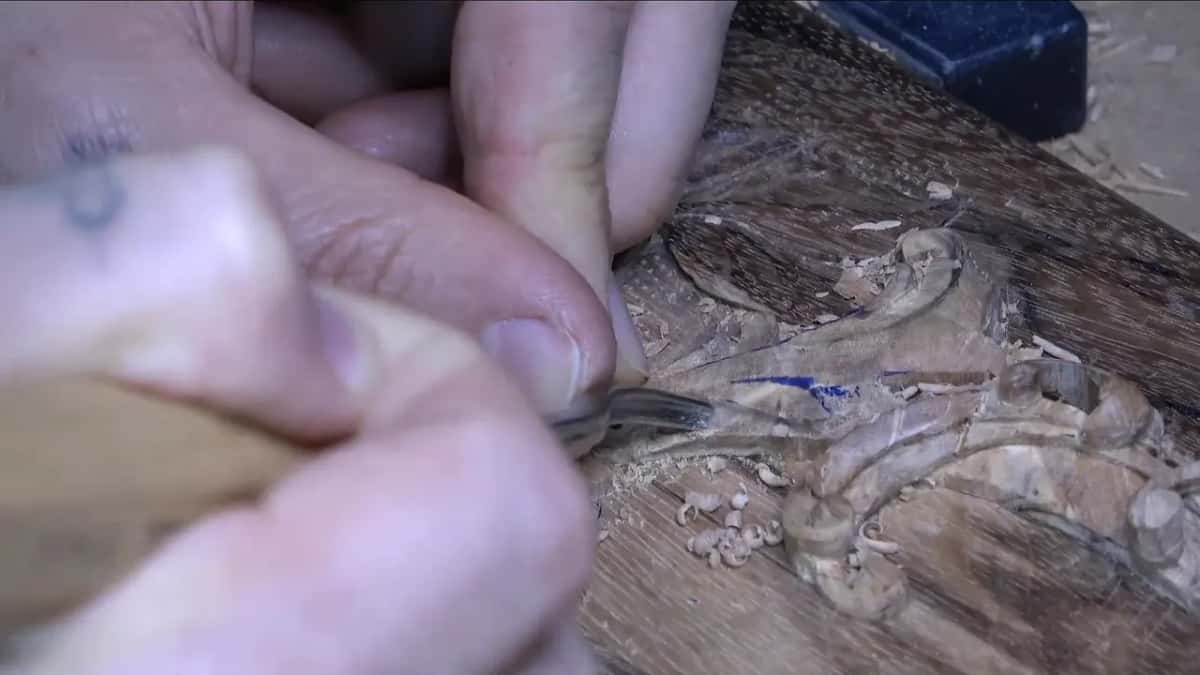
Normally, if the wood allowed me, I would go really deep under a leaf and a volute like these. Here it was not the wisest decision, because a deeper cut would leave that spot too fragile. A few minutes earlier the olive under that side was so tough that a half millimeter spoon gouge was not even scratching it. It's okay. What can you do? I did not want to break another tool, so I called that undercut enough.

Near the end I switched to a different 1 mm number 11, a Pfeil, and let myself wiggle it a little at the front point. My granddaughter was visiting that day, and you might hear her on the video. Breaking anything at that stage, with the layer almost done, was the last thing I wanted.
Which way do you carve when the grain turns at a crack?
Whichever way the fibers run at that exact spot. The rule is to start at the higher part and go downhill, and then you are carving with the grain. By that rule, working downhill beside this crack should have sliced nicely. But the grain in that spot goes upward, so I had to go upward too. That's just an interesting thing.
Will anybody notice the crack?
Probably not, once the new line looks like it belongs. When it is done, people are not even going to know the detail was not in my original drawing. I hope they won't. Please don't tell anybody, I said to the camera.
The crack at the start of the last part ran all the way through, so I did the same thing a second time. I took that part even lower and turned it into an extra detail, then gave it a full undercut, all the way to the floor without damaging the floor, and here the floor is the first layer. A small concave from a number 8, about 3/32 inch or 2.4 mm, made it read as a separate part. Now it looks like a piece of the design. At least I think so.
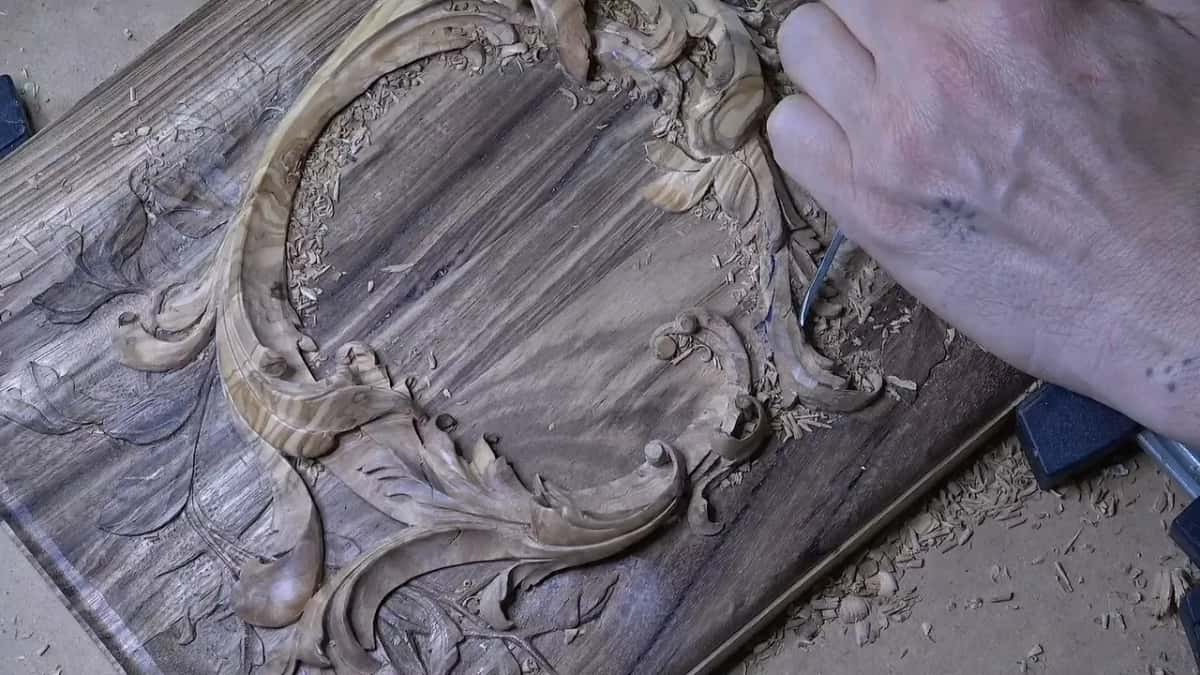
Before the layer was done, one more natural crack showed up, and I used it the same way: an extra split, an extra separation, defined by a number 3. Make it like it's supposed to be there, like it was always in the drawing.
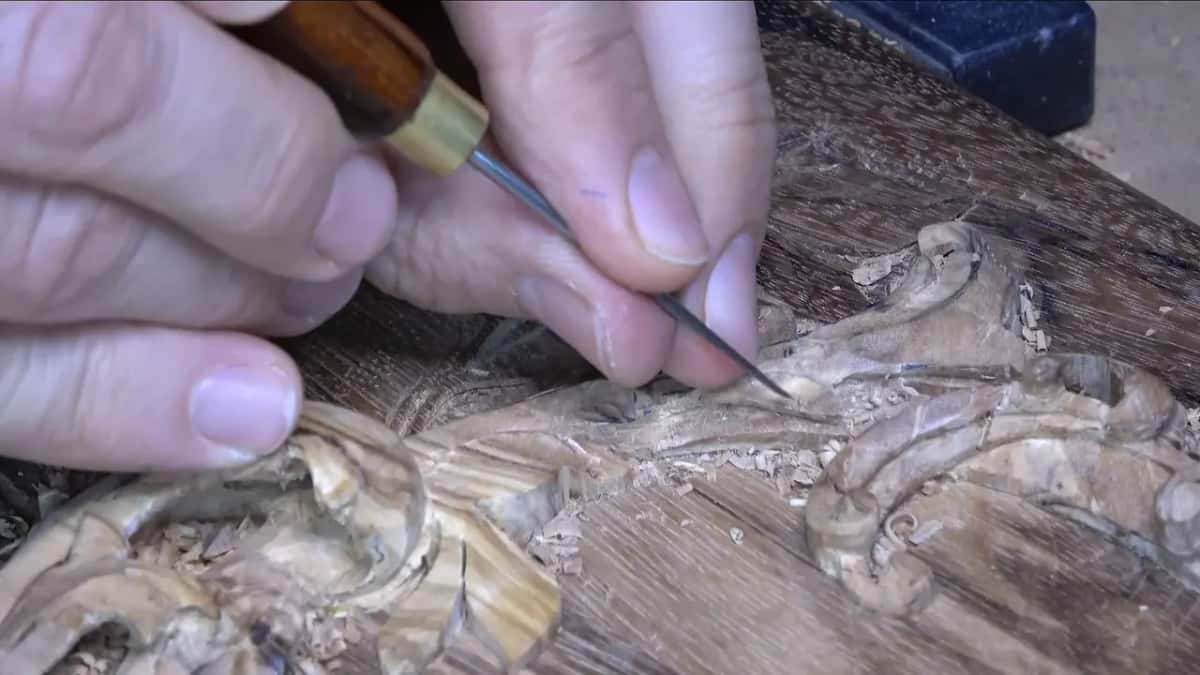
Where the second layer runs down into the first, I blended it with a number 7 almost to the bottom, so it sits better with that layer. The lower layer is much, much darker, so I planned a color blending for later, and told the camera I would talk with my client first. Olive grain hides small things, too. Late in the last part I added a couple of ridges with a number 8, working outward from each one, and on camera I admitted you can't really see those micro movements in this grain. But they are there.
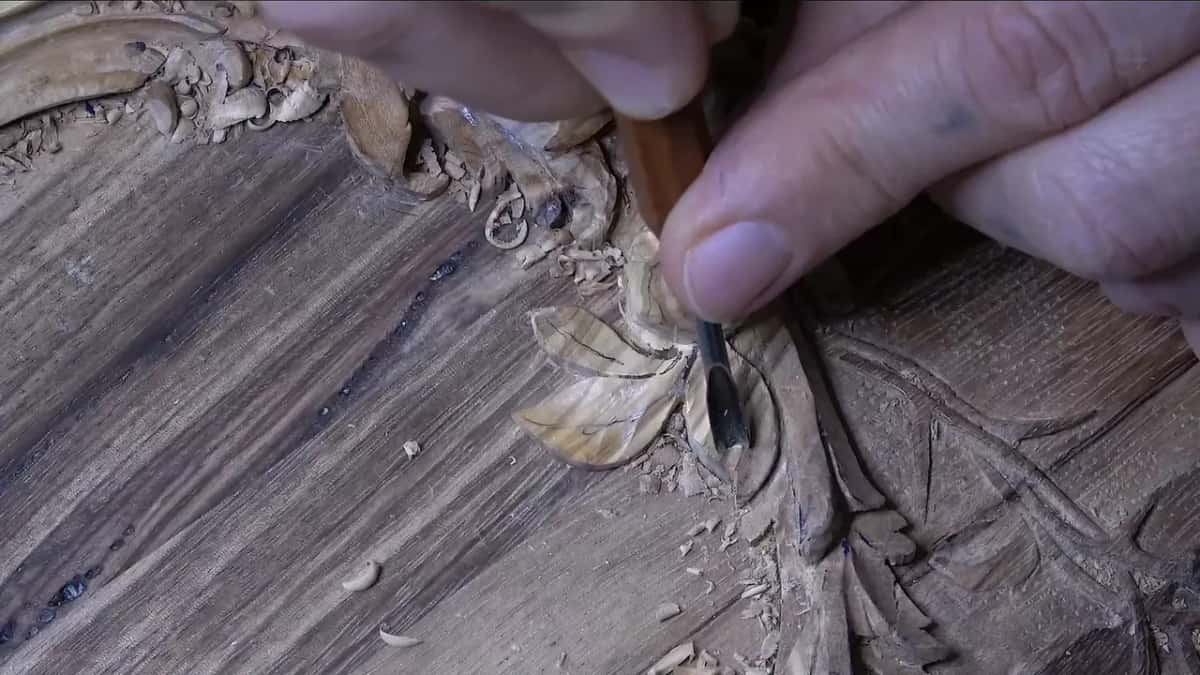
You will hear me change my mind more than once in these four parts. At one point I apologized for my process of thinking.
I will be honest with you about why all of this stayed in the video. You are watching how I work every day, when I have to change a decision or a design I made before. I don't want to cut those parts out and pretend I never make mistakes, because I make lots of them. The job is finding a good fix for whatever doesn't look right. Adopting a slip of the tool comes from the same place.
At the very end I turned the shop lights off to look at the shadows. Without the lights you could see the first layer and all the details, and it did not look bad at all. The flowers come next, in lesson 10. You can see more of my bench on YouTube.

Is there a board on your bench with a crack you have been carving around? Pick it up tonight and ask what that line could become.
How it's done
- See how far the crack runs. Before a tool goes near it, follow the line. One crack on this lid went clear through its section, and that changed the plan.
- Relief cut before anything else. Make the relief cut beside the void with a 1 mm number 11, about 1/25 inch, then go finer still.
- Take the wood down around it. Slope both neighboring details downhill, as on the first crack, or lower that whole part, the way I did on the second.
- Give the crack a job. Carve a small secondary detail above it or an extra separation along it, and finish that line clean using the number 3.
- Undercut only as far as the wood allows. Go down to the first layer without marking it, and quit early where the olive turns tough or a bridge is thin.
- Check it in the dark. Switch the lights off in the shop and read the shadows across the whole lid. If the new line reads like the rest, leave it.
Frequently asked questions
Should you fill a carving crack with epoxy?
Epoxy has its place. Later in this course I filled a hole in the lily with a pre-colored epoxy putty stick, working from the back. For the face of this lid I chose differently, because a fill that wide would have stood out under the finish, so the crack turned into ornament instead.
Does basswood crack inside the way olive wood does?
Usually it does not, in my experience. Working in basswood I rarely run into those hidden cracks and voids. Olive is harder, and the grain is what I love about it. You pay for that by never knowing what waits inside the slab until the gouge gets there.
How can you work next to a crack without losing a piece?
Start with a relief cut, then drop to tiny tools, 2 mm and smaller, which is under a tenth of an inch. Leave a weak bridge thicker than you would like, and stop a pass before the crack. Even then olive can throw a chip, as it did once here.
What to carve next