
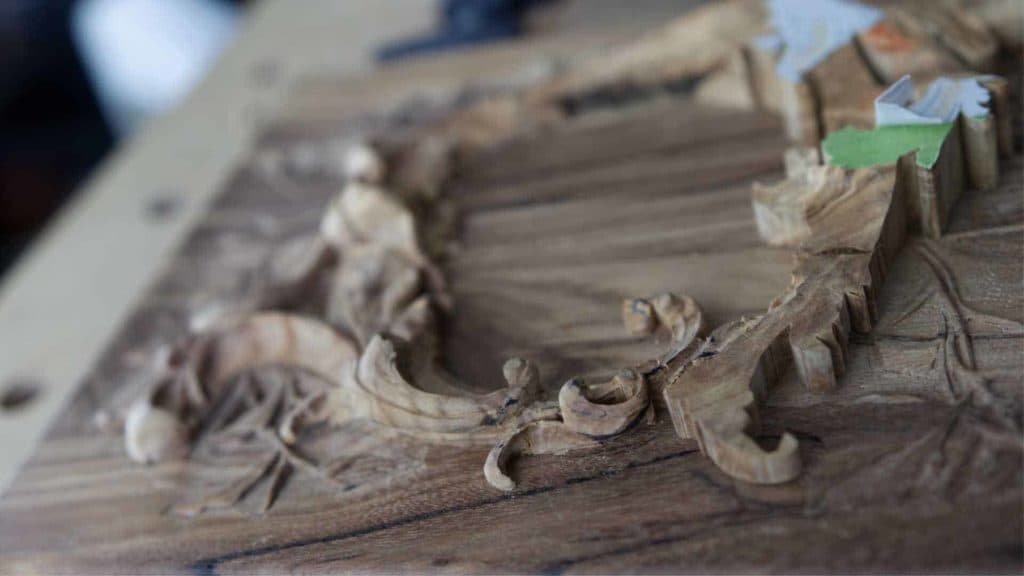
Alexander Grabovetskiy, woodcarver, School of Woodcarving · Published 2019
Should the top of a carved volute be flat or sloped?
Quick answer: A sloped volute is a carved scroll whose top leans, about 35 degrees on this lid rather than 45, instead of sitting flat and level. The lean shows one flank, which Alexander rounds into a barrel side, and he says carvers sloped them a lot in the late 1600s and the 1700s.
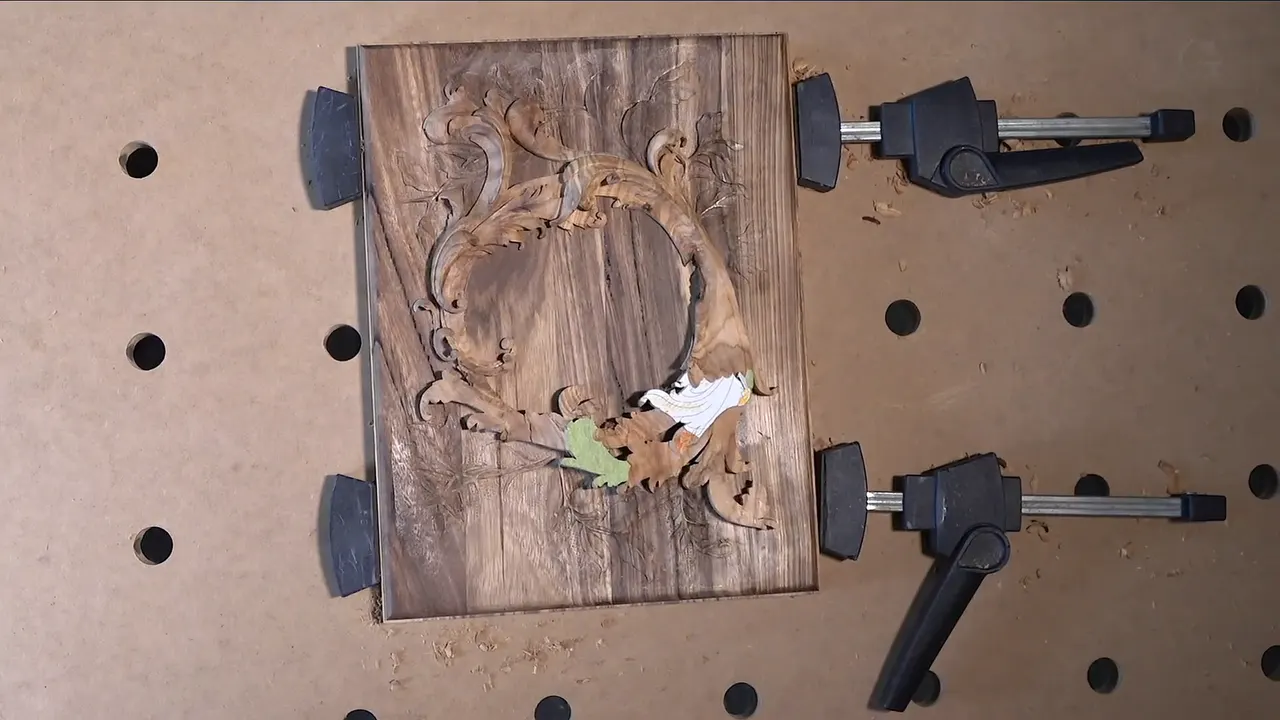
The top of a carved volute looks better tilted than flat, and on this lily box lid I tilted mine roughly 35 degrees. A flat top lies level with the lid, so the eye never finds the scroll's flank. Tilt it and that flank shows, rounded like a barrel.
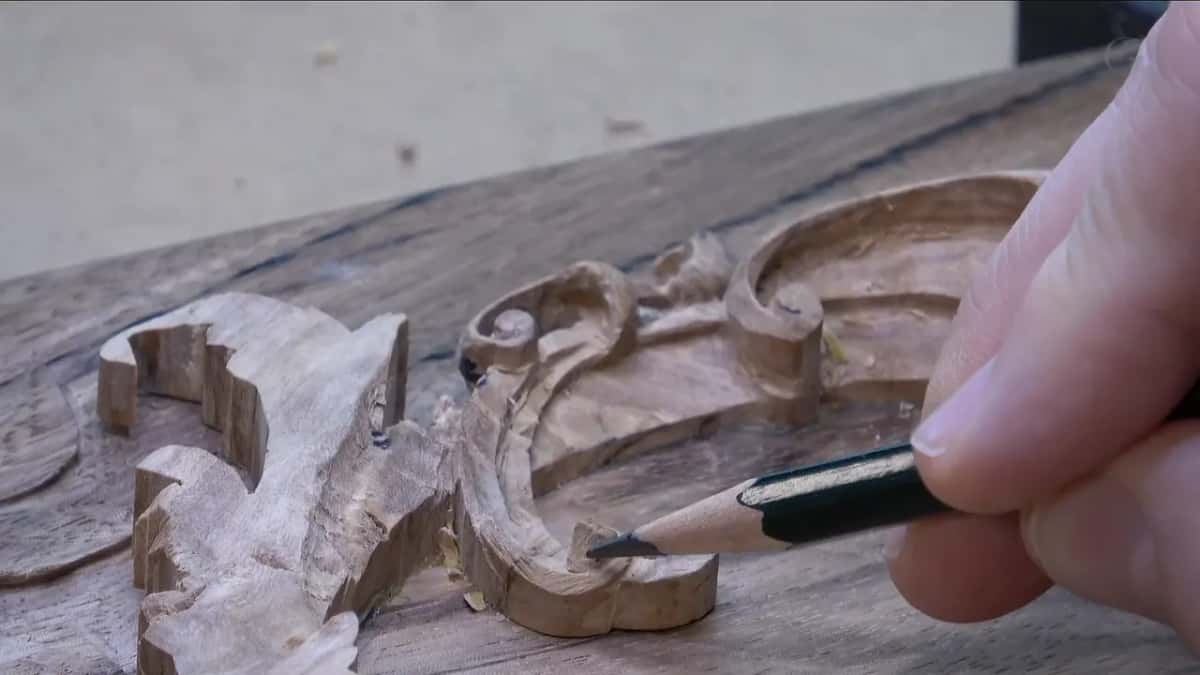
Have you ever finished a little scroll that looked fine from above and flat as a coin from the side? Did you wonder why the old ones seem to roll while yours just sits there? The first volute on this lid started out nearly flat too, and I changed my mind about it in front of the camera.
This is lesson 6 of the lily box course, twelve parts spent on the second layer. That layer is olive wood, glued down over a lid of acacia, and the finished box will hold a Bible. The lesson sits between lesson 5 and lesson 7, which carve the same layer. Two volutes sit side by side in it, the second one a little lower than the first, with about 1 mm (0.04 in) between their ridges. I tilted both of them, and the tilt let me do more to their sides afterwards.
What the tilt changes on a small scroll
- A level top hides the flank of a volute, and a tilted one puts it on show.
- Mine came out near 35 degrees. Not 45.
- One end stays highest while the rest falls away from it, the far side lowest of all.
- The exposed flank gets rounded into a barrel, then chamfered on one side and hollowed on the other.
- Settle the slope early. I settled mine late, with a gouge already in my hand.
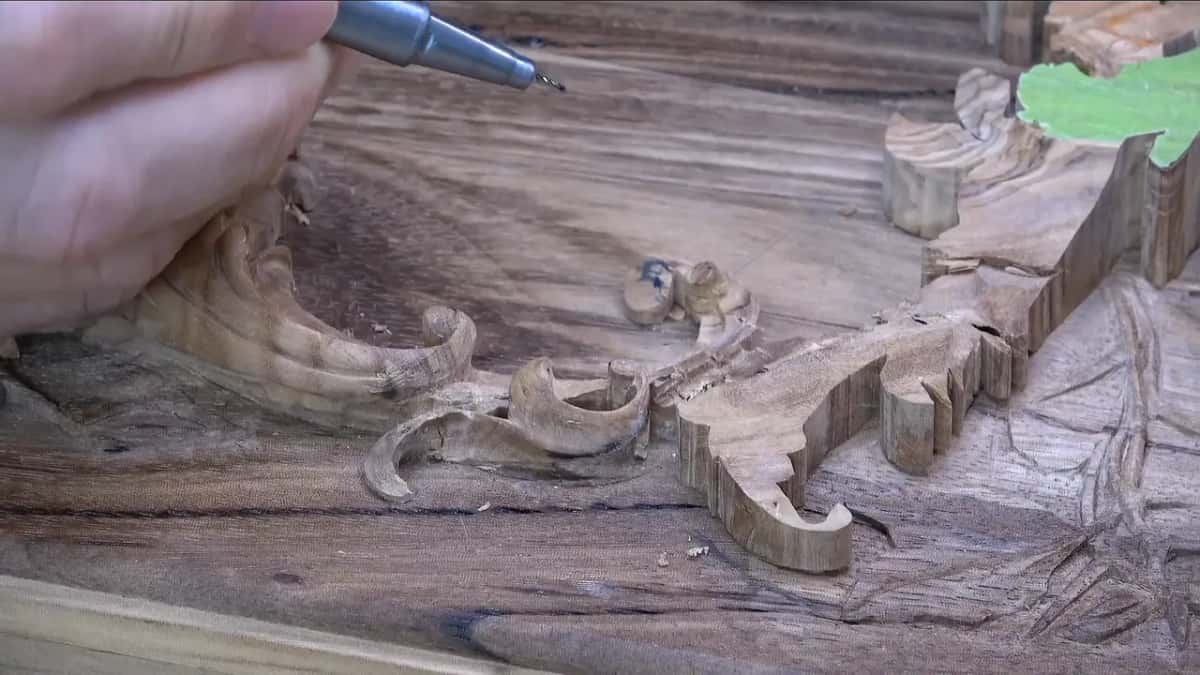
Why tilt a volute's top at all?
Tilting lets the scroll's side show, and a level top never will. When a volute's top lies parallel to the body of the lid, you cannot pick out its side. Slope it and the side is exposed. I really like that. A second gain comes free with it. Seen from one side, a sloped scroll does not look as tall.
The same idea runs through the rest of this second layer. Even a hollow I carved there has some concave inside it, some movement, so it is never flat and parallel to the surface under it.

How did the first volute get its slope?
By changing my plan halfway. The plan for the first volute was a clean concave on the inside and a convex, or fillet, on the other side. My relief cut around it took a number 11 a millimeter and a half wide, about a sixteenth of an inch, and a half millimeter one went deeper after it. The curl had just been given some roundness when I stopped to think. Its top still ran almost level with the wood around it, and I said out loud that I could slope it instead.
Then I did it, twice. One slope went across the whole movement. A second one had to run another way, and between the two the little scroll started to move in three dimensions. I even admitted on camera that I should have planned it from the beginning. The idea only came to me with the gouge already in the wood, and on a volute this small the effect is modest, which I said as well.
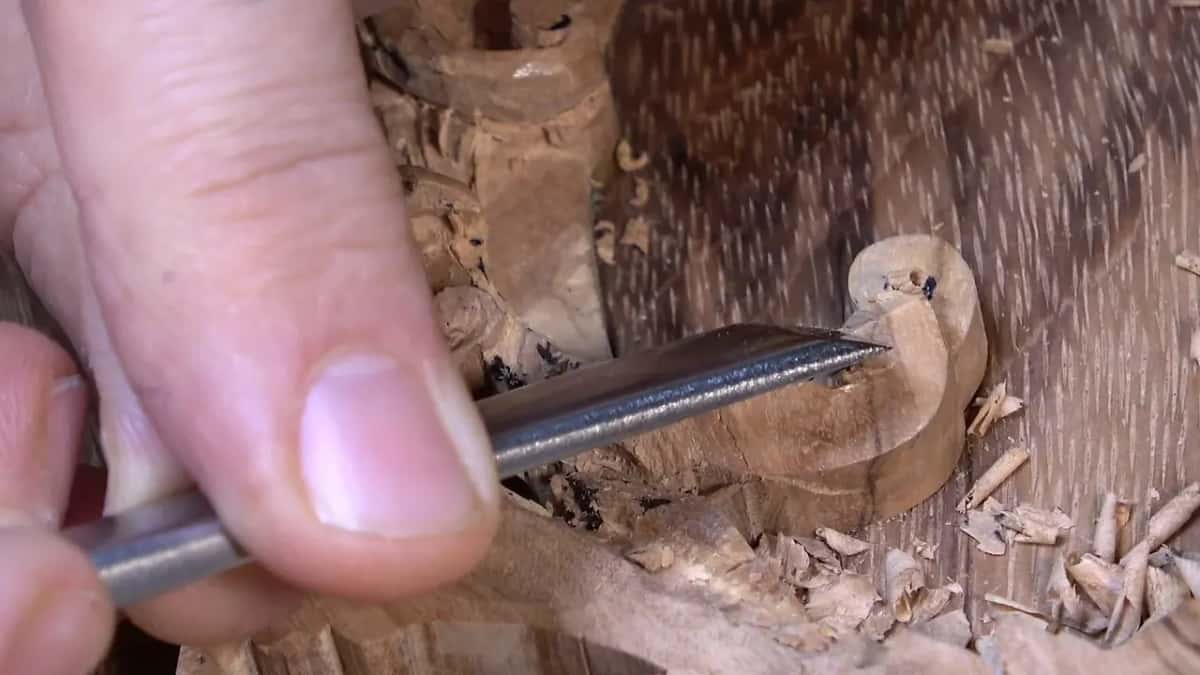
A sharper movement became the side of that plane. Around the curl I traced a concave with the same tiny number 11, carefully, and later gave the slope a little more. The part beside it points down toward the lid, so it got the same bevel and went almost to the ground. Its side repeats the scroll's own side.
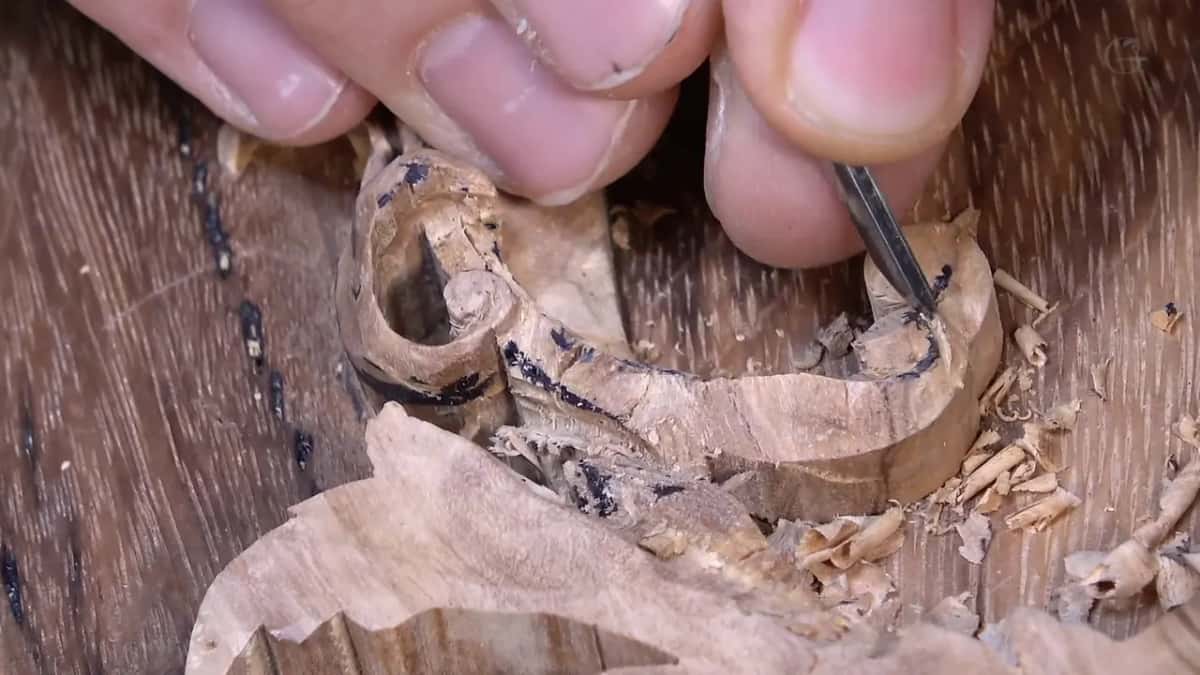
A number 7 started the concave below it. Then a number 8 an eighth of an inch wide (3 mm) opened the lower hollow, and the half millimeter defined it closer to the curl. The tilt goes in during part 6.5, and the second volute gets its barrel in part 6.6.
Is a sloped volute the same as a tilted floor?
Close, but they do different jobs. On a shallow furniture panel I once had only a sixteenth of an inch of depth, a millimeter and a half at most. So I angled the cut inward there and left the floor out of parallel with the background, one side deeper than the other. That one is written up as carving a volute in low relief. On this box the tilt goes on the scroll's own top, on a raised layer of olive, so its side comes into view.
How a volute rises and falls along its length, in section, is a separate question, answered in carving a volute in wood.
How steep should the slope be?
Roughly 35 degrees here. I called it not really 45, maybe 35, and at the start of part 6.6 I turn the first volute toward the camera so you can judge the angle yourself.
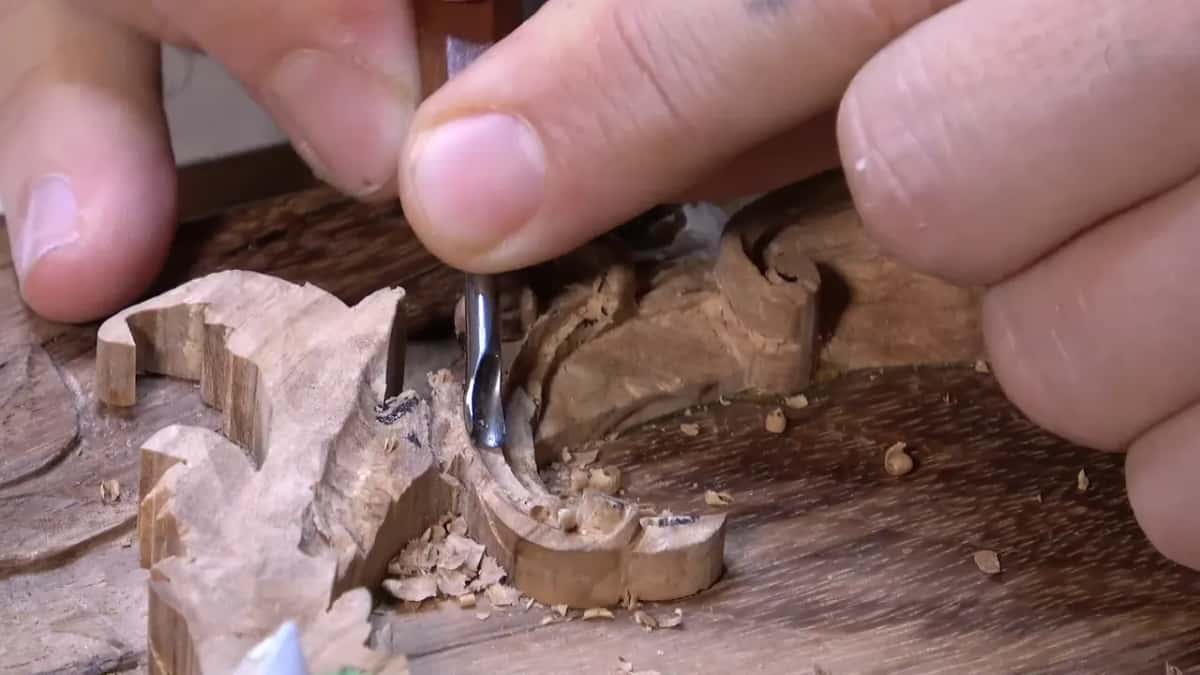
Steepness is only half of it. Before the slope goes in, decide which end of a scroll stays highest, because everything else runs downhill from that point. For the second volute I picked the matching point, so the pair agree. Then I dug into one area for the side, while the far side went lower still.
Slopes on one scroll can differ a little. I gave one part of the barrel a little more lean than the rest. A small difference like that makes it more interesting, as long as it all leans the same direction.

Did the old carvers really slope their volutes?
They did it a lot, and I said so twice in part 6.5. First I named the 18th century. A few minutes later I pushed it back to the end of the 17th century, when that nice sloping was already really common.
Carvers back then learned the old way. In the 17th, 18th and 19th centuries they worked in a guild or a shop like one, and the apprentices mostly watched what the master did. Believe me, when you watch someone working, you get a much better idea of how the thing is built.
I apologize for the mumbling and the thinking out loud on these videos. That is the process, and it is actually the goal of the school. I am not going to hand you only lessons. It should feel like working next to me in my shop.
What is the barrel side of a volute?
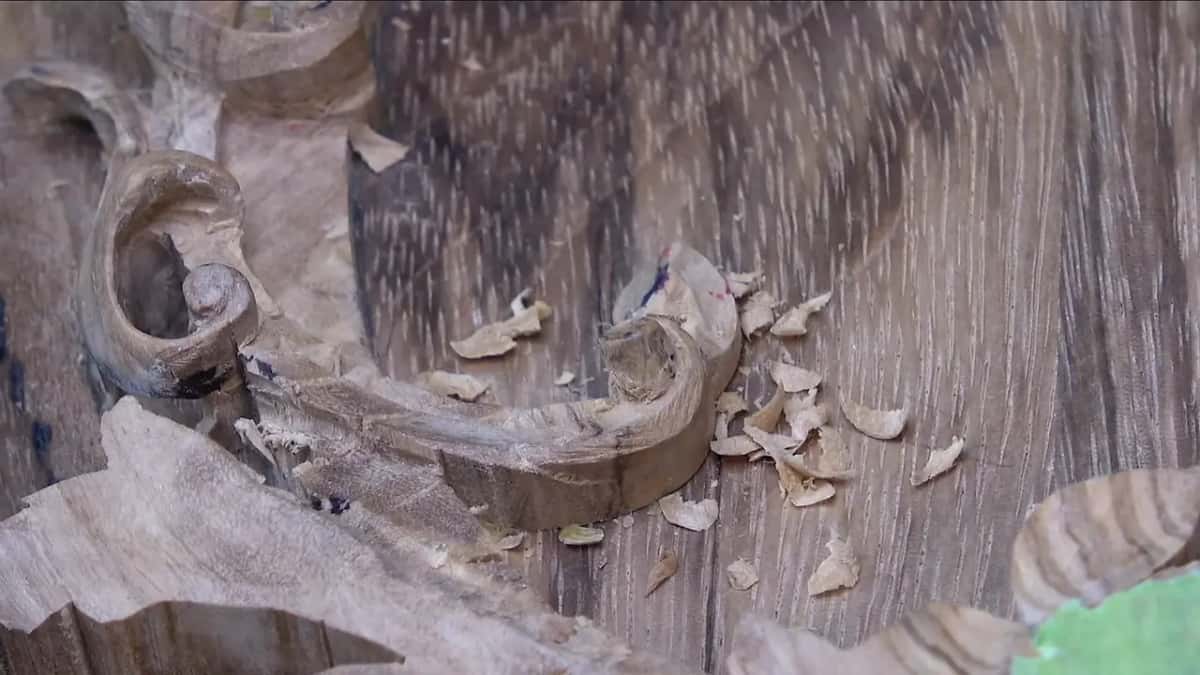
Barrel side is my name for the flank a tilted top exposes, because once you round it, it looks like a barrel. On a volute with a flat top you would never see that flank at all.
For the second volute I opened that side first, taking a quarter inch number 9 (6 mm) around it. I was going against the grain there, which is probably not the best idea, but I felt safe. There was no glue under that scroll, and I could feel it moving. With sharp tools that should not be a problem, and the sharpening course exists for exactly that.
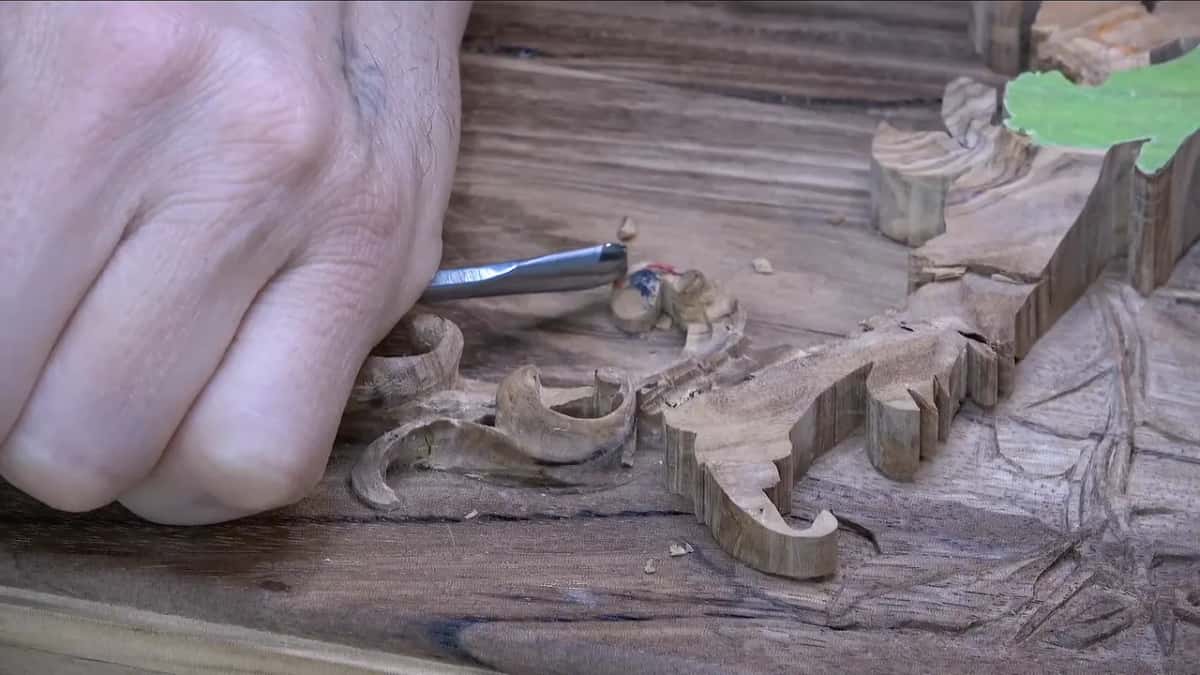
I went almost down to the ground and left maybe 3/32 of an inch (about 2.4 mm) between that ridge and the background, or even less. The barrel got its shape from a number 7, also a quarter inch, a little at a time.
Everything the first scroll got, the second got too. The law of repetition, one of the laws of design, asks for exactly that. Before a single detail went in, I checked that the two sides matched in height.
Why chamfer one side and hollow the other?
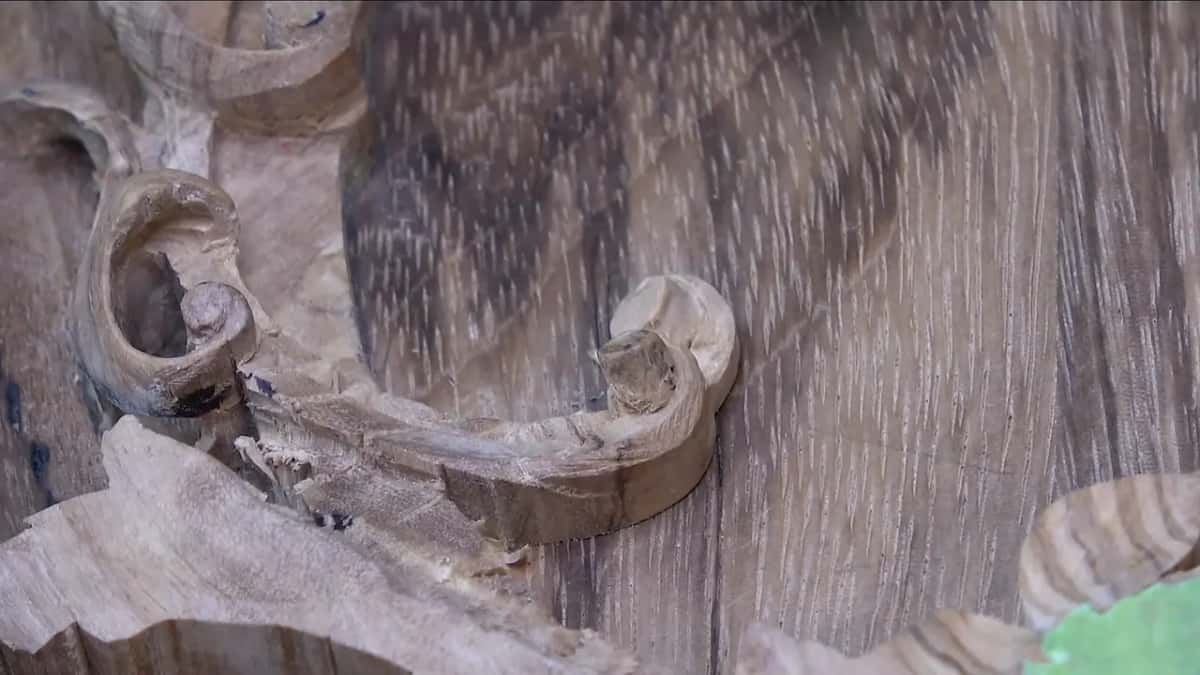
A chamfer down one flank and a hollow along the other give the scroll an extra dimension. The chamfer is dead straight and runs all the way to the point. Opposite it, the hollow carries on the concave that was already there.
I started that hollow with a flat number 3, against the grain again, and a number 8 about 3 mm wide, an eighth of an inch, took it further. Close to the volute it hardly shows, and out toward the far side it becomes more noticeable. It is a small detail, I know. Anybody who knows how a volute ought to look will really appreciate it, though.
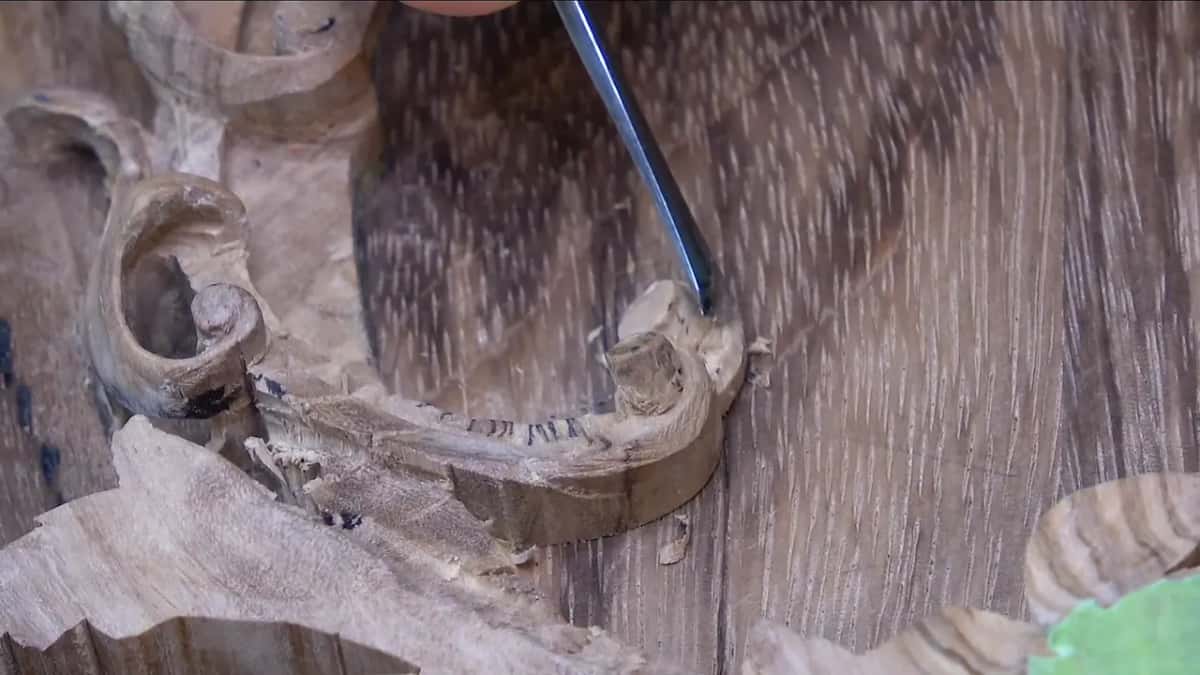
Inside the curl, a number 7 at a quarter inch sliced the first concave, carefully, because that spot is full of cracks. An eighth inch number 8 then pushed it into an exaggerated hollow. I watched the depth the whole time. That curve has to blend with the other side and read smooth from above and from the side. So now and then I stop and walk a little away to look at it from another point of view.
If you would like to watch that second volute turn into a finished barrel, chamfer and all, it is filmed close in this lesson, and one Access plan opens all twelve parts.
Which gouge did each job on the second volute?
| Job | Gouge and its size | What mattered while I carved it |
|---|---|---|
| Open the flank | Number 9, a quarter inch (6 mm) | The grain ran the wrong way and nothing was glued under the scroll, so I could feel it moving |
| Round the barrel | Number 7 of the same width | One part can lean a little more if every slope goes the same direction |
| Shadow line | Number 11 at 1 mm (0.04 in), or 0.5 mm right away | A slight wiggle for a tiny, clean chip |
| Hollow beside the chamfer | Number 3 first, then number 8 at about 3 mm (1/8 in) | Barely shows near the volute and more toward the far side |
| Hollow inside the curl | Number 7 at a quarter inch, then an eighth inch number 8 | Slice gently through the cracks |
| Undercut | 1 mm first, then 0.5 mm (0.02 in) | Be really careful if a mallet helps, because of those cracks |
If the gouge numbers are new to you, the tools course explains how they work.
How small do the tools get on a scroll this size?
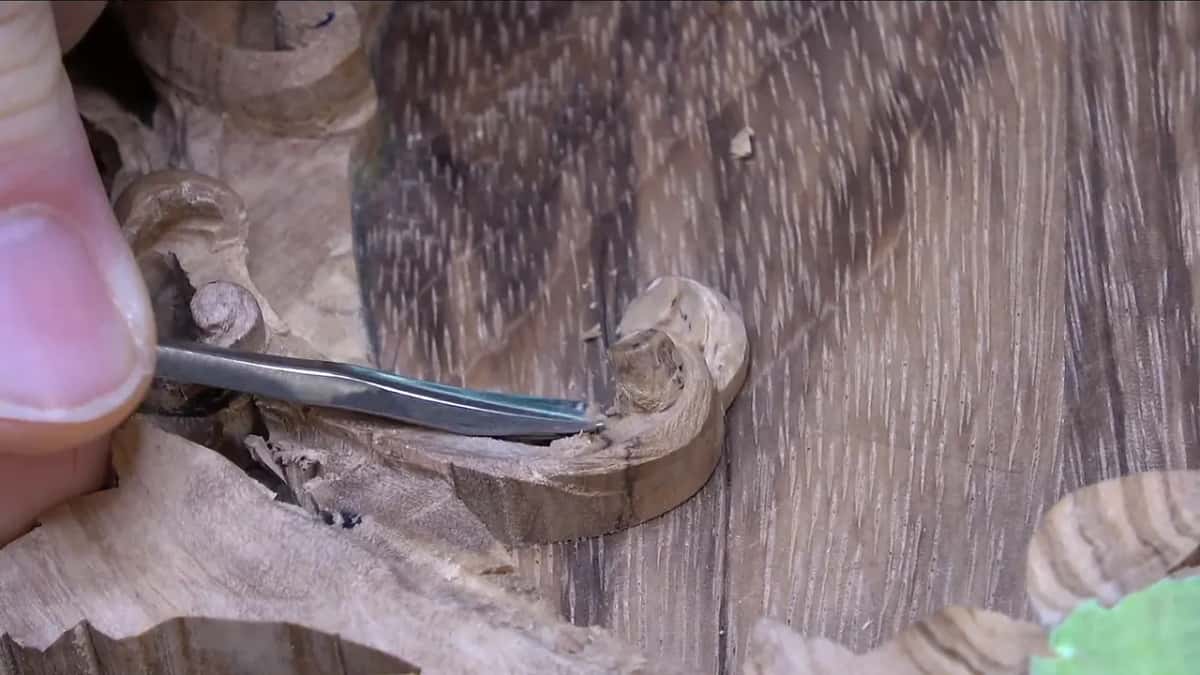
Down to half a millimeter, about two hundredths of an inch. Around the barrel I ran a number 11 of 1 mm, or even the half millimeter one right away, and wiggled it slightly as it went.
I know some carvers do not like wiggling a tool. On micro cuts it helps a lot. It is a jewelry maker's technique, and when they work small details in gold or silver, they make exactly that little wiggle. The chip comes out tiny and clean, and you control how much wood goes with it. A Hashemi flowers lesson has more on the wiggle.

That line around the barrel is not a necessary cut. It gives a really nice shadow, and I was happy with how clean the chip came out. At this size I pull a magnifier lamp over the work. On the video you see it larger than I do, because I zoomed the camera in much closer than what I see in real life.
The wood is full of micro cracks inside, and a bigger tool can make a big mistake there. This is fragile work, almost like jewelry. So I go slowly here, little by little, almost like a turtle.
What goes wrong when you slope a volute in olive wood?
Grain catches and pieces move, mostly. While I reshaped the first volute after its slopes, I stopped and said, oops, that is not good, what just happened? The grain was not nice in that spot. On the concave that followed I kept catching it among a lot of cracks, and further along the grain got much tighter.
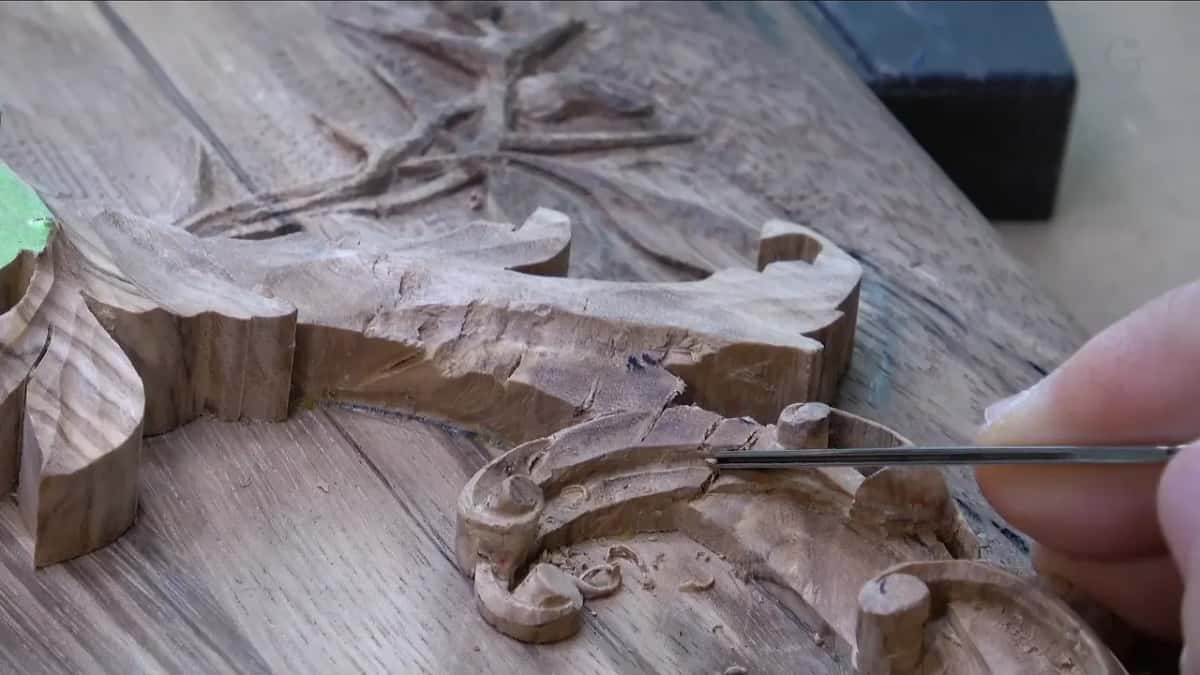
The glue went only in the middle, so the small parts out at the edges shift as you carve them. One beautiful thing about that glue is how mild it is. Sometimes it is too mild, and when a piece let go I glued it back with super glue, because it is the fastest.
Under the volute, the undercut comes last, with the same two number 11s and a mallet only if you are careful with it. When a piece like this is going to get a shellac finish, I thin the shellac with spirit as far as it will go and let it soak in several times, which binds the fibers inside. Thinned glue does a similar job, covered in a Roman acanthus lesson.
When should you decide on the slope?
Before the first slice, if you can. I decided late on this lid and said so on camera. Afterwards I still had to match the outside slope to the same angle, because a slope on one face has to be repeated on the face beside it.
Other parts of the layer got the same treatment. One wall stood too big to look nice, so I sloped it almost all the way down with a number 7. A leaf nearby sat too flat, just parallel to my first layer, and that is no bueno. So it got a slope too, sliced one way by a number 3 before I turned the tool for the opposite way. Another movement took a number 7 about 10 mm wide, three eighths of an inch.
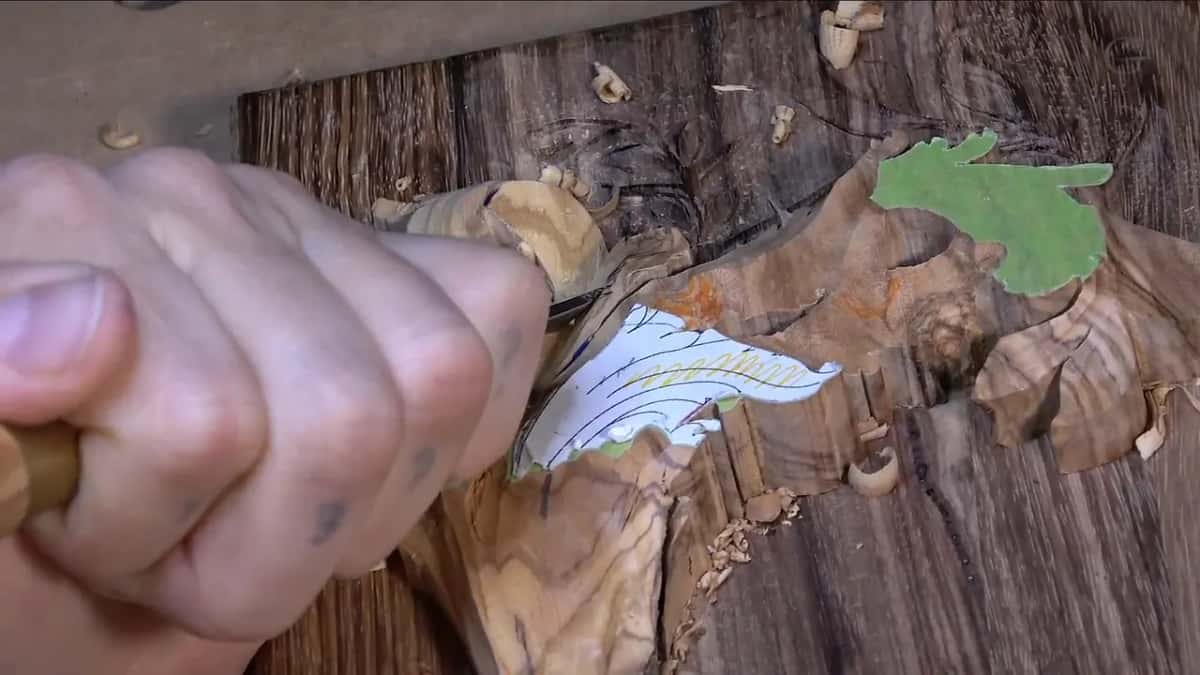
Go back and look at it again with fresh eyes, too. That is a really good practice, and you can see more of my bench on YouTube.
So, is there a scroll on your bench right now with a top as level as a tabletop? Would it look better leaning, with its barrel showing? Mine ended with a straight chamfer on one flank, a hollow on the other, and a shadow line round the barrel that I did not strictly need.
How it's done
- Pick the tall end. Decide which tip stays highest. Everything else runs downhill from that point, and on a pair the twin gets the matching point.
- Lean the top. Slope the scroll's top to something like 35 degrees instead of leaving it level, so the flank becomes visible.
- Cross it with a second slope. Run another slope a different way over the first. Between the two, even a small volute starts to move in three dimensions.
- Open the flank. Take a 6 mm number 9, a quarter inch wide, around the side and stop about 3/32 inch (2.4 mm) above the ground.
- Shape the barrel. Use a number 7 of the same width to shape the flank little by little. One part can lean a touch more than the rest.
- Check the heights. Before any detail, make sure both surfaces match in height, then clean the marker off using the flatter number 3.
- Chamfer one flank, hollow the other. Run a straight chamfer to the point on one side. Begin the opposite hollow with the number 3 and finish it using a number 8 of 3 mm (1/8 inch).
Frequently asked questions
How far should a carved volute lean?
Around 35 degrees worked on this lily box lid, not the 45 you might guess. Pick the highest point before any slope goes in, then let everything else run downhill from it. Slopes may differ a little, if they lean the same way.
Why does a tilted volute look rounder than a flat one?
Once the top leans, one flank shows, and rounding that flank gives the scroll its barrel. A flat top sits parallel with the ground around it, which hides the flank and leaves the scroll reading as a flat coin. A tilted one also looks lower when you see it from one side.
Did 17th and 18th century carvers slope their volutes?
They did, and often. Alexander first named the 18th century while carving this lid, then corrected himself to the late 17th, when giving a volute that nice sloping was already a really common technique. He says so twice in the same video, about five minutes apart.
What to carve next