
Alexander Grabovetskiy, woodcarver, School of Woodcarving · Published 2019
How do you carve olive wood?
Quick answer: Carving olive wood is a trade. You get gorgeous grain, and in exchange the wood is crunchy and hides voids and splits inside the slab. Work in smaller passes, come at a shape from behind it, and use the hardness to leave thin spots you would not leave in lime.

Carving olive wood is slower than carving lime. The grain is gorgeous and the inside is crunchy, full of voids and cracks you never see until the gouge finds one. So you take less at a pass, work in from the back of a shape, and you can leave detail thinner than you would dare in lime, because the wood itself is harder.
Have you tried carving a wood everybody warned you about? Do you own one slab too good to practice on? And what do you do when the client hands you a Bible verse instead of a drawing?
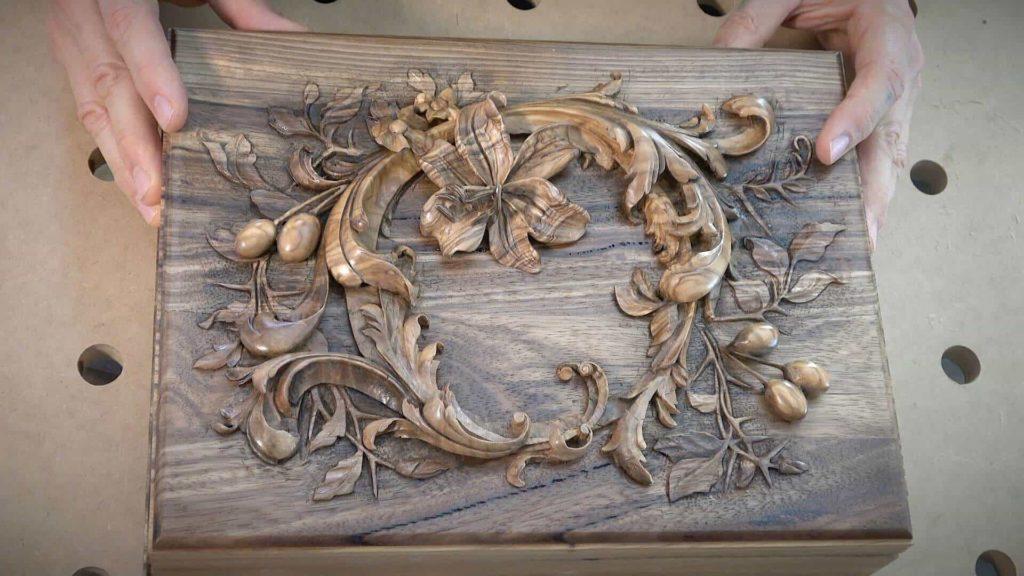
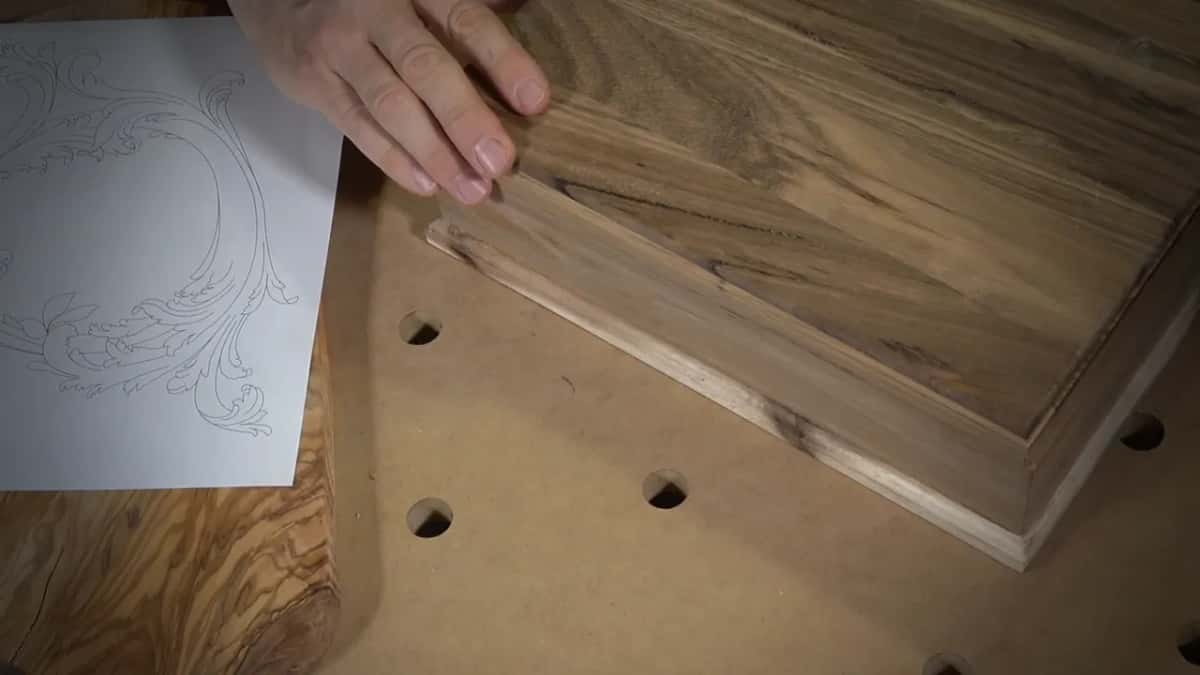
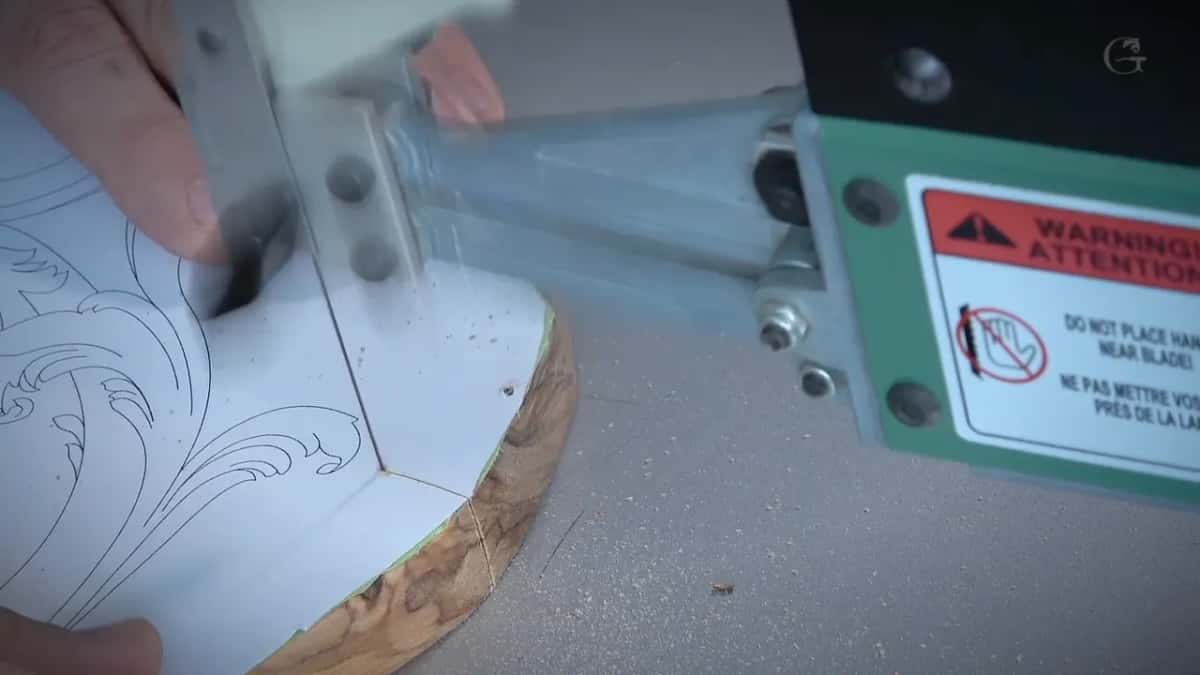
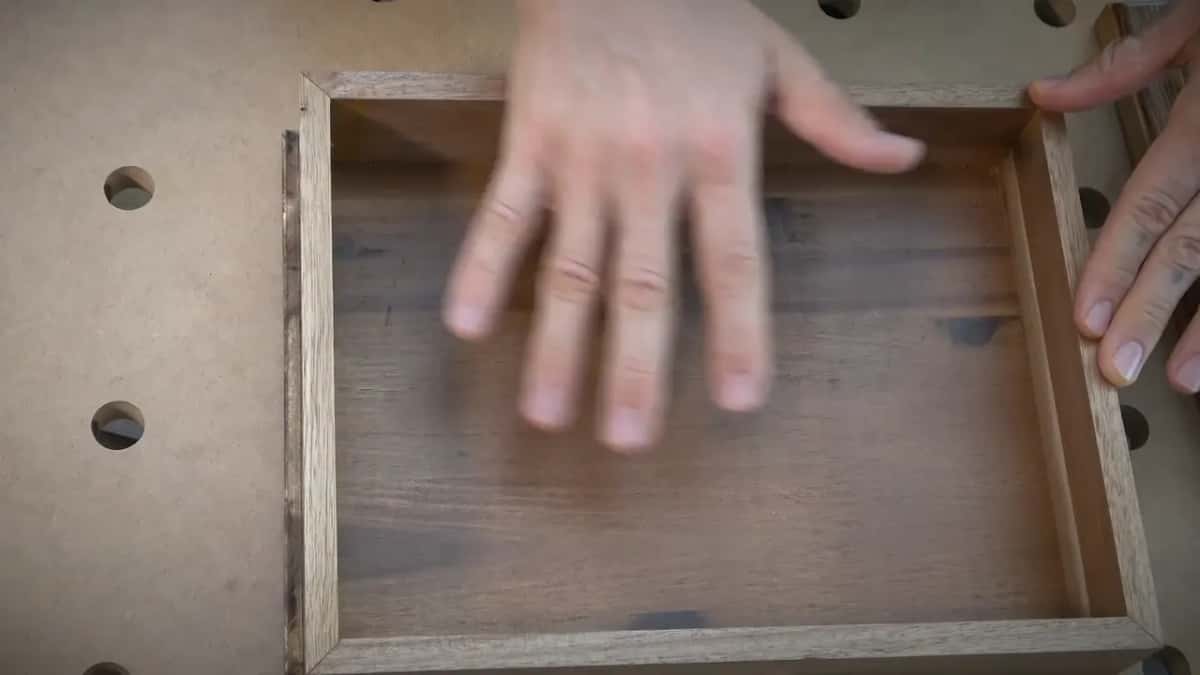
This box holds a Bible. The body is acacia, which I call gopher wood, and the flowers and the olives on the lid are olive wood laid over it. My client asked for a design built on one line from the Song of Solomon, that you are a lily among the thorns. So the lid carries a lily, an acanthus movement running round it, small filler flowers, and olives on a stem. Three layers of wood to get there. I built the box first with plain miters on a compound miter saw, glued it up, and left the hinges for the end, because this course is not about building boxes, it is about carving on one.
What olive wood gives you, and what it takes back
- Olive grain is absolutely gorgeous. I love it, even though the wood is really crunchy.
- Voids and cracks hide inside the slab. You find them with the gouge, not with your eyes.
- Olive is harder than lime, so a thin spot in the sawn design can stay at a sixteenth of an inch, about 1.5 mm.
- The two woods on this lid came out different in color, so I blended them at the end.
- Twenty dollars buys a fretsaw that can saw this pattern too, only slower.
Why does olive wood carve differently from limewood?
Olive is harder than limewood, and at the same time it is crunchy. Those two words do not usually belong in one sentence. Hardness is why I could leave a spot only 1/16 inch wide in the sawn olive. In limewood I would leave that same spot much thicker. Crunchy is the other half of the bargain. Push the edge and the fibers break ahead of it instead of slicing, so you get a crumbled edge where you wanted a clean one.
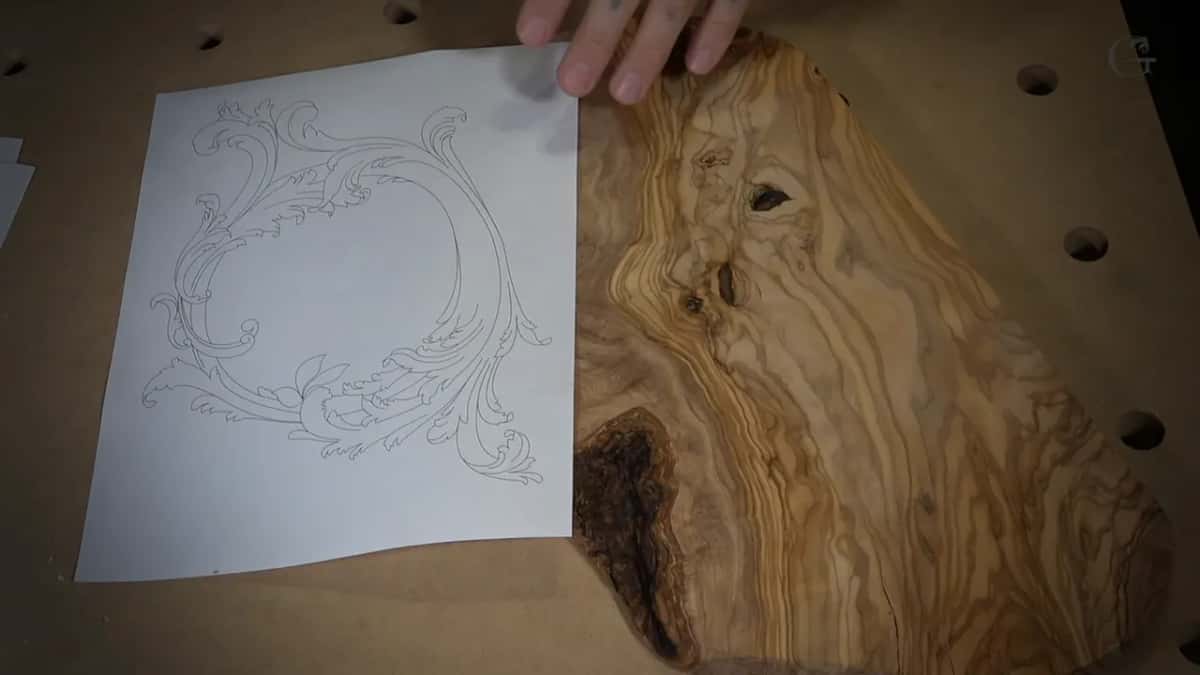
Then there are the voids. This slab had knots I steered the whole design around, and a dark hollow at one end I could see from the outside. What you cannot see is how many more are inside. A void can open inside a petal while you are shaping it. That is the nature of the wood, and the numbers on olive tell you the hardness but not that.
So the technique changes. I remove less per pass. I work from the back side of a shape and get to the corners from there. And I try not to overdo it, which is hard, because sometimes I just can't stop. Compare that with the way I attack basswood in the Hashemi flowers panel and it is almost a different craft.
What is gopher wood, and is it really acacia?
People think so, but nobody can say it for certain. Gopher is the name in the Bible for the wood of Noah's ark, and the word appears nowhere else, so the honest answer is that we do not know. What we do know is that acacia, the shittim wood of Exodus, is what the Ark of the Covenant was made from. I call it gopher anyway, though what I have here is a Mediterranean acacia. But I can tell you why it makes me happy.
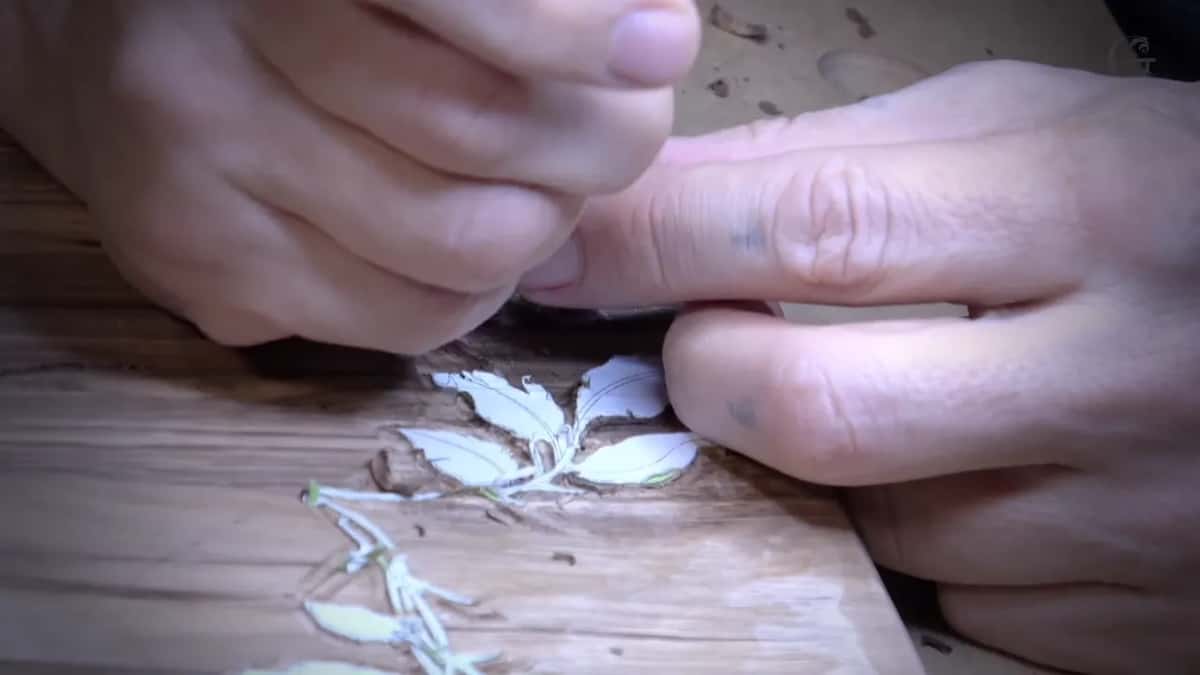
Here is what I actually think about while I carve it. That Ark was built about 3,600 years ago, in a wilderness, by a man the Bible says God filled with wisdom and knowledge and understanding, and with the ability to teach. That last part is the one I keep turning over. He was not working alone. The text says he taught other men to work beside him. And I wonder what tools they had out there, because whatever they were, they were not Ashley Iles gouges out of a leather roll.
Do you need a scroll saw to pierce a pattern?
A fretsaw will do it, and mine cost about 20 dollars. I use a scroll saw for this piece because I have a good one now, and I realize not everyone does. Every piece of pierced work I did back in Russia, all of it, I did with a fretsaw by hand.
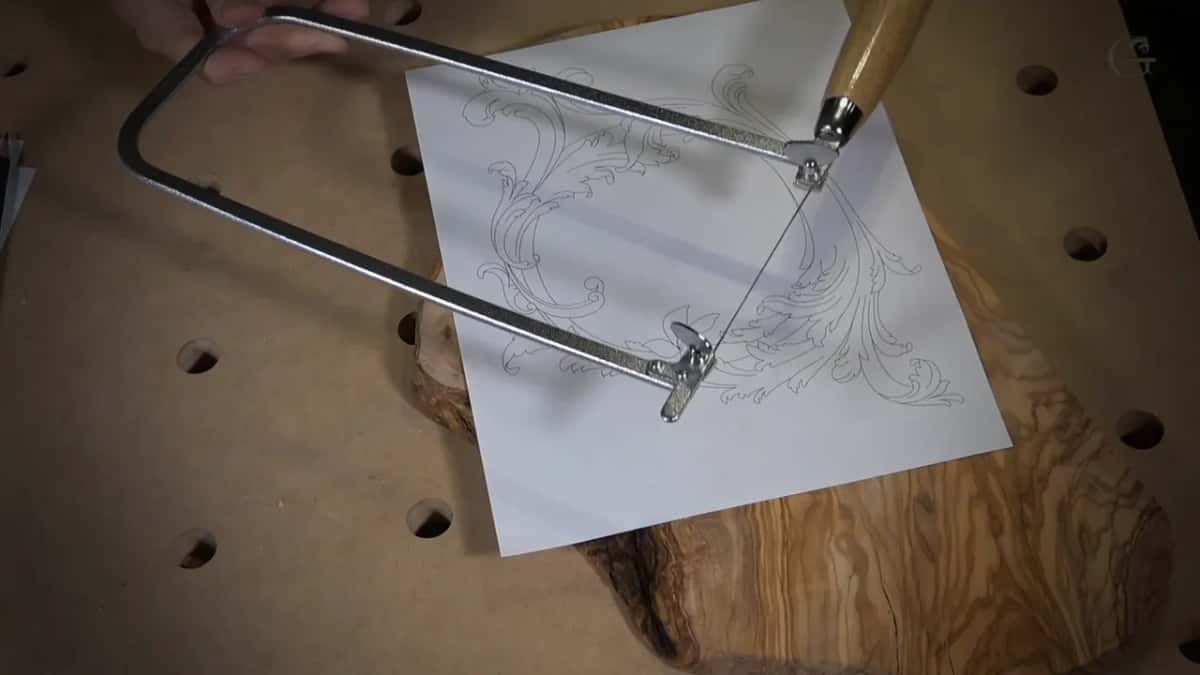
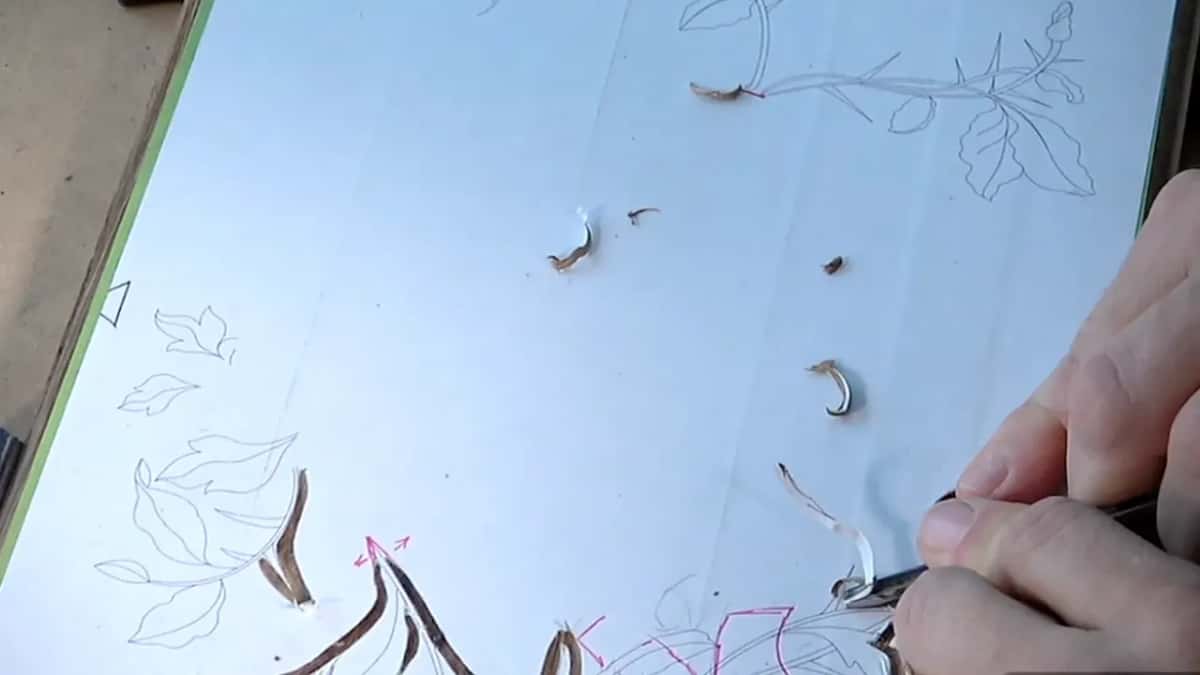
My first woodworking tool in this country was a cheap scroll saw out of Lowe's. It was jumpy and shaky, getting a blade into it was a fight, and the old fretsaw was a lot easier to use than the machine. Years later I bought a good one and the difference is real, but the good machine is a convenience, not a requirement. Print the pattern, glue it down, saw around your lines, and keep the offcuts.
How close should the blade be to your finger?
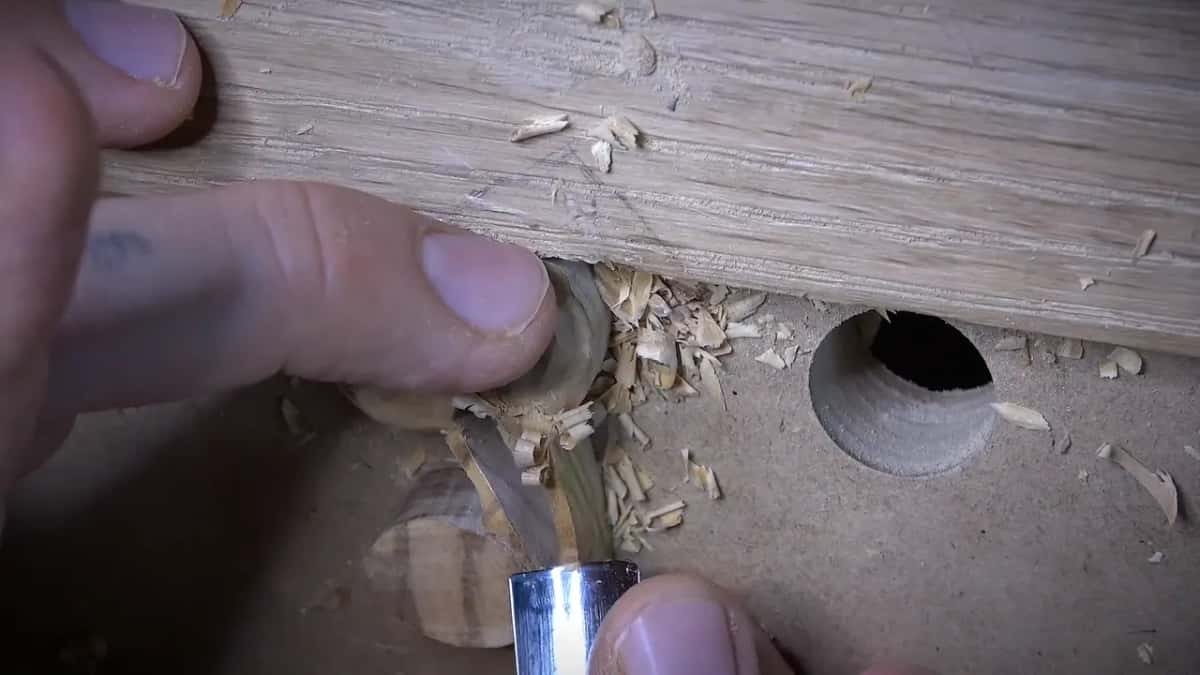
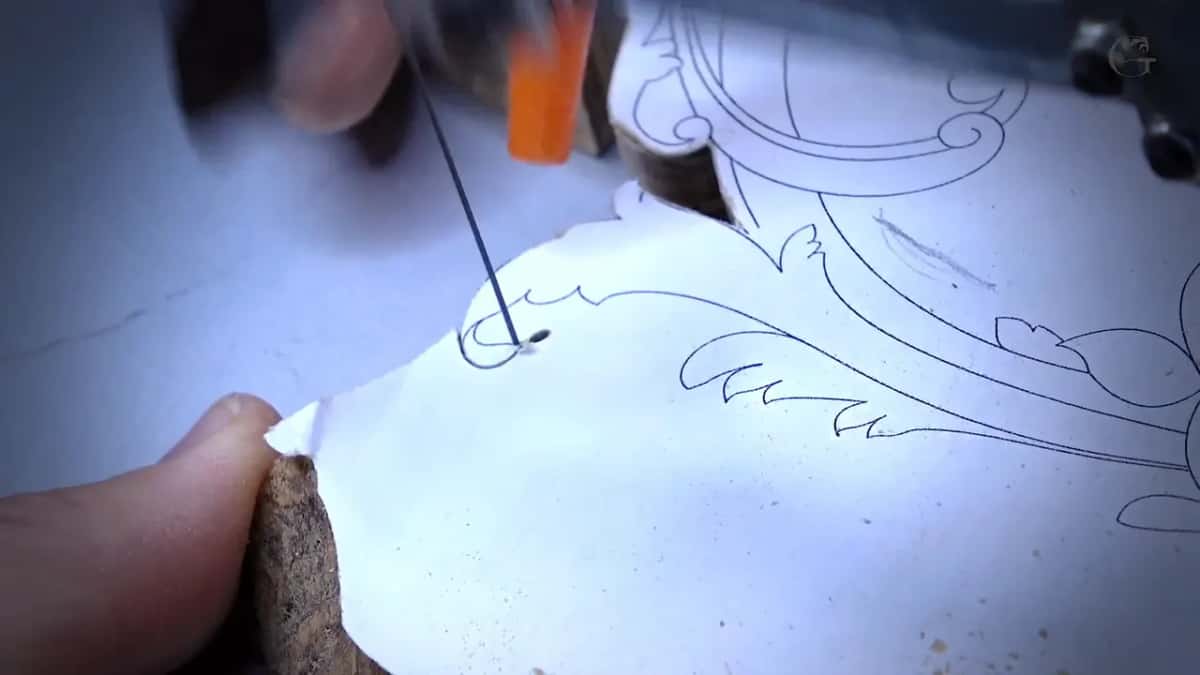
About a 16th of an inch of blade, and no more. That is on the lily, with a number 8 gouge, working right next to my fingers. Here is how I hold it. One finger sits right at the edge of the work as a reference, the second finger rides slightly lower, and I do not expose more steel than that past them. I wiggle the tool rather than shove it.
The honest part comes next. It is still possible to slip and cut yourself doing this. If you do not feel comfortable working that close, please do not try it. I do not want to be responsible for the damage you can do to yourself.
Which gouges carve a lily?
Small ones, mostly. The number 11 veiner is the tool used most on flowers and acanthus leaves. My preference is Ashley Iles, good Sheffield steel out of England, but most brands carve fine, and on this lid I use several.
| Tool and number | The size I keep coming back to | Where it goes |
|---|---|---|
| Number 11 veiner | 1 mm, and this is the workhorse of the whole lid | stems |
| Number 11 again | 0.5 mm | the line under a petal that only shows as shadow |
| Number 11, the wide one | 2 mm | hollows the body of a petal |
| Number 8 gouge | an eighth of an inch, about 3 mm | roughs out the olives and small concaves |
| Number 7 gouge | a quarter inch across, about six millimeters | leaf hollows |
| Number 3 | flat enough to blend one facet into the next | blending |
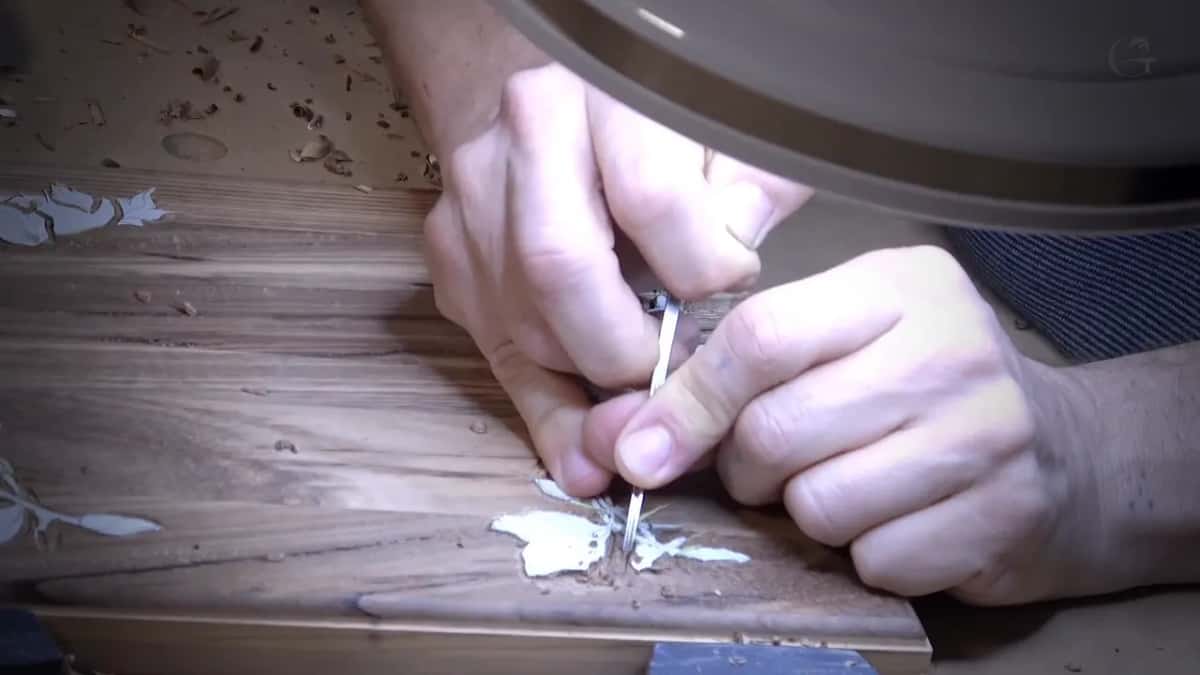
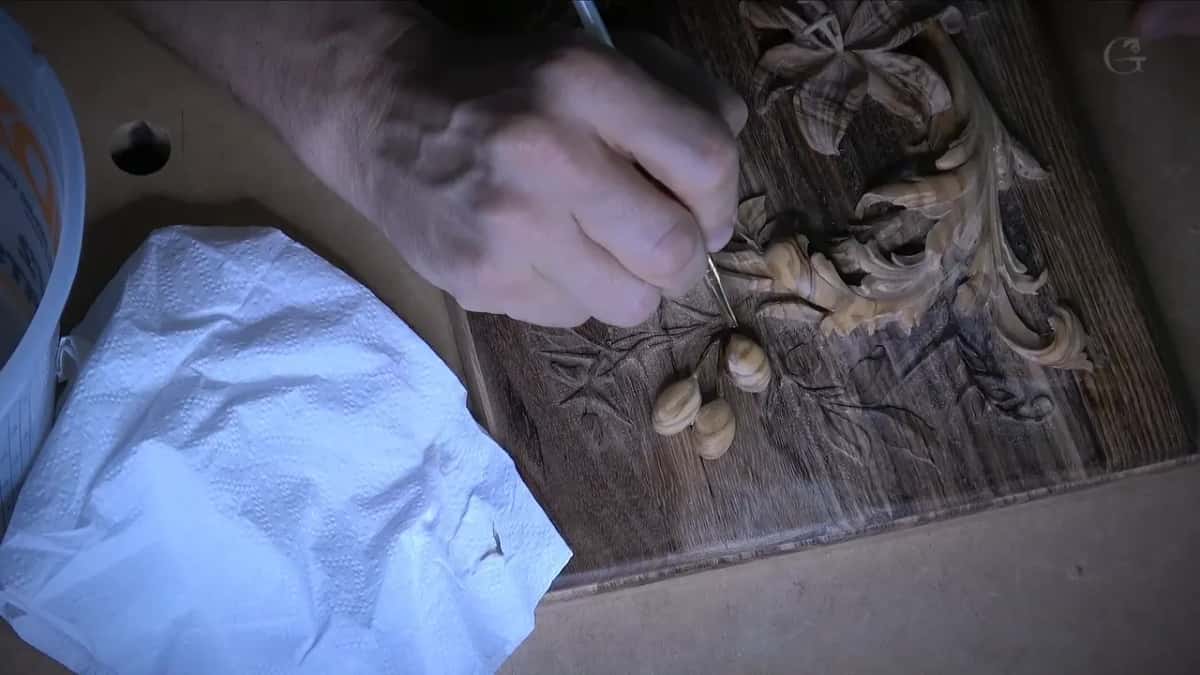
Those stems in the acacia come out under a sixteenth of an inch in places, and that was the plan rather than an accident. I left almost no space between them on purpose, because I wanted them to look like really fine work. The 1 mm number 11 puts the line in between, and if you have never bought a gouge that small, the whole vocabulary is in All About Tools for Wood Carving. None of these work dull, and sharpening has a course to itself for a reason.
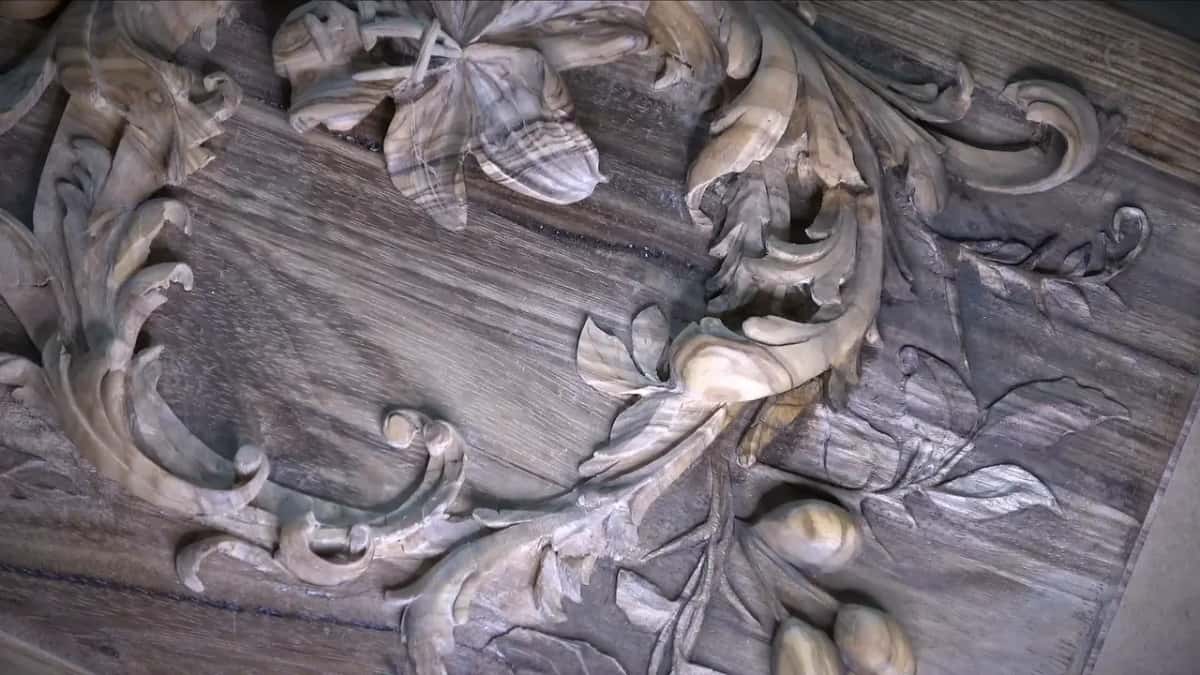
The lily is the focal point, and it gets carved separately and set in. I clamped it and worked it in the round, which let me get behind the petals and give them somewhere to lift from. A lily is true geometry, not whatever you decide. In real life every petal runs the same length from the center, even the ones that curl down a lot.
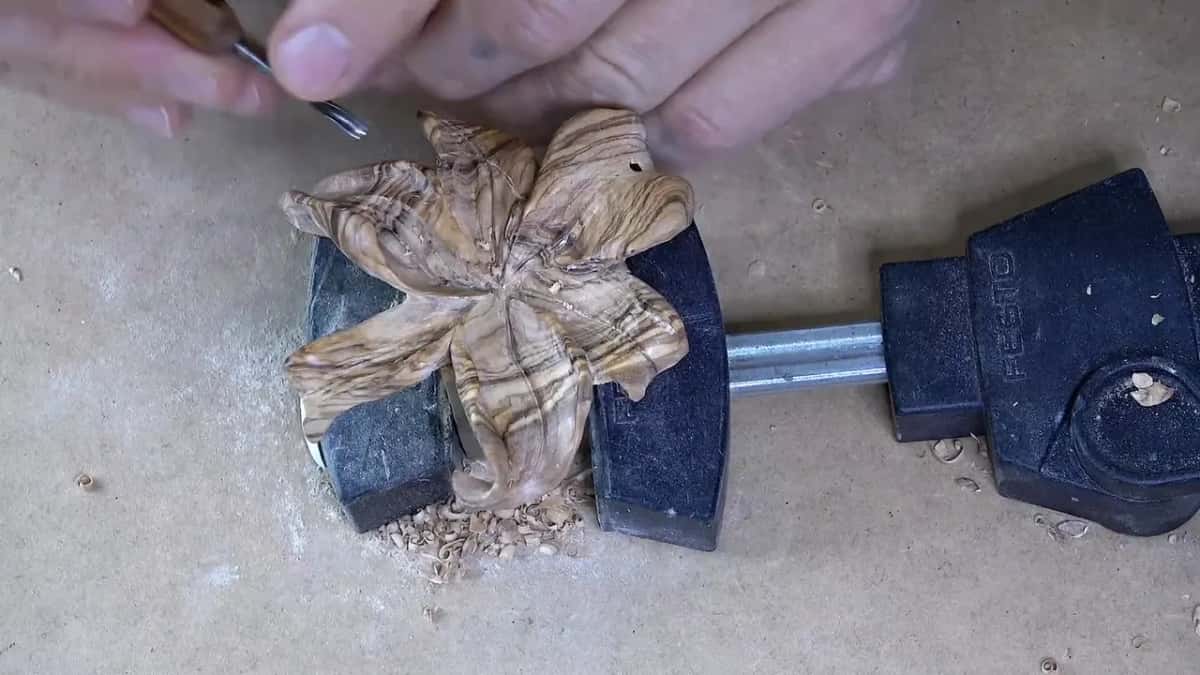
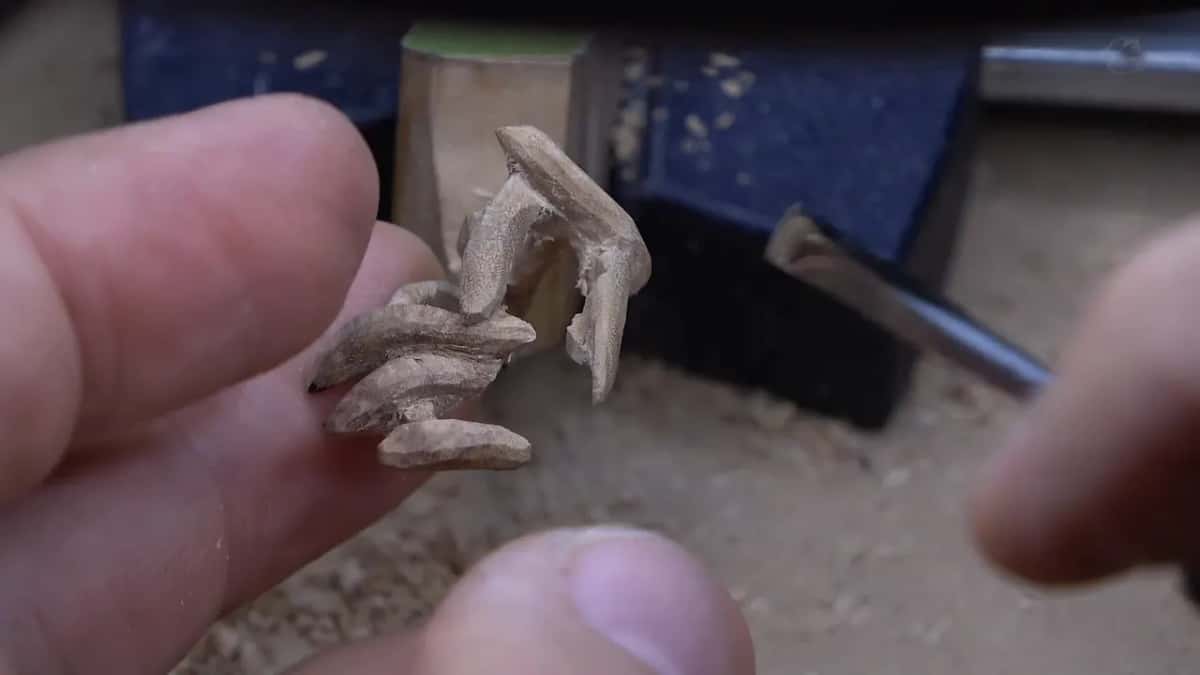
The filler flowers are small, and each one starts off the lid. I hold it by a little leg in the clamp, or just in my fingers, then glue it in place and finish the small details right there. Same layered thinking runs through the Venetian flowers rosette and through the grape onlay, only smaller and in a wood that fights back.
How do you blend two woods that do not match?
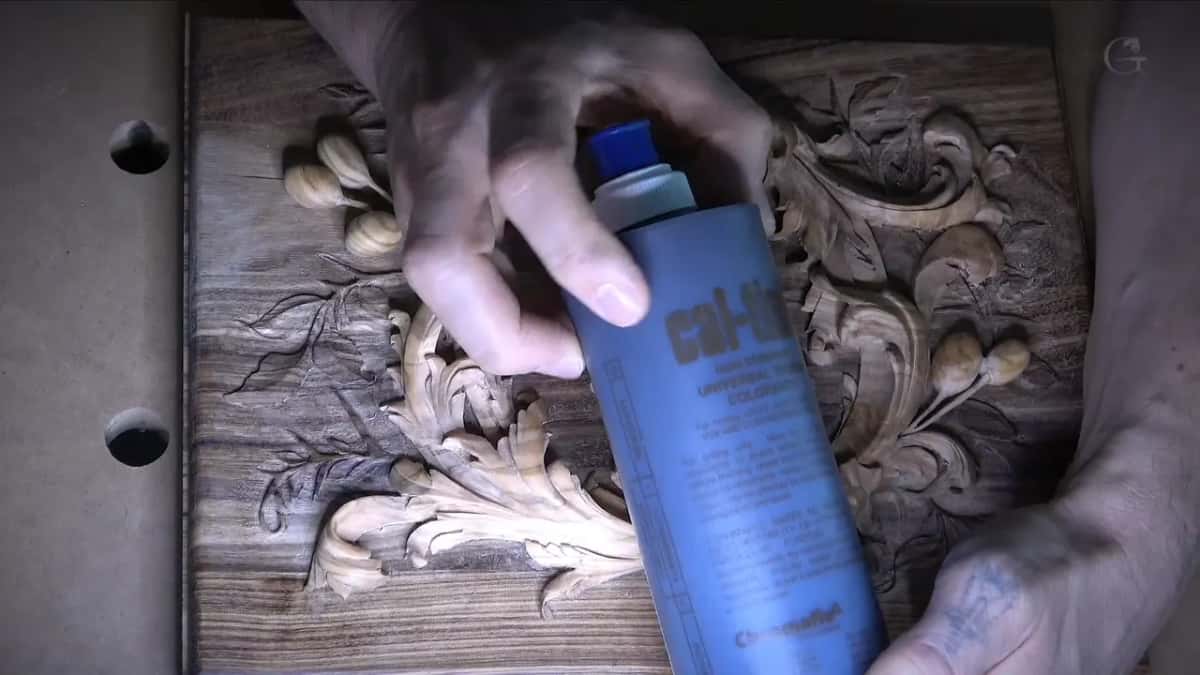
Tint the light one down with a brush and water. By the time the carving was done I had acacia underneath, olive wood over it, and even the olive did not match itself. One area came out really light and it just did not look right beside the rest. So I mixed a universal tint colorant, a bottle of raw umber Cal-Tint, with plain water and went at it with ordinary artist brushes in a few sizes.
Raw umber is the color to reach for because it is the base of nearly every earthy brown you would want. Thin it and it stains gently. Two aims here. First the blending, then some shading in the low spots so the whole lid reads like it has been around a long time. Not real patina, which is oxidation over years of sun and air and which goes grey. Grey is not what I wanted. I wanted the warm version of old.
Thomas W. Wallis, a wood carver, wrote in his autobiography about the motto printed in large letters across the end of his schoolroom.
What man has done, man may do again.
Somebody carved that chest in a wilderness with tools we cannot even name. Baroque altars carved 300 years ago are still standing. The design behind a lid like this and the acanthus itself each have a course of their own.
Why a lily among thorns?
The client picked the verse and I had to make thorns beautiful. Everybody knows thorns, and in reality they are not ugly at all. When I was a boy I used to stay with my grandmother out in the Russian countryside, and there was a forest close by with wild thorns in it. Real spikes, sharp, some of them an inch and a half or two inches long, forty to fifty millimeters of thorn. And the bush was not ugly at all. It looked beautiful.
So that is what we had to do on this lid. Make the thorns nice. They sit low in the first layer, carved in the acacia itself under the acanthus movement, and the client asked for them to stay easy to see. The verse is about a bride, and the love her future husband has for her. My client wanted this box as a gift for a bride.
What goes inside the box?
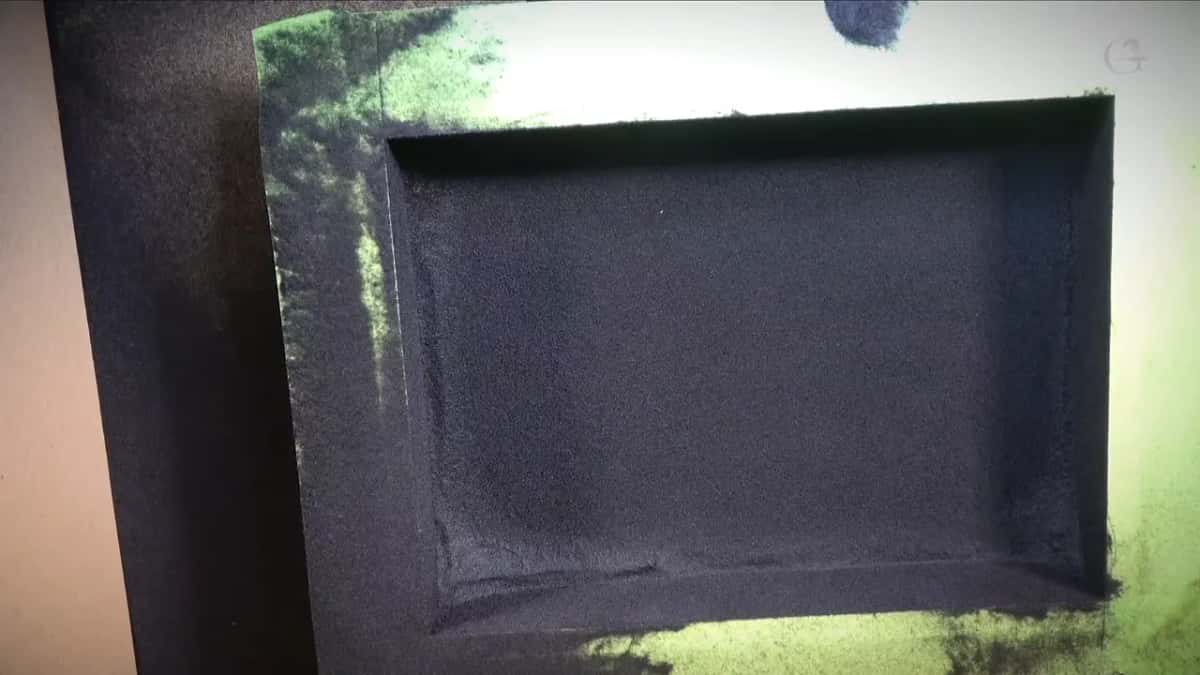
A Bible goes inside, so the inside had to be finished properly. Hinges went on the back at the very end. The interior got flocked, which means a fine fiber blown onto glue with a little hand flocker until the surface comes up like felt, and the product is sold under the name Flock-It. Flock-It is not expensive, and once it dried the inside came out clean and soft.
I sanded the olives off camera. Usually I do not like sandpaper on a carving, and some of you do not like the idea either. Those olives are small round domes and they wanted to be smooth. Shaving with a sharp tool can leave the wood so smooth it feels like you already sanded it.
Is 14 lessons enough to carve a box like this?
Among the people who joined the school, some call themselves beginners and had never carved before, and they still got really good results, even on complicated projects. The course runs 14 lessons across 142 video parts, and it follows this one commissioned box from the paper pattern to the flocked interior. Mistakes are in there too. That includes the spots where I say out loud that I took off more than I meant to.
If you have never held a gouge, First Cuts for Beginners is there too, and a flower rosette in basswood is a softer place to learn the petal moves. You also do not need olive. Walnut would be a little easier to carve, and cherry or even curly maple will do. After the box, take on a tray or a plate, where the object has a job as well as a face.
Tuition here pays for orphans and widows, and it puts children through art lessons their families could not pay for, which is the situation I grew up in. The whole catalog is on the lessons map if you want to read the shelf before you decide, and the in person workshops are there if you would rather stand at a bench next to me. Access runs monthly or yearly, renews automatically each period until you stop it, and you stop it from your own account. Both plans sit on the Access page.
So what is sitting on your bench right now that you have been too careful to carve?
How it's done
- Build the box first. Plain miters on a compound miter saw are all I used, and the hinges can wait until every carving is done.
- Print and glue the pattern down. Paper goes onto the acacia lid and onto the olive slab, so every line you will saw is drawn already.
- Steer the design around the knots. Keep knots out of the carving. One knot on my lid sits under the main flower, so it gets covered completely.
- Saw the pierced work. Either saw works here. By hand it takes longer and reaches the same place for twenty dollars.
- Set the first layer into the lid. Small details drop straight into the acacia lid, so the first layer shows the same grain as the box.
- Rough the acanthus in olive wood. Movements come before detail. Go back now and then and look at your main movements again with fresh eyes.
- Carve the lily on its own. A clamp holds the flower while you reach in behind the petals. Only then does it go down onto the lid.
- Make the lily's center a separate piece. It gets glued on top later, so it can hide the dowel that fixes the lily to the lid.
- Carve the small flowers in hand. Each one starts off the lid on a little leg you can clamp. The last small details can wait until it is glued in place.
- Blend the color, then line the box. Raw umber tint thinned with water evens the two woods out. Fiber blown onto glue turns the inside to felt.
Frequently asked questions
Is olive wood good for carving?
Olive rewards you and punishes you. Its grain is gorgeous, and the wood is crunchy enough that a thin stem can break instead of slicing. It is not the easiest wood to work with. But for a Bible box, I really love the idea of using an ancient wood like this.
What is gopher wood in the Bible?
Gopher is the wood Noah was told to build with, and the word appears once in the whole text, so nobody can identify it with certainty. Some people think it was acacia, the same shittim wood the Ark of the Covenant was built from.
Can you carve two different woods on one piece?
Even the olive on this lid came out in two colors, never mind the acacia under it. Carve everything first, then thin a universal tint with water and brush the lighter wood down until the two agree. Shading the low spots afterward makes the whole thing read older than it is.
What to carve next