
Alexander Grabovetskiy, woodcarver, School of Woodcarving · Published 2022
Should you carve the main subject of a wood carving first or last?
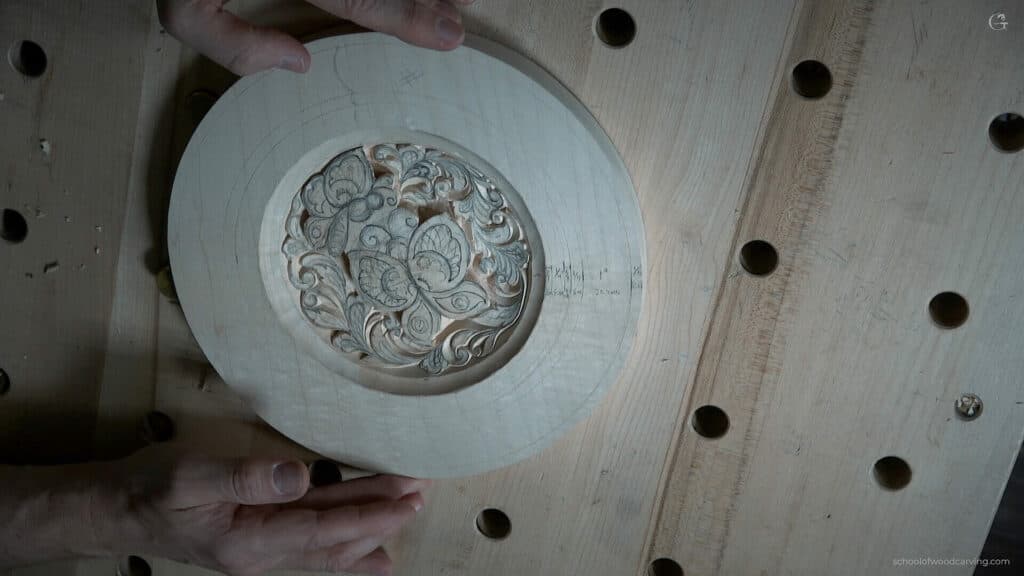
Quick answer: The main subject of a carving is outlined early and finished late. My two butterflies got their outline and undercut before the ornament was drawn, then sat plain while the knife carved every curl and leaf around them. It nicked their edges more than once, and at that stage a small nick does no harm.
A main figure in a carving is outlined first and finished last. On this plate the figure is a pair of butterflies. They were outlined at the end of lesson 2, then undercut in lesson 3, a lesson before the ornament around them was even drawn, and after that they waited. In this lesson I carve the curls and leaves all around them with a knife, and the butterflies get nothing from me except a few nicks on the edge.
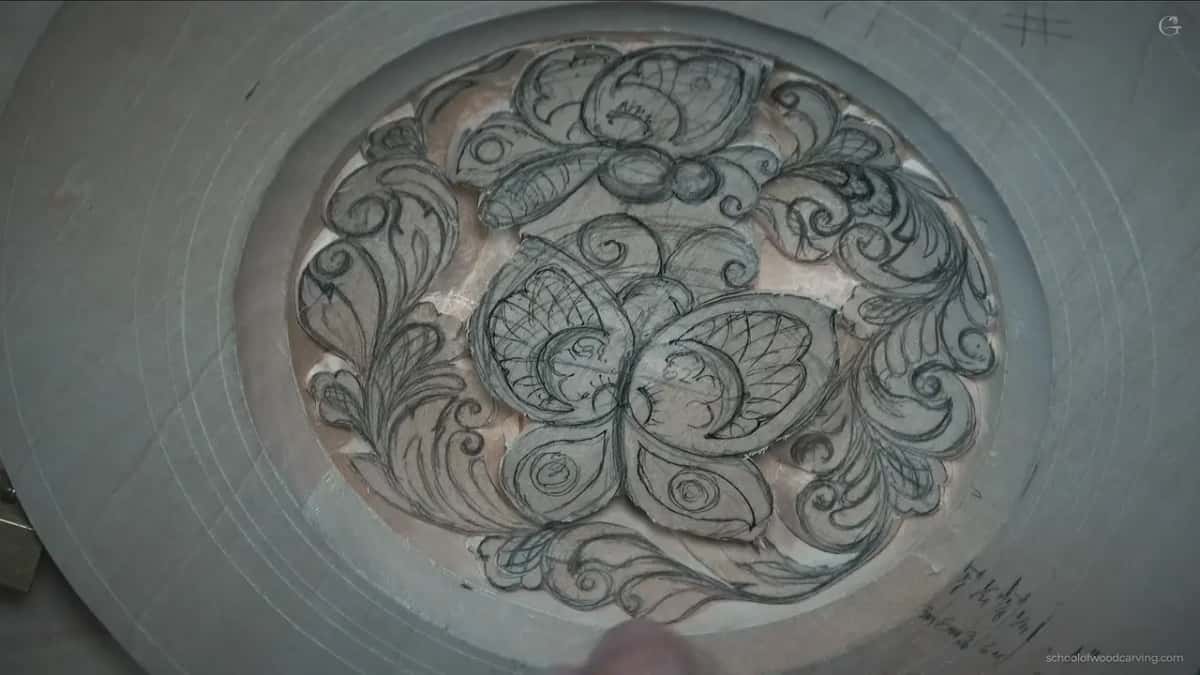
I know which part you want to carve first. The butterfly, of course, since it's the reason you picked this plate. Is it the first thing your eye lands on? Would it hurt to scratch it after an hour of careful work? Then carve it last. I'll show you the order I use, where the blade keeps hitting the butterflies, and why a small nick on their edge doesn't worry me at all.
What waits, and what goes first
- The butterflies get their outline and undercut early, then sit plain while their neighbors are carved.
- Every curl goes in at one sitting.
- A knife that grazes a butterfly's edge is normal here, provided it only grazes.
- Small separations get carved the moment I spot them.
- Spoiled flowers wait for their own lesson.
- Lessons 9 and 10 bring them back, one butterfly each.
Why do the butterflies wait for everything else?
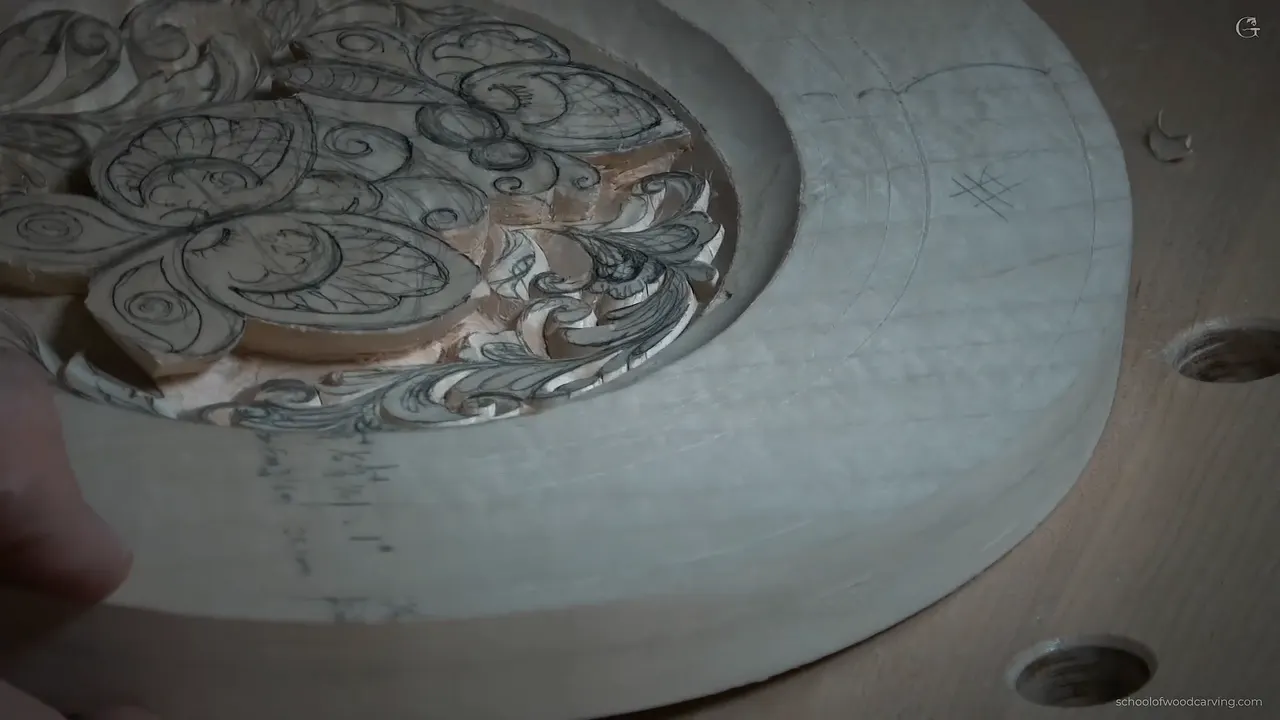
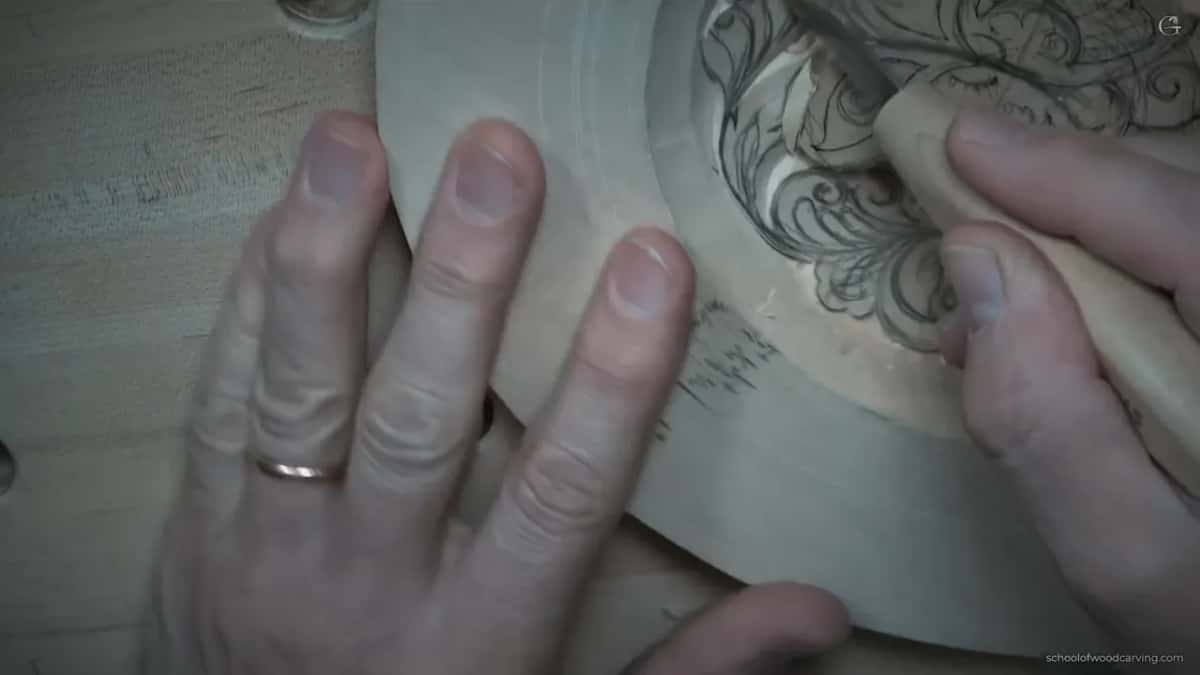
The knife keeps running into their edges while I carve the shapes beside them. I open the lesson by saying we're ready for the inner movements and details, that we'll get to the butterflies a little later, and that today I'd like to attack just the design around them. Watch the blade in the video and you can see the angle it comes in at, right against the edge of a butterfly. That's the whole reason I'm not working on them yet. Until everything on the inside is done, who knows what I'll do to that edge? Maybe I hit it, maybe I damage it. That's why the design around them comes first.

The basswood plate is only 254 mm (10 in) across, and I packed every space around the butterflies with curls, little leaves and flowers. The gaps between shapes are about 3 mm (1/8 in), room a separation needs later, and that crowding is the law of space at work. A knife working in a gap that narrow, leaning at an angle, is going to touch its neighbor sometimes. Finished butterflies would take every one of those touches.
I say the same thing about undercutting on the Roman acanthus. When I'm digging nearby I can always hit the points of my leaves, and if they aren't undercut yet, they won't break. If they're already undercut hard, I'll break them for sure.

Outlining the main shape first is how I start the curly kitchen cutting board too, working from the inside out and beginning with the bird itself. This plate adds the second half. Outline first, finish last.
Is it a problem when the knife nicks a butterfly?
A light nick at this stage is fine. Near one butterfly I hit the edge again, and I tell you on camera that it's okay. About four minutes later I'm carving right beside a butterfly and hitting it once more, and while I don't want to overdo it, at that stage it's okay.
Fine has a limit. When I say fine, that doesn't mean you can chop a piece off the butterfly. A little, and that's all.
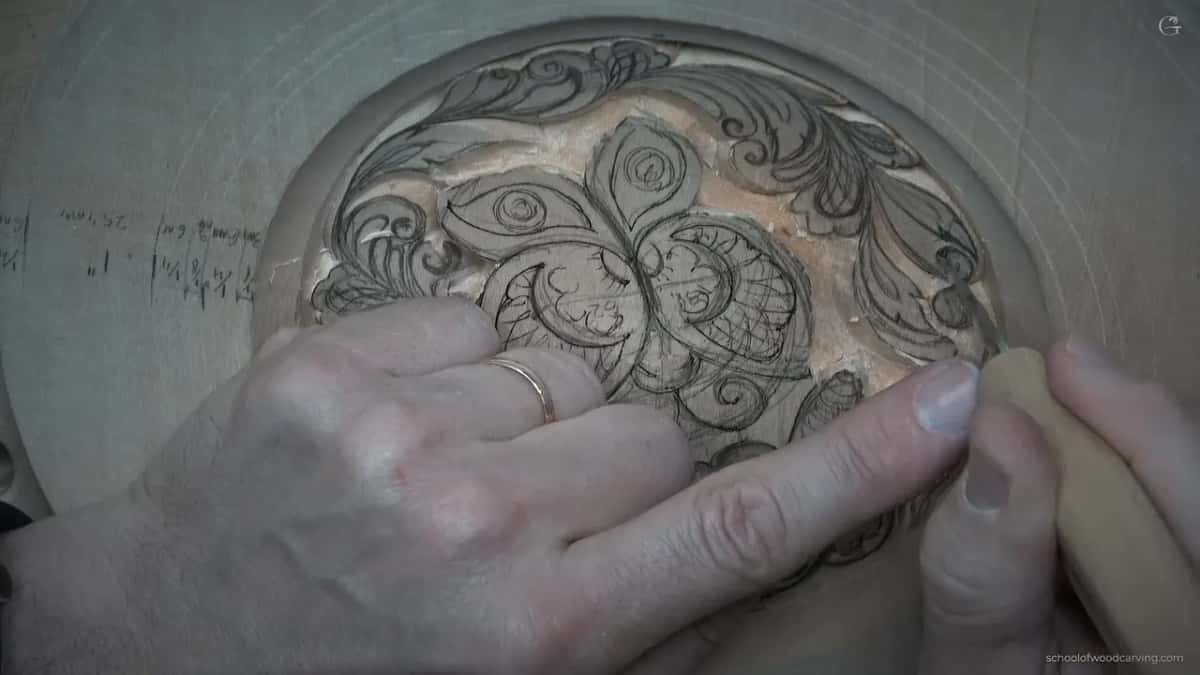
One of those touches comes when the grain makes me switch direction. The new angle puts the blade right on the edge of the butterfly, which is absolutely fine, as long as it only grabs a little.

Later on the butterflies get lessons of their own, first one and then the other, and there I work on them and make them look a little better. The pencil grid on each wing turns into lines about 1 mm (1/32 in) deep in those lessons. Whatever the knife does to an edge today, those lessons come after it.
What gets carved while the butterflies wait?
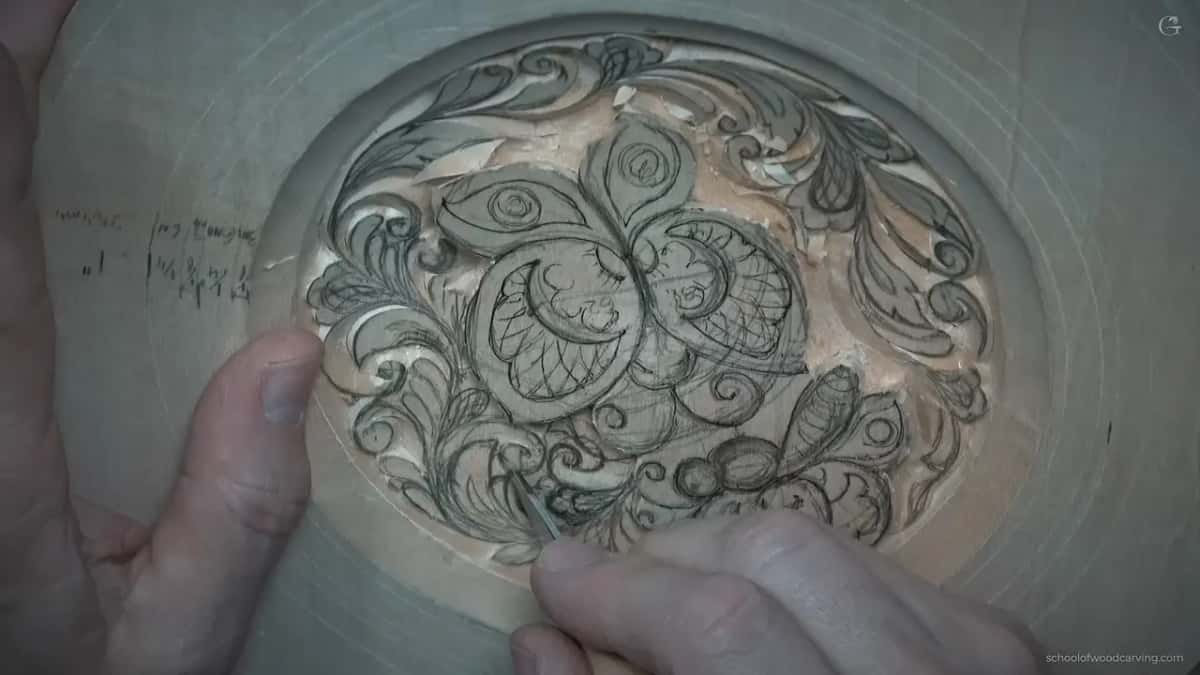
Curls, mostly, with a few leaves and a knife line around one flower. Everything was outlined in lesson 5, where the blade already runs right up to the butterflies, lying almost flat on the plate. Now I go around and take out the areas between. On each curl the outer passes go in first, and once they run all the way through, I take out the inner part. As the knife gets really close to a curl, I hold it almost straight up. The passes themselves are the three from the course overview, straight down at 90 degrees, then to the right or to the left, and most of them on a pull.
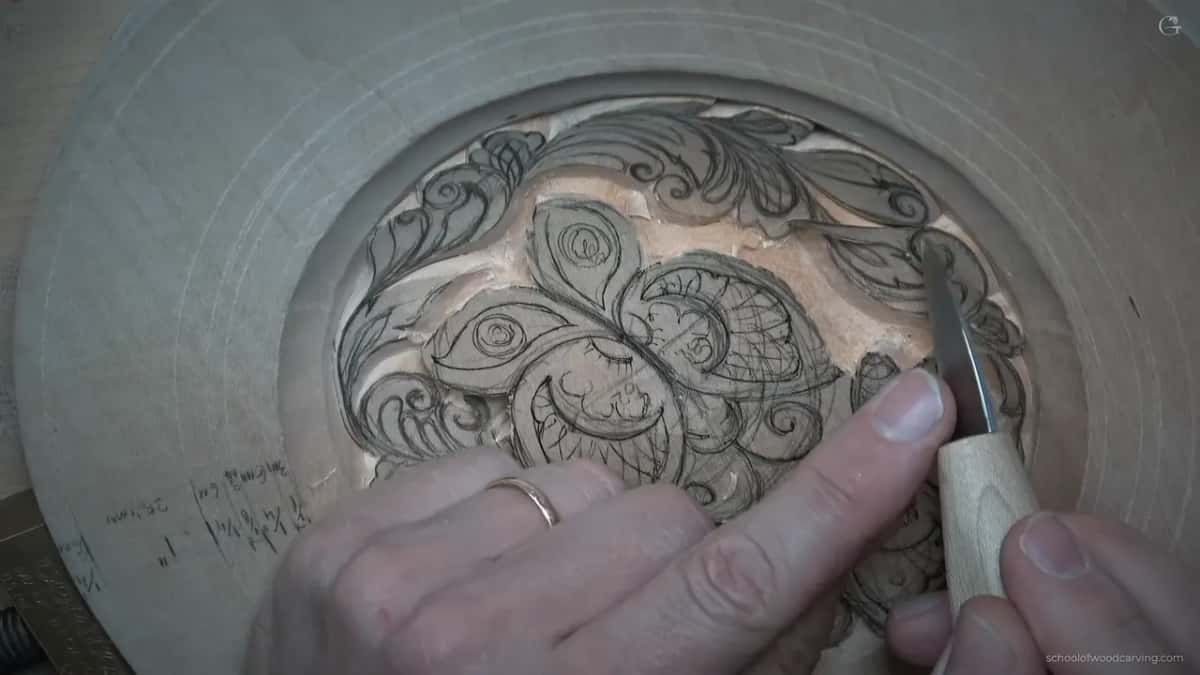
One leaf gets a movement like a letter S. On another leaf the second side gets a slightly sharper pass, and then a deeper one into the wood. Another curl I take all the way to a sharp point. That's what I'm after.
When a chip lifts out clean it just flies, and I tell the camera that pass couldn't be much nicer. I could spend a little longer on some of these and shave them even nicer. I probably should. But that's how I want to see them.
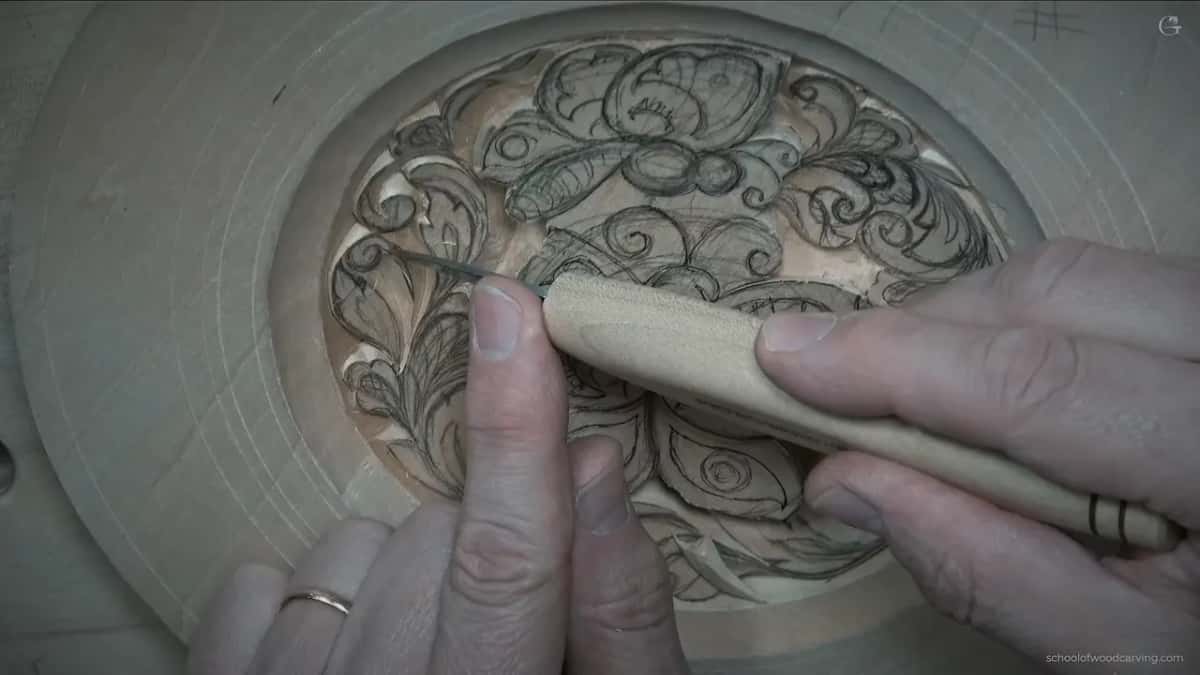
My old Petrograd is the knife in these frames, the Russian one from the course overview. How it follows a drawn line is lesson 5's job.
Where a curl runs right into a wing
One area in this lesson is a little challenging, and I tell you why on camera. Part of a butterfly sits right in the way of the curl I'm clearing, so I have to be careful how I take the wood out and take my time. I'm not rushing anything. That would be a big mistake, since whatever I take out in a hurry can break off right away.
Back in the first part, on a small curl, I start the pass shallow. Push too hard there and the side breaks off, which isn't going to look nice. At one curl I say this part I'm not going to force. At another spot the angle gets a little too much, and I tell you I have to be more careful in that section.
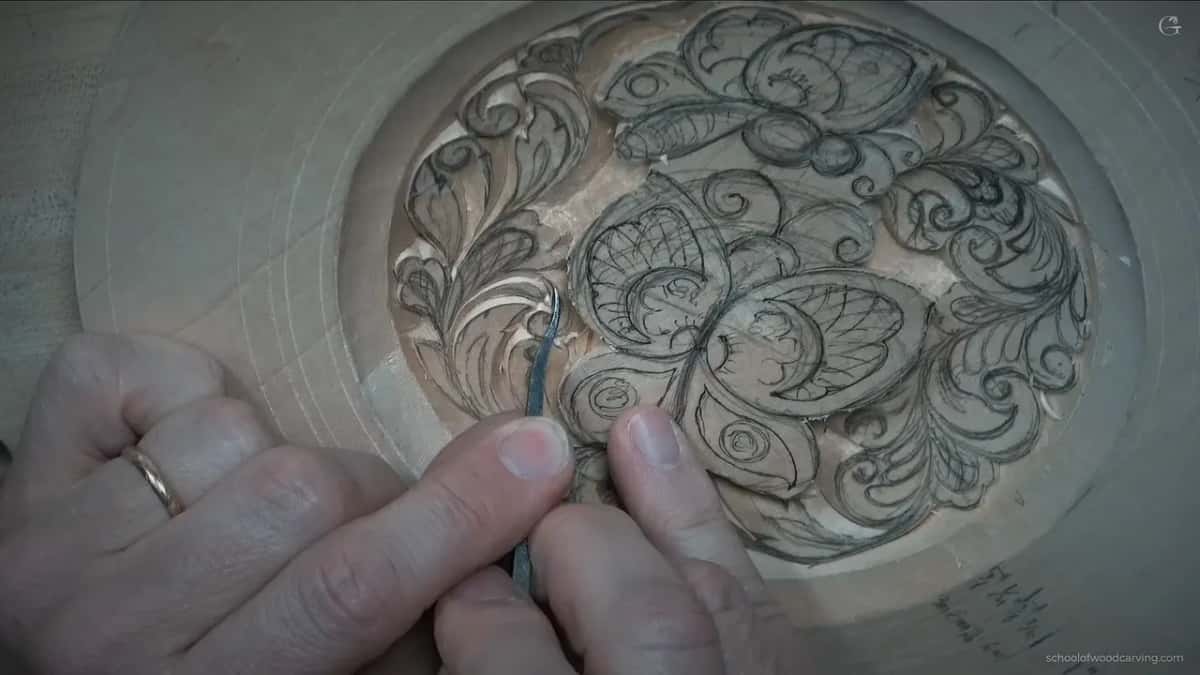
In that tight section beside the butterfly I put the knife down and pick up a small spoon gouge, a number 3, like the one in lesson 5. It helps some. Then I blend the passes, they blend really nicely, and I get my knife again.
Should every curl go in at one sitting?
You don't have to, but I like to. Once your hand is used to the move, it makes sense to get them all done at the same time. In the first part I call it a good idea and move straight on to the next curl, which gets exactly the same treatment.
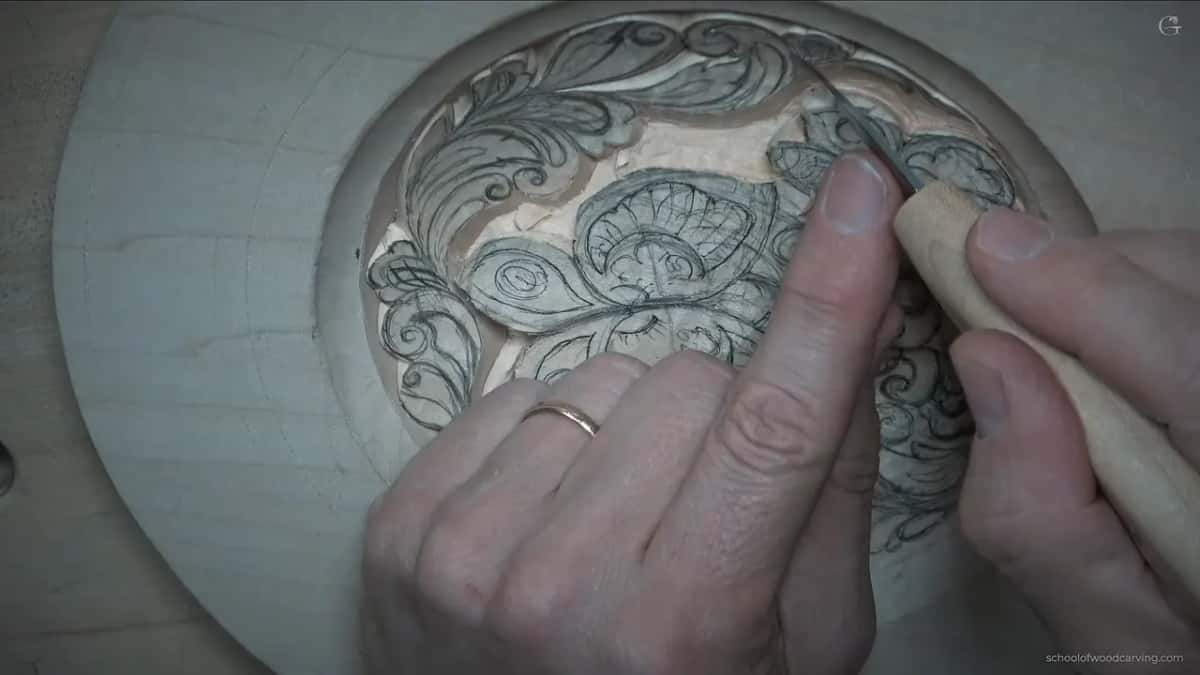
When I was sixteen I became the only apprentice of a fine art master in Russia, and he taught me to think like a tool. He also told me design is the laws of space, rhythm, repetition and understanding the tools. Carve a row of curls and the repetition part moves into your hand.
Somewhere in the middle I work off camera and apologize. Late in the lesson I count the curls off, one, two, three more, and that's it. Later I call a curl the last one and find one more. Then the real tiny one is the last. Tiny ones like that take a little more patience to clean everything around. A double check turns up a spot that never popped out, and after that my curls are pretty much done.
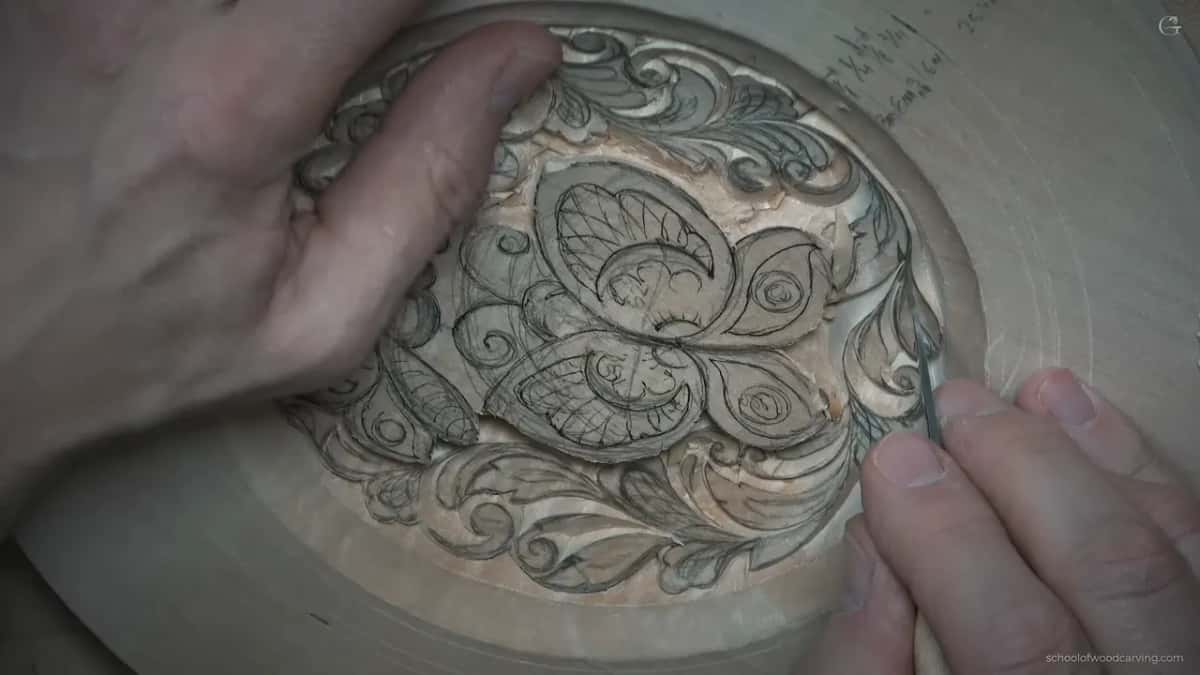
The order of single passes inside one tiny flower is a different question, and I answer it on the floral panel. Here the order is bigger. Whole families of shapes go first, and the main figure goes last.
When do the small separations go in?
Right away, as soon as I see one. Early in the first part I notice a separation between two shapes, and even though I don't have to, I carve it on the spot. Why not? Later there's another one, small but you can still see it, and it keeps me a beautiful sharp line.
Where a second curl crosses the outside of the first, that pass goes in right away too. On a small curl later on I make sure I can see the separation between it and the next detail.

A flower I did not like
One flower came out wrong, and I didn't like what happened there. That's okay, I say. We'll fix that movement a little later, when I get to the flower itself, and it should not be a problem.
The flowers get their own turn in lesson 7, and that lesson has the same habit in it. About one detail there I say maybe I'll do it a little later, just in case I break it. What I do right then is put the line back. I had taken a little too much away, so I draw it in again and carve along it at once, before I forget.

Earlier in the lesson I went hunting for a pencil on camera, hoping I could find one, and I found it. More than once I look at a spot I don't like and say I can always refine it, or go back and clean it. There's more on getting a lost line back in the Roman acanthus lessons.
Which way is the grain running near the butterfly?
I keep an eye on the grain of the wood, because I really don't want to make a mistake. If I carry a pass on past a certain spot, it catches the grain and runs the wrong way, so I come at it from the opposite side instead. At one curl it makes sense to attack from several angles, and I do. Where the grain changes direction I get what I call the marriage line, and I work it from two sides until it blends nicely. Reading grain has a short lesson of its own if you want the basics.

For this kind of carving I don't fasten the plate. It sits loose against two bench dogs I moved closer to me, my other hand holds it for more flexibility, and I pull each pass toward myself and turn the plate to whatever angle the next one wants. I apologize on camera for turning it all the time, but it's the best position for curly passes like these.
How clean should each curl be before the next one?
Clean enough that nothing is left between the knife lines. If a spot doesn't look clean, I go back into it, carve it again and clean it. A chip that won't fly out means something underneath still holds it, and a second pass in the same line frees it.
Never lever a stuck chip out with the blade. As I say in the course overview, that's how you lose a wing you spent an hour on.
The plate's order, lesson by lesson
Here is who waits for whom on this plate. The third column says when each shape gets its real turn.
| Shape | Now | Turn | Why |
|---|---|---|---|
| Both butterflies, waiting | Nicked at the edges, otherwise left alone | Much later | My knife keeps hitting their edges |
| Curls and volutes | Carved one after another in one sitting | This lesson | The hand gets used to it |
| Small separation lines | Carved the moment I notice one there | Right away | It keeps a beautiful sharp line |
| The spoiled flower | Line put back, the rest left alone | Lesson seven | We fix that movement later on |
| Curl touching wing | Slow passes, and a number three spoon | Same sitting | Rushing could break the side off |
| Space between butterflies | Worked next, still with the same knife | Lesson eight | Only then the butterflies themselves start |
Students of the school can watch all thirteen lessons of the plate and carve along in this exact order.
How the curls look when the lesson ends
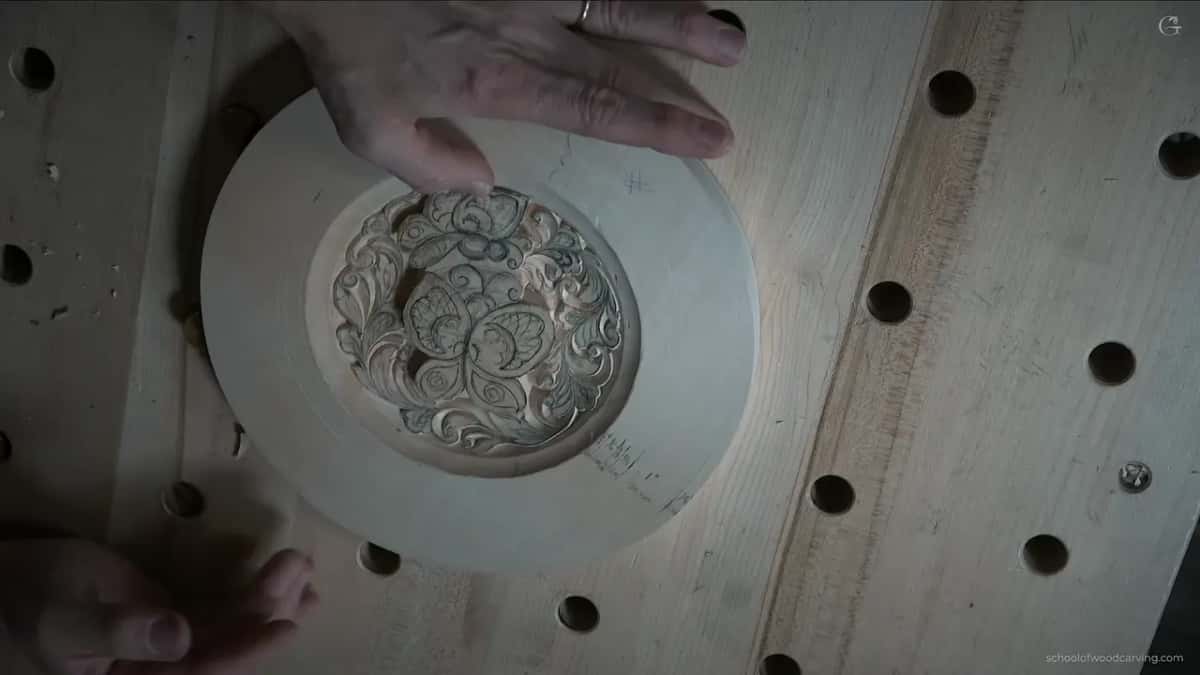
Deep and clean, with the butterflies still marked only in pencil. At the end I turn the plate for the camera, first low, so you can see how deep the lines go, and then from above. From up there the curls look pretty much done, and both butterflies are still in pencil in the middle. Next time, I say, we'll do a lot more.
Lesson 8 works on the space between the two butterflies, and only then do they get their own turn. This plate is an advanced beginner project, a relief with real undercuts, so if you haven't carved a flat board yet, start there.
Can you picture your own butterflies on a plate like this? Would you like them to come out clean? Then do the curls first, and let the butterflies wait.
How it's done
- Outline the main figure. Give the butterflies their outline, then lean the knife under the wings, before any ornament exists on the board.
- Draw what surrounds it. Scrolls, foliage and small blossoms fill the ground, about 3 mm (1/8 in) apart.
- Work the curls in one run. Work curl after curl in a single session while the motion is still in your fingers.
- Take separations as you meet them. A dividing groove spotted now goes in now.
- Let a graze go. Brushing a wing's rim with the blade is expected at this point, if nothing breaks away.
- Park a spoiled neighbor. Redraw the lost line, carve along it at once, and leave the rest of that flower for its own lesson.
- Finish the figure last. Return to the butterflies once everything around them, and between them, has been carved with the knife.
Frequently asked questions
Do you carve the background or the main figure first?
The figure's outline goes in first, before a single curl. Everything around it gets carved next while the figure stays plain, and its detail waits until late in the course. On my plate the two butterflies get that attention starting in lesson 9, one at a time.
Is a small spoon gouge worth having for a plate like this?
One helps in a cramped corner. I picked up a number 3 spoon once in this lesson, where a curl ran into a wing, and went back to the knife as soon as the passes blended. You can carve the plate without one, but that spot gets easier with it.
Why keep turning the plate so often?
Curly passes carve best from one position, and turning the plate is how I keep getting there. The grain also forces me to come at some spots from the opposite side. On camera I apologize for all the turning, then keep right on doing it.
What to carve next