
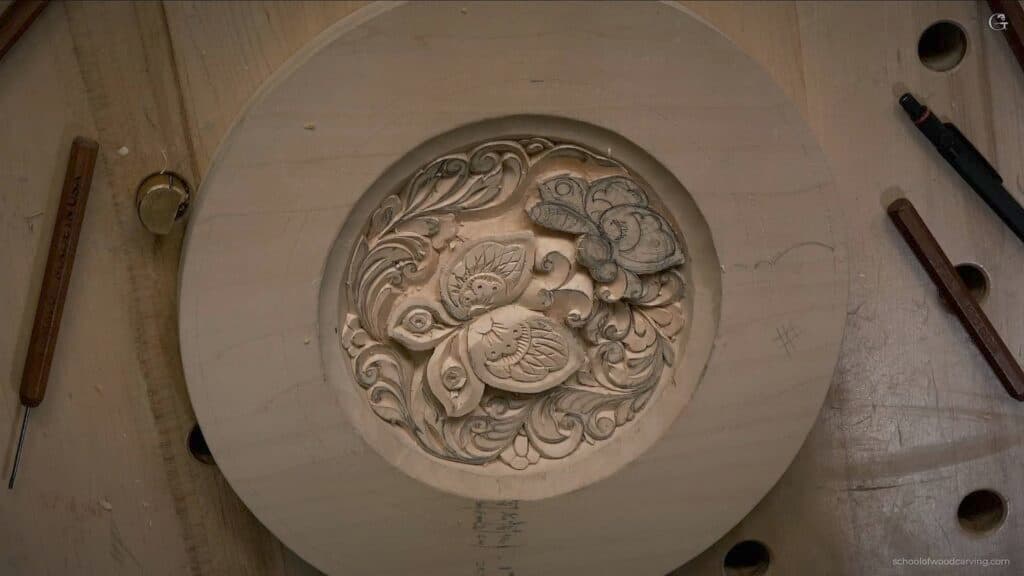
Alexander Grabovetskiy, woodcarver, School of Woodcarving · Published 2023
How do you carve butterfly wings in wood?
Quick answer: Carving butterfly wings is shaping work that begins once the butterfly stands clear of the ground. One knife tips each wing down into the body, blends the head until it feels like a small ball, and runs a low bevel along every outer edge. Separations inside the wing stay 1 mm (1/32 in) deep or less.
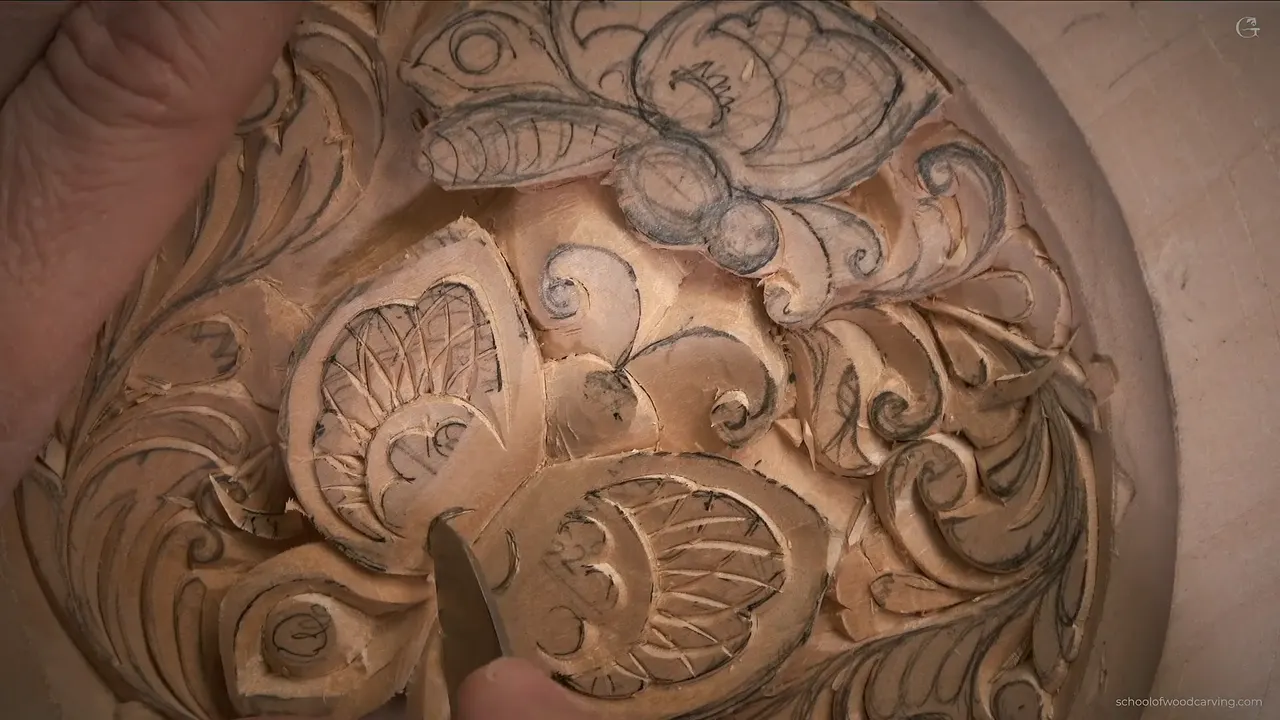
Carving butterfly wings is mostly shaping, and it starts once the butterfly already stands up off the plate. On my butterfly plate the wings tip down toward the body, the head gets rounded like a small ball, and each outer edge gets a low bevel. Thin separations finish the parts, none of them deeper than a millimeter, or about 1/32 of an inch. One knife does all of that shaping.
Have you ever turned a smooth river stone over in your fingers? Have you felt the rounded edge of an old kitchen table? Then you already know the feel this lesson is after, and a flat blade can get you there, one small plane at a time.
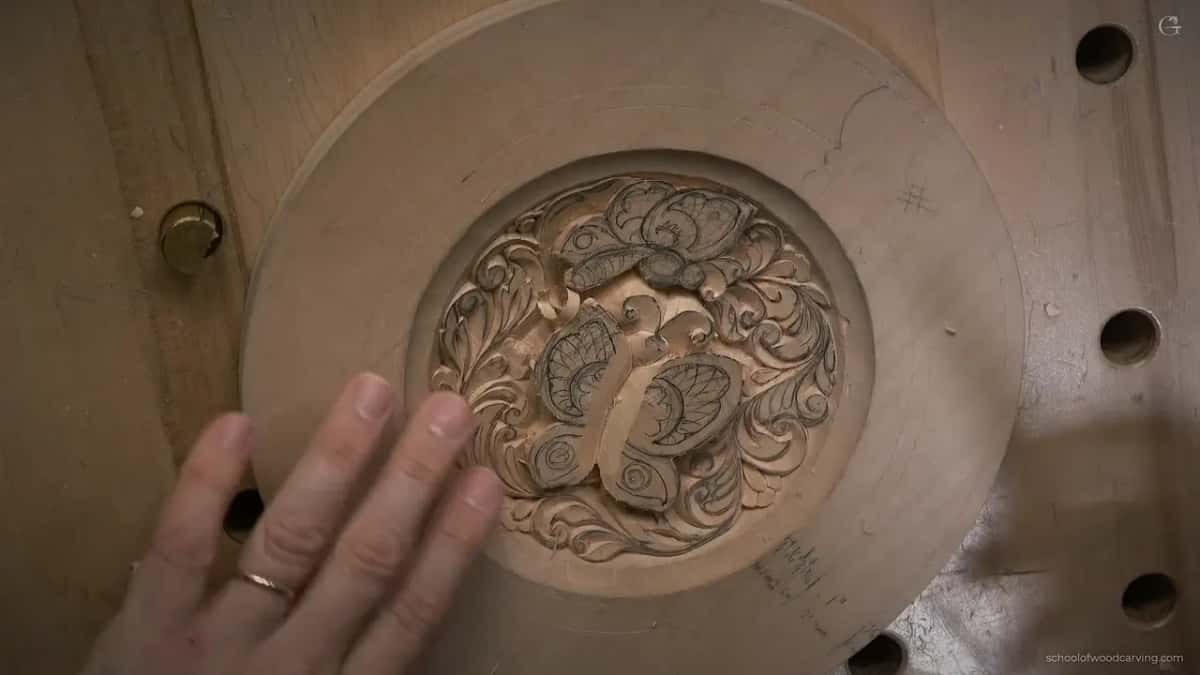
I'll show you my first butterfly the way I carved it on camera, starting at the head and working out across the wings, including the moment I was afraid of breaking a whole wing. Small cuts, mostly.
How I carve butterfly wings, in six moves
- A slightly angled cut goes in first, stopping where the head meets the wings.
- Round the head.
- Two flat chamfers side by side read as one curve.
- The outer edge of each wing gets a bevel at a low angle.
- Separations inside a wing stay at a millimeter or less, and I could go deeper but do not need to.
- Scrape last, always with the grain.
Why should a carved wing not stay flat?
From the first minute of this lesson I said it plainly, the butterfly is not going to be just a flat surface. Its wings go inward, over the body, only slightly. We bring in some 3D. Not really, really, really 3D, but still somewhat.
The lift already happened. In earlier lessons I dropped the ground around each butterfly and undercut the wings, and my course page explains why that shadow does most of the lifting. Lesson six covers why the butterflies wait while the ornament around them is carved first. This lesson works on the top of the butterfly itself.
The school has another page on making low relief look three dimensional, where a surface gets broken into small hollows and rounds. On this butterfly I do something smaller. Flat planes from one knife, set so they fall in toward its middle, plus a head that ends up round.
Where does the first cut on the butterfly go?
Right where the head meets the wings. I took a bigger knife for this, set the first cut in at a slight angle rather than a true 90 degrees, and stopped at that point. From the other side I circled around the same way and stopped again.
That leaves a little triangle between the two cuts, and it has to come out. I lay the knife almost flat and hold it from above, from the top I should say, and lift the triangle away. Those wings are going to fall toward the center of the butterfly as well.

Can a flat blade make the head round?
A couple of small cuts and some blending get it there, until the head has the feel of a little sphere. From almost no cut at one end I work my way to a plain rounded head. Blended, and that is it for now.
The eyes come later in the course, and I said so on camera. In this lesson the head only gets its roundness, because first I needed to concentrate on the inward shape of the wings.

How do the wings start to tip inward?
With a straight down cut along the inner line, pulled toward me, and then a nearly flat slice that meets it. That first cut really is close to 90 degrees. I pull it, because pulling is a lot easier here, and I run the knife right on the line.
I went in somewhat deep, and I did not really know how deep, maybe even 3/8 of an inch (9.5 mm). I said right then that I did not need to go that far. Then I laid the knife almost flat again, held it from above, and carved toward the line, a little deeper on the next pass.
Carving right on a line has its own lesson, so I will not repeat it here.

Why do two flat chamfers look like one curve?
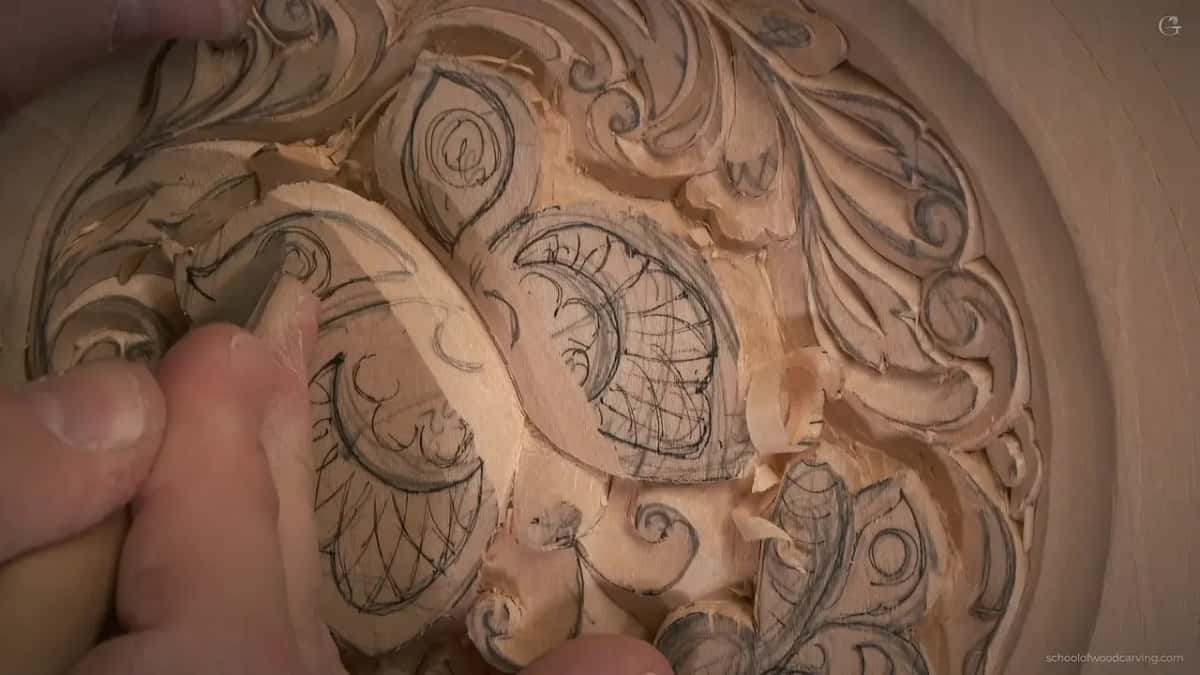
Put one flat cut beside another at a slightly different angle and the surface starts to look curved. What I'm after is a 3D feel, a line that has almost a curvature to it. So I made one chamfer cut, then another chamfer cut next to it, and together they gave me some kind of filleting effect.
A chamfer is an edge planed off flat at an angle, and a fillet is the rounded kind. Two chamfers next to each other land somewhere between the two.
Chamfer number one, then chamfer number two, maybe a little bigger. On the opposite side it was exactly the same idea, and then I cleaned it until I was happy. I had lost a bit of my drawing by then, not much, so I redrew it before going on.

A curved blade would probably do better on the shallow cuts that came after. I used the plain straight one on purpose, to prove the point, and you can still see the movement it makes. Later a flat secondary cut went in that is supposed to look like a gouge cut. The last area got the same, cut and then blend.
Of course there are limits when all you use is a knife. Near the end of the lesson I picked up a 4 mm (5/32 in) gouge, about a number 8 or 7, to refine one cut, and I said it could have gone in with that gouge right away. I carved it with the knife first because I'm trying to show you the old way of carving, and the knife cut was only preliminary.
The dish in the middle of the plate is another story, and a number 7 hollows it, as the course page explains. If you already own gouges and wonder why anyone learns on a knife, this page makes that case. Every pass of this lesson is on camera in three parts, a little under fifty minutes in all, for students of the school.
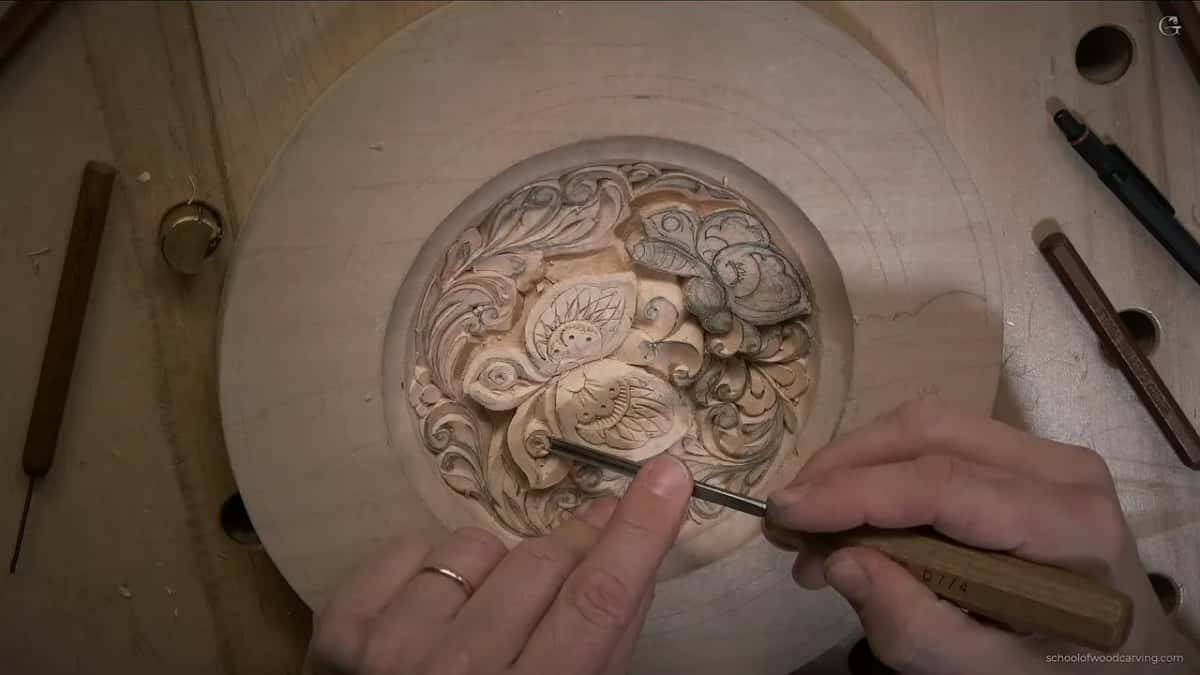
How low is the bevel on a wing edge?
Low, and shallower than the first cuts. The bevel faces the outside of the wing, and its angle is not that big. I showed the camera roughly where the blade sits, though I wasn't sure you could even see it. I don't need a deep cut there.
Around the other shapes on the wing I did the same thing later, the bevel toward the edge and not really deep. The cuts there are tiny, almost just poking in. I take the triangles out first and then go right to the line, and the tight space lesson shows how I keep the blade low in spots like that.

How deep do the separations inside a wing go?
One millimeter at most, which is about 1/32 of an inch. All I need there is a separation between this part and the rest of the wing. I could go deeper if I wanted to, but I don't think I need it.
For this the blade lies nearly flat, gripped from just above, and it can still make a beautiful movement across the wing. Really, really not deep. Just enough for a little shadow.
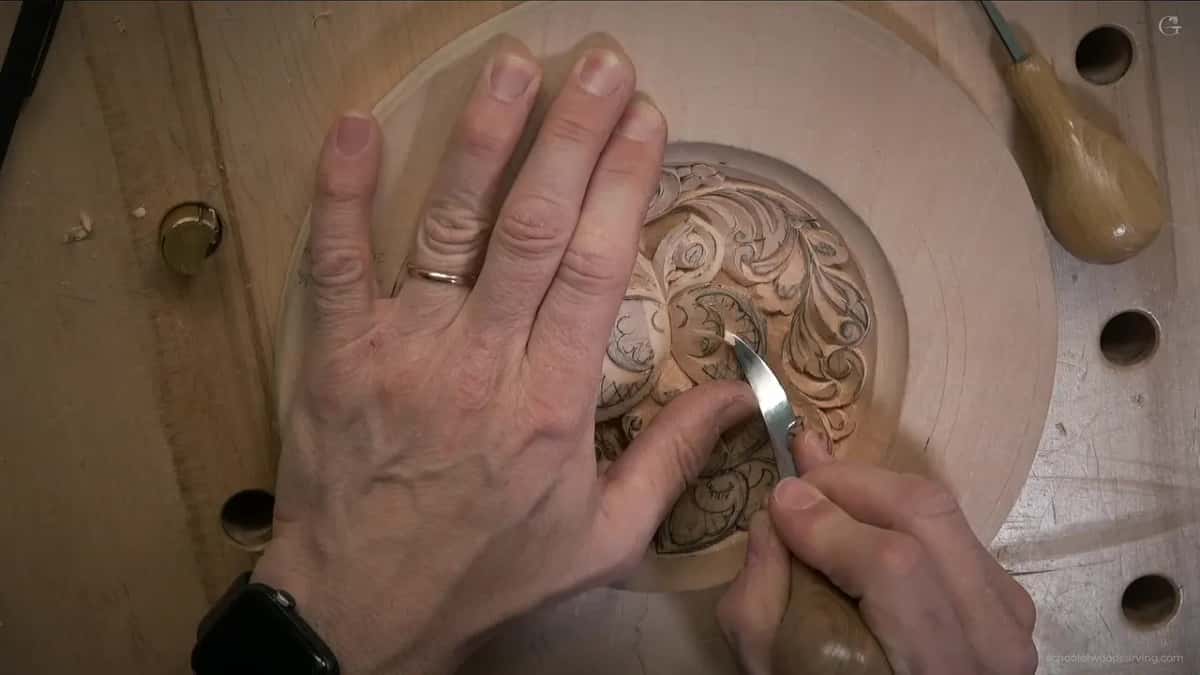
Under one wing I carried an earlier undercut on at the same angle, only shallower, and it gave me a shadow line. No more than a sixteenth of an inch, about 1.6 mm, and still a beautiful shadow line. I blended the wing right down into that cut, then caught the same angle again under the other wing. The angle itself belongs to lesson three.
Another page in the school treats shadow as a decision, dropping one edge of a leaf nearly to the ground. On a butterfly wing the drop is tiny, and the shadow still shows.
At one spot I weighed it out loud, undercut under this side or take the wood away from that side. I took that part away, since I thought it would give me a better shadow. It gave the wing an extra dimension, and my knife there was lying almost on the surface of the plate.
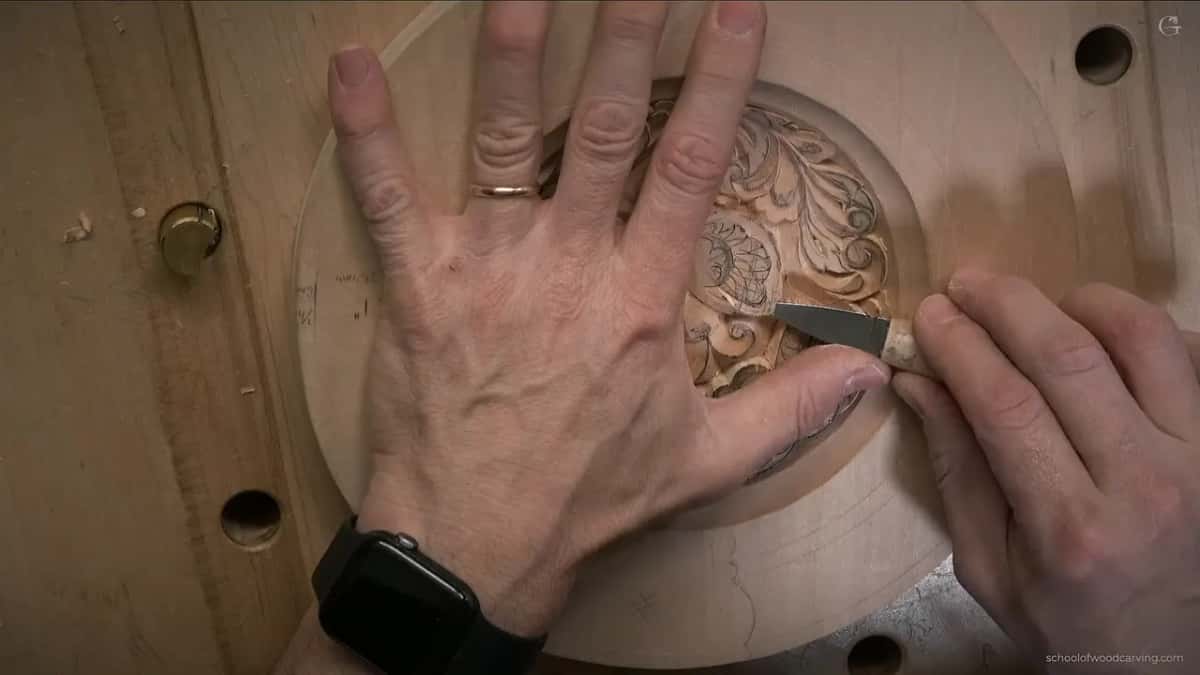
Here is one wing in a single table, the way I carved it on camera.
| Spot | Knife | Blade |
|---|---|---|
| Where head and wings join | An angled stop from each side, then the triangle lifted out | Almost flat, from above |
| The head itself | A couple of small cuts blended until it feels round | From almost no cut |
| Inner wing line | Pulled straight down on the line, then a slice toward it | Upright, then nearly flat |
| Across the wing | Chamfer number one, then chamfer number two beside it | The second a little bigger |
| Outer wing edge | A bevel toward the edge, shallower than before | A small angle |
| Parts of one wing | One separation between each part and the rest of it | About 1 mm (1/32 in) |
| Under the wing | An earlier undercut continued along, only a bit shallower | Under 1/16 in (1.6 mm) |
What goes wrong on a wing this small?
Mostly a chip that will not come out clean, or a cut you lose sight of. On camera one chip did not give me a clean escape, and I said it right there, that is not really good. Force it, I said, and I could break it, so one more cut is the better way.
Later, on the second wing, I really could not see my own cut. Where's my cut, I asked the camera. A few seconds later I was refining it. I told you then that I did not want to break the whole wing, and it could happen.
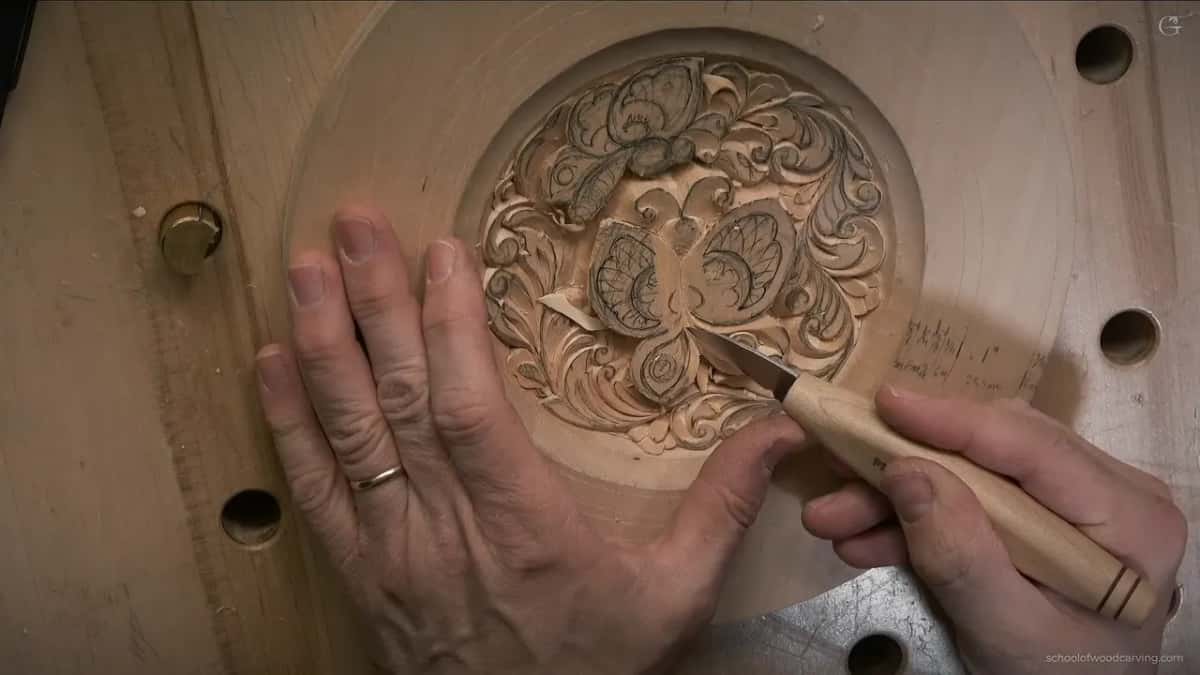
I also turn the plate all the time, and I said sorry on camera about the zoomed-in picture because of it. That is part of this kind of carving. It goes a lot easier when you can rotate the plate and just carve, without fastening it down.
One, two, three, go, I said at one point, and asked you to watch my hands. My pinkie lies on the board as a support point. I don't think about it anymore, it is automatic in me by now, but if you have never carved before, pay attention to that finger. Some spots still did not look clean, and I told you not to worry about that. You can always refine everything.
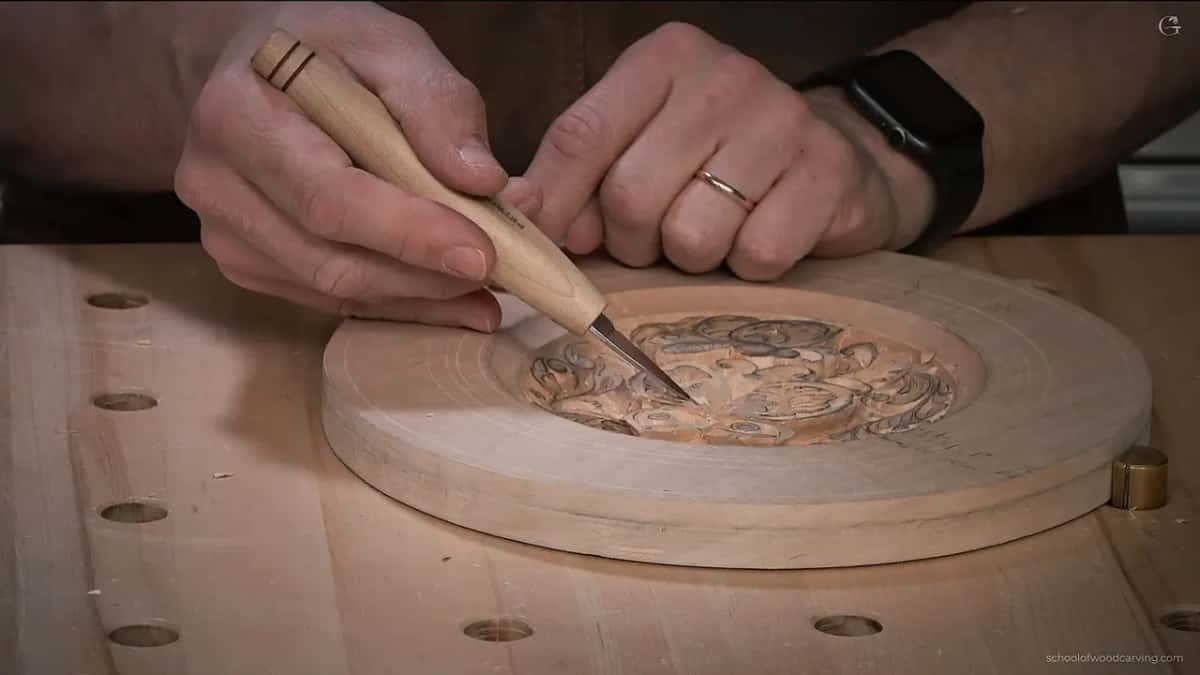
Where do the grooves and the dots come in?
After the wing has its shape. I penciled the grid work back in first, and everything on it is supposed to go roughly toward one center. It does not have to be really accurate.
Each line goes in one direction, then the plate flips and the rest come in from the other side, about a millimeter deep, the way the course page teaches. In this lesson I also said no more than one millimeter wide, maybe one and a half in some spots, and try not to go too wide, because it will not look as nice.

Inside the wing I outlined the inner part the same way and made a little shadow there too. The dots come last, made with tiny Dockyard gouges. Each one is a plug cut about a millimeter deep, set straight down and turned, and in this lesson they sit in the round parts of the wings. That page stands a number 9 on the wood under a mallet, while here a micro gouge does it with more twist than push.
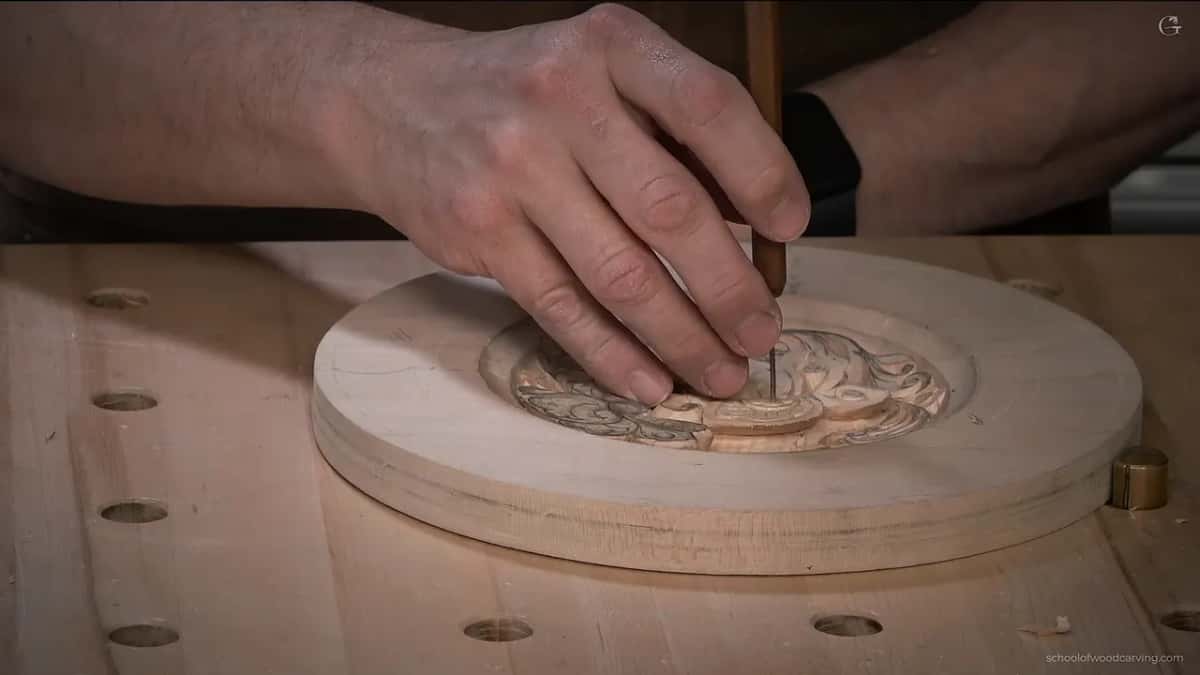
From each dot I carved toward the center with a little twist, not a straight cut. Then one more went in between, not from the dot but from about the golden ratio point, around 60 percent along. Boom, just like that. Tiny cuts inside gave the butterfly some curliness.
There is no end to what you could do, I said, and then took it back. Obviously there is an end.
When is a wing clean enough?
Scrape it, and the scraping will show you what still needs the knife. A razor blade from a utility knife, or a small scraper, takes the pencil marks off, always with the grain, and then you can see whether you are good or bad. Even the knife can scrape, though it dulls a little.
Once the marks were gone I could see all the imperfection, so I went back and refined the edge. Blending with the scraper works too. In the end everything gets blended, and later the back gets shaped, not carved.

Next time, I said at the end, we continue with the next butterfly, or maybe finish something else, and that is lesson ten.
Is there a scrap of basswood, or any wood at all, somewhere in your house? Draw one small wing on it, lay one flat cut against another at a slight tilt, and look at it from across the table.
How it's done
- Stop off the head. Make a slightly angled cut from each side, halting where head and wings join, then lift the triangle between them.
- Round it over. Blend a few short cuts until the head feels like a ball.
- Tip the wings. Pull an upright cut along the inner line, then slice toward it with the blade laid low.
- Pair two chamfers. Set a second flat plane beside the first so the pair reads as a curve.
- Bevel the edges. Carve a low bevel toward each outer edge, shallower than the earlier cuts.
- Split the parts. Separations go no deeper than a millimeter, a thirty-second of an inch.
- Scrape and refine. Scrape along the fibers, then fix whatever flaws the scraping brings out.
Frequently asked questions
Do I need gouges for the wings?
A knife handles every bit of the shaping in this lesson, from the round head to the thin separations. Near the end I did pick up tiny Dockyard gouges and a 4 mm (5/32 in) number 8 or 7 for the dots and one refinement, and I said you can skip them.
What depth do the lines inside a carved wing need?
About one millimeter per separation, roughly a thirty-second of an inch, and going deeper was possible but I had no need for it. The shadow line beneath one wing stayed under a sixteenth of an inch, less than 2 mm, and still came out beautiful.
Should the wing lines all run toward one point?
Roughly, since everything on these wings is meant to head for the middle, the same way the wing surfaces fall inward. I also told the camera those lines do not have to be really accurate, so a slightly wandering one is fine.
What to carve next