
Alexander Grabovetskiy, woodcarver, School of Woodcarving · Published 2022
What do you carve in the Carving Plate with Butterflies course?
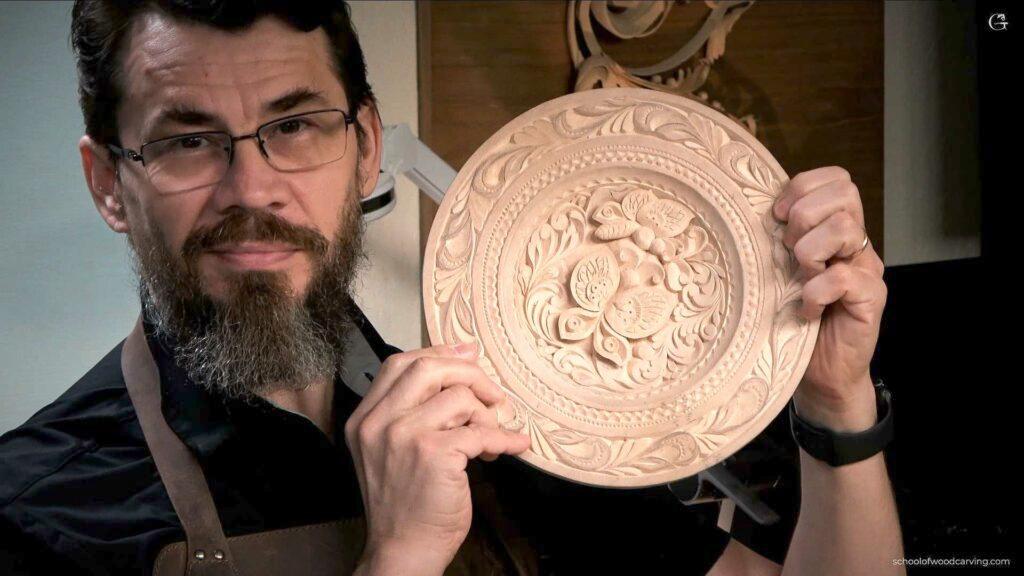
Quick answer: Carving Plate with Butterflies is a knife course. You cut a ten inch basswood plate, 254 mm wide, with two butterflies raised in the middle and a band of leaves running around the rim. Almost every pass comes off one blade. The style is northern European and about a thousand years old.
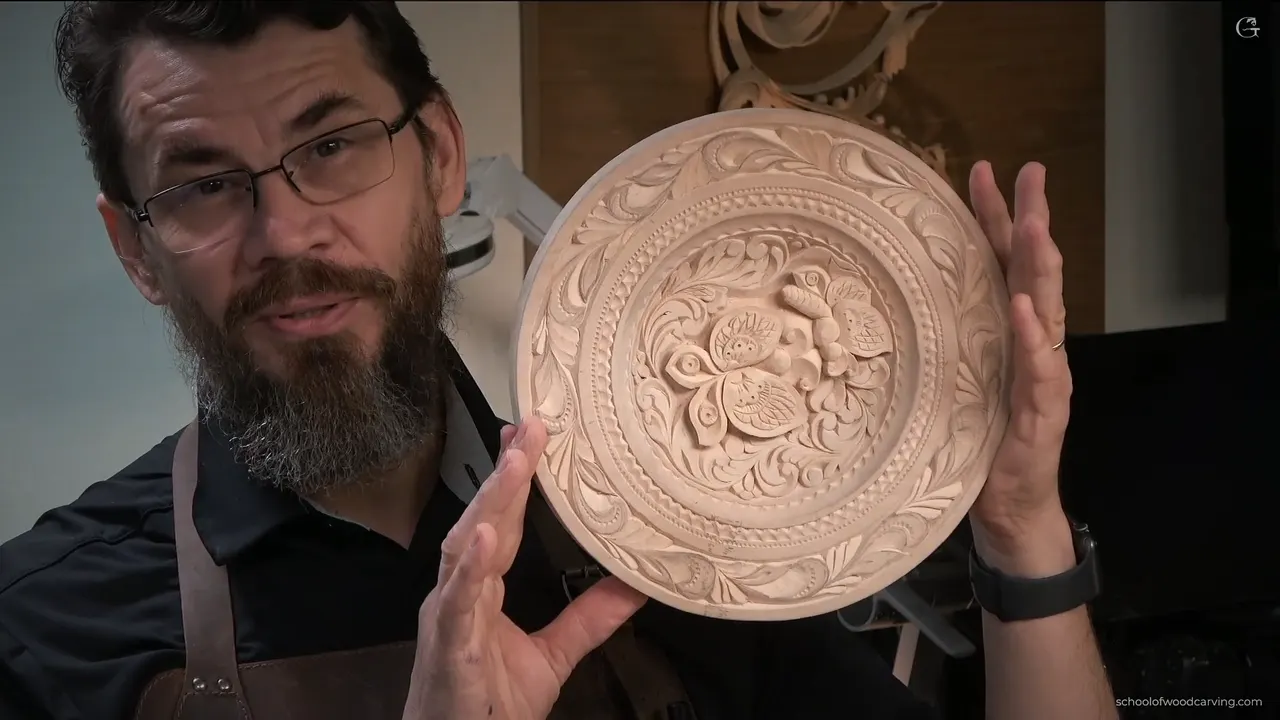
Do you have a knife on your bench and maybe two or three gouges? Have you ever looked at a carved plate like this one and thought you would need a shop full of tools before you could try it? I want to show you that you already have enough.
My name is Alexander. I am talking to you, not to a room. Some of you have already carved the bird of paradise board with me. This is the next step from that board, and the main tool is still a knife.
The board I started with was not new. I had taught a class about a week before, and this was a practice board with carving already on the back. Throwing it out felt wrong, so it became a plate.
Key takeaways
- One knife carves nearly all of it. A number 7 hollows the dish, a number 9 outlines, and nothing else is required.
- Basswood, 19 mm thick and a shade under ten across. Get it dry, air dried if possible.
- A deep shadow under the wings separates each butterfly from the background. Undercut the wings, and never the antennae.
- Small neighbors are what make a butterfly read big on a ten inch plate. Crowd the gaps beside it with scrolls, foliage and tiny blossoms.
- Grooves stay at one millimeter. Press too hard and the ridges between them snap off.
- Scrape it clean with a razor blade along the grain, the authentic way.
- Advanced beginner, not a first project. Every lesson on the site is mapped if you want the flat board first.
What you actually need on the bench
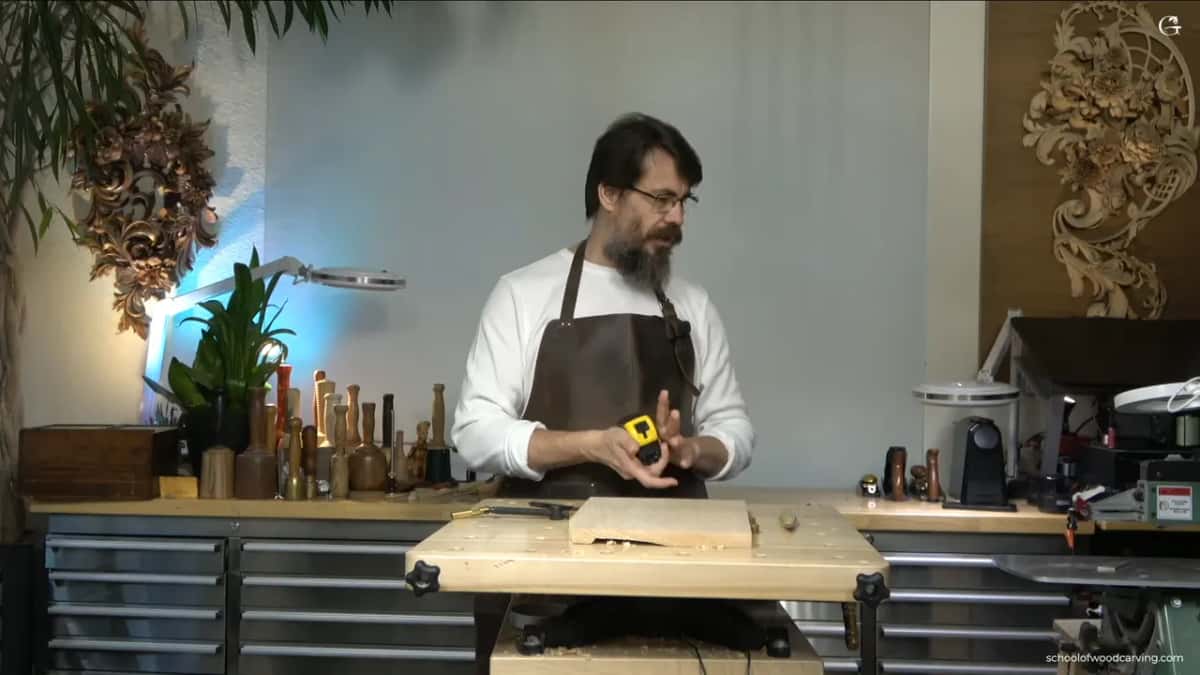
One knife does most of this plate. Add a number 7 gouge, a number 9 around 10 mm (3/8 in), and something flat for cleaning up, and you have the whole kit.
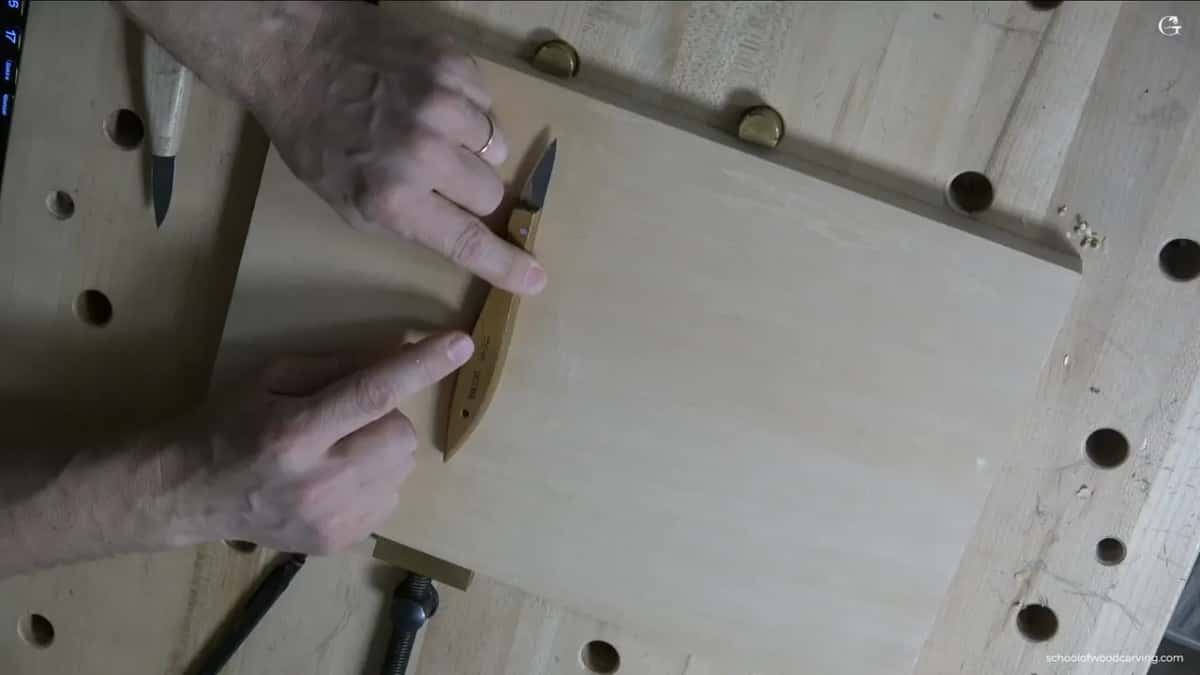
Any knife. I mean it, and I have a reason to mean it. When I was in Russia I had no Swiss tools, no Pfeil, nothing anybody would call professional, so we made our own out of whatever we could find. An old metal file, ground down and reshaped. A hacksaw blade. Those knives carved plenty.
Look for a blade around 25 to 32 mm long, so about one inch up to one and a quarter. A 10 mm blade will get you through. My favorite is over twenty years old, maybe twenty five, and honestly the new one I bought is not the same quality.
Later in the course I bring out better tools so the difference is in front of you. A right hand and left hand pair by Drake, a skew by Peter Benson, a few tiny gouges by Dockyard. Drake does not pay me to say that, and I am not affiliated with them. Drake makes them by hand, and you sit on a waiting list a month or two before your turn comes. My old Petrograd knife is Russian and you cannot buy one at all anymore.
What wood, and how big
Basswood, 254 mm across and about 19 or 20 mm thick. In inches, ten across and three quarters thick.
Basswood is the best carving wood I know, and that holds whether this is your first month or your thirtieth year. Get it dry. Air dried is better if you can find it.
Ten inches is not a rule. Land a little off and I have absolutely no problem with it, because your board is your board.
Why I scratch my lines instead of drawing them
Calipers with sharp points leave a real groove in the wood, and a groove guides your blade later. A pencil line gives the edge nothing to sit in.
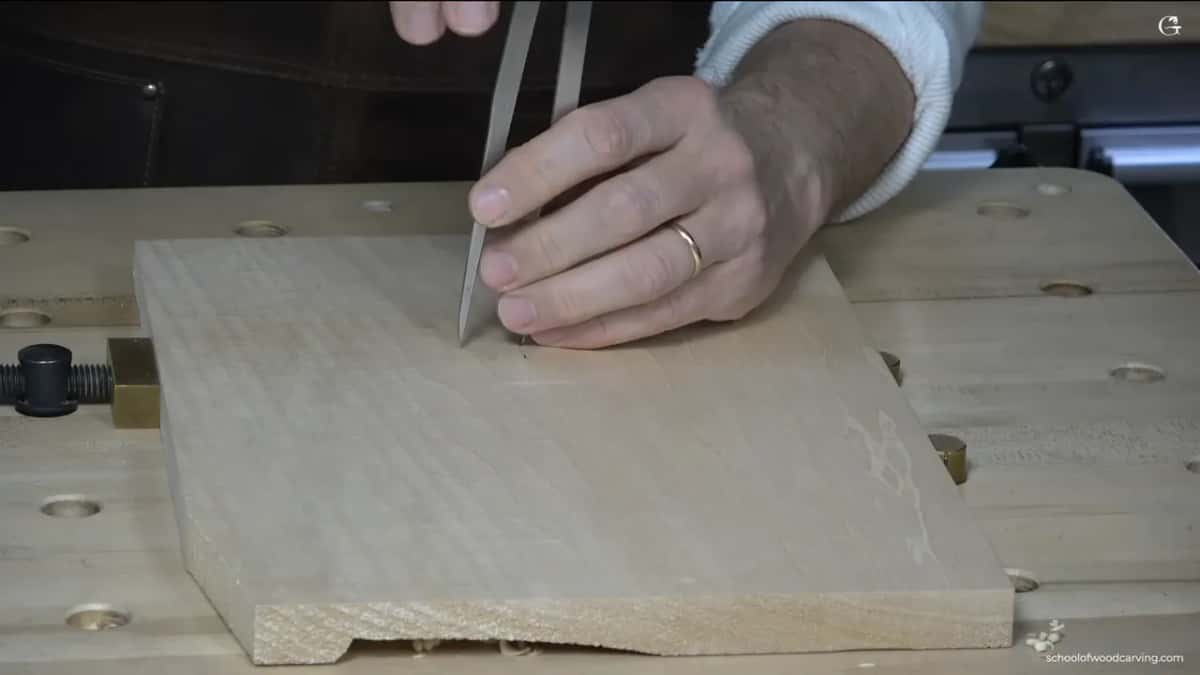
A compass with a pencil in it still works, and then holding the true diameter is on you. There is no reason to make the job harder than it already is.
One small thing about the scratch. Run it downhill, with the grain.
A friend of mine likes to say that perfect takes the human out of a piece. Your slightly wavy circle is the part that makes the plate yours and not a machine's. I still aim for a good circle anyway.
How wide is the border, and where the numbers come from
Six rings, scratched from the outside edge inward. Working in from the rim they run 6 mm, 25.4 mm, 6, 3, 6 and 3. In inches that is a quarter, then a whole one, then quarter, eighth, quarter, eighth.
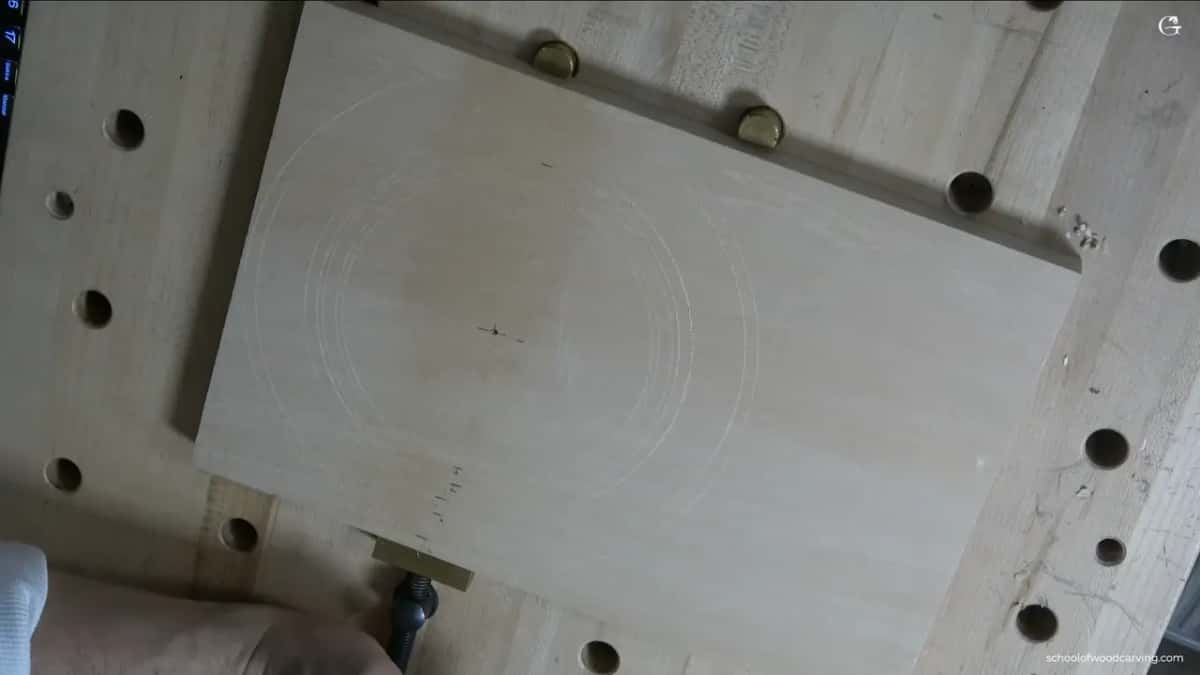
Where does the inch and a half of border come from? My radius is five inches, or 127 mm. Three inches is the lesser number in the sequence, and half of three is 38 mm. I lean on Fibonacci and the golden ratio all the time.
Now please do not overcomplicate this. The Greeks worried about those rules and the Romans worried about them. A carver in northern Germany or in a Slavic village did it by eye.
Sawing the circle and hollowing the dish
Saw the circle first, then hollow the middle with a number 7, working across the grain and no deeper than 6 mm at first, a quarter inch.
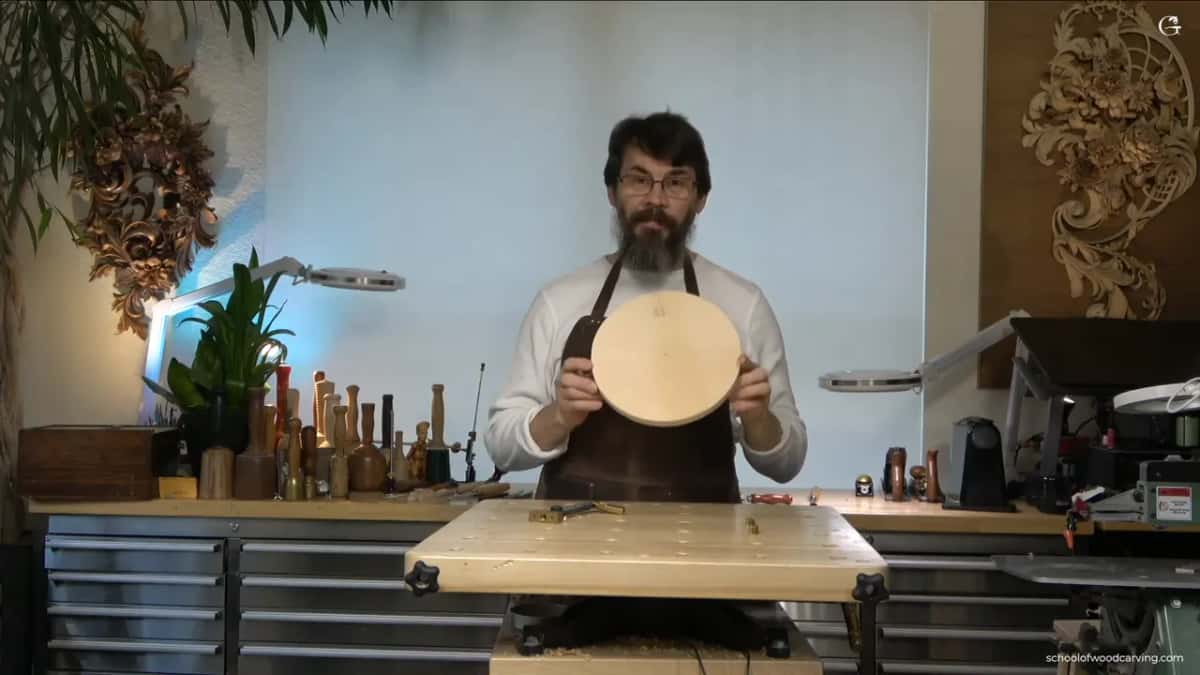
A band saw is wonderful here, and a scroll saw works. So does a coping saw or a fret saw, because basswood is soft and goes through easily. Is your saw fighting you? Take a number 9 and lower the wood around the line before you saw, so there is less material to fight.
Then the dish itself. Slice across the grain, never along it, and stop each pass in the middle instead of running the whole width. Your next pass starts halfway across the last one.
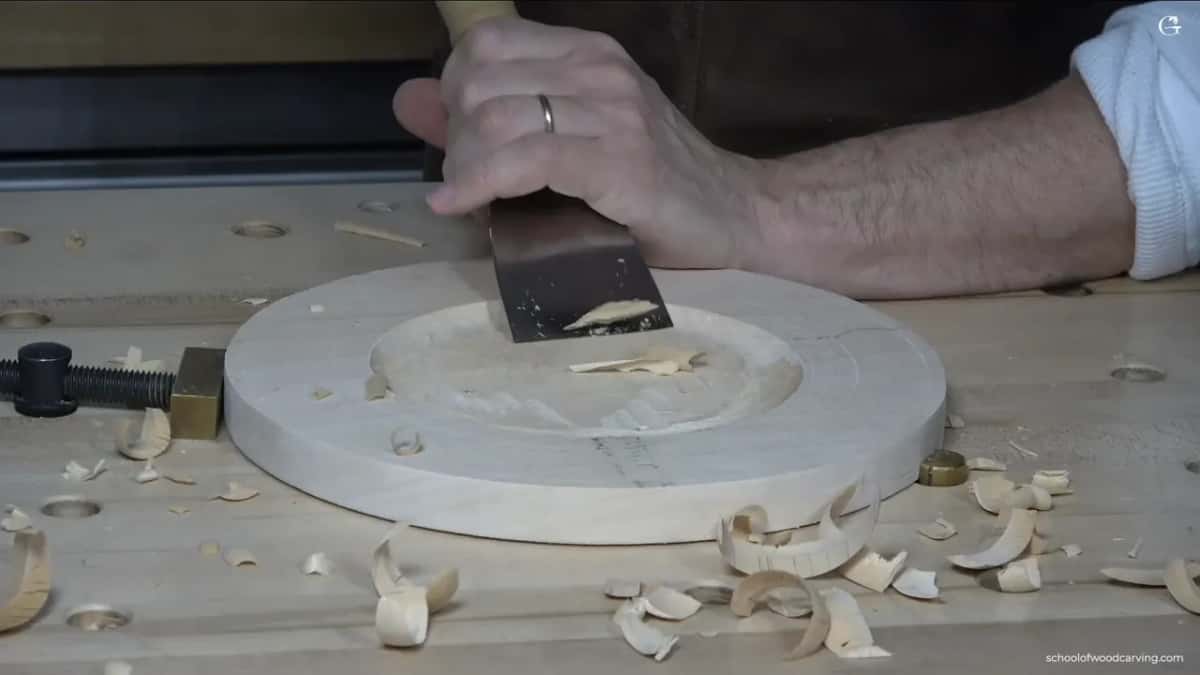
Once it is roughly hollow, flatten it with something wide. I use a number 2 at 60 mm, which is almost a chisel, and nobody needs that. Something like a number 3 or a number 5 does the same work slower. Perfect is not required, because most of that surface disappears under the design anyway.
How deep to go on a three quarter inch board
About 6 mm for the dish, and 6 mm more when you drop the background around the butterflies. A quarter inch each time. Add them up on a 19 mm board and you can see how little is left.
Keep one eye on the back the whole way through. Mine already had carving on it, so I had less room than the number promised. Take an eighth of an inch instead of a quarter if that feels safer, and the plate still works. Wood does not go back on once it is off.
Where this style actually comes from
Northern Europe, around the ninth century. Go and look at the old buildings in Norway or Denmark, or in the north of Russia where I come from, and you will find these same curls carved all over them.
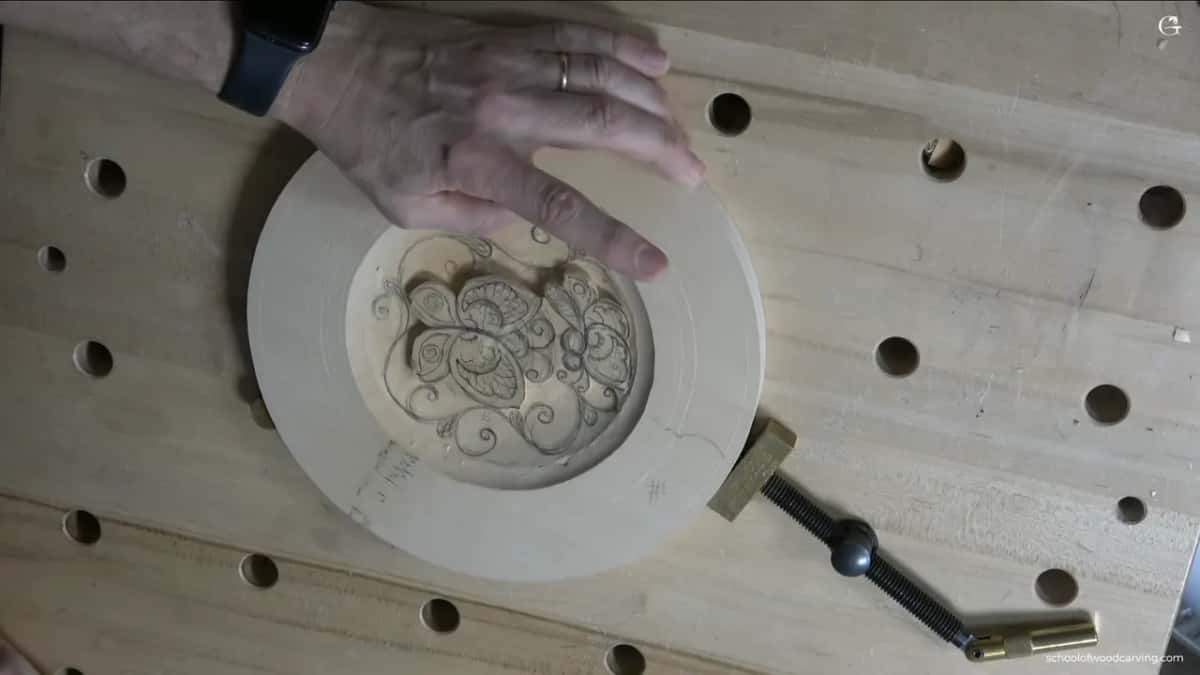
Say Viking carving and most people picture knotwork. Knotwork came later, maybe tenth century, picked up while traveling to the Celtic countries, and only then did it become the trademark. Before that the carving looked like what you see here, and it looked like this across most of Europe. Norman, Slavic, Germanic, all the same family.
Some carvers call it curly carving, and it is probably the oldest kind there is. A thousand years ago they most likely had no rack of gouges. They had a knife, maybe one simple gouge.
So when you sit down with your one knife, you are not making do with less. You are working the way this was always worked.
Lifting the butterflies off the plate
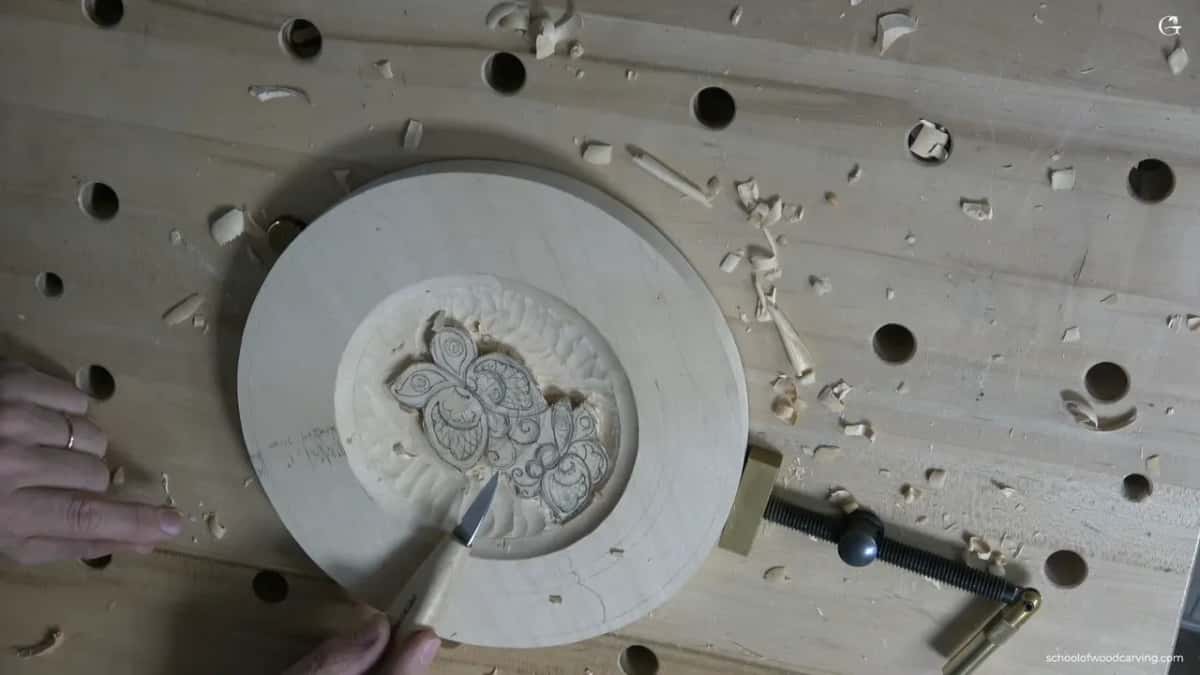
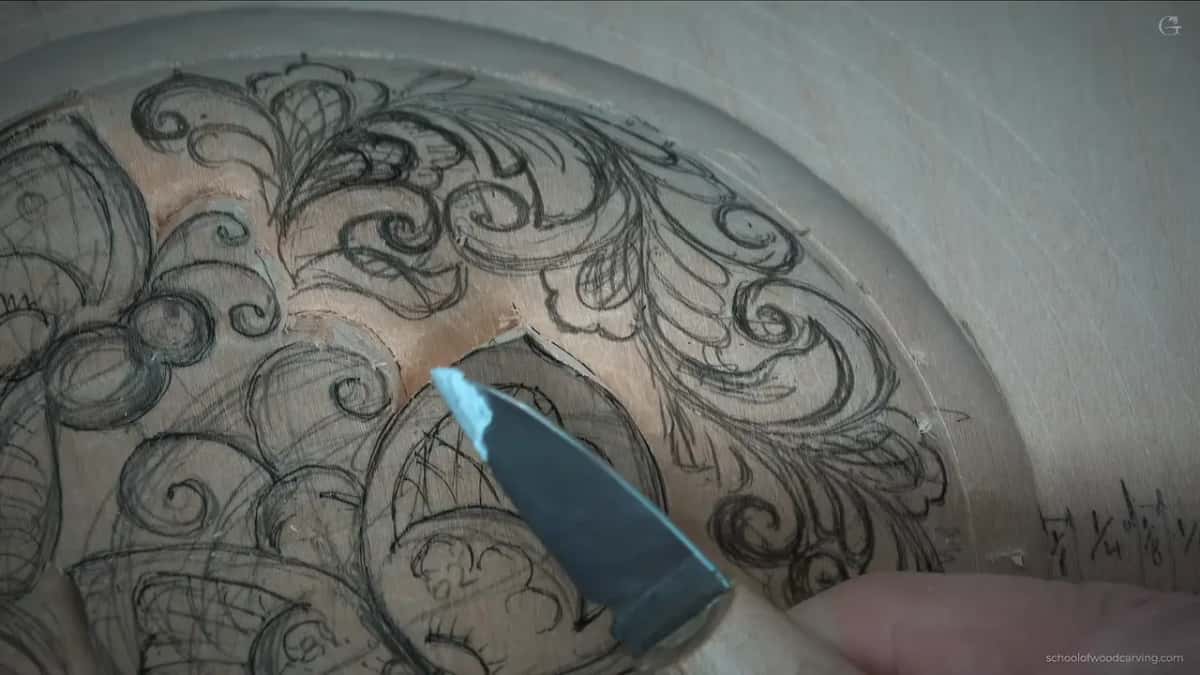
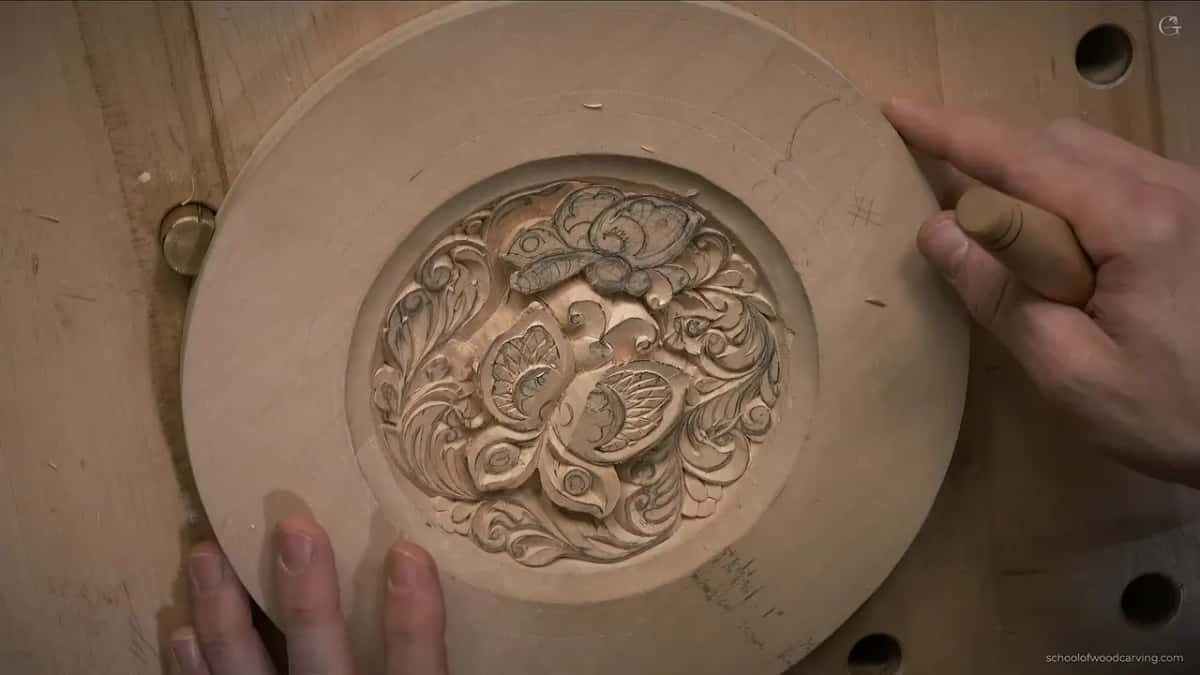
Outline them with a small gouge, drop everything around them about 6 mm, then lean the knife inward under each wing. The shadow is what lifts a butterfly off the plate.
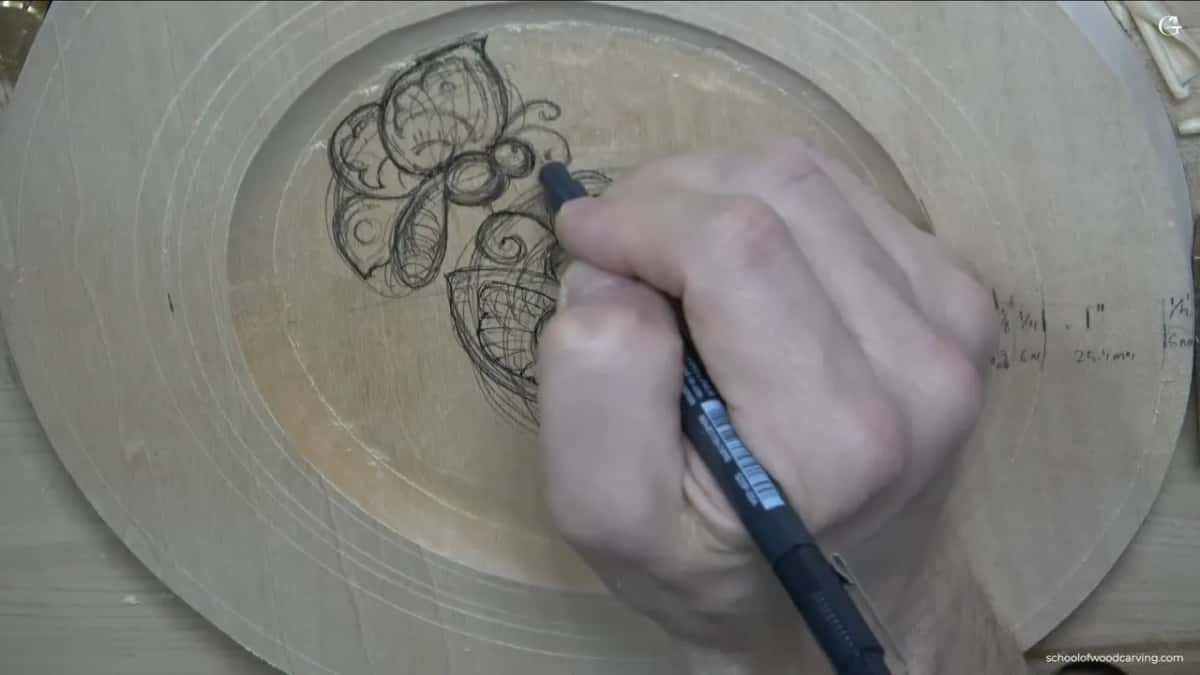
I draw them straight on the wood, with nothing taped down to trace. My pattern is yours to download and print, and I still want you drawing it yourself, because that practice lets you ornament pretty much anything in this style.
Do the outlining with a gouge before your knife touches anything. Step a number 9 at 10 mm (3/8 in) around the line and you will not build stress in the fibers right where the design sits.
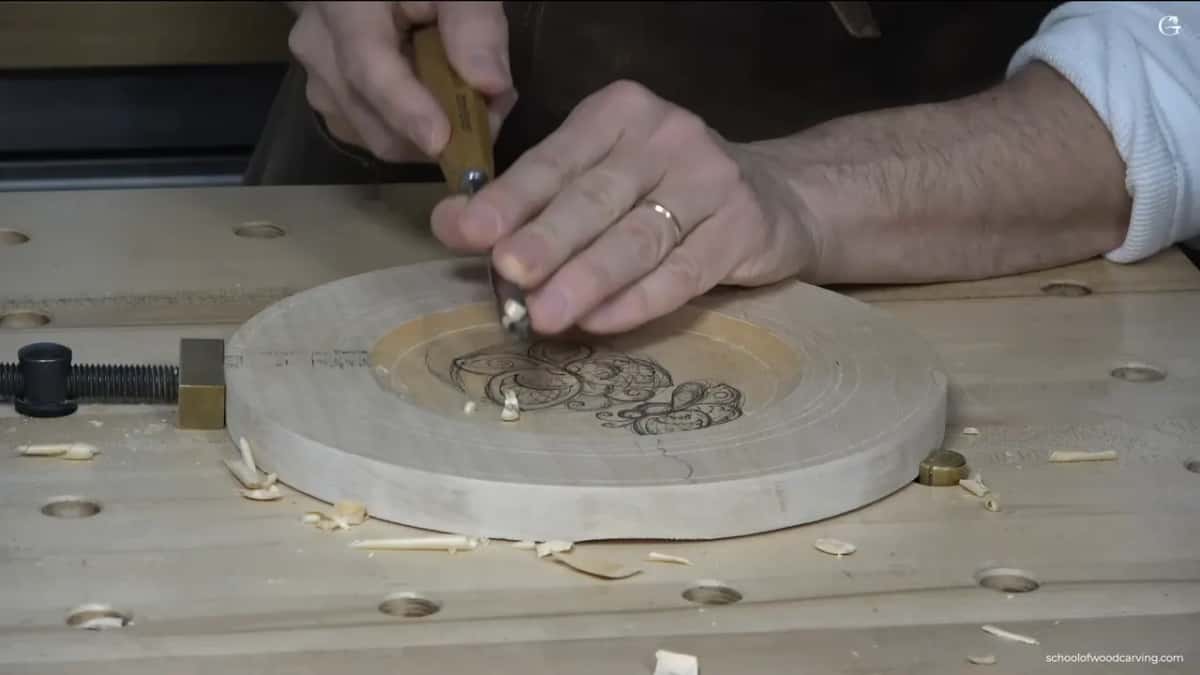
Then bring the whole background down to that outline. Do not touch the line, and do not clean anything up yet.
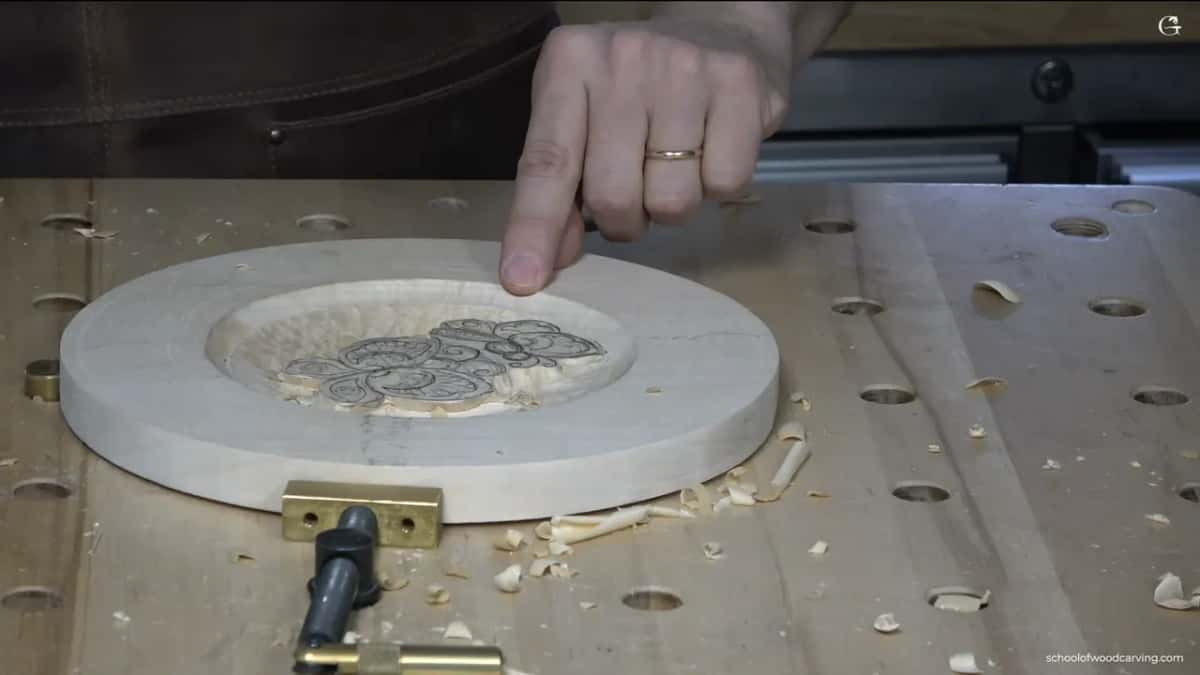
Here is the part that is really important to understand. A wing gets undercut. An antenna never does, and neither does that part of the body, because those go straight down, square to the surface.
What makes a small butterfly look big
Draw a boat on a blank sheet of paper and you cannot tell whether it is a rowboat or a ship, because nothing around it tells you.
Your butterfly has the same problem. I only have 254 mm to work with, so I fill the space around them with curls, small leaves and flower shapes. It is the law of space again, and I believe it is really important. Small neighbors make a big butterfly.
Leave about a millimeter and a half, a sixteenth of an inch, between everything you draw. That gap is where the separation goes later. Leave a few wide open spots as well, because empty space is doing a job too.
Eight flowers and thirteen curls, on purpose
Six flowers bothered me, so I drew two more and made it eight. Six is not in the sequence.
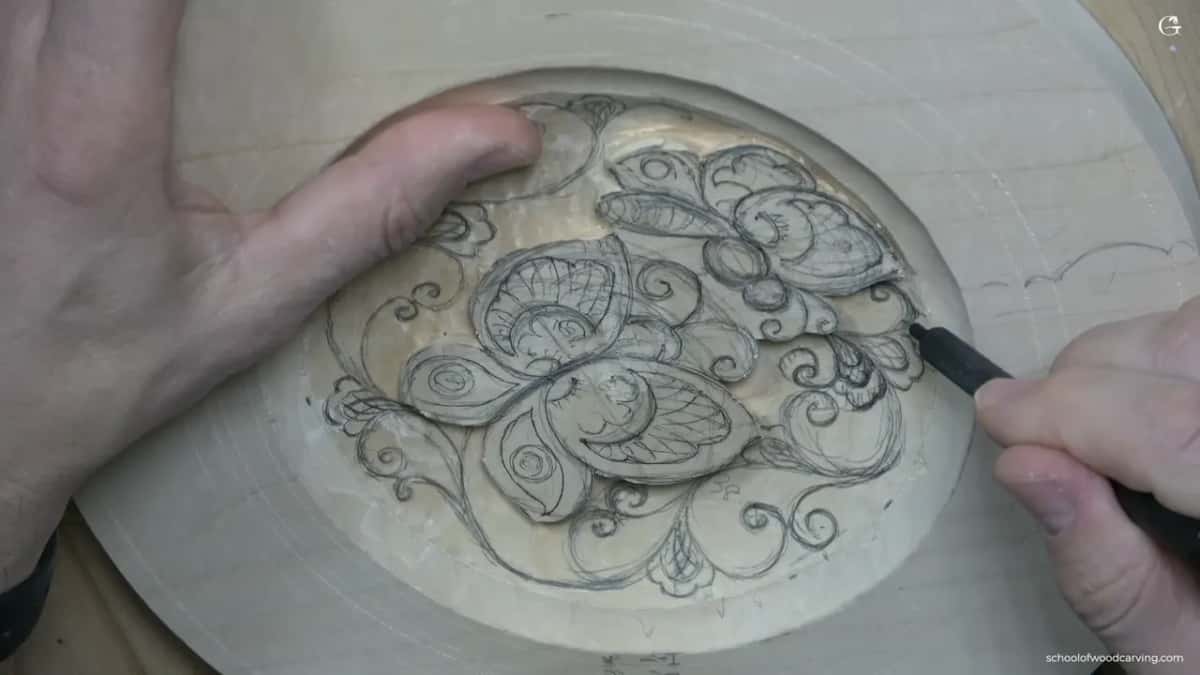
Then I counted the curls, and there were thirteen, right in the sequence.
Nobody is going to count them. I know that, and nobody has ever walked up to a plate on my wall and counted the flowers. If counting does not feel right to you, do not do it.
Stropping the knife
A scrap of leather and a smear of paste, and you can get the leather for free at some leather craft stores.
Mine is roughly 65 by 100 mm, two and a half by four inches. The paste I use is made in England and it is called Mirror. What they put in it I could not tell you, but it beats every green, blue, pink and yellow paste I have tried.
Put it on with the blade, never with your fingers. Look at my piece of leather in the video and you can see the surface eaten away, so keep that off your skin.
Hold it at about 45 degrees and pull toward yourself, counting to about fifty. Then turn it over and push away at the same angle. Wipe the blade before it goes back into the wood.
Three motions carve this whole plate
Straight down at ninety degrees, then a pass to the right, then one to the left. Most of them pull toward you.
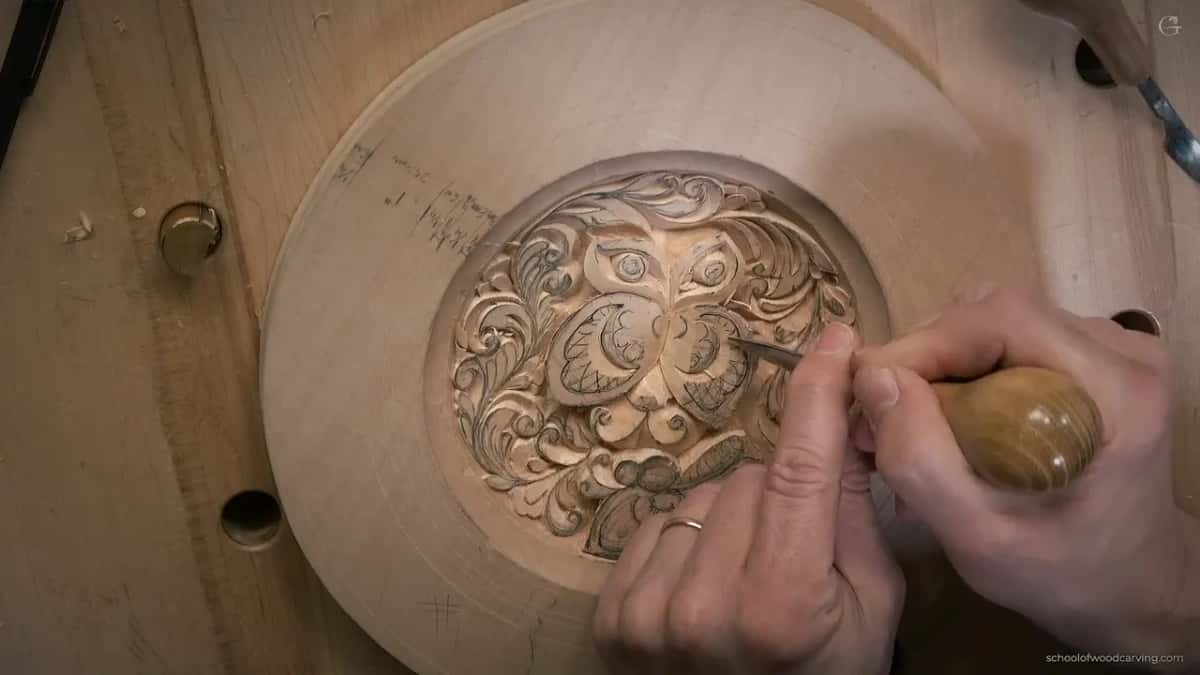
Does the chip refuse to fly out? Something underneath is still holding it, so go back into the same line and carve it again. Force it and you could break it.
You will hit a spot where the grain turns and the tool starts tearing instead of slicing. I call that the marriage line. Stop, go around, come at it from the other side, and your two passes meet in the middle. If you have never carved before, that sentence means nothing to you. The first time it happens under your own hand you will know exactly what I mean.
Hold the knife like a pencil and lay a finger or your pinkie solid on the board. Your own hand is the support. This is not airbrush work with the tool floating in the air.
Can a knife do what a V tool does
The bottom of a V tool groove is slightly round, and a knife leaves a real point down there. On a wing the difference shows.
| Tool | Job | Depth | Verdict |
|---|---|---|---|
| The knife | Design lines, separations and every groove on a wing | One millimetre, rarely more | Leaves a real crease down at the bottom, which is the whole point |
| V tool | The same grooves, if you have one | One millimetre as well | Its floor has a small roundness, so you do not get a sharp line |
| Number 7 | Scoops the dish out, working crosswise to the fibres | Six millimetres to begin | A bigger one helps, but a half inch number 7 does the same job |
| Number 9 | Steps round the outline before any knife arrives | About a quarter inch | Keeps the stress out of the fibres right beneath your outline |
One millimeter deep. Never more than a millimeter and a half, which is under a sixteenth of an inch, closer to a thirty second for those of you in the States.
Run every groove one direction first, then turn the plate and run the other direction. Do not lean on the tool, because the little ridges between the grooves break off when you do.
Learn this one operation and you can carve a sunflower, since the seeds work exactly the same way.
What a plug cut is
Set a tiny gouge straight down, twist it, and lift a plug of wood out. One dark dot is left where it was.
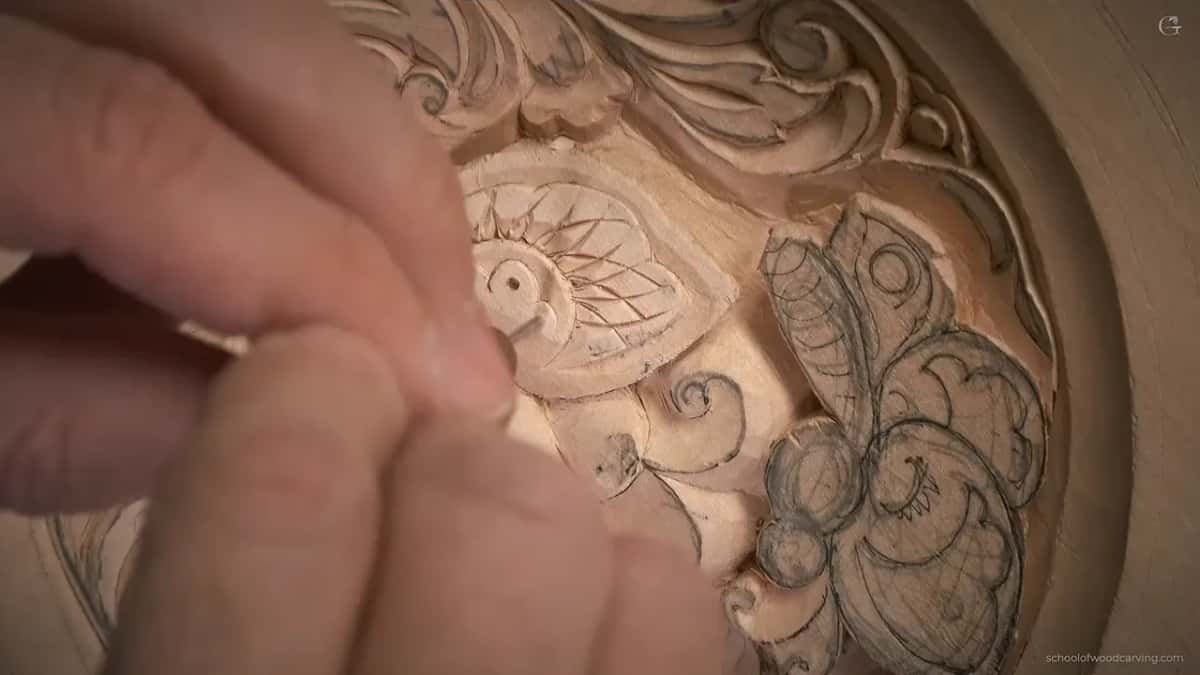
I call it a plug cut because that is what comes out, a little plug. Twist it, do not push it. A millimeter deep is plenty.
Those dots become the eyes, and the plate works fine without them. I put them in anyway.
Stepping the rim off in six
Walk the dividers around the rim in six equal steps, then split each step in half. That gives you twelve main curves.
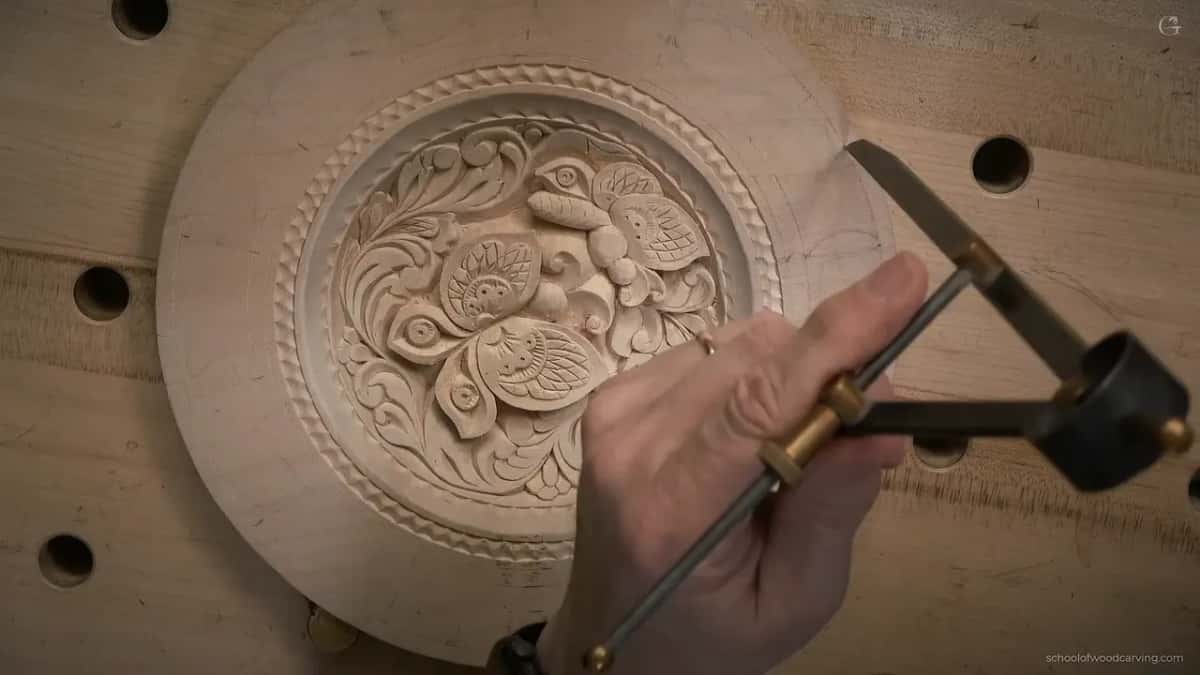
I tried eight parts first, and seven, and settled on six because I think it flows better. Inside each curve I group the small elements in threes and twos, which is Fibonacci and also simply looks right.
Now something about how I design, and you can take it or leave it. There should always be a conflict. Plus and minus in electricity, male and female. So the design inside the plate flows one direction, and I ran the border the opposite direction on purpose. Nothing forces you to, and running yours the same way is fine.
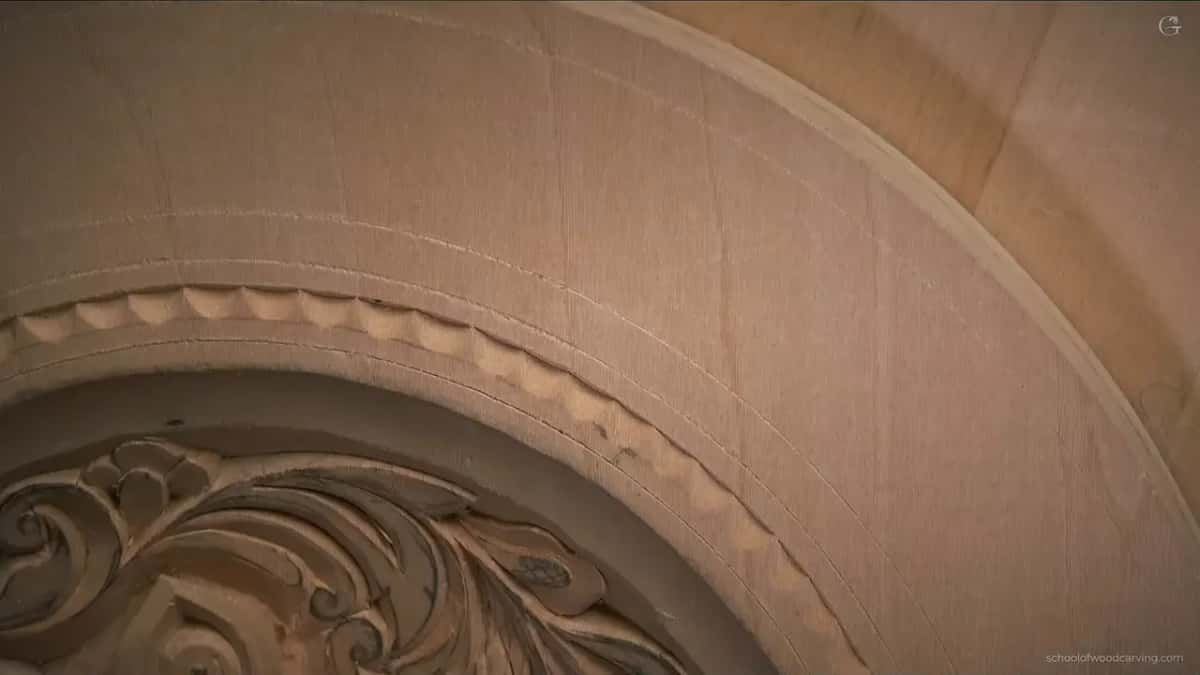
The narrow band gets scallops instead of ornament. Two knife lines facing each other, then a number 9 around 12 mm, half an inch, walked around between them. Start about 2 mm off the line, hold the same angle every single time, and go a millimeter deep. Then walk the whole ring again the other way.
Cleaning it up without sandpaper
A razor blade, dragged with the grain, and that is the whole of it. A thousand years ago they did not sand it.
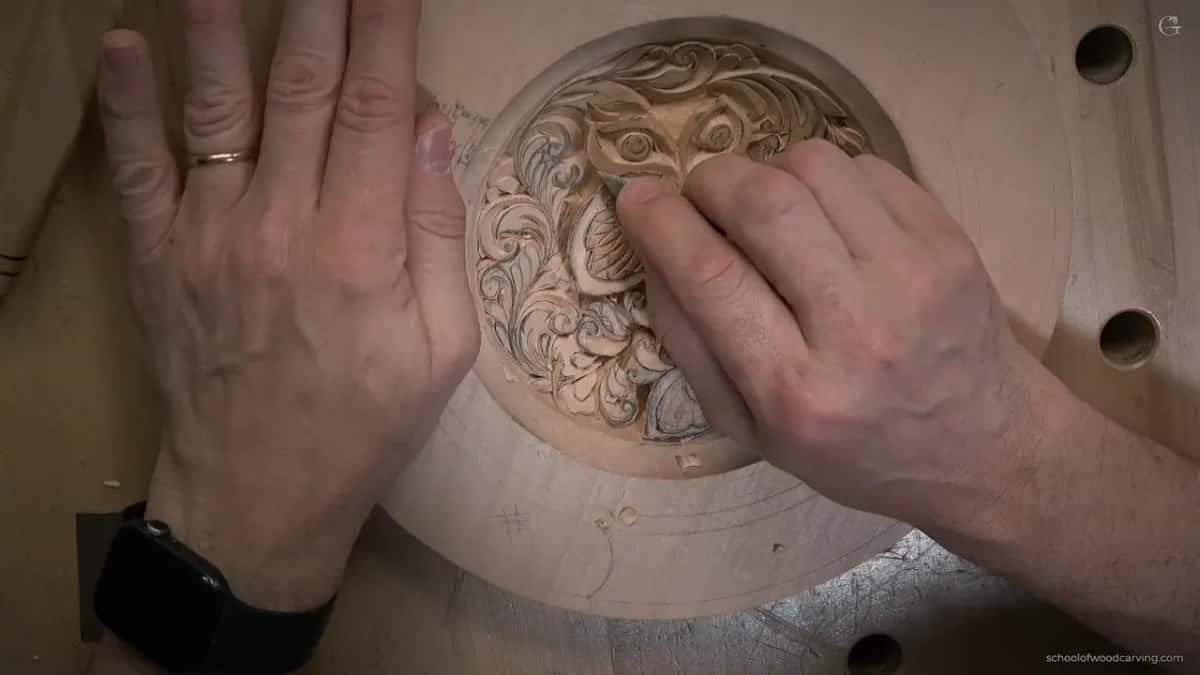
Any utility blade will do, a real scraper does better, and even the knife itself scrapes if you accept that it dulls a little and you strop it again.
Get your pencil marks off before you rub the wood with your hand, because graphite under a rubbing hand turns into a grey mess. That is why I do not like using pencil, but for the lesson's sake it was all right here.
Sand it if you want to. Sandpaper is not a sin. It just is not how this was done.
Does this plate need stain
No. Mine is bare basswood, and that was never the plan.
Staining it was the plan. I like cooking my own stains. Onion husk. Walnut shells, pine bark, anything with color in it will give that color up.
Then my daughter walked into the shop, said she wants the plate, and said she wants it exactly as it is. So it stays bare, with no stain at all. She likes butterflies.
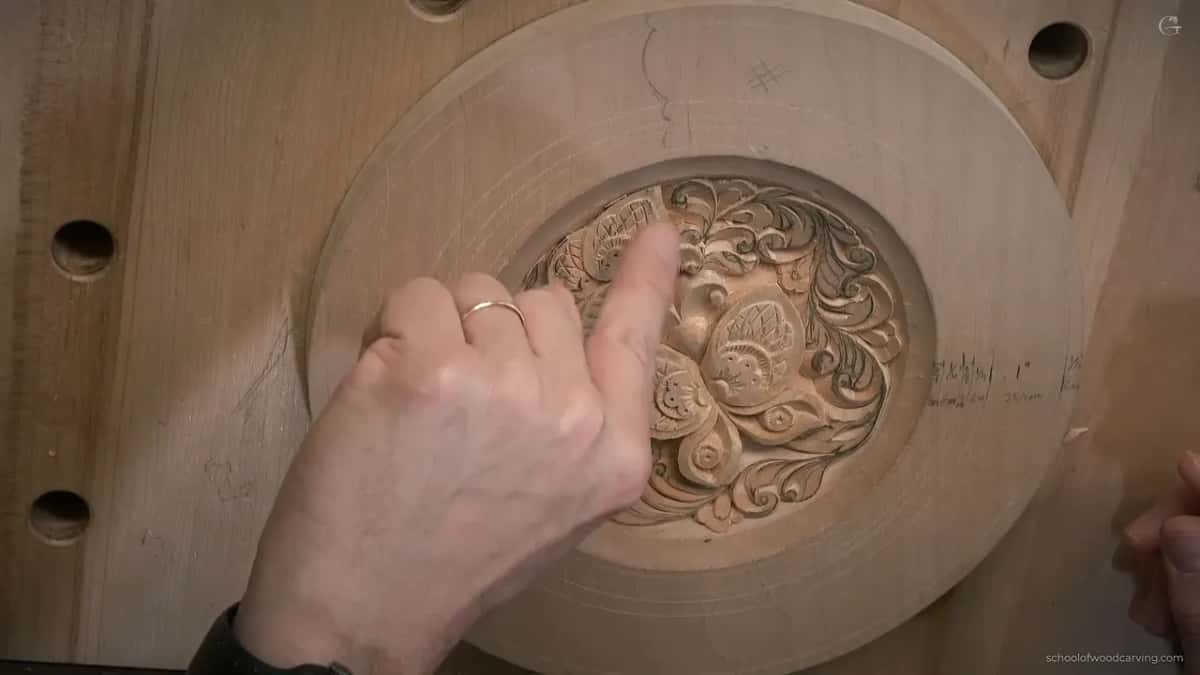
The back I left alone. For a real plate instead of a wall piece, step in about 13 mm from the rim, half an inch, scratch a circle on the back and hollow it with a gouge. Working outward is easier than the dish you already carved.
Is this your first project or your fifth
Advanced beginner. Carve something flat first, then come here.
I opened the course calling it a beginner project and took that back partway through, because some of the techniques I show you here are harder. If the bird of paradise board is already on your wall, you are ready for this one.
Every tool needs a little time in your hand before you really feel it.
Do you want to keep watching other people carve, or do you want a plate on your own wall that your grandchildren will argue over? Grab a piece of basswood and a knife. Shall we carve?
How it's done
- Scratch the circle, do not draw it. Sharp calipers cut a real groove that your blade can sit in later. Run the point downhill. A pencil line gives the edge nothing to hold.
- Step the six rings off the rim. Working inward from the edge: 6 mm, 25.4 mm, then 6, 3, 6 and 3. A quarter inch, a whole inch, quarter, eighth, quarter, eighth. Land a little off and the plate is still yours.
- Saw the disc and hollow the dish. Any saw that suits you, then a number 7 worked crosswise to the fibers, stopping each pass in the middle. On a 19 mm board, keep that first hollow to six millimeters or less, a quarter inch.
- Draw the butterflies onto the wood. No pattern taped down. Fill the gaps around them with scrolls, foliage and tiny blossoms, leaving about 1.5 mm between shapes for the separation cuts that come later.
- Step the outline before any blade. Walk a number 9 at 10 mm around the drawn line. That keeps too much stress out of the fibers under your outline.
- Lower the field, then undercut. Sink everything beside each insect another 6 mm, then lean the blade inward beneath every wing. Antennae and that part of the body go straight down.
- Groove the wings both ways. One millimeter deep, 1.5 mm at the absolute most. Run every groove in one direction, turn the plate, run the rest. Leaning on the tool snaps the ridges between them.
- Scrape instead of sanding. An edge pulled along the fibers finishes the surface. Lift your pencil marks before a rubbing hand turns graphite into grey. Stain is optional and mine ended up bare.
Frequently asked questions
Can I carve this plate with only a knife?
Almost, and that is the whole point of the course. The knife does the design and the undercutting, plus every groove and separation on the plate. A number 7 takes out the dish and a number 9 outlines. A small spoon gouge helps in tight spots and a couple of micro gouges add the dots, and neither is required.
What size and thickness of basswood do I need?
A 10 in round, 3/4 in thick. In metric that is 254 mm by about 19 mm. Thinner works if you keep your depths smaller. Thicker gives you room to drop the background further and win a deeper shadow. Use dry wood, air dried if you can get it.
Do I need a lathe to make the plate shape?
No. A lathe gives a beautifully even shape, and if you own one, use it. Everything here is done by hand with a saw and a gouge, the old time way.
What to carve next
- The Bird of Paradise cutting board, the knife project before this one
- Principles of Design in Wood Carving, where the law of space is explained
- Carving Tool Sharpening, if your knife will not hold an edge
- All About Tools for Wood Carving
- Browse all wood carving courses
- New to carving? Follow the guided Start Here path
More on this: Tilia, the lime tree family basswood comes from