
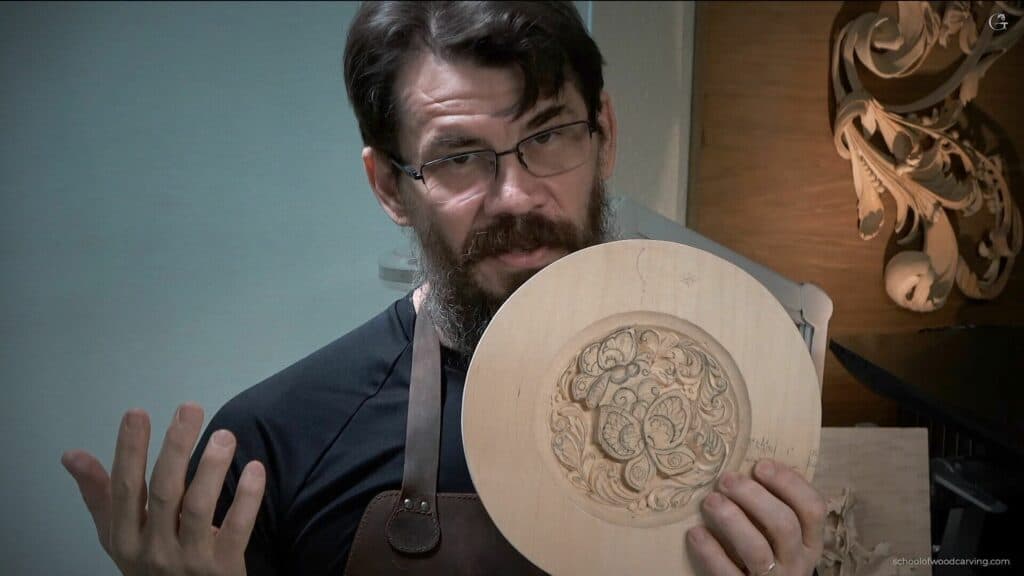
Alexander Grabovetskiy, woodcarver, School of Woodcarving · Published 2022
How do you carve a flower with a knife?
Quick answer: A three-petal flower like the ones on my butterfly plate is knife work, done by digging shadow into the wood. The deep spots go where the bloom touches its stem and into the small triangles between petals. The middle stays raised, and a thin separation between petals finishes it.
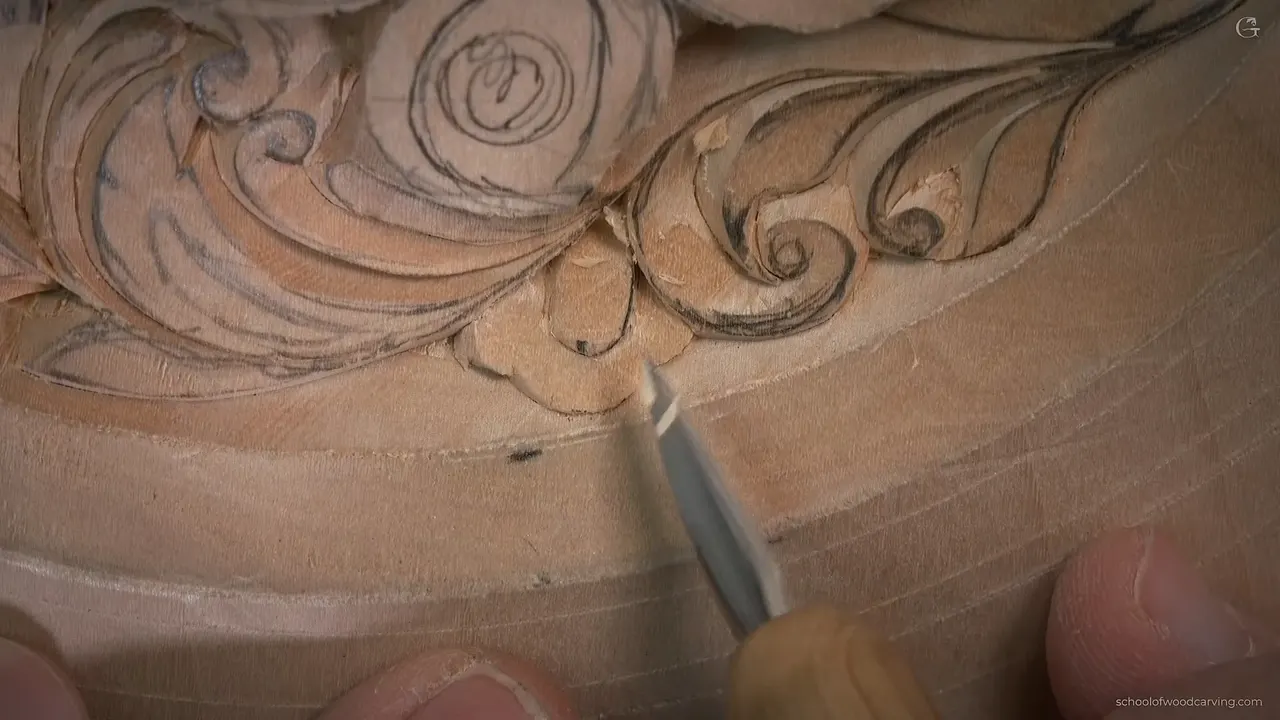
Carving a flower with a knife is mostly a matter of digging dark spots in the right places and keeping the middle high. On my butterfly plate I make a couple of cuts where each little flower meets its stem, then dig that spot out about 3 mm (1/8 in) deep. The triangles where the petals meet get dug just as deep. After that comes a thin separation between each petal and the next, and it reads as a flower.
Have you ever peeled an apple with a small paring knife from the kitchen drawer? Ever drawn a little loop with a pencil? Then you can carve this flower, and I mean that.
A carved flower looks fussy from across the room, like work for a whole rack of gouges. On this plate the knife does nearly all of it, and I will show you where I dig, why the middle stays up, and what a bent blade does in the tight corners.
I'm going to be honest with you. I called it a glitch at first, and then I owned up to it. Most of these flowers I carved off the record, because I forgot to turn on my microphone and lost that footage. My own stupidity. So in this lesson I explain what I did, then finish the last two on camera, with the sound on this time.
Six moves for a small flower
- The spot at the foot of each flower, by its stem, gets dug deep first.
- Its middle stays up while the petals drop a little lower.
- Where two petals touch, open a small triangle and dig it dark.
- A single separation between neighboring petals is the thing that turns three shapes into a flower.
- Hold a tiny blade low and the line flows.
- Cleanup can wait.
Why is a knife enough for this flower?
The look of this flower lives in the dark spots, and a knife digs a dark spot just fine. Deep shadow is what gives this kind of carving its beautiful look. Get those right first.
Some flowers in the school are a different job. A small relief flower gets shaped petal by petal, each petal hollowed with its own cuts, and another page counts about four tools for a flower like that. Both are right for what they carve. Mine is old ornament on a flat plate, and a single knife can cover it.

Any knife works, any brand you like. In the lesson before this one we did the volutes, carved with a Russian made knife. You could pick up a Pfeil or a Flexcut, and today I mostly reach for knives by Drake, a maker here in the United States. If one knife for a whole plate sounds thin to you, read about one knife carving with no background.
The lesson runs in three parts, just under half an hour in all, and much of it is the knife up close.
Where does the first deep cut go?
Right at the point where the stem touches the flower. I outline the flower first, then set two cuts at that point and dig it out really deep, so it casts a shadow. That is step number one.
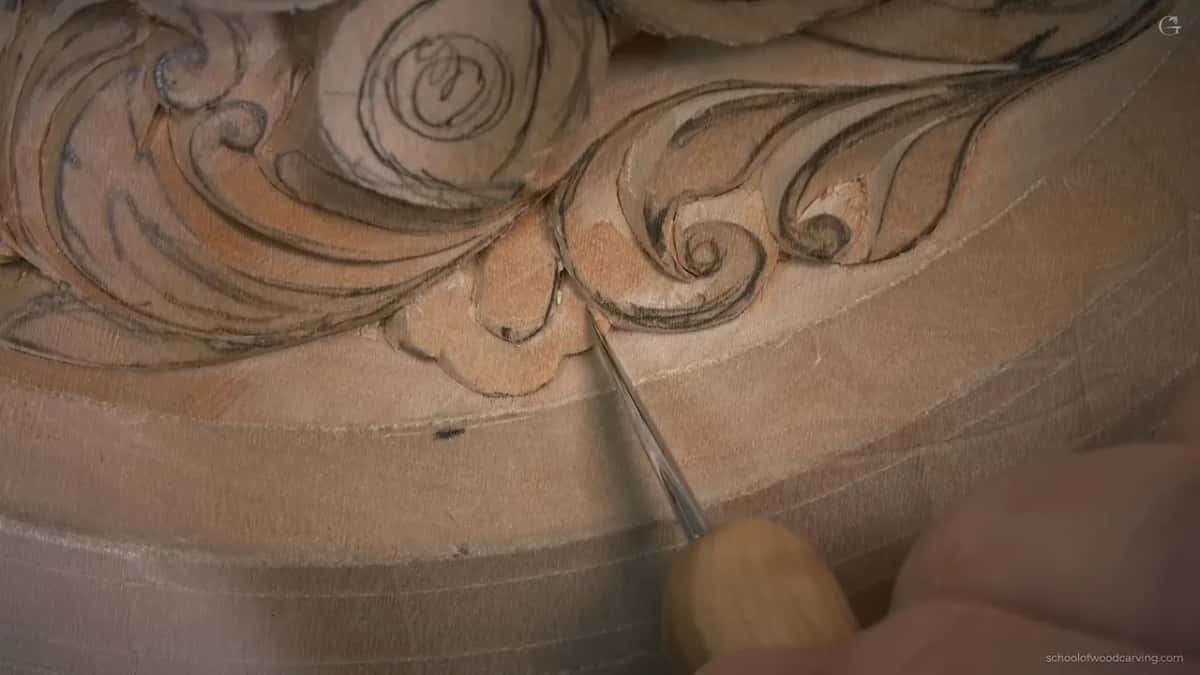
On camera one flower still shows that stage, its pocket dug and nothing else finished yet. Look at the flowers on this plate and you will see how simple they are. I did that first step on all of them, and I will admit my outlining could have been a little better.
The small Drake detail knife pulls toward me and goes around the curve of each flower in lots of tiny movements. One long straight pass can break some fibers, so short ones help.
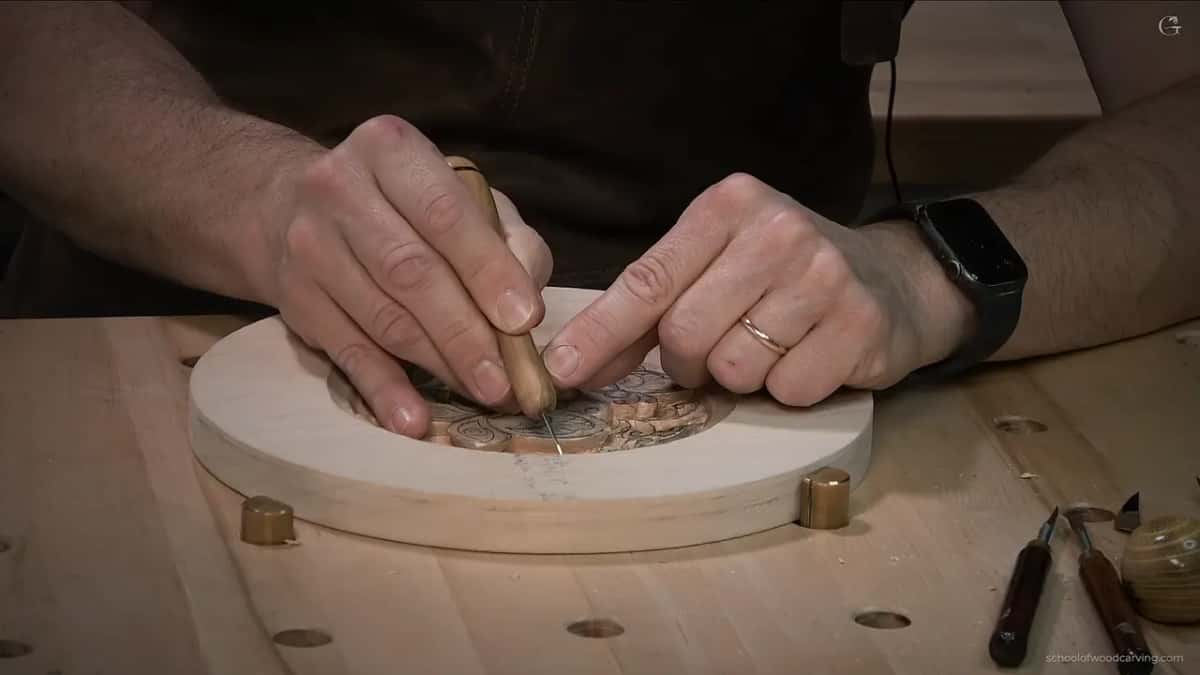
The last flowers get carved right in front of the camera, and students of the school can follow every pass of the blade.
Does the middle of the flower stay high?
This old flower is built that way. The middle part is supposed to be raised, and the petals sit slightly below it. I work around the middle the same way I worked the stem, taking the petals down a little and leaving the center standing.
That is a choice for this plate. Other flowers in the school are built another way, and I would not call mine a rule for every flower you ever carve.
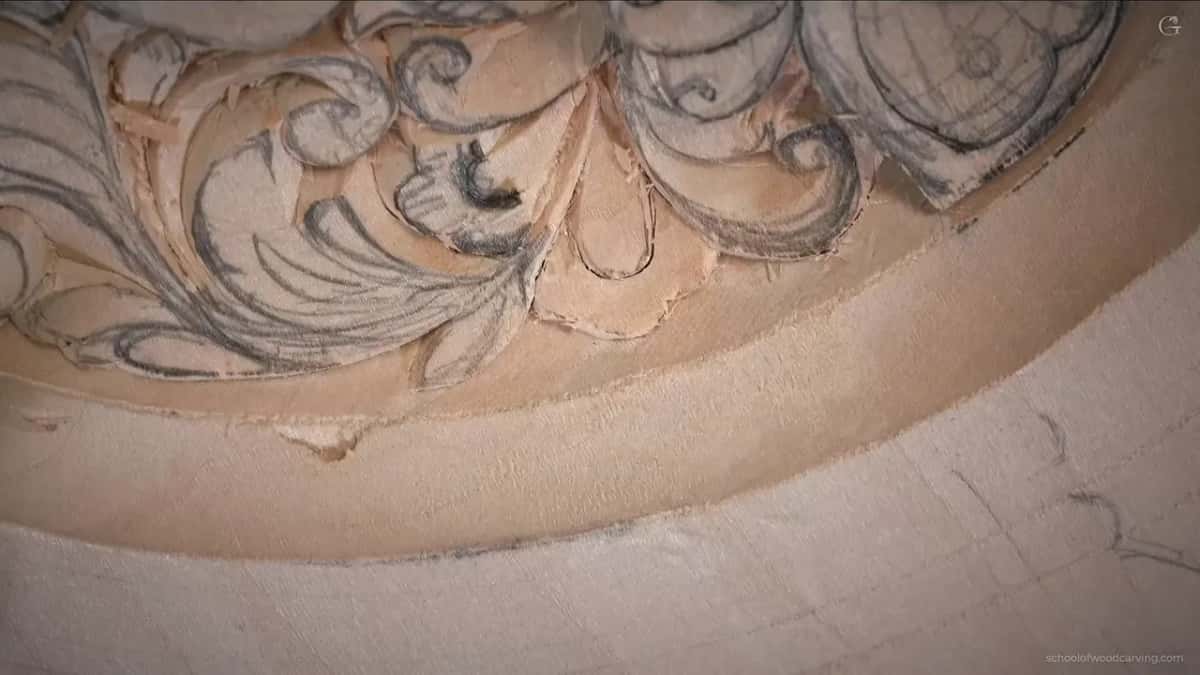
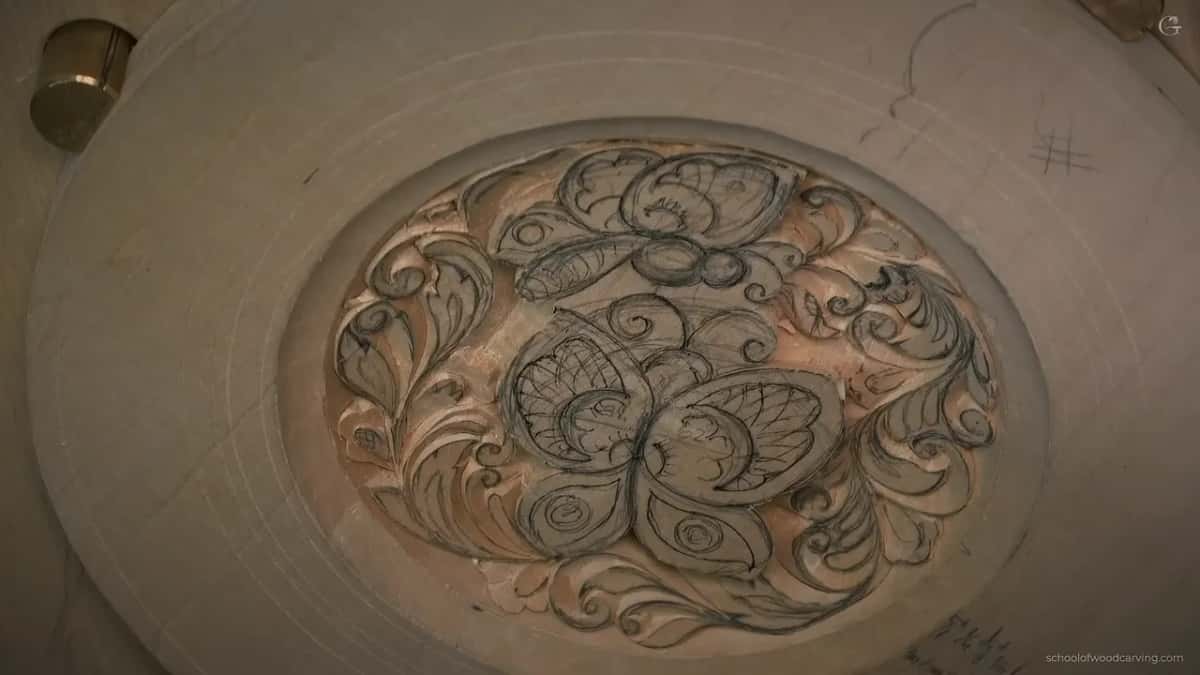
Before I carved the last two, I marked them again with a pencil. It does not have to be really accurate, so please do not pull your hair over that.
How deep do the triangles between petals go?
As deep as you can while you still mind the other side of the board. Between the petals sits a little triangle, and I want a dark spot in each one. On my flowers they went down about as far as the stem pocket. I'm after really deep shadow in this lesson, and I said so again at the start of its last part.
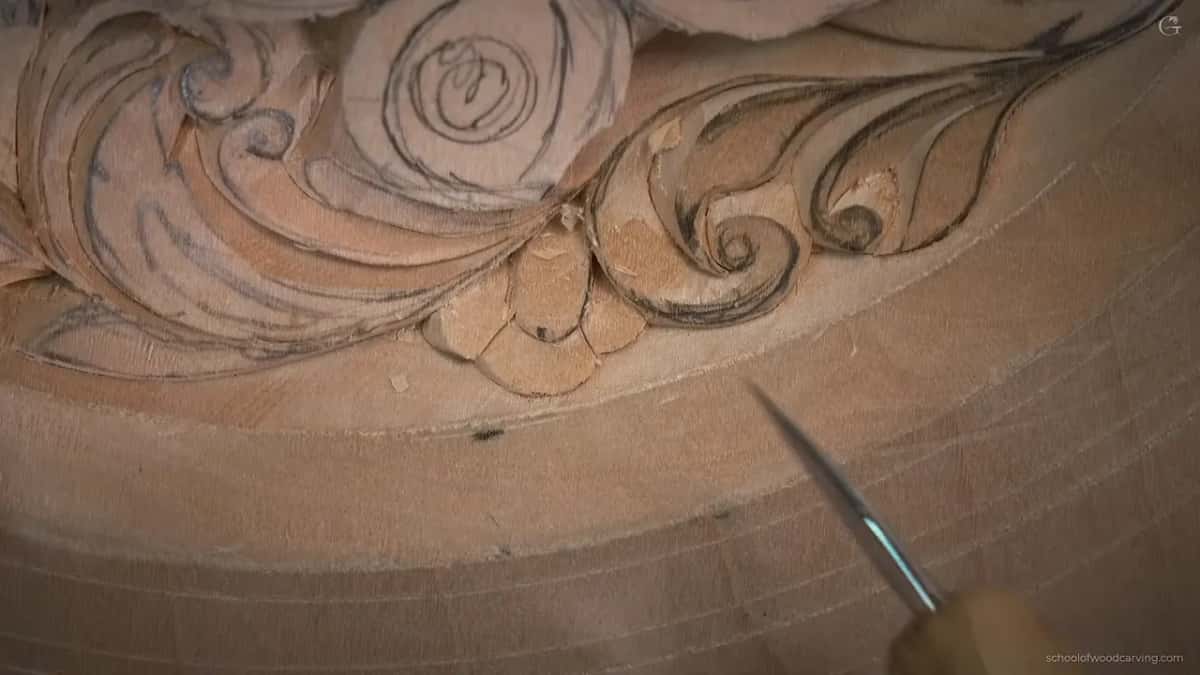
Getting the spots out is plain knife work. I remove them using the same knife, go a little deeper on one side, and then I blend it. Later, one more section needed a deeper cut, and it got one.
At one point I got a little too close on the left side. It was okay. I took out the chips, and the shadow came out good and deep.
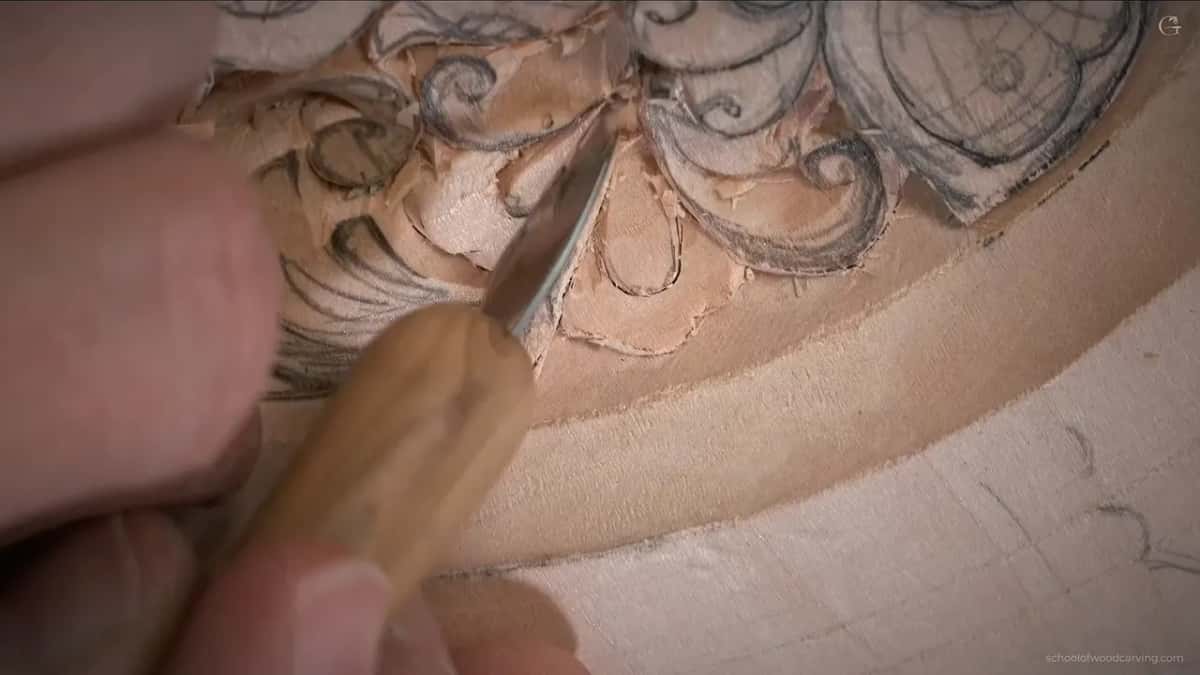
Next I went back around the same elements, carved one section deeper and took the triangles out using that same tool. A big chip was sitting in the way, so it went too. Gorgeous, I said, looking at the shadow.
Once I liked the idea of taking a whole area out with no extra deep cut. I grabbed one of the Drake knives to try it and said I would redo it if I did not like it. Then I changed my mind and went back to the original way, because I thought it would look better.
What turns three shapes into a flower?
The separations between the petals do. I carve one right between each petal and its neighbor, one, two, three, and only then does it look like a flower. It has got to look like a flower.
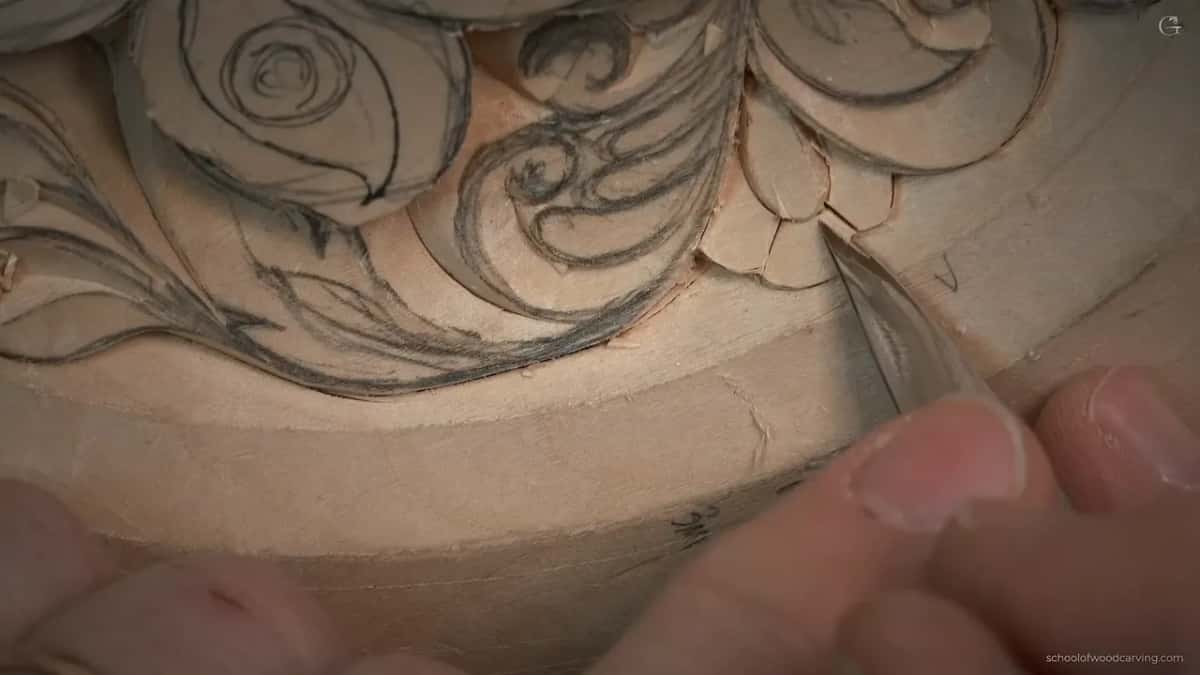
A knife this tiny lets me almost trace my main design for the separations. Some of them I put in right away, since I am already there. For the next detail I started exactly the same way as before, using that knife again.
I will make these flowers a little more beautiful later, and some work goes inside them after that. For now the separations are enough. Next time, I said at the end, we work on more details, and that is lesson eight.
One flower had a thin stem running right beside it. I did not want to destroy that stem, and I still wanted the sides of the flower cleaned away. A really sharp tiny point let me do both. If yours breaks anyway, well, it is what it is, and you just leave it.

What does a bent knife do on a flower this small?
A bent blade reaches into a spot while the raised border stays out of its way. Most of the time in this lesson I use Drake knives, the bent pair and the tiny detail one, and I showed them to you one by one before I started. Drake is one of the brands I really admire.
My plate has a border around it, and sometimes that border sits right where the knife needs to go. Two of my Drake knives have a curve in them. With those I can attack the detail, and the border is not in my way. Now it looks the way it should.
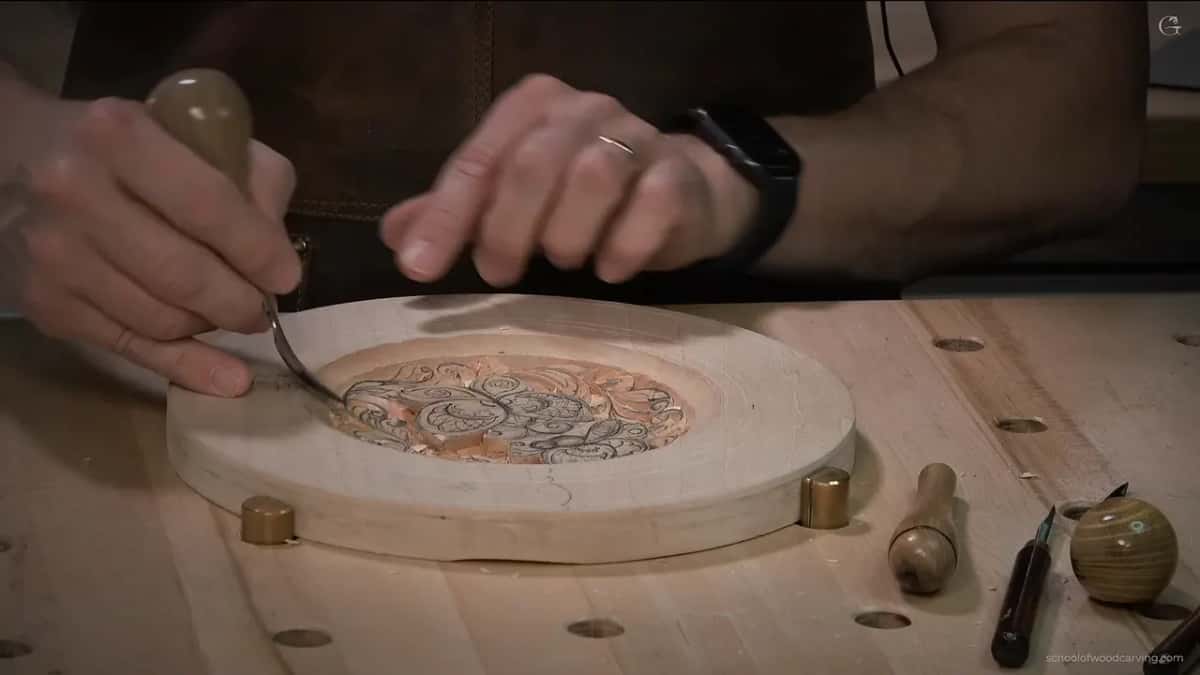
From the side you can see one part of the design sits higher. With an ordinary knife, a deep cut right beside it is almost impossible for me. A Drake knife, because of the way it moves, lets me carve there without doing much damage to the detail above.
The school has a page on what a back bent gouge is for, and the idea is close. That gouge brings its curved edge past raised work. My bent knives do the same job in the small corners around a flower.
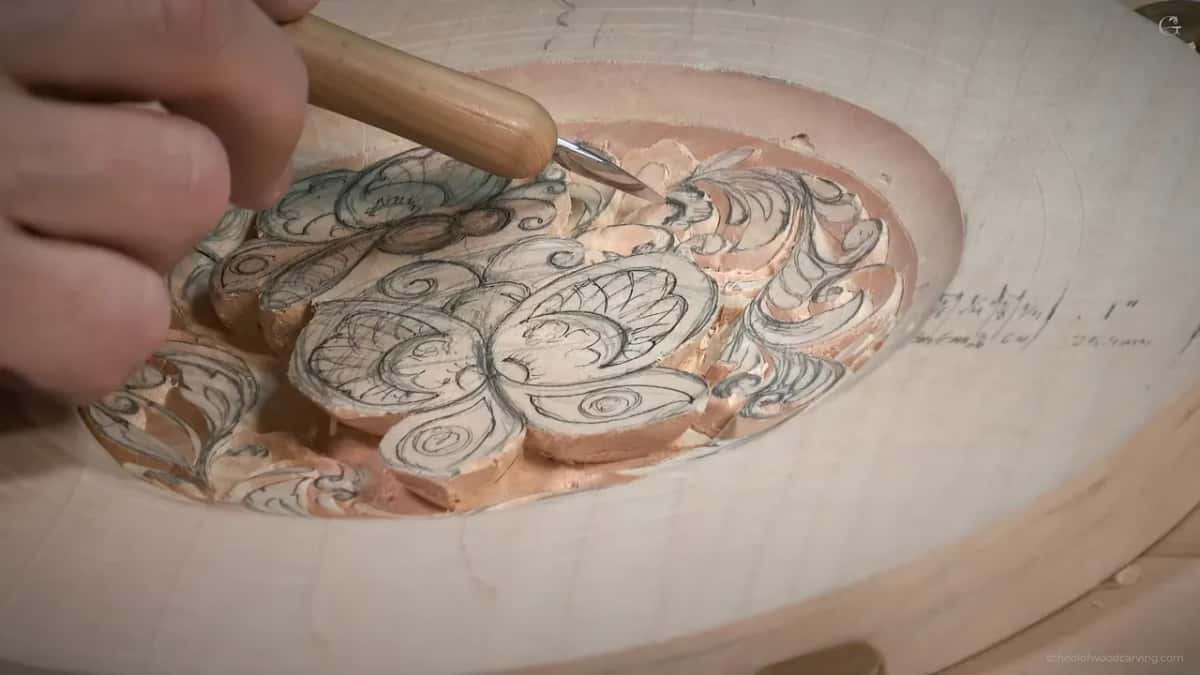
The tiny Drake detail knife does another job. It is much narrower than the knife I used before, and that makes work inside those small spots a lot easier. Because the blade is so small, I can lower it way down. Held low, it draws a beautiful flowing line, and if I raise it, a straight clean line gets hard. For when to start on tools that small, read this page on tiny detailing tools.
I hold it like a pencil. My middle finger rests on the work as a support, and my other hand pinches the knife and guides it, which gives me a lot of control and a clean cut. In the wide shots you can see the plate sitting between brass stops on my bench, which leaves my other hand free to guide.
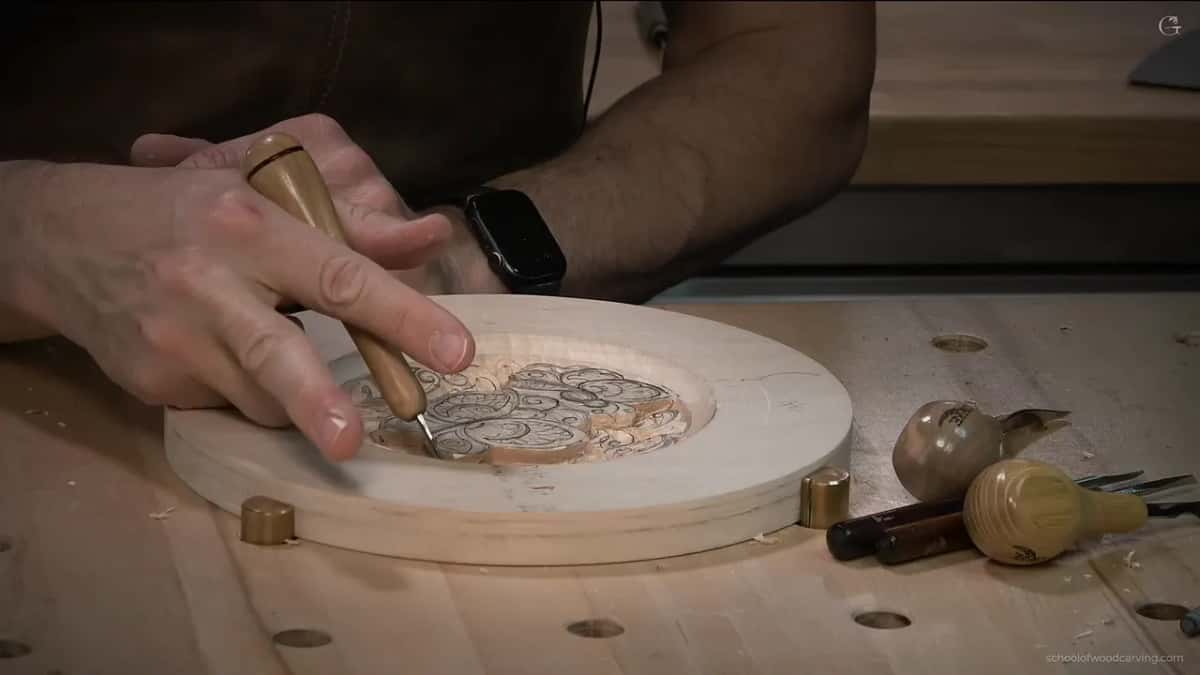
For one spot I switched to a skew by Peter Benson, made by Ashley Iles, because some areas are almost impossible with a normal knife. Almost. It is still possible, just kind of painful. In that area the Peter Benson detailing tool is excellent.
Some tools have a soul, and I do not mean a human soul, but you pick one up and it feels like part of your hand. Everything in this world is alive, the way I see it. A river stone looks like it will never move, but break it down to atoms and everything in it moves. The Hebrew word for life is also translated as soul in the Bible, and no, I am not trying to get religious on you. Drake is still kind of an unknown tool, and a really beautiful one.
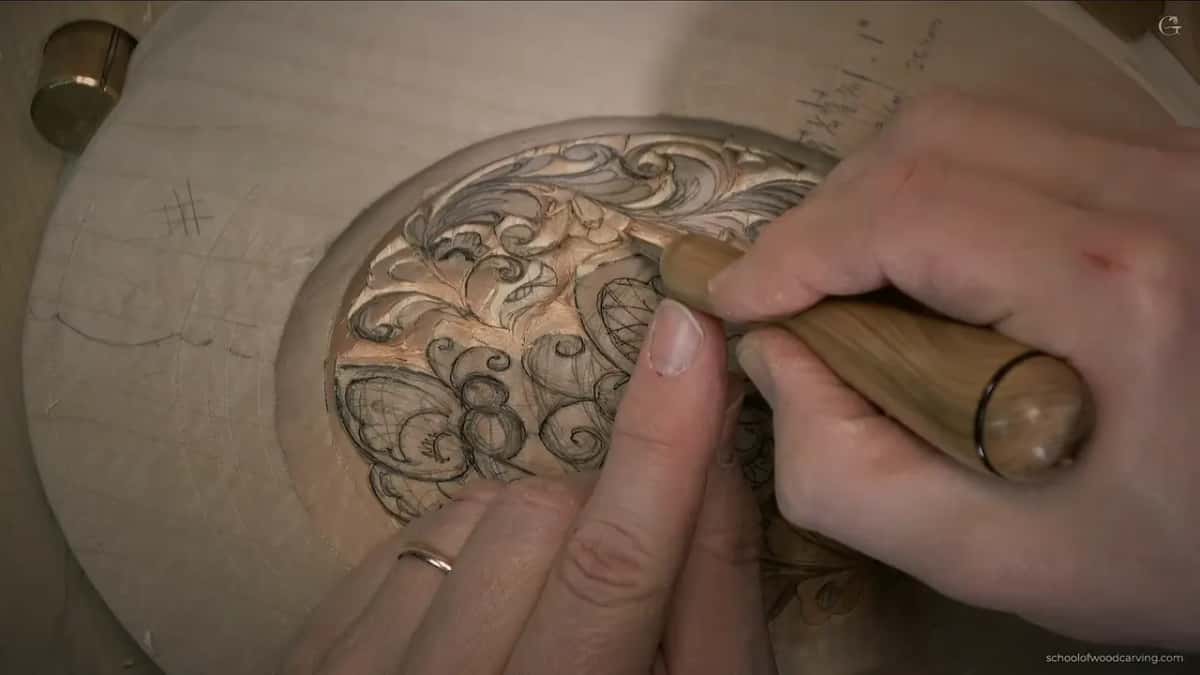
Why do these flowers look so odd?
They come out of old ornament, and I did not design them. When you look at them they do not really look like flowers, and I said exactly that on camera. If you look back in history, to about the eighth and ninth century, this was a common detail, carved on the outside of houses and on the boats of the early Vikings, not the later ones.
I was not the author of these flowers. On this plate they are fillers around the butterflies, drawn back in lesson four, and a page on filler flowers explains the word if it is new to you. Another page asks whether a carved flower has to look realistic, and it sits well next to this one, since these are stylized on purpose.
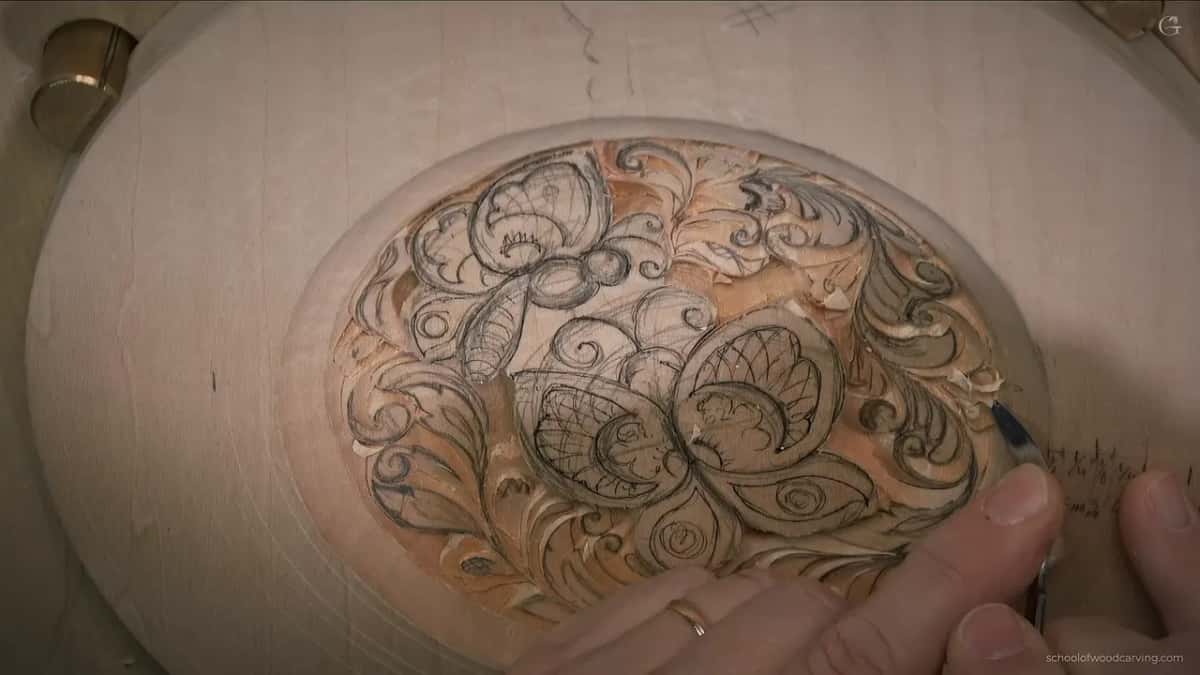
Here is where the knife goes on one flower, and how far down.
| Spot | What the knife does there | Depth |
|---|---|---|
| Where it meets the stem | Two small cuts, then the spot gets dug out | About 3 mm (1/8 in) |
| The raised middle | Worked around, so it stands above the petals | Stays at the top |
| Each of the three petals | Taken down a little, lower than the middle | Slightly below the center |
| Triangles where petals meet | Dug as deep as the back of the board allows | The same depth again |
| Space between two petals | One separation cut, so three shapes read as one flower | Just a clean line |
When does the flower get cleaned up?
Later, once every flower on the plate has its dark spots. You can clean some areas to perfection right away, but I will get my chance at that a little later. For now it is good.
I am going to spend a little longer later, going around the plate and looking for the areas that need a second clean. Toward the end I noticed some wood still sitting inside one spot. Just chips, and I can refine that. The pencil marks come off as I go, too, since pencil makes a lot of mess.

The little grid inside the leaves waits too, in case something breaks.
The leaves beside the flowers have some movement inside them, and that gets dug out as a V cut. Each has an invisible center line, and I carve toward it, then attack it from the opposite side. Once it is cleaned out, that is the cut I'm after, and I said on camera I was not sure you could even see it. Since I am there anyway, the separation goes in right away, before I forget. Wherever that detail shows up on the plate, I do the same.
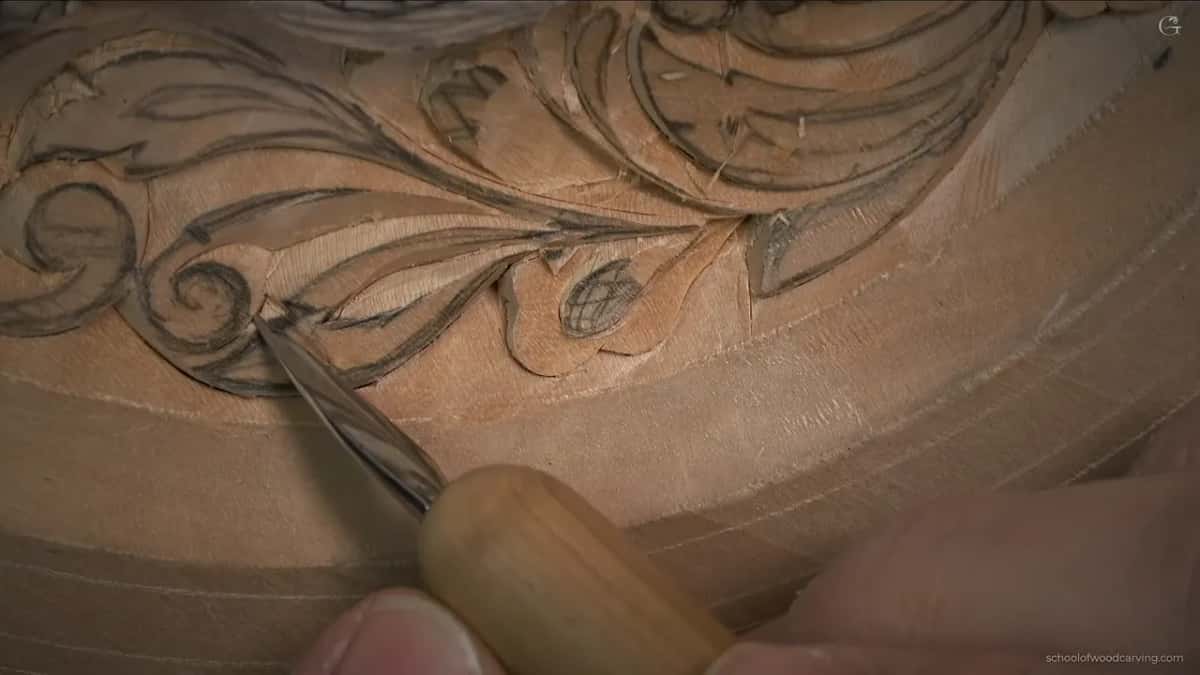
At the end of the lesson I said the plate was developing more and more and looked nicer.
Do you have a scrap of basswood somewhere in the shop, and a knife you like? Draw one small flower on it and dig the spot at its stem, then take a look at your shadow.
How it's done
- Mark the flower. Pencil the outline onto the board, roughly.
- Sink the stem end. Make two cuts where the bloom touches its stem and lift that wood out, deep enough to hold a shadow.
- Keep the center proud. Work around the middle so it stands above the petals, which drop just a little.
- Darken the meeting points. Wherever two petals come together, open a small triangle, going as far down as the board's thickness allows.
- Split the petals. Run a single separation between neighbors so the shape reads as a flower.
- Leave the tidying. Clean the surfaces later, once every bloom on the board has its shadows.
Frequently asked questions
Will the knife I already own carve these flowers?
Any sharp knife will. I carved this plate with a Russian knife right up to this lesson, and the Drake tools only came out to prove a point. Pfeil, Flexcut or whatever sits in your drawer is fine, as long as the edge stays sharp.
Do I need bent knives for this plate?
Every flower here can be carved with a straight knife. The bent pair and the tiny detail blade make some spots easier, and one corner that is painful for a plain knife went fine with the Benson skew. If a chance comes to get a Drake or a Peter Benson tool, take it, though you do not have to have them.
Can a pocket that came out shallow be dug again?
Go back in with the same knife and take it a little deeper. On camera I remade one cut that did not go down far enough, and another section got a second, deeper pass. Keep watching the underside while you do it.
What to carve next