
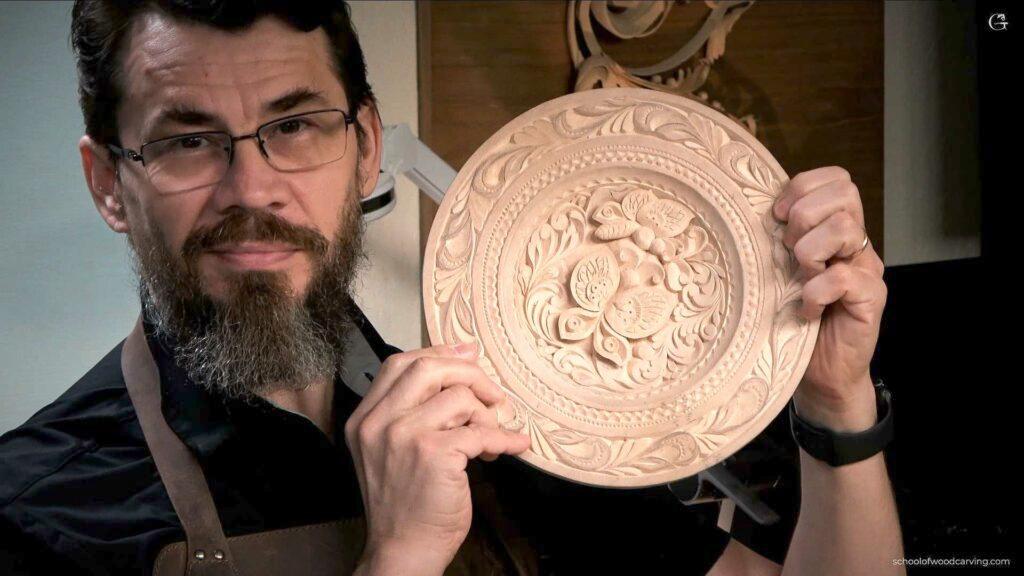
Alexander Grabovetskiy, woodcarver, School of Woodcarving · Published 2023
How do you check a carved plate before you call it finished?
Quick answer: Checking a carved plate is a short set of looks between the last knife stroke and the one photo the lesson asks for. Get the graphite off first, with the grain, then look at it in side light and upright on a wall, and only then settle the back and the stain.
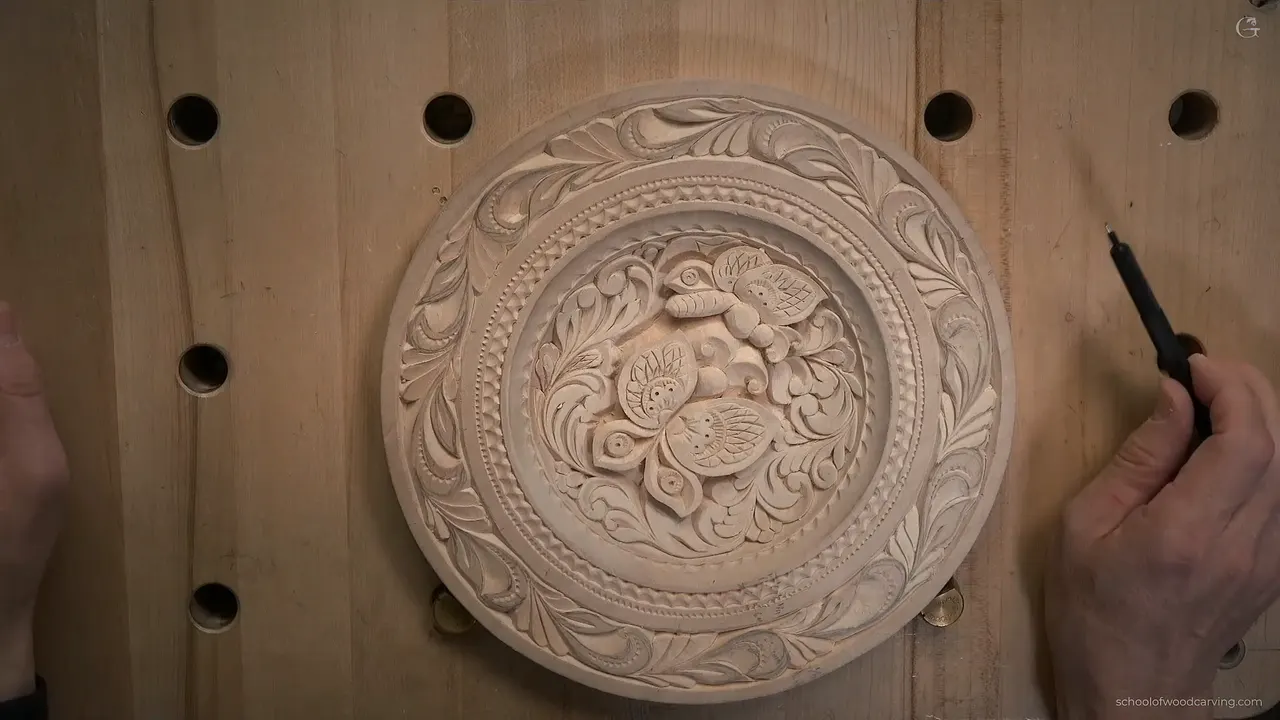
A last check on your carved plate is a few plain looks before the camera comes out. Scrape off every pencil line, move the lamp off to one side, and hold the plate up where it will hang. Then settle the back and the stain, and only then take the one photo this lesson asks for.
You spent weeks on two butterflies and a rim full of curls, so of course you want to know whether the plate is any good before you send it. Fair enough. Every check on this page comes out of the course itself.
The last video is short, about nine minutes, and part of it repeats things you have already seen. So this page works as a hub. It gathers what I said along the way, lesson by lesson, and every borrowed line links back to the lesson where I said it.
Do you want the photo to show your plate at its best? Would you rather catch a stray pencil line now than after you upload? Then give it one slow look first.
The short list before your photo
Scrape every pencil line off first, or you can't tell good work from bad.
Look again with the light coming from the side.
Prop the plate where it will live and square its diagonal.
Find the dark line under each wing.
Clear the loose chips you were told to ignore.
Keep the clean surface your knife left, and leave the sandpaper alone.
Choose a bare back, a sealed one or a hollow, then send one jpg or png, shrunk first.

Does the plate need stain before the photo?
Stain is up to you, and mine stayed bare. When the carving was done, I looked the plate over and told you that, for me, it was enough, even though you could take a piece like this to an extreme and keep adding to it. Where to stop is your call, and the last lesson of the cutting board course is about that decision.
Staining was the plan at first. I pointed you to the bird of paradise cutting board, the other project I carved with the knife, because that one does have stain on it. You don't have to cook your own, I said, although I really like to play with cooking mine. My daughter changed the plan when she asked for the plate exactly as it was.
In the last carving lesson I had said the same thing plainly. You don't really have to stain it, because it looks good just the way you see it.
Why hold the plate up the way it will hang?
I held mine up in both hands to show you how it would look on the wall, and it looked really good to me. Then I made sure my diagonal was correct.
Near the end of the carving I said I was worried about how it would look overall. Cleaning everything came after that. Even rough, the plate was already casting light and shadow, and I thought it looked good.

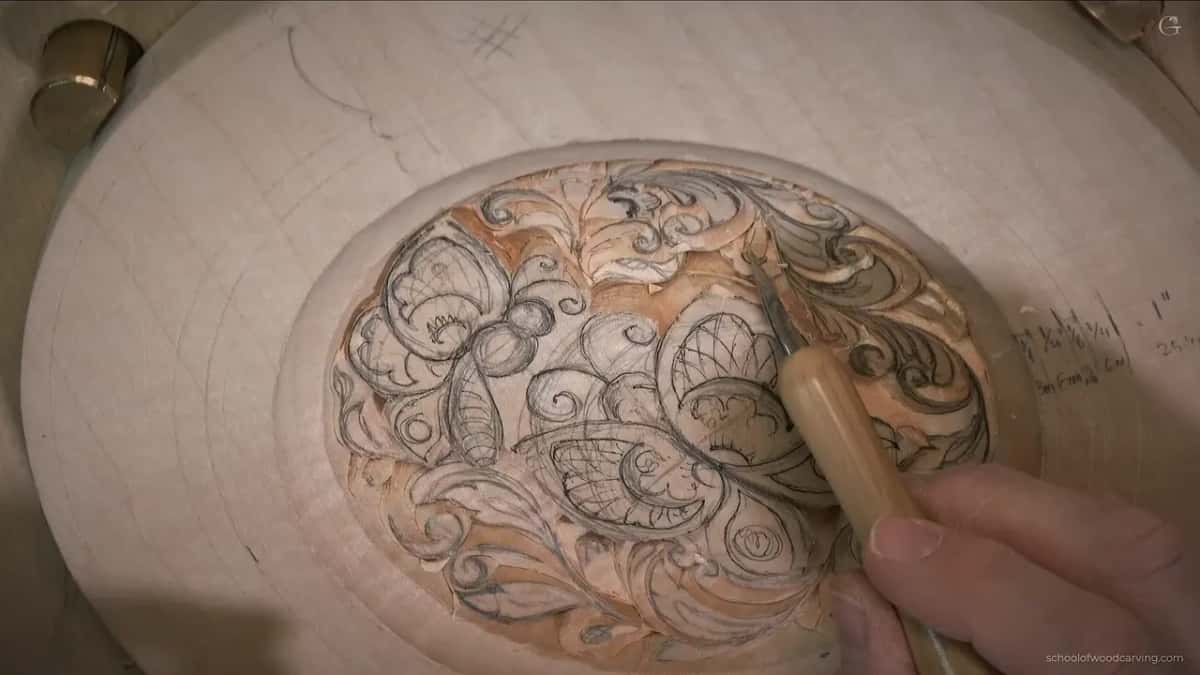
On mine you can see the two butterflies in the dish, a narrow ring of gouge cuts around it, and the wide band of curling leaves on the rim. Do the same with yours. Stand it up on its wall, step back a few paces, and give your eyes a minute before you make up your mind about anything.
Why scrape the pencil off before you judge anything?
Pencil graphite hides the good and the bad alike. Lesson 9 is where I told you we need to get rid of pencil marks, because that is how you see if we are good or bad, roughness and all.
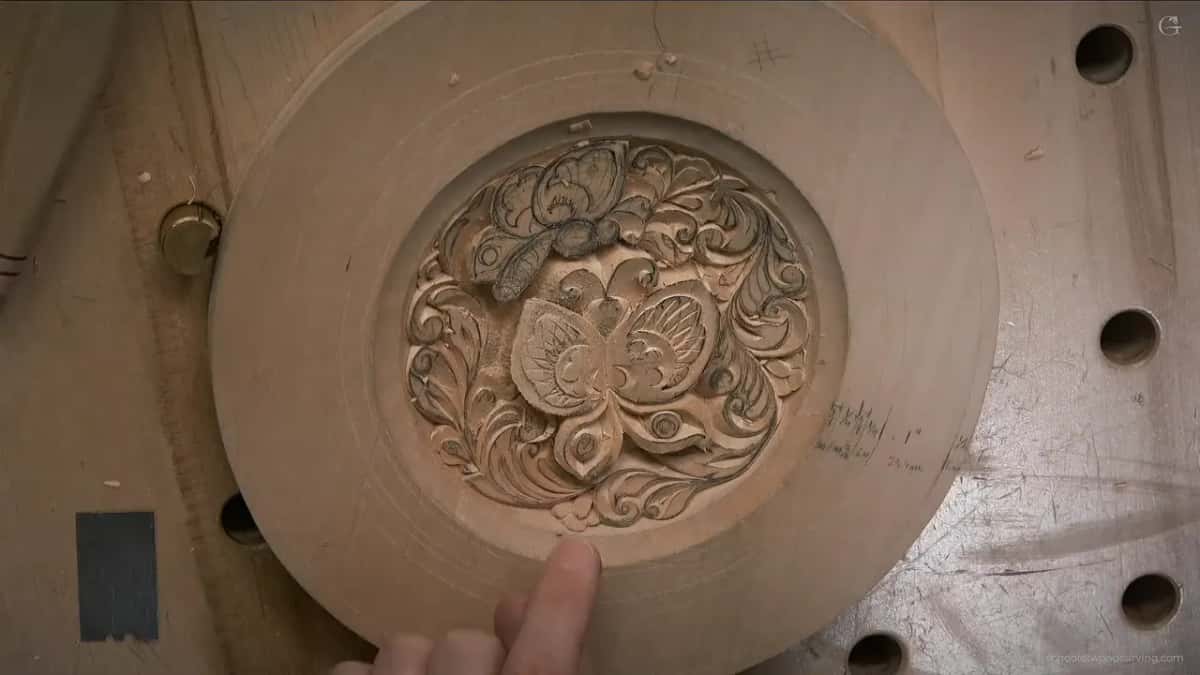
A razor blade will do it. So will a utility knife blade, or one of the small scrapers made for the job, and when you have nothing else the carving knife itself scrapes if you go carefully. Pull it along the grain. Scrape a little and you'll see it already giving a really good result, and you can even blend with the scraper.
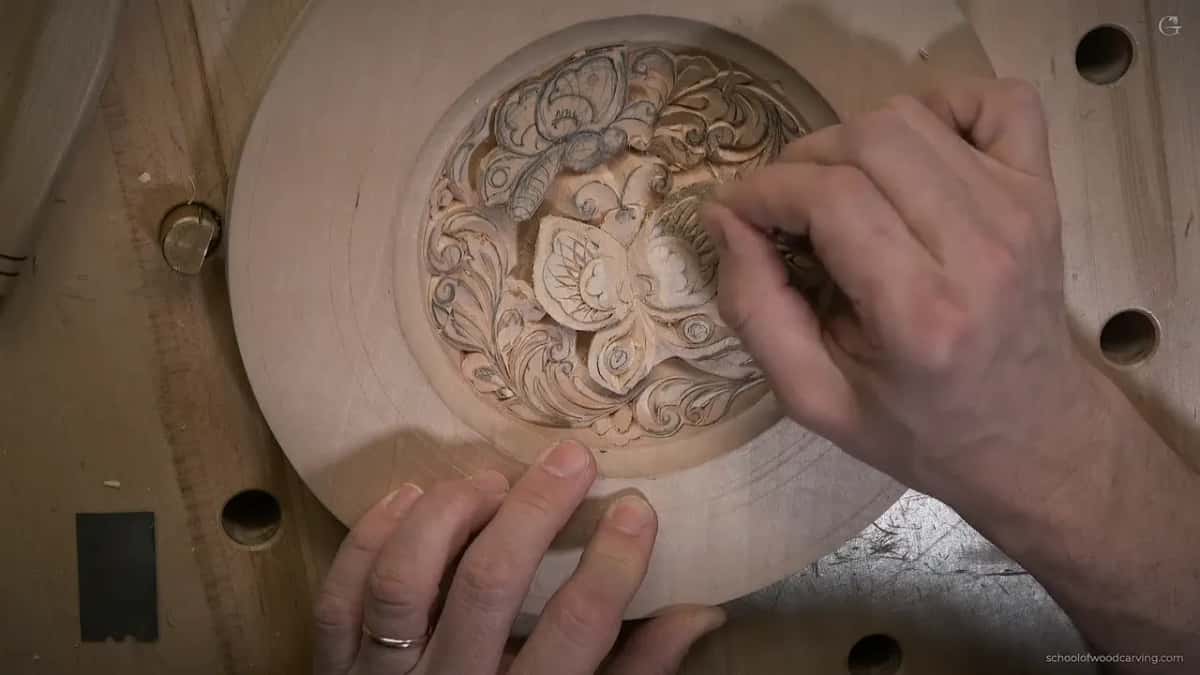
My own butterflies in lesson 10 were, in my words, a pencil mess, and I promised you that once you scrape it, it's going to look really nice. In that lesson I showed you the utility blades I meant, and I said you don't need a professional scraper at all. I only used pencil so you could follow the lines on camera.

More than once in this course I left the cleaning for later. The next step in the last carving lesson was to scrape everything and make it nice and smooth, so scraping comes first on this list too. You could sand it instead, I said, but back then they did not.
While the blade is in your hand, look hard wherever the grain changes direction, the spot I call the marriage line in lesson 6, because that is where a tool likes to tear.
Which way should the light fall on the plate?
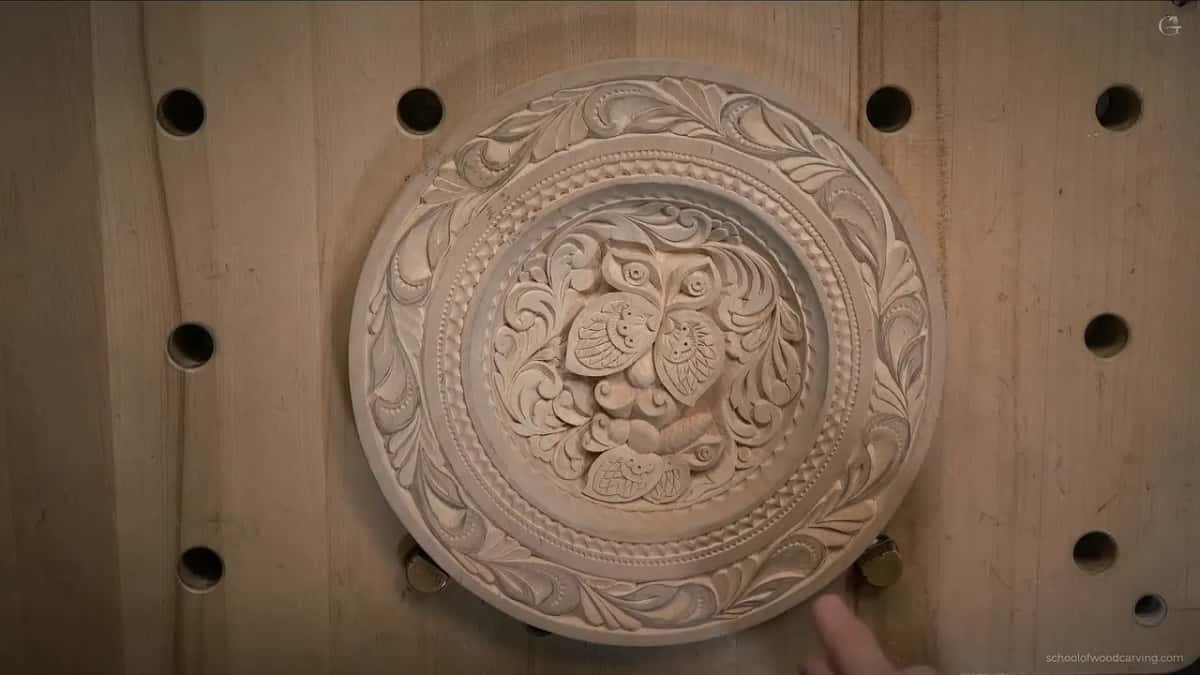
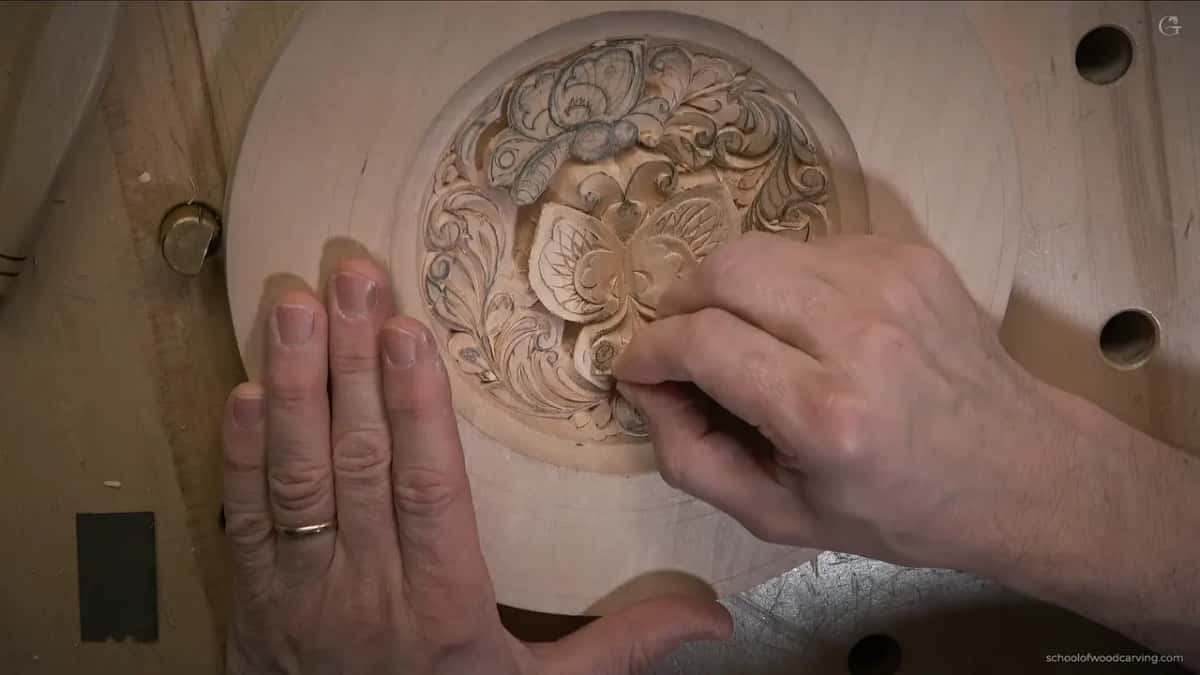
Light that hits the plate straight on makes it look lighter than it really is. My lamp pointed right at the wood in lesson 8, and I warned you it would read a little darker later, once we got done. Turn the lamp so the light comes in from the side, and look again.
More light helps as well. I said in lesson 11 that it is sometimes a good idea to put the lights on, since everything is much easier to see. Then I moved to a better spot so I would not mess up my shadows. I had a shadow from the light.

Does each butterfly still sit on its own shadow?
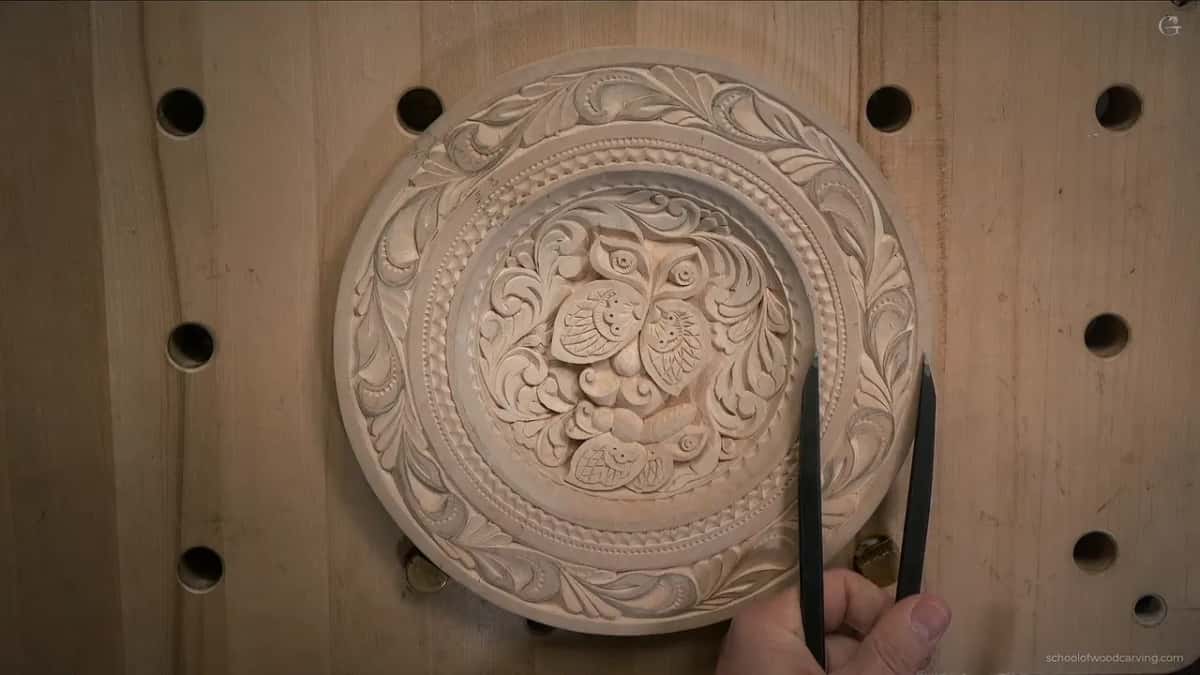
Look along the edge of every wing, in that side light, for a thin dark line. That line is the undercut at work, and it does more for a butterfly than height does. I showed you a beautiful shadow in lesson 3 and said, see how deep a shadow I get, and in lesson 7 I removed more wood because I wanted a really deep shadow.
The antennae and the body are the exception. They drop straight down, so no dark line belongs under them.
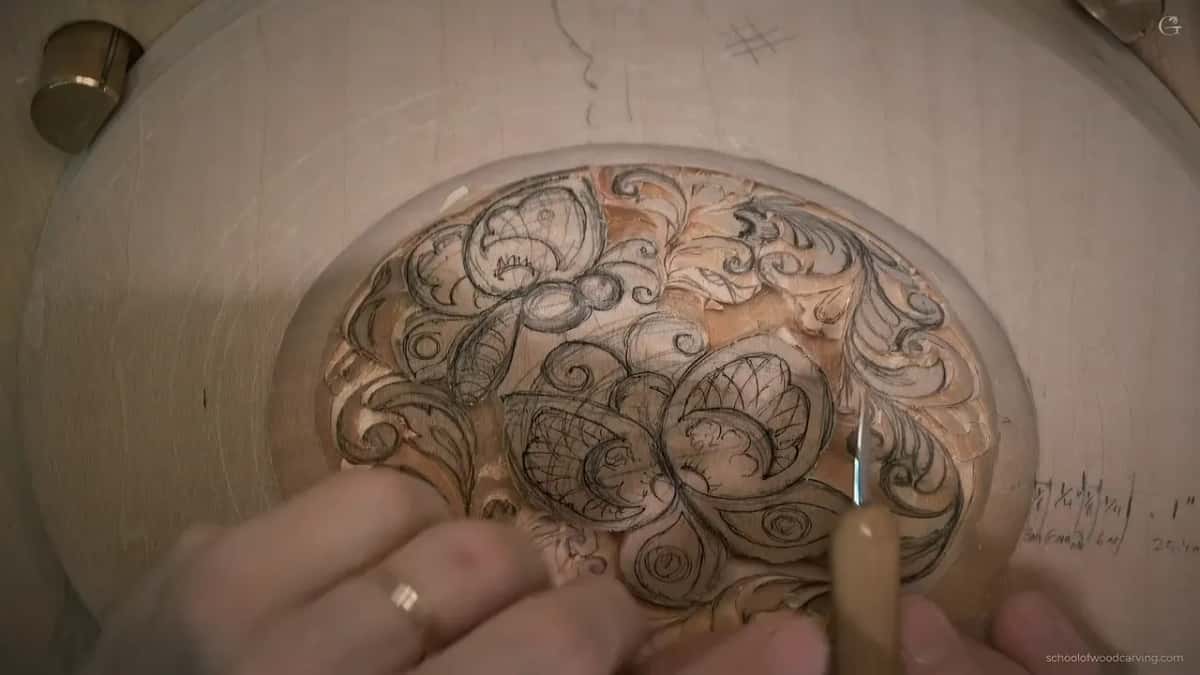
Down at the wings, check the eyes too. I put an eye in with a small plug cut in lesson 10, right in the middle or a little closer to the center. The plate works fine without them, so they are yours to add or skip.
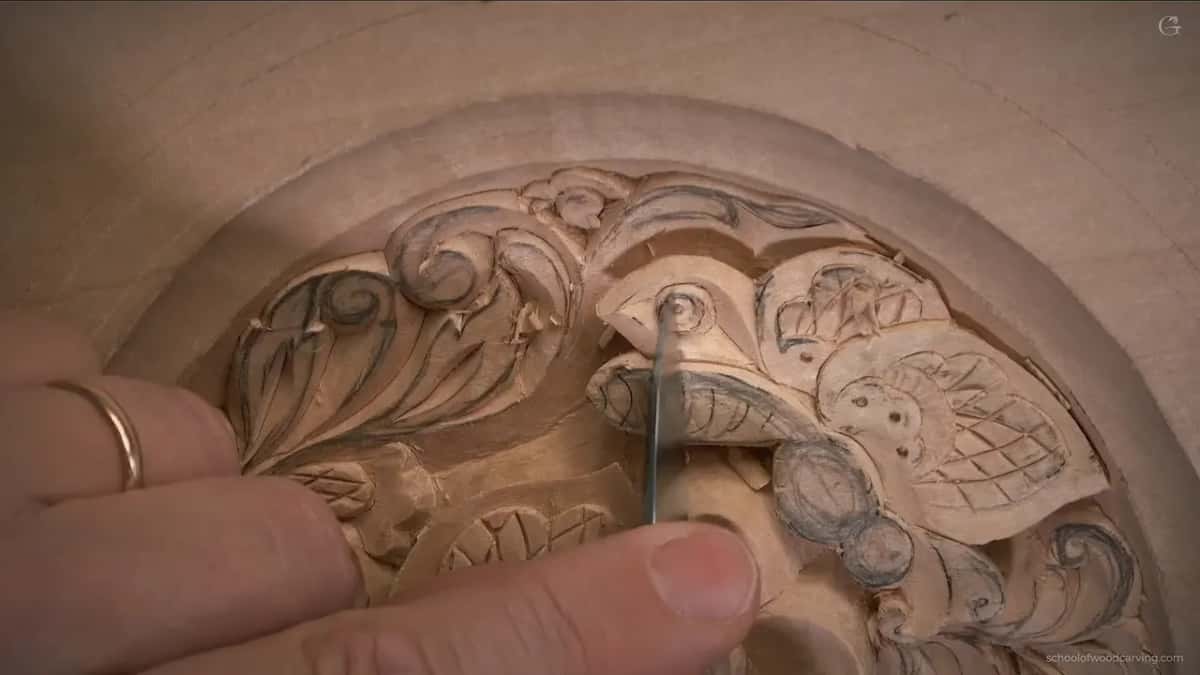
Are any loose chips still hanging on?
A few probably are, because all through the course I told you not to worry about them. Back in lesson 8 I said don't worry about those loose chips, and in lesson 12 I said don't pay attention if there are some. Before the photo they have to come out.
If one won't fly out, something is still holding it, so go back and carve that line again, the way I told you in lesson 5, instead of prying it loose.
A chip broken out of an edge is a different problem. I found a little one at one of my lines in lesson 3, said it was no bueno, and moved that line a bit inward to fix it.
Did you keep the surface your knife left?
The clean surface a sharp blade leaves is the finish on a plate like this. Lesson 5 had me trying a small number 3 gouge, 3 mm (1/8 in), and I went back to the knife because I didn't like the finish it left. When I came back to that spot, I said I would try not to destroy my finish.

Guard yours the same way. Check for gashes as you go. Late in lesson 10 I said it twice, that too deep a pass won't look nice. And in lesson 8 I said some cleaning needs to be done, and that really nice knives give you a better result.
What about the back of the plate?
If the plate hangs on a wall, you can leave the back the way it is, and it's not going to bug anyone. You can protect it, though. I named three ways to do that: put lacquer on it, apply shellac, or put wax on it. I didn't do any of it, and who knows if I will in the future, but for now I left mine alone.
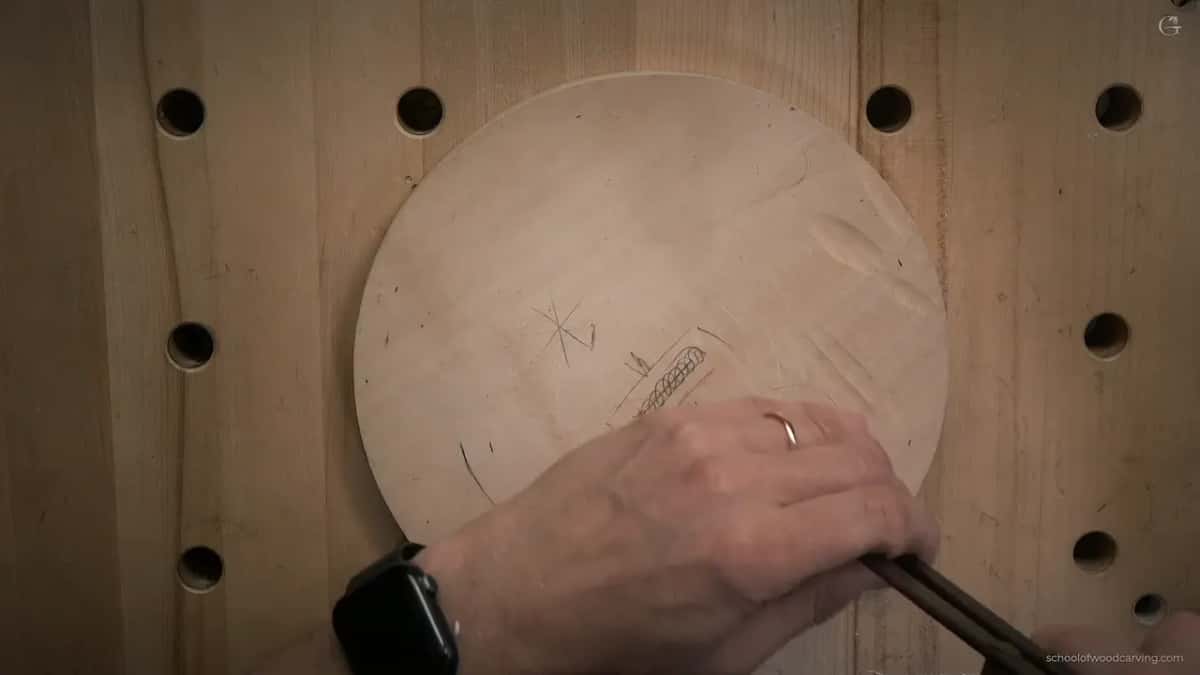
If you want yours to look like a real plate, you hollow the back. The lesson 1 page covers how exact that ring has to be, and the grape onlay course explains why carvers hollow a back at all. On mine the band between the dish and the edge was only about two inches, roughly 50 mm, and I carried that over to the back. You can draw the ring freehand, with your finger as a guide, or be more accurate if you wish. Then stay about 6 mm (1/4 in) away from your line and take the wood out with a gouge, just creating the shape.
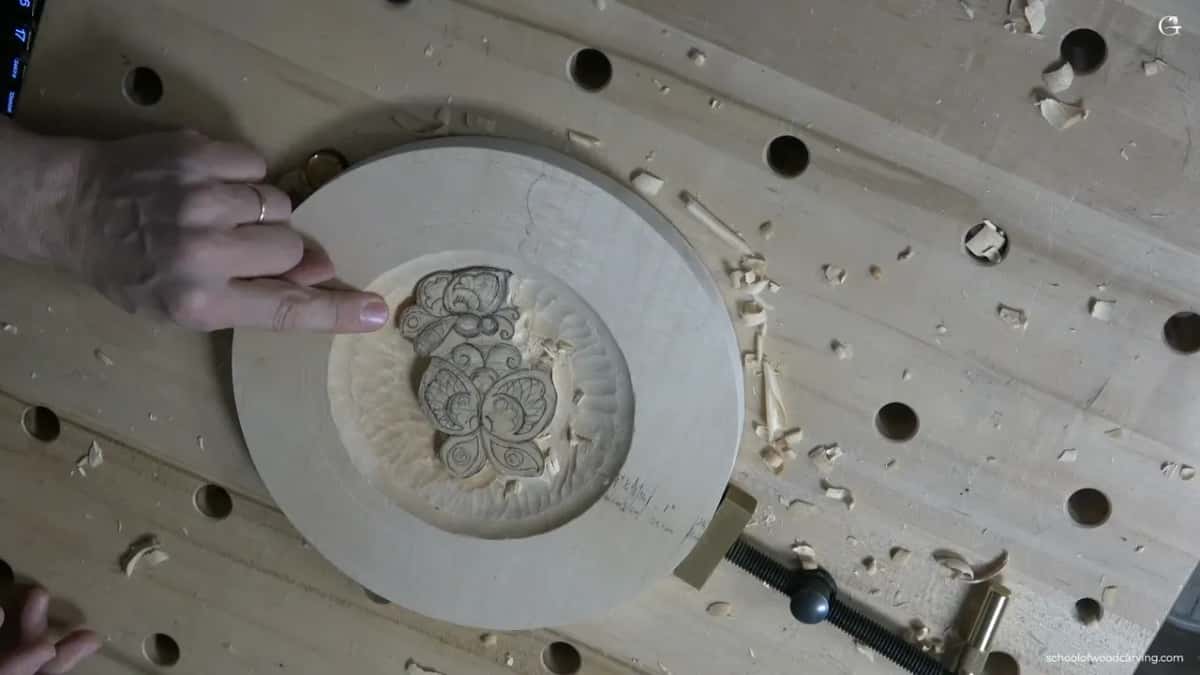
Before any of that, check how thick your basswood is. I asked you to keep that in mind back in lesson 2, too. My own back already carried carving from a board I brought from teaching a class in person, so I left it, even though I could see some thickness there. A real plate is the easy part anyway, since you already dug out the inside and the outside is much easier.
All seven checks side by side
The whole list fits in one table.
| Check | How | Tool | Why |
|---|---|---|---|
| Scrape the pencil | Pull a razor blade along the grain | Utility blade | Graphite hides good work and bad |
| Turn the lamp | Let light come in from one side | Desk lamp | Straight light makes it look lighter |
| Hang it up | Prop it on the wall it's for | Bare wall | Then square the diagonal before judging |
| Read the shadows | Each wing needs a dark line underneath | Your eyes | A dark undercut lifts each butterfly |
| Clear loose chips | Carve again where a chip won't fly | Same knife | Prying can cost you a wing |
| Keep the surface | Leave the clean facets your knife made | Sharp knife | Carving too deep won't look nice |
| Decide the back | Wax it, seal it, or hollow it | Small gouge | A wall piece can stay bare |
All thirteen lessons of this course come with full access, and so does this last page with its upload.
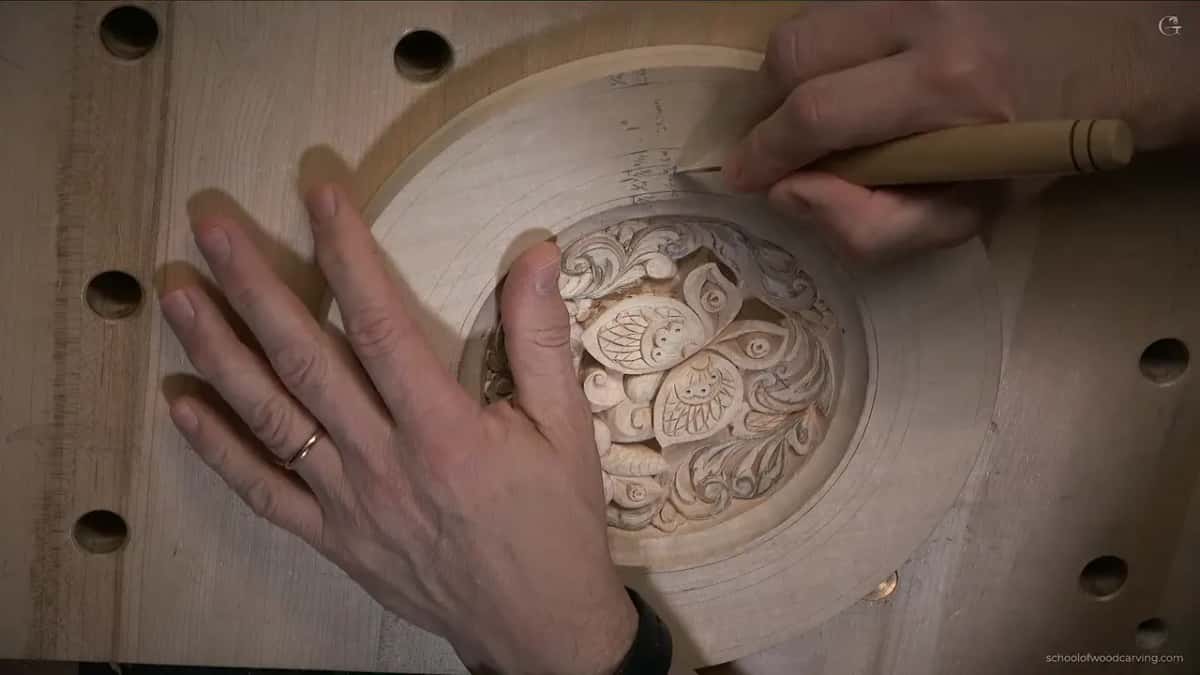
What goes into the upload?
One photo of your plate, saved as a jpg or a png, and never a zip file. The certificate is your choice, because the page says the photo is for anyone who wants a certificate for finishing the course.
Shrink the file first at TinyPNG. I explained why in the Grinling Gibbons class. Thousands of people send pictures, big files keep the database growing, and that's not too good.
You get one chance to upload while you are on the page, and the button disappears after you leave, so have the picture ready before you press anything. I look at your work and certify you on what I see. So let the photo show everything on this list, in the same side light you checked it in.
A single frame gives away more than you think, and the floral panel assessment page goes through what it shows.
Why does a Rococo panel show up in the video?
I had just come back from teaching in person at the Marc Adams School of Woodworking, and I showed you what we worked on there. It was a full 3D French piece in the Rococo style, with flowers, ribbons, acanthus leaves and shells. Rough, and not done. I still held it up close to the camera and said it didn't look bad, that it was rough but okay.
Where do you go after the photo?
Tell me what you would carve next with this technique. I closed the course by asking for your comments, and whether the project and its techniques helped you. I really do appreciate all of your comments, and I said that too. I also asked how you would use them on designs of your own, and I asked for pictures so I could post some of them in the comments.
I even floated a fish cutting board, maybe, or a decorative piece with some fish in it, because it looks like members of the school really like this style. All the patterns are there for you. Try drawing your own anyway, because I think that would be really helpful to you. The lessons map shows where this plate sits among the other courses, if you want to see it.
Want the photo to show the plate at its best? Want it right the first time? Then scrape it, move the light, hang it, and take the picture.
Mine is still bare, and its back still carries that old class carving.
How it's done
- Scrape off the graphite. Use a razor blade and follow the fibers.
- Light it sideways. Swing the lamp around until the light rakes across the wood and every hollow throws a shadow you can read.
- Hang it and step back. Put it on its wall, straighten the diagonal, then walk a few steps away.
- Read each wing. A dark line should run under every wing edge.
- Clear the loose chips. Carve again wherever one refuses to fly out.
- Choose the back. Leave it bare for a wall. For protection, use lacquer, shellac or wax, and hollow it only for a real plate.
- Upload once. Shrink the picture and send it in one try.
Frequently asked questions
Do I have to stain my plate before I photograph it?
A bare plate is fine for the photo, and mine never got any color at all. For a stained example of knife work, the board from the beginner course is the one to study, since that project does carry stain.
Why does the upload button disappear?
The page gives you one upload during your visit, and the button is gone once you leave. Have the picture saved as a jpg or png and made smaller before you press, then look it over one more time on your screen.
Should the back be sealed if the plate hangs on a wall?
A wall plate can keep its back bare without bothering anyone. For protection anyway, the three I mentioned were lacquer, shellac and wax, and mine got none of them for now. Hollowing the back only matters when you want the piece to look like a real plate.
What to carve next