
Alexander Grabovetskiy, woodcarver, School of Woodcarving · Published 2022
How do you draw a butterfly for a wood carving?
Quick answer: A butterfly drawn for carving is a stylized plan, sketched straight onto the plate and sized to about three of every five inches of open wood. Turn the board until its grain suits the butterfly, give one half the larger share, and send the lines inside each wing toward a single hidden point.
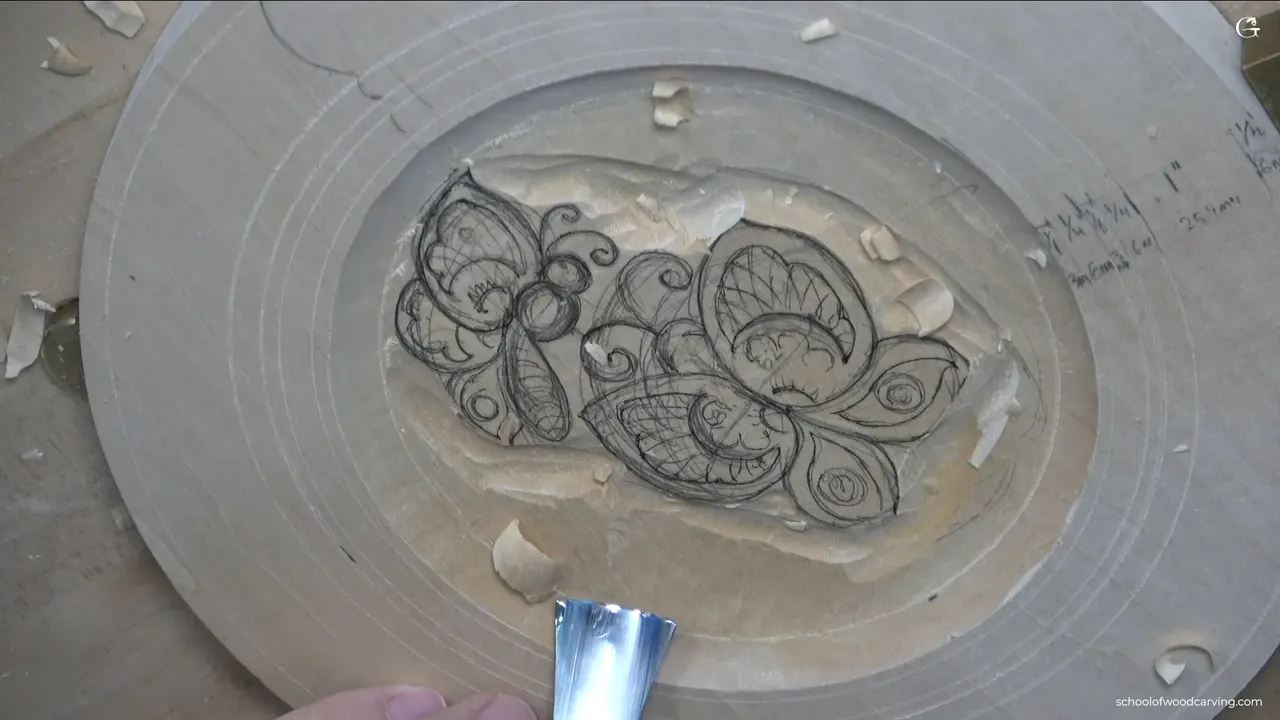
A carving butterfly gets drawn right on the wood as a plan, and all it has to do is read as a butterfly. My plate is ten inches across, 254 mm, and the main one takes about three of its five open inches. Before any of that, I turn the board until the grain sits right for it.
Ever drawn a butterfly that looked fine on paper and went stiff the moment it reached the wood? Did one wing come out a twin of the other? I settle those things in this lesson, with a pencil, on the plate itself.

It is the second lesson of my butterflies plate, and the two butterflies get drawn here, in pencil, on the basswood, with nothing taped down to trace. You will see me change my mind about a belly partway through, and I left that in. Watch how I think, and the butterfly on your plate comes out yours.
What the pencil settles before any gouge touches the butterflies
- The main butterfly gets about 76 mm, three inches, of an open field a little over five inches (130 mm) across.
- Turn the plate for the grain first, then draw.
- One half gets more room than the other, near 62 to 38, and even that rule bends.
- Wing lines curve like an S and lean toward one hidden point.
- A smaller second butterfly flies sideways, with one wing tucked behind the other.
- Pencil goes down first, a black 0.5 liner goes over it for the camera, and the carving can still change all of it.
Why does the dish get carved before the butterflies are drawn?
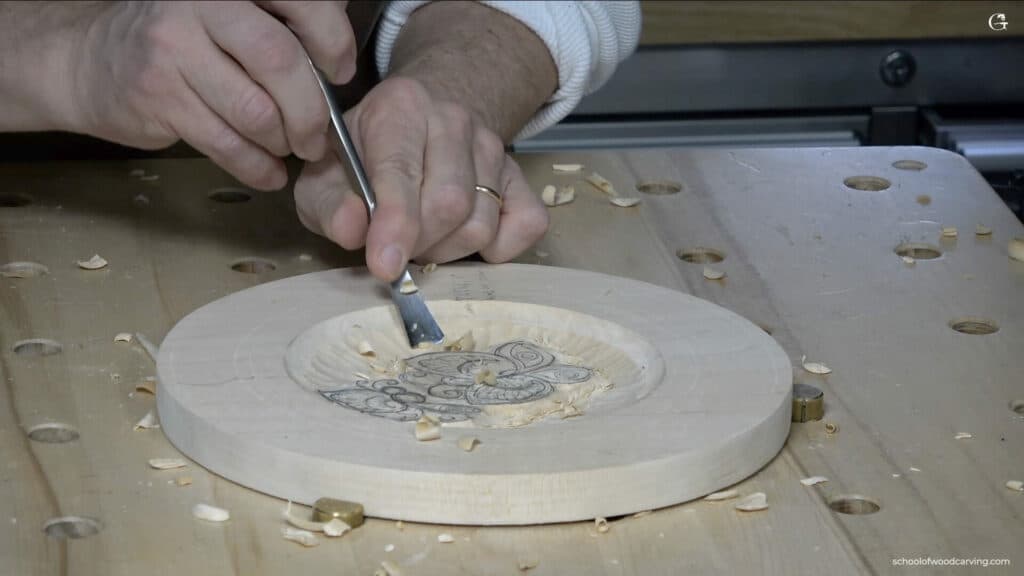
The pencil needs a clean floor to sit on, and hollowing the dish is what makes that floor. I call it a canvas. The rings were already scratched with calipers in the first lesson, so here I take a number 7 at 7/8 in, about 22 mm, and scoop the middle across the grain to roughly 6 mm deep, a quarter inch.
At the rim I hold the gouge at about 45 degrees to the scratched line, and the wall takes on the shape of the tool itself. Keep the same pressure and the same angle all the way around, and it comes out even.

Flatten the floor next. A flatter gouge helps a lot here. Mine is a London pattern number 4, about an inch (25 mm) wide, and an English number 4 is the same as a number 3 on the European chart. A big Pfeil number 2 at 60 mm, a little under two and a half inches, just gets you there quicker, and a smaller gouge lands in the same place with more passes.
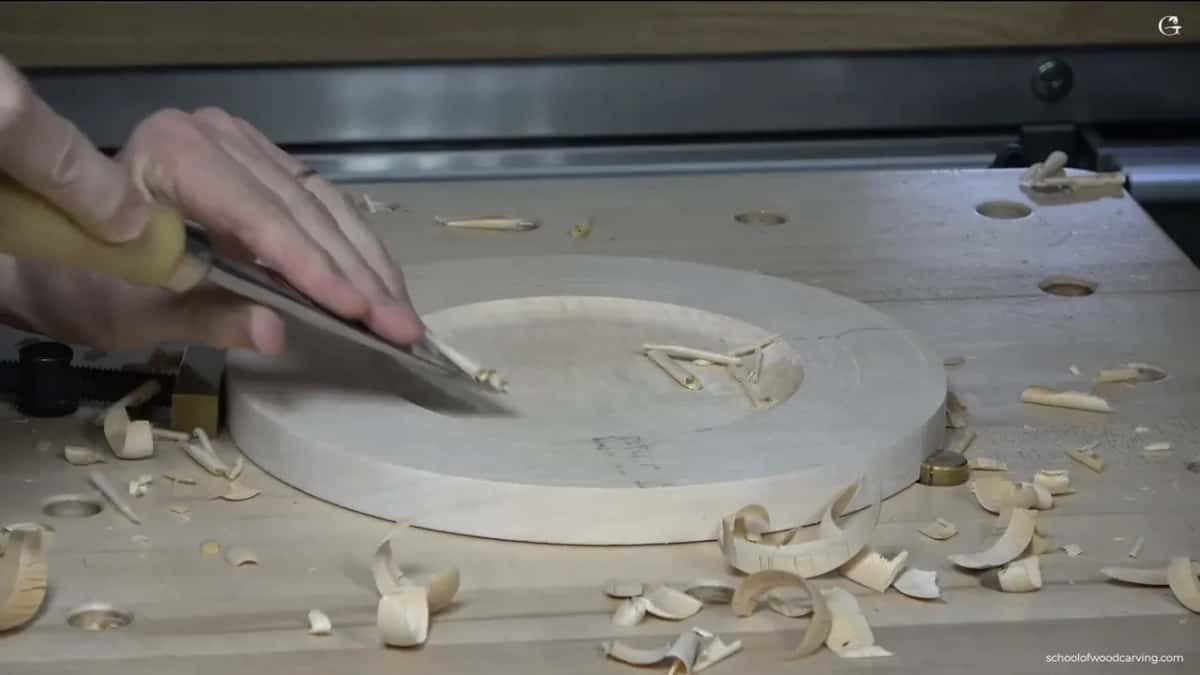
Do not chase a perfect floor. Most of it gets carved away by the design anyway. Mine still has one deep spot, and it can stay.
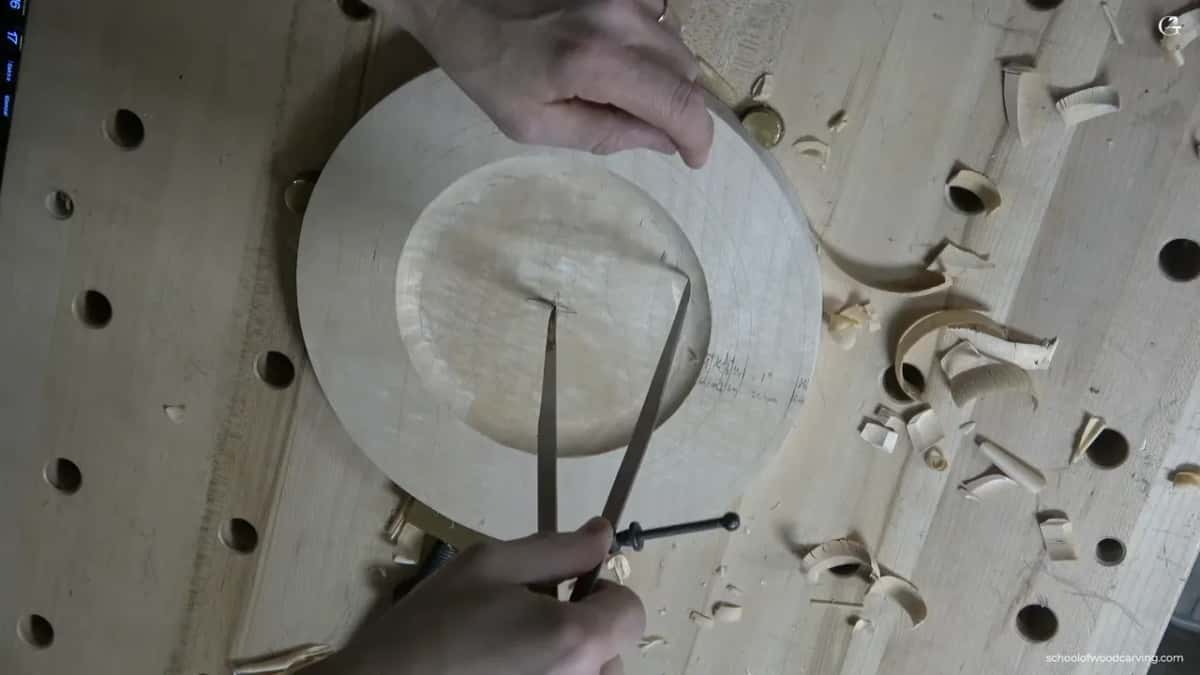
Now I need the center again, because hollowing the middle throws the old one off. I open my calipers to five inches, 127 mm, off a tape measure, from the one mark to the six mark. Pencil is safer than a scratch for this part. I swing arcs from a few spots on the rim, and where they meet is my center, more or less. I doubt it is perfect, so I check it.

From that point I scratch one more circle, about 3/8 in (10 mm) in from the edge of the dish, and I eyeball the distance instead of measuring it. The knife follows that line later. If it comes out a little ragged, leave it.
How big should the butterfly be on a round plate?
Give the main one about three fifths of the open wood inside the knife line. After scratching that circle I measured what was left, about five inches and an eighth, near 130 mm, and gave the butterfly about three inches of it, 76 mm.

Three and five sit side by side in the Fibonacci row, and I am a big fan of that row and of the golden ratio. The radius of my plate is five inches too, and when the numbers line up like that it makes me happy. Land a little off and I have no problem with it. Nearly the same split, 62 against 38, turns up again inside the butterfly itself.
Which way should the grain run under a carved butterfly?
Whichever way suits the butterfly best, and you pick it by turning the plate before a single line of the butterfly goes down. I pick a starting point, rotate the board toward myself, and stop when the grain runs the way I want it for the butterfly. A turn costs nothing now. Once the wings are carved, that choice lives in the wood for good.

The dish already showed me how the grain behaves on this board. Inside the hollow it turned against the gouge, the support moved to the other side, and I had to come at it from the opposite direction. Those same fibers run under the butterflies. Bulk comes out across the grain, and the cleaning passes go with it. There is more on how a pass slices one way and tears the other in carving with the grain.
After that I twist the drawing a little until it fits, and I draw a center line for the whole design. I want the plate to move one way, and the first butterfly flies that way. I tell you I am happy with where it sits, and then I add that I think I am.
Does a carved butterfly have to look like a real one?
A real one is not the goal, and on camera I tell you straight: if you are after an anatomically perfect butterfly, this is not the one. Mine comes out stylized. I even joke about whether butterflies have wings at all, and then I draw them anyway.

What it needs are the parts your eye goes looking for. I give it a head, a couple of short strokes that read as eyes, one swirl and then a second, a volute if you like the word, and two antennas. When those are in, the overall shape makes me happy. A butterfly has all kinds of crazy movement in it, and that movement is what I have to put in. Flowers work the same way, and a carved flower never has to look real either.
Why is one side of the butterfly bigger than the other?
One side gets more room on purpose, and I call that dynamic symmetry. In the video I say it plainly: this side is going to be a little bigger than that side. Take one point, take the other, and the bigger share goes on one side. The split is about 60 to 40, or 62 and 38 if you like the golden ratio written out, and I penciled those two numbers right onto the wings.
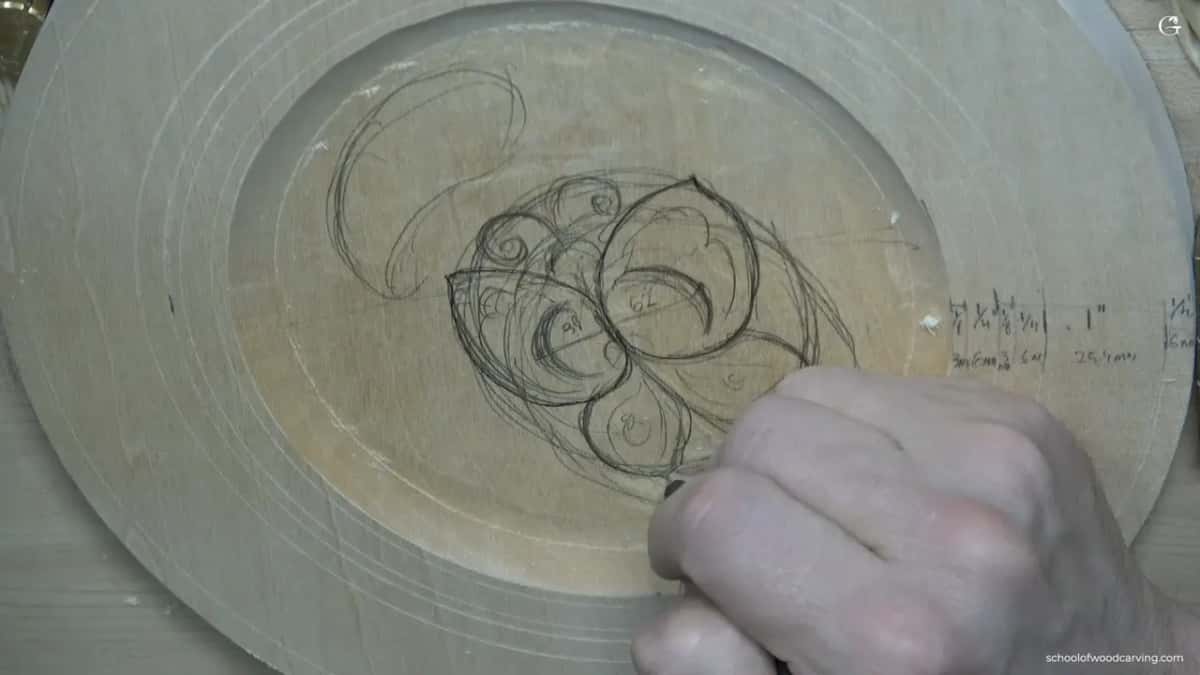
Then I take it right back. It does not have to be that way. No, it does not. I like a conflict in ornament, one half given more room than its partner, and an ornament that argues with itself is the same idea worked out on a furniture panel. Within that first shape I also mark where the next movement will go, and I leave it for later.
Where do the lines inside a wing go?
Draw them as S curves, and aim every one at the same hidden point. I start with the outline of a wing and carry its line all the way to where it ends. Inside that shape I lay one S, then step in about 3 mm (1/8 in) and lay the next, so the wing fills with waves. Each section of the wing gets its own S. I do not have to put an S there, and I think it looks good, so it goes in.
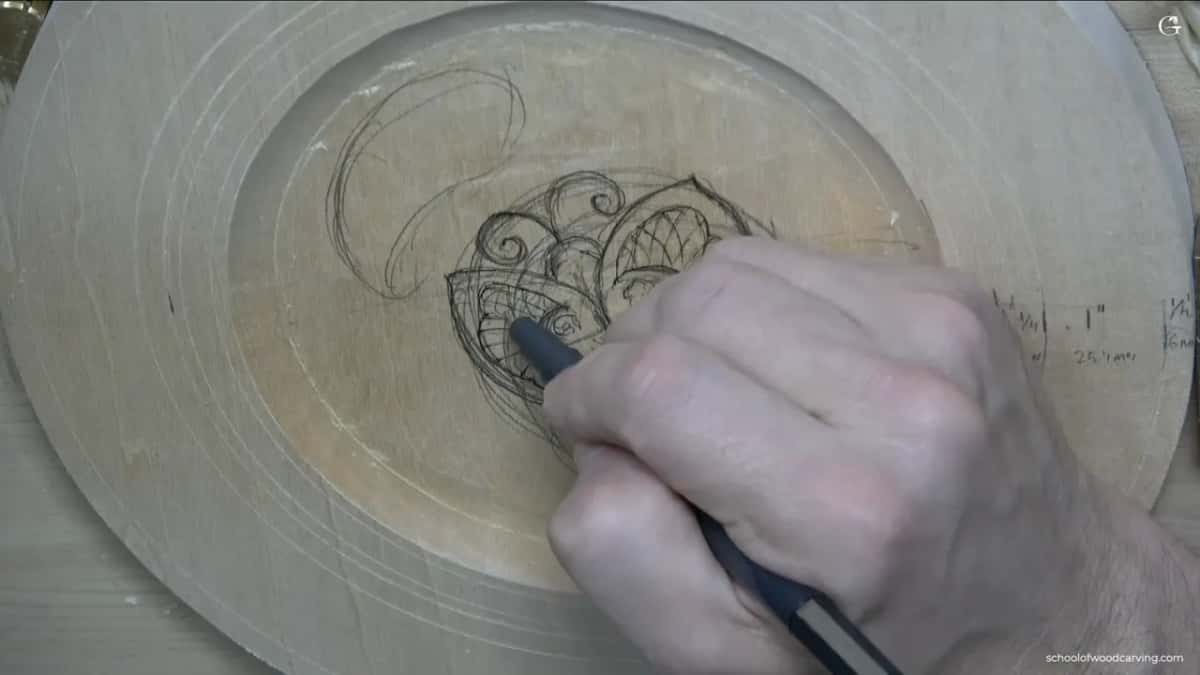
Every one of those lines runs toward roughly one spot. That spot is invisible. Nobody will ever find it on the finished plate, and still the wing makes a lot more sense with it than without it. From the same point I send a curve back the other way, still aimed at that spot. About an eighth of an inch, 3 mm, stays open between neighboring lines.
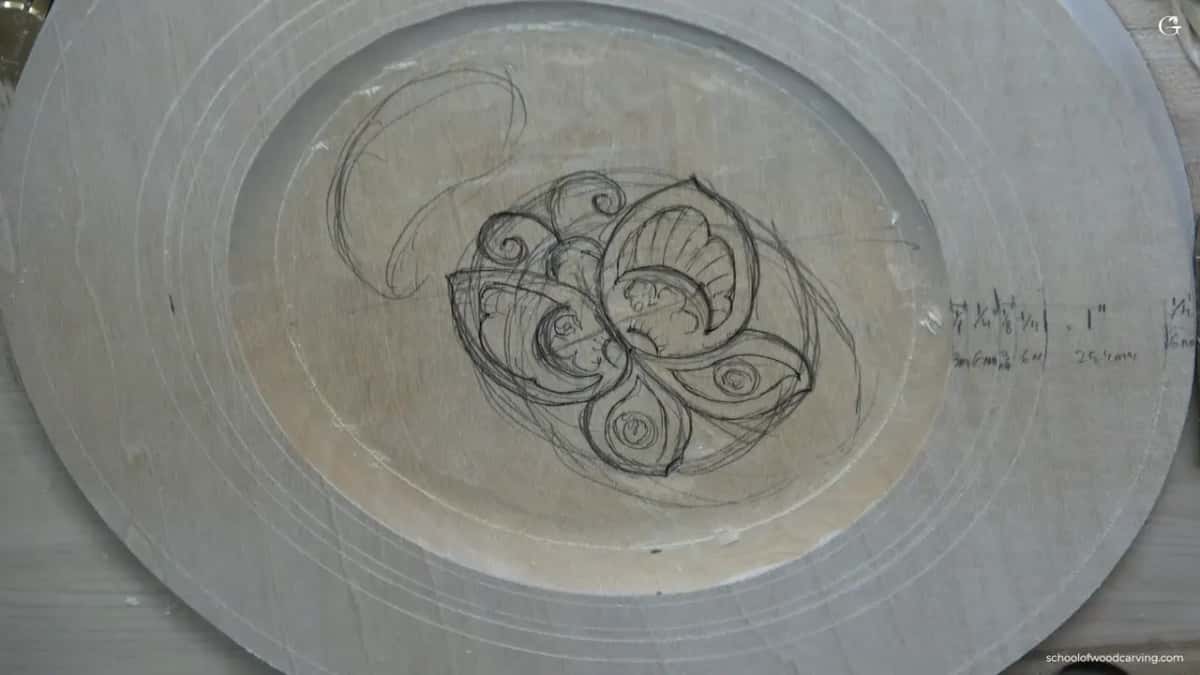
If that hidden point just made a wing make sense, every lesson of this plate is there for you inside the school. The detail inside the wings comes much later in the course.
Why draw the second butterfly sideways?
Turned on its side and drawn smaller, the second butterfly makes the plate look more dimensional. I plan it early, while the first one is still pencil, so it can use the space the first one leaves.
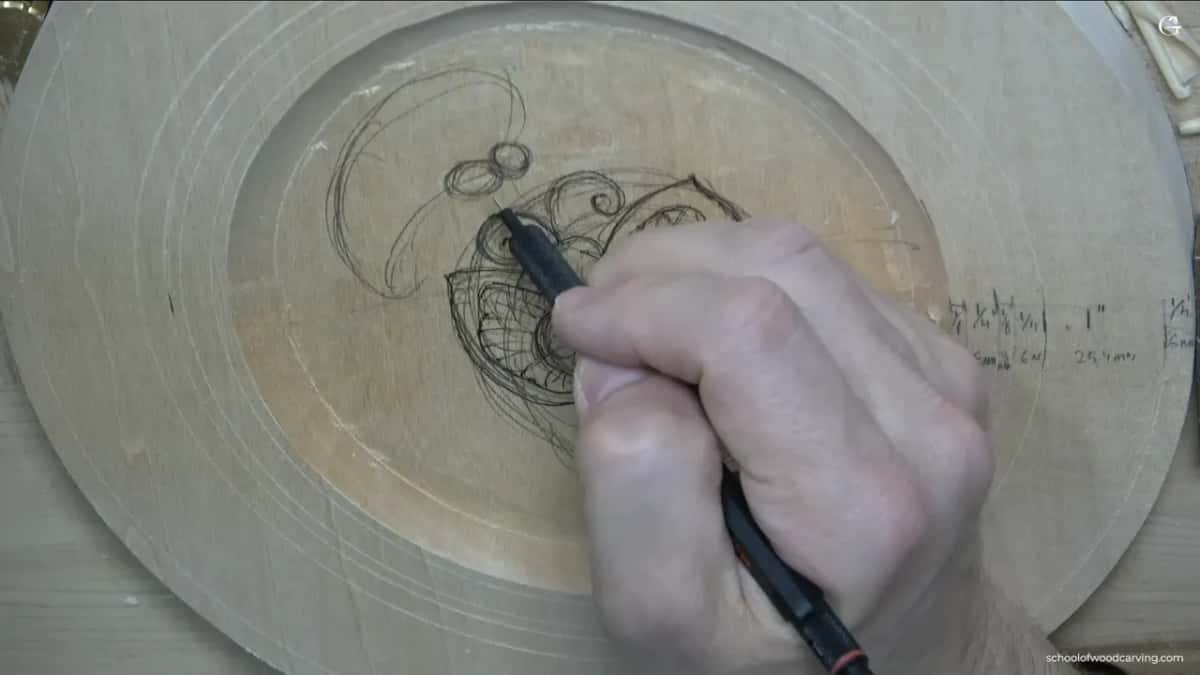
The body goes in first, head and chest, then the belly. I drew the belly, looked at it, and made it bigger. It separates a little from the chest. I gave the body a little more twist while I was at it, and then two antennas went on the head, one set a little higher.
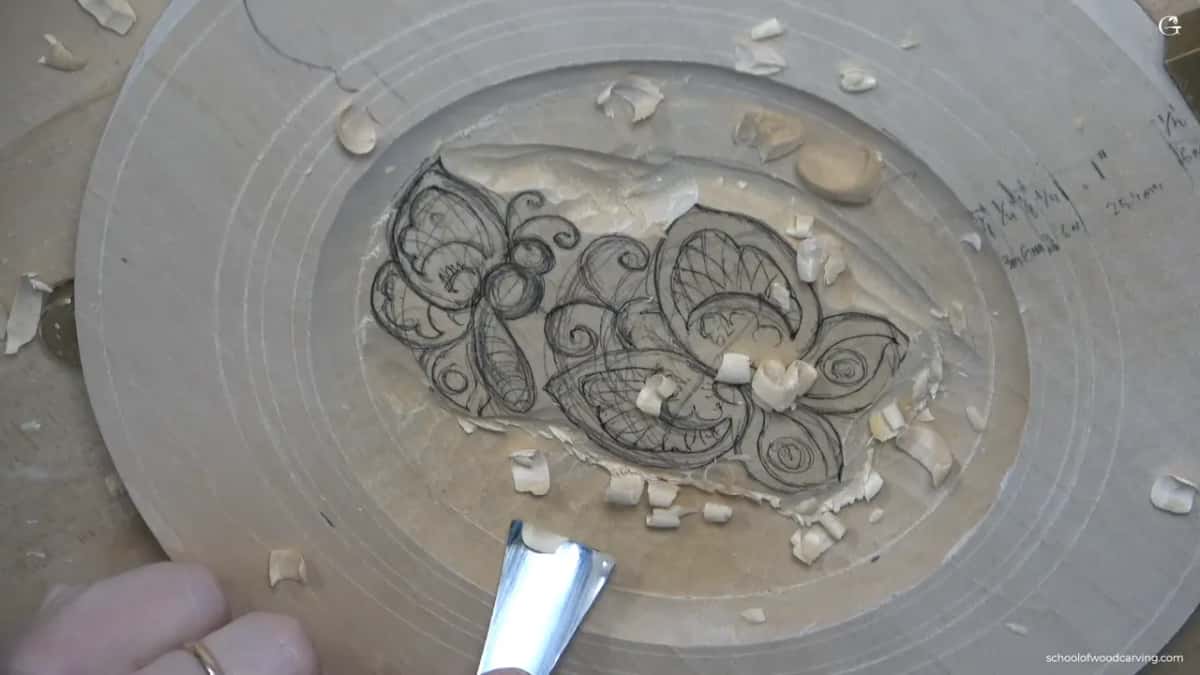
Then the wings. One wing faces you, and the second one sits behind it. I call them those two guys. After that I repeat what I did on the big one, an S curve, some waviness, and lines that leave the center point and come back the other way. Keep about 3 mm, an eighth of an inch, between the drawing and the knife line around it. Not as big, I said on camera, and still a butterfly.
How the space around them makes them read bigger is the law of space, and the curls and leaves that do it come in lesson four.
Side by side, the two look like this.
| Choice | Main | Sideways |
|---|---|---|
| Size on the plate | three inches, 76 mm | smaller than the first one by a good margin |
| Which way it flies across the plate | with the plate's movement | on its side, so it reads as more dimensional |
| What the body gets | head and eyes | head, chest and a belly made bigger |
| The wings | both halves, and one of them is larger | one in front, one behind |
| Lines inside | S curves aimed at one hidden point | the same idea |
| The antennas | a pair on the head | two, one higher |
Why pencil first, and a pen after?
Pencil lets me change my mind, and on this plate I do. Before I go on, I rub out a stray mark, because it would only distract my eye. Thin lines barely show on camera, and I apologize for that once. Once I am happy with the position, I go over the lines with a black 0.5 liner. I'm going to be honest with you, that part is for the camera, so you can see every line on your screen. A 0.5 makes a really tiny line, and it does not sink deep into the wood. Get the pencil off before you rub the wood with a warm hand, or the graphite turns into a gray smear.

Is the drawing the final design?
The drawing is the main idea, the way I put it on camera, and the final design comes later with the tools. It could change once I start carving, and I will see then whether I still like it.
The drawing also settles height. The two butterflies stay as the high spot, and the rest of the plate goes lower around them, so they look almost like they are flying in the air. A thinner board can skip that step and stay flat, so check how thick yours is first.

A gouge goes around the drawing before the knife does. I walk a number 9 at 10 mm, 3/8 in, around each butterfly, about 1.5 mm, a sixteenth of an inch, off the line, and I drop the ground around them. The full story of lifting the butterflies off the plate is on the course page. The ground drops deepest in the open middle, where I want the shadow, and right beside the lines it is almost nothing, but still lower. If a quarter inch (6 mm) feels risky on your board, do less, and an eighth (3 mm) is still going to look good. My board had carving on the back already, so I kept one eye on that the whole time.
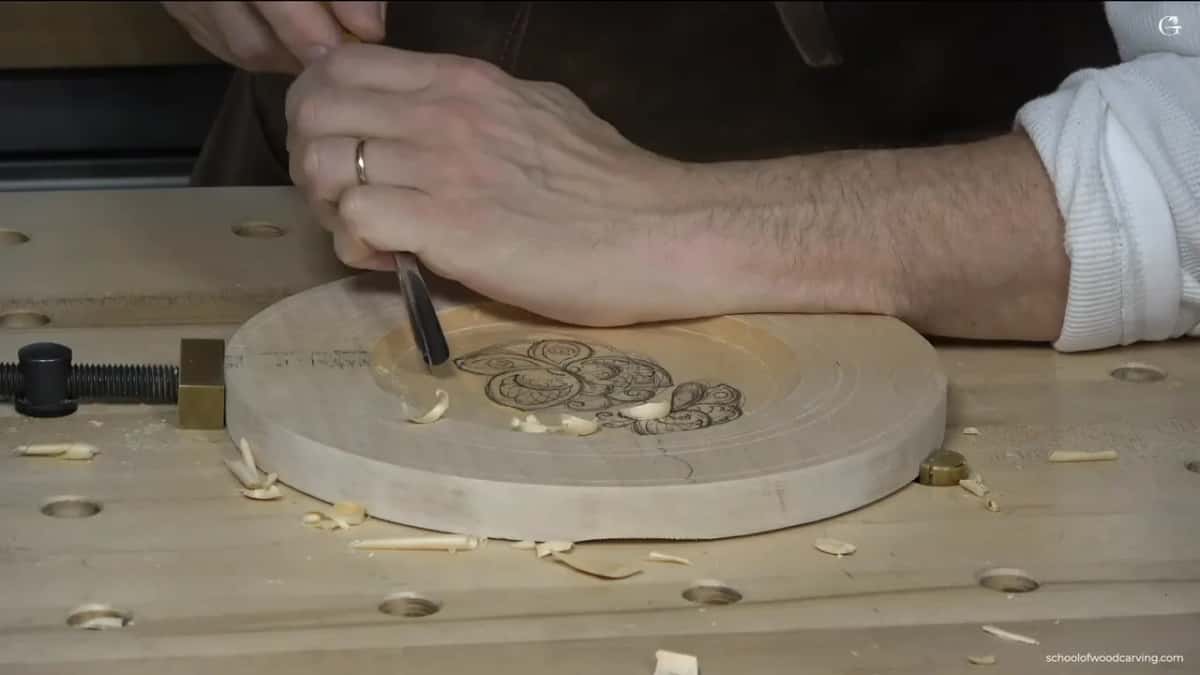
I bring the ground right up to that outline with the same number 7, and a 14 mm, about half an inch, gives exactly the same result. Short strokes still slice, because I keep rotating the tool. Don't worry about cleaning up yet. All you do is bring everything down, check how deep you went, and go round again if you need to.
Take good time, do not rush it, and do not touch the details yet. Everything else waits for the next lesson.
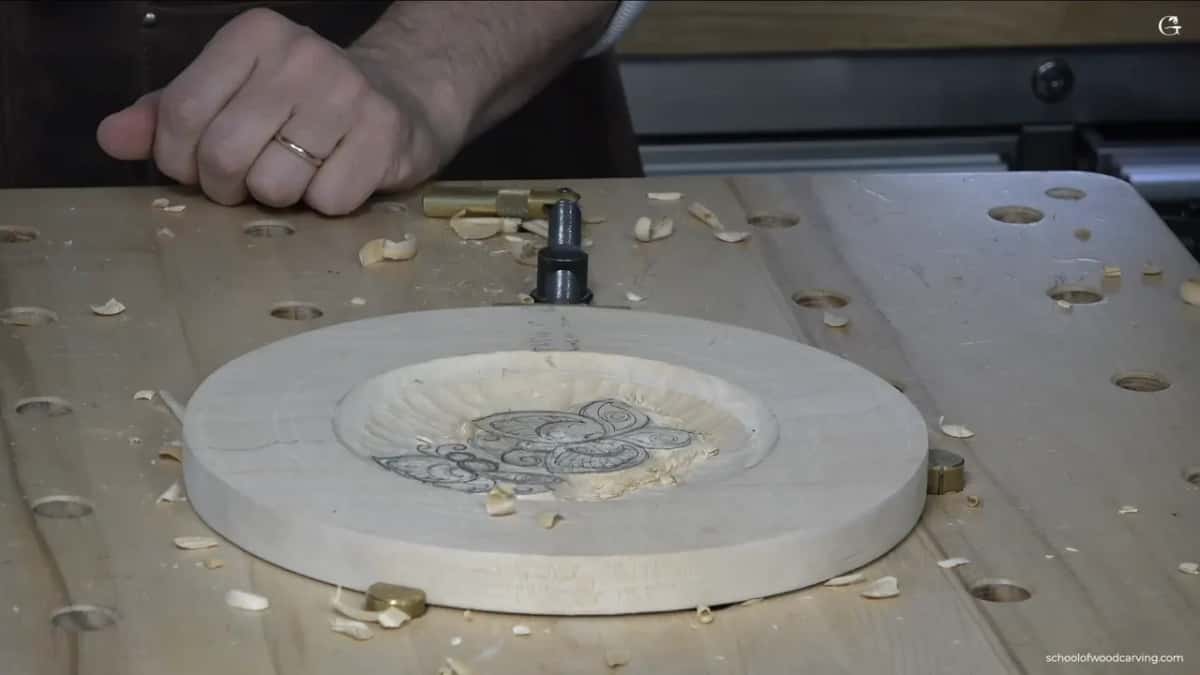
So take a long look at your own plate before any tool comes near it. Does the big butterfly take roughly three fifths of the open wood? Does one half carry more than its partner? Do the wing lines lean toward a point you cannot see? Then pick up the gouge.
How it's done
- Smooth the floor of the dish. Ride a flat gouge crosswise over the hollow until the pencil has an even place to work. Leave the small bumps.
- Find the middle once more. Calipers at five inches (127 mm), a few pencil arcs off the rim, and the crossing marks the spot.
- Scratch the knife line. One more circle, roughly ten millimeters or 3/8 inch in from the dish edge, judged by eye.
- Rotate first, size second. Spin the plate until the grain sits right, then give the main one three inches, 76 mm, of the open space.
- Split it and fill the wings. Near 62 on one side and 38 on the other. S shapes inside, every line leaning toward a single unseen point, then a second set coming back the opposite way.
- Add the sideways butterfly, then ink. Make it smaller, set one wing behind the other, and go over the pencil with the liner, staying 3 mm off the knife line.
Frequently asked questions
What pen works for inking a carving drawing?
A fine black liner, size 0.5, goes on only after the pencil work is settled. The line stays thin and sits near the surface of the basswood. On this plate the ink is mainly there for the camera, so people watching can follow every stroke.
Why draw two butterflies instead of one?
Space and depth. The first butterfly leaves a gap on the plate, and a smaller second one set on its side fills that gap. The turn is what makes the whole piece look more dimensional, and I planned it while the first was still pencil.
Can the drawing change after carving starts?
Of course. I tell you on camera that it could change once the carving begins, and that I would look again then and decide whether I still liked it. Pencil fixes the main idea and the heights, and the tools still get a vote.
What to carve next