
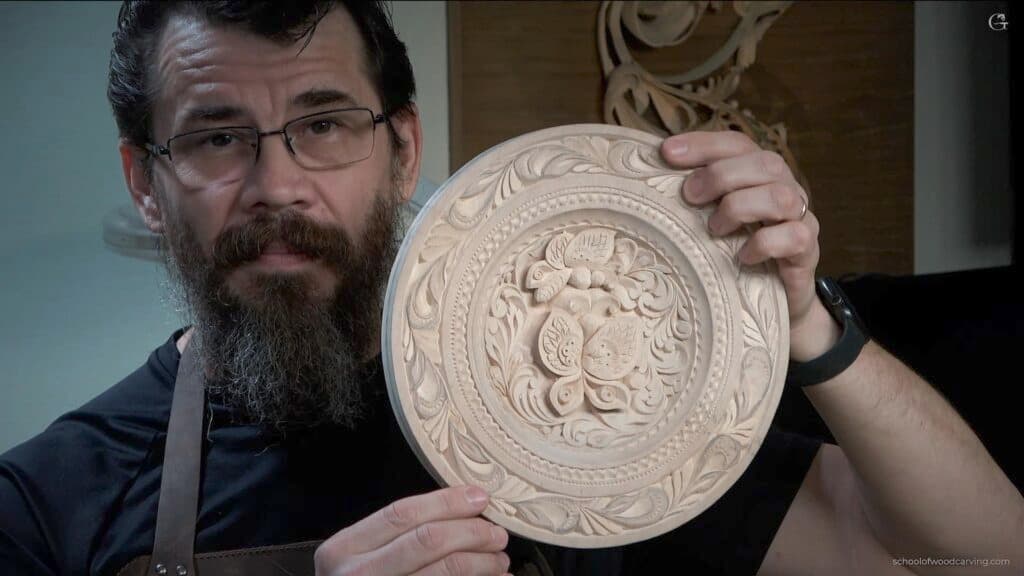
Alexander Grabovetskiy, woodcarver, School of Woodcarving · Published 2023
How do you add fine detail to a wood carving?
Quick answer: Fine detail is the last, shallowest layer on a carving, added once the outline is finished. My basswood butterfly plate got it in stages: knife cuts that copy the angle beside them, a nearly flat return pass, a V in every leaf, then a tiny gouge that you can skip if you don't own one.
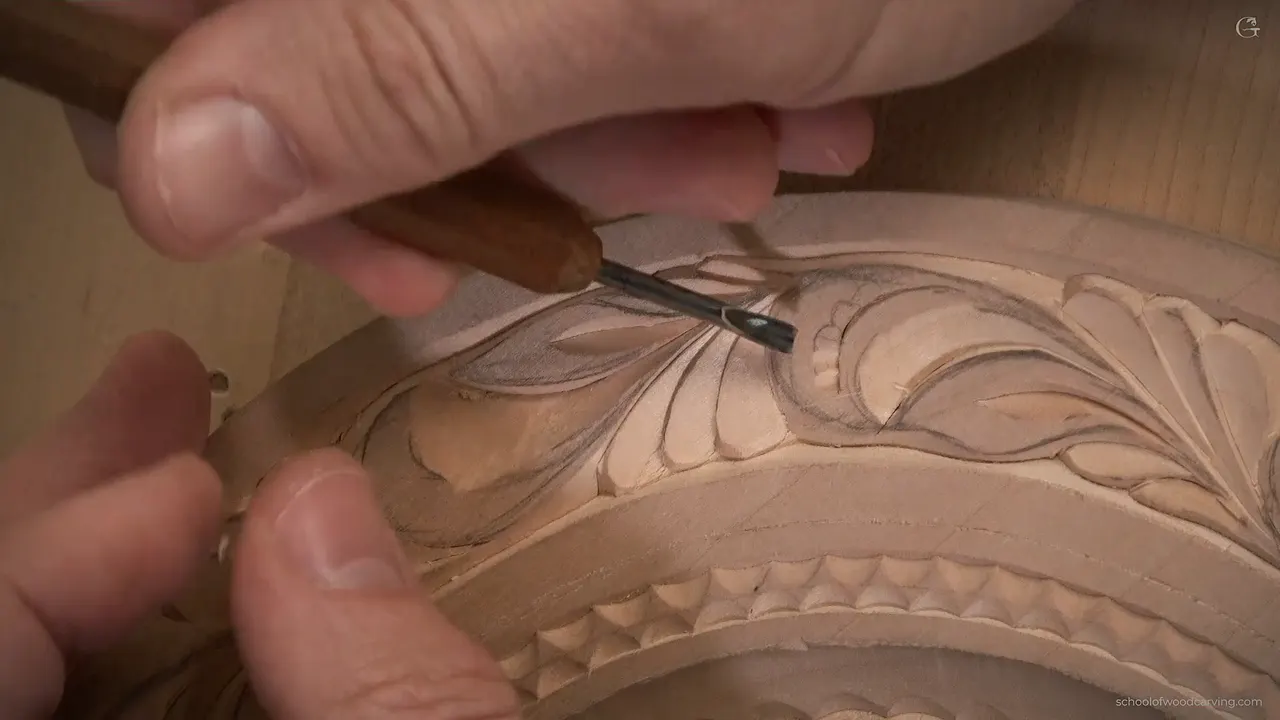
Fine detail on a wood carving is the last work you do and the shallowest. In lesson 13 of my basswood butterfly plate, every depth I named for it came to a sixteenth of an inch, 1.5 mm, or less. The leaf band on the rim already had its outline. Now it got dressed, one thin layer after another, with the knife first and a tiny gouge at the very end.
Have you ever looked closely at a carving, even in a photo, and noticed little cuts tucked inside the bigger shapes? Did they catch the light when you tilted your head? Then you can carve that layer yourself, and most of it comes off one knife. The shapes I dressed were really simple, and I said so before the first cut.
By the end of this page you'll know the order I carved the layers in, how shallow they stay, and the two grips I use when the blade has to lie almost flat. There's no end to how beautiful you can make a piece like this, I told you at the start of the lesson. There is an order, though.
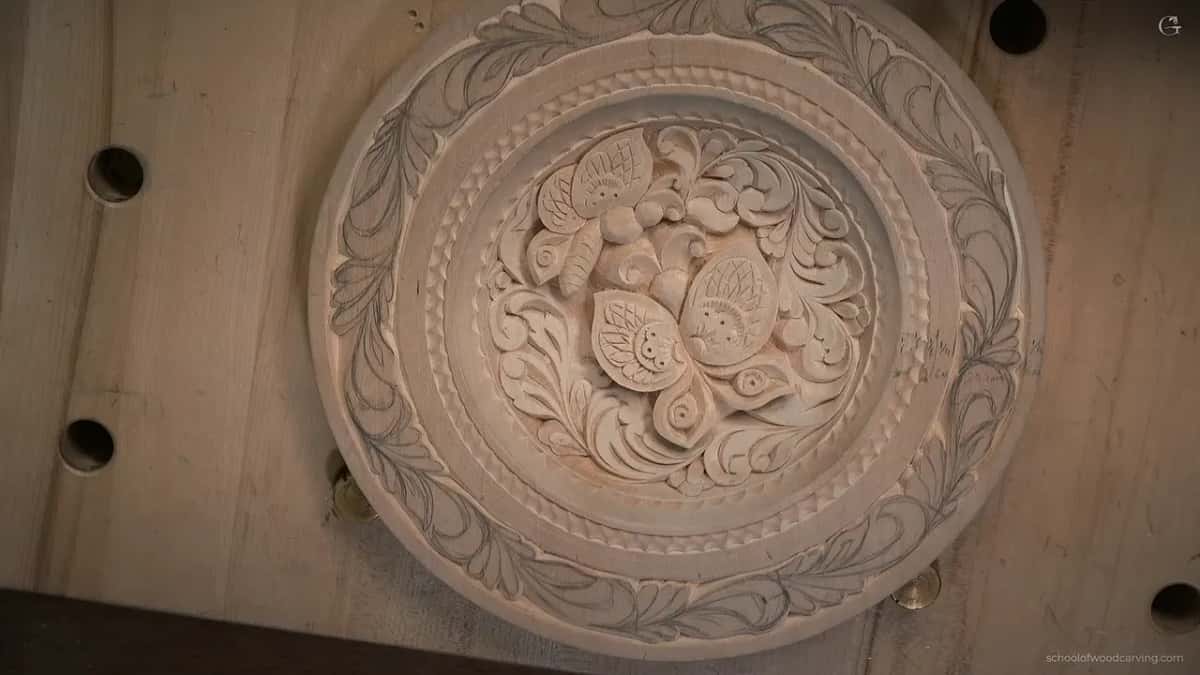
How I add fine detail to a wood carving
Detail comes after the outline, using the knife and nearly the same moves as before.
Each new cut starts from the angle already standing on the wall next to it, and it keeps going until the two blend.
The return pass runs the other way with the blade almost laid down, and it stays very shallow.
Walk one cut around the whole ring before you turn and make its opposite. That saves a lot of time.
On tight curls the knife still works if you slow down, though a gouge makes it easier.
A plain V inside every leaf already looks finished, and you could stop right there.
Last comes a gouge about 3 mm wide, an eighth of an inch, aimed at a knife line, and skipping it is fine when you don't own one.
Where does the first detail cut begin?
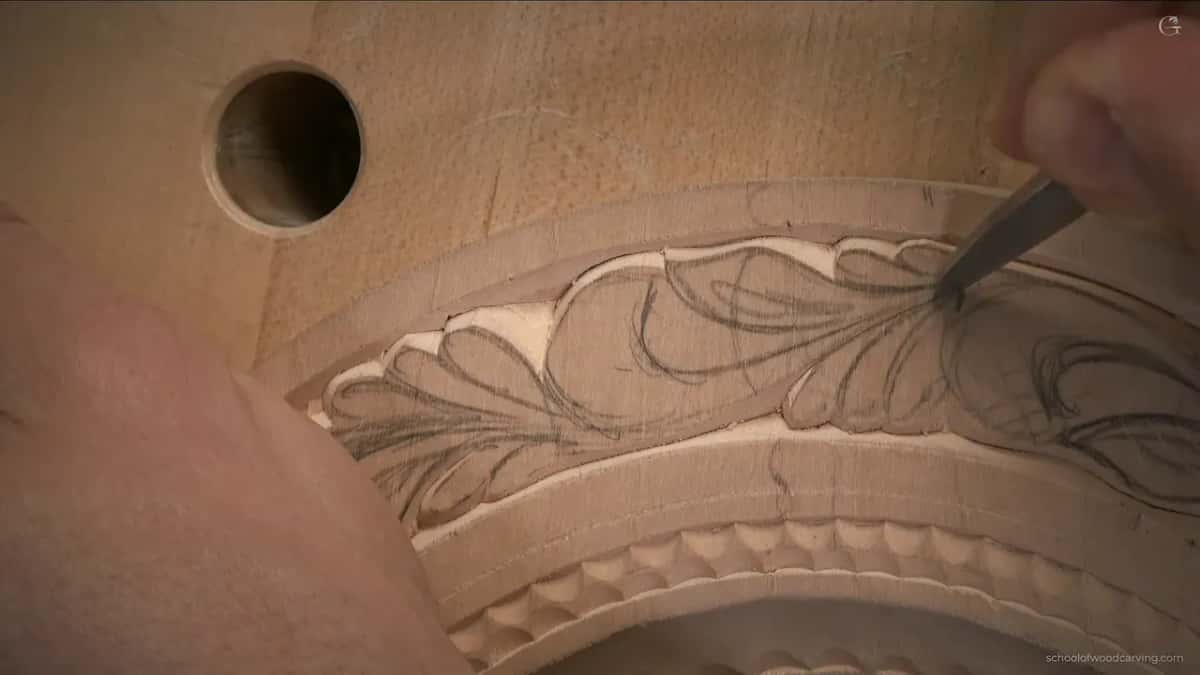
Right on the wall of a cut you made before. When lesson 13 opens, the ornament band on my rim has its outline from lesson 12, and the detail is close to the same work done a second time, so your hand already knows most of it.
Around the rim the shapes come in small groups, a pair in one place and three in the next, and it's the same thing everywhere. I started on a group of three, cut number one, as I called it. Before the knife went in, I asked you to keep the angle the same as in the cuts we had already made, because it's really important to understand all the angles on this band.
How I catch that angle with the blade and carry it along until it blends is on the lesson 3 page. What I'll add here is spacing. My cuts sat really close to each other, but they didn't overlap, and each one stayed slightly away from the one before it.

The other side of the element got exactly the same. I caught the angle I had left on that wall, made the cut, blended it into the cut beside it, and finished with one more cut.
I reminded you of something else before starting. This border runs in the opposite direction to the middle of the plate, and I still think the two should blend. The Greeks and the Romans designed around that kind of opposition. Carvers in northern Europe a thousand years ago mostly didn't, and you don't have to either. On this plate I just decided to.
How flat should the knife lie on the return pass?
For this pass the knife lies almost flat on the wood. My first cuts went in pretty high. Coming back the opposite way, I nearly laid the blade down, because this pass has no need to go deeper than 1/16 inch, a millimeter and a half, and less is fine.
Two grips work, and I showed you both from above. In the first, my hand sits right under the handle and holds the knife low, and that helps me. Or I hold it from above with no fingers under it at all. I called them pretty much the same thing, so use whichever one your hand trusts.

Run the pass all the way out to the edge. If the chip doesn't fly, go back into the previous cut and make it again, and if a spot needs cleaning, a second cut takes the waste away. What I'm after is a wall that leans a little bit inward. How hard to press through all of this is on the lesson 10 page, and it's a lot less than you think.
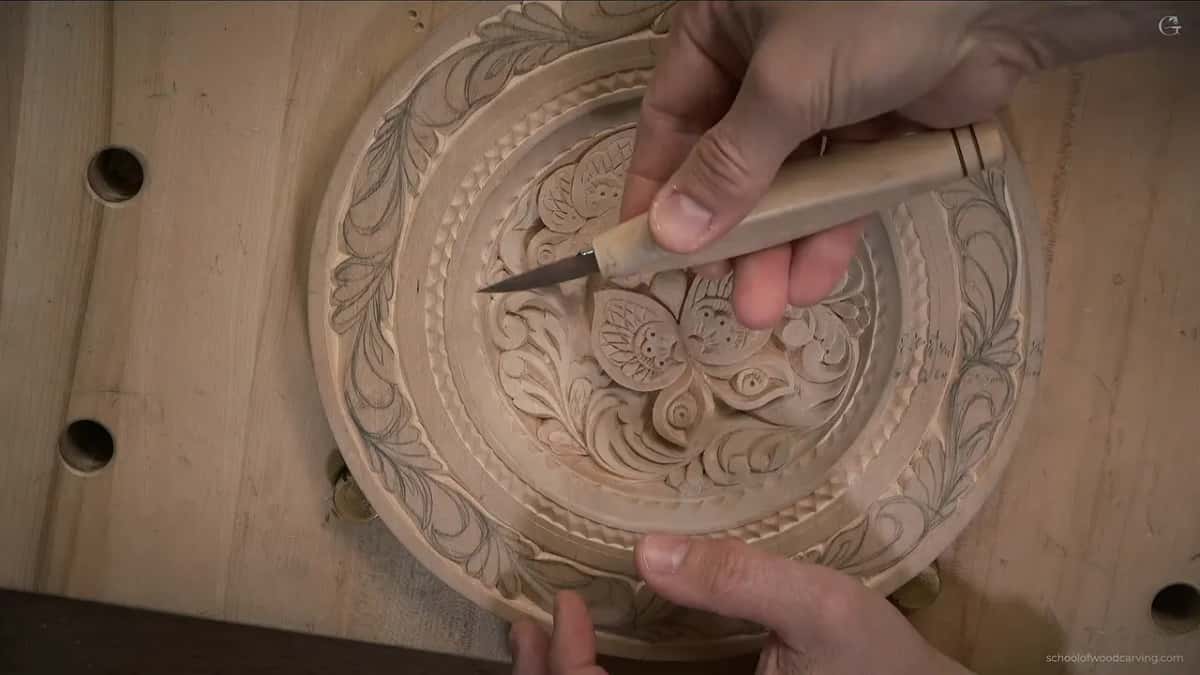
The bigger element needed one more cut around it at the same angle. After that I separated it from its neighbor with a small channel, about 1/16 in (1.5 mm), and gave it the same low pass. Really, really, really shallow. Take your time on that one.
That shallow wall is there to cast a shadow. Why a slope buys a carving more depth than digging does is on the curly cutting board page, so I'll leave it at one line.

Go around the ring with one cut at a time
This habit saves a lot of time. Make one cut on every element, going around and around the ring, and only then turn and carve the opposite cut everywhere.
I'm going to be honest with you. That isn't how I started on camera. I worked one area and did all the directions right there before moving on. It's okay, I guess. But if you want to save time, the same cut all the way around and then the same cut again in the opposite direction is much better, and from there on that's how I did it. Seen from above, that ring of shallow cuts is the whole area we work on.

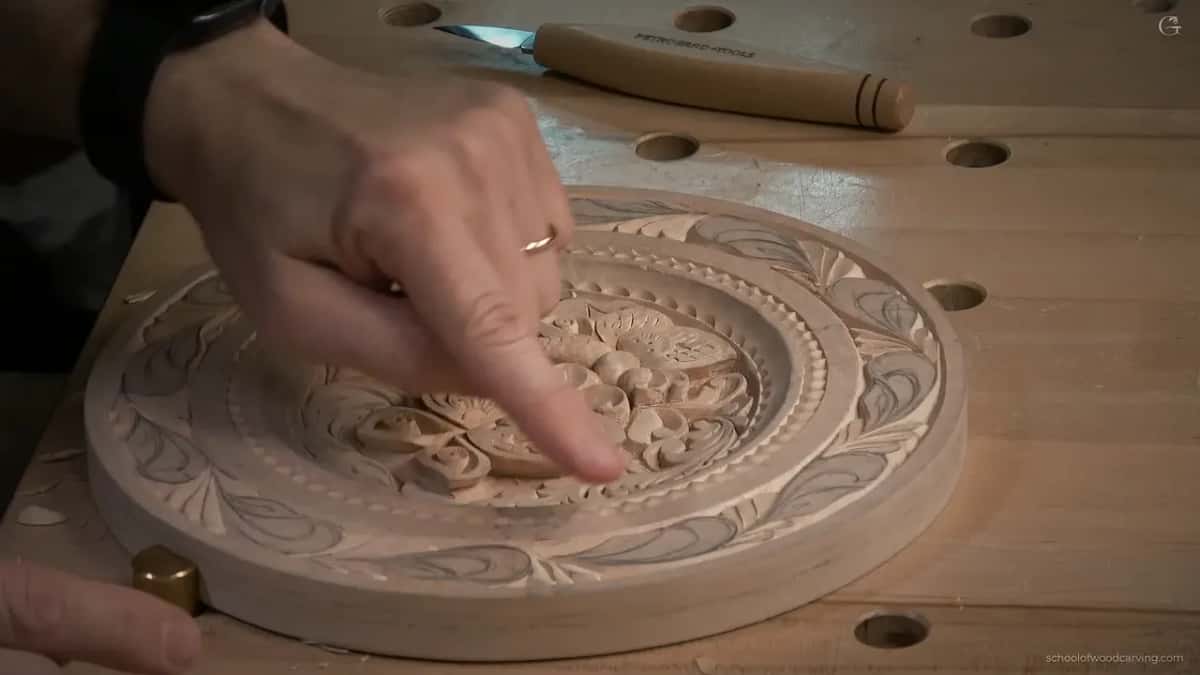
When the step was done, I showed it to you from the side. You can catch every shadow that way. The band finally had some depth to it, even though it is shallow relief work.
What changes when the curls get tight?
One side stays high, the other goes really low, and your hands slow down. In part two of the lesson I went after several spots that had to look more hollow, and there are quite a few of them on this plate.
At first I told you to catch the previous angle, then I corrected myself. There's no angle to catch, not a number anyway. Whatever angle you used for the two cuts beside that spot is the one for the next cut. The idea itself is simple. So my first side went in high, just like before, and the other side went much lower.
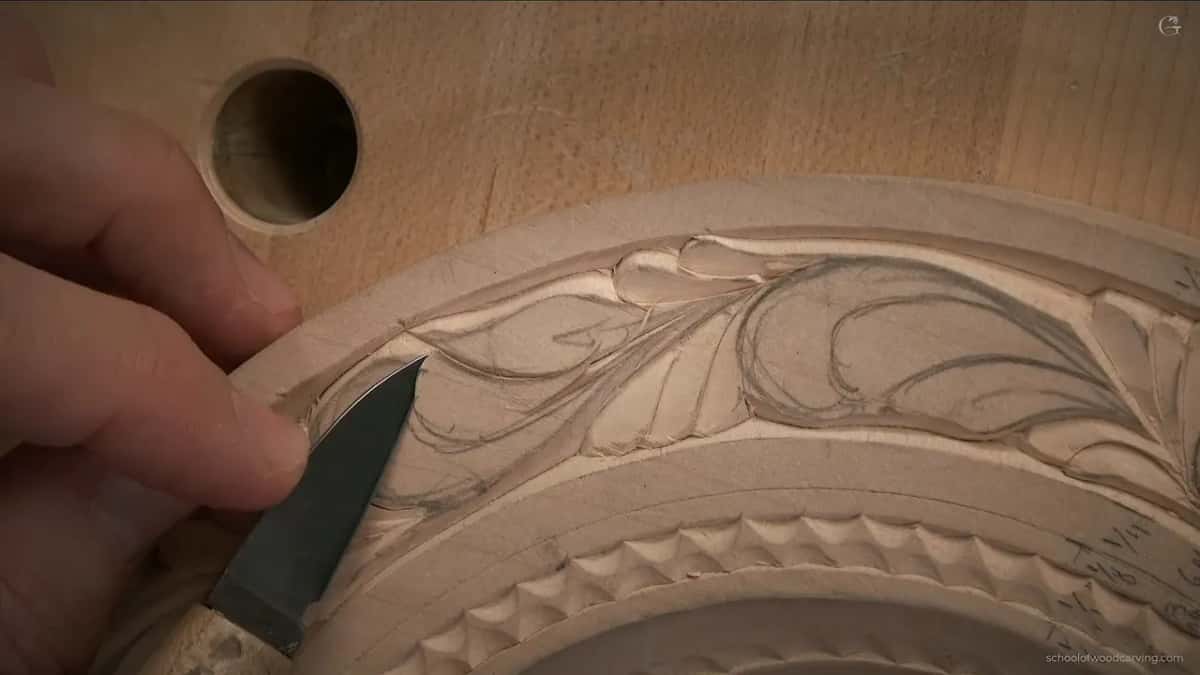
Those spots curl hard, which makes the low side tricky. With a gouge it would be much easier, I said, and if you don't have one, the knife can still do it. Just carefully, starting from one point. I said that word three times in a row on camera, and each one counted.
The cut stayed really shallow, about the same depth as the others. Where a chip hung on, I went back into my previous cut, and if it still didn't fly, I went through it once more. See how shallow that is? If you end up with a rough patch like mine, what I call a marriage line, where the grain turns and the blade tears instead of slicing, you can always clean it.

By the end of that round the band was already casting lights and shadows, and I thought it looked good. Almost done, I said.
Can a plain V inside each leaf be enough?
For my plate it very nearly was. Every leaf got a V cut right on the inside. It's a normal V, the same kind of cut you see in chip carving. One cut goes in from this side and one comes back the opposite direction, almost like the letter V. I showed you one, then carved all of them exactly the same, everywhere.
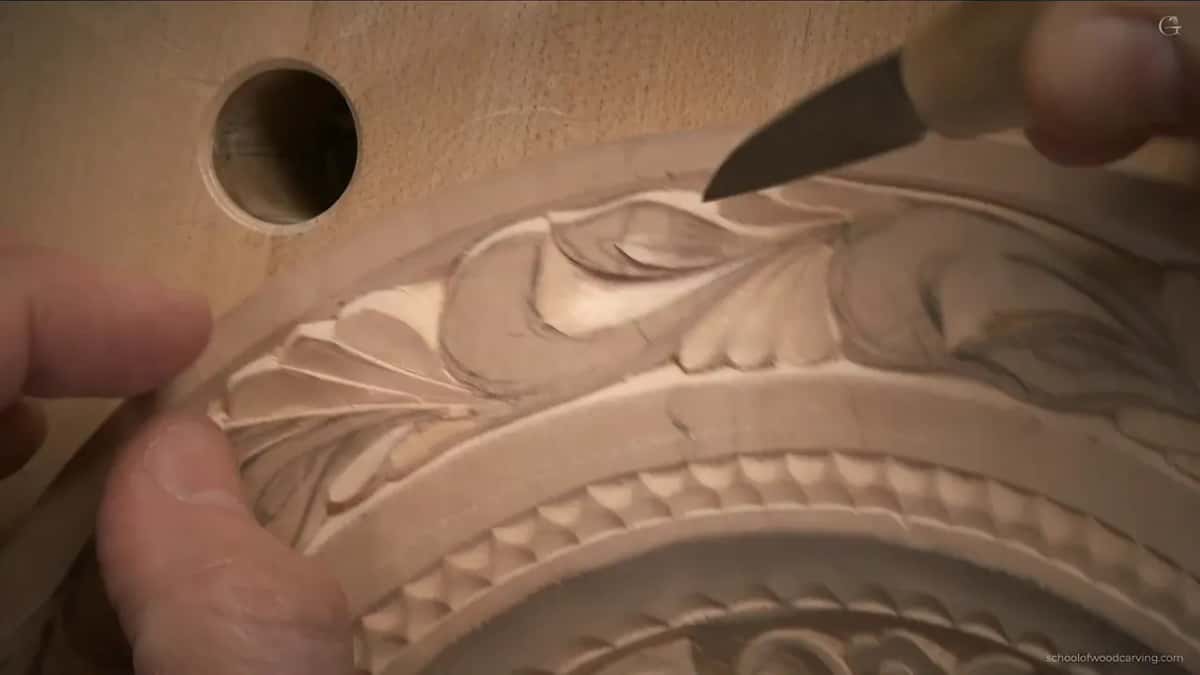
At that point I told you that you could leave it like that. It already looked done. I kept going for one reason. Back in lesson 11 a gouge had already dressed the narrow band beside it, so I could bring some gouging into the leaves as well.
I almost called that a new element, then corrected myself. All it does is dress up the leaf a little more, and that leaf shows up pretty much everywhere, so you can make the plate more ornate that way if you wish.

What does a tiny gouge add after the knife?
It adds what I called an idea of curliness, the turn of a scroll, and last of all a bit of extra depth. Mine is a really small gouge made by Dockyard, about 1/8 in (3 mm) wide. A tiny gouge also makes the plug cuts for the butterflies' eyes. In this lesson it gets different work. Without one, you don't have to do any of this part. It's still a good idea to know how it's done, and I said exactly that on camera.

First a knife cut goes in on one side of the element. Then the gouge cuts run toward that knife cut, lots of them, never deeper than 1/16 in, one and a half millimeters. They aim at the knife line, and that's where the curl comes from. After the leaves, I said there are more ways to dress it up even further, and I went on to the border itself.

The second place wasn't in my original plan. I had left two bands of about 6 mm (1/4 in) with a line between them. The same gouge put real micro cuts right there, right on that line, each one aimed toward the center at about the same angle as the cuts before it. Those bands are two of the six rings I scratched into the plate early in the course.

The third place is a ring only three millimeters wide, about an eighth of an inch. I nearly started on the wrong ring, caught myself and said so. The cut sits right at the center of that narrow ring, halfway across, and it's so tiny that it makes a really beautiful detail. Carry it like that right round the ring. It's going to look really nice, I said.
You can leave it like this, I said, or take it even further. One more thing would make it look even nicer. The last thing I showed you was an extra cut right inside a cut the gouge had already made. That gives extra depth and makes the band look even more three dimensional. I wasn't sure you could see it. I had already started it on camera, so I finished it that way.
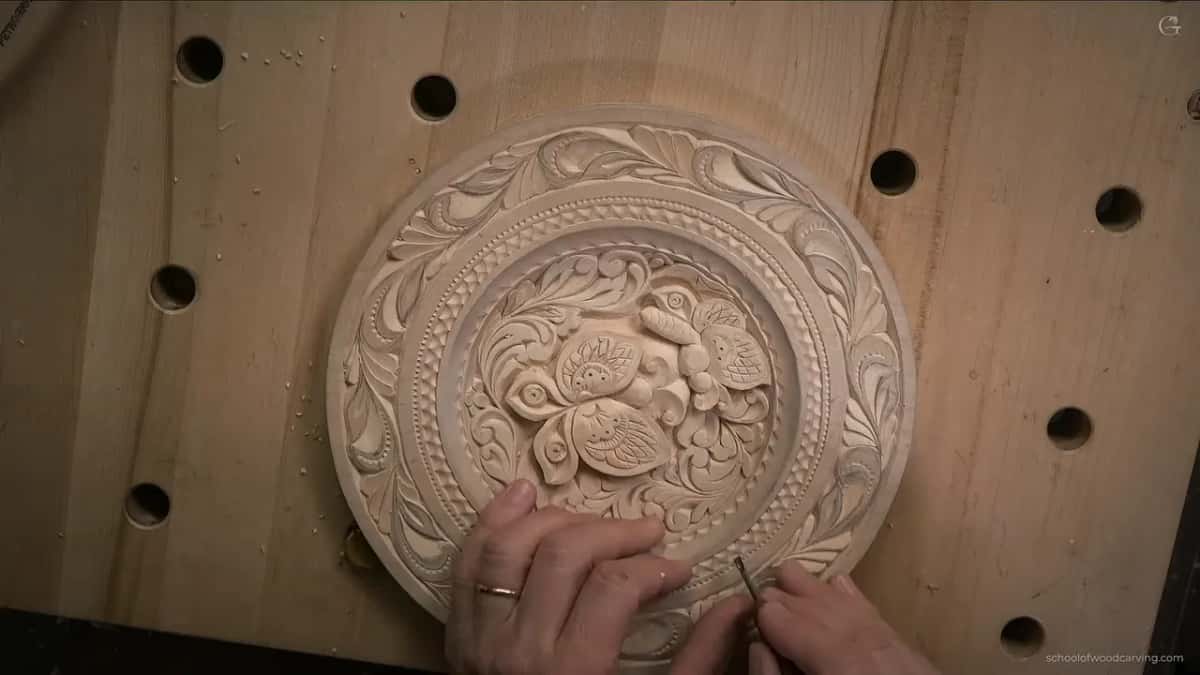
When to pick up tiny tools at all is covered on the Grinling Gibbons Maine class page, which says after the rough shape is found. This page is about the other end of the job, what one small gouge does to a band a knife has already carved. A gouge that small still has to be sharpened, and the micro tools lesson covers it. The Roman acanthus page shows how much smaller carving tools can get.
The layers in the order I carved them
Seven rows hold the whole rim.
| Layer | Move | Reason |
|---|---|---|
| Matched knife cuts | Each one starts from the angle already on the wall beside it. | The angles have to agree. |
| A low return | The blade comes back the other way, laid almost flat and very shallow. | That wall throws the shadow. |
| Hollow spots | One side takes your usual angle, and the other drops much lower. | Tight curls look hollow. |
| V in each leaf | Two small cuts meet inside every leaf, all of them alike. | You could stop here. |
| Gouge strokes | A tiny gouge aims short strokes at a knife line. | They give curl. |
| Ring cuts | Micro cuts follow the line between the two wider bands, then a row runs down the narrowest ring. | Tiny, and really beautiful. |
| Cut inside a cut | The same gouge goes back inside an earlier cut. | Extra depth. |
Every lesson of this plate, all thirteen and the final assessment, comes with full access to the school. What I checked on the plate before calling it finished is on the final assessment page.
Can you hold a knife almost flat and pull it slowly toward you? And will you stop after each layer to take a good look? Then you can carve this band. My knife that day had a pale handle, and it carved almost all of this.
How it's done
- Borrow the angle beside you. Look at the sloped wall your earlier cut left on the element, start the new cut at that same lean, and carry it on until the two blend.
- Come back almost flat. Reverse direction with the knife nearly lying on the wood. Barely below the surface is plenty.
- Finish one cut everywhere first. Carry that single cut around every element on the ring before you turn to its opposite.
- Put a V in every leaf. Two small cuts, one from each side.
- Dress it with a small gouge, if you have one. Aim short strokes of a very small gouge at the knife line, keep them shallow, then add micro cuts along the narrow rings.
Frequently asked questions
How deep should detail cuts be on a carved plate?
Keep them shallow. The low shading pass and the tiny gouge strokes on my butterfly plate both stayed at about a sixteenth of an inch, one and a half millimeters, or under. Grooves elsewhere on this plate stay near a millimeter, because deeper ones leave ridges that snap.
What grip holds a carving knife nearly flat?
Either of two. Tuck your hand right beneath the handle so the blade rides low, or hold the knife from above without a single finger underneath. On camera I told students both come to pretty much the same thing, so choose the steadier one for your hand.
Do you need a micro gouge for carving details?
Only for the last layer, and you can leave that layer out. The one I use is a Dockyard gouge about 3 mm, or 1/8 in, wide, and I told students that anyone without one can skip those cuts, though knowing how they work still pays off.
What to carve next