
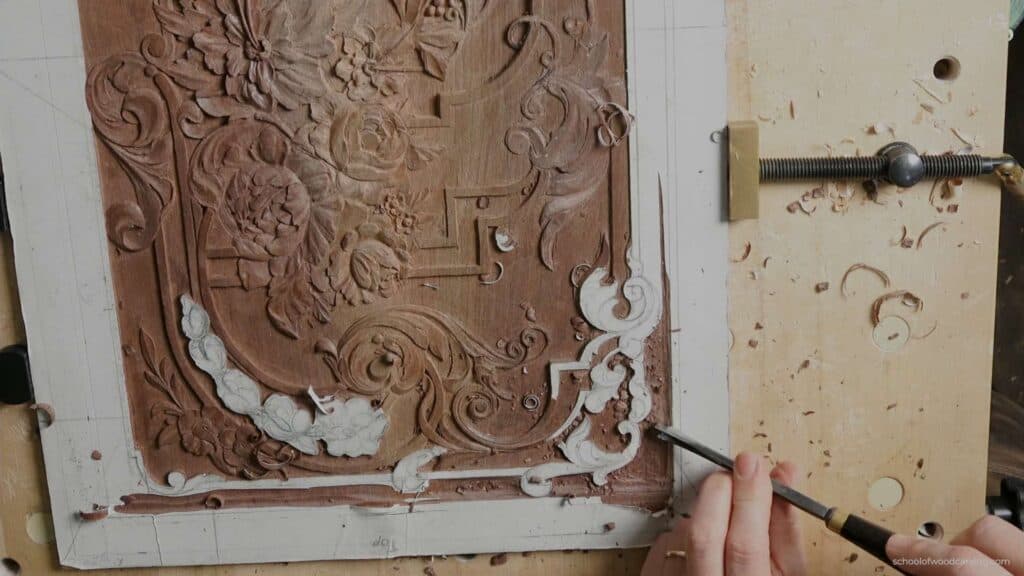
Alexander Grabovetskiy, woodcarver, School of Woodcarving · Published 2025
Why should you not stab the outline when carving?
Quick answer: A stabbing cut is one driven straight down to mark an outline while solid wood still sits packed against both faces of the blade. Fibres have nowhere to move, so they crush and split beneath the surface, and the damage only shows itself later when the wall will not come clean.
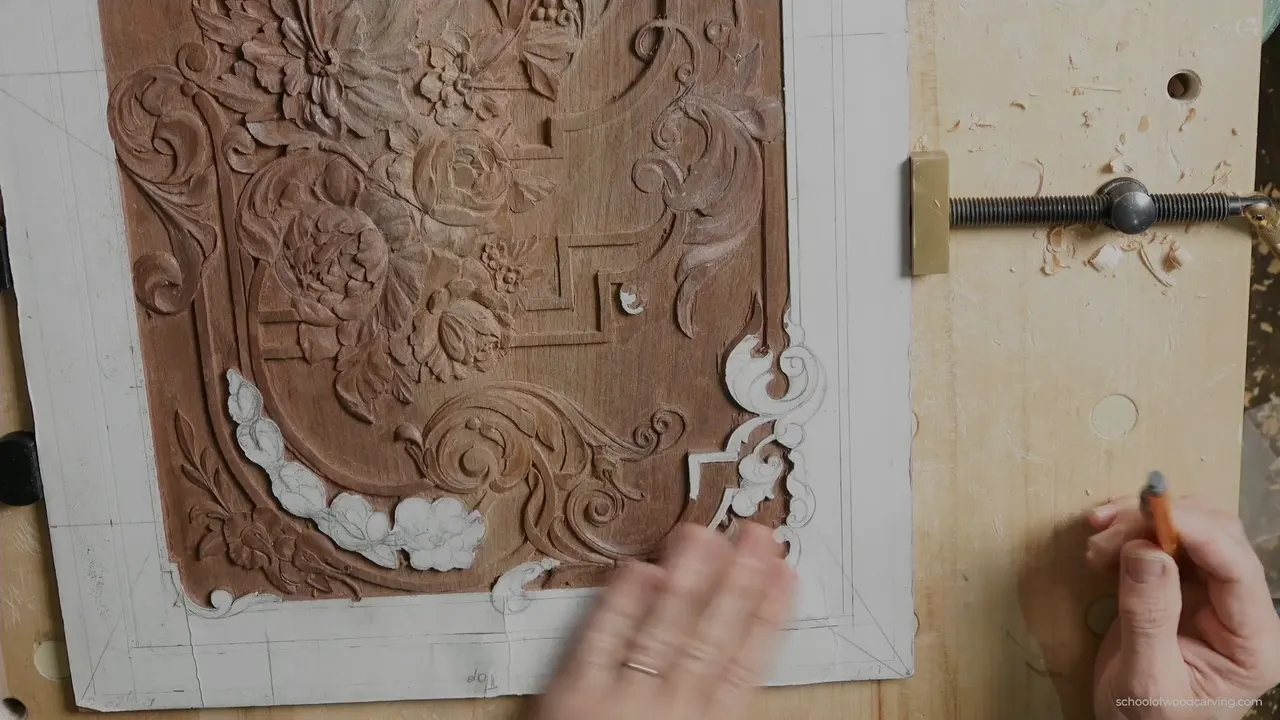
A blade driven straight down into an outline is a wedge, and a wedge has to push something aside. Wood on both faces is packed solid, so the fibres take all of it. They crush, and they split where nobody can see it, and the damage turns up an hour later when you go to clean the wall.
Please do not stab an outline. Excavate beside it first.
Then, once waste has come away and the wood either side has somewhere to move, a stab is perfectly safe. Same tool, same angle, same force. Different afternoon entirely.
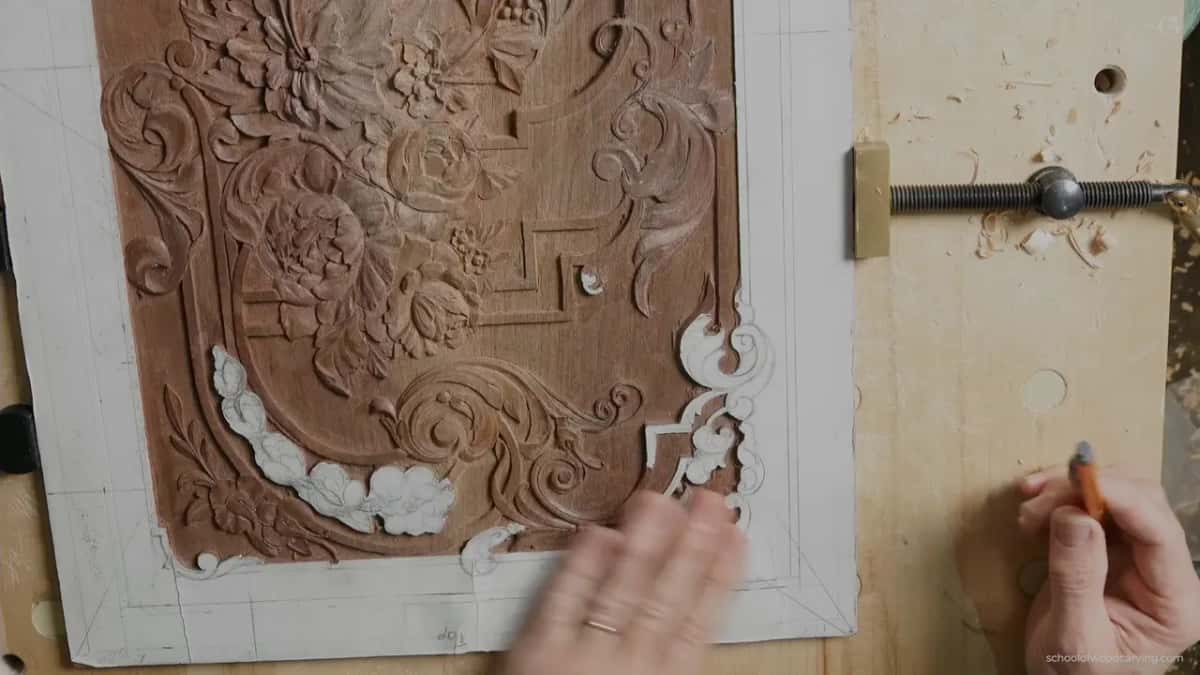
What has to happen before steel goes straight down
- A relief line runs close to the drawing, never on it. Stay well clear if you feel nervous.
- Waste comes out with a number 7 run at right angles to the fibres, sliced rather than shoved.
- Only then does a stabbing cut do no harm, since the released area is now the weak spot.
- Calipers settle a depth argument that eyesight never will. About five millimetres of ground here.
- Nothing gets carved to its final level, because a router plane still has to take a shaving off it.
- A tool pointing inward has undercut a wall you needed square, and there is no repair for it.
What does a stabbing cut actually do to the wood?
Compresses it. Steel entering vertically has to displace fibres sideways, and while solid material sits on both sides those fibres have nowhere to go but into each other.
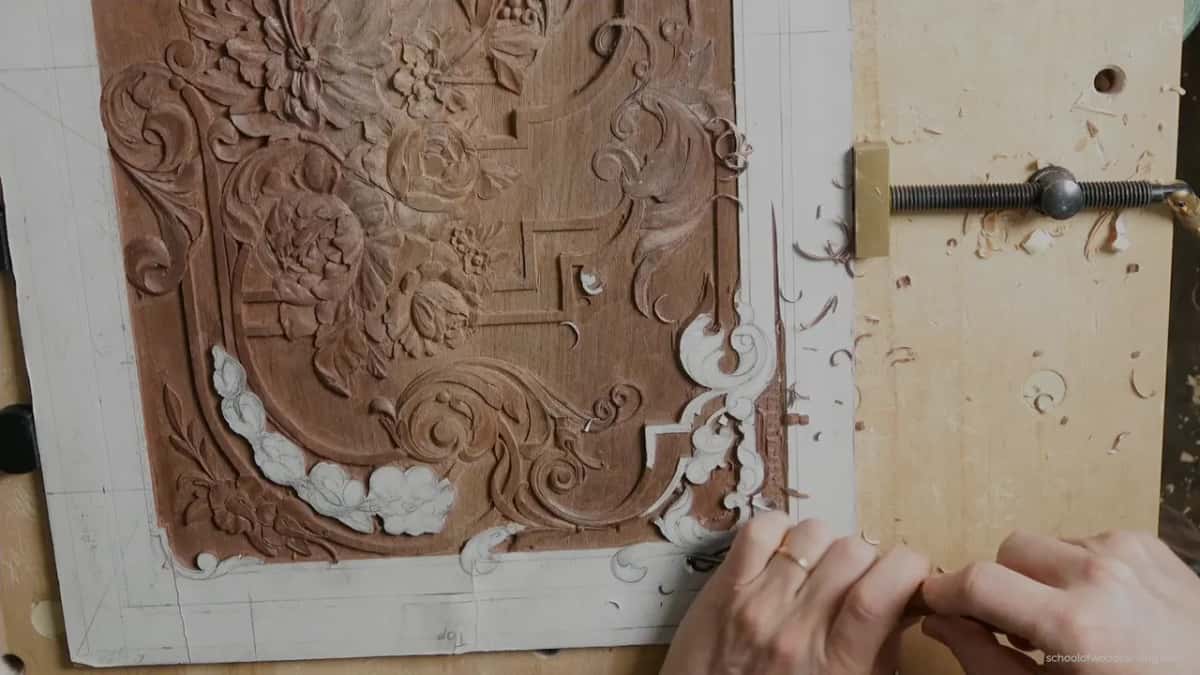
Crushing is the visible half. Worse is the half you cannot see, a split travelling out of sight with the fibres, and you meet it later when a clean wall refuses to come clean no matter what you do.
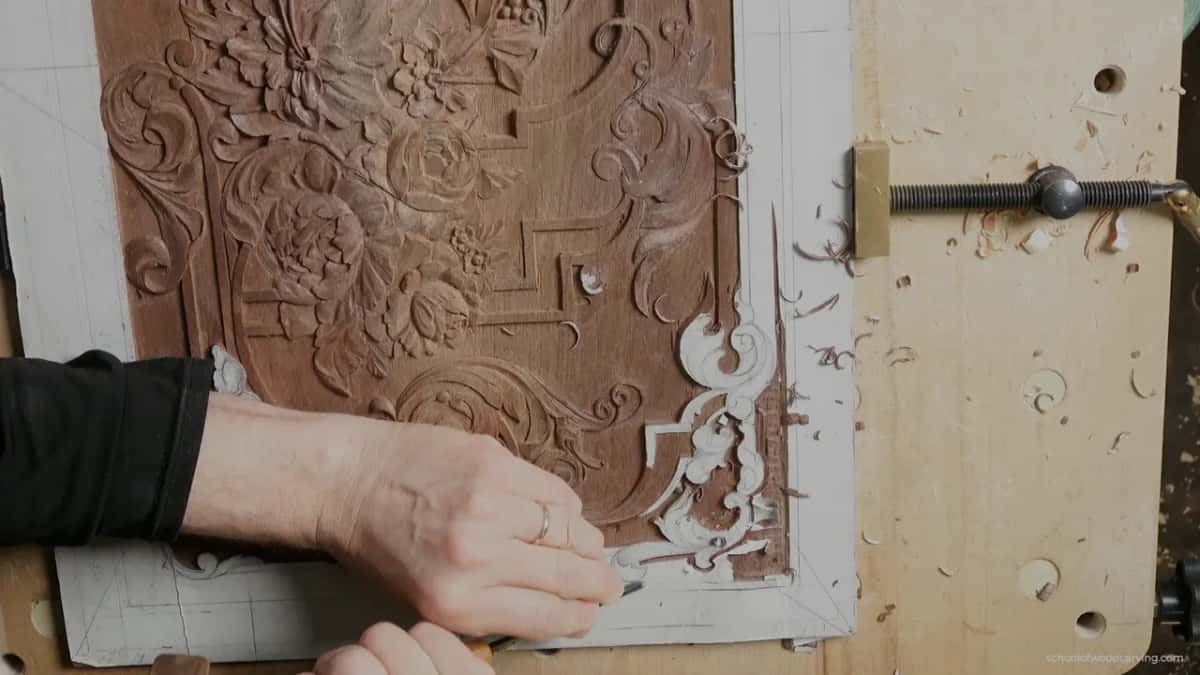
So the outline goes in with a number 11 veiner at two and a half millimetres, running beside the drawn line rather than through it. That cut only has to remind me where not to trespass.

Earlier, that drawn boundary went in properly scored. My veiner is not marking anything now. It is opening a path so the next tool has somewhere to send its waste.

Here is the part nobody puts in a book. There is a line on this drawing that bends slightly one way and I stood looking at it for a while with no memory at all of why I drew it like that. So I carved it straight and told myself the reason might come back later.

Paper is still glued down over parts of this area and some of it has come loose, which makes the surface lie to you about where the wood actually is. Going round a lifted corner of pattern needs more care than the carving does.

When does a stab stop being dangerous?
After the relief cut, and not one minute earlier. Wood beside a cleared pocket can move, so the wedge has room to work, and driving straight down there costs nothing at all.
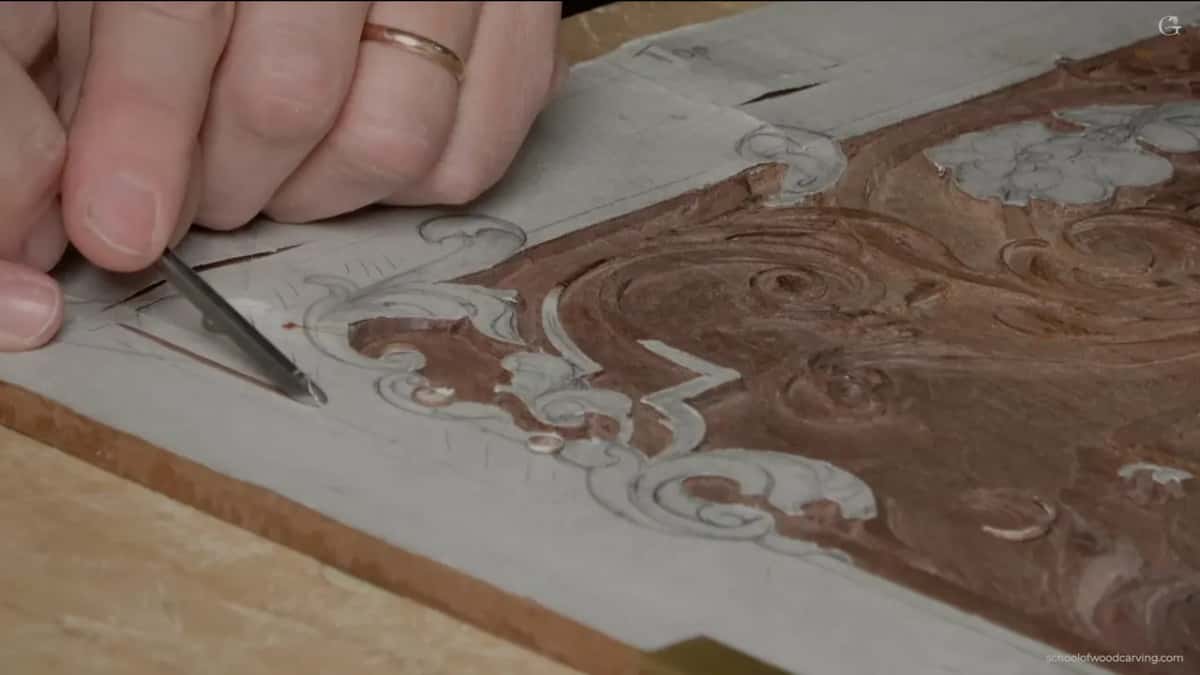
Watch the difference on the panel. Early in this session I am nowhere near the line with anything vertical. Later, with the ground excavated, my number 8 goes straight in against the design without a second thought.

Barrel of the tool faces the ornament, straight down, then each following cut begins roughly in the middle of the one before it. Chopping, in other words, and the waste comes out in lumps rather than shavings.
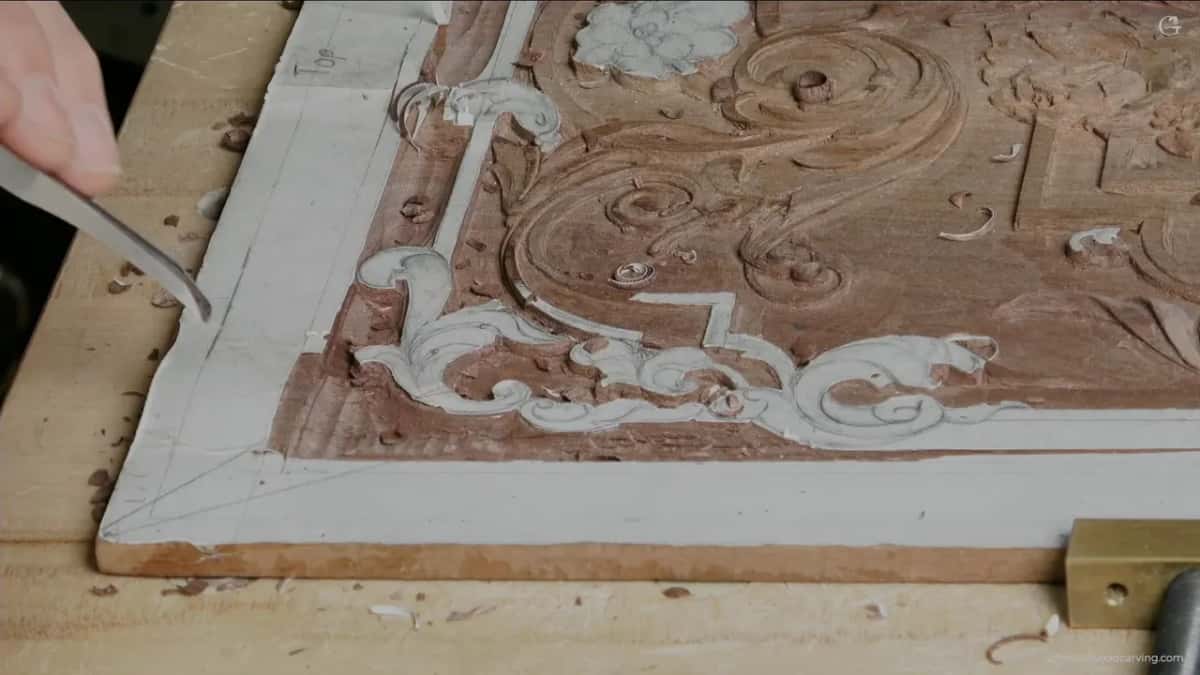
A mallet does that work. People assume a mallet is about force and it is really about control, since a tap you meter out travels a known distance and a shove from your shoulder does not.

Through all of it the drawing has to survive. Excavating in many small cuts rather than a few big ones is how that happens, and the moment you stop being able to read the design under your own chips is the moment to put the tool down.
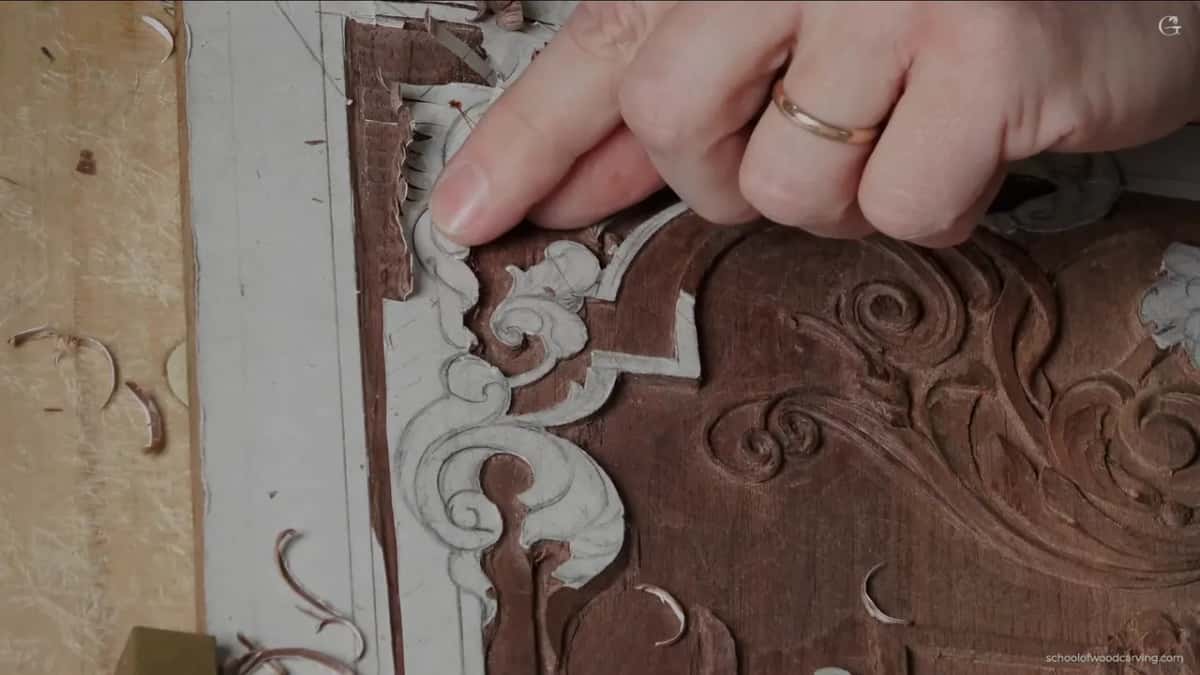
Twice I saw a line about to disappear and went back over it with a knife before carrying on. Redrawing it afterwards from memory is not the same thing and never has been. The design course is where that line came from in the first place.

How deep should a new background go?
Deeper than the neighbour, if you want the ornament to lift. Standing over this area I had two honest options, match the shallow ground next door or drop to the level of the deep centre.
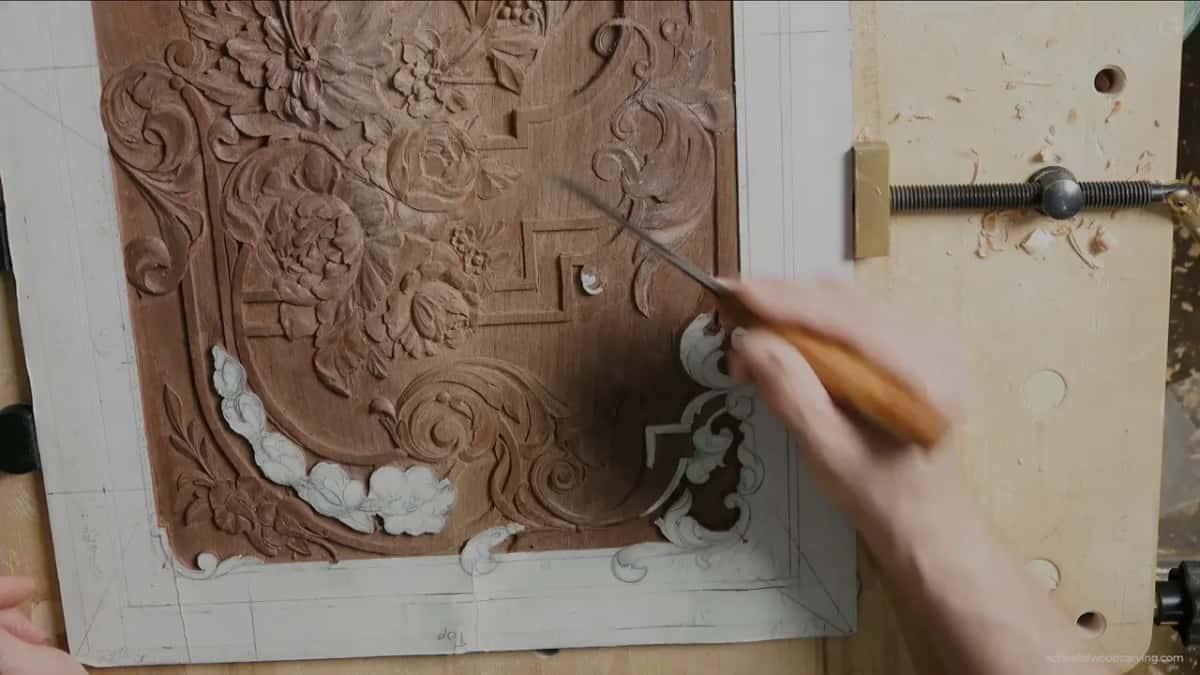
Matching the shallow one would have been easier and the area would have gone quiet. I wanted this passage exaggerated, so down it went to the deep level, and the whole composition reads differently for it.
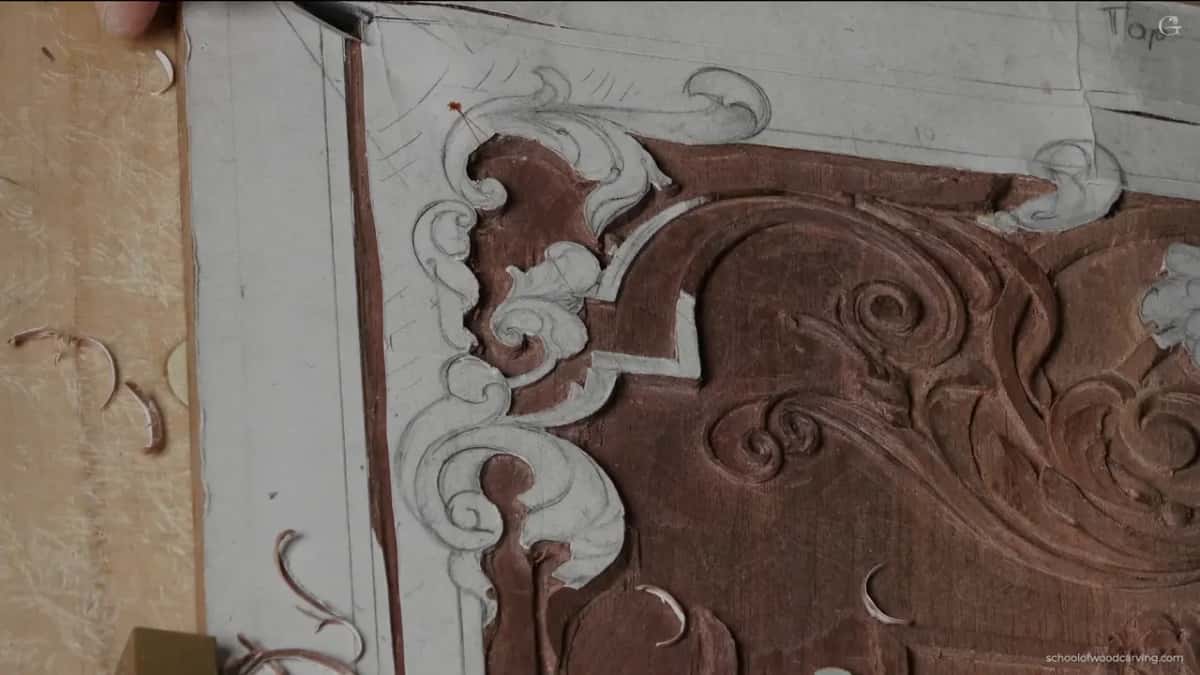
Guessing is not required. My calipers came out, the ground measured two tenths of an inch, call it five millimetres, and that figure is what every cut in the next two hours works toward.

Depth decisions like that one are the difference between a panel with layers and a panel with a pattern on it. The previous workshop found three separate floors on a single corner of this same board.
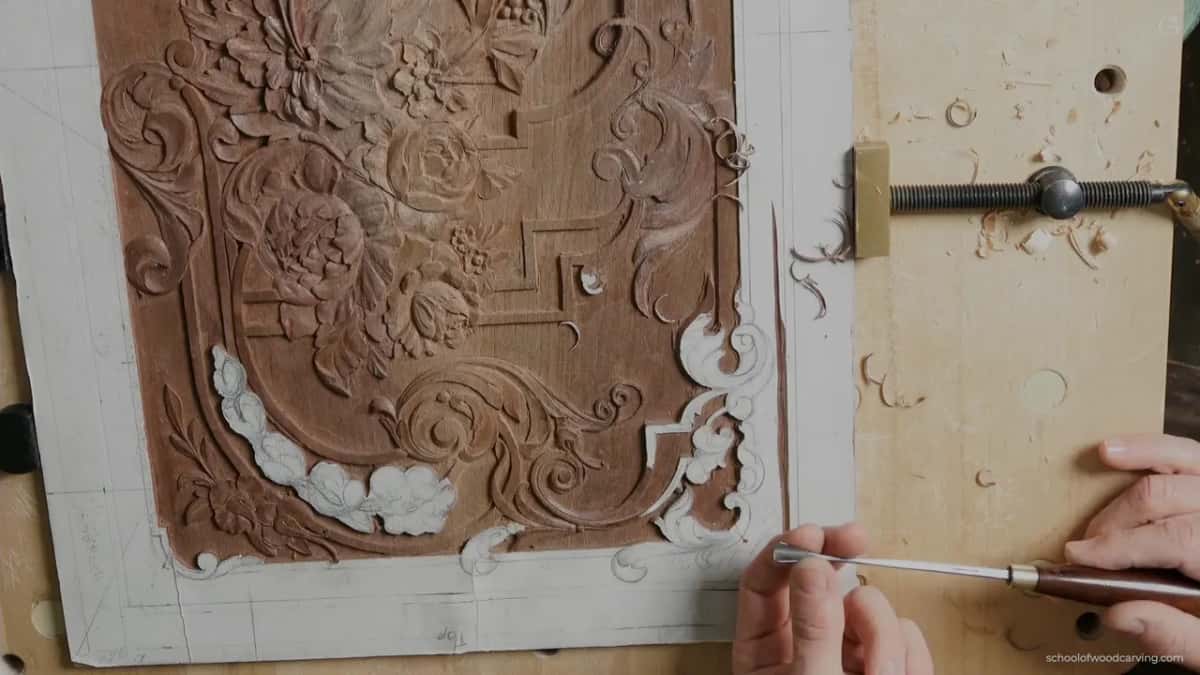
Moving round the bench matters more than people expect. Half the cuts on this area were taken from a different side of the board entirely, because the grain wanted it and because my elbow could not reach otherwise.
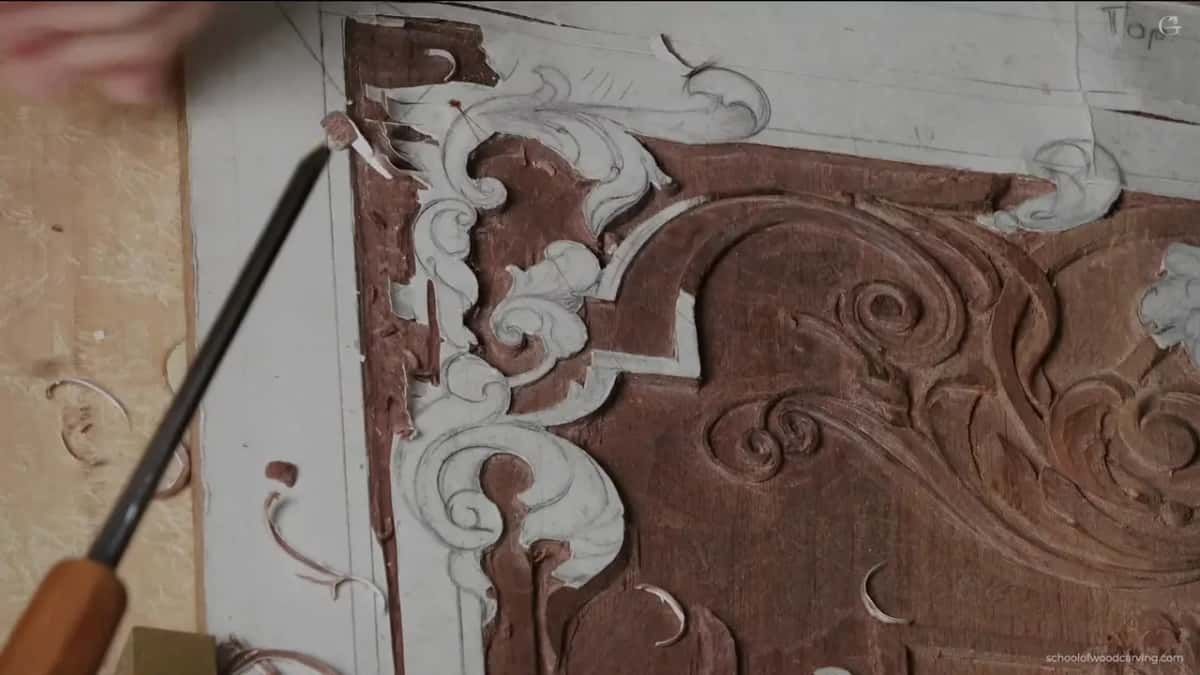
An area like this one carries a shallow relief ornament that has to read from a standing height, so the ground behind it carries the whole effect. The techniques library has the rest of the background work.
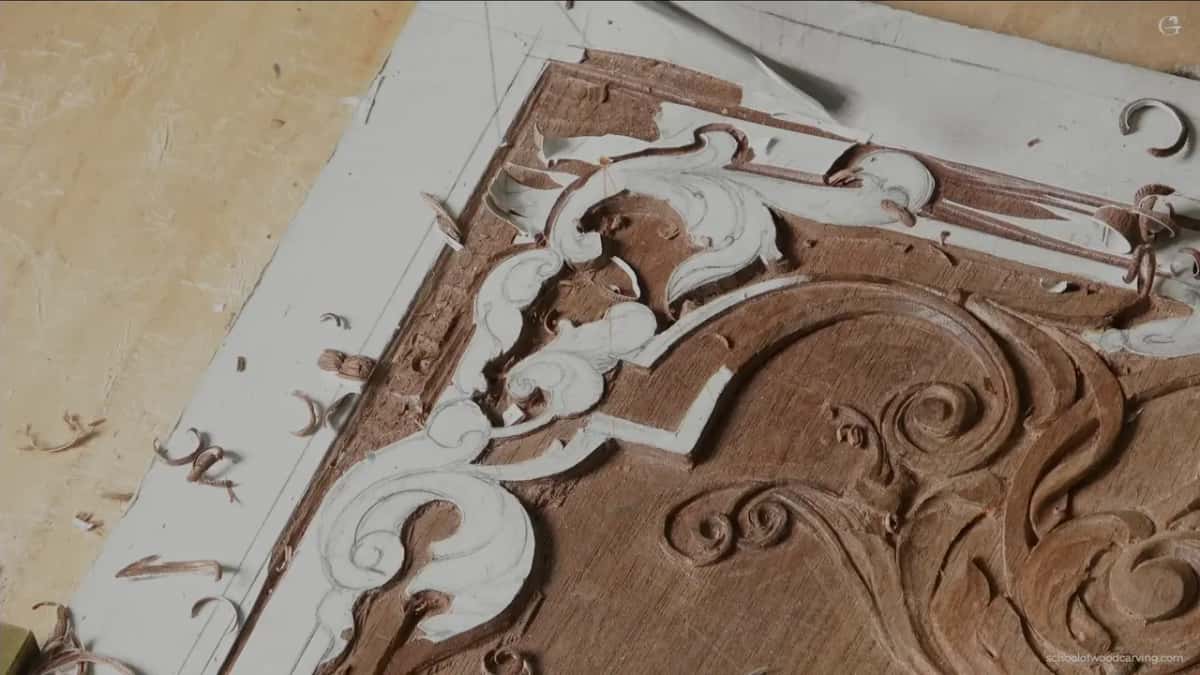
The order every square inch of ground goes through
| Stage | Tool | How far down | What that stage protects from damage |
|---|---|---|---|
| Score the boundary | Knife, or a number 1, or a skew chisel | Shallow | Gives the next tool a line it cannot cross by accident |
| Relief line | Number 11 veiner, the narrow one | Close beside the drawing, never over it | Opens a path |
| Bulk removal | Number 7, ten millimetres, an old antique one in my case | Perpendicular to the fibres, stopping short | The design itself, which one careless sweep can take |
| Chopping down | Number 8 under a mallet | Straight down now, since the pocket beside it is already open | Nothing at all |
| Small curls | Number 9 at three millimetres, an eighth | Into corners the bigger sweeps will not enter | The tight scroll where a wide tool bruises both walls at once |
| Levelling | Grounding tool, then a router plane | Down to the measured figure and no further | Your patience |
Why must you never lean the tool inward here?
Leaning it undercuts the wall, and a wall meant to stand square cannot be unundercut. Hold the blade upright to the ornament and its edge stays crisp the whole way round.

Undercutting has its place and this is not that place. Later, when the shape is finished and a shadow is wanted beneath it, half a millimetre of veiner laid over does the job. Now it would just be damage.

Two more things to stay off. Do not chop on the drawn line itself, only close to it, and do not hit the wall of a carved element hard, since those tool marks are miserable to remove afterwards.
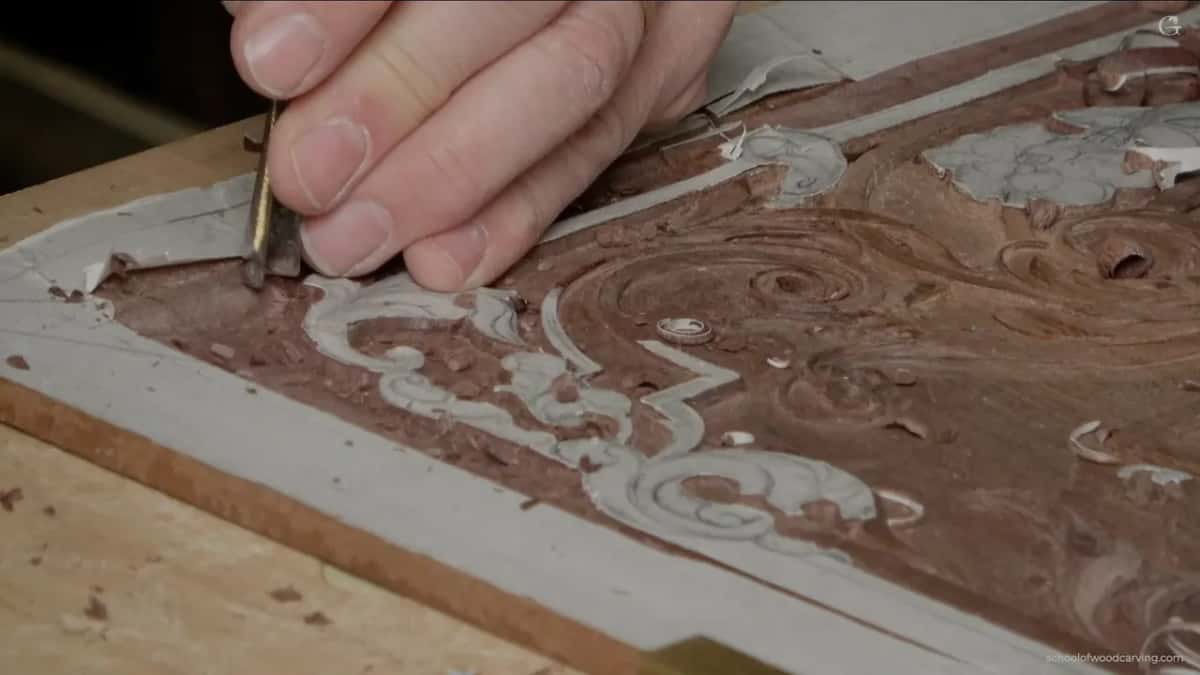
Also, leave wood. I am not carving this ground to its finished depth today because a router plane has to come along and take a shaving, and a plane cannot restore what a gouge already took.

The grounding tool, and why its edge is bent
Ashley Iles make it and almost nobody talks about it. Sweep sits about where a number 3 sits, but look down on the edge from above and it carries a slight curve instead of running straight across.
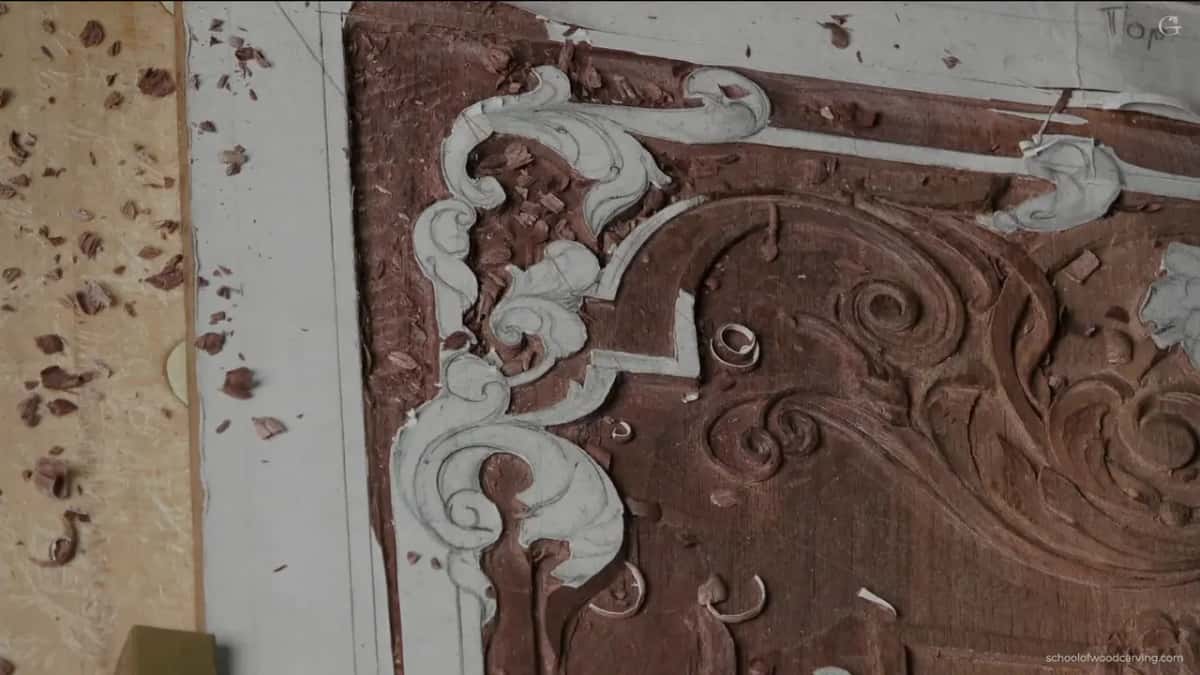
Corners are the reason. A straight edge digs its corners into the ground or into a wall the moment the tool tips, while a curved one keeps them lifted clear and only the middle ever touches wood.
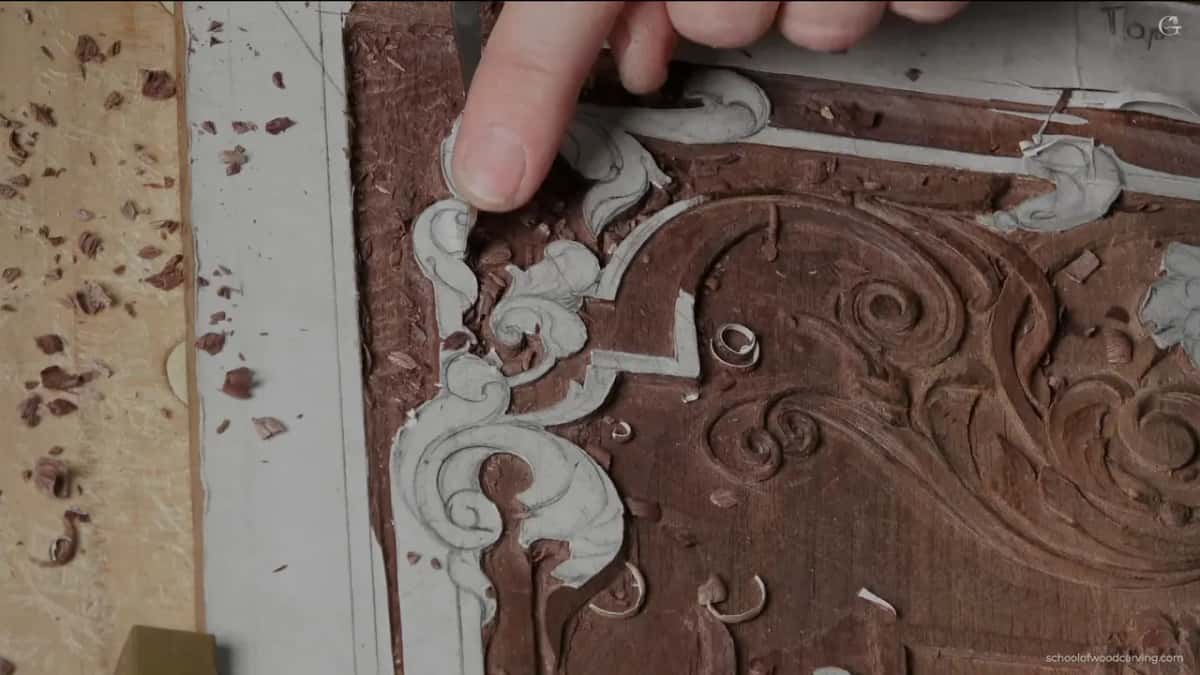
Clearing background is the whole purpose. Hence the name. Tools for Working Wood carried them and may still, and if none can be found a number 3 will get you most of the way.
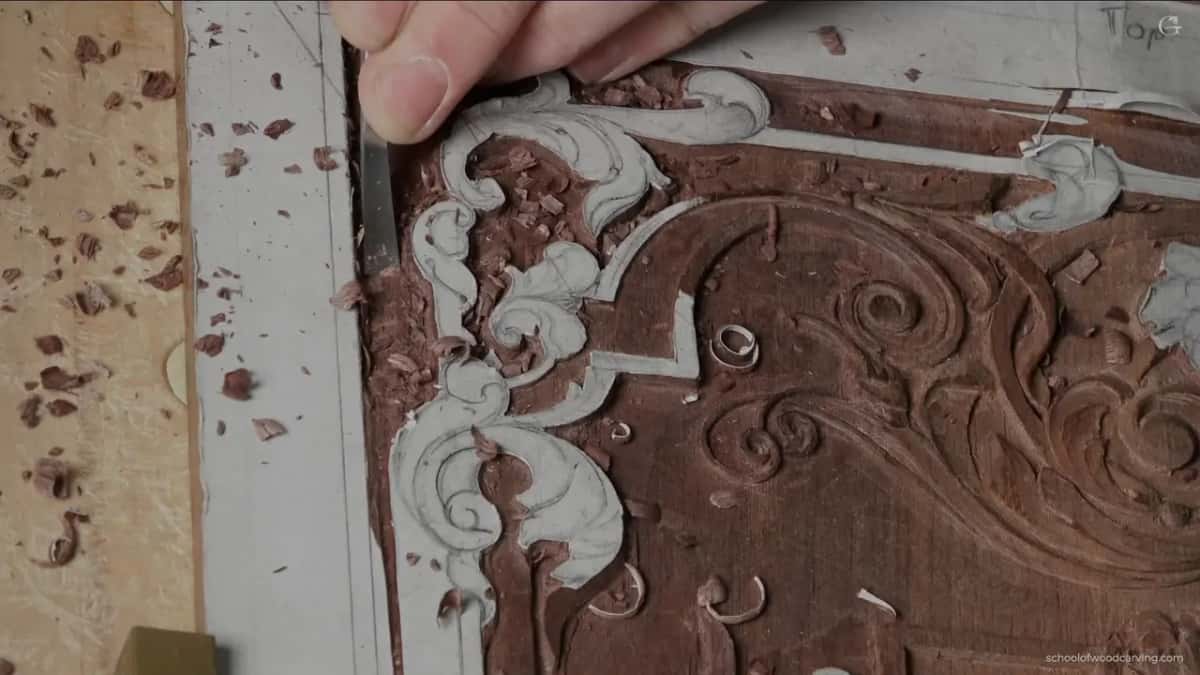
Worth saying that the tool on its own gets you there. Plenty of carvers finish a background with nothing but a grounding gouge and the result is lovely. Several versions exist, different makers and different widths, and any of them beats dragging a flat chisel across an open floor for an hour.
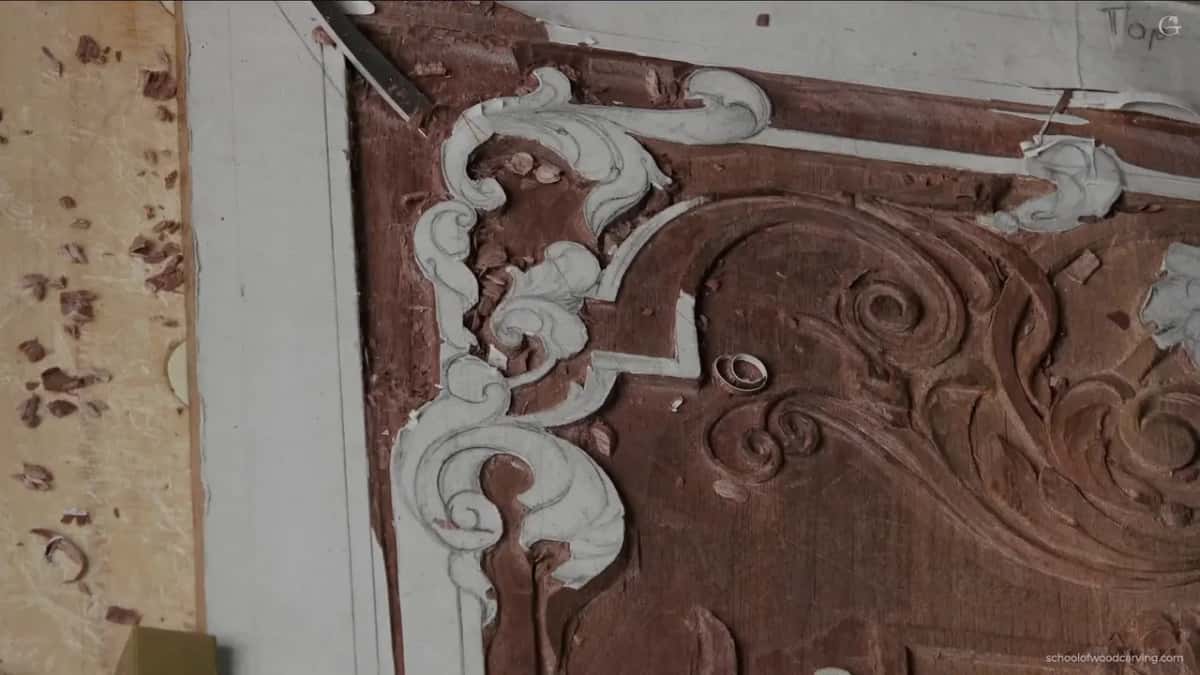
I run the big one over the open ground and swap to a smaller one, about a quarter inch, once I am working close in. Flat enough. Not perfect, because perfect is the plane's job and I would only be doing it twice.

How do you get a line a furniture maker will accept?
Pare down to it in steps, then finish with wide steel. My number 2 at ten millimetres is nearly a chisel, carrying just a trace of sweep, and that little curve is what lets it sit against a shape that is not flat.

Step, remove, step, remove, straight down, almost the paring motion a woodworker would recognise. Halfway along I flip the tool and work with the bevel facing the design, which keeps the wall dead upright.
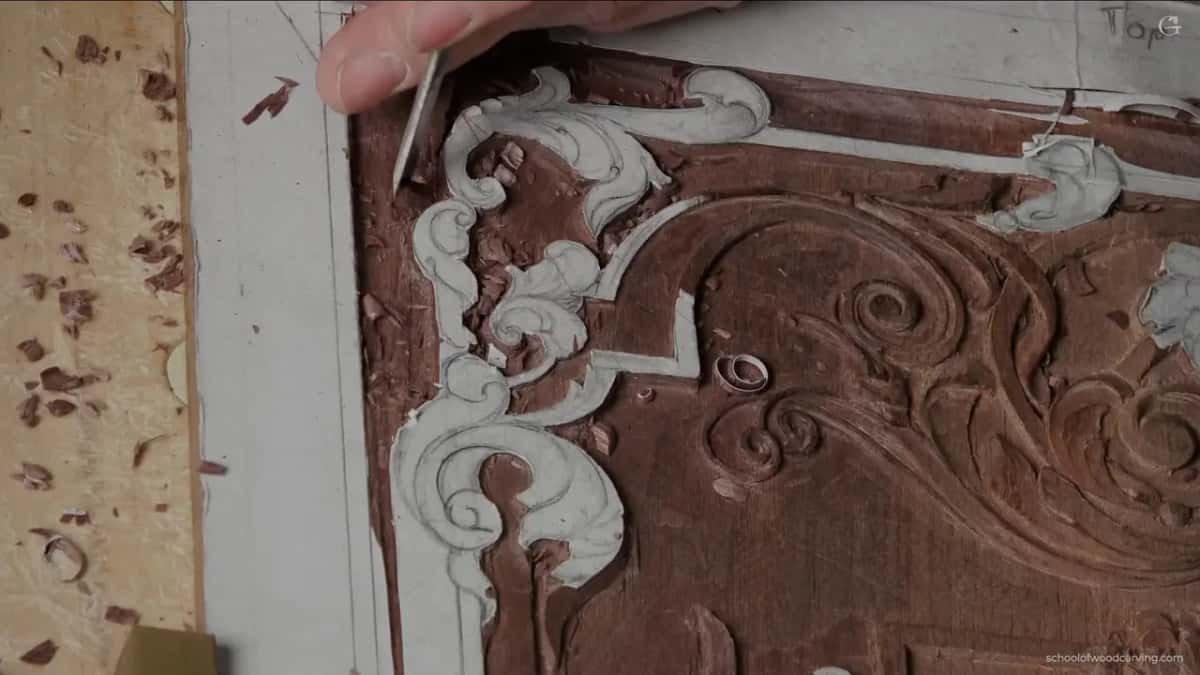
One clarification while the mallet is going, since people do write in about this. When I say right on the line I mean the line of the design itself and no other mark, and the steel sits against that line rather than over the top of it.

Then a ninety millimetre chisel goes flat on the line with a mallet behind it, and the line comes out true in one pass. Furniture makers love that kind of perfection. It is most of what separates their work from everybody else's.
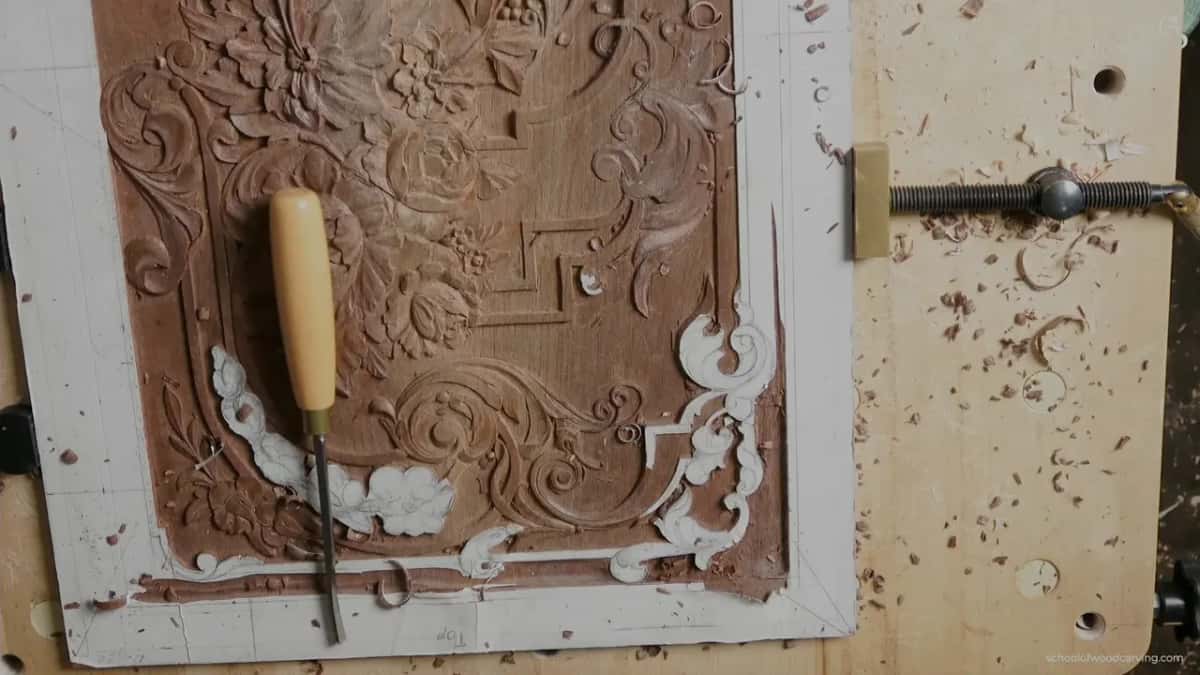
Dark black walnut is not forgiving about tool marks either. Every step and ridge left in a wall shows up once a finish goes on, and a finish is very good at finding the things you hoped nobody would see.
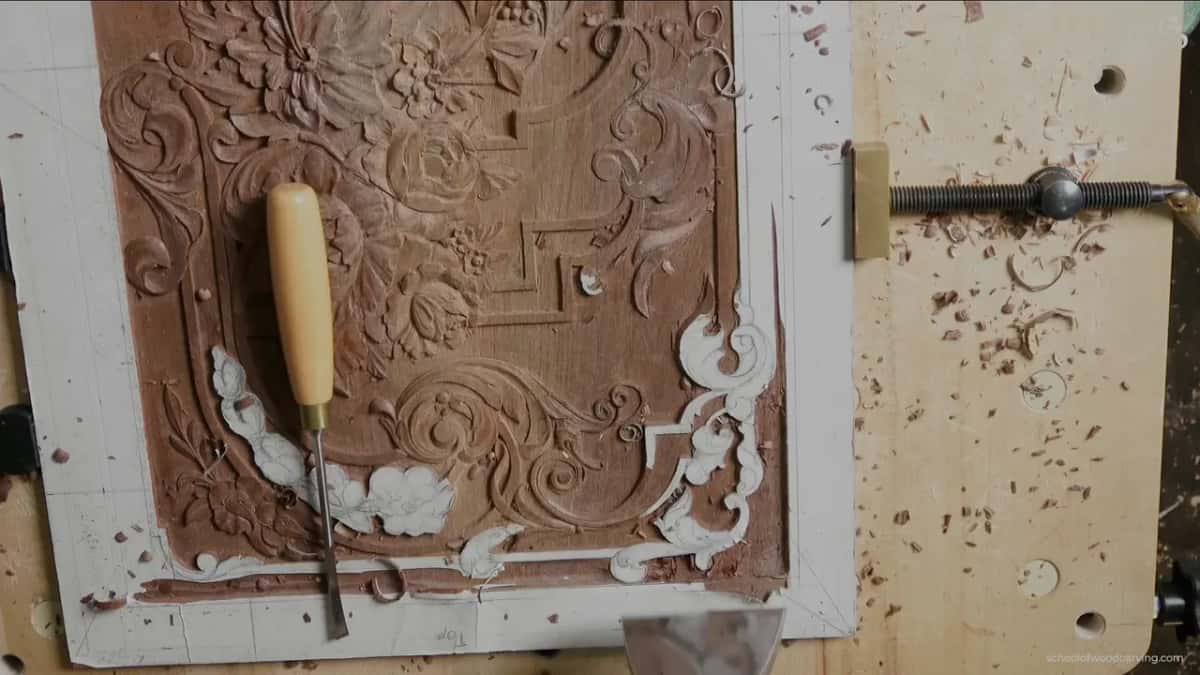
Gently, though. That edge is fragile by now and there is no need to drive it. Never carving to the ground explains why the wall is still standing a hair proud at this stage.

Grain direction, and the one place it goes wrong
Across the grain first, always. A cut running perpendicular to the fibres is cleaner and far more forgiving, and once that pass has been made, working along the grain afterwards stops being a gamble.
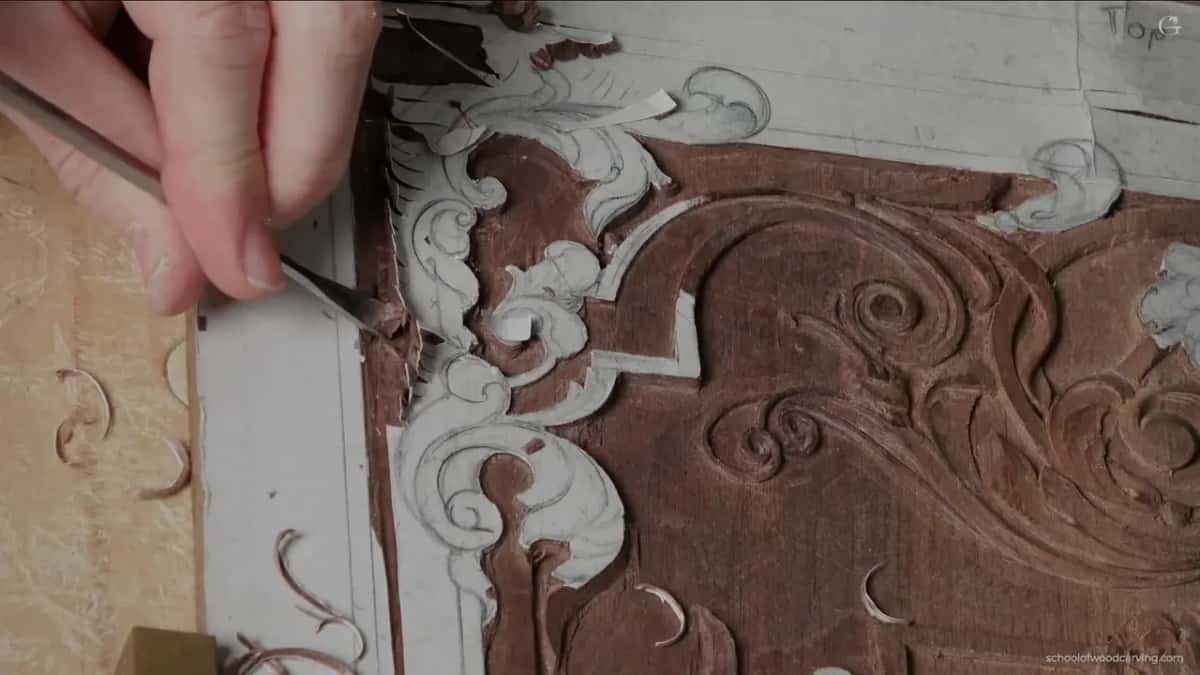
Straight grain helps. I checked this board before starting and the fibres run true here, which is the only reason I was willing to work along them at all in the opening minutes.
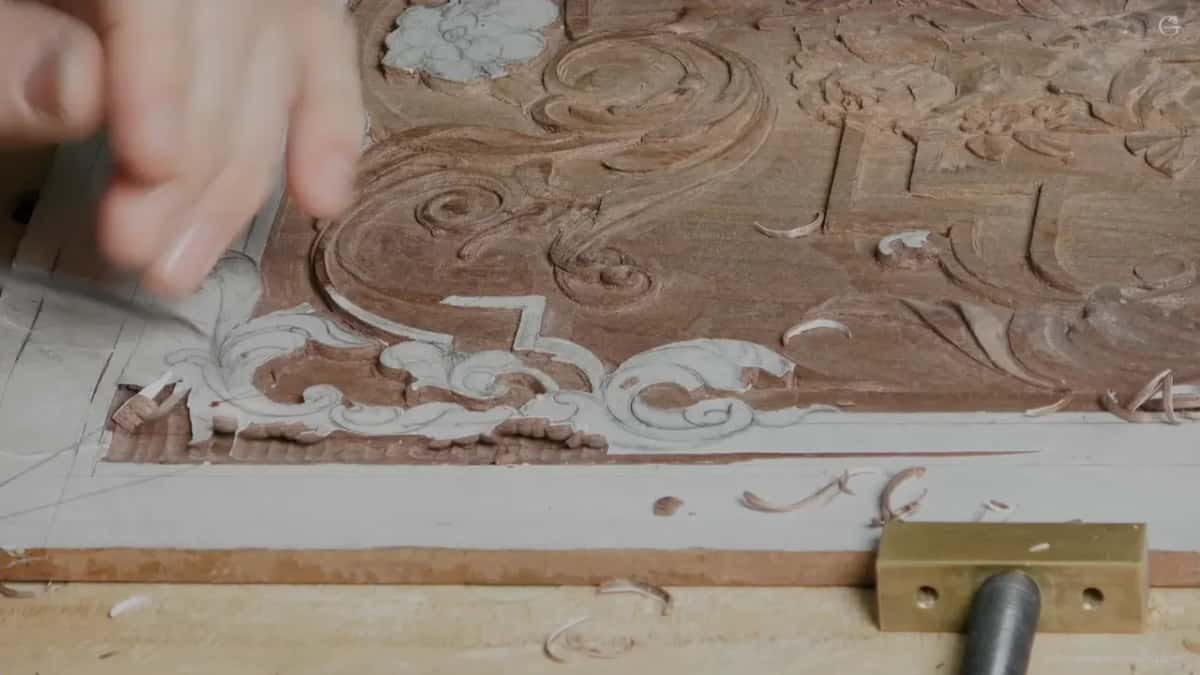
Where grain dives away a tool can catch it and lift more than you asked for. Holes in a background start exactly there. Slicing rather than pushing is the habit that prevents most of them.
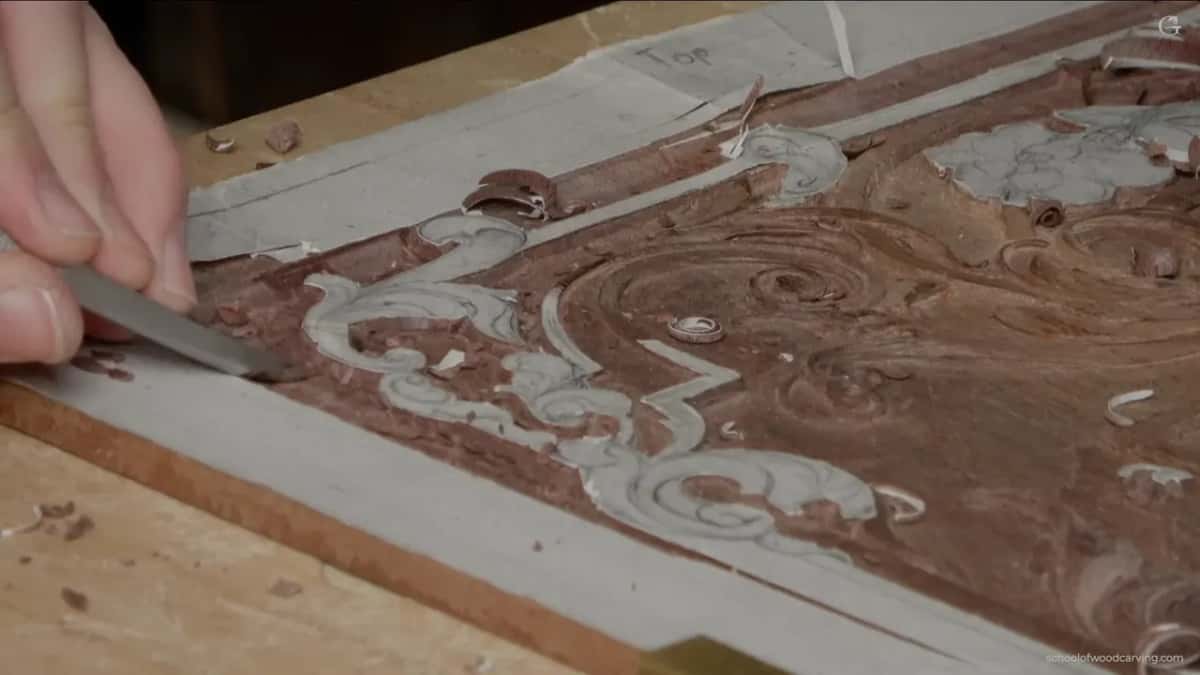
Failing that, you call it a change of the design. Happens once in a while and I am not going to pretend otherwise.
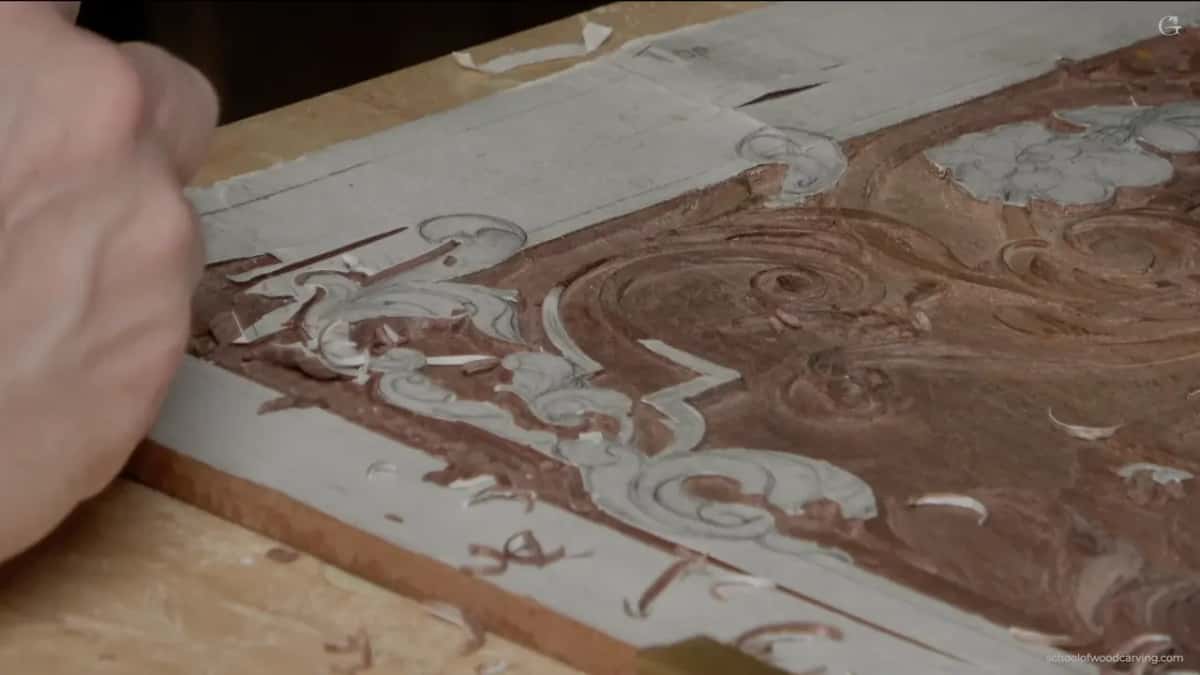
Small tools for small curls
Number 9 at three millimetres, an eighth of an inch, goes into the curl of the scroll. Anything wider bruises both walls of a space that narrow before it has removed a thing.

I did not take that curl to full depth either. The shape of it may change once the acanthus around it is carved, and material left in place is a decision you have not made yet.
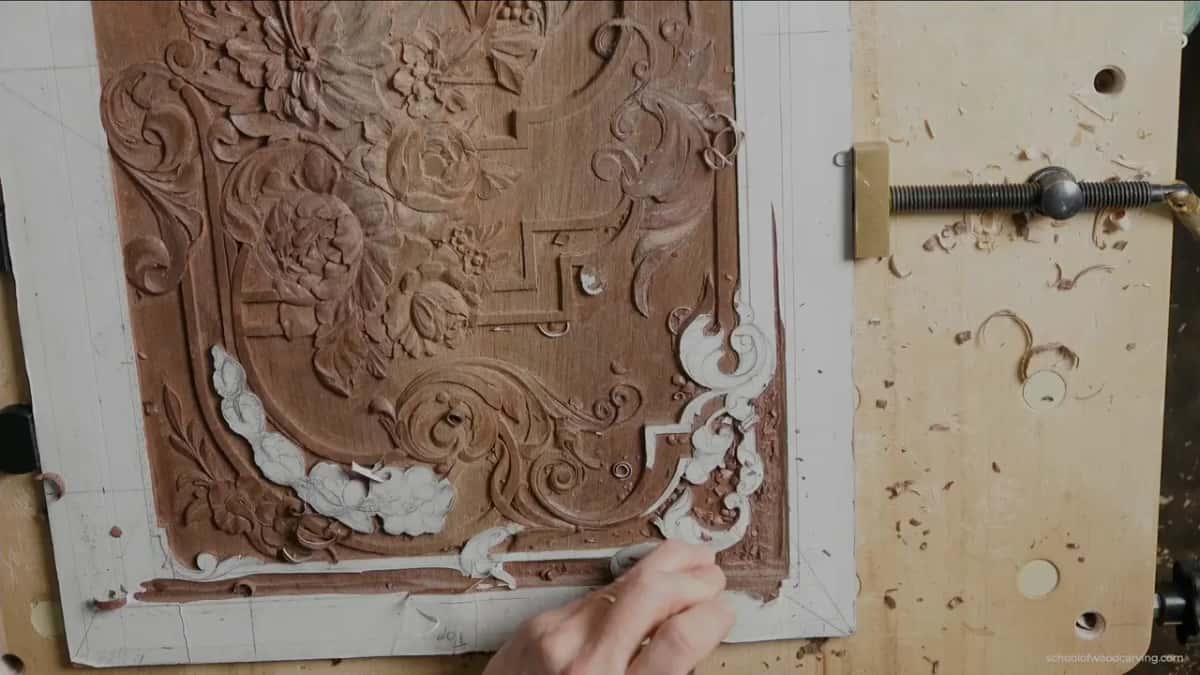
Then a slightly bigger number 9 over the same ground, which buys more control of depth than the tiny one can give. Odd as that sounds, a larger tool in a small space is often the steadier choice.
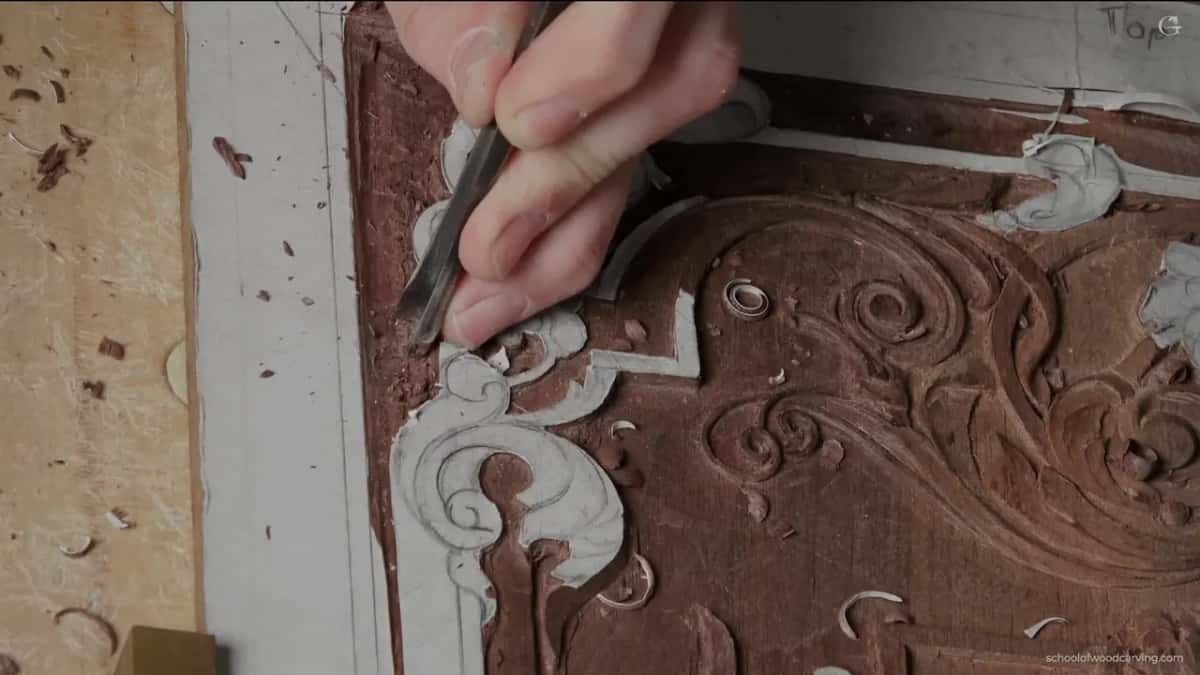
Under a moulding the same rules apply with far less room. Acanthus over mouldings is a whole course about that one junction, which tells you how often it comes up.
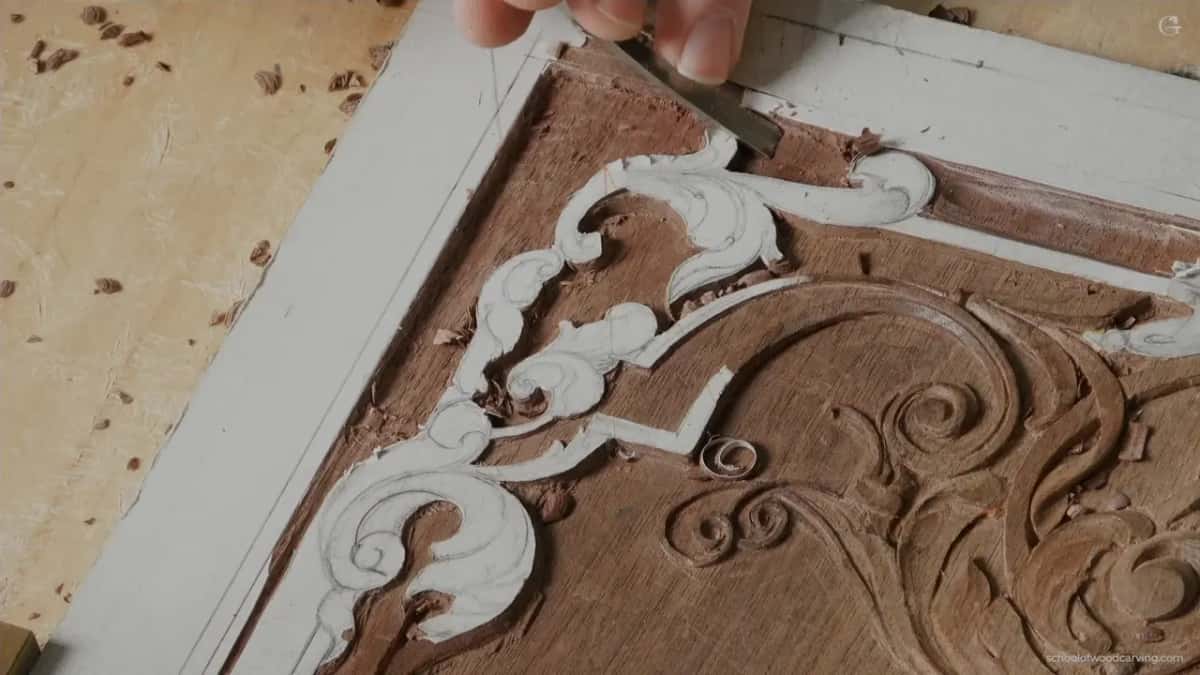
A skew takes the last fuzz off and the area is ready for the plane. Every tool named here gets a proper look in the tools course.
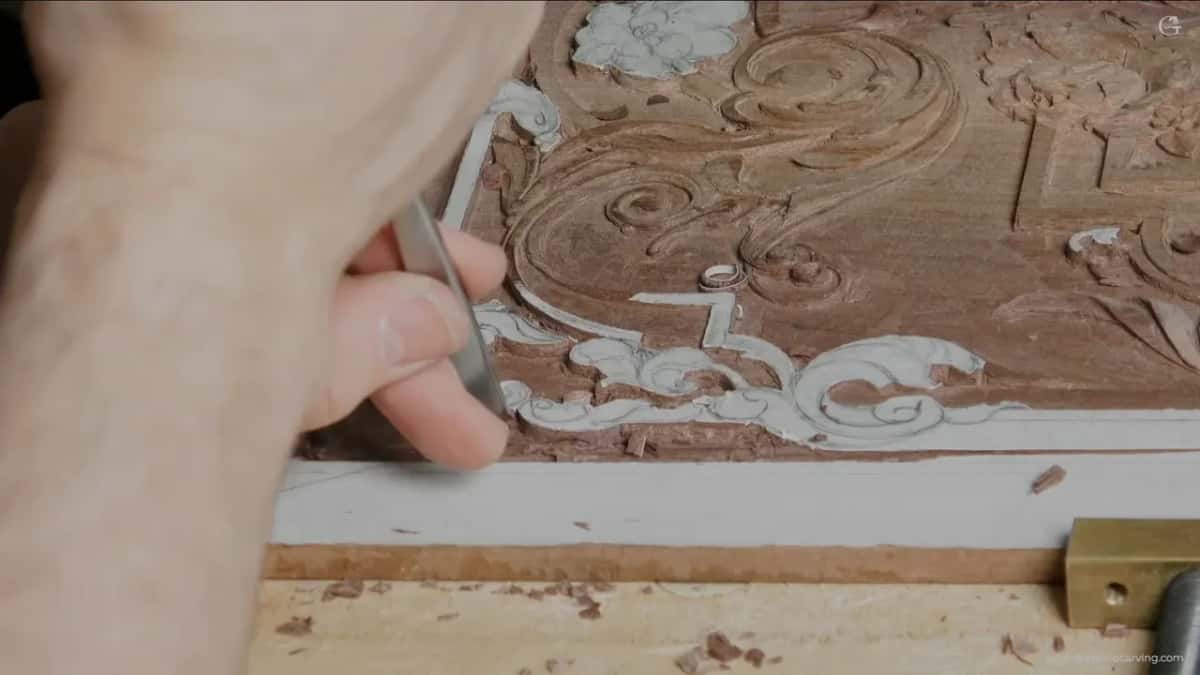
Ever ruin a piece of carving at the outlining stage and never work out where it went wrong? Ever notice the damage only after the shape was nearly finished? Almost always it was the first vertical cut, made before the wood beside it had anywhere to move. Then let us carve.
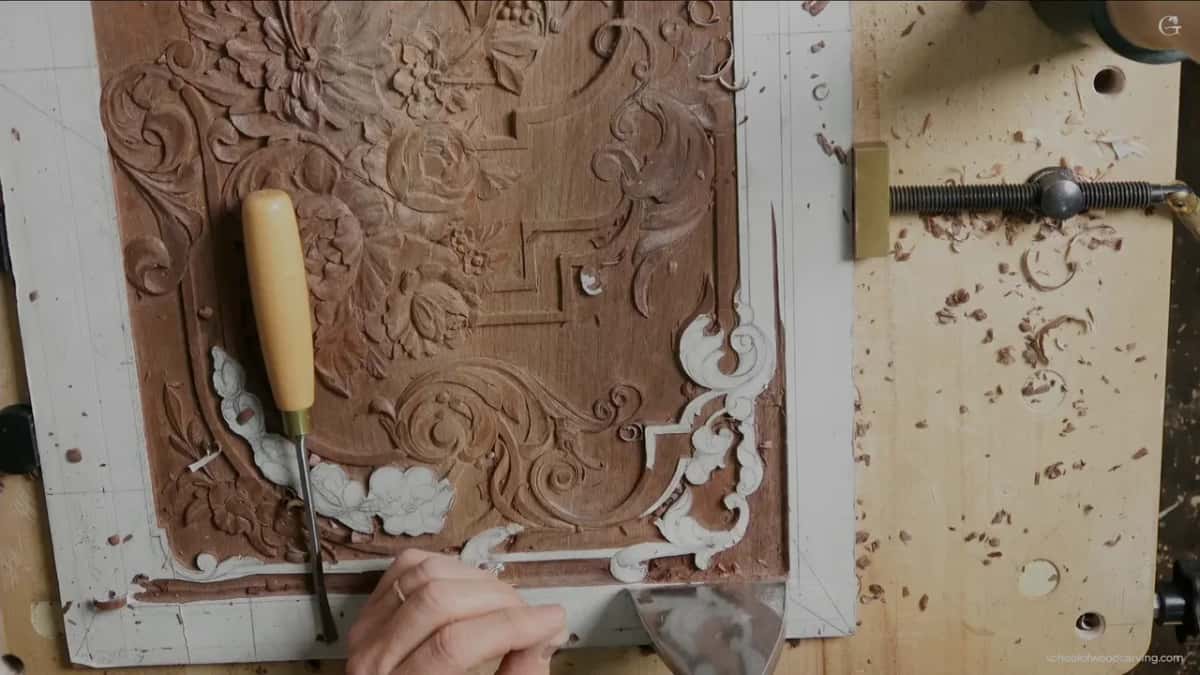
One area, one afternoon, with the decisions all made before any tool touched the board. Carving Furniture Panel, Part 3 runs thirty nine of these, Part 2 covers the stage before, sharpening is what makes every cut above possible, and tuition opens the lot of them.

Whatever is left of this area we pick up next time. Have a wonderful rest of your day, or your evening, or your morning, depending on where you are sitting. Shall we carve?

How it's done
- Measure the ground you already have. Calipers, never eyesight. Mine read a whisker over five millimetres on this area.
- Decide which level this area joins. Match the shallow neighbour and this passage goes quiet. Drop to the deep centre instead and the ornament lifts.
- Score the boundary properly. Knife work, or a skew, or a flat number 1. Graphite goes with the first shaving.
- Run a relief line beside the drawing. Number 11 at two and a half millimetres, close by the line and never over it. Frightened of it? Stay further away still.
- Take the waste at right angles to the fibres. Number 7 at ten millimetres, sliced rather than shoved, every cut of it stopping short of the design.
- Only now chop straight down. Number 8 with a mallet, barrel facing the ornament, each cut starting near the middle of the last. The released area is the weak spot and the wedge does no harm.
- Keep the blade upright throughout. A tool tipped inward has undercut a wall that needed to stand square, and no later tool repairs that.
- Level it, but leave work for the plane. Grounding tool over the open ground and a smaller one near the ornament. Flat enough, not finished.
Frequently asked questions
Why should you not stab an outline when carving wood
Steel driven vertically into solid timber has to push fibres sideways, and while material sits packed on both faces they have nowhere at all to move. Crushing follows, along with splits under the surface that appear when a wall refuses to come clean.
When is a stabbing cut safe in relief carving
After waste has been cleared beside the line. Wood next to an excavated pocket can move out of the way, so the same vertical cut costs nothing, and chopping down against the design becomes the quick part of the job.
What is a grounding tool in wood carving
Ashley Iles number 47, a sweep near a number 3, with one difference that decides everything. Seen from above the edge carries a slight curve, so both corners stay clear of walls and ground while the middle does all the cutting.
What to carve next