

Alexander Grabovetskiy, woodcarver, School of Woodcarving · Published 2023
How do you blend the ridges a gouge leaves behind?
Quick answer: Ridges between gouge cuts are blended with the edge of a razor blade used as a scraper. Alexander calls it his eighteenth century scraper. Short shaving passes flatten the facets, round a pipe over and lift the paper pattern at once. Walnut and cherry both take it well.
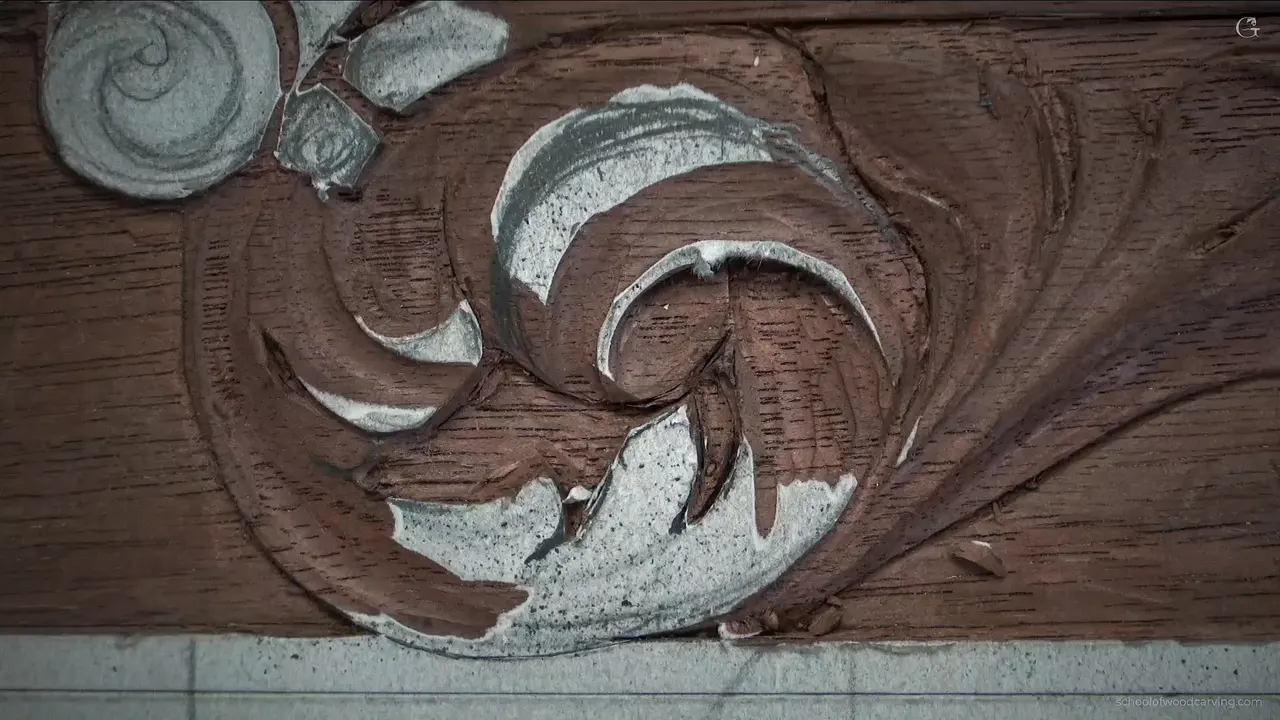
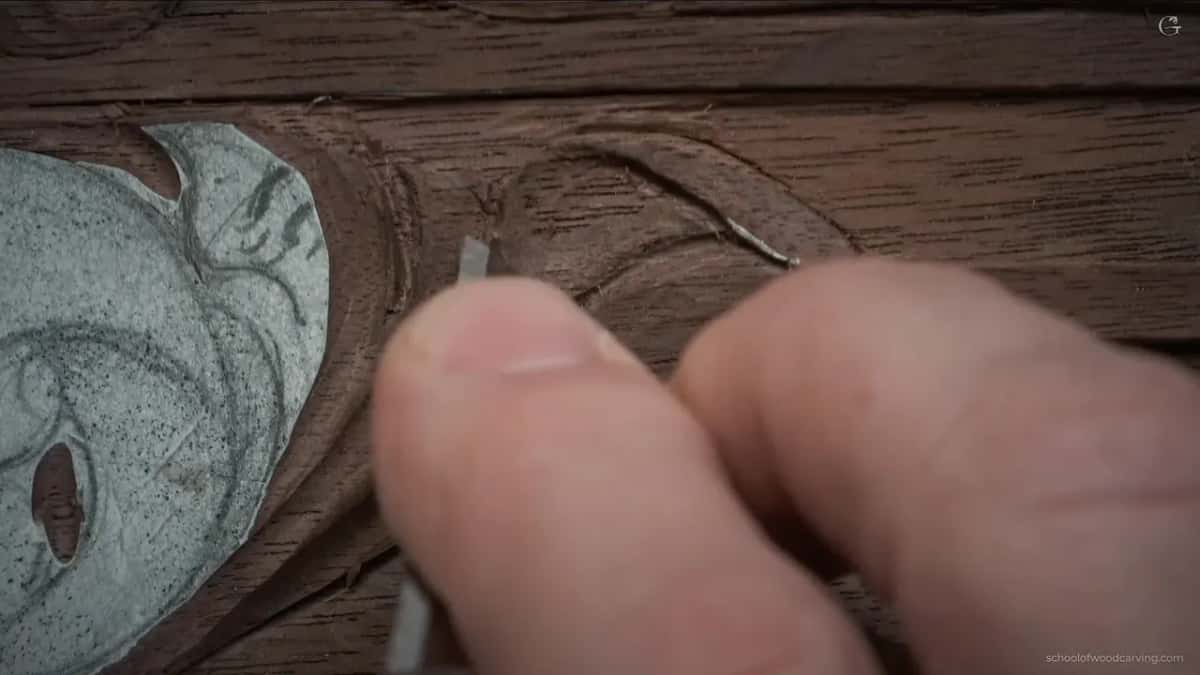
The ridges left between gouge cuts come off with the edge of a razor blade. I hold it on its edge and take small shaving passes, and the facets between one pass and the next disappear. It rounds a pipe over at the same time. I call it my eighteenth century scraper, which is a joke and also the truth.
Nothing on the bench costs less. Nothing works better for this one job.
Key takeaways
- A blade held on its edge blends facets that no gouge will reach.
- Introduce every tool leaning over, never square on at ninety, because a shallow approach slices where the square one crushes.
- Do not outline by stabbing.
- Going deeper is always available. Coming back up never is, and neither one is the same thing as going lower.
- Decide which part overlaps which before you shape either one.
- Cherry takes a blade beautifully.
Every carver reaches the same wall eventually. The shapes are right, the movements read, and the surface is covered in small facets where one pass met the next, and no amount of careful gouge work removes them without changing the shape underneath.
Why does a blade beat a gouge for this?
Two reasons, and the first is what it leaves behind. A gouge cuts a hollow, so every pass leaves a small ridge beside it, and chasing those ridges with another gouge only makes smaller ones. A blade on edge does not cut a hollow at all. It takes a shaving off whatever is proudest and stops.
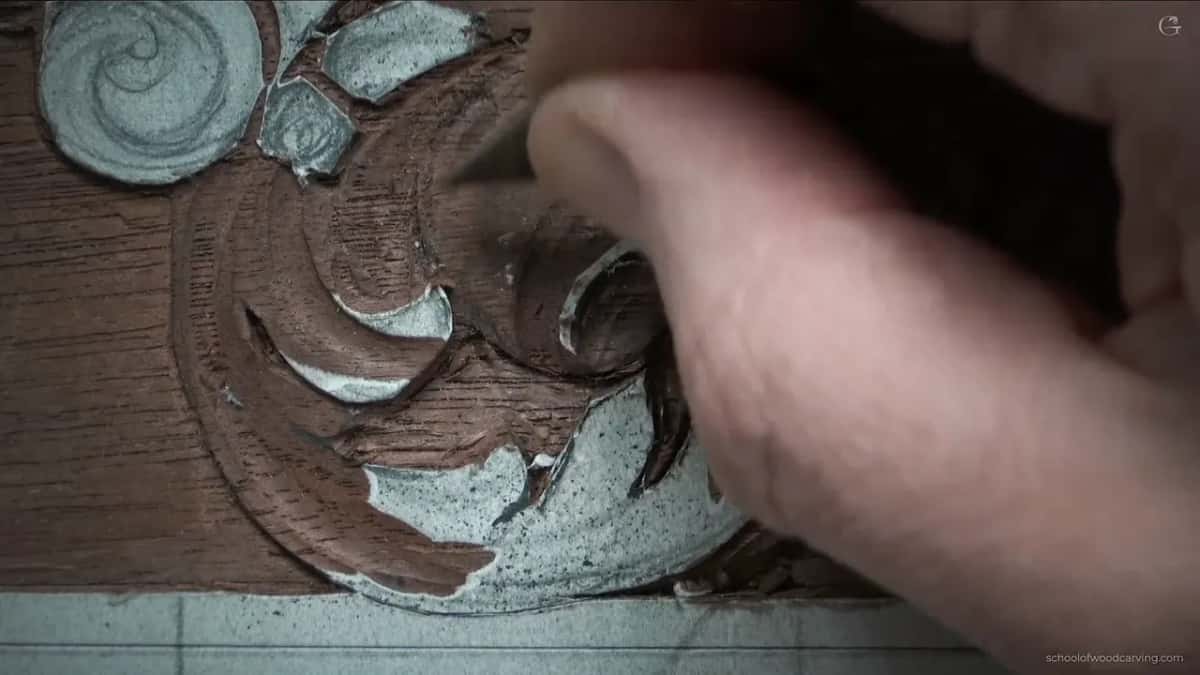
That is the same idea a cabinetmaker uses with a card scraper, at a size that fits inside an ornament. I can almost shave the surface. On walnut and on cherry it works beautifully, and there are species where it would not, so try it on an offcut before you try it on a panel with months in it.
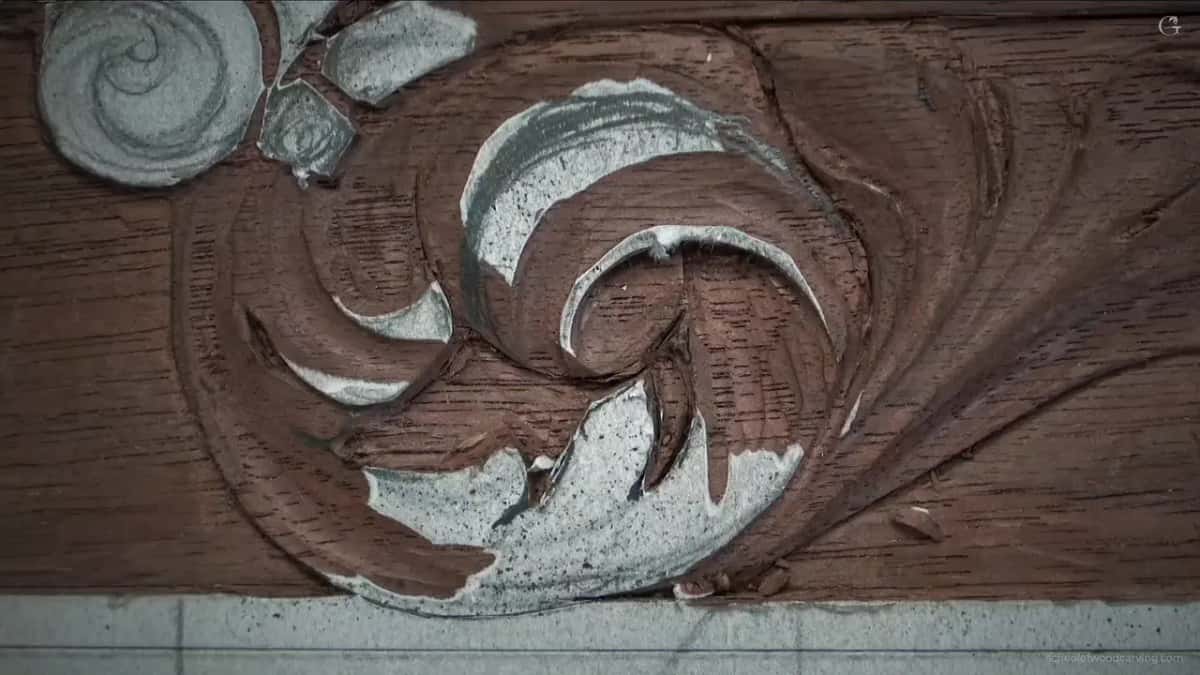
It lifts the paper pattern too. Two jobs at once, one blade, and no sharpening at all.

Why not outline by stabbing straight down?
Consider what a stab does to the fibres. Students ask me this every year, usually after watching somebody on a video drop a gouge vertically all the way round a drawing in about forty seconds. It looks efficient. What it actually does is wedge the wood apart either side of the edge at once, and on a small element that stress has nowhere to go except into a break.
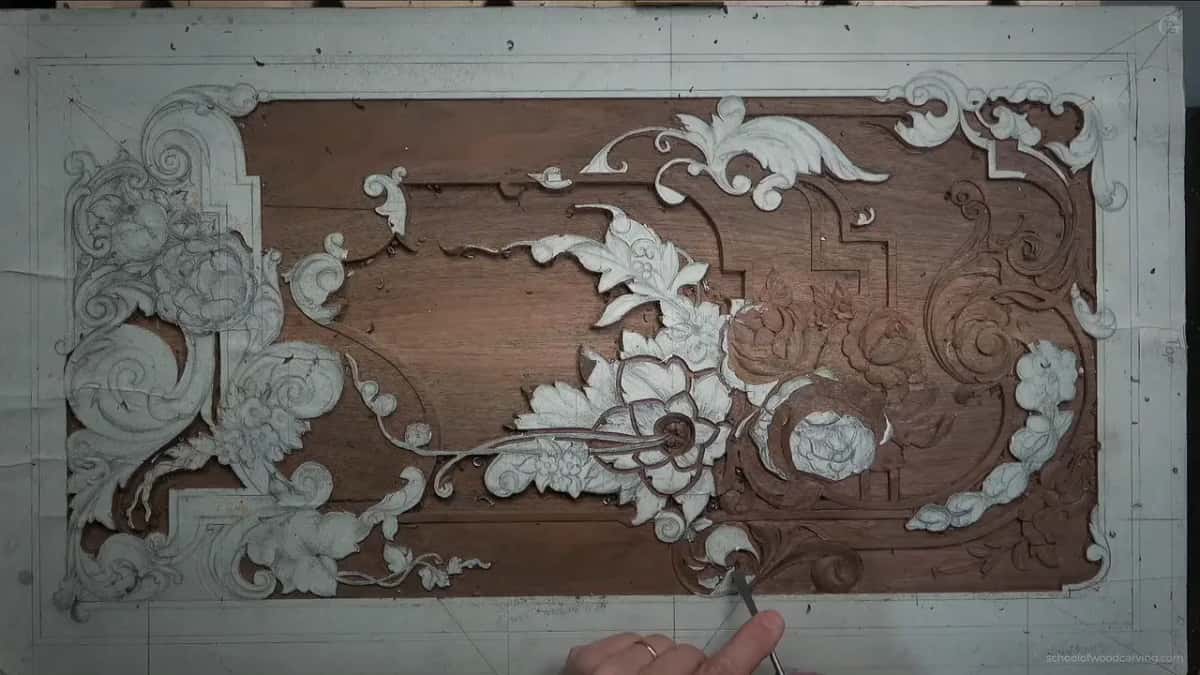
I run a line first with a number 11 about two millimetres across, and relieve beside it afterwards. The waste has somewhere to go. The line survives.

There is one place where a straight down pass is the right answer, and that is a triangle of waste trapped between two movements. Relieve it properly or it will haunt the whole section. Older sets rarely have a two millimetre tool at all, so one or three millimetres does the job.
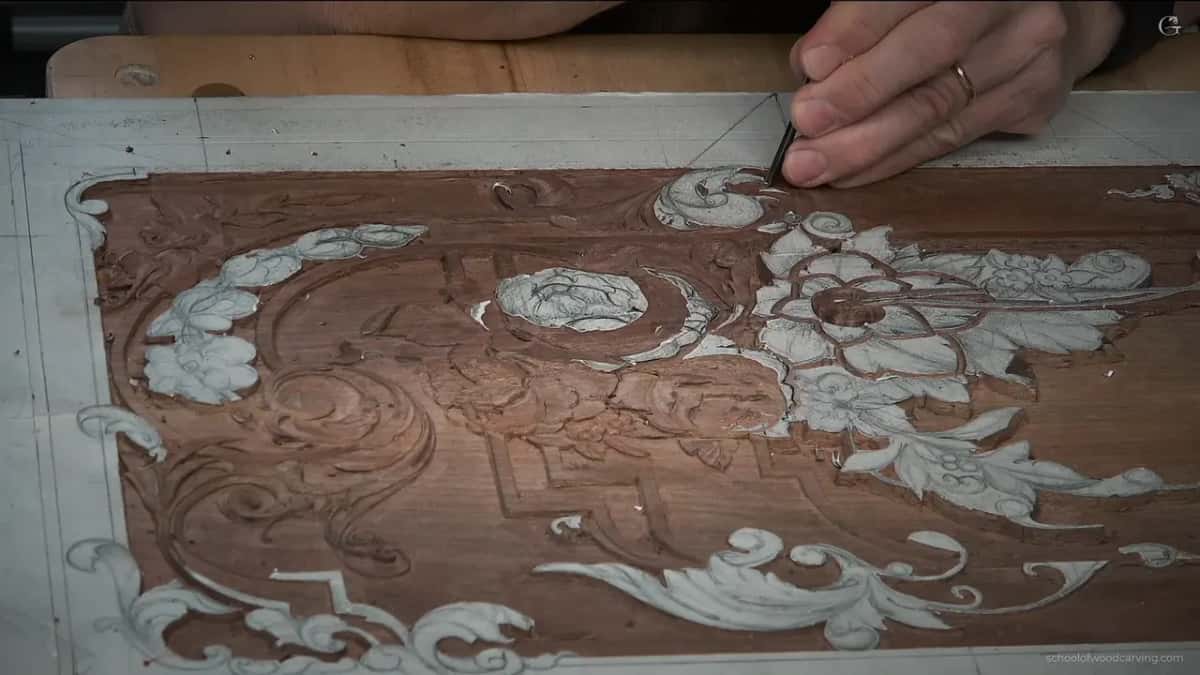
How long should each cut be?
Three millimetres. Maybe four. I watch people take one long confident stroke the length of a movement and then spend the rest of the afternoon repairing where it wandered, and the alternative costs nothing except patience. Short passes, one after another, each one going roughly where the last one ended. If a passage needs more I go back and add another.
Nobody is rushing me. That sentence is most of what forty years teaches you.
Short passes also let you feel the wood change. Walnut is not uniform, and a stroke that behaves for twenty millimetres can start tearing at the twenty first, which you notice while there is still time to stop.
What angle should the tool meet the wood at?
Around forty five degrees. Lay the edge square onto the line at ninety and the tool wants to crush its way in; tip it over and the same tool slices, using less effort and leaving a cleaner wall. I say the number as if it were exact. It is not. Think of it as the difference between fighting the wood and being let in.

Where the depth rules bite
| Move | Tool | Depth | Watch |
|---|---|---|---|
| Outline it first | Number 11 two millimetres wide, run with a mallet | Under a millimetre, never more | The pipe beside it still has to read as raised afterwards anyway |
| Cut the pair of hollows beside it | Number 8 | Shallow, and taken in passes of three or four millimetres | Never one long push |
| Shape the raised middle | A back bent number 3 at six millimetres | Surface only | Keep the ridge above its neighbours |
| Undercut wherever one part passes beneath another one here | Half millimetre veiner | Shallow one end and deep the other | Pure shadow, and nothing structural is put at risk by it |
| The pocket | A number 8 at about three millimetres | Two or three millimetres | The panel floor, the single hard limit on this job |
| Blend the whole thing afterwards | That blade edge | Nothing you could ever put a number against | Facets, paper |
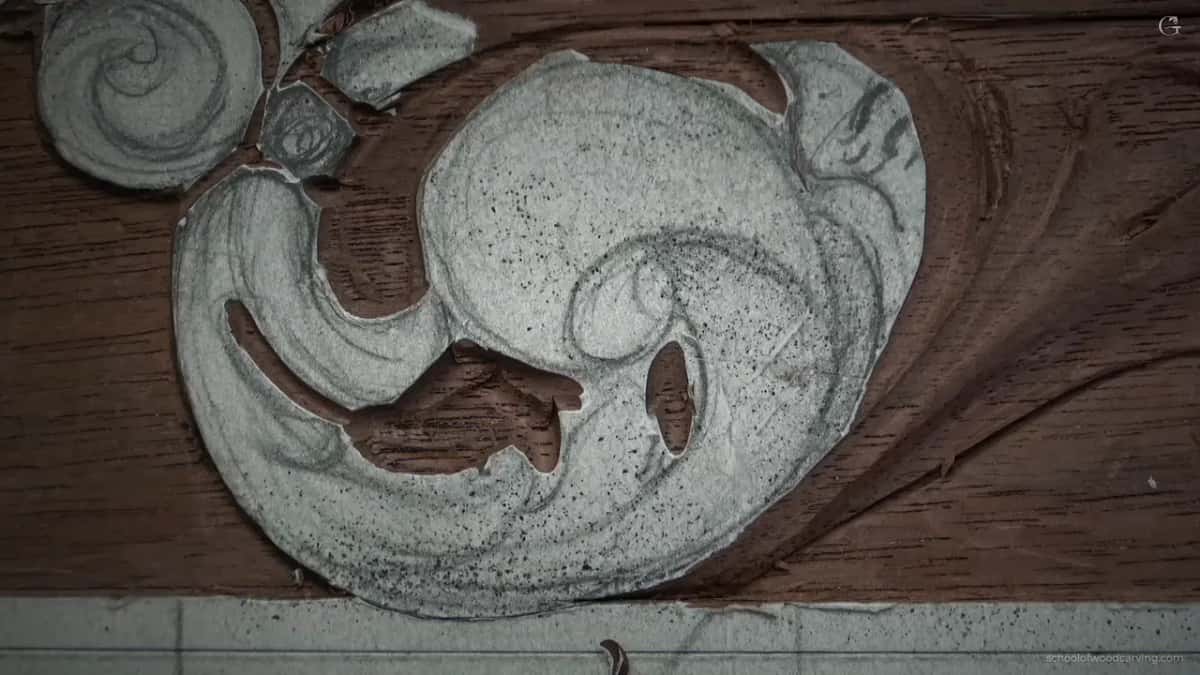
The pair of hollows is the same rule I have been repeating since the lesson on the section of a leaf. One convex needs two concaves beside it, and those hollows go in as short passes rather than one long stroke. Three millimetres at a time. I can always come back and add another.
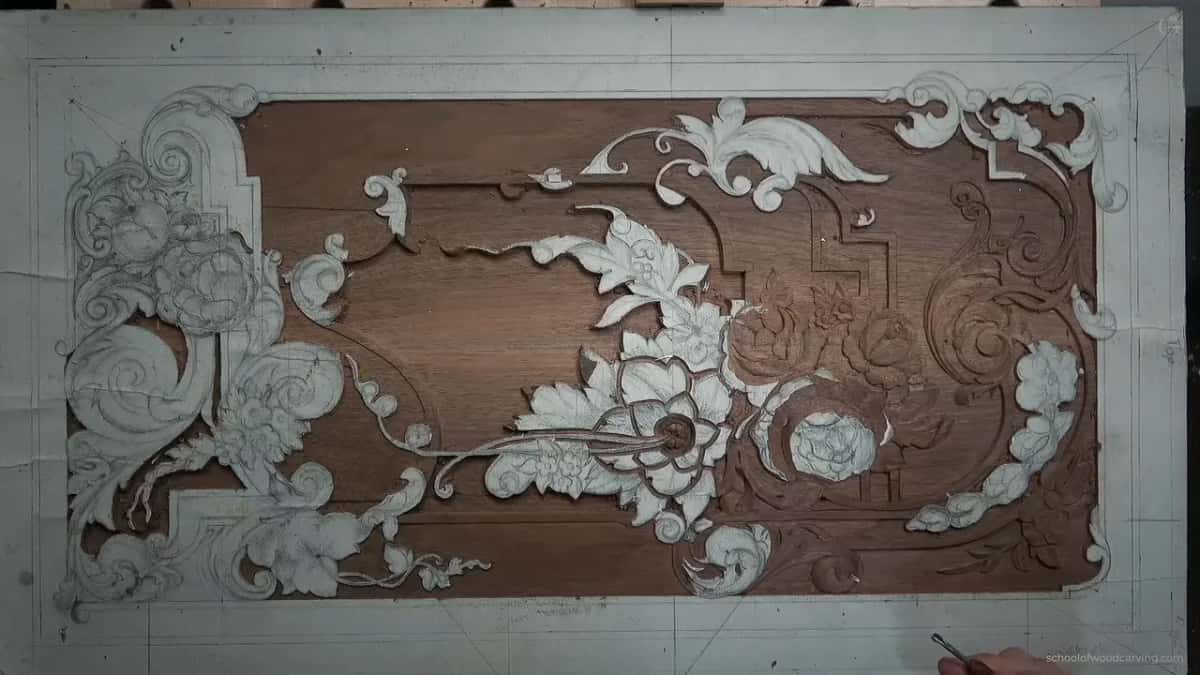
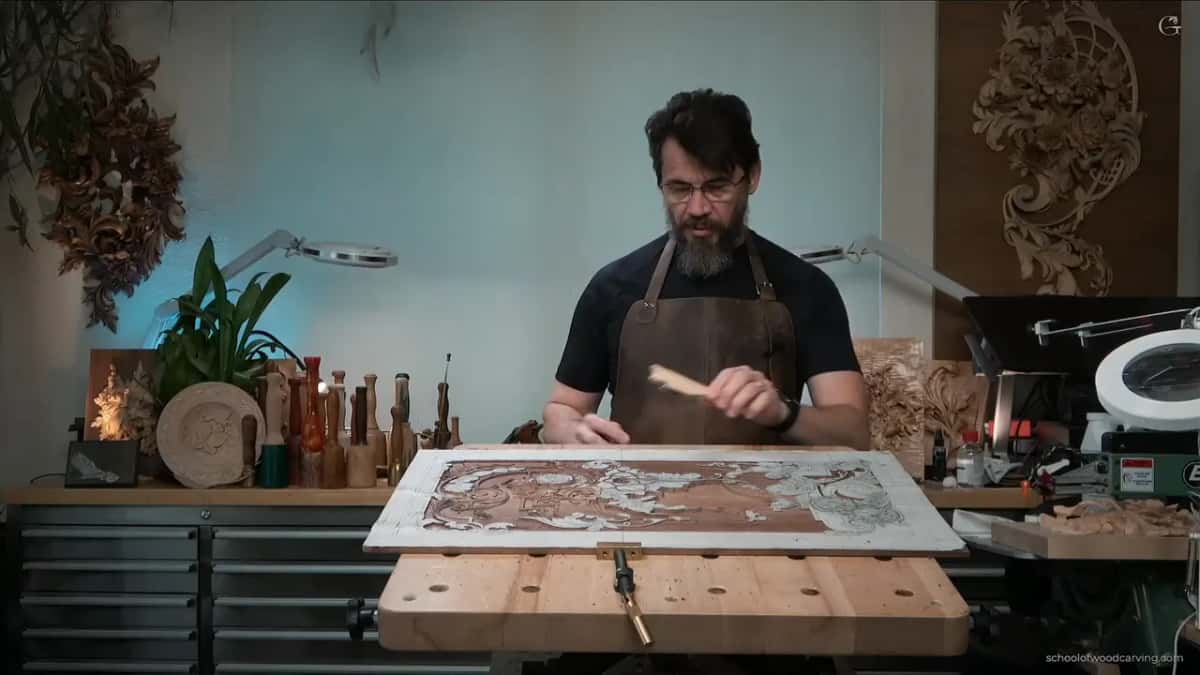
Then the back bent, six millimetres of number 3, plants the shape properly. A nick from its corner stays. Everything on this panel gets one more pass later anyway.
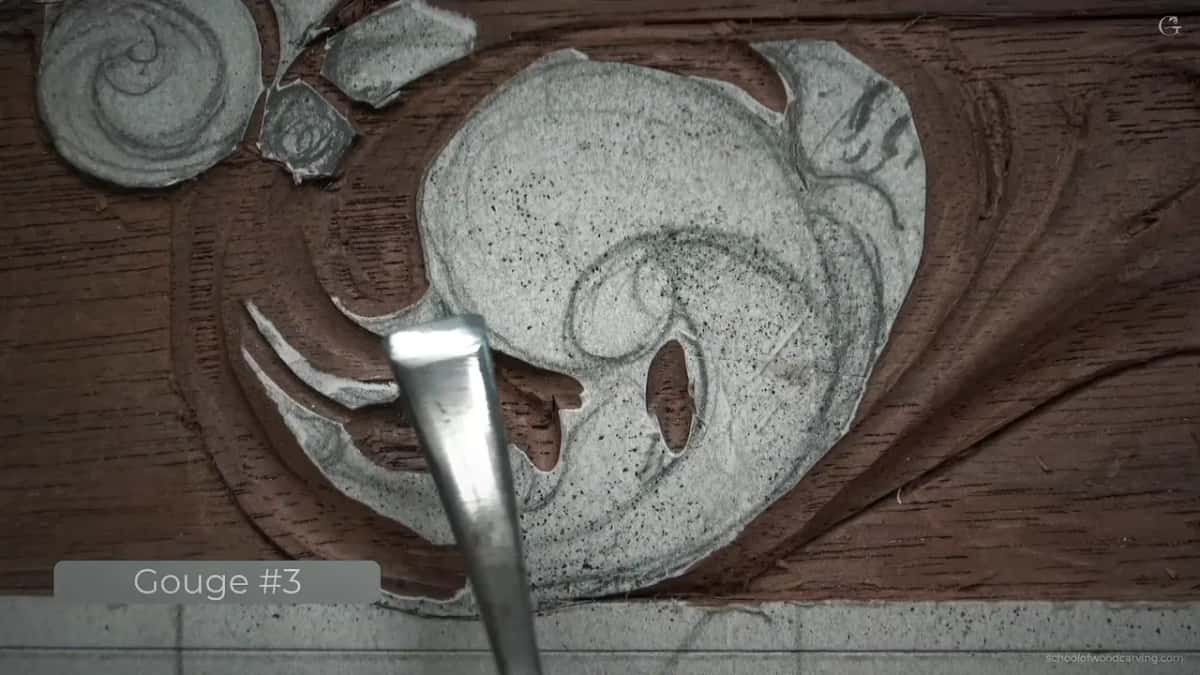
The eye I decided I did not like
There was a wide open eye in this section from the drawing stage, and looking at it carved I simply did not want it. So I changed it partway through. That sounds reckless and it is not: an eye is a separation point, the pipe running out of it follows whatever shape the eye takes, and altering one before the pipe is shaped costs almost nothing.
Change it after the pipe is carved and you are into real repair work. Same as anything else here, the order is the thing.
What I would not change is the depth of the outline round it. Under a millimetre, because that pipe still has to read as raised afterwards, and a deep line beside it steals the height the pipe needs. Shallow lines beside raised shapes, every time. This is a rule I have broken and regretted on more than one Baroque job.
Which part goes on top?
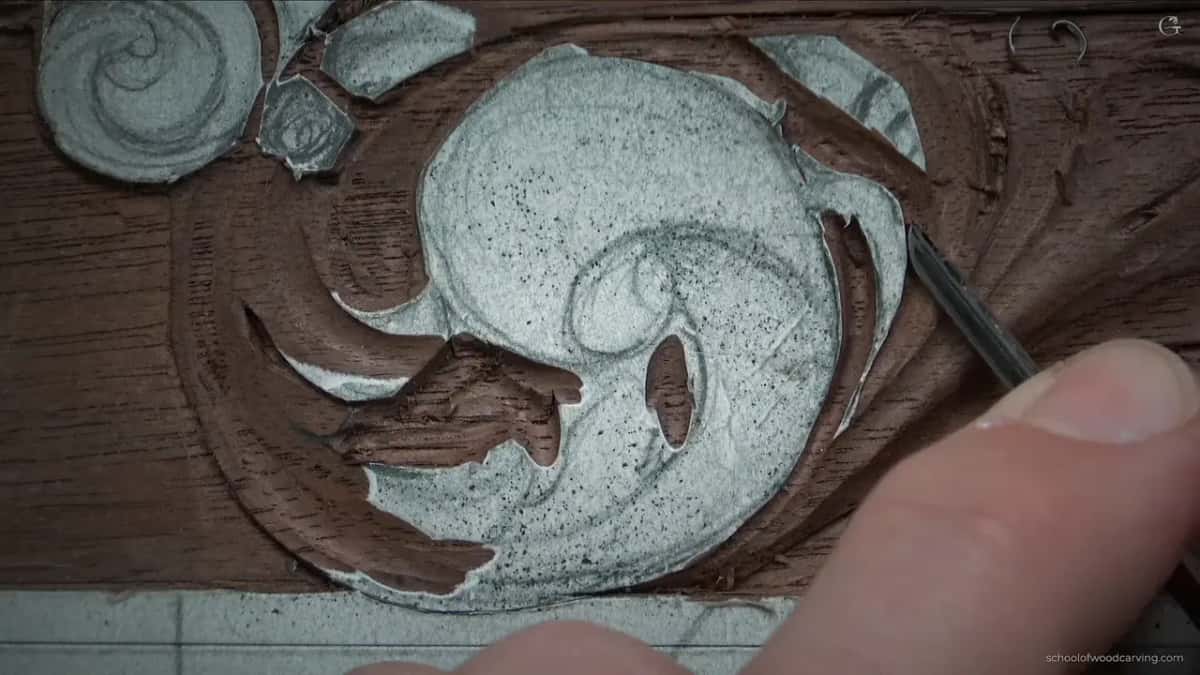
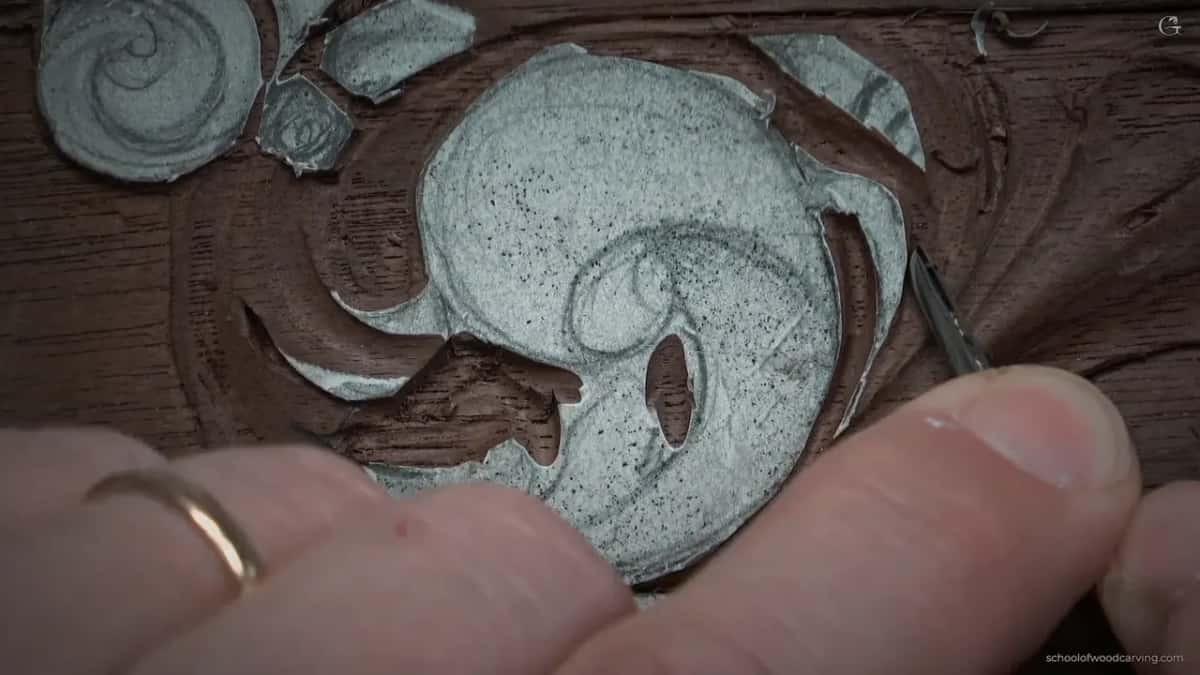
Whichever choice leaves you the better shape. Here I had a channel running clean through where two movements met, which is the one thing I did not want to see, and the fix meant choosing an overlap. Send the left part underneath and the design loses its form. Do it the other way and the left has room to become something worth looking at.
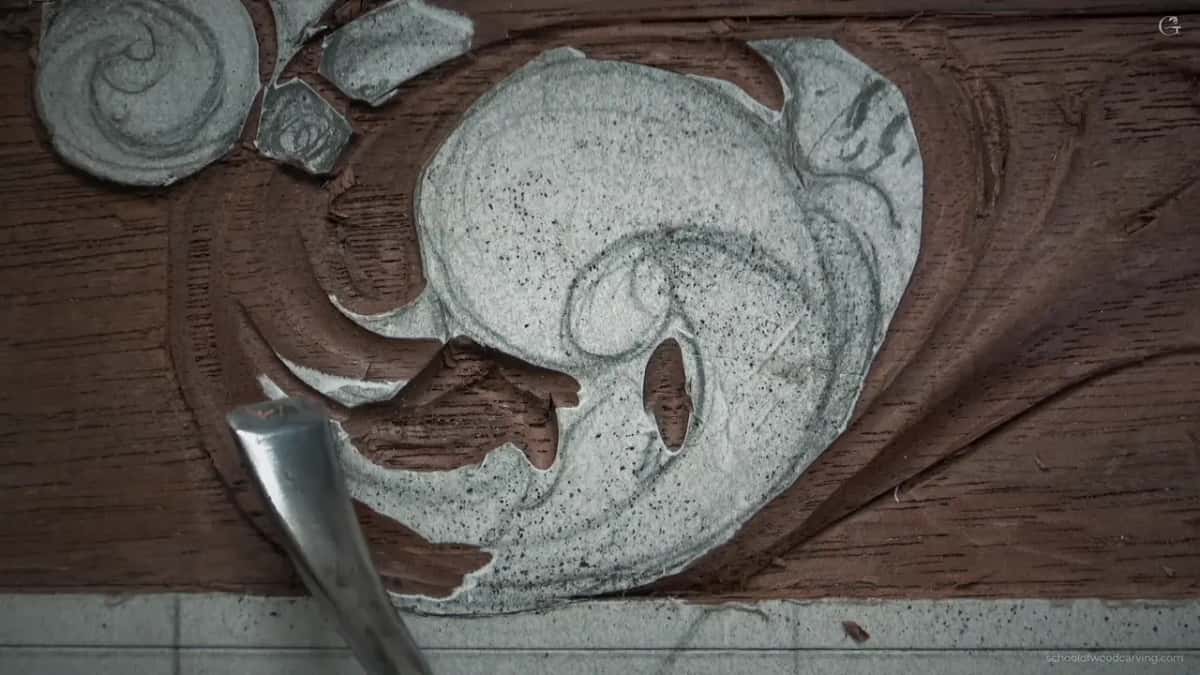
I lowered one side instead and brought everything beneath that line. That decision costs about a minute and it decides how the section reads for the rest of its life.
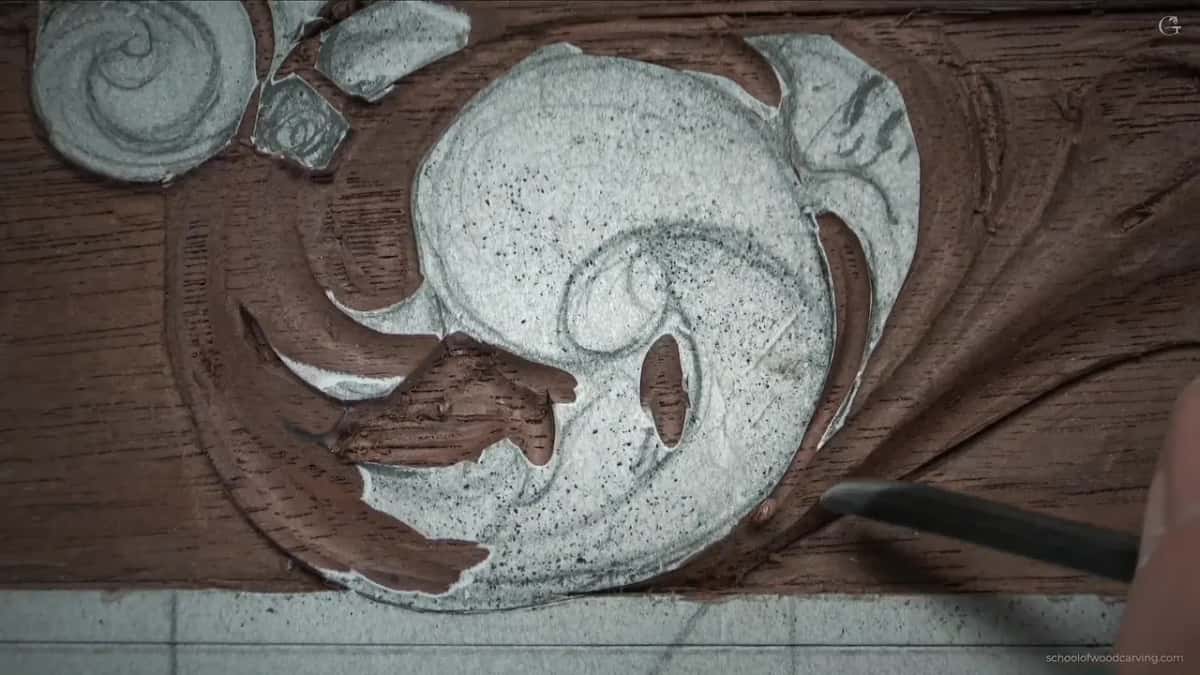
Under the line I want a real shadow, not a scratch. One tool half a millimetre wide goes in shallow at one end and far deeper at the far one, and the gradient is what sells the overlap.
Deeper is fine, lower is not
These two words get mixed up constantly and they are not the same. Deeper means taking more wood out of a pocket that already sits above the floor of the panel. Lower means dropping below that floor. The first is available to me any time. The second wrecks the whole background, and the only repair is taking the entire ground down to match.
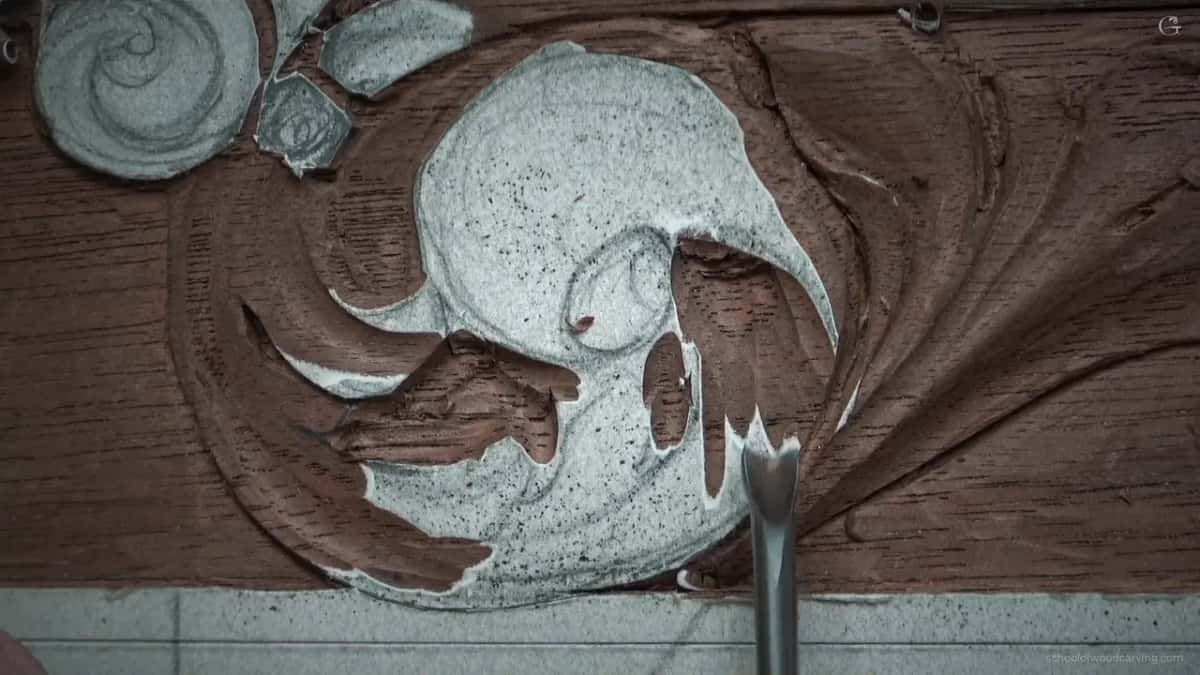
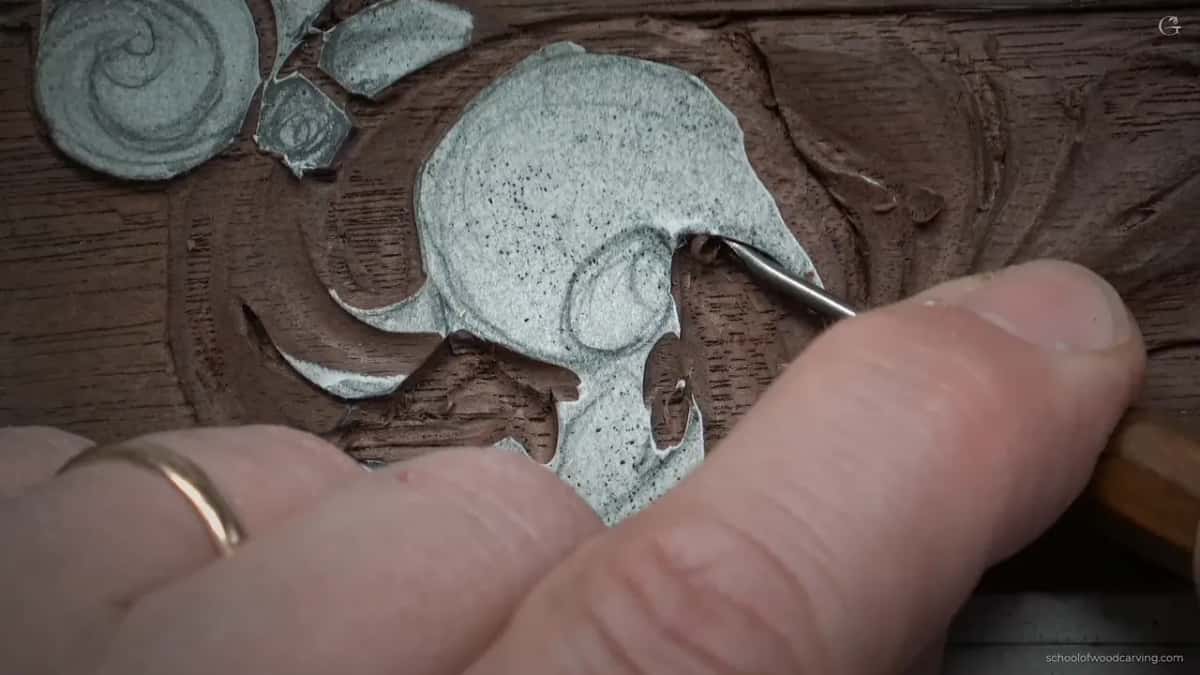
Two and a half millimetres was my working depth in this pocket. It felt like nothing while I was carving it and it reads like a lot in the finished relief.
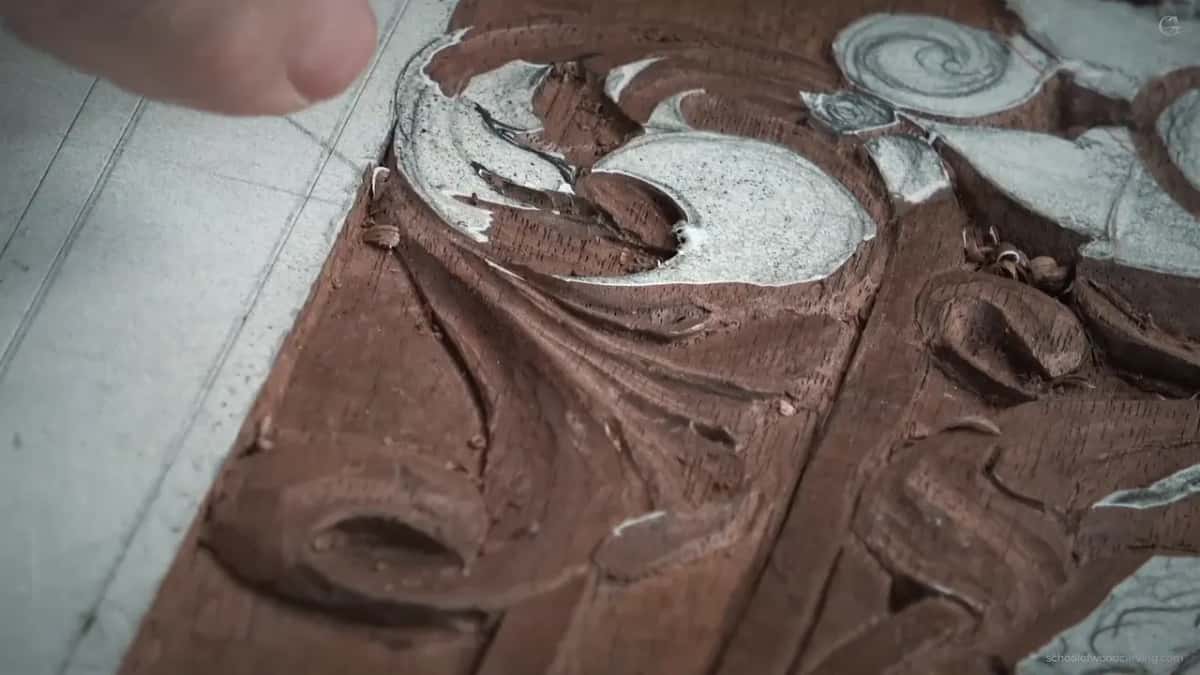
Reading the clock on a gouge
Twelve, six, eleven, two. Those numbers come up constantly in this course and they describe one thing: where the hollow face of the tool is pointing. Flute at twelve is the normal position, hollow up. Roll it to six and the tool is upside down, which is how you make an edge curl over rather than fall away. Eleven and two are the leans in between.
On a half millimetre gouge I use both in the same minute. Twelve opens the deep spot, six clears underneath.
One more thing about the raised bands crossing this section. They are going to be shaped later, so for now I only have to avoid damaging their edges, and I have to remember they exist while carving everything around them. An edge you nick today is a shape you cannot make tomorrow. The period furniture this panel follows is full of those bands and they are always crisp.
What is the letter S doing in the line?
It stops the eye from sliding off. I like a faint S in a line that would otherwise run straight, and faint is the word. Pronounce it and the ornament starts to look nervous. Leave it out entirely and the line reads as ruled rather than grown. I chop the shape with a quarter inch number 3 laid right on the drawing, flipping the tool to follow the curve both ways.
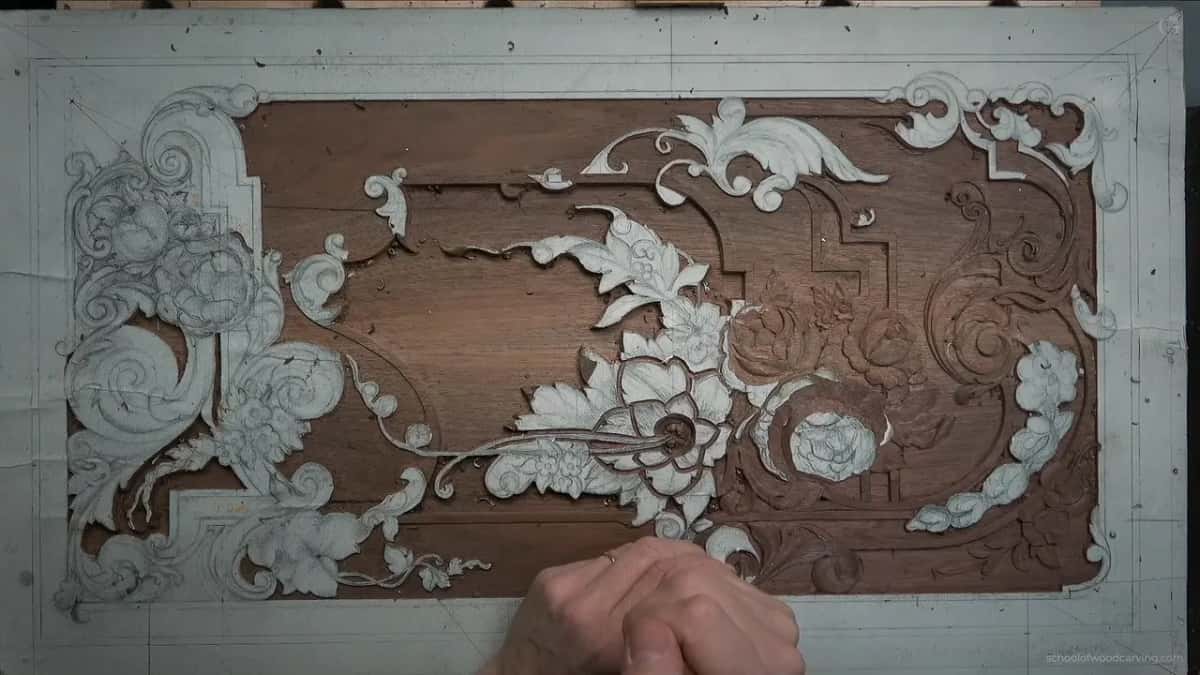

Tapering does the same work in the other direction. A pipe starts narrow, swells, and narrows again before it dies under something else. Nothing on a good panel has parallel sides. The drawing stage is where that gets decided, and the carving only makes it visible.

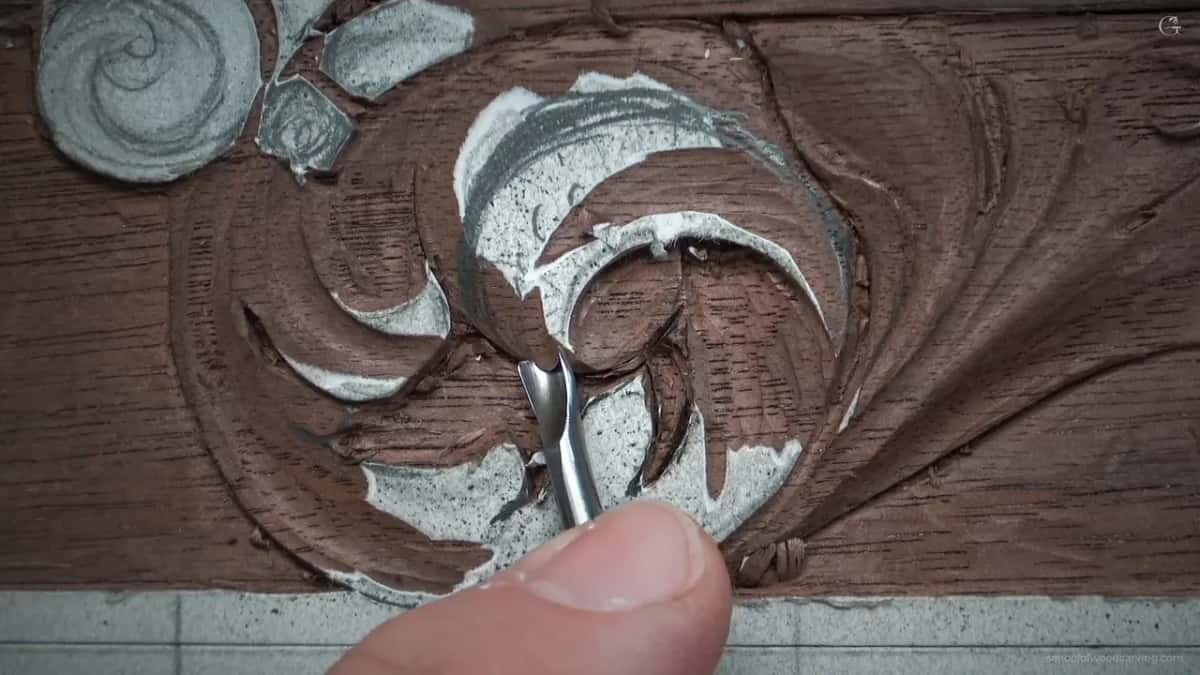
The small tools that finish it
A tiny antique spoon gouge, number 3 at three millimetres, does the work nothing straight can. It is shallow, it reaches into a hollow, and it walks details into place without touching what sits beside them. I want the high point of this element to end up shaped like a drop of water, and that tool is how it gets there.
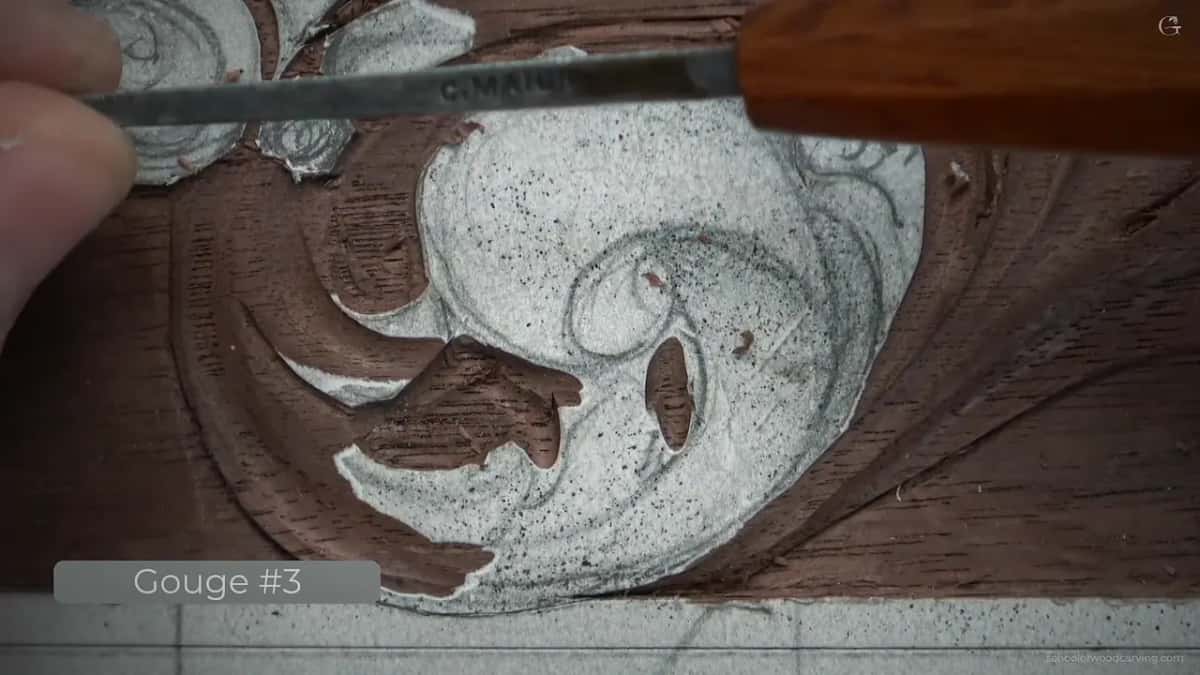

For the last of the waste I wiggle a half millimetre number 11 rather than push it. Flute up at twelve to open a deep spot, then flipped over to six to clear underneath. Wiggling gives control that pushing never does at this size.
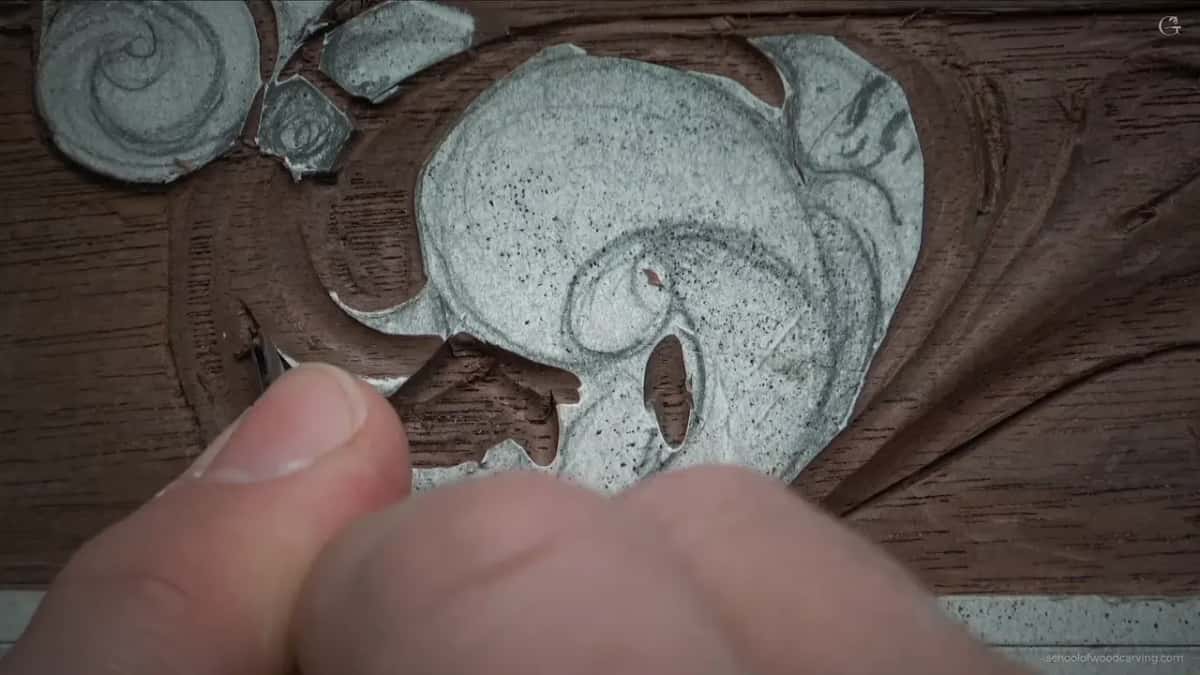

A knife takes the very last detail, and the same knife blends. Quicker than changing tools again.
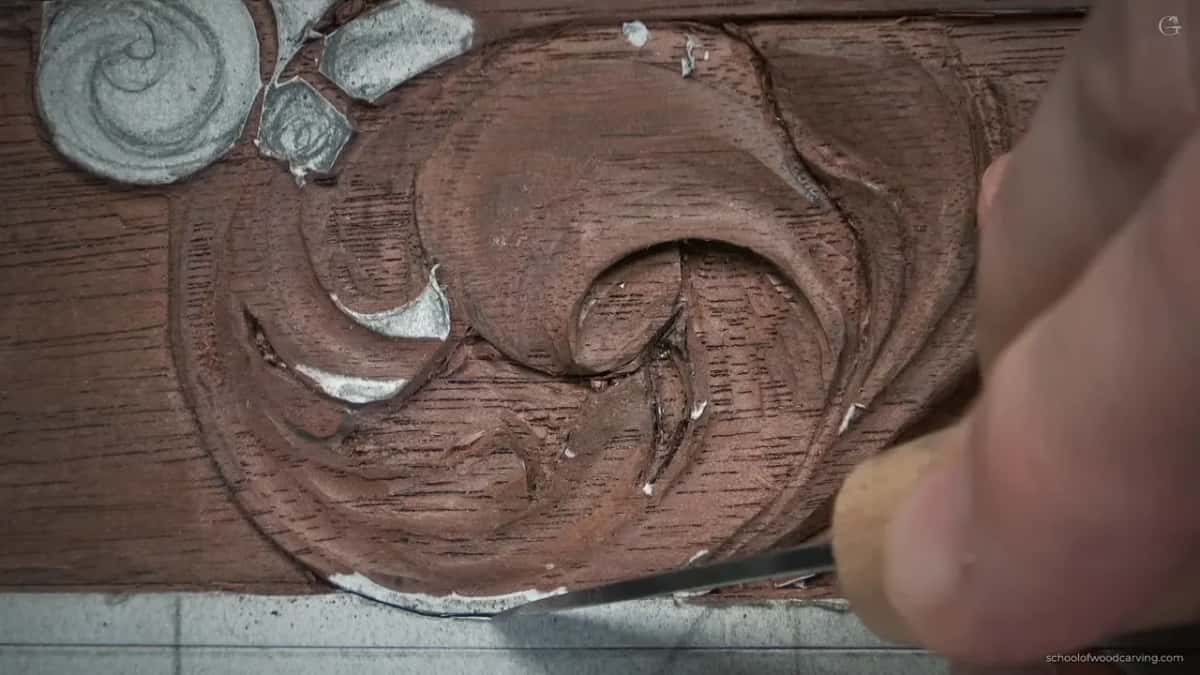
When the drawing disappears under the chips
Redraw it. I lost a separation partway through this section, picked up a pencil, could not see the line I had just made, and went back with a marker instead. No ceremony about it. A line you cannot see is worse than no line, and the marker sits on carved walnut where graphite vanishes.
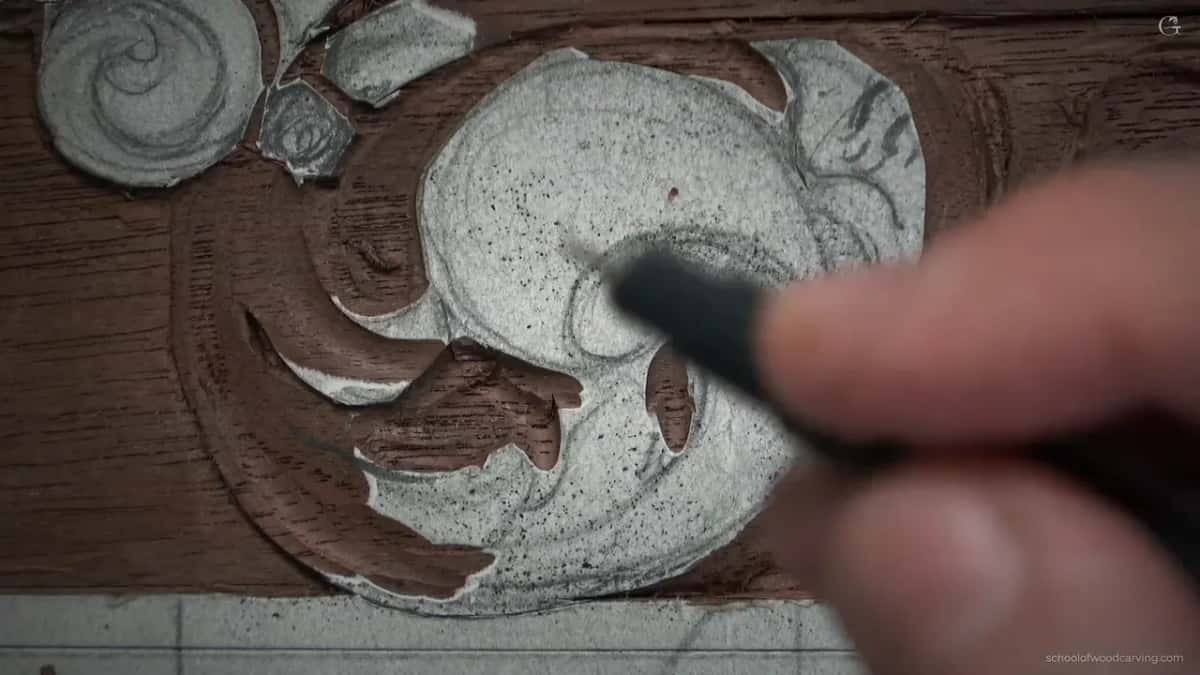
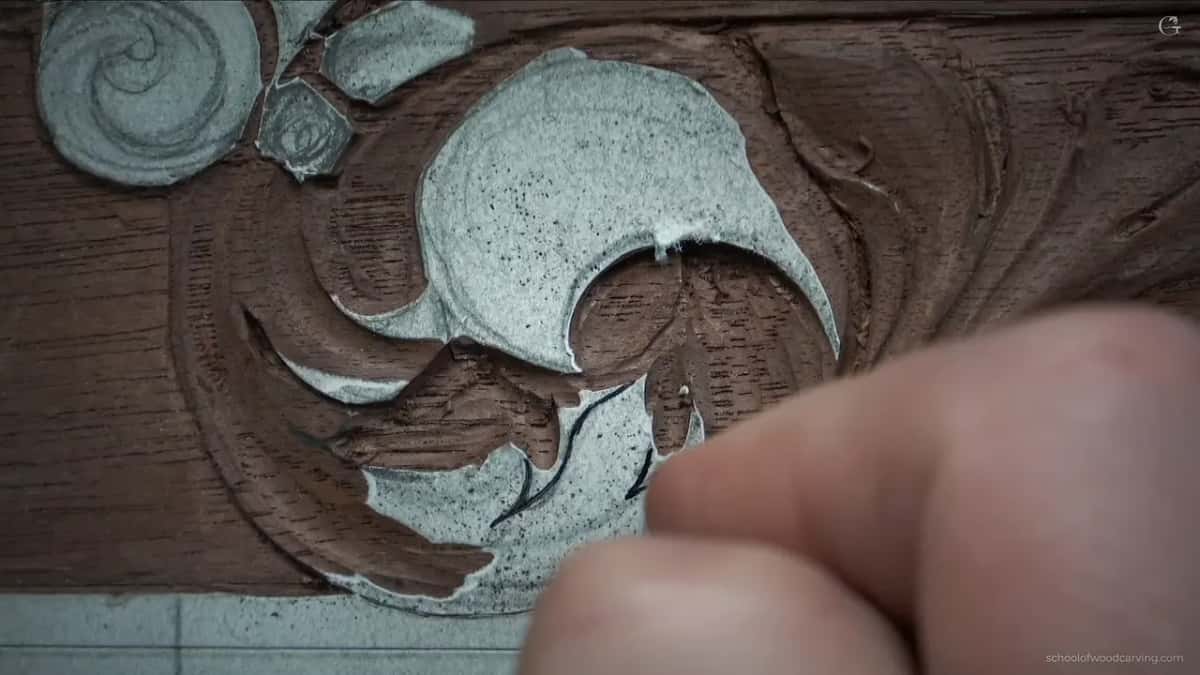
Two eyes in this section, which means two pipes. That relationship has not changed since the earlier acanthus lessons and it will not change on your panel either. Find an eye, carve a pipe, hollow both sides of it.

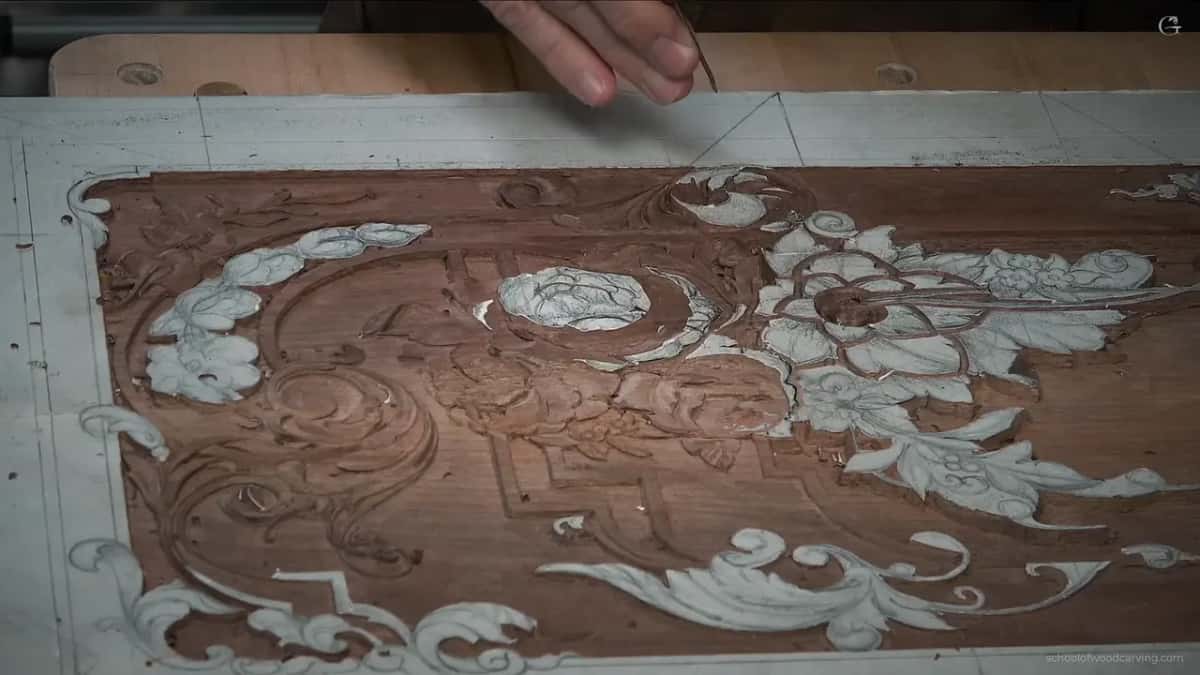
One naming problem I still have. Those raised bands running through the design, the ones I keep calling molding, might be better called mullions. I am not certain the word is right and I have said so on camera more than once. If you know the correct term for them in period ornament, write and tell me.
Let me be straight about what you are watching. Everything in this lesson could be taken further, and I will take it further off camera with a magnifier over the work, because sitting in front of a lens with a lamp in your eyes is not where fine detail gets done. What you see here is the decisions. The polish happens after.
I also break the grain rule regularly on this panel, and for a dull reason rather than a principled one: the camera is fixed and rotating the board every four minutes would make the footage unwatchable. On walnut I get away with it. Carve against the grain on a species that splits and you will not, so turn your work instead of copying me there.
Understand the concaves and the convexes on one detail and the rest of a panel like this stops being mysterious. It becomes long, which is a different problem. Gibbons had a shop full of people and the work still took years.
Would you rather sand a carving smooth, or take the ridges off with a blade the way it was done before sandpaper was cheap? Shall we carve?
This lesson runs in three parts inside Carving Furniture Panel, Part 3, after the plug cut lesson. The carving stage before it lives in Part 2. Tools and steel are covered in All About Tools and sharpening, deeper leaves in modern acanthus. Stand at a bench with me at an in person class, or find Access on the tuition page.
How it's done
- Run the line before you remove anything. Trace the movement with a number 11 of about two millimetres and relieve beside the line afterwards. Never open a small element by dropping a gouge straight down all the way round it.
- Lean the tool over. Tip the tool over rather than setting it square on the line. Leaning it slices instead of crushing, and the wall it leaves needs less cleaning up later.
- Cut two hollows for every raised middle. Take them in passes of three or four millimetres rather than one long stroke. A half millimetre is deep enough on this panel, and you can always add another pass.
- Choose the overlap before you shape. Decide which movement passes under the other, then lower that side and bring everything beneath the line. Getting this backwards costs the section its form.
- Grade the undercut from nothing to deep. Start at almost no cut and open it right up as it travels, using the narrowest veiner you own. The gradient is what reads as one part growing out from under another.
- Stay above the panel floor. Go deeper inside a pocket as often as you like. Going lower than the background is a different thing entirely and the only repair is taking the whole ground down.
- Blend with a blade on edge. Take small shaving passes with a razor or utility blade turned up onto its edge. It removes the facets a gouge cannot reach, rounds the pipe and lifts the paper pattern at the same time.
Frequently asked questions
Can a razor blade really be used on a carving
On its edge, it works. The blade behaves like a very small card scraper, taking a shaving off whatever stands proudest instead of cutting a hollow the way a gouge does. Cherry responds especially well.
Why should you avoid stab cuts around an outline
A vertical stab wedges the fibres apart either side of the edge at once. On a small element that stress has nowhere to go and the wood breaks. Run a line with a veiner, then relieve beside it.
What angle should a carving tool enter the wood at
Lean it over. Closer to forty five than to ninety, and a shallow approach slices, costs less effort and leaves a wall that needs less cleaning. Setting the edge at ninety crushes its way in.
What to carve next