

Alexander Grabovetskiy, woodcarver, School of Woodcarving · Published 2023
Where should the petals of a carved flower point?
Quick answer: Every petal on a carved flower aims at one buried point under its surface. Alexander opens that point first with an angled hole, then works outward so each movement runs toward it. Petals aimed anywhere else read as a heap of leaves rather than a flower that opened.
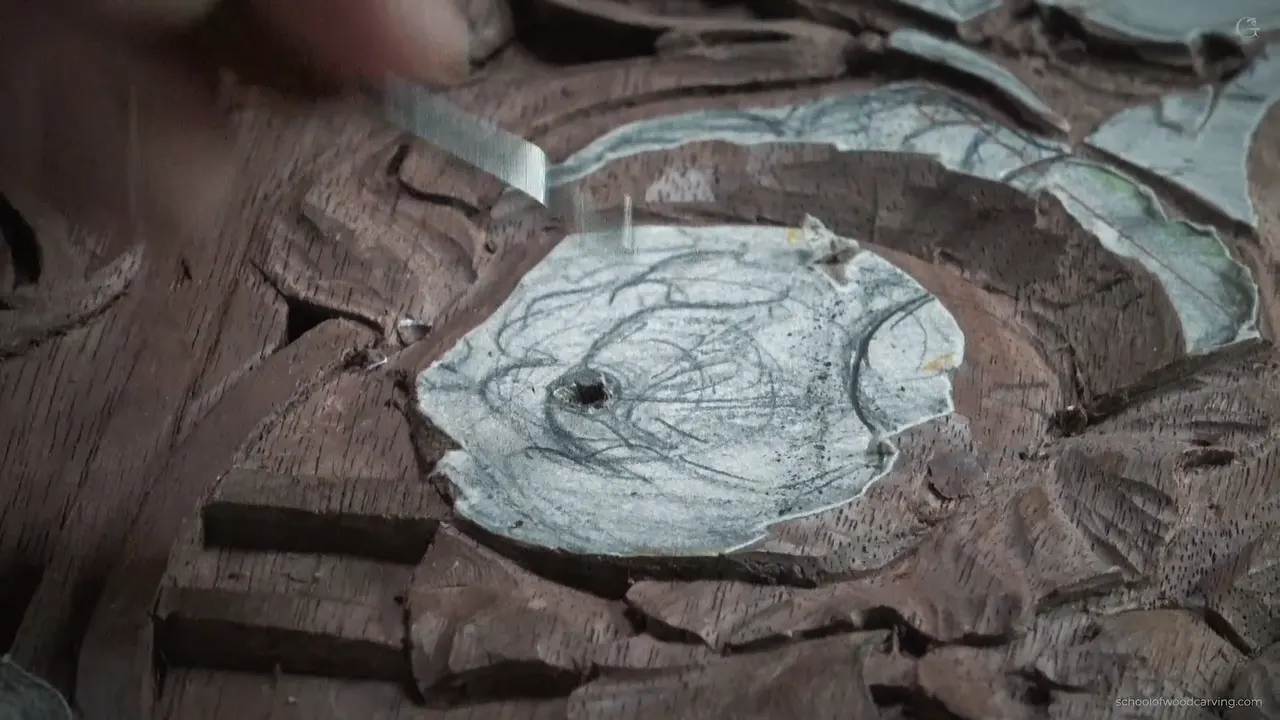
Every petal on a carved flower has to aim at one point buried under the surface. You never see that point. It sits somewhere under the overlapping petals, the whole arrangement leans toward it, and once you know where it is the rest of the carving stops being guesswork.
Miss it and what you get is a heap of leaves that happen to be touching.
More movement, more curl, more turns in the surface. There lies the difference between a bloom worth leaning in to look at and one that reads as decoration from six feet and nothing from two. Even in relief this shallow I am chasing as many hollows and rises as the wood will carry.
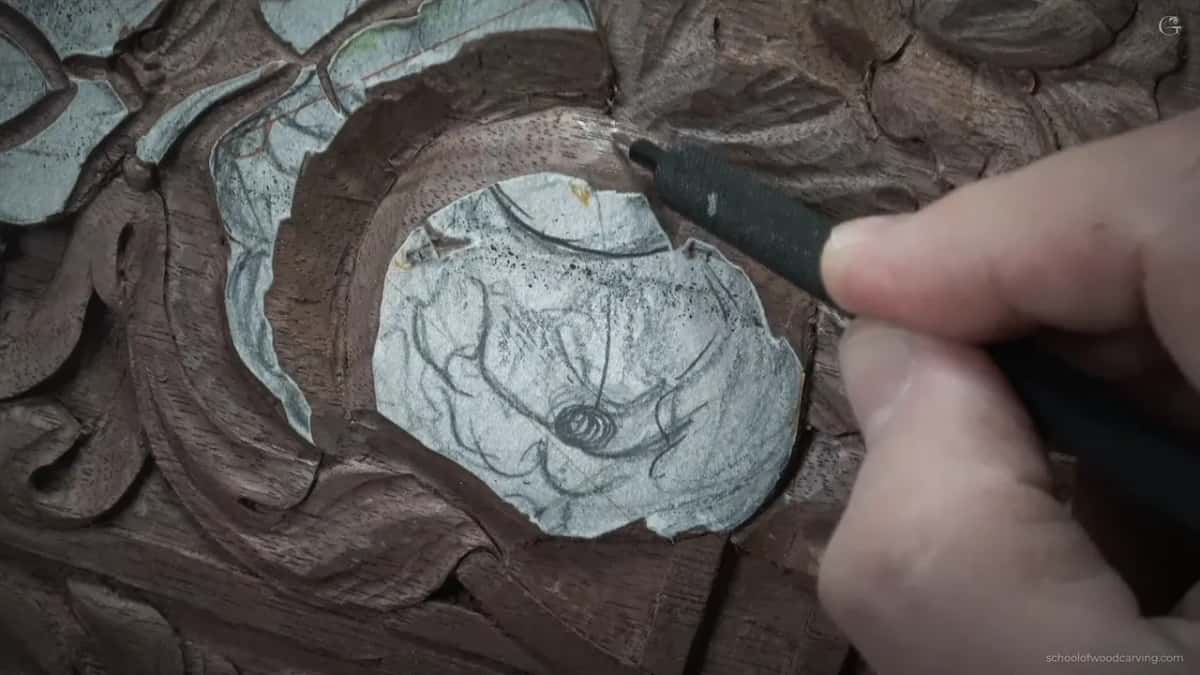
Key takeaways
- Find the center before you shape anything, then send every movement toward it.
- Open that middle with an angled hole, not a vertical one, because the tilt is what fills the opening with shadow instead of light.
- Petals unfold in one direction only.
- Run every hollow clean off the edge, because stopping short gives you a spoon.
- Both the middle of a petal and its outer rim ride high above the ground beside them.
- Any petal running on and on is really two petals.
Why leave an area before it is finished?
Tired hands decide badly. I had been on one small area for a long stretch, I was happy enough with it, and rather than push on I moved back to a flower I had started weeks earlier. None of that is laziness. A panel this size takes months, and the quality of any half hour depends entirely on whether you are still seeing clearly.
Jump. Come back. The work is still there tomorrow.
The flower I returned to already had some petals roughed in from an earlier session, which made restarting easy. Half finished work is a better place to pick up than a blank area, because the earlier decisions are still visible and you continue them instead of inventing again.
How do you find the center of a carved flower?
Look for where two petals meet and let the line die there. On this bloom it lands just under the point where the two front petals cross, which puts it below the surface rather than on it. Exactly the idea. The center is invisible, the movements are not, and the movements are how anybody reads the flower.

Once I have that spot I dig a hole at it, and I aim the tool at the buried point rather than straight down into the board. Eyeballing is fine here, and close enough really is close enough.
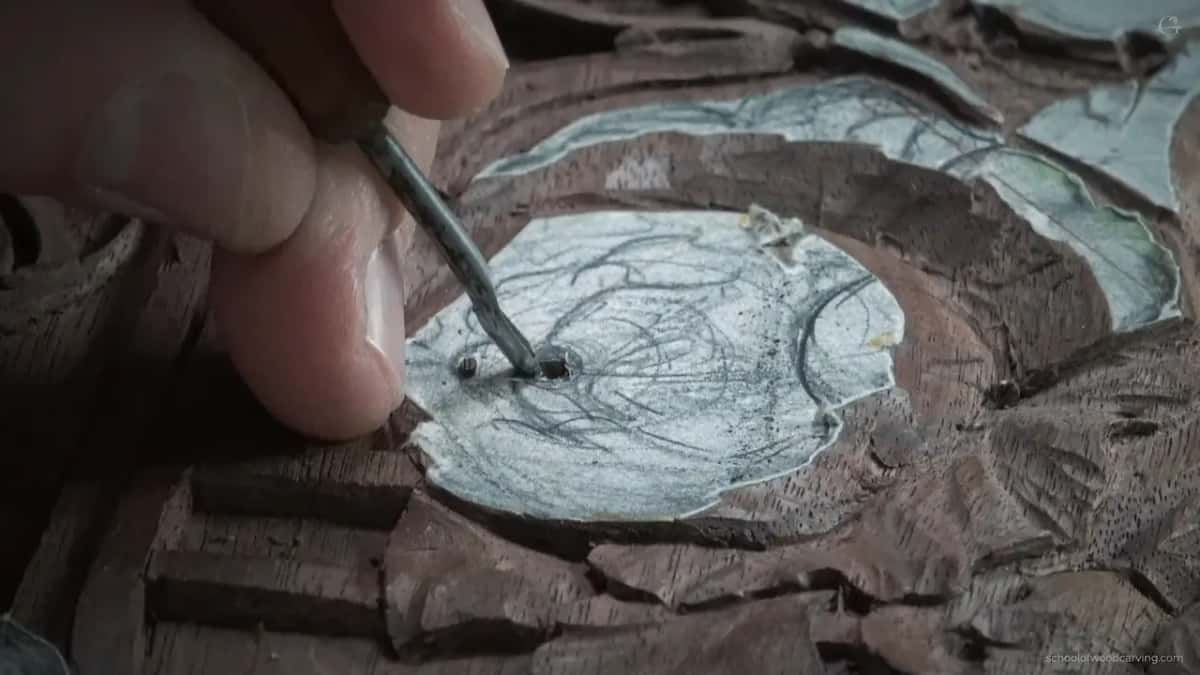
Depth decides it. A shallow dish catches light and reads as nothing, while a real hole fills with black and the flower suddenly has somewhere to go. Any gouge near half round will open it, an 8 or a 9, and I used a Dockyard that cost very little.

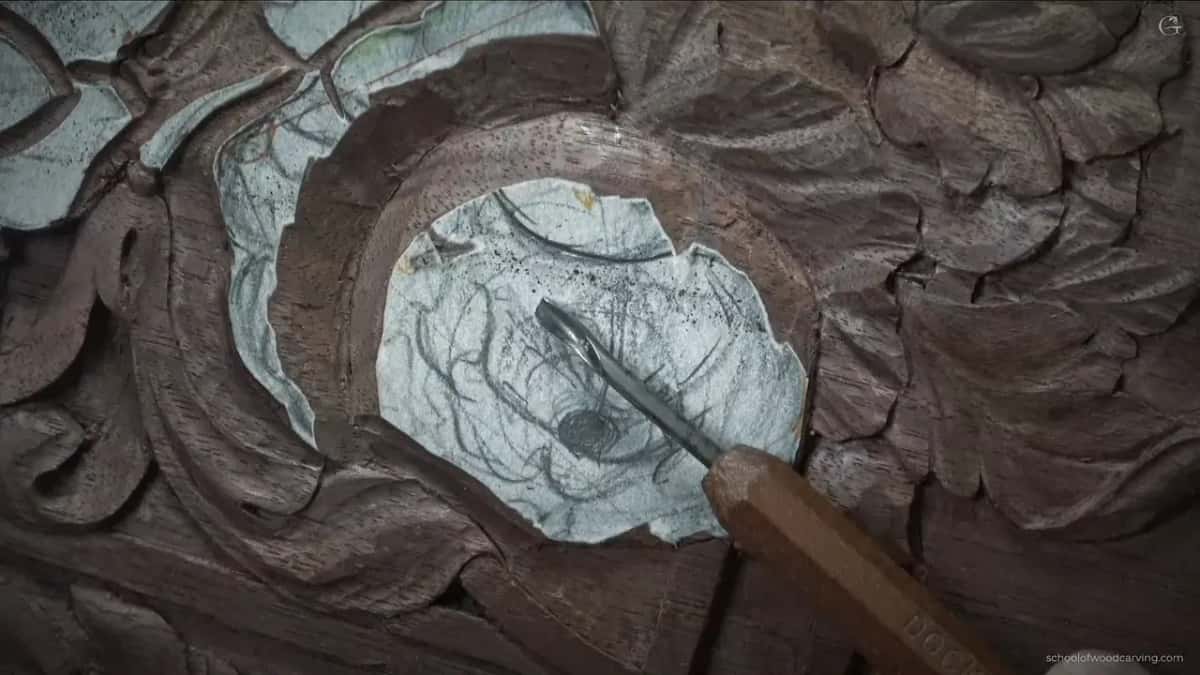
Those tools look cheap. The steel in them is very good and I have no idea what alloy it is.
Outlining the petals around it
Two millimetres of number 11 goes round each petal with the flute straight up at twelve. Where one petal must run beneath its neighbour I rotate the flute over to about one, which leans the wall and starts the overlap in the same pass. My outline runs a millimetre and a half deep here, no more than a sixteenth of an inch.


If the clock talk is new to you, the flute is the hollow face of the gouge. Twelve points it straight up, one leans it right, eleven leans it left.
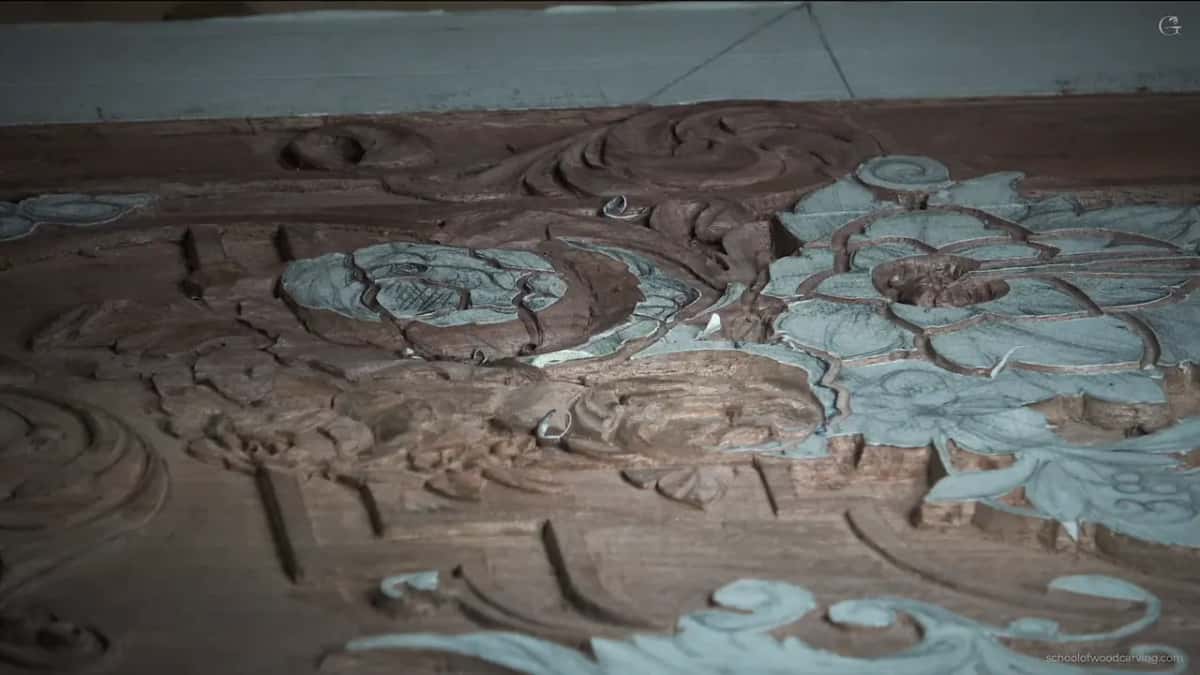
Which way do the petals overlap?
All the same way, and there is a reason that has nothing to do with carving. A flower in bud is wrapped tight, and when it opens it unwraps in one direction, the way a rolled sheet of paper unrolls. Each fold in the real bud runs the same way round, so the carving should follow it.
Nobody in front of the panel will name that rule. They will feel it the moment it is broken.
Go outside and look at a real flower before you carve one. Obvious, and almost nobody does it. The hero bloom on this panel was drawn from period ornament rather than botany, and even a stylized flower obeys the unwrapping.
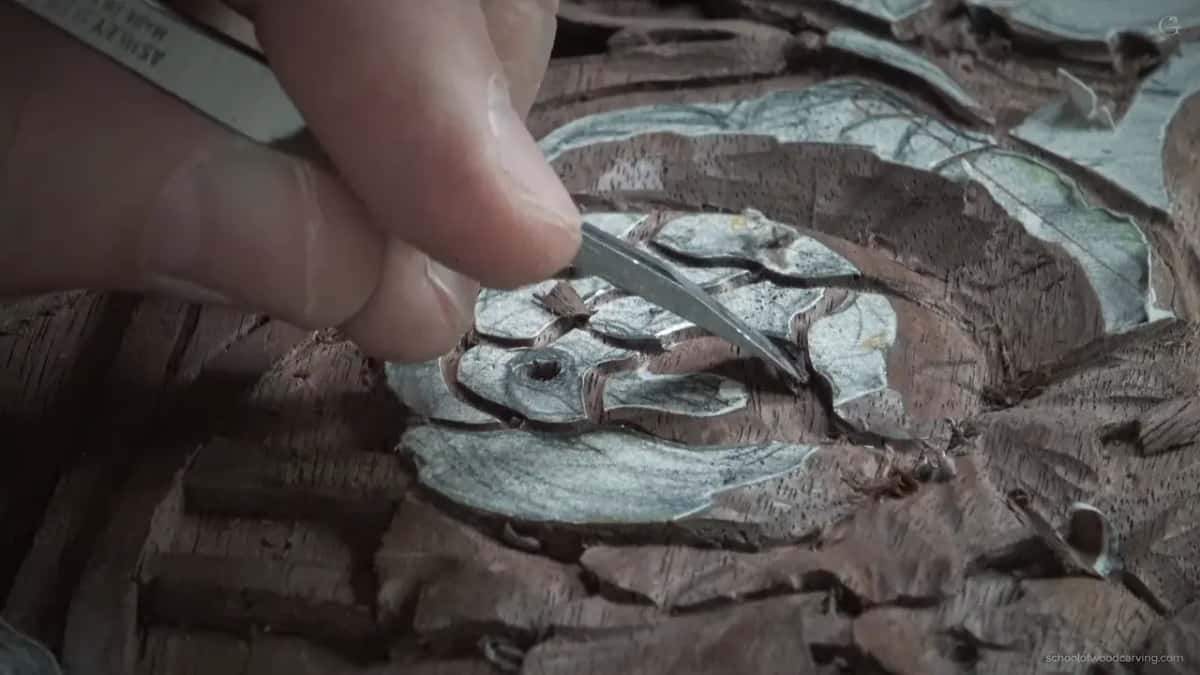
I start with a flatter tool, a number 3 at a quarter inch by Ashley Iles, and just establish which petal sits over which. Two millimetres down in places. The tool goes upside down when I want the edge to roll rather than fall away.
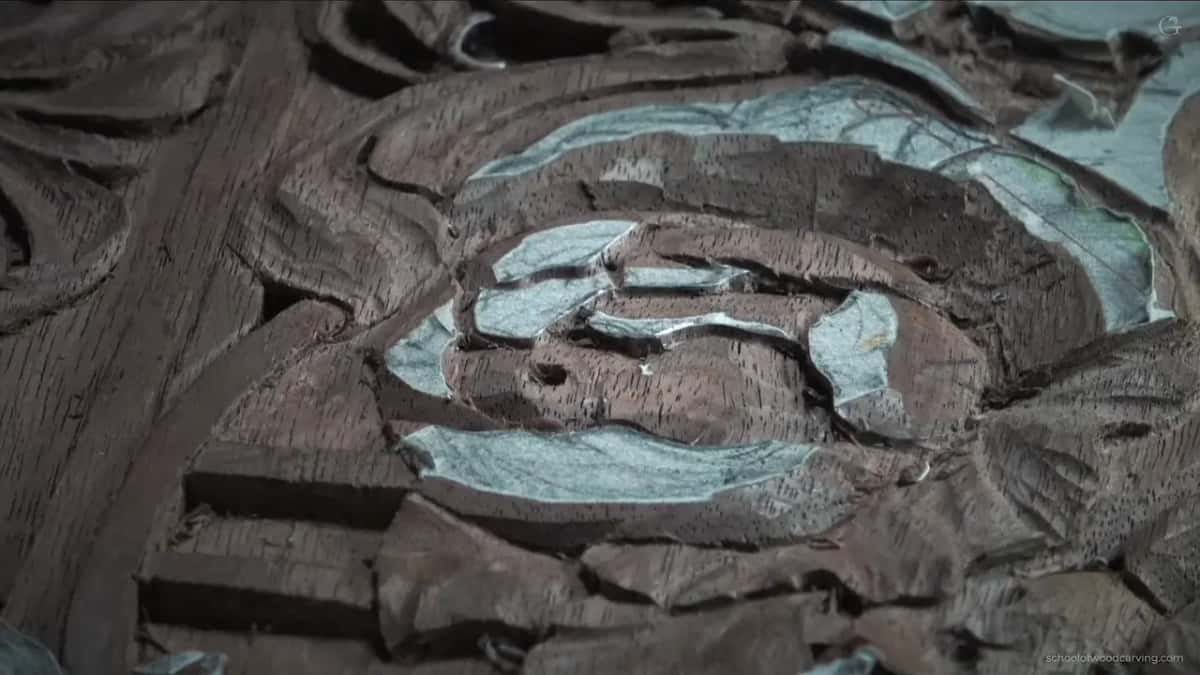
Where the shapes sit on one petal
| Part | Shape | Tool | Note |
|---|---|---|---|
| The middle of the petal | Convex, raised | Two hollows either side leave the middle standing up | Placed always by eye |
| The ground on both sides of it | Concave, and carried clean past the outer rim of the petal | Dockyard number 8 | Stop short and you have carved a spoon |
| The rim of it | Raised, and barely touched by any tool | The number 5 | Leave the very edge alone while the ground comes down |
| Under the rim | Undercut, starting shallow and then opening as it runs | The half millimetre veiner | Where every bit of the shadow on this flower actually comes from |
| That hidden point inside the bloom | A hole | Either number 8 or number 9, angled inward | Black, and deep |
| Any run of edge that came out straight and ruled | Waved just a little | A veiner at two millimetres | Reads ruled |

Handles or steel?
Steel, and it is not close. Some people cannot stand how Ashley Iles tools look, and the Peter Benson pattern I keep reaching for on this flower is one of theirs. I have had those tools a long time and never had a single problem with an edge. Looks matter, I am not going to pretend otherwise, but you can turn a new handle in an evening and you cannot fix bad steel at all.
No arrangement with anybody, in case that needs saying. I buy them.
What a set like this really buys is time between strops. An edge holding through forty small cuts instead of ten changes how a session feels, and on a shallow relief where every cut is tiny, that adds up fast.
The Dockyard gouges on this bench are the other end of the price range and the same argument applies. They look like nothing. The steel is as good as anything I own. Honing them takes seconds and they hold an edge through a whole session of this kind of work.
Why does the hollow keep going at the edge?
Stop short and what you get is a spoon. Digging in and lifting out again leaves a scooped dish halfway across the petal, rimmed right round, which is what a spoon looks like and not what a petal looks like. Run the same cut clean over the outer edge instead and the surface reads as curled.
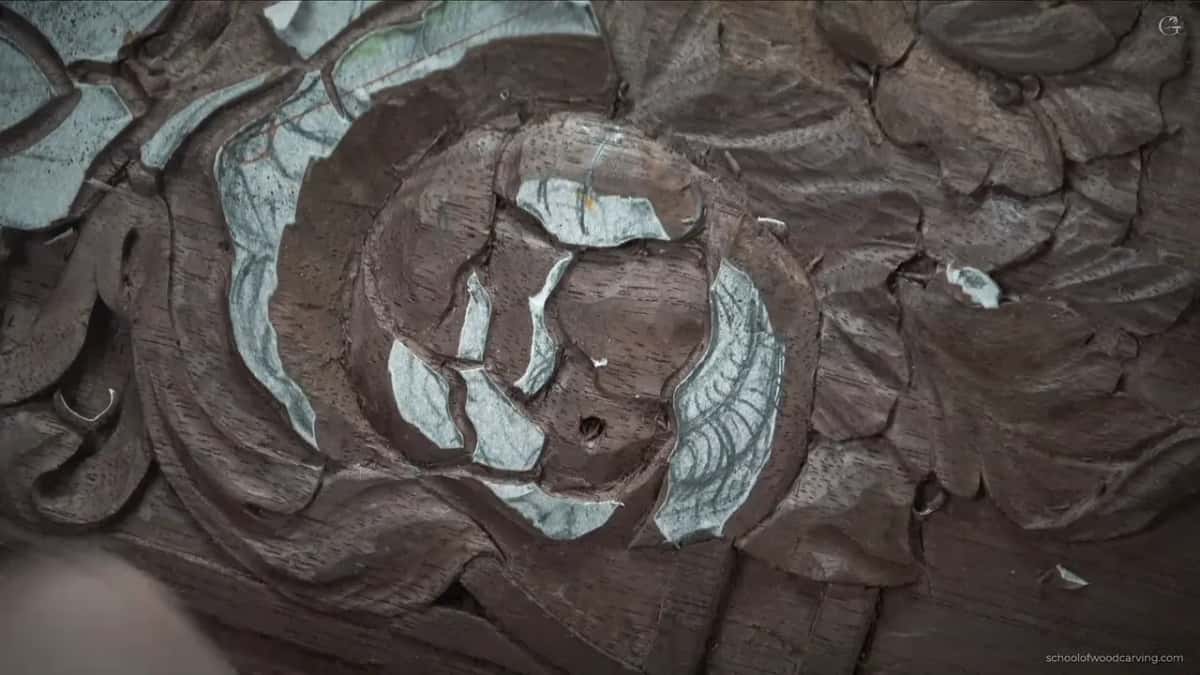
That single habit does more for a carved flower than any amount of detail added later.
Depth is limited on this panel. There is molding running right under these petals and I cannot dig past it, so most of these hollows are barely an indication, maybe a millimetre and a half. Away from the molding I can exaggerate, and I do.
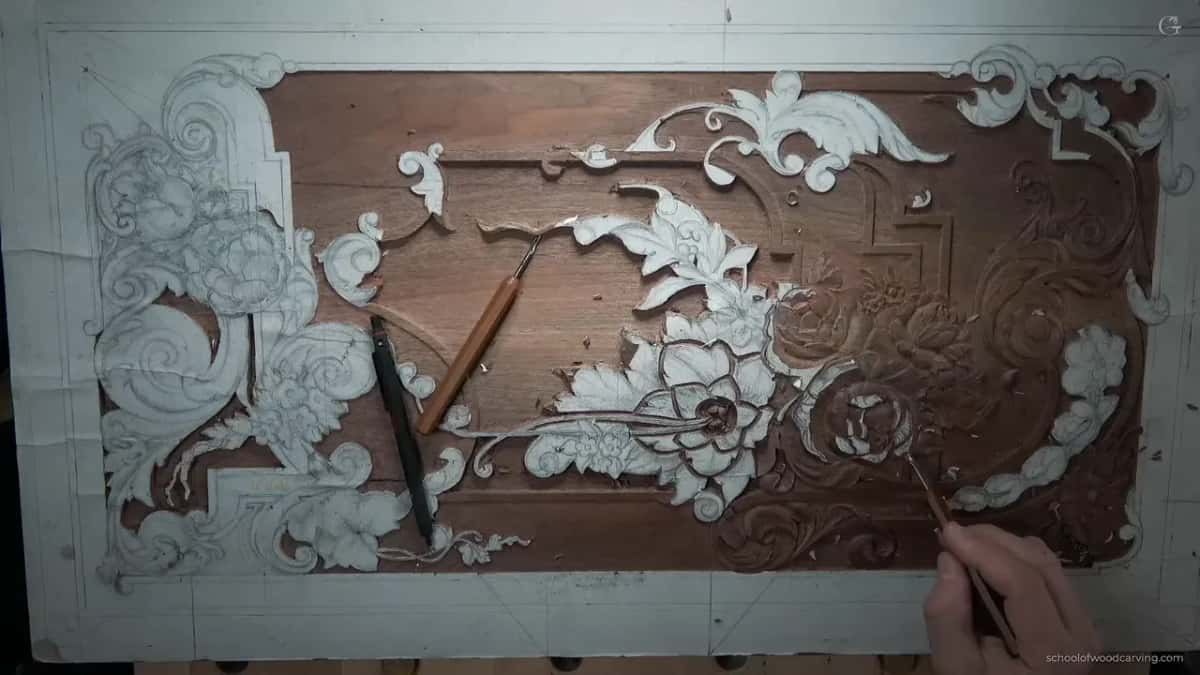

Sometimes only one hollow fits. Carve that one and let the convex sit off center; nothing is lost.

What do you do with a petal that wraps too far?
Split it. One on this flower ran right round and kept going, and next to its neighbours it simply looked wrong, too long and too smooth. A separation cut with the small veiner turned it into two petals and the whole flower settled down. The cut had to stay shallow because of the molding underneath.

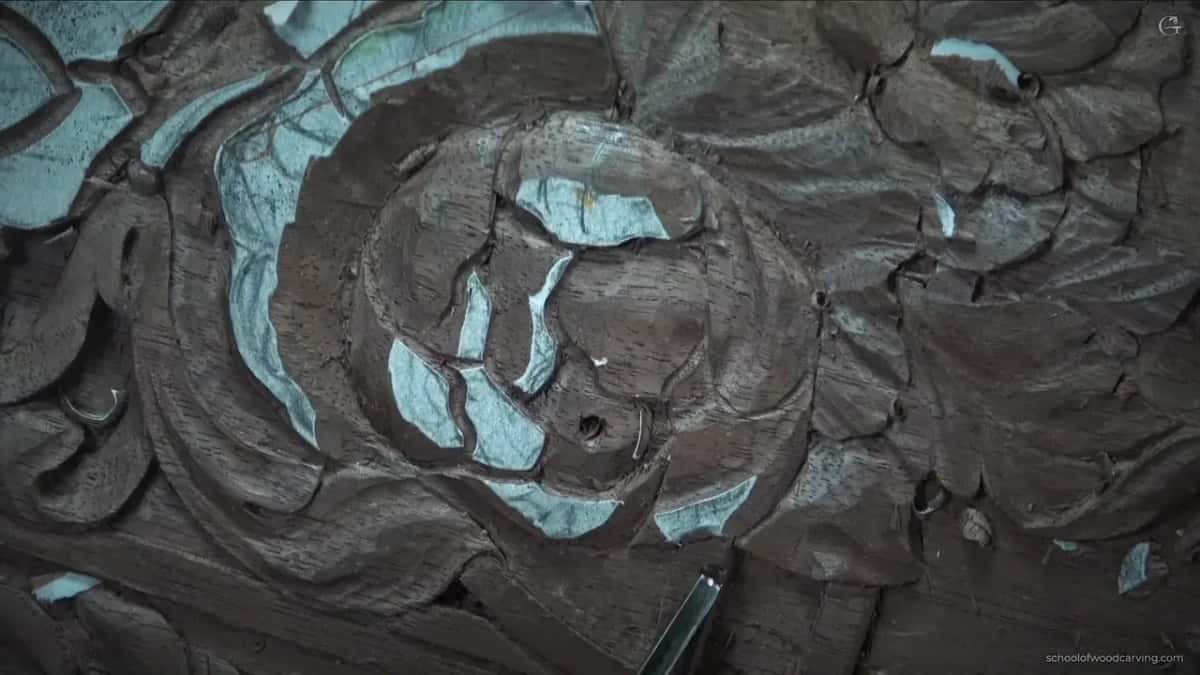
Then the lower half tucks under. Flute at about eleven, excavate, and the shadow does the rest.
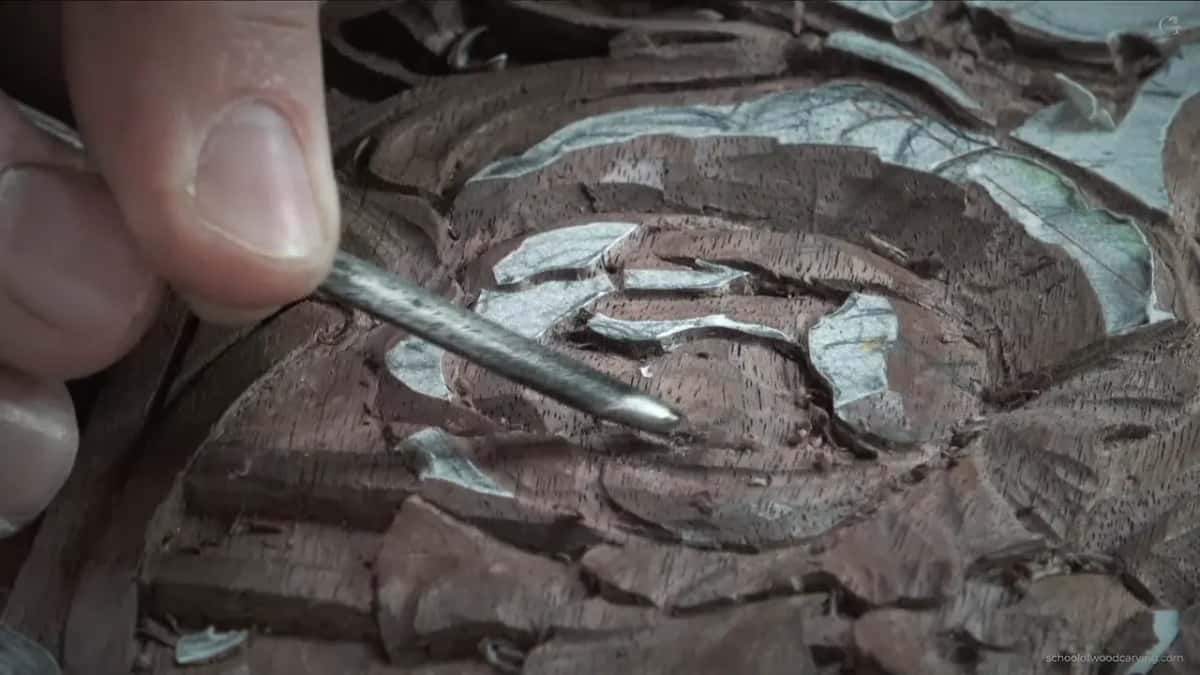
While I was there I found two straight lines I did not like. A carved edge that runs straight announces the pencil, so I put some waviness into both of them. The low relief here gives me almost nothing to work with, which makes those small moves matter more, not less.
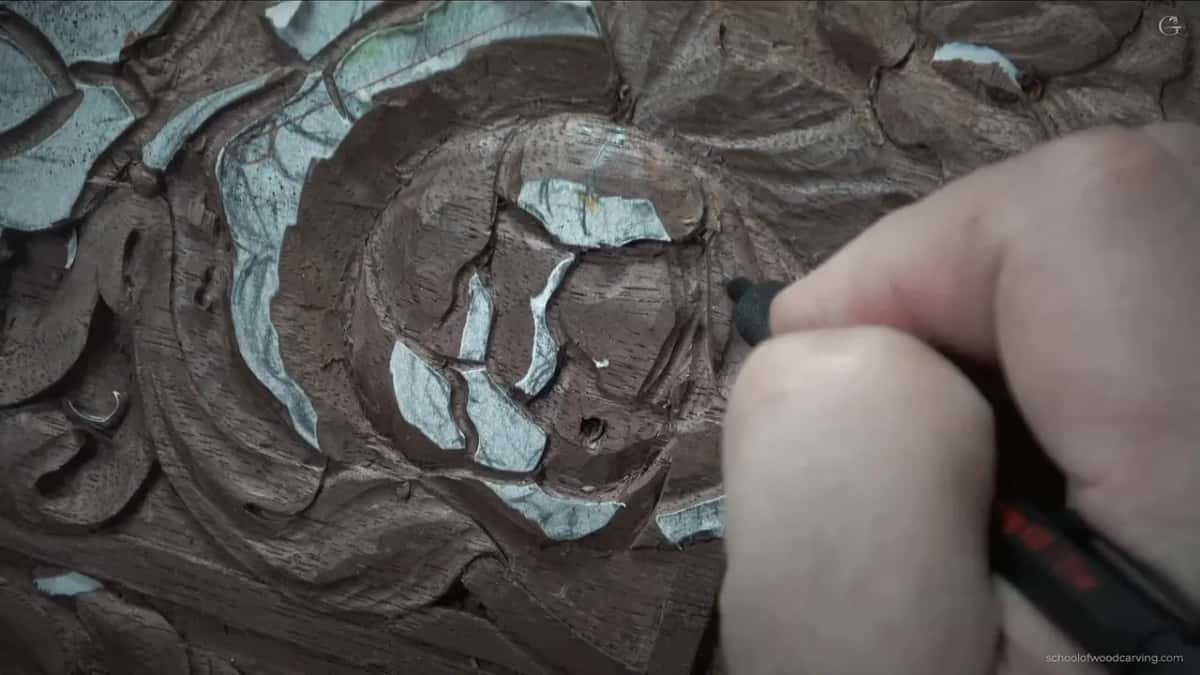
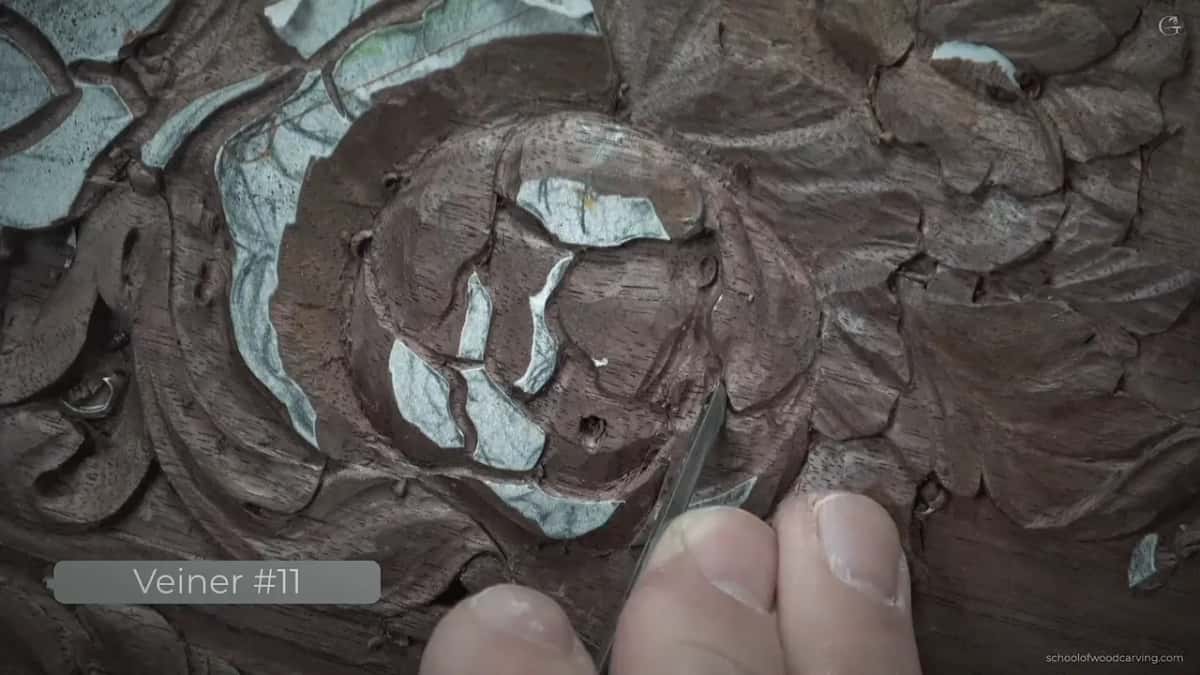
Undercut shallow at first and let it open up as it goes. A gradual undercut looks far better than a uniform trench.

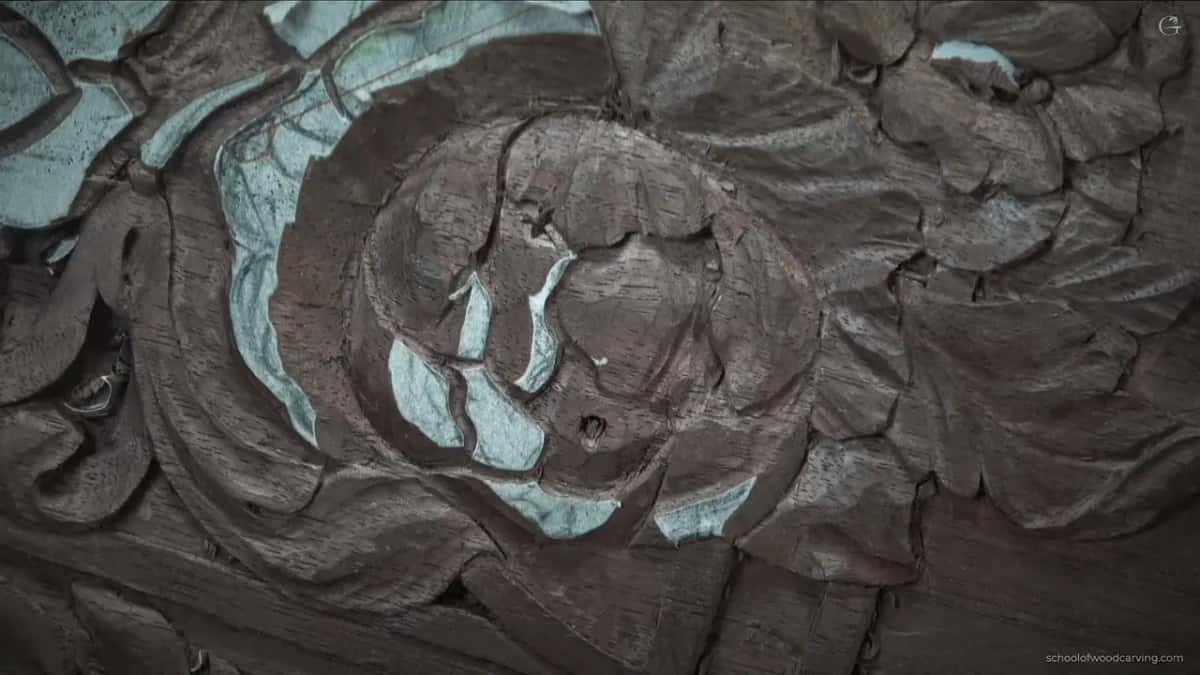
No sharp points anywhere
Any petal ending in a spike is telling the viewer a lie. Nothing growing comes to a knife point, and when I see one appearing between two of my own cuts I go back and soften it, because it is not logical and the eye knows it is not logical long before the mind does.
More movement, more curl, more places where the surface turns. Therein lies the difference between a carved flower somebody made and a carved flower somebody drew. You do not have to copy my petals exactly, so take the idea and carve your own.
None of that is politeness. This panel took its shape from a period source and then from my own hand, and copying my errors line for line teaches you less than making your own. Learn where the center goes, learn which way petals unwrap, and the arrangement belongs to you. A course on acanthus works the same way.
A mistake I left in the video
I got carried away with a half millimetre gouge at about two o'clock and cut a hole much deeper than the design needed. It was a real mistake and I said so on camera. The only reason it did not matter is that I still had material above the floor in that spot, so there was room to repair it by bringing the surface around it down to meet the damage.
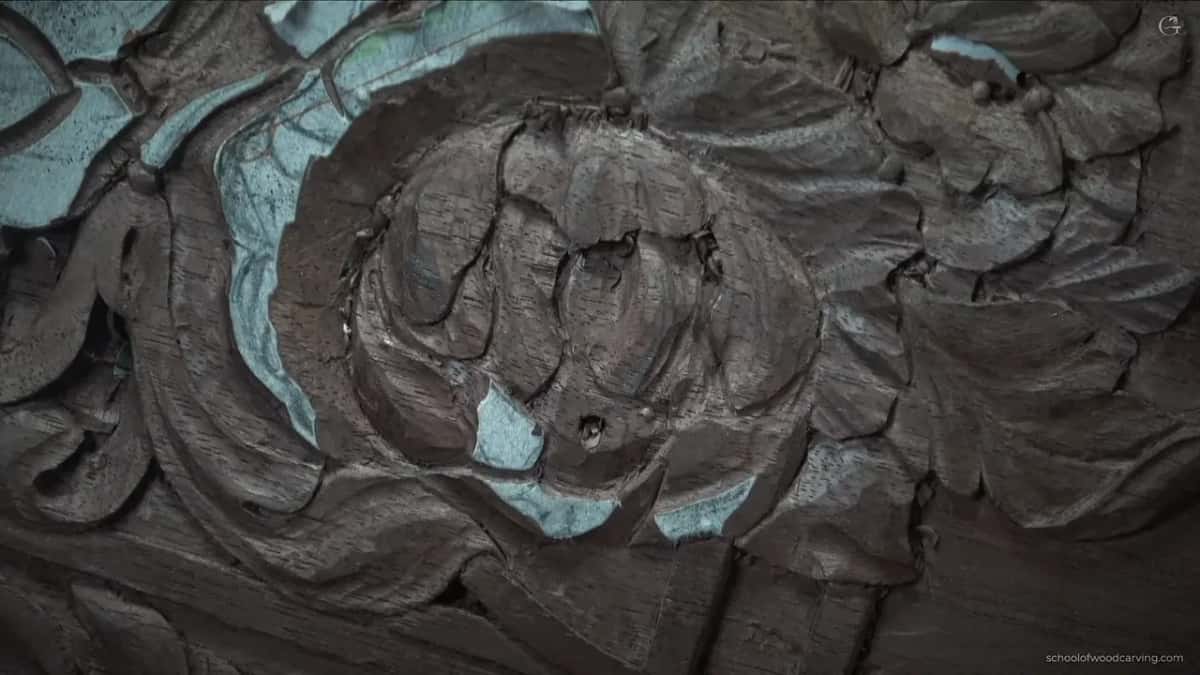
Anywhere else on this panel that same cut would have been expensive. Do not exaggerate where you do not have to.

When the wood is there, though, spend it. This section had meat above the ground and I used it for a deeper hollow and a blacker shadow.

The stroke I borrowed from jewellers
A small wiggle instead of a push. Metalworkers move a graver that way, and on a one millimetre gouge it gives you control a straight push never will. It does not suit every cut. It suits the ones where the tool would otherwise run away from you, and those are the cuts that ruin an afternoon.

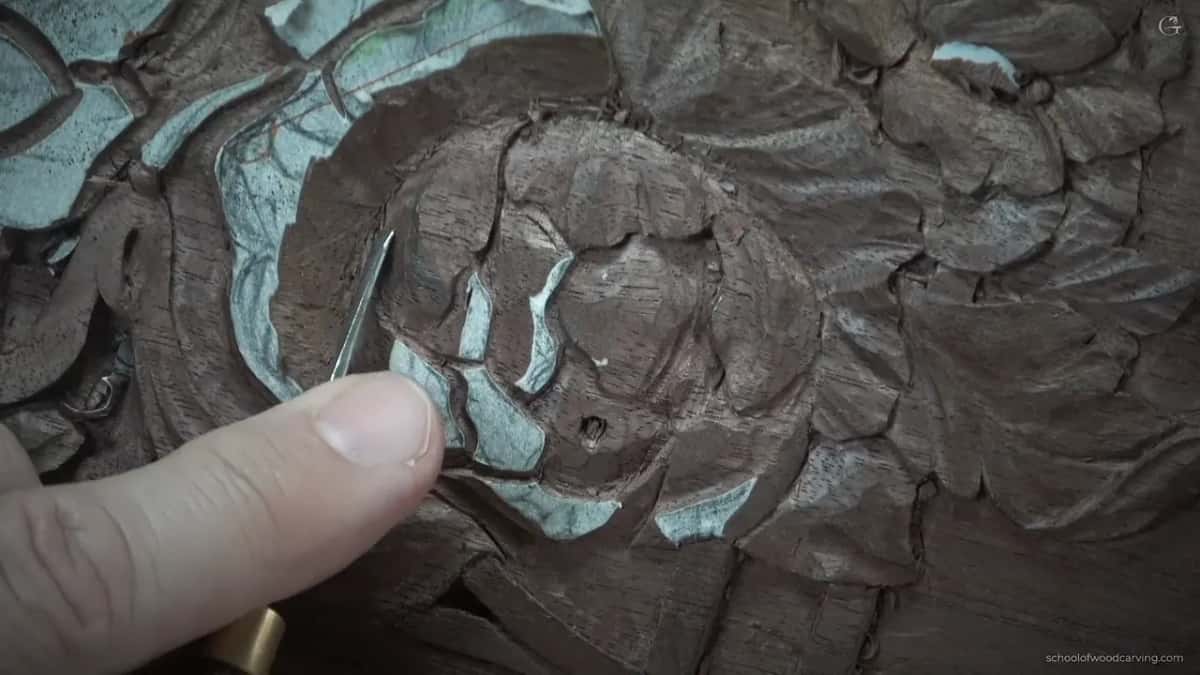
Keeping the paper on the high spots
Look at the finished section and the white paper is still sitting there, almost untouched. Those are the highest surfaces, the rims and the ridges, and every one of them was left alone while the ground around them came down. Depth in this style is made by removing the neighbours, not by carving the shape itself.
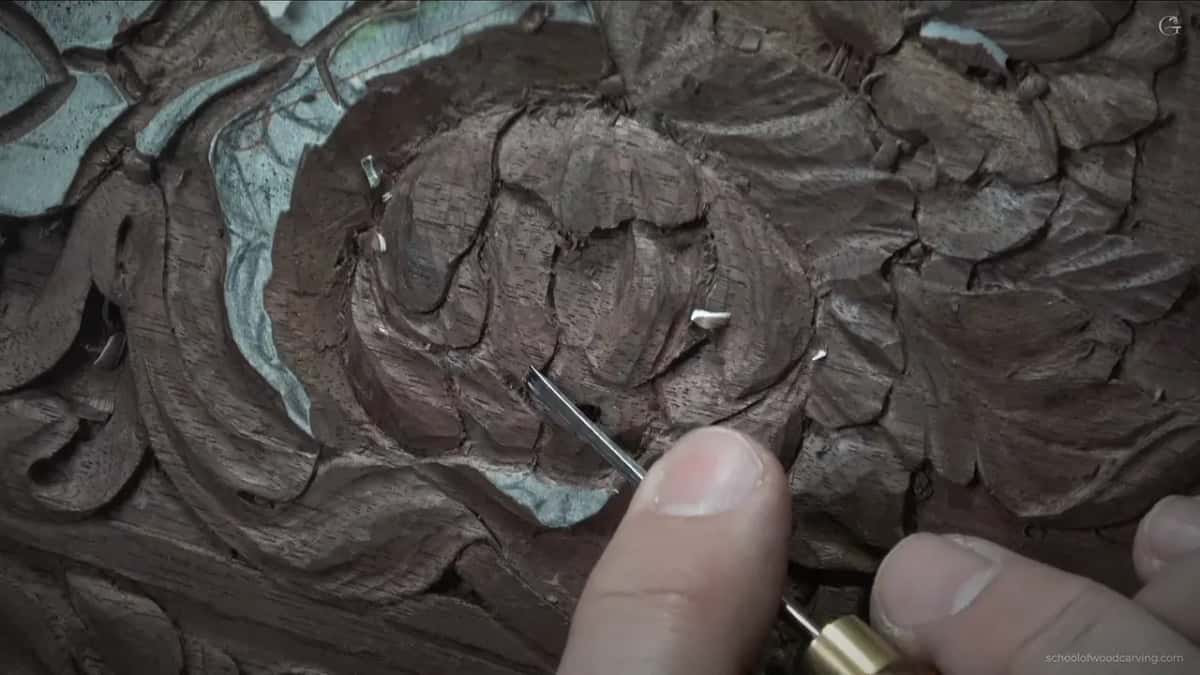
The same thinking runs through the flowers in Part 2 and through floral and molding work generally.
One tip that has nothing to do with carving
Honing paste dries out. Most people throw the stick away at that point, and one member of the school tried to bring his back with solvent, which finished it off completely. All it needs is a few drops of mineral oil worked in. I buy the food grade kind from the pharmacy because it has no smell, and a revived stick lasts another year.
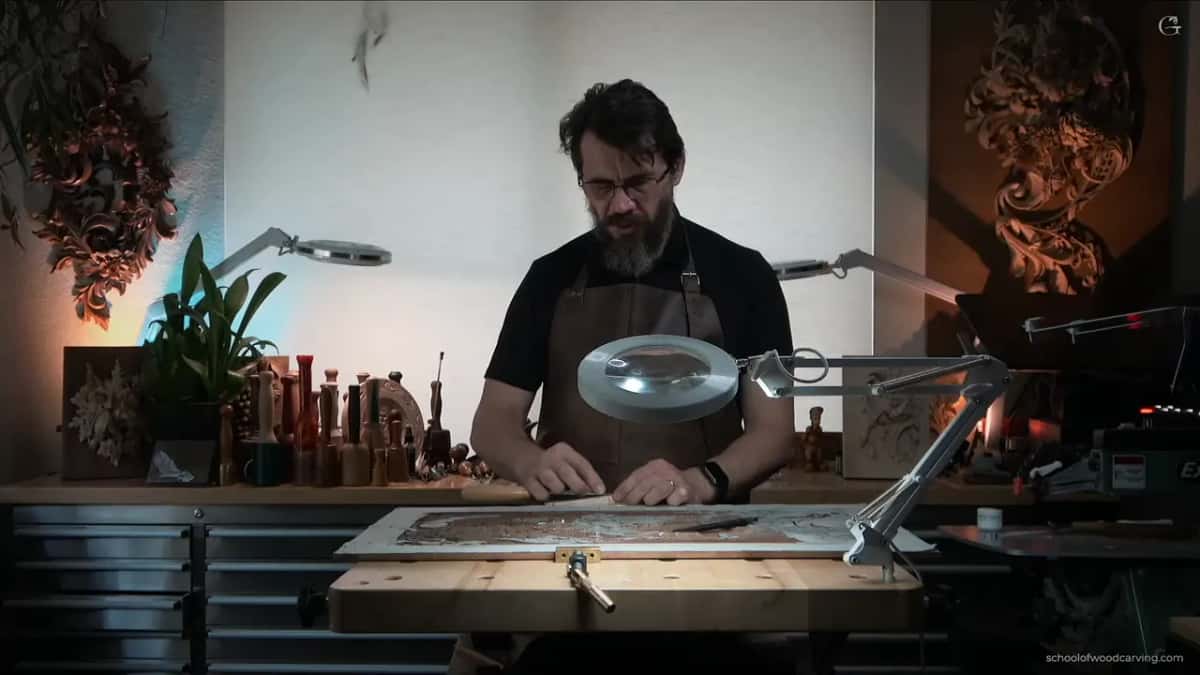

My strop is a scrap of basswood with paste rubbed into it. Nothing bought, nothing special, and it keeps a one millimetre edge alive through a whole flower. More on that in the sharpening course.

Understand that this is low relief and not a carving in the round. Projects like Hashemi Flowers or the Venetian rosettes work differently. Here I am faking roundness inside two or three millimetres, and the fake has to be convincing from one particular direction, because the panel will hang upright and the light will come from above it.
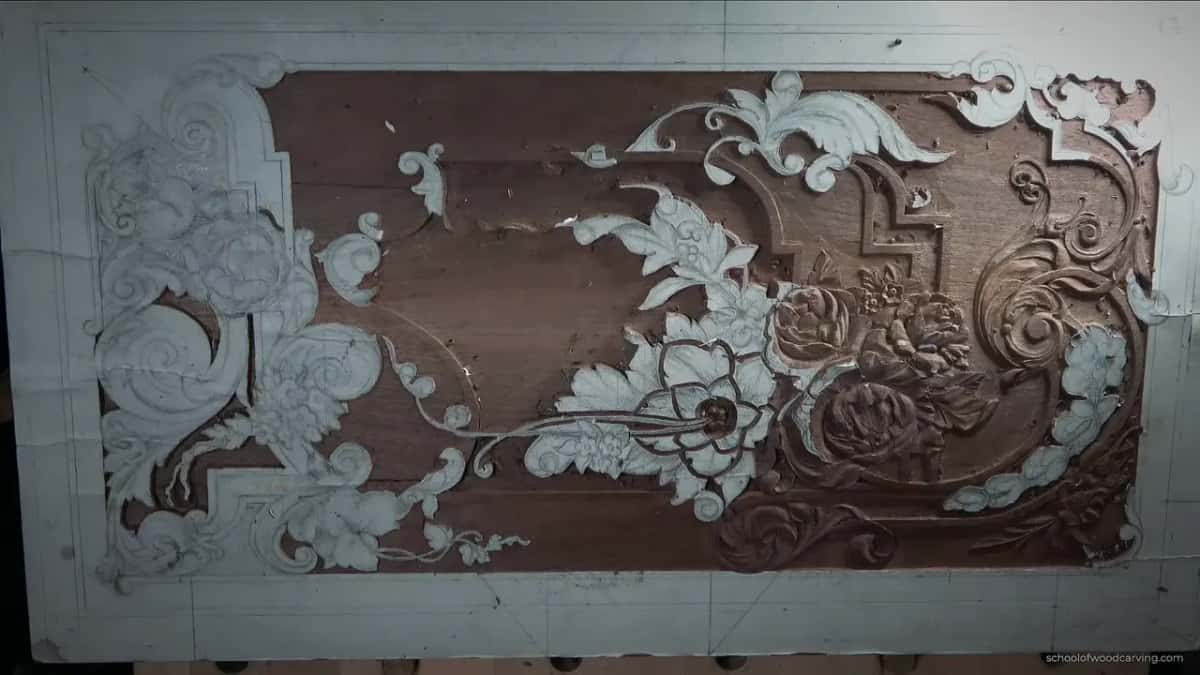
Turn a lamp sideways across a carving like this and it changes completely. Try that and see. Not how it photographs flat.
I lost some footage from this session because the camera was pointing at the wrong thing while I worked, which happens more than I would like. What I did in that gap was simple enough to describe: two hollows either side of the middle to leave a convex, then a flat number 3 to blend it. Nothing you have not now seen three times.
Do you want a carved flower that looks assembled, or one that looks like it opened? Shall we carve?
The lesson runs in three parts inside Carving Furniture Panel, Part 3, following the lesson on blending ridges. The drawing behind it came out of the design course. Tools live in All About Tools. Come and carve beside me at an in person class, or find Access on the tuition page.
How it's done
- Find the buried point. Look for where two petals cross and let the center line die just under them. It sits below the surface, never on it, and every movement in the bloom will be aimed at it.
- Open the middle at an angle. Dig a hole with a number 8 or 9, tipping the tool toward the buried point rather than straight into the board. Go deeper than feels reasonable, because that black opening is what gives the flower somewhere to go.
- Outline each petal. Take two millimetres of number 11 around every petal with the flute at twelve, rotating to one where a petal must slide beneath its neighbour. Half of one millimetre is plenty of depth.
- Keep every overlap turning the same way. A bud unwraps in one direction, so the carving should too. Establish which petal sits over which with a flat number 3 before any hollow is carved.
- Carry every hollow past the rim. Run each concave right off the petal instead of digging in and lifting out. A cut that stops short leaves a scooped dish with a rim, which reads as a spoon rather than a curl.
- Raise the rim and undercut it. Leave the very edge untouched, lift it with a number 5 at an eighth of an inch, then undercut beneath with the narrowest veiner you own. Start shallow and open the undercut as it runs.
- Split any petal that wraps too far. A petal that keeps running next to its neighbours looks wrong. A shallow separation cut turns it into two and the whole flower settles. Watch the molding underneath and stay above it.
Frequently asked questions
Where is the center of a carved flower
Underneath the petals, not on the surface. It usually sits just below the point where two front petals cross. You never see it, and every movement in the bloom is aimed at it anyway.
Why dig the middle of a flower at an angle
A vertical hole catches light on its far wall. Tipping the tool toward the buried center leaves an opening that fills with black instead, and that shadow is what gives a shallow carving depth.
Which direction should carved petals overlap
All the same direction. A flower in bud is wrapped tight and unwraps one way when it opens, so each overlap in the carving should turn the same way round. Viewers feel it immediately when one runs backwards.
What to carve next