
Alexander Grabovetskiy, woodcarver, School of Woodcarving · Published 2024
Why should an outlining cut stay above the floor?
Quick answer: Stopping short is about what happens next rather than about the cut itself. Once the bottom has been touched, that junction holds nothing for a fine tool to work against, so every mark in it is permanent. The material an undercut would have used has gone as well.
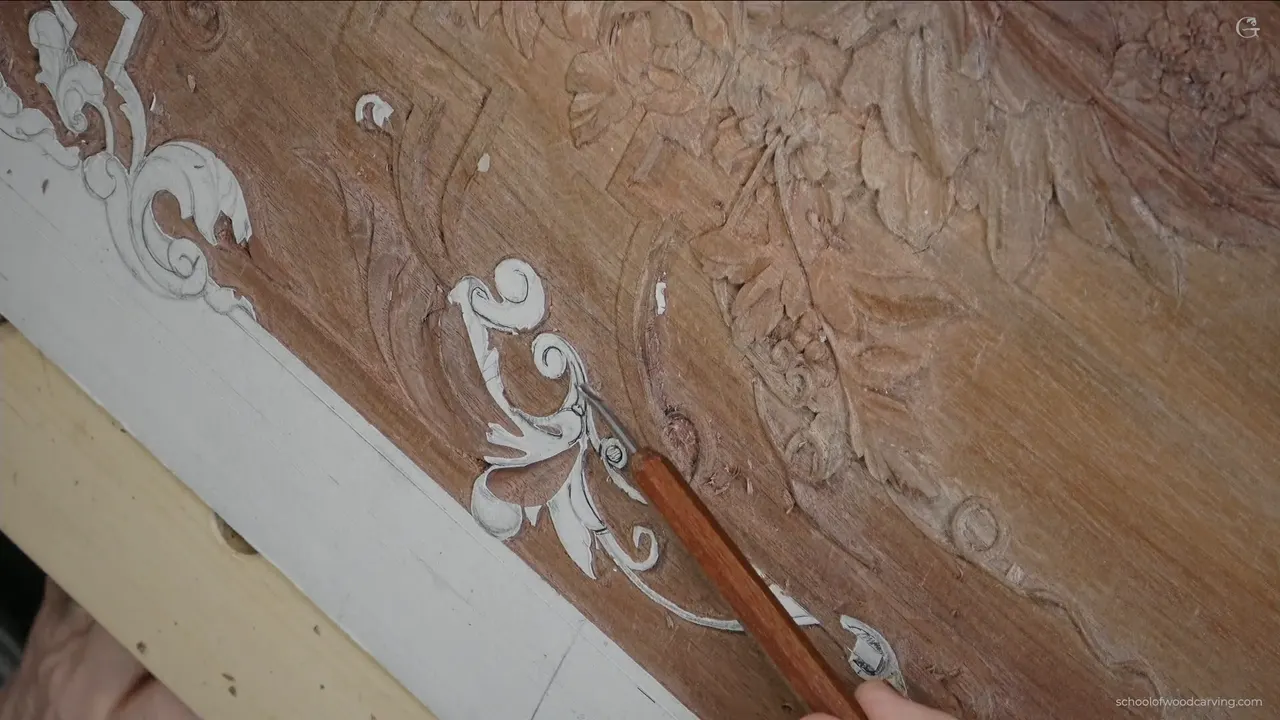
An outlining cut should never arrive at the background. Both reasons show up an hour after the mistake, which is why this habit is so hard to teach anybody. Touch bottom and the corner is finished. Worse than that, the wood an undercut needs has already gone, so the shape will never lift away from its ground at all.
Leave a millimetre. Every time, on every shape, however sure you feel about it.
Some version of that got said a dozen times while I worked here, and it was not nagging. Almost every ruined detail on a student panel, in thirty years of looking at them, came from one enthusiastic pass that went the whole way down to the ground.
Key takeaways
- Roughly a millimetre stays above the ground on every outline you make, whatever the shape happens to be.
- Go down the whole way and that corner is done, marks and all.
- Undercutting becomes impossible too, which costs the shadow that makes shallow relief readable at all.
- Cut the boundary in with a knife rather than drawing it, and the mark survives every shaving that follows.
- Waste leaves as plugs rather than sweeps, since a plug reports back on depth and on the sharpness of the wall it leaves.
- One finger anchored on the surface turns the whole hand springy, and that is how tiny cuts get controlled.
You cannot clean a corner you have filled
Picture the outline as two walls meeting a floor. While one millimetre still sits in that junction a small veiner can go down, take the marks out, square the wall and leave a crisp line behind it. Lose that millimetre and the corner is whatever your first pass made of it.
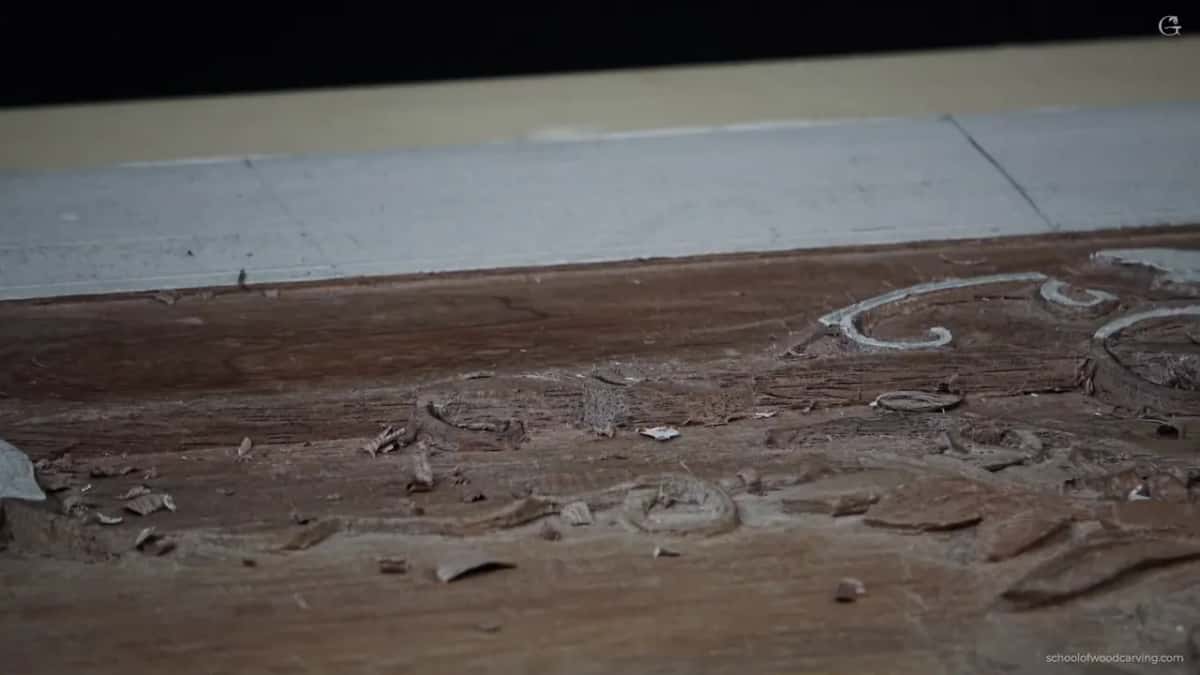
Cut to the bottom on the first pass and that junction becomes the finished surface, complete with every ridge and step the gouge left. Nothing reaches in to repair it either, since anything sent down there goes clean through the ground behind.

So the first pass falls deliberately shy, and the last millimetre comes off with a smaller tool once the shape around it has settled.
The undercut you have not made yet
The second reason is the expensive one. Undercutting runs a blade slightly beneath an edge so the shape appears to stand free, and that manoeuvre needs material underneath to work in.
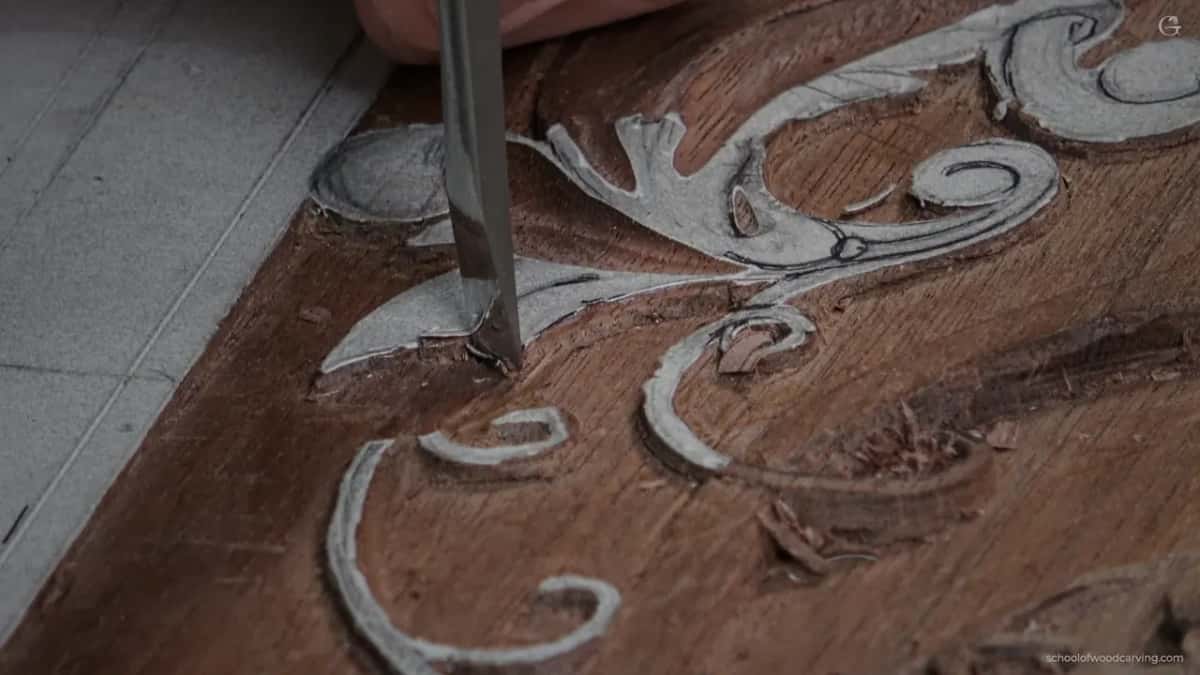
Go too deep while outlining and the wood gets damaged exactly where the undercut was going to live. Nobody sees it today. Two hours on you pick up the smallest veiner, find that edge already ragged, and nothing can be done.
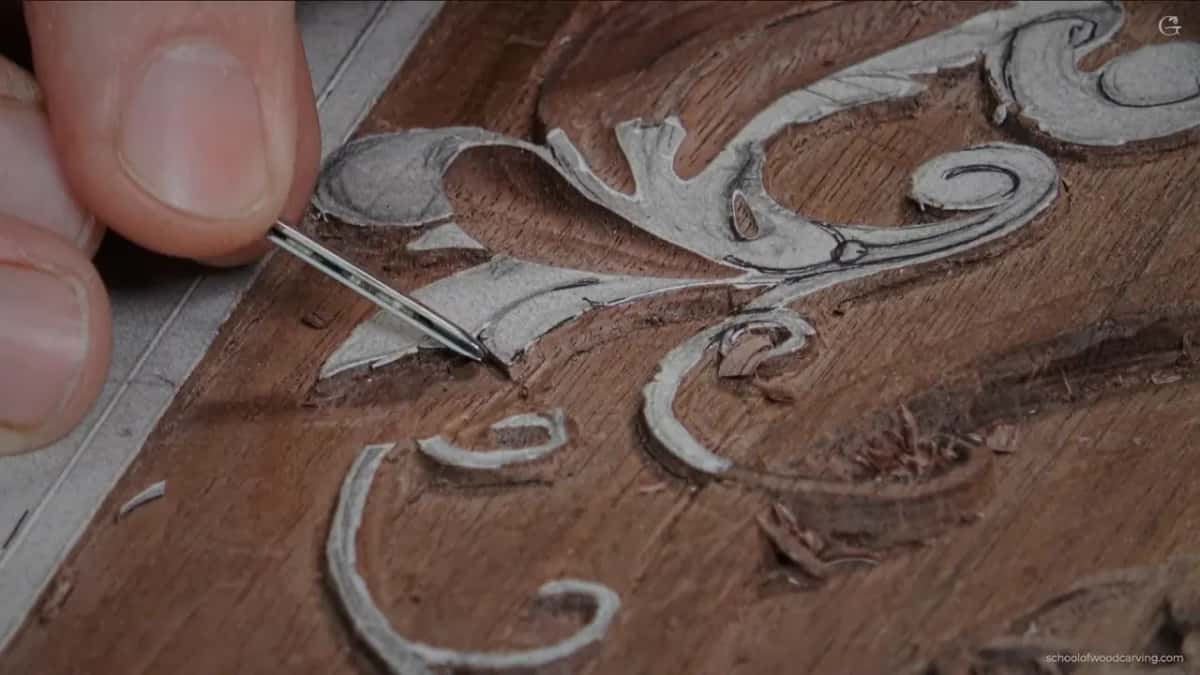
Half of one millimetre is the whole operation. Tiny cut, beautiful shadow, and the furniture lesson explains why it stays that small on something people will handle.
How deep each cut actually goes
| Cut | Depth | Tool | Why |
|---|---|---|---|
| Outlining a shape for the first time | Always stop short | A two millimetre veiner, or a spoon nine if wider | Leaves room |
| Waste pockets | Straight down, then rotate the tool where it stands and lift out | Whatever sweep will fit | You keep control of both depth and edge |
| A shoot emerging from below the moulding, away across the panel face | One sixteenth of an inch | A veiner | Any broader and it reads as a leaf, not a shoot |
| Corners nothing else reaches | Only the point of the blade doing any work | Whichever knife happens to be nearest on the bench at that particular moment | It comes sharp |
| The undercut | Barely half of a single millimetre | Veiner, laid over | It buys a black line under the edge, and that line is what makes the carving readable |
| The final tidying of the background itself, which happens much later | Not yet | A short bent spoon gouge does it | Nothing here is final |
Plug cuts against sweeping the waste out
There are two ways to clear a pocket of waste and I use both, but not interchangeably. You can sweep the gouge through and lift the material out sideways, which is quick. Or you can drive it straight down, rotate the tool where it stands, and take the waste out as a plug.
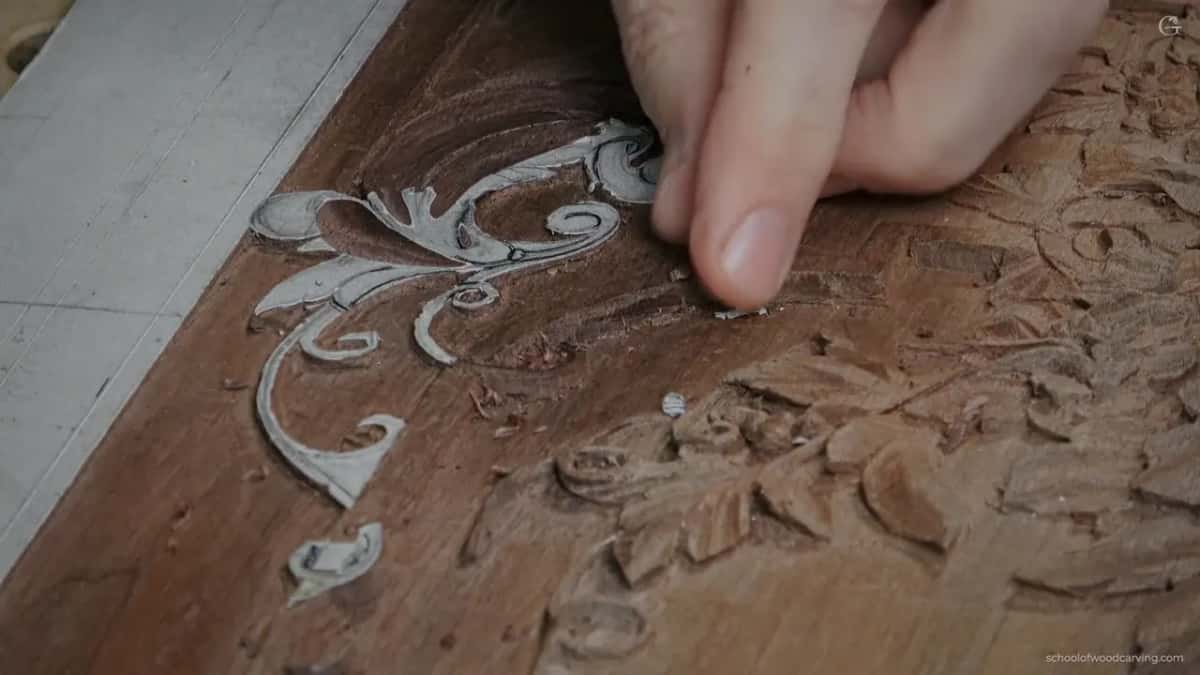
Sweeping has a limit that shows itself at the wrong moment. Depth is invisible while the tool is travelling, and the edge left behind at the far end of the sweep is whatever the grain decided. The plug gives me both numbers: exactly how far down, and exactly how crisp the wall is.


Here the plugs went in with a spoon nine at a quarter inch to start, then a Dockyard around a number 8 for the small pockets, then a French made nine that I like for no reason I can defend to anybody. Little by little, and slower than feels necessary. That got repeated about six times while I worked, and every repetition was addressed to the version of me that always wants to hurry through this part.
Cut the boundary in, do not draw it
Two lines here mattered more than everything else put together: the edge of the moulding and the boundary of the area I was lowering. Cross either and there is no repair.
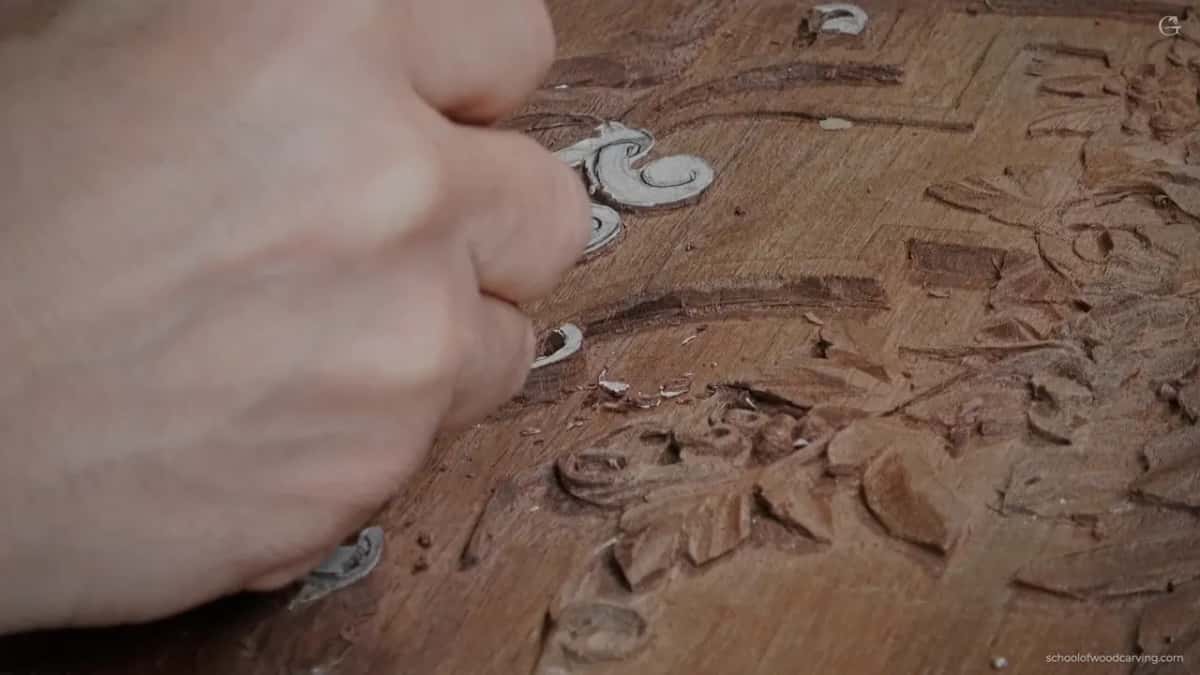
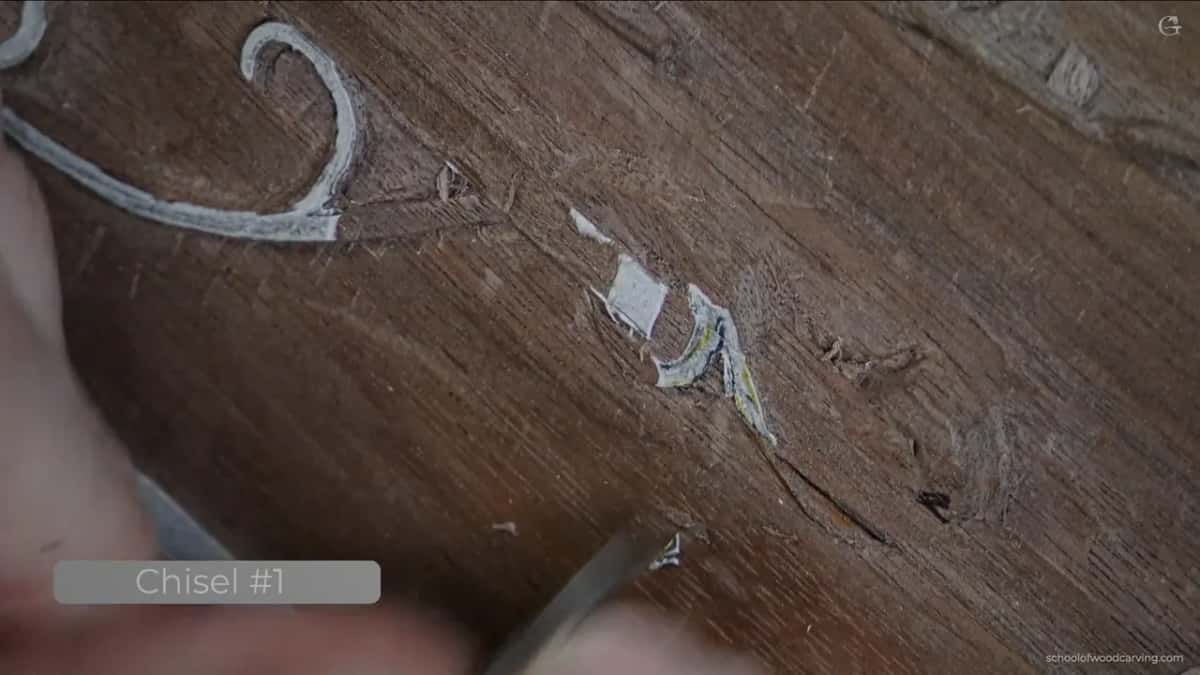
Graphite marks them, which works until a shaving lifts it. Score them with a blade instead and the mark stays. Better still, a scored line arrests a gouge that drifts toward it, since those fibres are already parted and the chip breaks at the score rather than running on past it.


Same knife then goes along the whole side while it is already in my hand, which saves putting it down and picking it up again, and small economies like that are most of what separates an afternoon that goes well from one that does not.
What does perpendicular actually mean here?
People hear the word and stand the handle straight up in the air. Not it, and the difference matters a great deal on work this shallow.
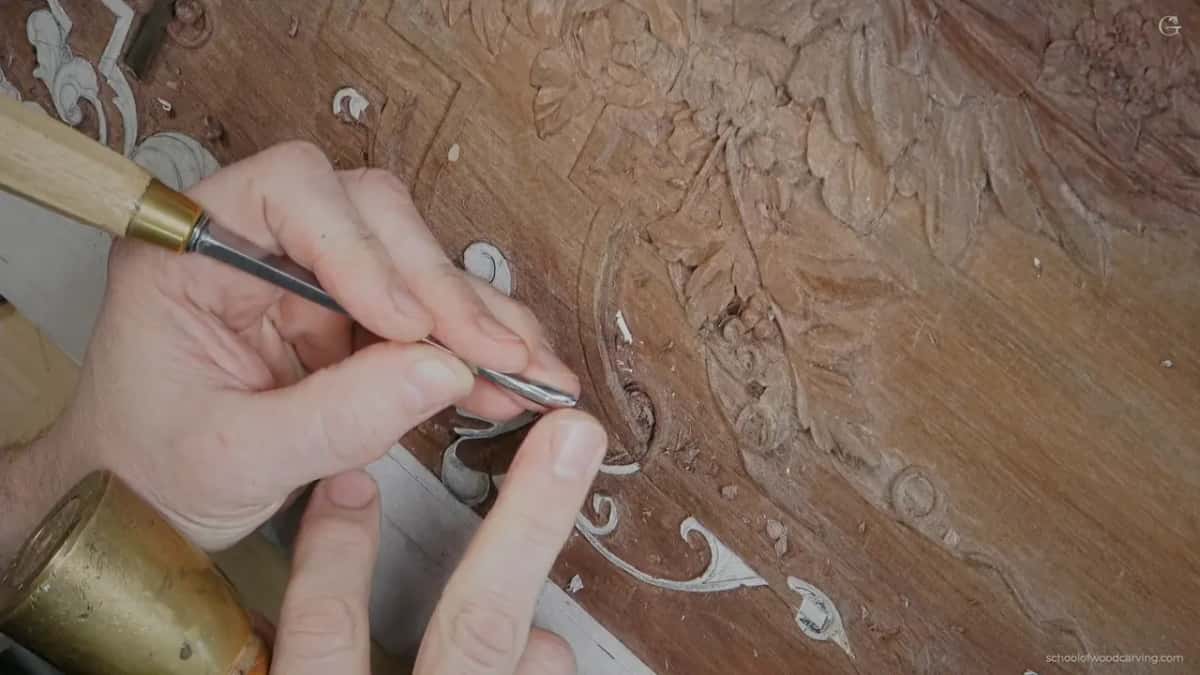
Most of my gouges carry a small bevel on the back as well as the front. The square I am describing is that back bevel laid along the wood, which leaves the handle tilted slightly away from you. Get it wrong and the wall either undercuts itself or flares outward instead.

Which is also why a back bevel is worth grinding onto tools you use inverted. Sharpening covers how.
A finger that works as a spring
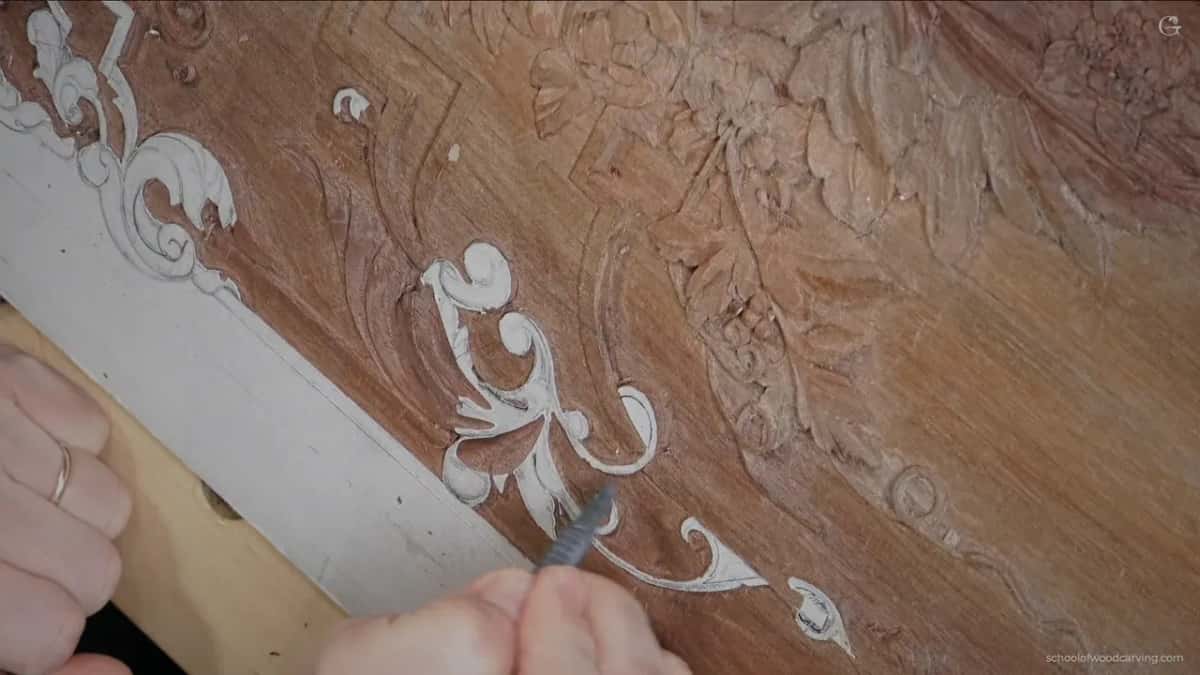
Watch the left hand on the close shots, because it is doing more than holding the wood. One finger anchors the surface with the blade lying across it, and that contact makes a spring of the whole hand.
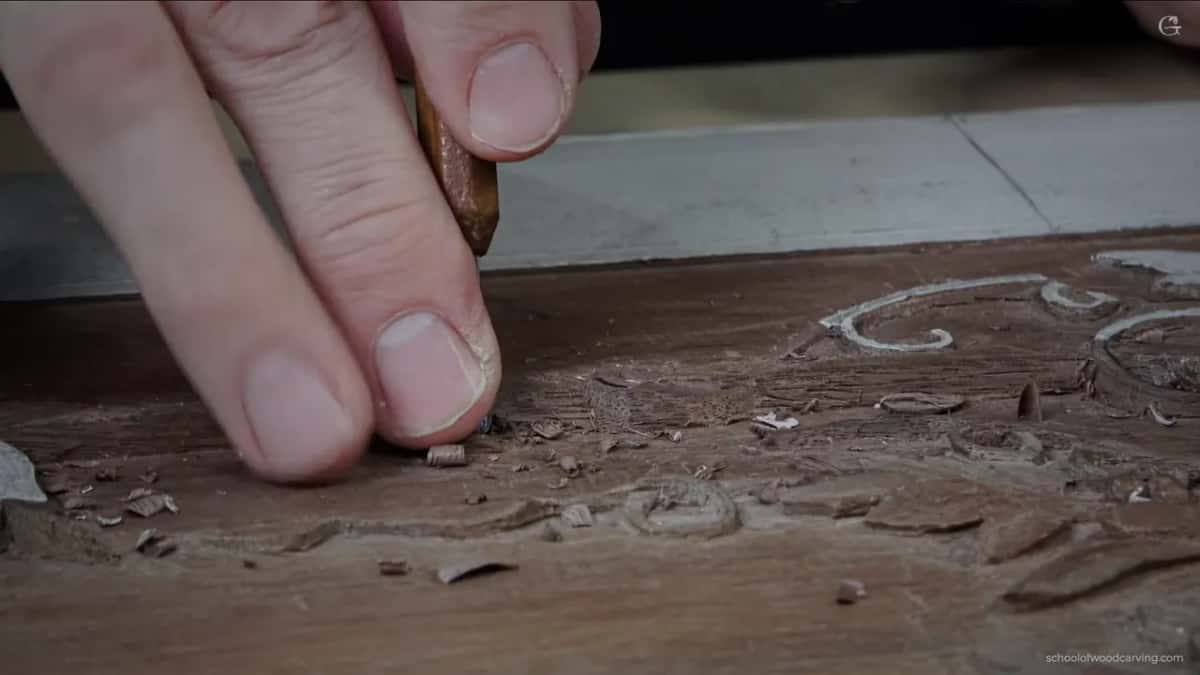
Stopping is what it buys. An arm sends a tool wherever the arm is going, while a blade travelling over a braced finger can be checked mid pass, which is precisely what a pass this short demands of a carver.
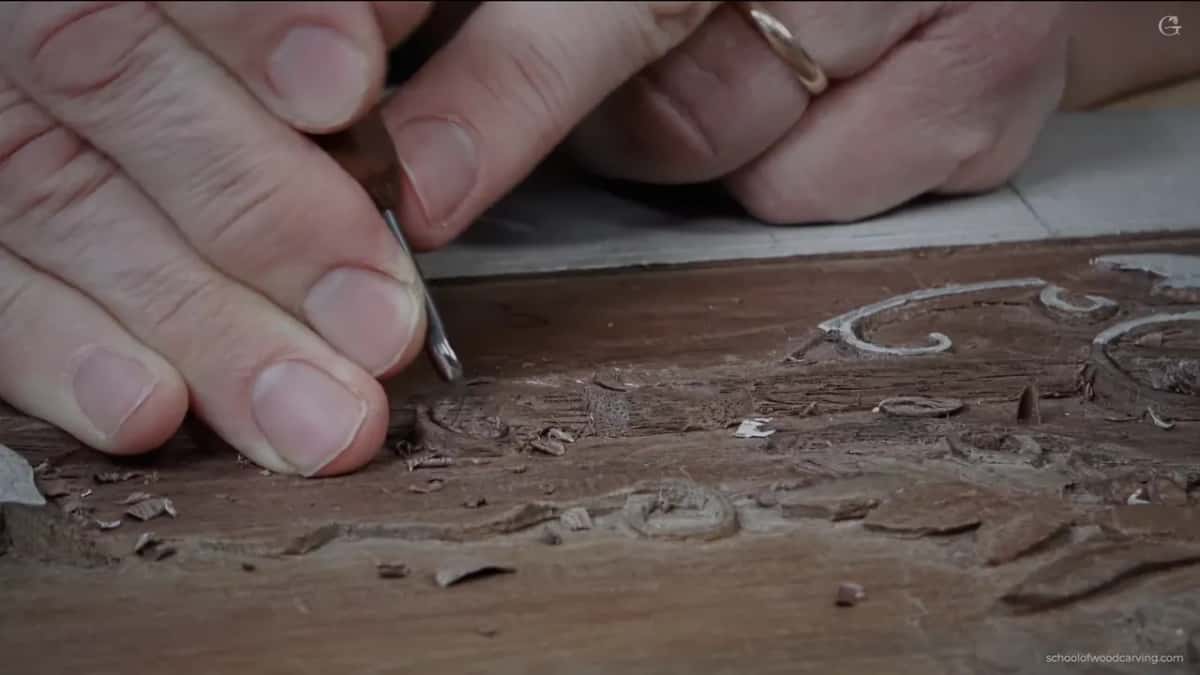
Nobody taught me that. It is not in any book I own and it was not in any class I ever sat through, and it may well be the single most useful thing in this whole lesson.
Under the moulding, over it, and under again
The acanthus on this corner does not sit beside the moulding, it crosses it. It runs underneath, surfaces over the top further along, then dives under once more, and each of those three passes needs its own thinking.
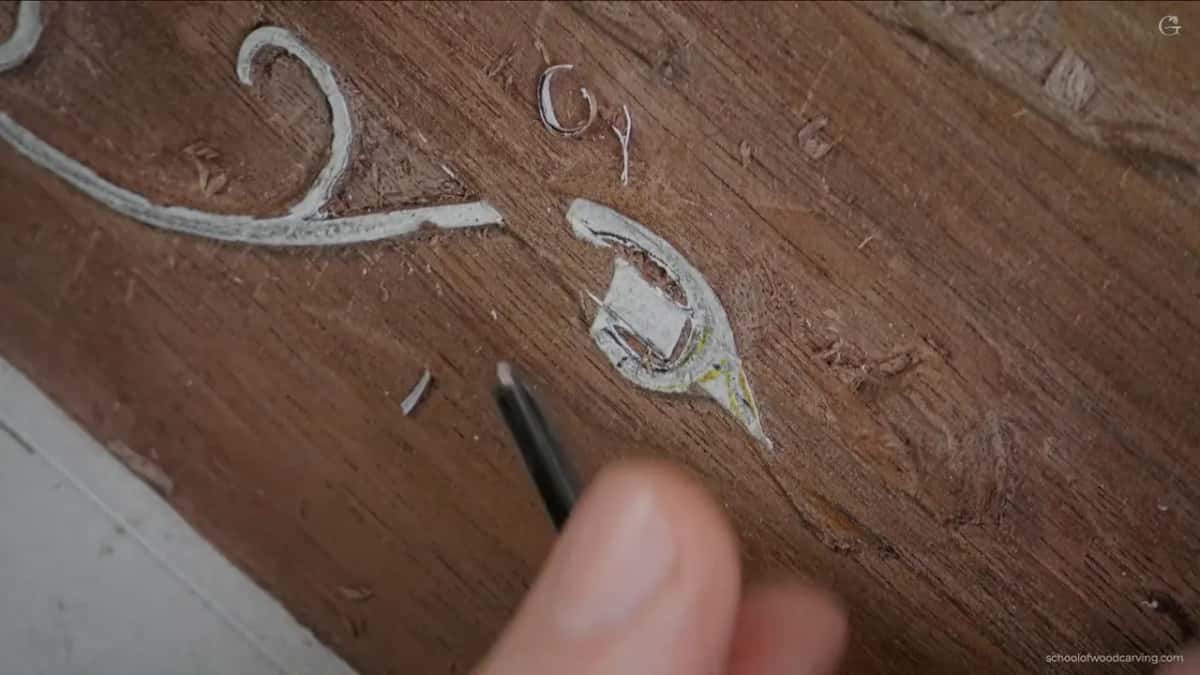
Sight along the board and every one of those transitions has to fall gradually. A step looks like a mistake. A slow fall looks like one thing passing behind another, and a whole course exists on the problem, since it turns up on nearly every piece of period furniture ever made.
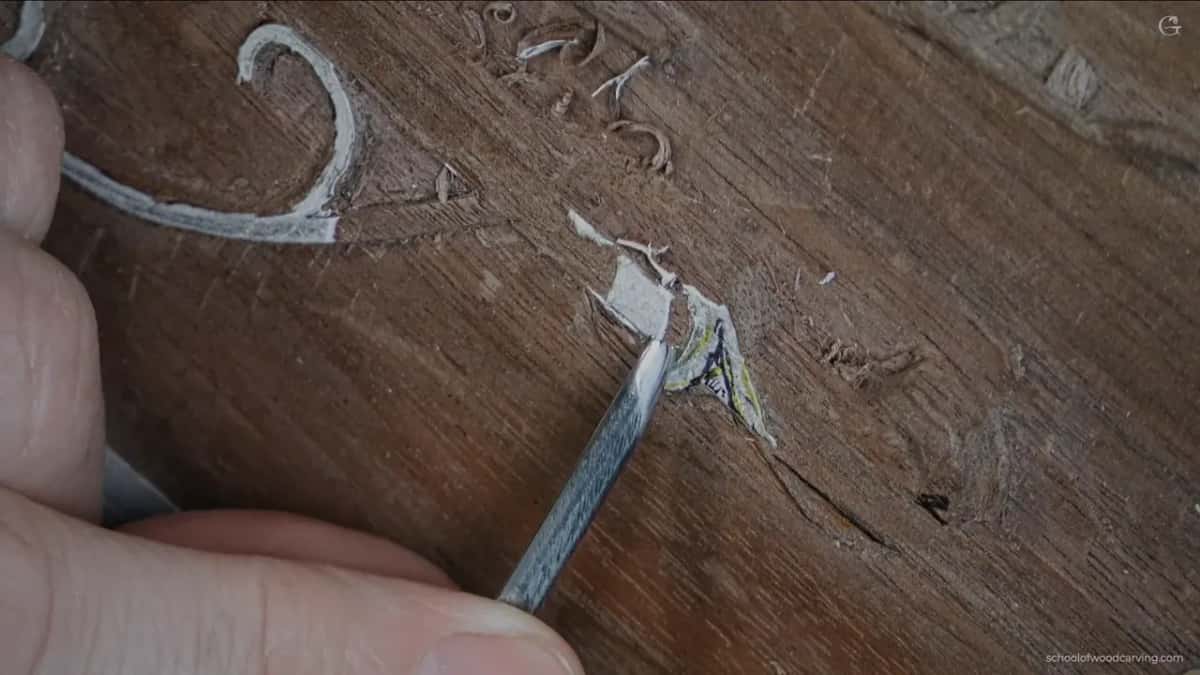
The cuts that do it are shallow and laid over, flute round at nine o'clock, no more than half a millimetre down. Lose the moulding's own line while doing that and the whole illusion collapses.
It really is a millimetre and a half
Some of you have written to say there is no way this panel is as shallow as I claim. It is. Shoots at a sixteenth of an inch. Deepest pockets barely three millimetres.
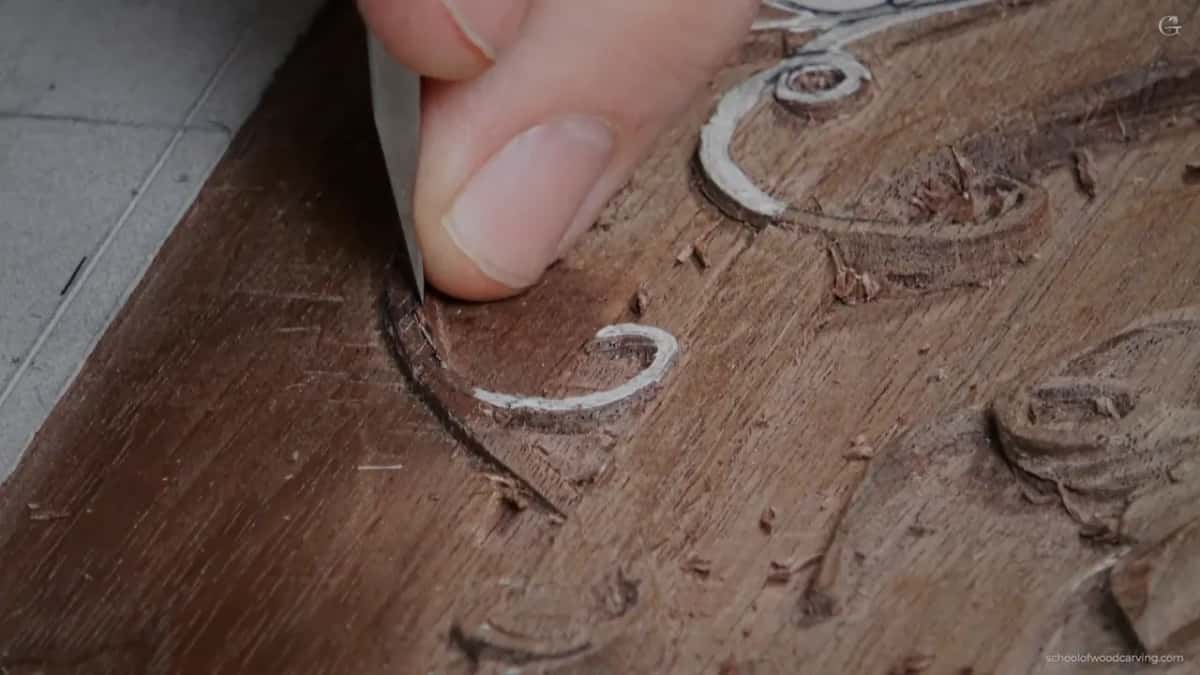
Through a macro lens everything looks enormous, which is the whole trouble with filming any of this. Set a coin beside the deepest pocket here and the coin wins.

So take small bites. A shoot that thin is genuinely weak, and grabbing too much at once is how it leaves the board.
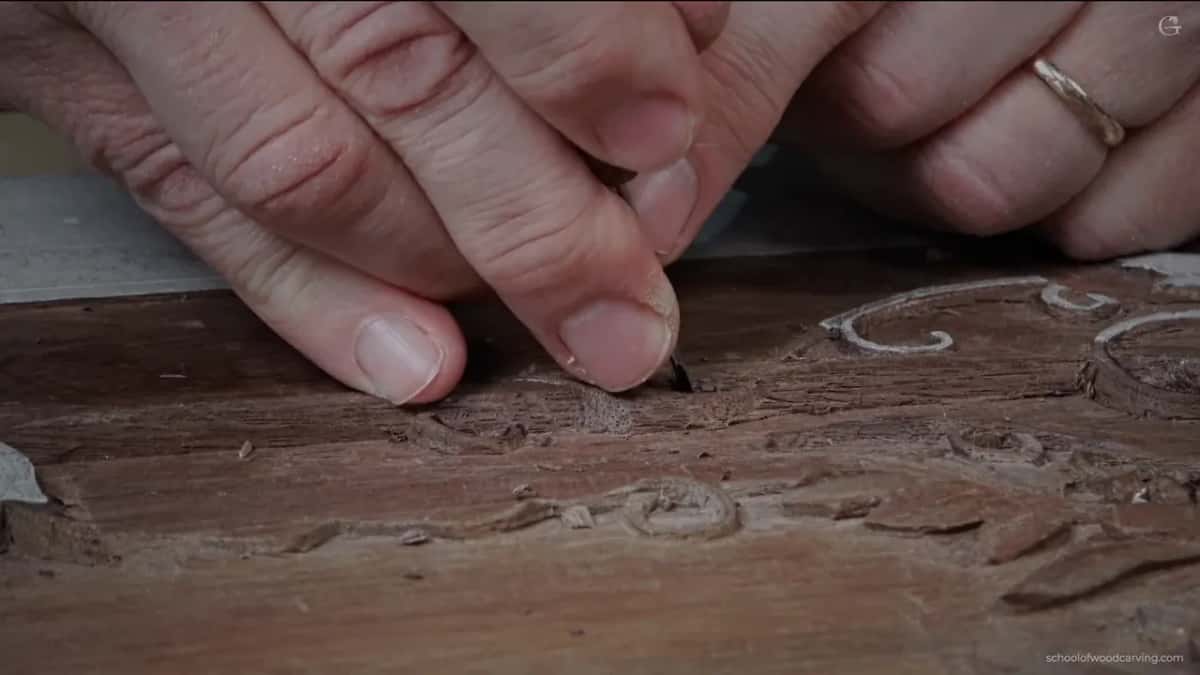
Half of what I do is not carving at all, it is excavating. Digging, and digging, and digging, and the shape only turns up once enough wood has left the building. Nobody puts that on a poster, and nobody films the boring four hours that make the interesting ten minutes possible either.
Blending that does not end up stripy
The last risk on a section like this is overworking it. Put in too many separate details, each one crisp, and the surface turns into a set of stripes instead of a leaf.
What I want is the opposite of crisp. Gradual, so that light travels across the whole form and pools where I put a hollow. Glowing is the word I use for it, because that is honestly what a well blended piece of period carving does under a lamp in a room, and no photograph of one has ever managed to show it.

The router plane came off the shelf at one point to flatten a patch of ground, and went straight back. A short bent spoon gouge did the same job without me having to set anything up, which is a decision worth making tool by tool rather than by habit.

Roundness at the end comes from a number 5 used upside down, worked right round a shape in small notches. Unpromising is how it looks while you are doing it. That got said at the bench, because it genuinely does look wrong, and then it comes good.
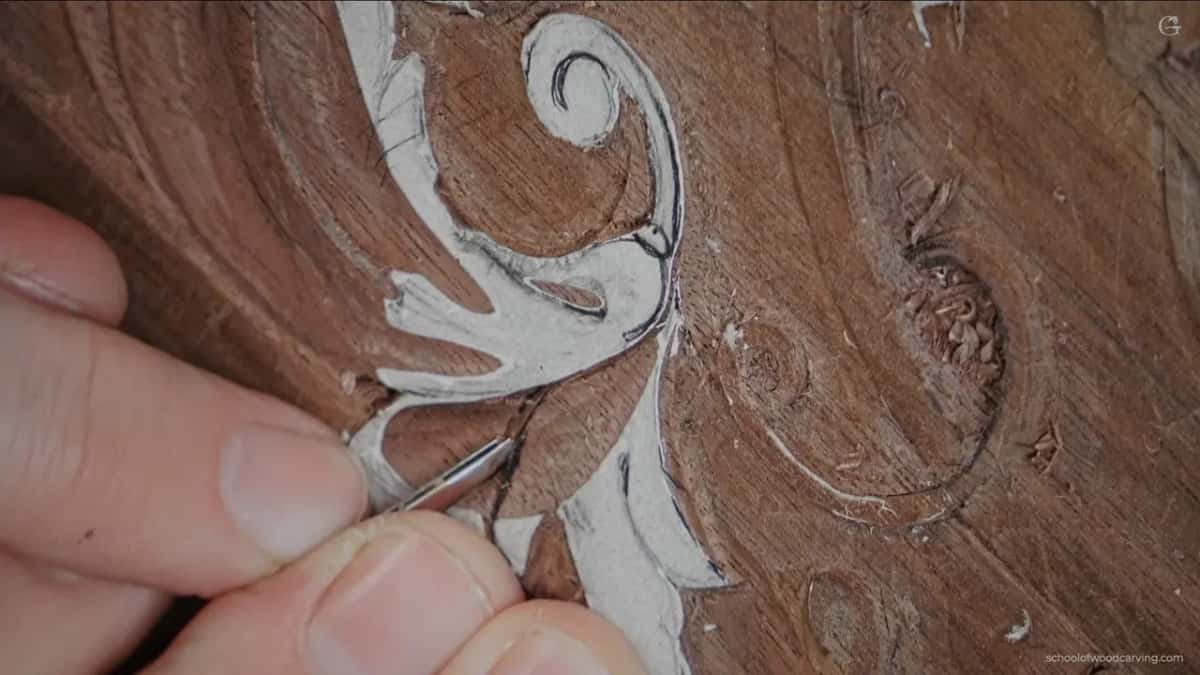
Where two leaves overlap you get an eye, and an eye always brings a raised middle with a hollow falling away on either side. That relationship holds everywhere on this panel and on every acanthus I have ever carved.
A question about marquetry
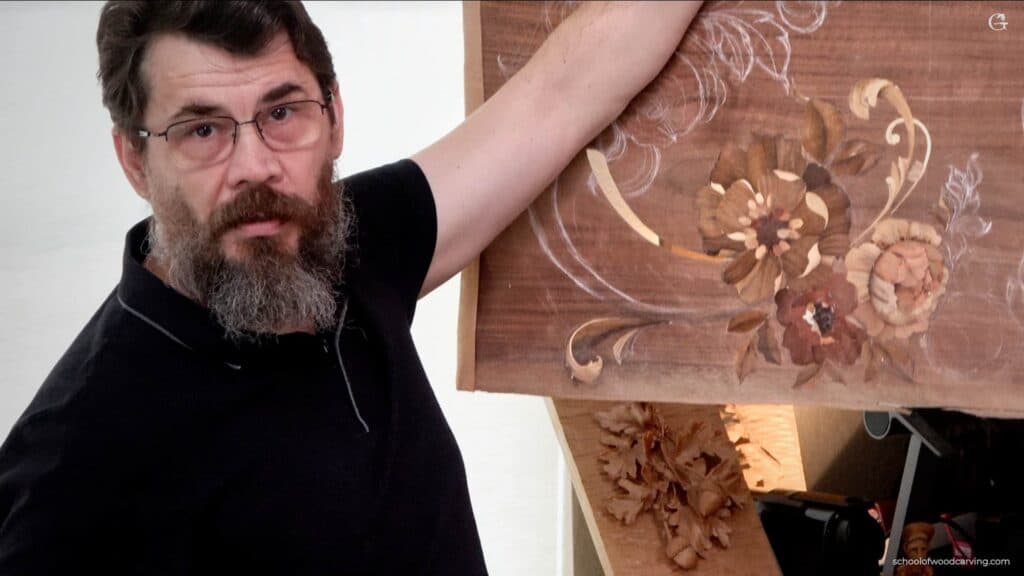
I brought something else to the bench in this lesson and asked for opinions on it. Alongside the carving I have been making a marquetry panel, and it is not made the way most people expect.
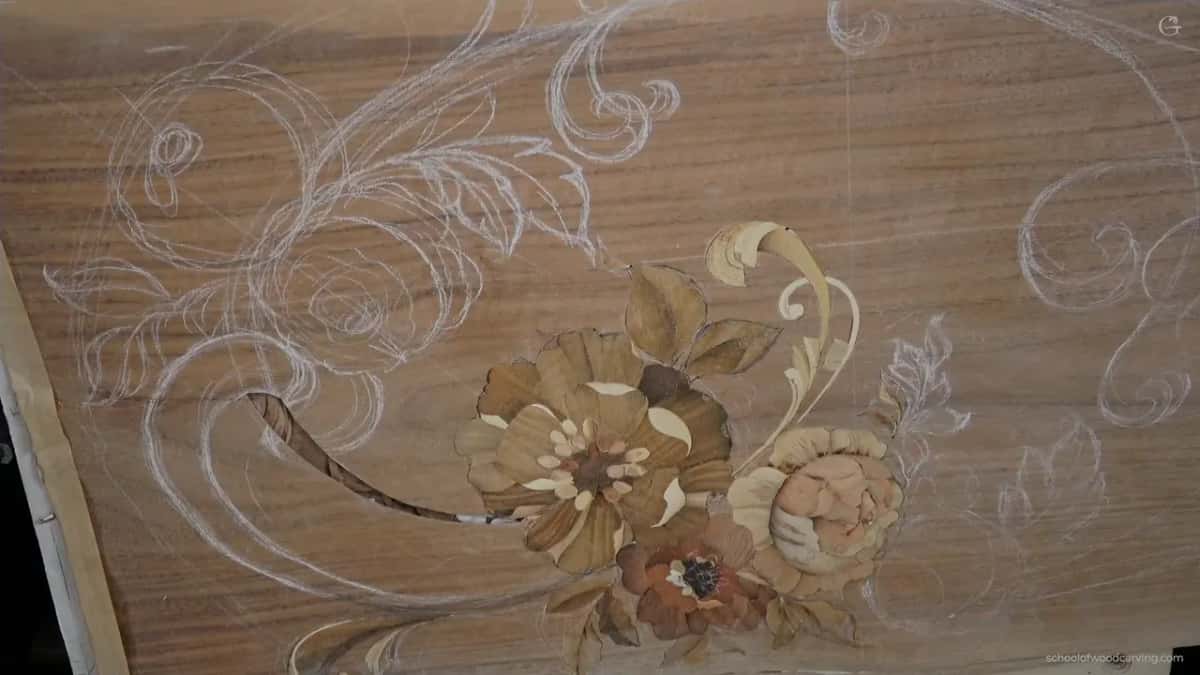
The word is French and so is the famous method. Boulle worked in bronze, wood and tortoiseshell, and the French cut their veneers on a saw, stack after stack of them at once.
Mine uses the older way, called window style. Germany knew it in the fifteenth century and Italy before that. Its advantage is a single thing. You pick the grain for every piece by eye, and the figure in each one then runs with the movement of the flower instead of cutting across it.

Sawing gives you speed. The window gives you control, and to my eye a good deal more possibility as well. Tell me whether you want a course on it, because I am genuinely undecided, the panel is only half finished, and there are still a dozen flowers and most of the leaves to cut.
Tools, and the ones nobody makes now

The smallest spoon gouge on my bench is an antique, and no manufacturer makes anything like it today. Hunt for one on the auction sites, or take a piece of steel and grind your own.
Markings lie as well. One gouge here is stamped six millimetres and measures nearer five, and it makes no difference at all, because I pick tools by holding the profile against the shape and looking. All About Tools has the rest.

The bronze mallet always lies in an open palm rather than being gripped. It comes out for control, never for force.


Alexander Grabovetskiy has carved walnut and lime for more than forty years and was named International Woodcarver of the Year in 2011. Roughly once a lesson he apologises to the camera for how little of this dark timber it manages to show.
Would you rather cut down with confidence and lose the shadow that makes a piece readable, or leave one millimetre and keep every option open? Shall we carve?
This runs in three parts inside Carving Furniture Panel, Part 3, after the tool size lesson. Earlier stages of the board are in Part 2, the drawing behind it in Design, Part 1, and odd problems get answered in Techniques and Q and A. Carve beside him at an in person class, or find Access on the tuition page.
How it's done
- Leave a millimetre of wood standing. On every outline, whatever the shape. That last millimetre comes off with a smaller tool once everything around it has settled.
- Score the boundary with a knife. Graphite goes with the first shaving. A scored mark stays, and it arrests a drifting gouge as well, since the fibres are parted and the chip breaks at the score.
- Let the heel of the tool ride the wood. Perpendicular is not the handle standing upright. The heel rides the surface and the handle leans away from you, and on work this shallow that difference decides whether a wall stands or flares.
- Press a finger down and let the hand act as a spring. Rest the blade across a finger anchored on the surface. An arm sends a tool wherever the arm is going; a braced hand can be checked mid pass.
- Clear waste as plugs rather than sweeps. Straight down, rotate where the tool stands, lift the plug out. Sweeping is quicker and tells you nothing about depth, nor about the state of the far wall.
- Carry the leaf below the moulding and back over. Sight along the board and every transition has to fall gradually. A step looks like a mistake and a slow fall looks like one thing passing behind another.
- Blend until it glows rather than stripes. Too many separate crisp details and the surface turns into stripes. Gradual is what lets light travel across the whole form and pool where you put a hollow.
Frequently asked questions
Why should a carving cut stay above the background
Two reasons, and both arrive late. There is nothing in the junction for anything narrow to work against, and the material an undercut would have used has gone.
What happens if you carve down to the background
That junction becomes your finished surface, complete with every tool mark. Anything sent down there afterwards to tidy it will go clean through the ground behind, and then you own a hole rather than a carving.
Should a carving boundary be marked with pencil or knife
A knife. Graphite disappears under the first shaving, whereas a scored line survives and also stops a gouge that drifts toward it.
What to carve next