
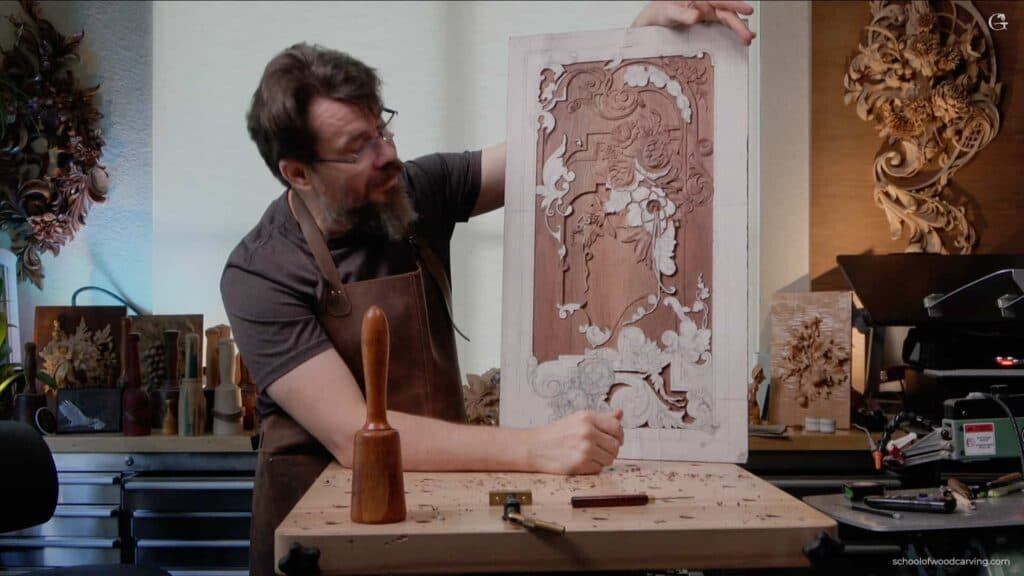
Alexander Grabovetskiy, woodcarver, School of Woodcarving · Published 2023
How does furniture carving differ from openwork carving?
Quick answer: Carving for furniture is shallow work that people will touch. Openwork carving can lift shapes clear of the ground and let light pass behind them, since nothing rubs against it. A panel on a cabinet meets hands, sleeves and dusters, so every element stays anchored and the depth comes from slope.
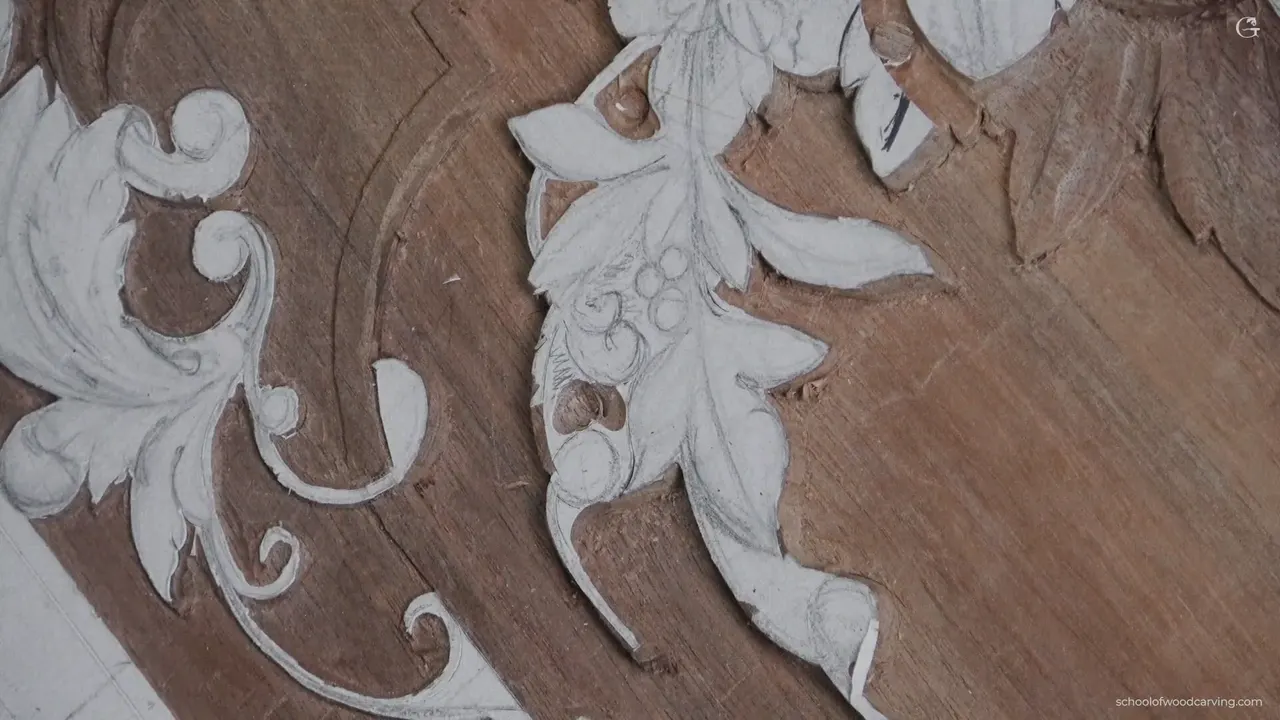
Furniture work never lets a carved shape float free of its ground. An openwork carver can run a tool clean under a stem and let daylight through the gap behind it. Here I cannot, because this panel ends up on a piece of furniture, where sleeves and hands and a duster land on it every week.
The first thin thing standing free is the first thing to snap.
I moved to a fresh part of the board for this session, and the reason is not technical at all. I had grown tired of the section I was on. Working the same six square inches for weeks makes you stop seeing them, and a carver who has stopped seeing the work is about to make a poor decision inside it. The carving stage before this one finished on the far side of the board.

Key takeaways
- Furniture carving stays anchored to its ground, because a panel people touch cannot carry fragile ornament standing free of it.
- Every tendril on this panel is held to one width, a millimetre and a half, and none is allowed to run broader than that.
- When depth runs out, tilt each surface so it falls away toward one edge, and let the slope make the dark line for you.
- Waste leaves through one deep hole.
- Berries and other round shapes get one corner of a gouge tipped over near forty five degrees, never the whole edge driven straight in.
- A shape that bores you is telling you something real, and the fix is nearly always more movement rather than more detail added on top of what is already sitting there.
Where an openwork carver would go straight through
There is a spot on this corner where the design practically asks for it. One tendril crosses over another, and in church or picture frame carving I would run a blade underneath the upper one and open a real gap, so that light travels through and the stem reads as genuinely lifted off the board. It looks wonderful. I have carved plenty of it over the years, in frames and in church work, where the only thing that ever touches the carving is a feather duster held by somebody careful.

Not on furniture. That gap survives about a month before somebody catches it with a cuff, and then you own a repair instead of a panel. This is the largest single difference between work made for a room and work made for furniture, and it governs everything else I did in this lesson.
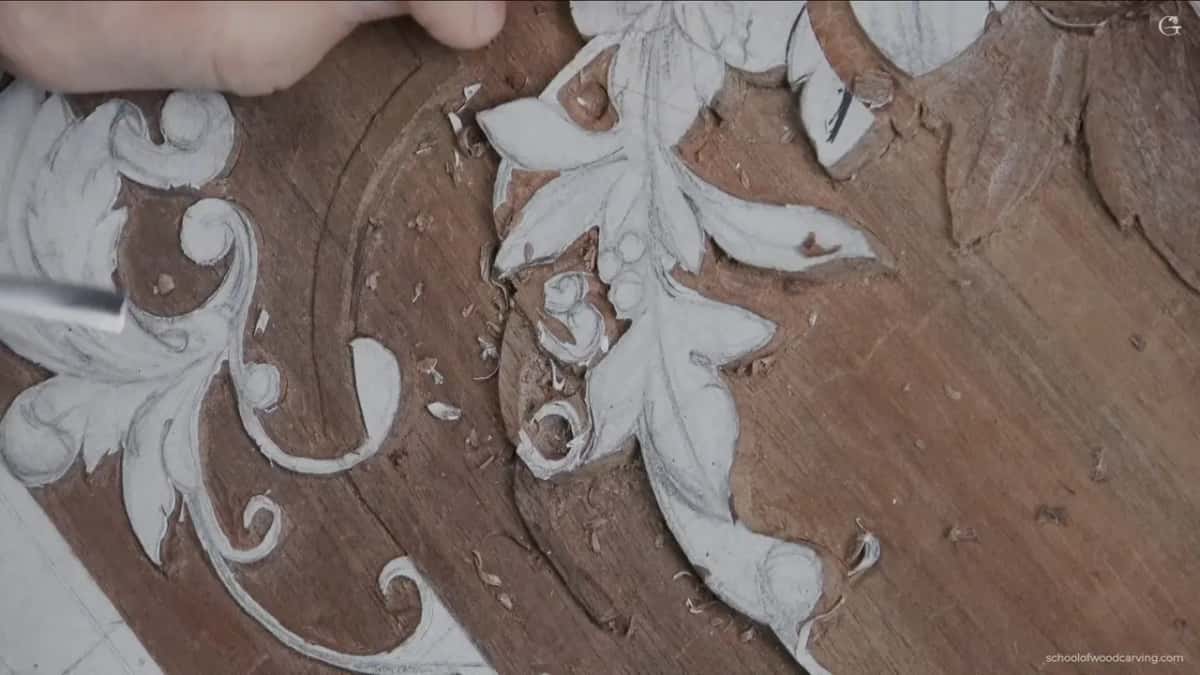
So the ceiling sits a sixteenth of one inch over the background, right across the board. Every shape has to look round, layered and alive inside that. A dining table apron lives under the same law and for the same reason.
Why does everything travel to one hole?
The waste has to leave in a direction that is not sideways. I sink a number 9 straight down at ninety degrees, driven with a mallet, about a millimetre away from whatever detail I am protecting. Then every following pass is aimed into that one hole.

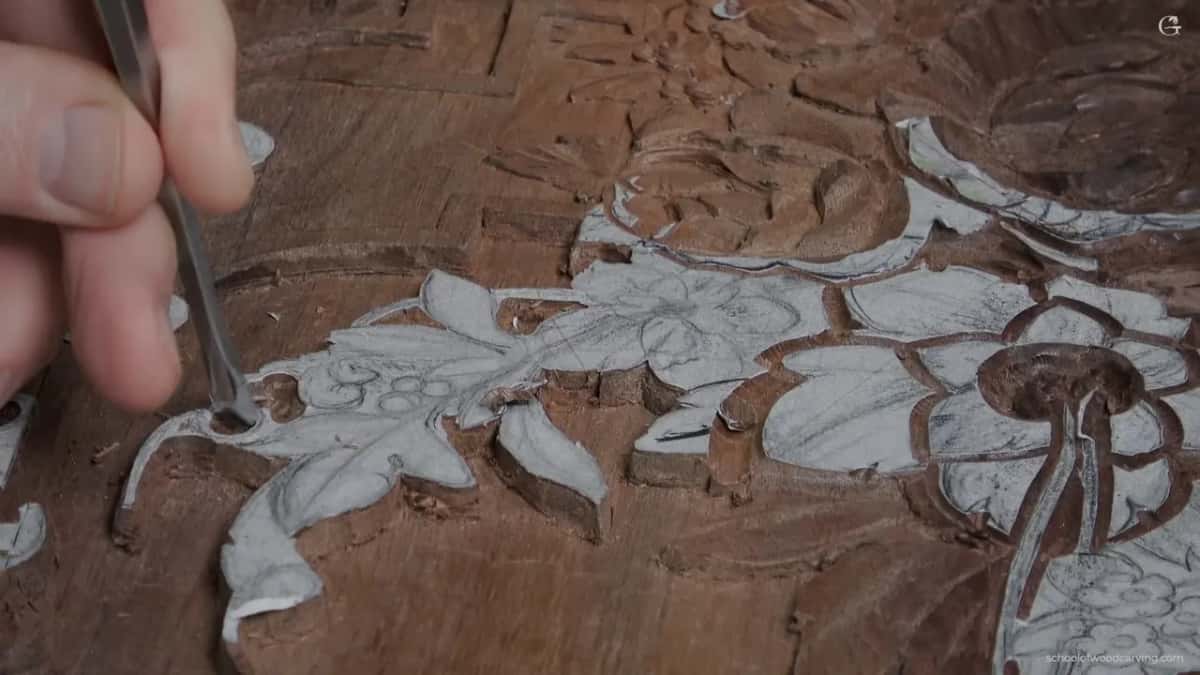
The chip breaks free into thin air rather than levering against the tendril an eighth of an inch away. On a piece of work this thin that single habit is the difference between a clean afternoon and a glue bottle. The plug cut lesson covers the mechanics of it properly.

I also stop short. Going all the way down to the finished level here would be a mistake, since the background has to stay flat across the whole panel and I can always take more later. Higher than I need, always.
One width for every shoot, and not a hair more
Every shoot on this board obeys one measurement. About 1.5 mm, and that rule holds everywhere on the panel, in every corner of it, without a single exception anywhere. Wider than that and a shoot stops reading as something growing and starts reading as a rope laid on a board.


Which makes them fragile, of course. I outline first and worry about final depth much later, because the one thing I genuinely cannot undo is snapping a shoot off. Pressure stays light. Push hard on a stem this thin and you will destroy the movement you spent twenty minutes finding.
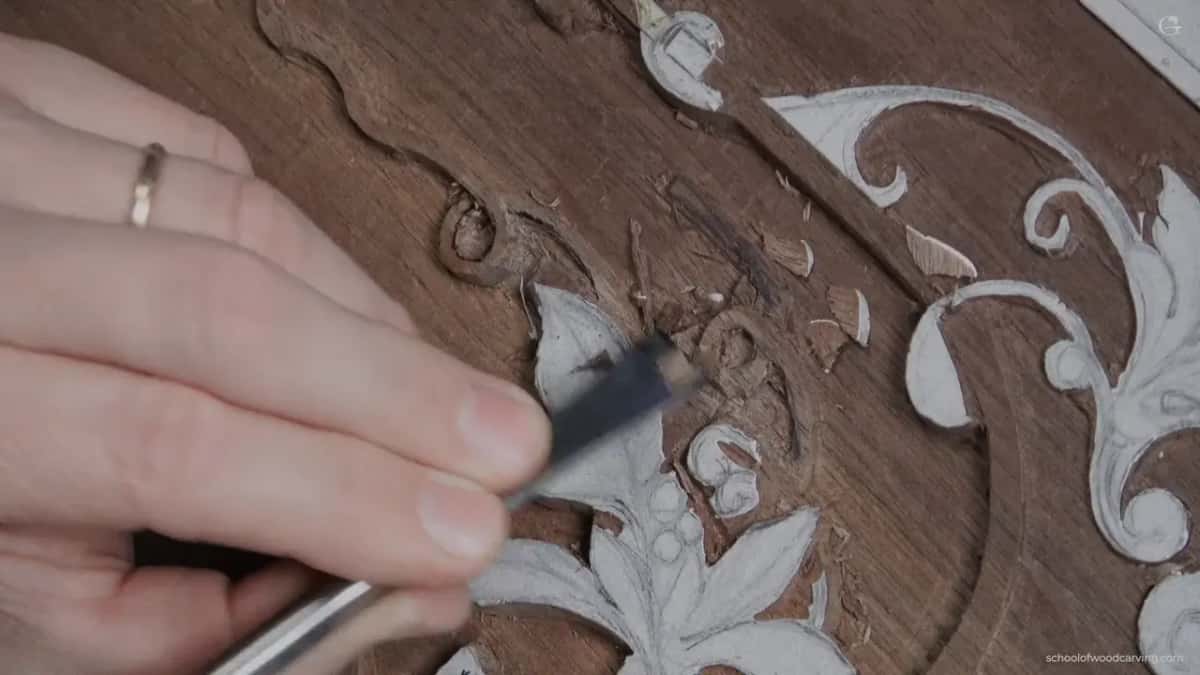
I did think about an airborne pass on one of them. The grain happens to run the right way through that spot, so it would probably have held. Still risky, and I left it alone.
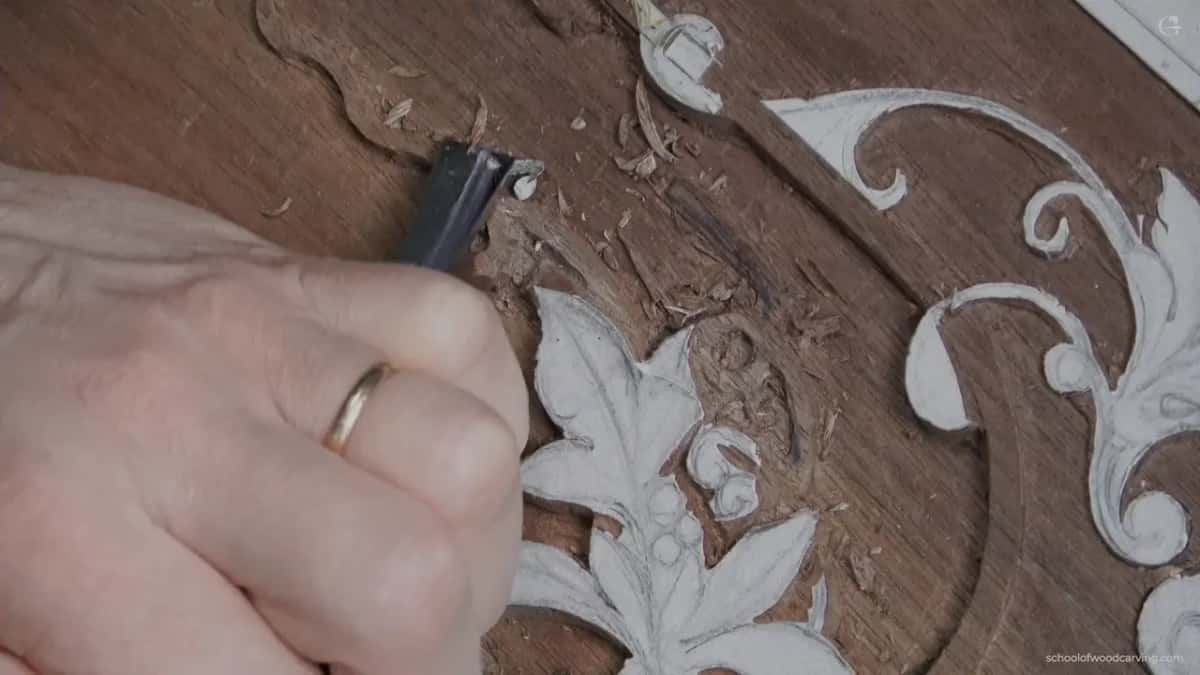
Deciding what lies over what
Two of these shoots cross, and when I reached that junction I had no plan for it. Should the upper one pass above or below? I asked the question out loud on camera because that is honestly where I was.

What settles it is a millimetre. I dropped one edge of the leaf beneath by that much, looked at what happened to the shade in the gap, and the order made itself obvious. You cannot reason your way to that decision on paper. The wood shows you in about ninety seconds.
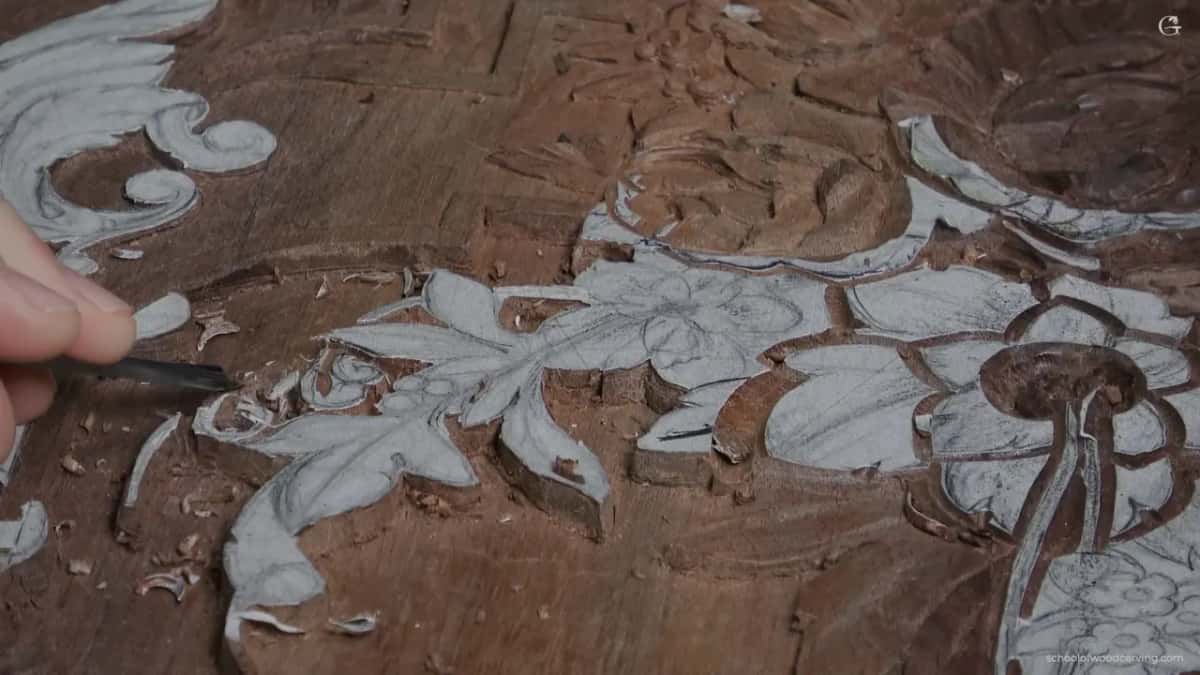
Then a flat number 5, six millimetres across, takes the losing side down properly so the winner sits clearly on top. A shape placed underneath can never be touched again afterwards, and that is why I settle the order early rather than late.
Careful at the junction itself, and slower than feels necessary. A slip there lands on the shape you already decided was the top one, and that shape has nowhere left to go. The same caution runs through the blending lesson for exactly this reason.
What makes a shallow panel look deep?
Slope, mostly. A leaf gets taken further down on its left than on its right, so the surface runs downhill across the width of it, Two of those tilted surfaces meeting leave what I call micro pipes. Small channels of shade, and they separate one element from its neighbour better than an outline ever could.


One edge goes dark, the far one stays lit, and its neighbour opposite gets the reverse treatment. Nothing about that is deep. It is entirely about which way each little floor is tipped, which is the same trick the volute lesson leans on from beginning to end.

Sometimes the movement still refuses to show. A leaf blends into everything around it and I simply cannot see it, so I reach for more sweep, a number 8 rather than a number 5, and push the veins in harder than nature would. Exaggeration is not cheating in shallow work. It is the only way the shape survives the trip across a room.

What goes where on this corner
| Element | Depth | Tool | Risk |
|---|---|---|---|
| One shoot crossing over another shoot | Barely anything | Number 9 at a quarter inch, then an eighth | Snapping the whole shoot |
| Triangles of waste left wherever two carved shapes run into each other | Nearly the ground | A number 11 ground to two millimetres wide | Nothing much |
| The leaf that crosses the stem and hides where it disappears underneath the bunch | One millimetre below its neighbour | Number 5 | Losing an overlap you had only just worked out properly |
| Three small berries | Chopped hard down one side so the round shape reads against its neighbour | A number 7, turned upside down | Tearing them |
| Veins on a leaf and the slopes beneath them | About half a millimetre | Number 8, and do not be timid, because a faint vein shows nothing at any distance | A vein nobody ever notices |
| Open work | Left out of this panel completely, on purpose, every single time | Nothing in the tool rack does it | It breaks eventually |
Berries carved on a gouge point
Three little berries sit in the middle of this group, and they are carved exactly the way I carve grapes. Outline them with a small veiner. Then reach for a number 7, turn it upside down so the flute faces the wood, and steer it on the point instead of driving the whole edge.


Present the tool at about half a right angle to the surface rather than square to it. What you are chasing is the little triangle trapped between two round shapes, and a tool tip reaches in there where a full edge never can.

We did this at the Marc Adams school that year on a grape project, and half the room found it strange at first. You are not pushing with your body at all. You are steering one small part of an edge, and the wood comes away in flakes the size of a grain of rice.

Build the shape in stages and go deeper afterwards if you want to. And let them differ. Three berries of identical size look stamped, whereas three that vary slightly look picked. A whole course on grape onlay works through this at a larger scale.
The leaf that was simply boring
I stopped over one leaf in this group and said out loud that it looked boring to me. Nothing was wrong with it. The outline matched the drawing, the depth matched its neighbours, and it still looked like a leaf somebody had traced rather than one that had grown.
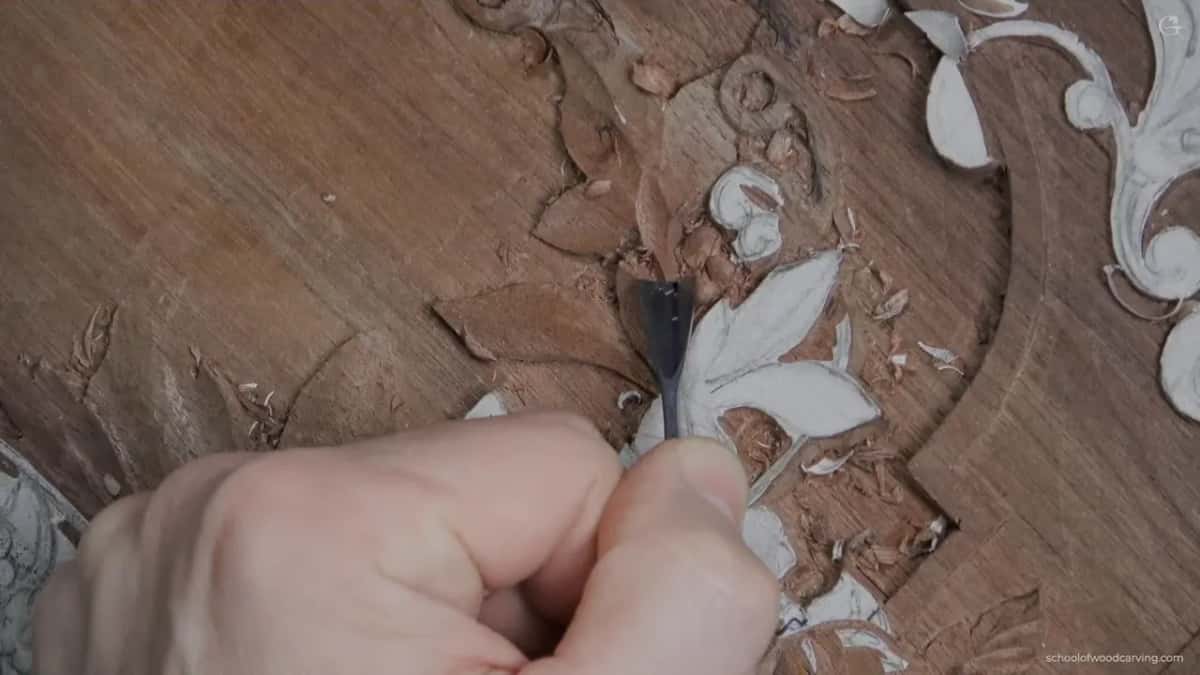
Boring, in my mouth, means there is not enough movement. So I hollowed the middle of it, put two large separation cuts across it, and rolled one lobe under with a flat gouge until the surface stopped being a plate and started being a leaf.
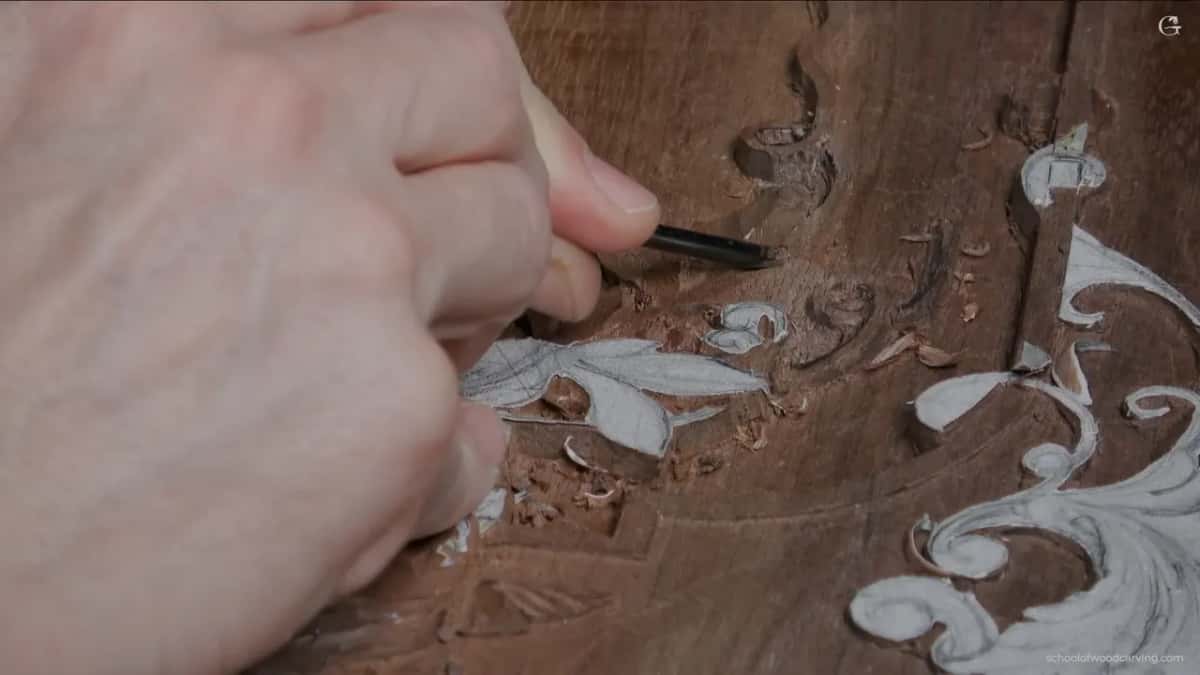

That judgment comes before any rule. A drawing on paper never tells you how a shape behaves once it has real surfaces catching real light, which is why the design course and the carving course teach two different skills.
Where the stem meets the acanthus I took a number 8 down both sides of the join, then dropped the ground underneath with a flat number 3 so a thin shoot appears to run beneath the whole bunch. One thin line under a heavy mass, and the mass lifts.

Rough on purpose, for a while yet
None of this is refined and it is not meant to be. How thick a stem currently looks, how ragged an edge sits, whether a hollow has facets in it, all of that is fixable in ten minutes on some later afternoon. A movement that was wrong from the start and then beautifully finished cannot be rescued at all.

So I chase the movement and leave the surface alone. Chop, chop, chop with a gouge and a mallet until the masses sit where they belong against each other, and only then think about how anything feels under a thumb.
One leaf was physically in my way, sitting proud right where I needed to see, so I took the whole chunk off early just to clear my view of the flower behind it. Not elegant. Better than working blind for an hour, and a carver who cannot see what he is aiming at will produce something worse than a missing leaf.


The flower underneath got outlined immediately and everything around it marked as waste. Period foliage is built in layers, and you cannot judge a layer until the one above it has been taken out of the way.
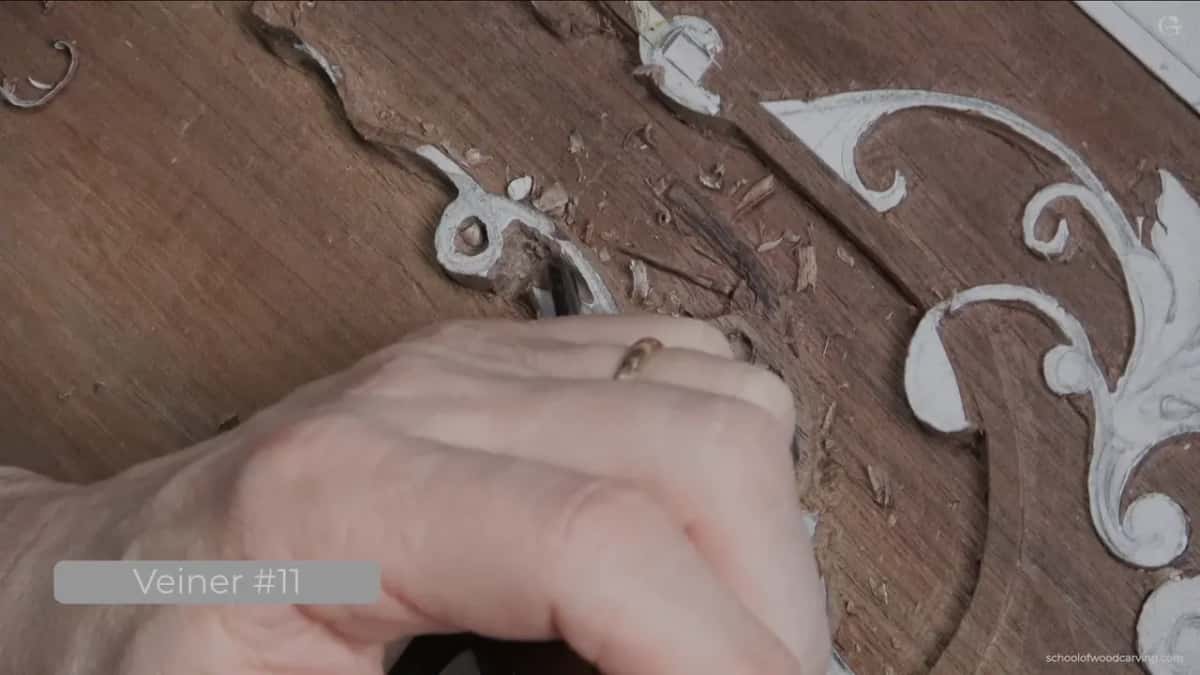
Every meeting of two shapes leaves a scrap of waste behind it. Take them out straight down with a fine veiner as you go. Leave one and it turns into a dark blotch your eye keeps returning to, long after you have forgotten why.
Leaving the decisions open
Almost nothing in this lesson is finished. The tendrils are rough, the berries want another pass, the relief has no cleanup on it at all, and I said so at the time rather than pretending otherwise.

Undercutting comes last, with a half millimetre veiner, and I skipped it here deliberately because it removes wood you can never put back. The high line on each lobe sits off centre, near enough to the proportion people call sixty forty, and I read that line off the shadow rather than measuring anything.

Alexander Grabovetskiy has carved black walnut panels like this one for more than forty years, and he was named International Woodcarver of the Year in 2011. He already knows what this panel is going to become. He is not telling anybody yet.
Would you rather carve deep because deep is forgiving, or make a sixteenth of one inch look like a whole one because you understand where the light goes? Shall we carve?
The lesson runs in three parts inside Carving Furniture Panel, Part 3, directly after the volute. Earlier stages sit in the floral and molding course, the gouges are listed in All About Tools, and edges are covered in Carving Tool Sharpening. Carve beside him at an in person class, or find Access on the tuition page.
How it's done
- Move when you stop seeing the work. Weeks on one small area and your eye goes blind to it. Shift to a fresh part of the panel and come back later, rather than carving decisions you can no longer judge.
- Sink a waste hole before anything else. Drive a number 9 straight down with a mallet, about a millimetre clear of the detail you want to protect. Every following pass is then aimed into that hole and the chip breaks into empty space.
- Hold every shoot to one width. Hold them all to a sixteenth of an inch. Outline them early, leave the final depth until much later, and keep the pressure light enough that nothing snaps.
- Settle each overlap by dropping a millimetre. At a crossing, drop one edge by a millimetre and look at what happens to the shade. The order becomes obvious in about a minute and cannot be reasoned out on paper.
- Tilt the floors instead of digging them. Let each surface fall away toward one edge rather than sitting level. Where two tilted shapes meet you get small channels of shade that separate them, which no amount of extra depth would give you here.
- Work the berries on a gouge point. Turn a number 7 upside down, present it near half a right angle, and steer with just the point of the blade. Chase the little triangle trapped between two berries and take it out in flakes.
- Leave the refining for another day. Rough surfaces get fixed in ten minutes on some later afternoon. A movement that was wrong from the start and then beautifully finished is a different matter, so chase the masses first and the surfaces last.
Frequently asked questions
What is the difference between furniture carving and openwork carving
Furniture carving stays anchored to its background. Openwork lets a carver run a blade under a stem and open a real gap, which looks wonderful on a frame and lasts about four weeks on a cabinet door.
How wide should a carved tendril be
On this panel every one is held to a millimetre and a half, or about 1.5 mm. Any broader and a shoot reads as a rope laid on a board rather than something that grew.
Why drive all the waste into one hole
A chip that breaks into empty space puts no force on the thin work beside it. Levering sideways against a shoot an eighth of an inch thick is how shoots get snapped off.
What to carve next