
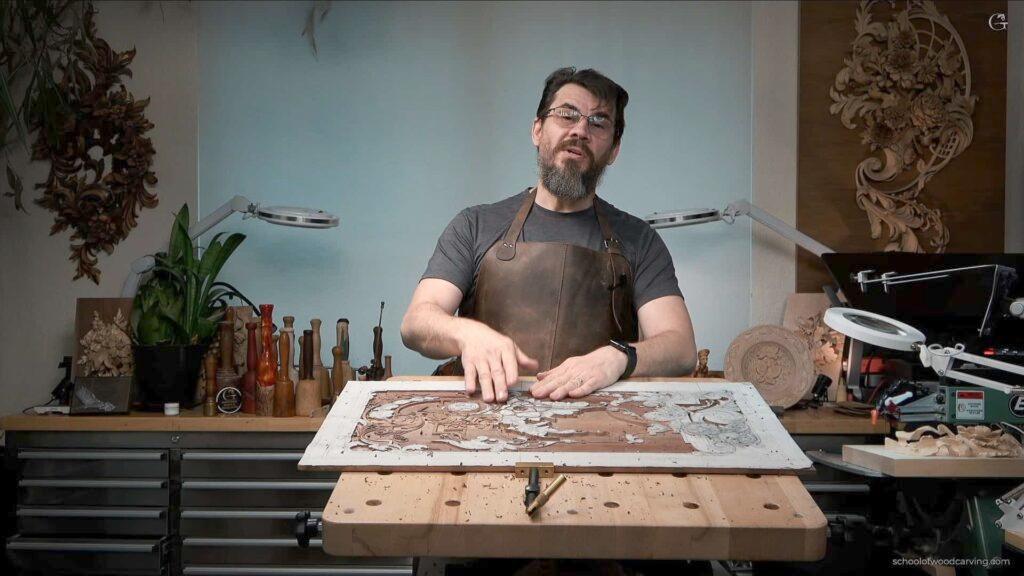
Alexander Grabovetskiy, woodcarver, School of Woodcarving · Published 2023
What shape should a carved acanthus leaf be in cross section?
Quick answer: A carved acanthus lobe is concave, convex and then concave again as you cross its width. Its middle rides high and both sides fall into hollows. Alexander points to old European furniture, northern and Italian, where the raised middle appears on every lobe he can find.
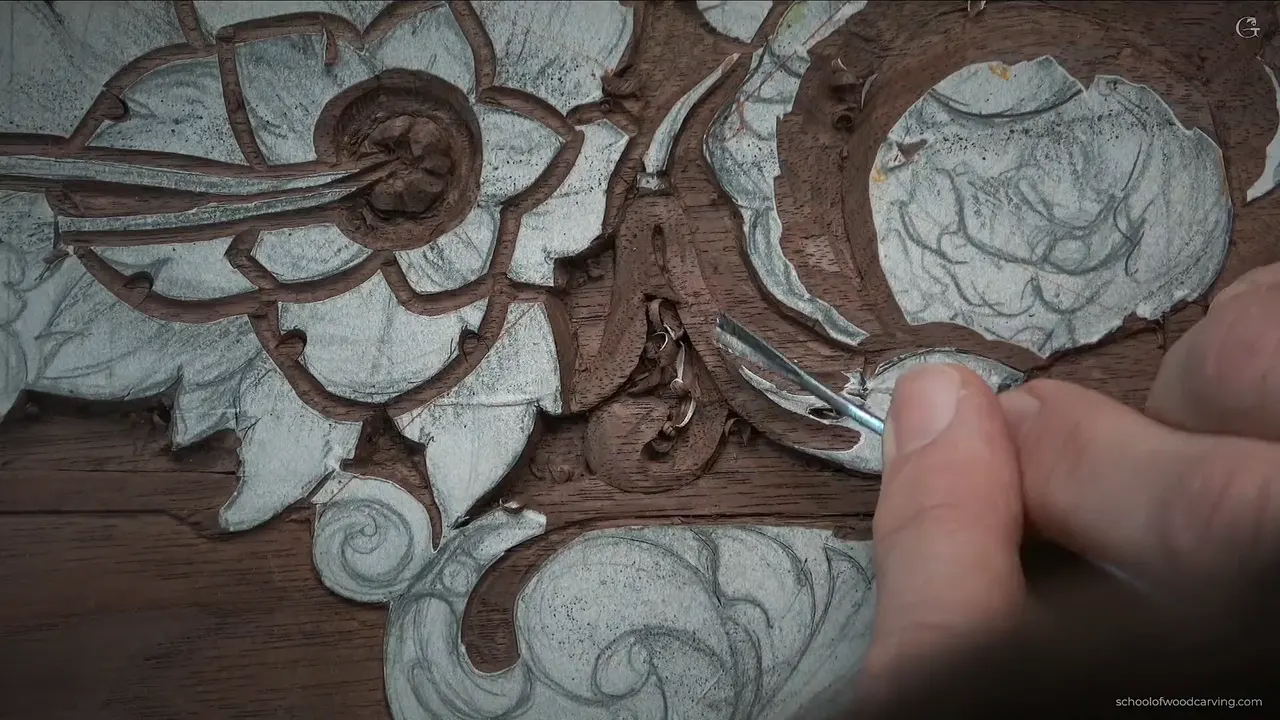
Slice a carved acanthus lobe across its width and the profile reads concave, convex, concave. A raised ridge runs down the centre and both sides drop away into hollows. Leave it simply rounded and the ornament looks soft, because a rounded lobe throws one weak shadow where the old work throws three.
You could stop at rounded. Plenty of people do. I would rather take it the extra step, and the step is small.

Key takeaways
- Concave, convex, concave, and that is genuinely the whole rule.
- Never start the hollow at the very tip of the lobe, because the old carvers did not, and the profile stops being accurate to the period the moment you do.
- Every eye gives you a pipe, and every pipe is raised.
- Even a tiny pipe stays standing.
- Keep a millimetre away from any molding, because a leaf can be redesigned and a molding cannot.
- Never go deeper than the background.
What if the lobe is left simply rounded?
Fine, and modern. A rounded lobe is a finished shape. Plenty of carvers stop there and nobody calls the work bad. What you lose is the reading of the surface under a moving light, because a single curve turns the light once and then gives up, while a hollow beside a ridge beside another hollow turns it three times. Stand in front of a real eighteenth century ornament and that is the difference you feel before you can name it.
The extra work is maybe two minutes a lobe, and you get those two minutes back the first time somebody walks past the finished panel and stops. Nothing more than that.
Why does a leaf ride high down its centre?
Museum furniture answers that for you. Go and find eighteenth or nineteenth century carved furniture, or open any book of period ornament, and the lobes have a raised middle running down them. Northern European work does it. Italian work does it too. Once you have seen it you cannot look at a flat lobe the same way again.
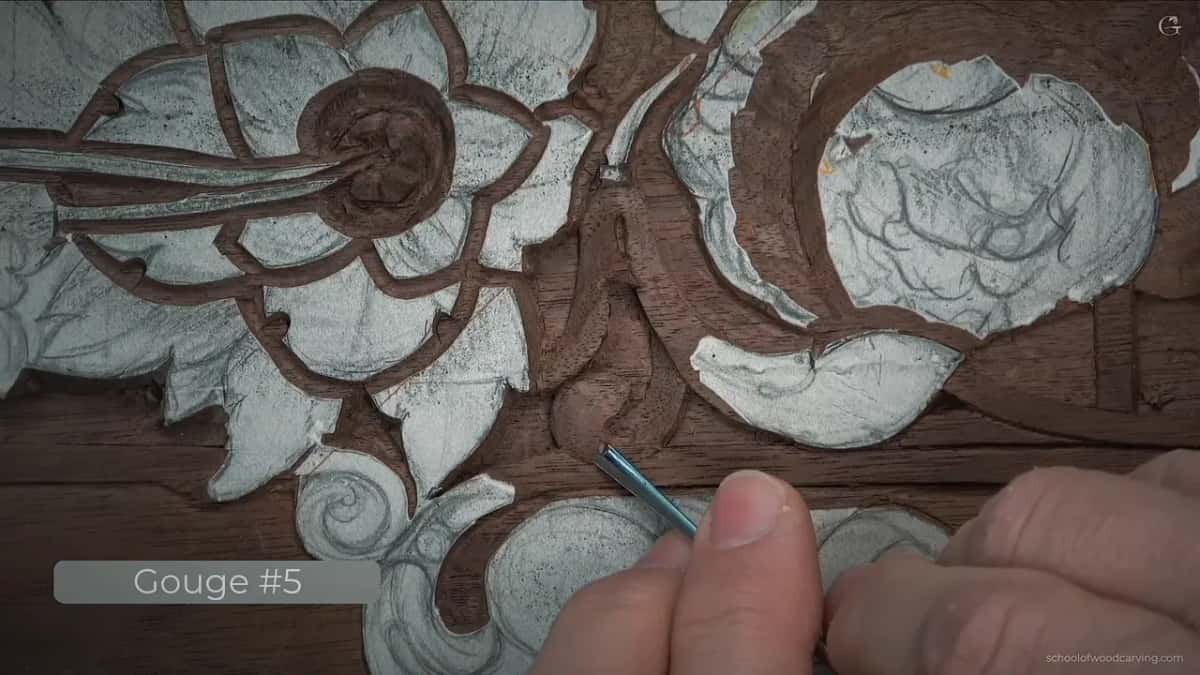
The hollow does not need to be deep. Three millimetres of number 5 takes a shallow scoop and the shadow arrives immediately.
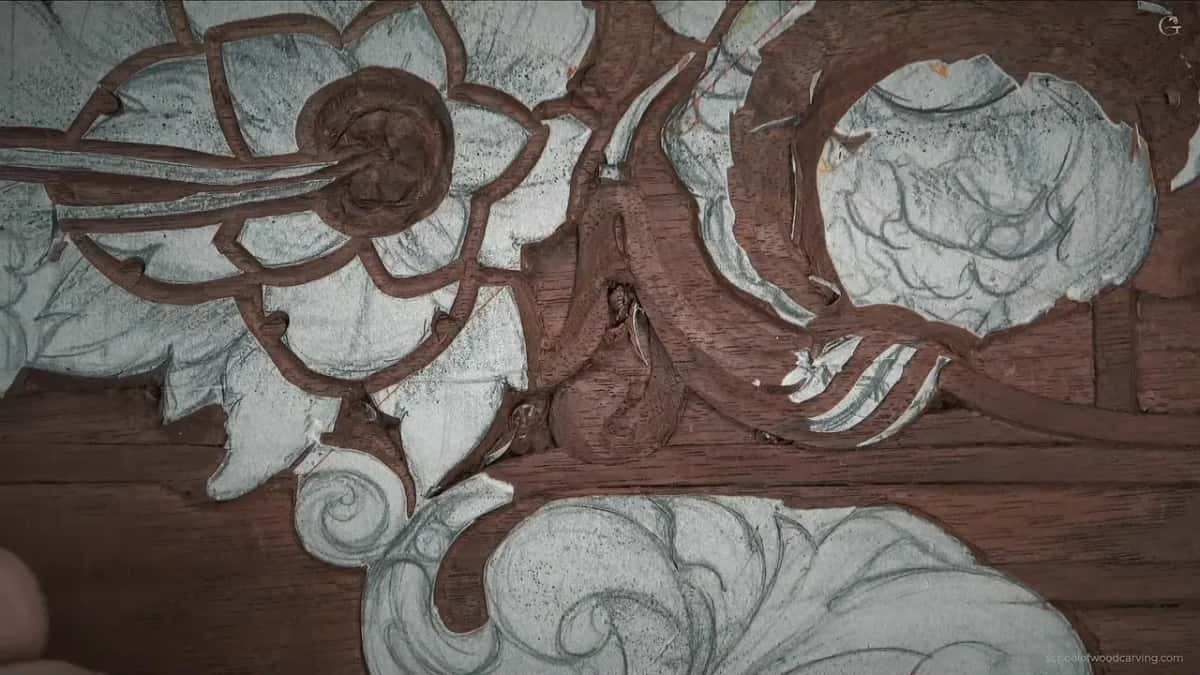
What I do not want is the ridge left by the tool. A back bent gouge clears that. It reaches into the hollow where a straight tool bottoms out, and it leaves the surface rolling.

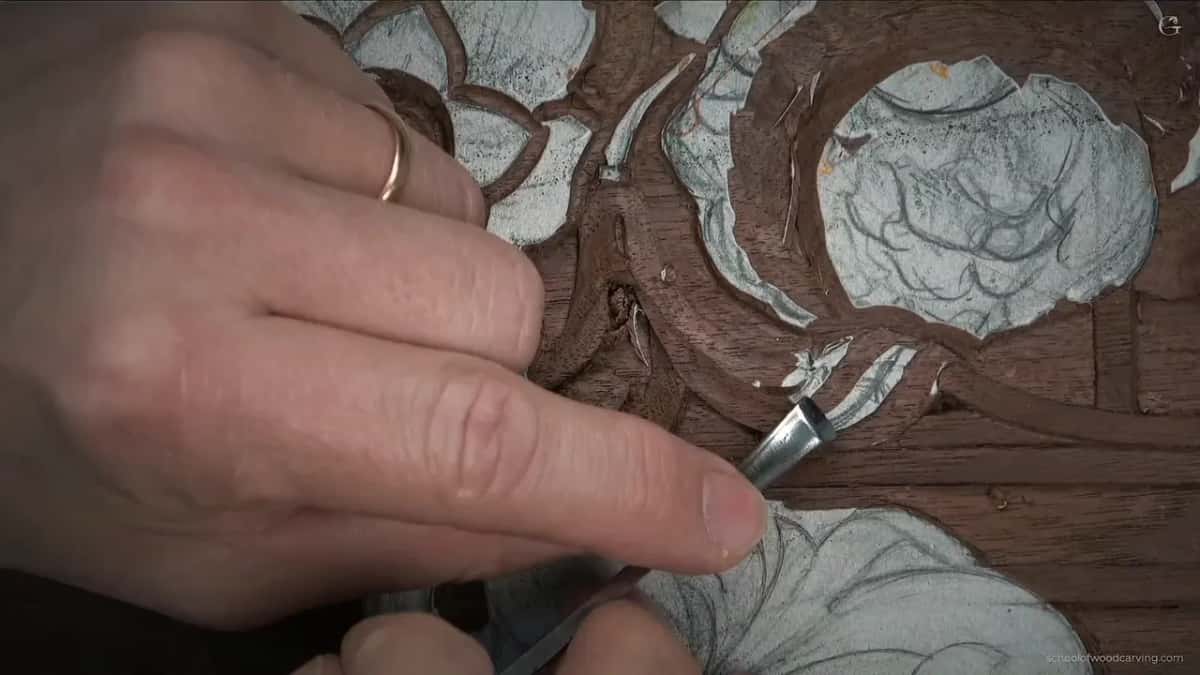
What is an eye, and what is a pipe?
An eye is the point where one movement separates from another. Whenever I find one on an acanthus, a pipe follows out of it, and that pipe is always raised, always convex. Find the eye and the rest of the shape is decided for you.

An eye should read like a water drop. I open it with a millimetre of number 11, sometimes with a Dockyard number 8, and honestly the number 11 is the better tool. I grabbed the other one and I am not sure why.

Then two hollows, one on each side, and the pipe is what is left standing between them. Nothing more to it. No clever tool, just two shallow scoops from a number 9 and a decision about where the middle sits.

One thing about the pipe that catches people out. It does not stay visible the whole way. It leaves the eye raised and proud, then blends back into the surface and disappears, and if you carry it the full length at the same height the leaf looks like it has a bone in it.
Short passes. I am not running the gouge the length of the shape in one push, I take it little by little, because a long push in a hollow this shallow is how the edge dives.

I want the pipe exaggerated. Timid gives you nothing on walnut, where the wood is dark and the shadow has to do the drawing.
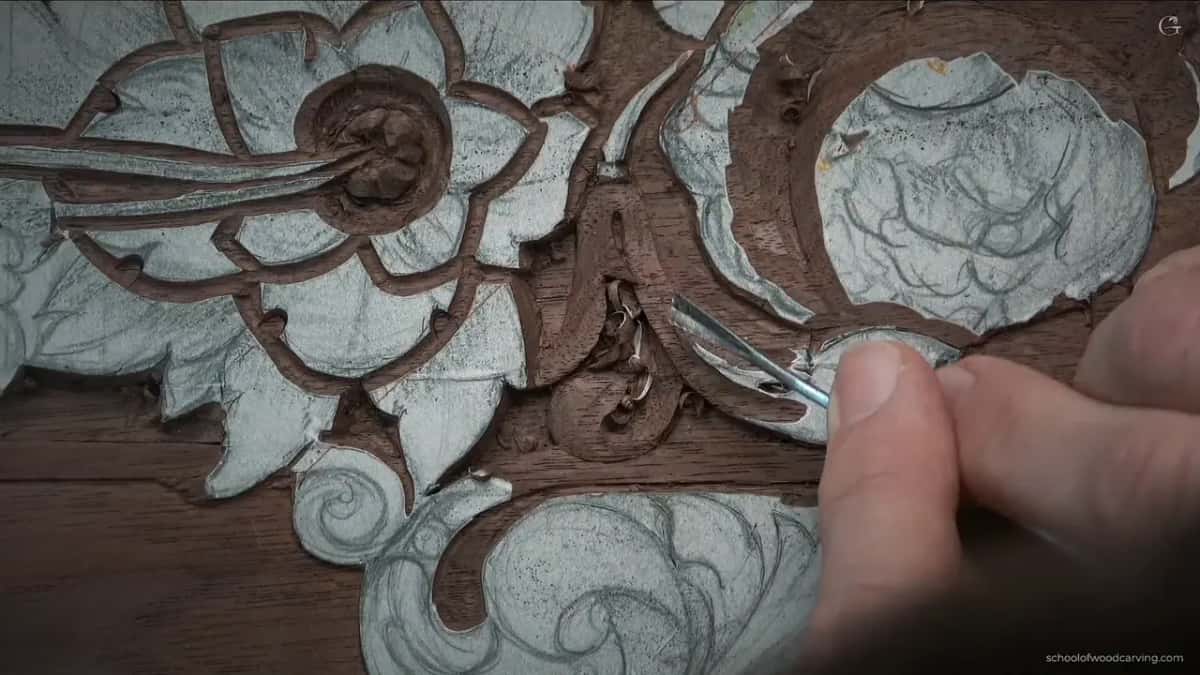
Where the section changes across one lobe
| Part | Section | Tool | Why |
|---|---|---|---|
| The middle of the lobe | Convex, raised | A number 8 gouge at about five millimetres | It carries the light |
| The ground on either side of that raised middle | Concave, both sides | Number 5, or a number 9 | Shadow, and a clean break from whatever comes next along it |
| The eye | A hollow shaped like a water drop | Number 11, one millimetre | It announces that one movement has parted from another one here |
| The pipe running out of it | Convex again | Two hollows with a number 9, one either side | Never sunken, ever |
| A narrow strip of waste left over between two separate movements | Barely convex micro pipe | A number 11 at half a millimetre | Reads deliberate |
| Under an overlap | Undercut, going as deep as the ground allows | A small number 9 spoon | Black shadow, which on walnut is the only thing that draws the shape |
How do you make a leaf look like it is flipping over?
You drop one side almost to the background and let the other side stay up. There is the illusion, entire. I take the far edge down until it is nearly at the floor of the panel, which for a moment kills the feeling entirely and looks like a mistake, and then the roll comes back the moment the near side gets its section carved properly.
Losing it halfway through is normal. I lost it on camera in this lesson and said so at the time.
Sometimes the better answer is to skip one of the two hollows. If I leave the second side alone and let it run straight off the edge, the shape feels as though it rolls away from you rather than sitting there symmetrically. Neither is wrong. The symmetrical version is calmer and the lopsided one has more movement, and which you want depends on where the piece sits in the Baroque or Rococo arc the design is aiming at.
Where does the hollow start?
Never at the very tip. This is the detail that separates period ornament from a modern approximation of it. Begin the concave partway along the movement and run it to the end, then blend the start so it disappears. Begin it right at the point and the profile is simply wrong for the eighteenth century, no matter how neatly it is carved.
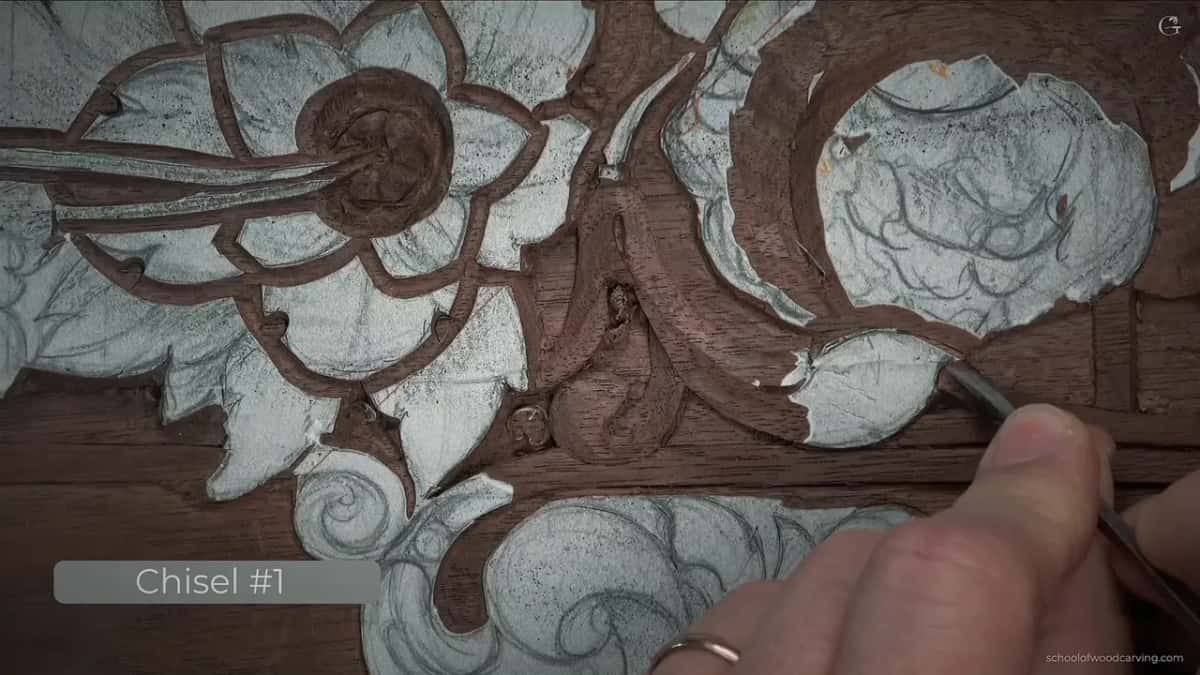
Same thinking as the rule about sharp edges in this style. The eye will forgive a slightly clumsy hollow. A misplaced one it will not.

Draw it first when you are unsure of where the ridge belongs. I put a pencil line down the lobe to fix where the ridge runs, then carve to that.

What keeps you from wrecking the molding?
Stay a millimetre away from it. I do not know what the grain is doing under there, and if it splits toward the ornament I can change the design to hide it. If it splits into the molding, there is nothing I can do at all. That asymmetry decides where I take the risk.

Clearing waste, I go across the grain. Safer every time.

And over the molding itself the passes are nearly nothing. Paper thin. Everything laid over it has to sit slightly proud, which means barely any wood comes off in that spot at all.
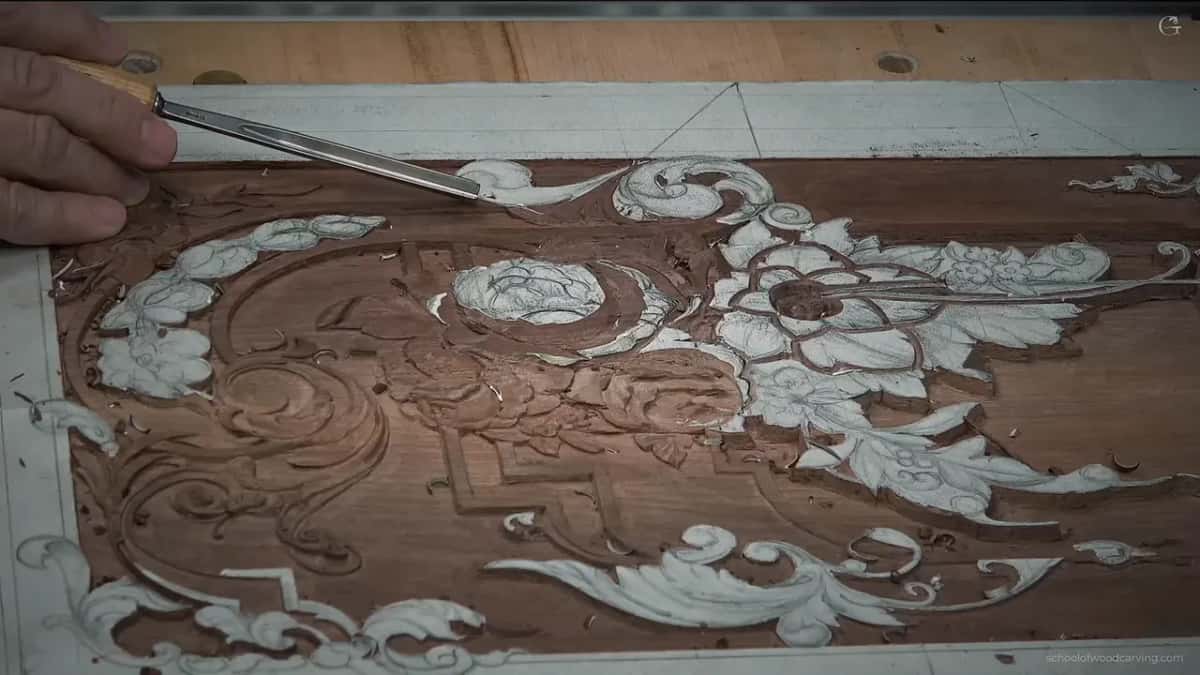
Over the molding itself I take almost nothing. The ornament has to finish slightly proud of it, so the passes there are paper thin and I stop the moment the blade is level. Whatever laps across that band stays high, and only the wood on the free side of it comes down. This is the one place on this panel where the correct amount of material to remove is close to none, and the same discipline shows up all through acanthus laid over moldings as a subject in its own right.
What the router plane and the wide chisel are for
Repeating a depth I have already committed to. The router plane changes blades in seconds, which is the only reason I use it as often as I do. A three sixteenths blade, about five millimetres, carried the same floor across this section.
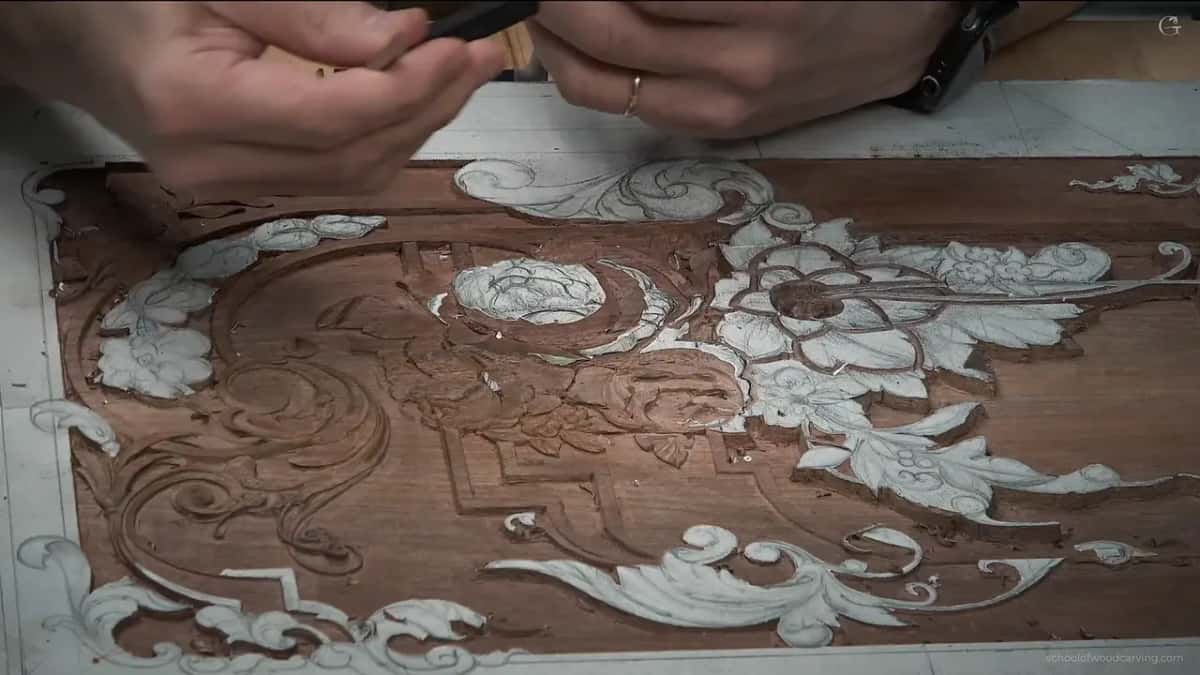
For a long straight line I set a forty millimetre chisel right on it and tap. One clean line, no wandering.

Outlining still belongs to the number 11, though. Some carvers take a flat tool and poke straight down along the line. I will not, because the background there has to be undercut later, and a bruised background cannot be repaired once the ornament is standing over it.


Undercutting without losing the background
Slowly, with a small tool, and with the floor of the panel always in mind. A millimetre and a half, no more. Later it goes deeper, once the shapes above it are settled.
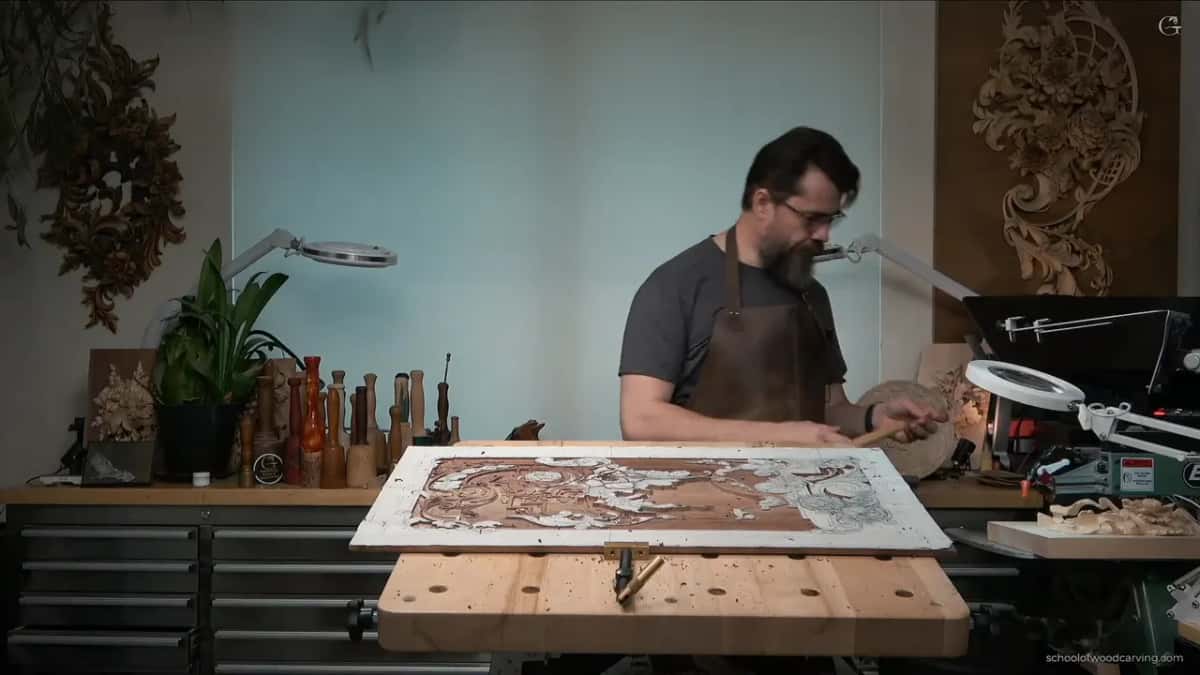
The tool I like best for it is a tiny antique number 9 spoon. Modern makers do not produce these, and they show up on eBay now and then, but they were ordinary in the nineteenth century. That little hook gets under an edge nothing straight can reach.

A half millimetre number 11 with the flute turned to ten o'clock does the same job with a straight tool, and half the time that is what I actually pick up.

For cleaning out a wider hollow I switch to a number 7 at about twelve millimetres. Bigger tool, fewer passes, and much less chance of leaving a row of facets that then have to be blended out one at a time. Just keep the corner of it off the panel floor.
I broke an edge on this lesson. That happens when you press too hard, and it is a fair warning to anybody working at this scale.
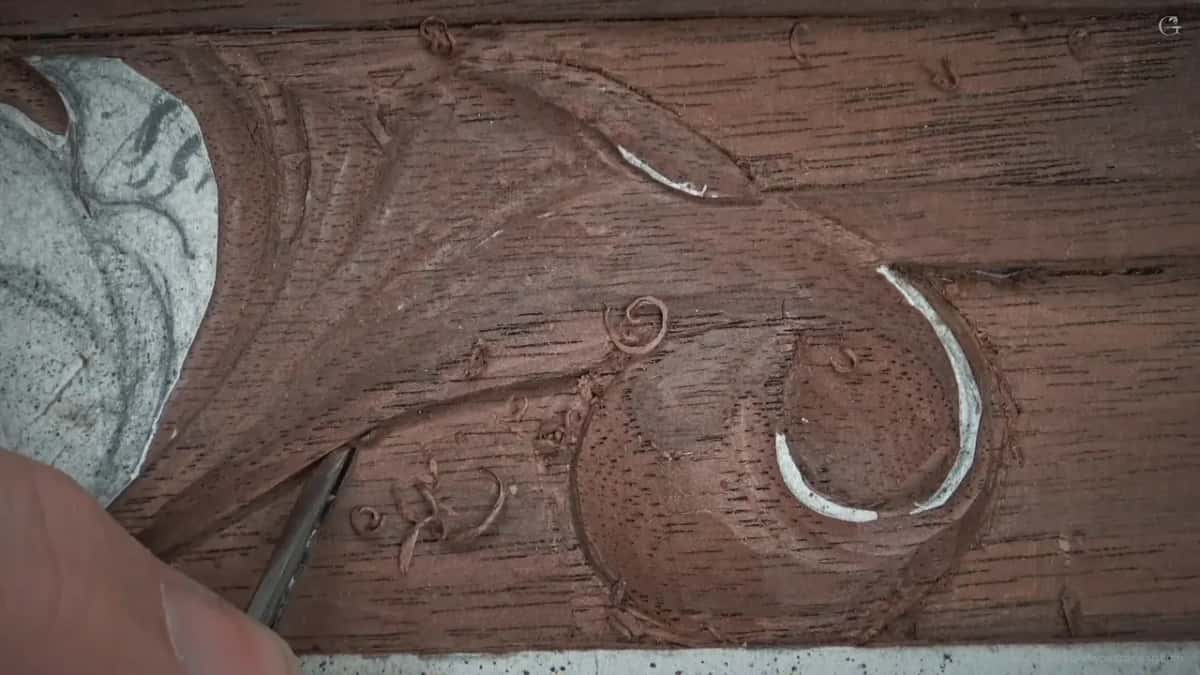
Whatever you do, the background stays where it is. Dig below it and the ornament starts floating, the depths stop agreeing with each other, and the fix is to lower the entire background of the panel. Which is a week you did not plan for.
Is a V tool necessary here?
You can carve every shape here without one, and there is history behind that. The number 16 is a fine tool and I own several, but in the eighteenth and nineteenth centuries plenty of carvers did not have one, and in some countries they were hardly used at all. The ornament we are copying was made without it. Own one and use it. Without one, nothing here is out of reach.
One more thing about the white paper you can see on the high spots. I leave it deliberately. It marks the surfaces that must not come down, and on dark walnut a pencil line disappears where paper does not.

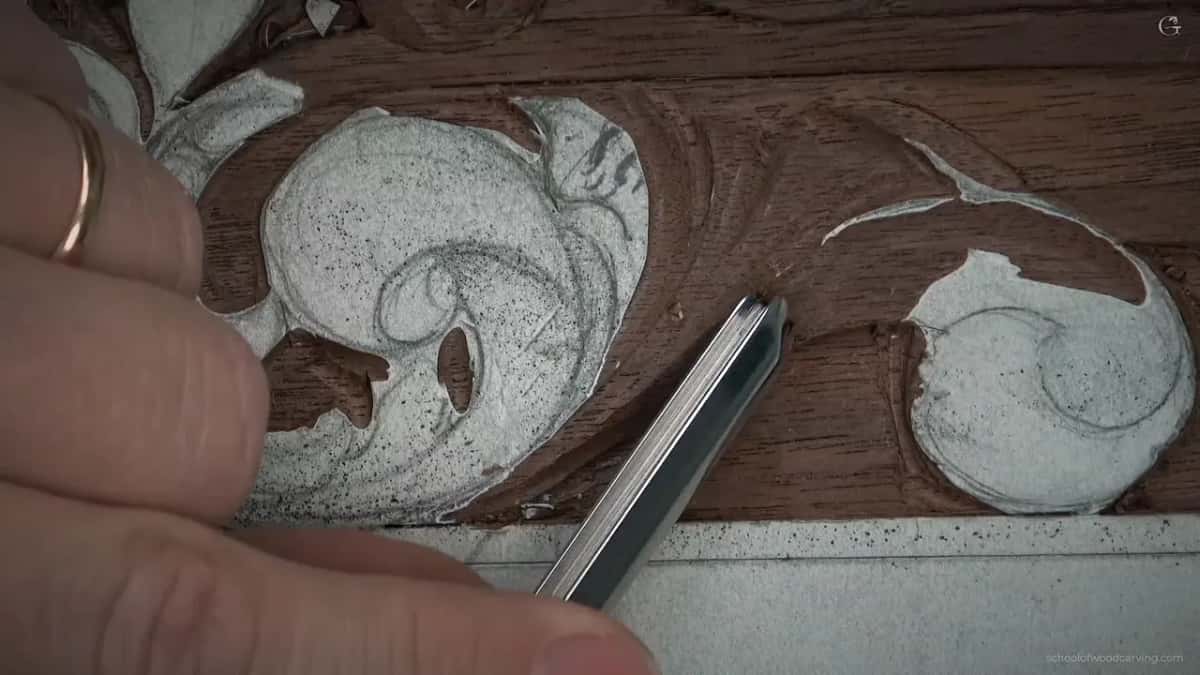
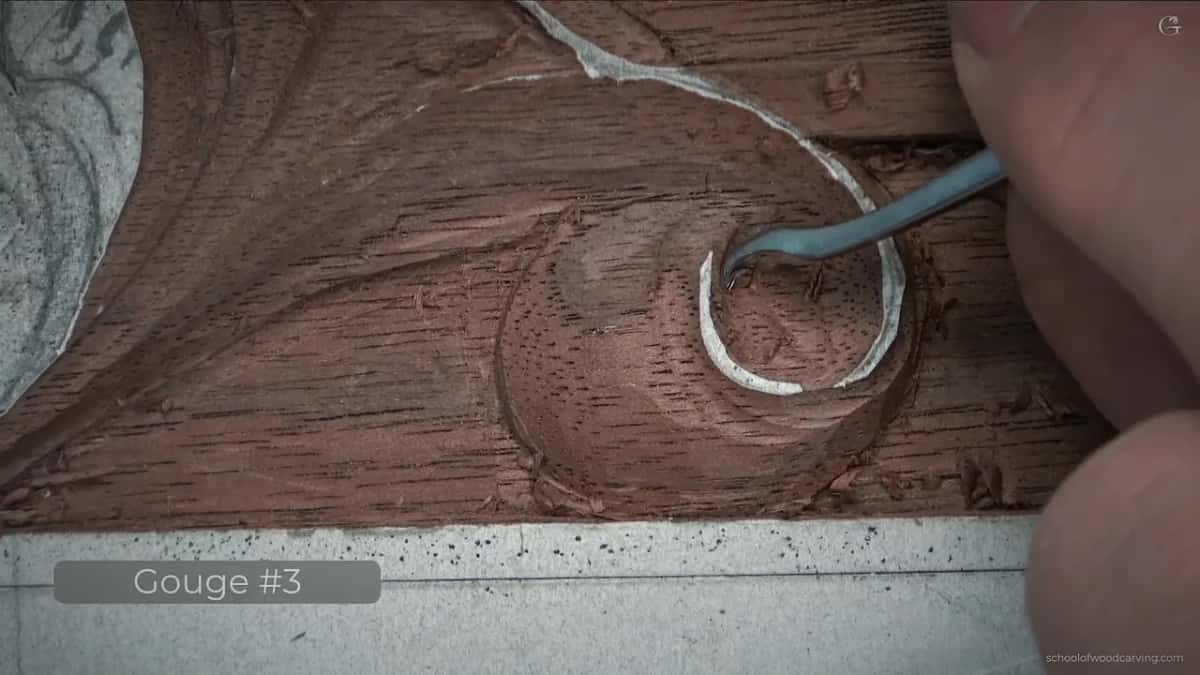
Roll the surface over using twelve millimetres of number 3, keeping well off the background, and the lobe starts to look like it is turning rather than sitting flat.

Now it casts a shadow. Exactly what I was after.

One honest word about copying a finished photograph
A student sent me a picture of a finished panel while we were still partway through this one. It was useful and I am glad he sent it. It was also not very accurate to the period, somewhere late eighteenth or early nineteenth century, and that is worth saying out loud. Techniques travel. Proportions and profiles do not travel as easily, and a good photograph of the wrong thing will teach you the wrong thing beautifully.
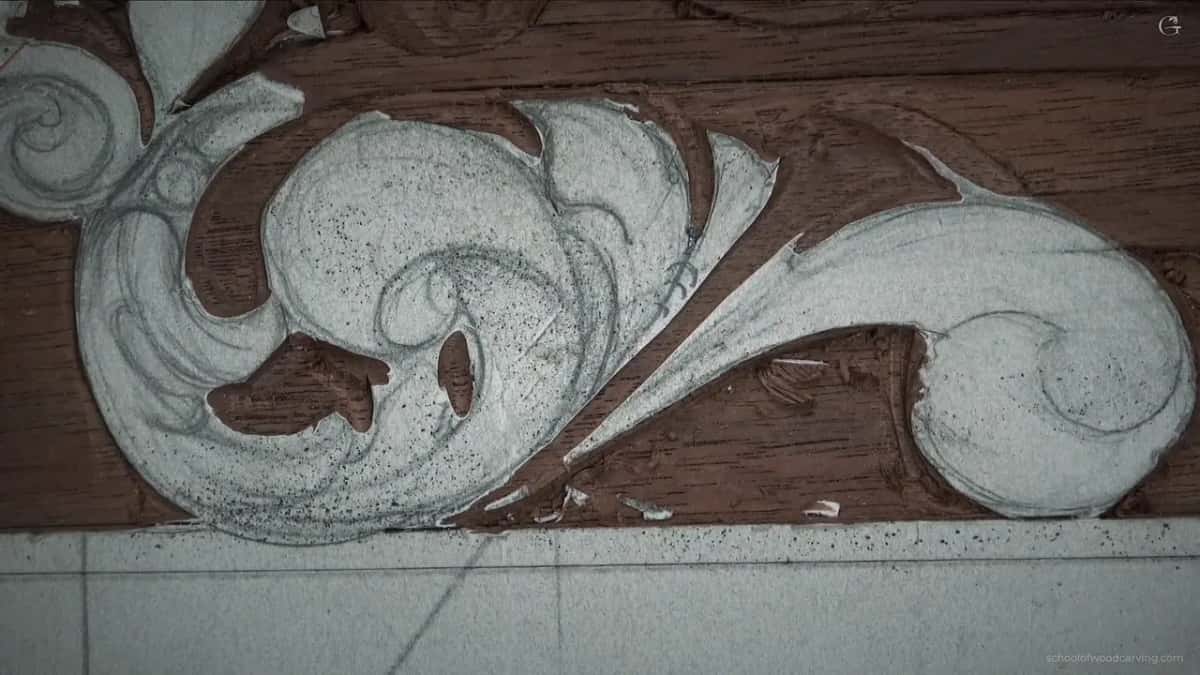
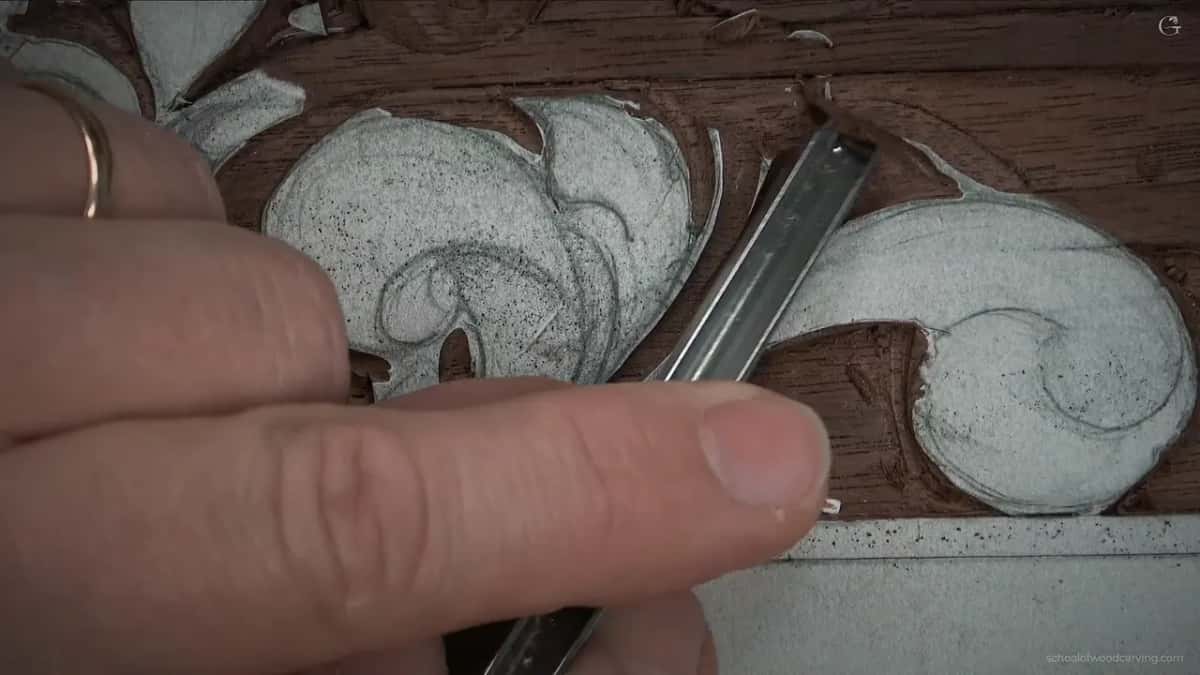
The panel is coming along, slowly. We are moving little by little, and honestly most of what is left is technique rather than new ideas. Once the concave and the convex and the eye and the pipe are in your hands, the rest of an ornament like this is repetition with judgement attached. It is also why I do not mind saying that a student who understands the techniques could take these shapes and go carve something entirely different with them, which is closer to how the old shops worked than copying a drawing line for line. If you want the drawing itself, it came out of the last design lesson before any carving started.
Would you rather carve a leaf that looks rounded, or one that turns under the light the way the old ones do? Shall we carve?
The lesson runs in three parts inside Carving Furniture Panel, Part 3, following the plug cut lesson before it. The drawing came out of the design course, and the same profile turns up in Acanthus Over Moldings. Tools are covered in All About Tools. Come carve with me at an in person class, or find Access on the tuition page.
How it's done
- Mark the high ground first. Pencil a centre line down the lobe before any tool touches it. That line becomes the convex, and everything either side of it falls away.
- Open the eye. Find the point where two movements separate and drop a hollow shaped like a teardrop, using one millimetre of number 11. Every eye you open commits you to a pipe leaving it.
- Carve two hollows and leave the pipe. Take a shallow scoop using number 9 on each side of the line. The raised strip left between them is the pipe, and it is never lowered.
- Start the concave partway along. Begin the hollow a little way in from the tip and run it to the end, then blend the beginning until it vanishes. A hollow starting at the point is wrong for the period.
- Give the molding room. Work no closer than about a millimetre to any molding while clearing waste, and go across the grain rather than along it. Damage on the ornament side can be designed around. Damage to a molding cannot.
- Take the ridges off with a back bent gouge. A back bent reaches into the hollow a straight tool cannot and leaves the surface rolling instead of faceted. The wider number 3 finishes the roll.
- Undercut last, and never below the background. Start at about a millimetre and a half with a tiny number 11 or a small spoon number 9. Deepen later. Cutting below the panel floor forces you to lower the entire background.
Frequently asked questions
Why is a carved leaf not simply rounded
A rounded lobe gives one soft shadow. The three part profile gives three separate changes of direction, so the light breaks across the surface instead of sliding over it. Period work does this everywhere.
What is a pipe on an acanthus leaf
The raised strip that runs out of an eye. It is formed by hollowing both sides and leaving the middle standing, and in historical ornament the pipe is always convex, never flat and never sunken.
Can a pipe be very small
It can, and Alexander calls those micro pipes. Even a sliver left between two movements gets raised slightly, because at that point it stops reading as leftover wood and starts reading as part of the design.
What to carve next