
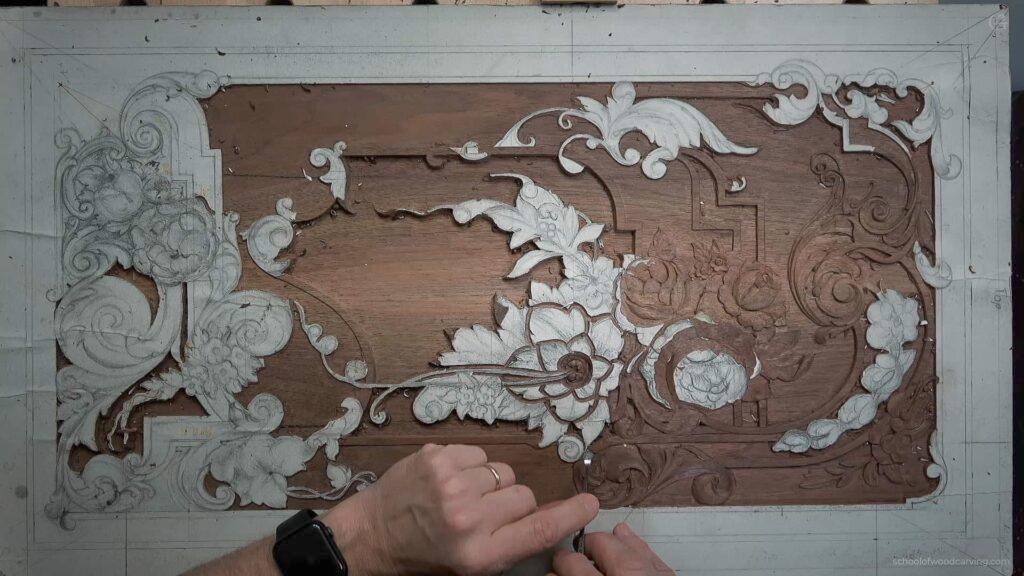
Alexander Grabovetskiy, woodcarver, School of Woodcarving · Published 2018
How do you carve an 18th century furniture panel?
Quick answer: On this 18th century furniture panel, I carve every element in the same order. You outline each element with a number 11 veiner, sink it to a set depth that never goes below the background, then carve a hollow down both sides of every ridge so the flowers lift and throw shadow.
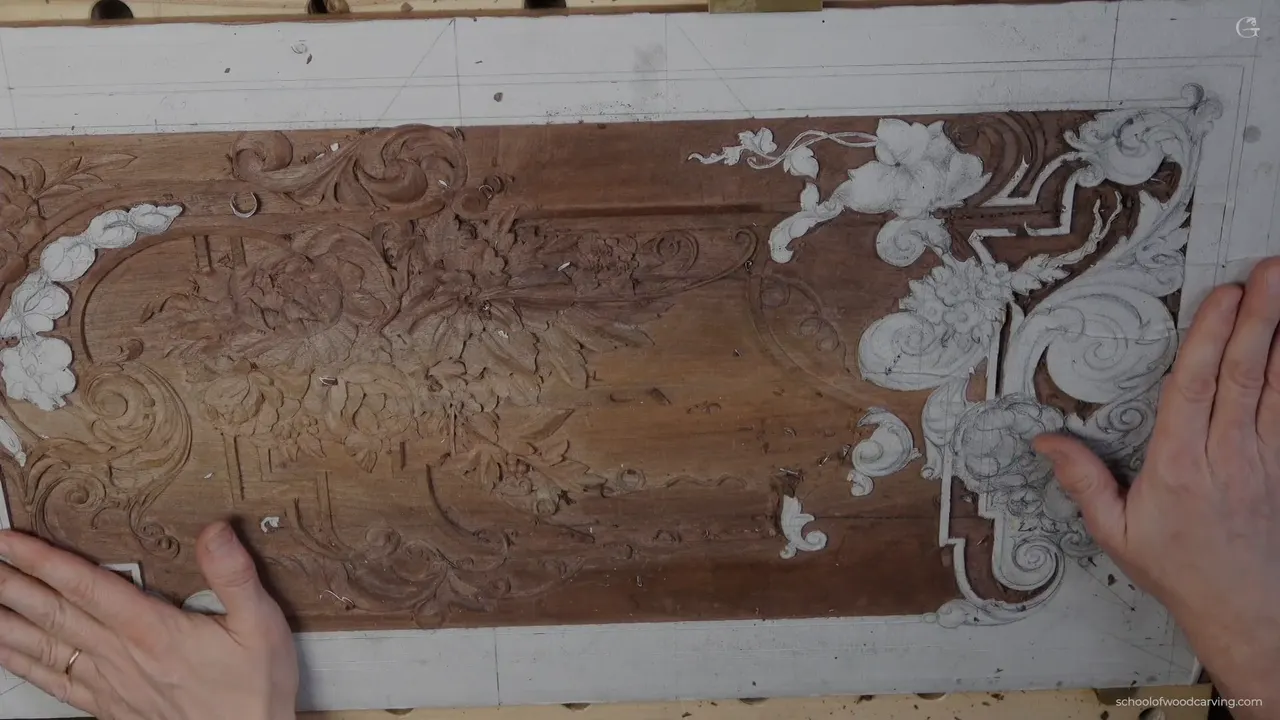
Same panel again, and this is the last of the three courses. The drawing happened in the first one and the shapes came up in the second. What is left is shadow, and the surface you actually touch.
What is a plug cut in wood carving?
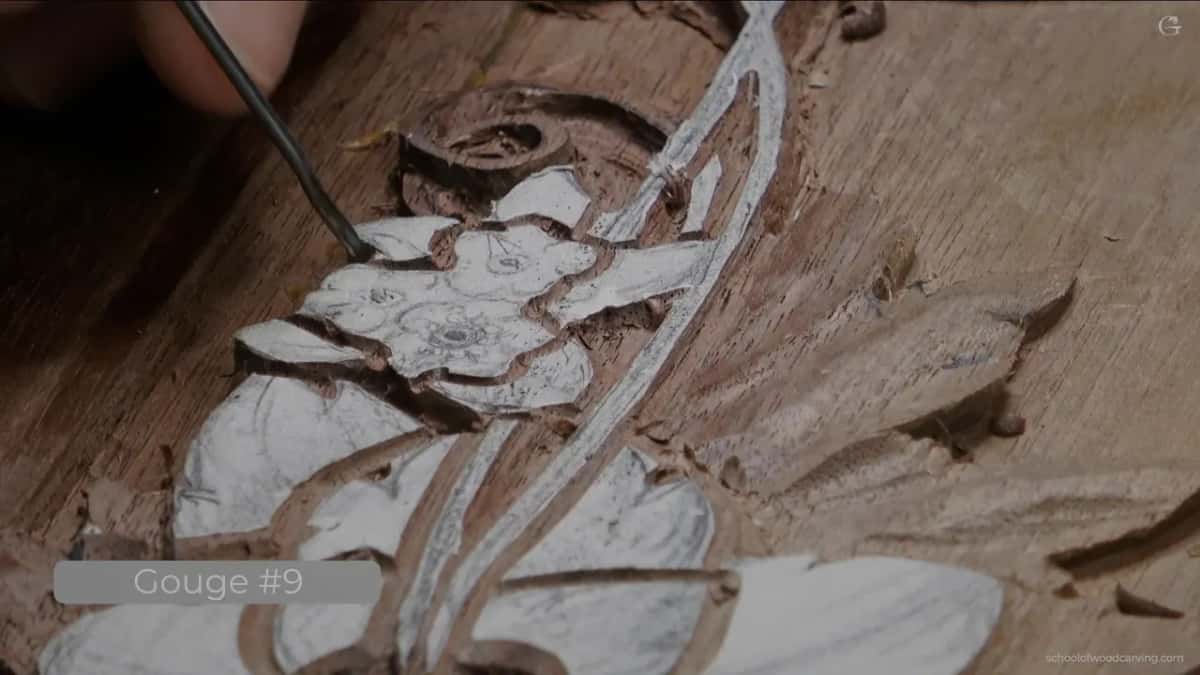
A plug cut takes wood out to an exact depth by standing a deep gouge straight down and rotating it until a plug lifts free. My tool for it is a number 9 at 6 mm, a quarter inch, and in tight spots a 3 mm one, an eighth of an inch. Other carvers call this cut something else. I call it a plug because a plug is what comes out.
Tap the tool around with a mallet, gently. Too much force is a big mistake.
What makes the cut worth learning is the floor it leaves. The bottom of a plug comes away flat, so you can read your depth off it and bring every neighboring area down to that same line. On a panel carrying this many separate elements, that is the difference between a carving that hangs together and one that wanders.
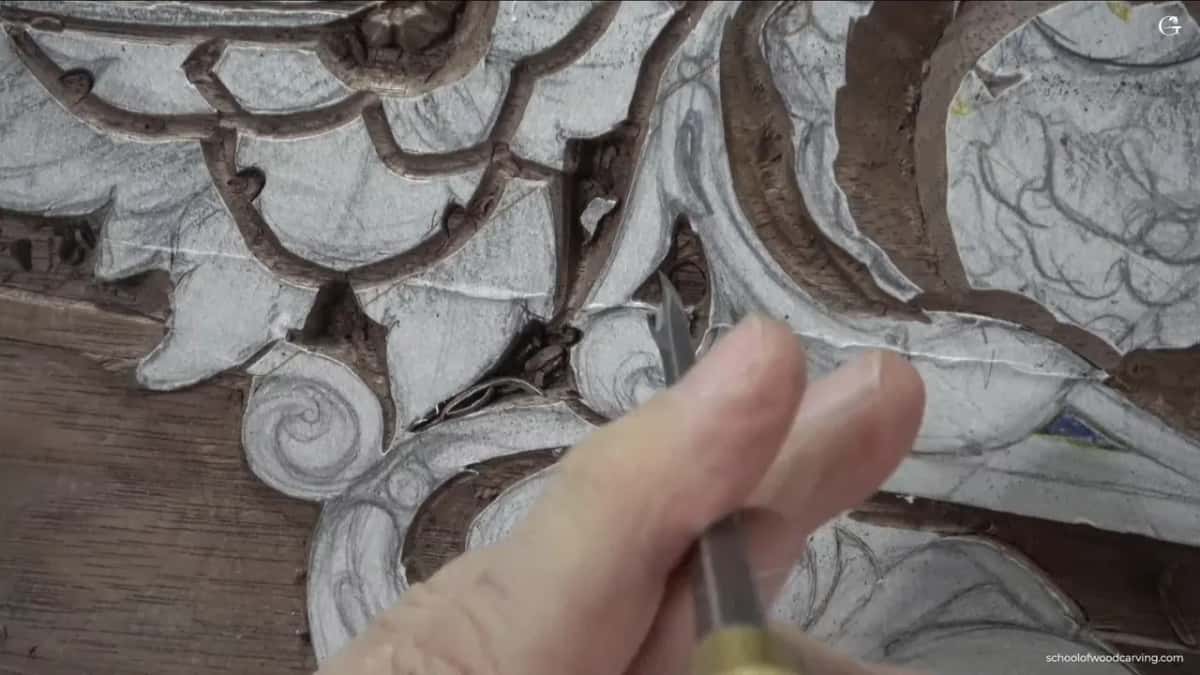
None of that happens before the outline, though.
I go around every drawn line with a number 11 veiner at 2 mm, and the cut stays under half a millimeter deep. A 1 mm tool or a 3 mm tool would do the same job. For me, outlining first is a really important step, before I do anything else.

Why do carvers hold the gouge at 45 degrees?
A gouge presented at about 45 degrees to the line slices the fibers cleaner and nicer than one whose bevel sits square at 90 degrees. Most carvers set it square. I see that mistake all the time, and if you want it really accurate, you go to about 45.
Turn the tool and the edge meets the line at a slant and it enters on one corner and travels across. Cleaner wall, and a lot easier to carve.

Slicing beats pushing everywhere on this panel, and it holds for the router plane as well. I never drive that thing straight ahead. One handle in my hand, the blade coming in at roughly 45 degrees, and the body pivots through the cut.
Keep the passes short too. Three or four millimeters at a time, and nothing stops you going back for another.
Grain settles the rest. Work a hollow and one side runs with the grain while the other runs against it. Against the grain is not the best idea, but with a sharp tool and a slicing motion you should be okay.
Pass over ground | The tool and size I reach for | Its job | What each pass leaves behind it |
|---|---|---|---|
First, the hogging | Any large gouge, mine is a seven | Bulk removal | Rough floor, worked across the fibers |
Second, the grounding | A three sweep with a slight curve | For leveling | Background taken down and somewhat flat |
Third, the wall | A number two set right on line | The wall | Square down, pared in small steps |
Fourth, and optional | A router plane holding one set depth | Repeats it | The same level without thinking about |
What gets the background of a relief carving flat?
Background comes down in three passes, and a router plane can make it level after that. Hog the waste out with any big gouge, a number 7 at 10 mm, three eighths of an inch, and take the cuts across the grain. Going across is always safer, and much cleaner.
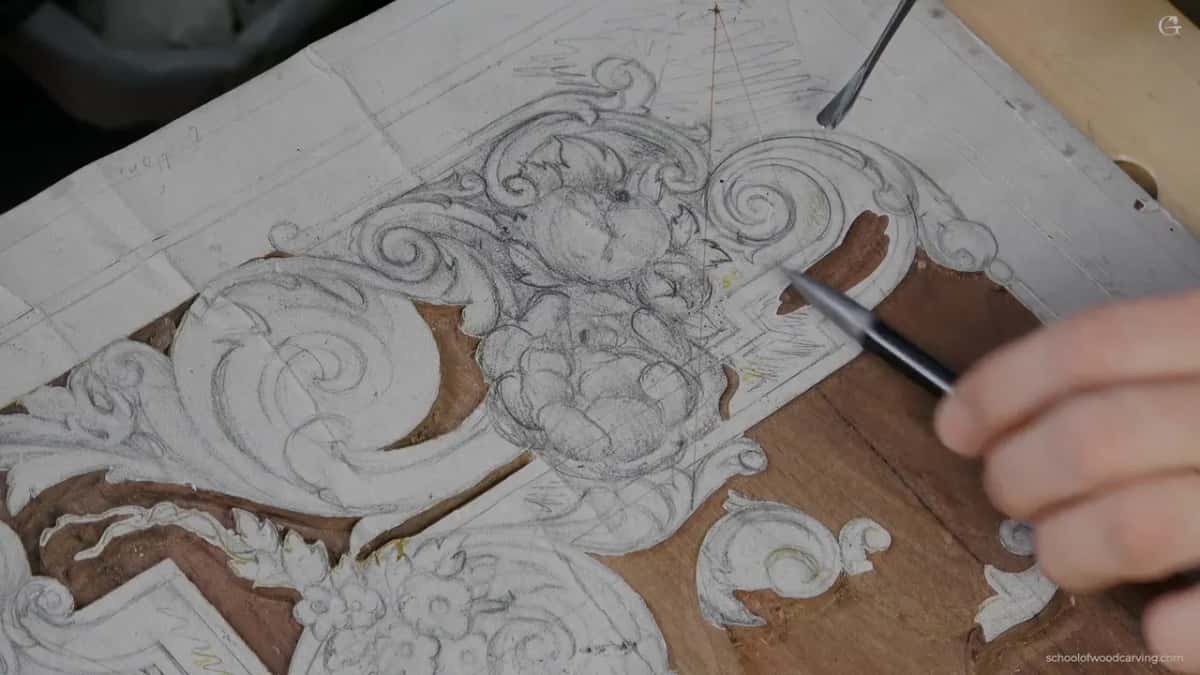
Next comes a grounding tool, a number 3 sweep with a slight curve seen from above. Taking the background down is the job it was made for. The one I use is an Ashley Iles 47, one and a half millimeters wide.
Then the wall. Set a number 2, ten millimeters, right on the line and pare down in steps, and keep the tool at 90 degrees to the surface the whole way, because a tool leaning inward there gives you an undercut you never asked for. On the long straight runs I lay a 90 mm chisel on the line and tap it with the mallet, not too hard. Furniture makers love a perfect line.
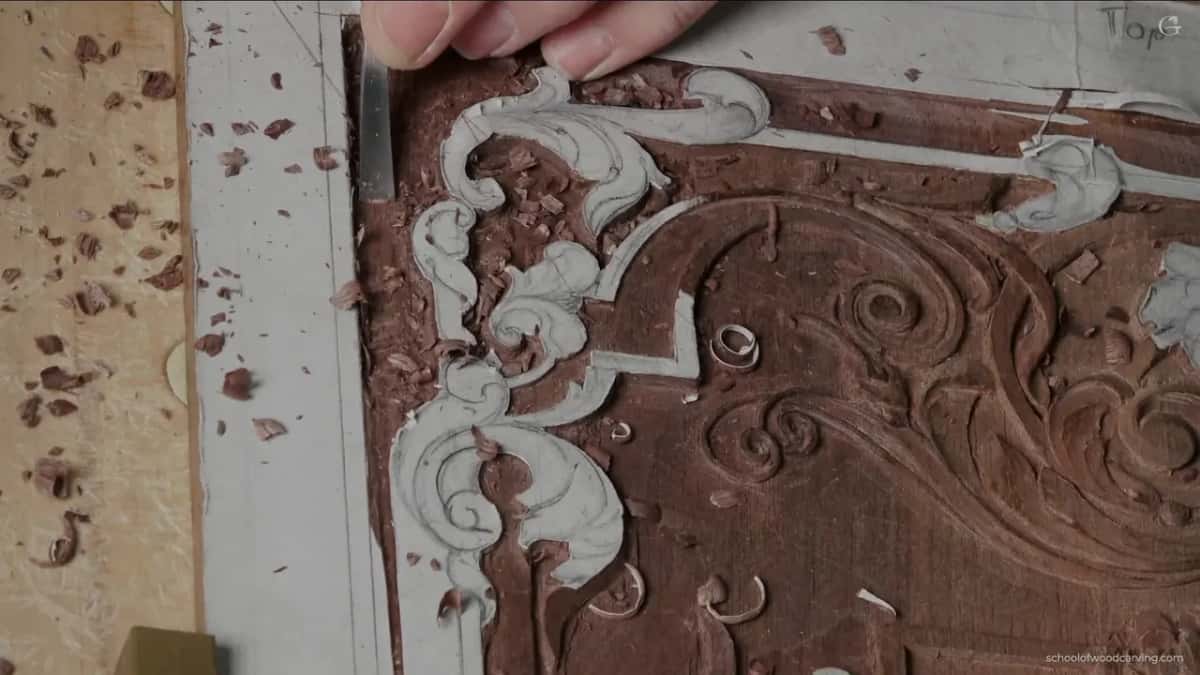
Do not lean hard on a thin edge while you pare, either. I said that out loud on one of these videos and broke a piece about four minutes later.
One rule sits above all the rest of it, and I repeat it in lesson after lesson. I can always go deeper. I cannot go shallow.
So near a molding I stay about a millimeter off the line while outlining, since I have no idea what the grain will do under the edge. A split on the leaf side I can redraw and carve around. Lose a piece of the molding, though, and it is simply gone, with no way to invent my way back. Molding work gets a course of its own.
Why does my carved leaf look flat?
A leaf gets its 3D look from a raised middle with a hollow running down each side of it. Cut a section through most petals in 18th century relief work and the profile is the same. Hollow, ridge, hollow. The outer edge lifts as well, so a petal sits like a shallow trough with a spine in it.

You never carve the ridge. Take one hollow down the left using a number 8 at 3 mm, take another down the right, and the ridge is whatever is left standing between them.

Go and look at old European work in a museum and most of it has the same middle raised. I am not inventing a house rule.
There are two habits that spoil a leaf, and I watch for both.
The first is spooning. A carver starts at the top edge, digs in, then escapes out again, leaving a dimple in the middle and a high rim all the way round. No bueno. My hollows run right through the petal and out the far side, and that single change is what puts the curl into it.
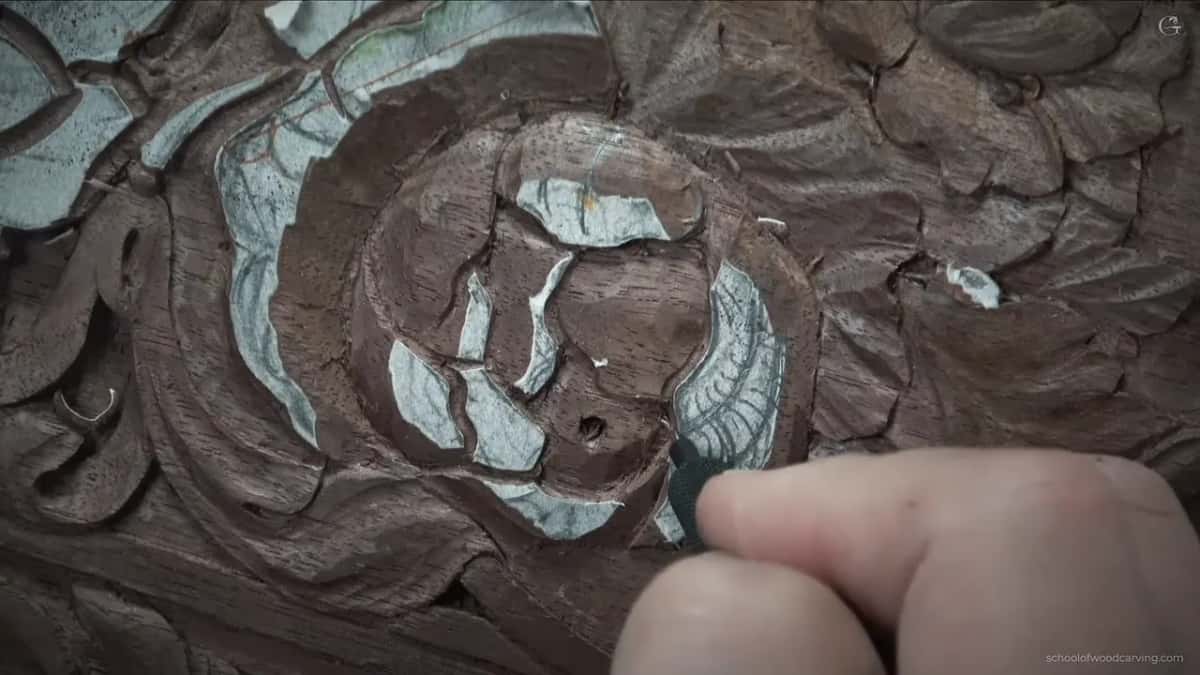
Second is a straight line. When I lay a tool along a leaf edge and see a flat run of it I go back and put a wave in.
Where the ridge sits matters as much as the ridge. My center line lands at about 60 to 40, six parts out of ten, the golden spot, and a leaf built that way gets a really good movement. That habit comes out of Principles of Design in Wood Carving.
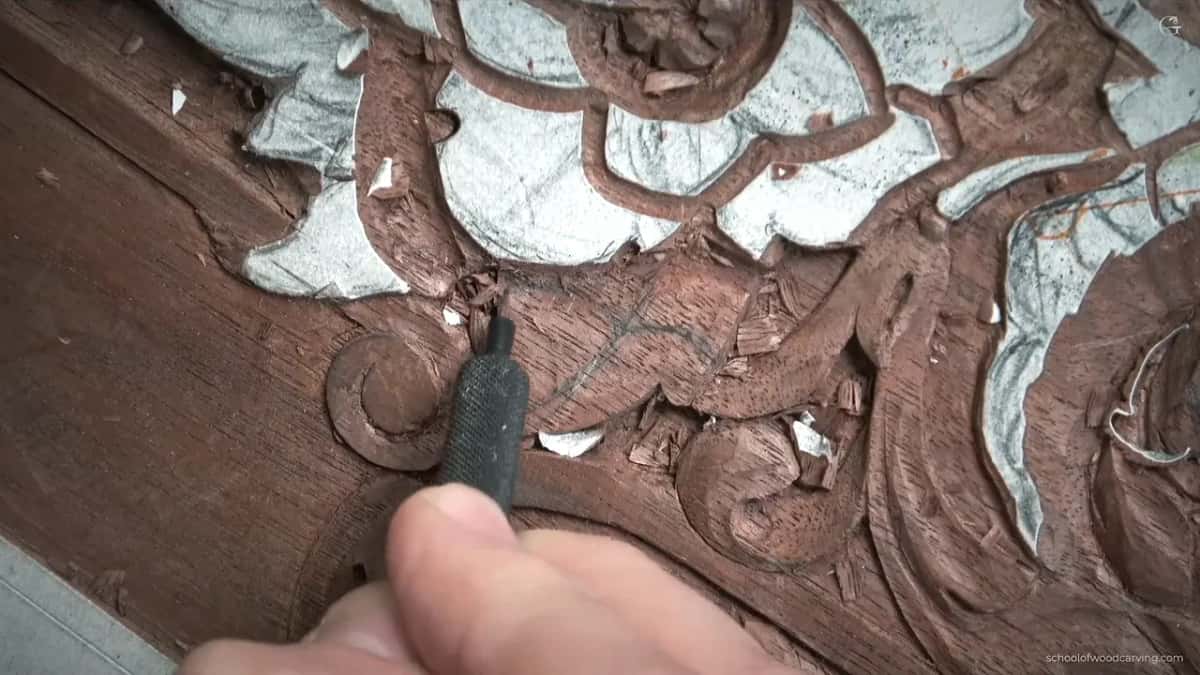
Wherever two lobes part there is an eye, and every eye gets a pipe. An eye wants the shape of a water drop, and the pipe is the raised piece running out of it, convex at any size, without exception. Some of them here are barely 1 mm across. If you want to come and carve this panel with me, you will meet that rule again and again.
Which tool holds one depth across a whole carving?
A router plane holds one exact depth across a whole area, and that is why it belongs on a carving bench as much as on a furniture bench. Set the blade once and every pass after it lands at the same level. For furniture making, I think it is a good invention.
The one on my bench is a Veritas. Swapping a blade takes a couple of seconds, and the blades go down to 1 mm and up to 19 mm, three quarters of an inch. I keep a small plane and a micro one beside it for spots the big body will never reach. Nobody pays me to say any of that.

Check the depth even when you have not touched the setting. Pull a blade out, put the same blade back, and the depth has moved a hair. Tiny, but it moves.
Most furniture makers of that period could carve, and this was one of the tools they leaned on hardest. For the rest of the rack explained properly, there is All about tools for Wood Carving.
How do you undercut a carving without breaking it?
Undercutting on furniture stays shallow, because an undercut carved too deep leaves a fragile part, and you can break it. This is furniture. So don't force the tool, and go around every element the same careful way.
My tool here is a number 11 at 0.5 mm. For furniture work I would put that little thing on the must have list.
Flute up at twelve o'clock to start the cut, then roll it toward eleven, and toward ten as you work in under the edge. What I'm after is shadow. Almost nothing up top, and deeper right underneath, but never so deep that the part turns fragile.
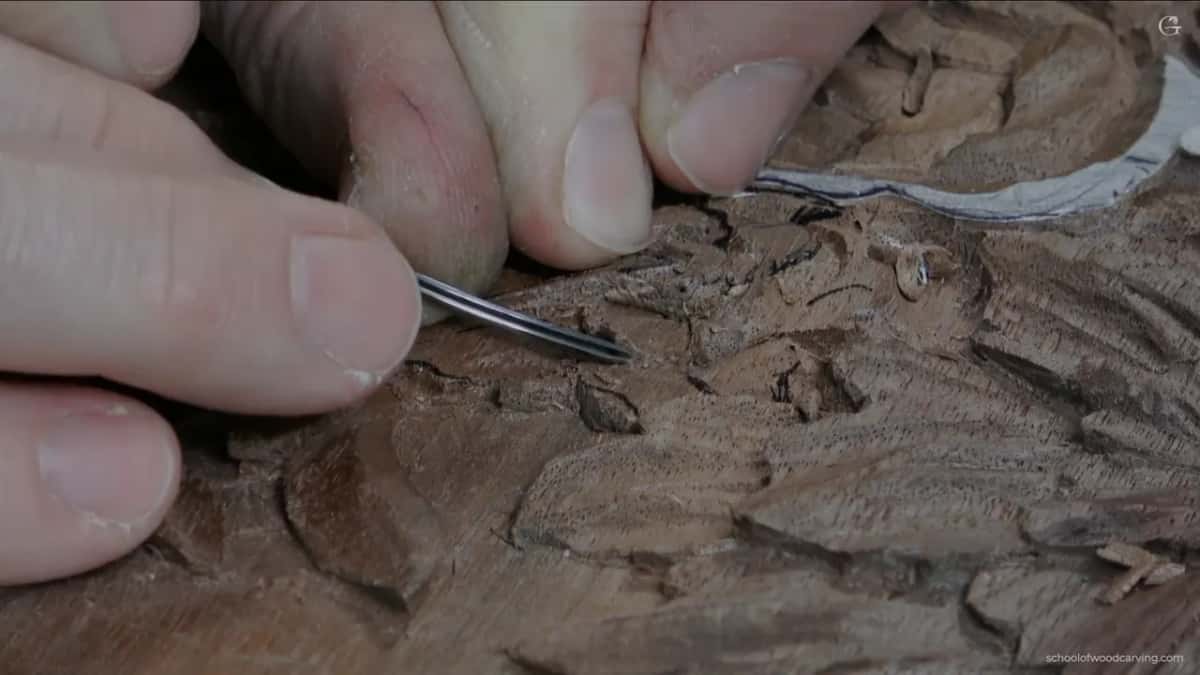
Light falls from above, near enough always, so before I make a separation I work out which side the shadow has to land on. That settles which element overlaps which.
How are small flowers carved on antique furniture?
Small filler flowers are carved as little domes with a dark hole punched in the middle, and the hole goes in first. Round the dome over before you make the center and the wood there has gone weak, so the tool breaks the dome you just finished.
Order carries this one. Punch the center with a small number 8, about 1.5 mm across, angled the way the flower will slope rather than straight down. Outline the dome next, a two millimeter eleven, keeping the dome 4 or 5 mm wide and only about 1 mm deep. Then turn the number 8 upside down and shave the dome round with it.
That outline is not decoration. With no relief cut around the outside, every fiber you push travels toward the center of the dome with nothing to break it, so instead of carving you crush wood until the dome tears out.
Other ways exist. Excavate one deep center, run every cut into it, and you get a strong dark spot with almost no detail. You can also ring the dome with tiny beads. I like the plain dome.
How thin can a carved tendril be?
A tendril here finishes at a sixteenth of an inch, about 1.5 mm wide. On camera it looks like a fat ribbon. In the wood it is narrower than a matchstick, and some of you have told me there is no way it is really that small.

Control at that size comes out of your other hand. I plant a finger on the work right beside the tool and let it work like a spring, so the edge moves in cuts I can actually stop. Sometimes I catch the finger. That happens to anybody who carves all day and stops being afraid of the steel.
Restraint is the other half of it. Put too many little grooves down a leaf edge and the whole thing goes stripy. The surface has to change gradually. Glowing, never striped.
Which scraper smooths a relief carving best?
A scraper does the job, and on this panel a plain utility razor blade does most of it. Hold the blade at an angle to the direction you are travelling rather than square to it, because an angled blade reaches into small hollows that a flat one skates over. You can grind a hook on the edge like a card scraper, or just use its side as it comes.
Scraping is old. Carvers were smoothing work with glass in the 18th century, and glass was already about in the 15th, so none of this is a modern shortcut.

Steps get blended, never attacked. Where two levels meet I walk a number 3 spoon gouge down the high side until the transition disappears, then scrape across it.
Most of my final blending happens off camera under a magnifier lamp, and I say so in the lessons. The lamp would block the camera, so on the video some sections stay half done.
Not everything gets fixed either. There is a crack in this panel with glue sitting in it, and it does not look nice. One day I will scrape the glue out with a dental pick and let in a piece of walnut. Not now, though.
So a panel sits on your bench with the movement roughed in and nothing on it throwing a shadow yet. Where does the first hollow go? Get Access to all fourteen lessons and watch every one of them go in, including the flower I keep calling an acanthus flower, which I have never once seen growing in real life. Shall we carve?
How it's done
- Outline every line before anything else. A two millimeter veiner walks round each drawn line, barely breaking the surface. To me it matters a lot. A 1 mm or a 3 mm tool does the same job.
- Plug the waste out to an exact depth. Stand a 9, six millimeters across, upright, tap it round with a mallet and let the plug lift free. The floor it leaves is flat, so you can read a depth off it and bring every neighbor down to that same line.
- Hog the ground across the grain. Any large gouge does this, and I use a 7 ten millimeters wide. Travel across the fibers. Across is always safer and cleaner, though sometimes you have to go along them.
- Level what is left with a grounding tool. A 3 sweep carrying a slight curve seen from above. Mine is an Ashley Iles 47 at a sixteenth of an inch, and it takes the background down until it is somewhat flat.
- Pare the wall down in steps. A 2 at 10 mm set right on the line, worked down a little at a time, held square to the surface the whole way. Lean it inward and you have made an undercut nobody asked for.
- Cut two hollows and leave the ridge. An 8, three millimeters, takes one hollow down the left and another down the right, and whatever stands between them is your ridge. You never carve the ridge itself. Each hollow runs right through the petal and out the far side of it.
- Put the ridge somewhere other than the middle. About sixty to forty, six parts out of ten, rather than down the middle. A leaf built that way gets real movement, and every eye where two lobes part gets a raised pipe running out of it.
- Undercut only as far as furniture allows. The smallest veiner I own, flute up at twelve, rolled toward eleven and then ten as it travels in. I'm after shadow, so I stop before the edge turns fragile.
- Punch a flower center first, then round it. An 8 at about a sixteenth goes in at the angle the flower will slope, not straight down. Outline the dome with a 2 mm veiner, keep it 4 or 5 mm across and 1 mm deep, then invert the 8 and shave it round.
- Blend the steps, then scrape. Walk a 3 spoon gouge down the high side of any junction until the change disappears. Then a razor blade held at an angle to your direction of travel, because angled reaches hollows a flat blade skates over.
Frequently asked questions
Can a beginner carve a furniture panel like this?
Watch it in order. This course picks up a panel already drawn and partly carved, and when a step repeats, I send you back to the lesson where I first showed it. Then go little by little, the way I do on camera.
What size gouges do you need for panel carving?
I reach for these most. Veiners at 0.5, 2 and 5 mm handle every outline. A 9, six millimeters across, makes the plug cuts. Hollows want an 8 near three millimeters, waste comes off with a 7 ten millimeters wide, a flat 3 blends, and one broad chisel sets the ground line.
How long does a furniture panel take to carve?
Fourteen lessons hold this final stage by itself. My own board ran far longer, because it belongs to the school and every paying commission came ahead of it. I know you may get tired of how long it takes. At the end it should look really nice.
What to carve next