
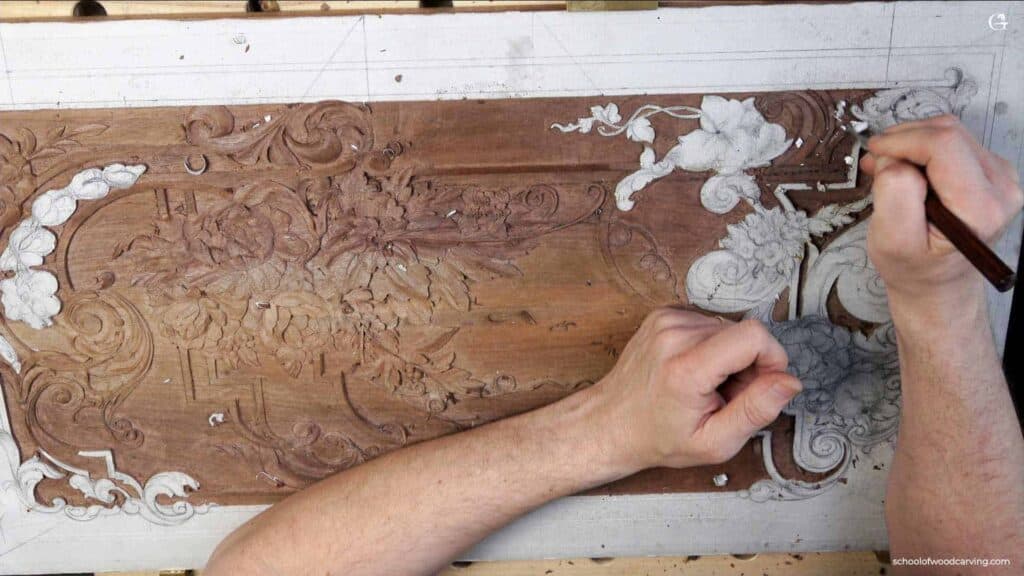
Alexander Grabovetskiy, woodcarver, School of Woodcarving · Published 2024
What is a router plane used for in wood carving?
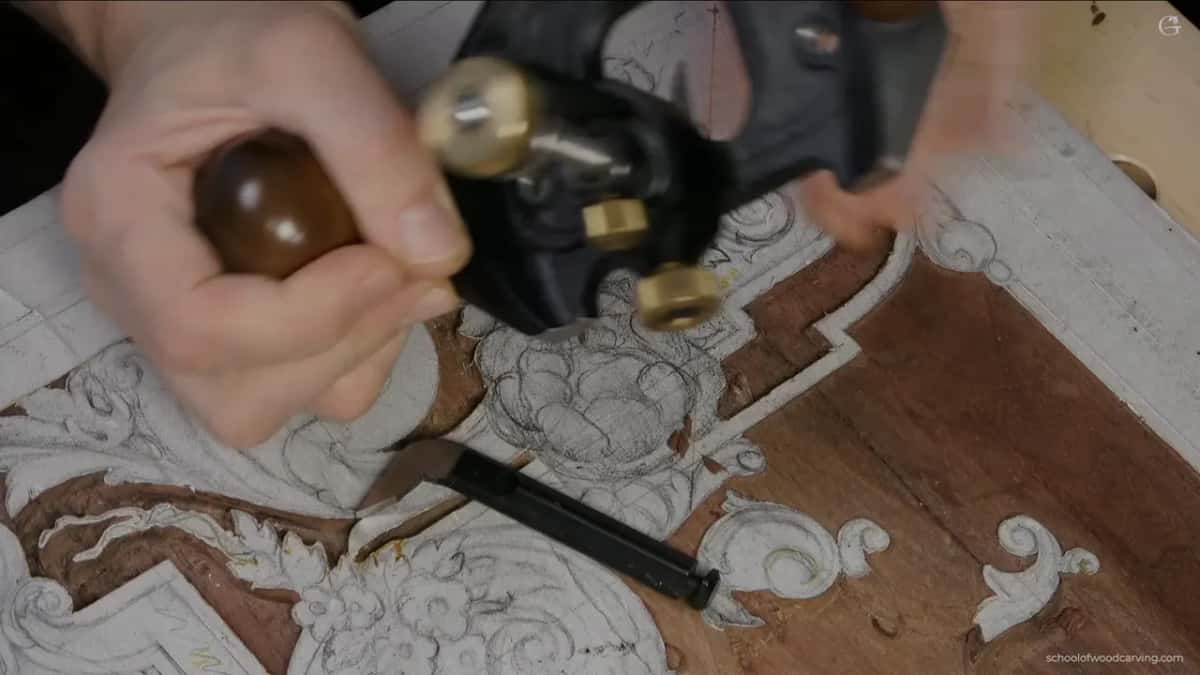
Quick answer: A router plane is a tool that holds one cutting depth across a whole area. Its blade hangs below a flat sole at a fixed height, so wherever that sole is pushed the blade removes wood down to exactly the same level and then stops touching anything at all, which is what a carved background needs.
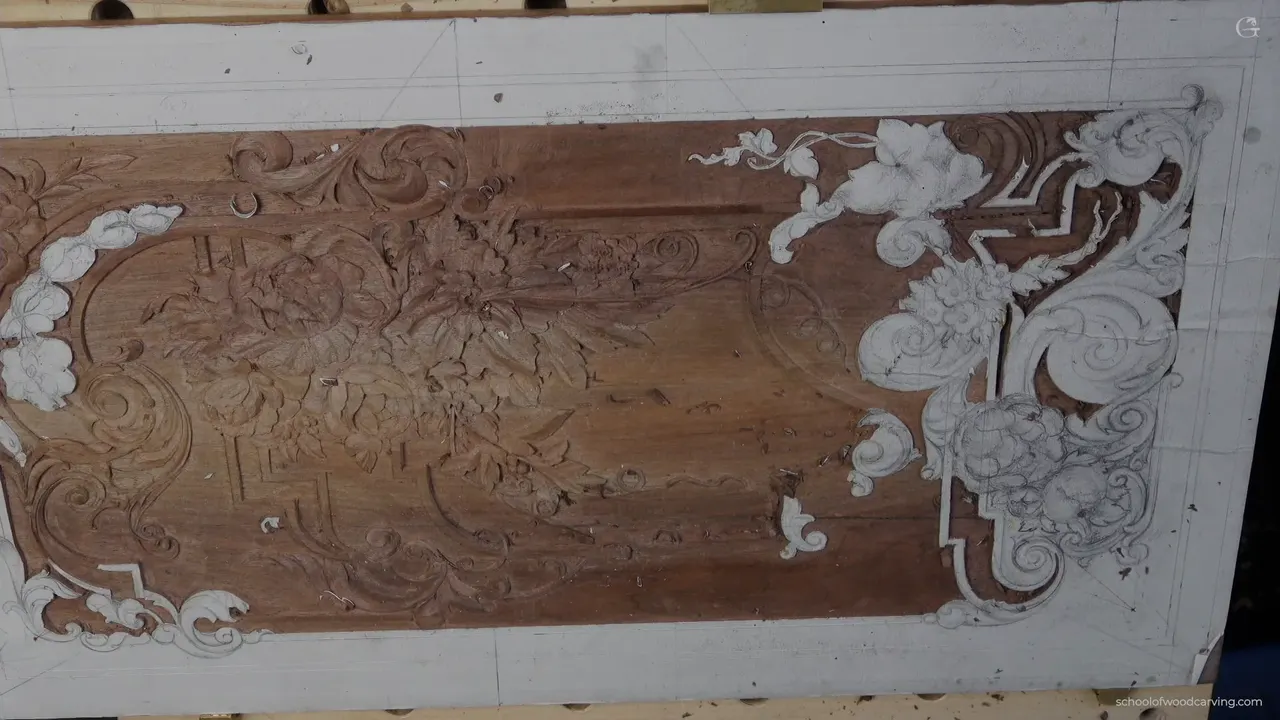
Two tools share this job and neither can do the other one's half. A gouge takes the waste out fast and leaves a floor like a ploughed field. A router plane comes behind it set to one depth and makes that floor true, everywhere, to a thousandth of nothing.
Set the plane first. Carve to just above it.
Get those two sentences the wrong way round and you will spend an evening chasing a background that is deep in one corner and proud in the next, which is a thing I did for years before anybody showed me better.
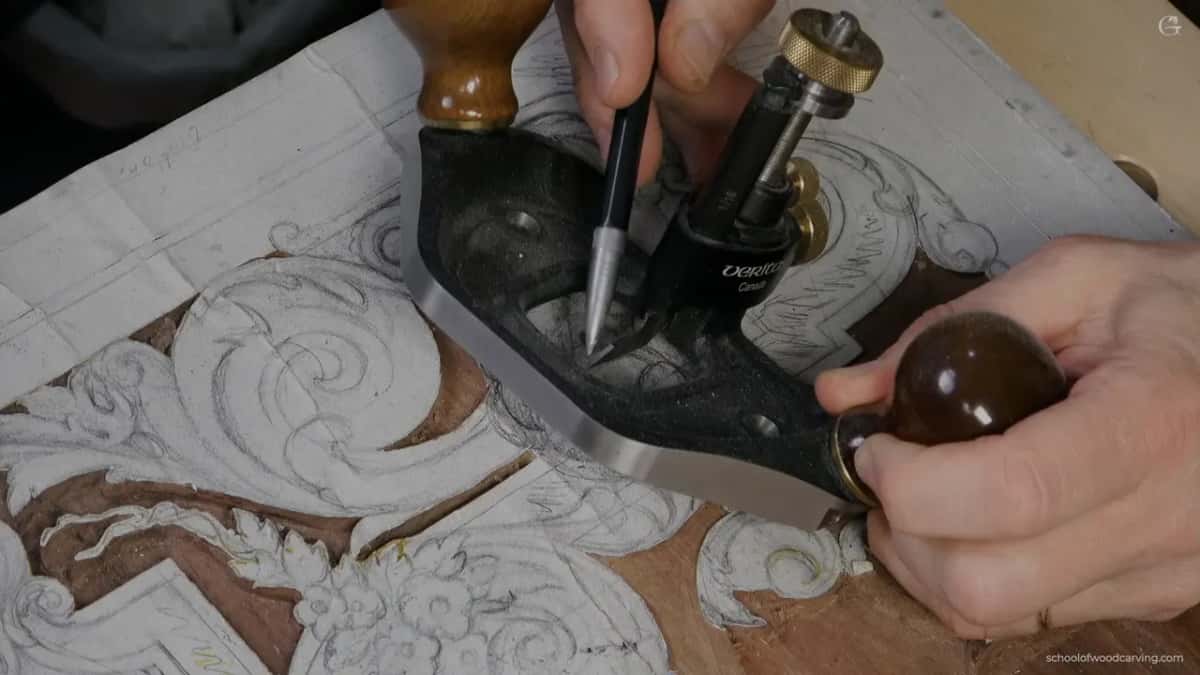
What the plane does that your hand cannot
- One depth, held across the whole area, no matter how the light or your eyes lie to you.
- Blade changes on the big one take seconds, so one sixteenth and three sixteenths stop being two decisions.
- Two holes in the sole take a wider board, which is how it bridges a hollow instead of tipping into it.
- Cuts run square across the fibres and they stay short. Long strokes are how people tear out a background.
- Three drawn lines on this panel meant three separate floors, deepest first.
- Nothing here is compulsory. A chisel and some small gouges reach the same place more slowly.
Why a carver keeps one on the bench
Depth that does not drift. My eye goes after twenty minutes and my hands go after an hour, while a blade fixed at one height does not care how long the afternoon has been.
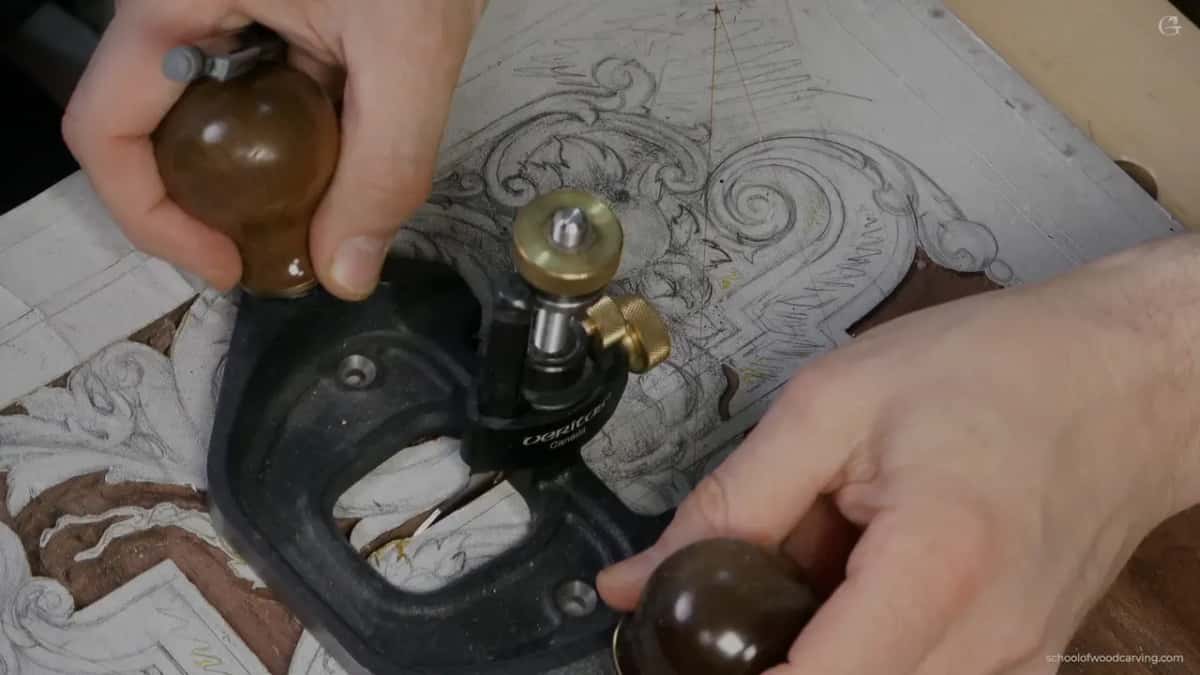
Furniture makers have used them forever for hinge mortises, inlay beds and the flat bottom of a moulding run. On a carved relief panel the background wants precisely that treatment, because an uneven ground behind an ornament is visible from across a room even when nobody can say what is wrong.
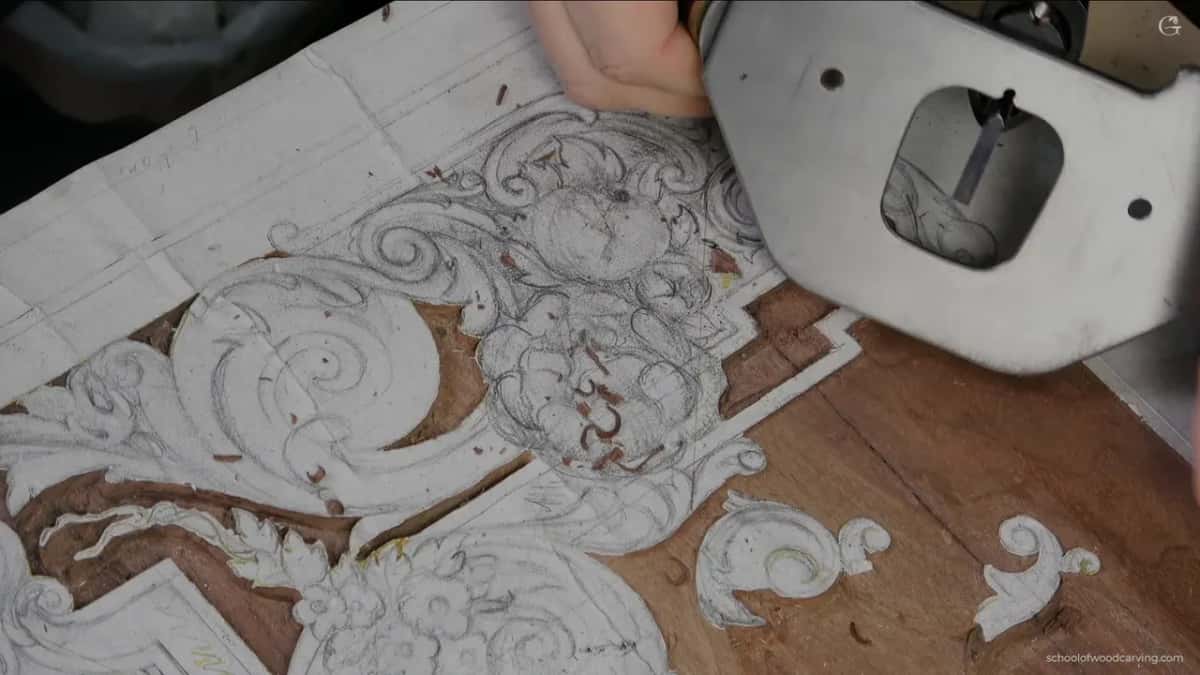
I own several. A big one by Veritas, a smaller one, and a third so small it looks like a toy until you need it. The little ones take a blade near an eighth of an inch, three millimetres, and their one drawback is that you buy blanks and regrind them to whatever width you want.
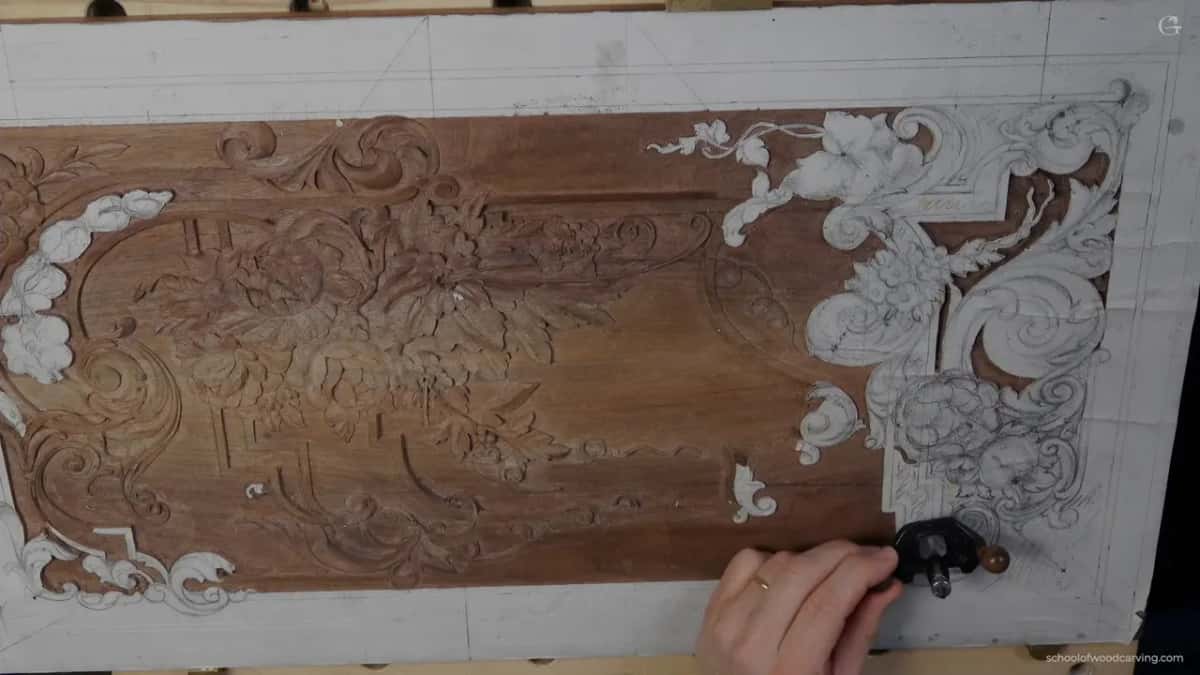
The Veritas is my favourite for a dull reason. Blades come out and go in within a couple of seconds, so a sixteenth of an inch for tight work and three sixteenths for open ground stop being two decisions. I have a Lie-Nielsen as well and it is a lovely thing. I reach past it anyway.
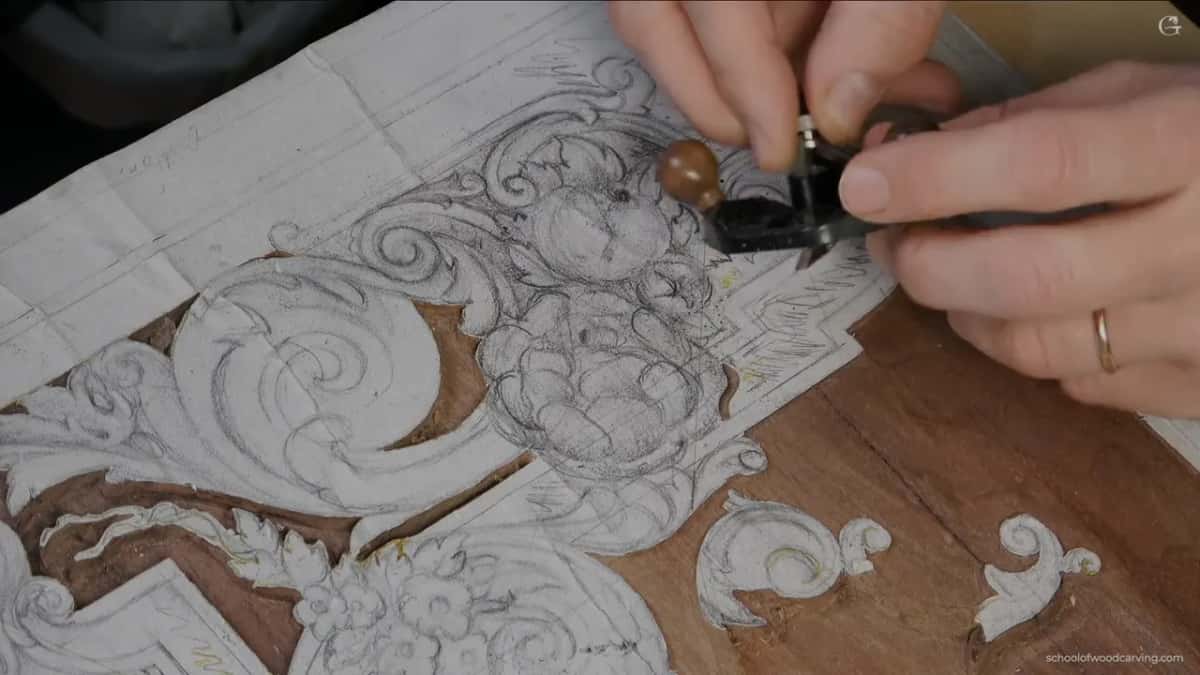
Why not carve the whole background with the plane?
Habit, mostly, and I will admit that straight out. Gouges feel right in my hands and readjusting a plane depth over and over feels like fiddling, so the gouge does the bulk and the plane does the truth.
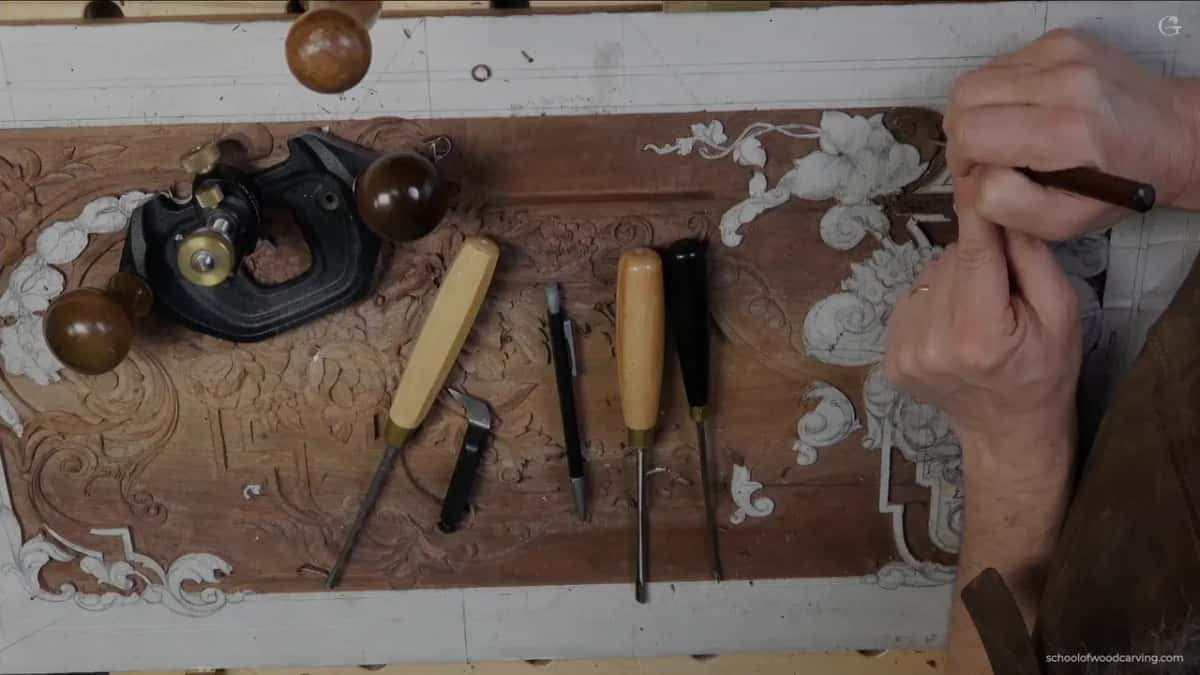
Number 7 at ten millimetres, about three eighths of an inch, took nearly all the waste here. An old Marples, which is a good one. Short strokes, run across the grain, and each one stopping well short of any drawn line.

Long cuts are where beginners lose a panel. The tool builds speed, the grain changes its mind halfway, and a chunk goes that was meant to stay. Short bites give you a chance to stop.
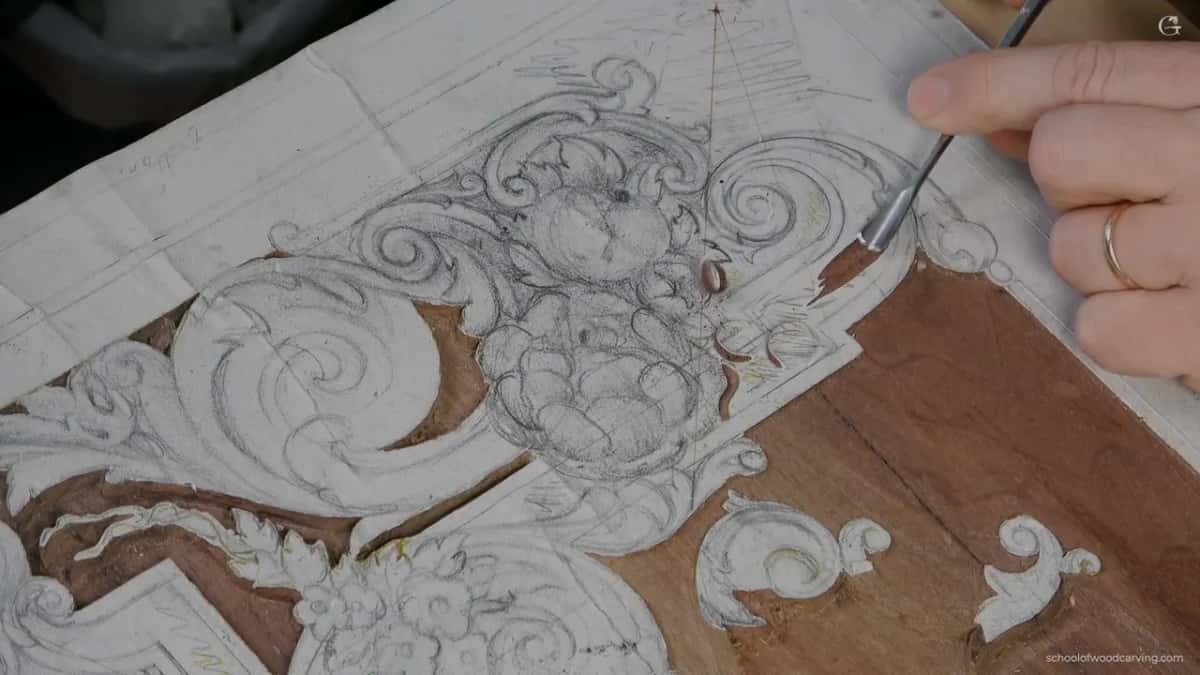
Across the grain is safer than along it, every time. Once a preliminary pass has gone across, running along afterwards becomes a good deal less dangerous, and the workshop before this one shows the same slicing motion used on a leaf rather than on a floor.
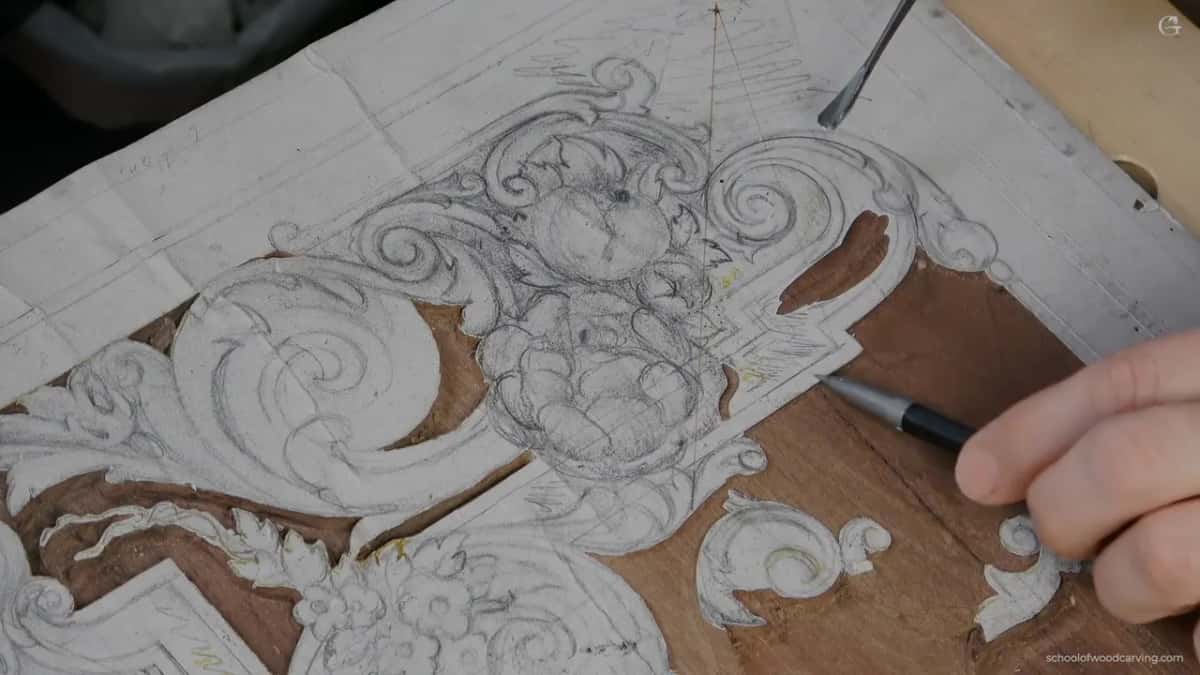
A spooning cut exists as well, entering at a steep angle, flattening as it travels, and escaping out of the surface. Handy right up against a shape you must not touch, since the tool is already climbing away before it gets there.

In what order do the gouge and the plane work?
Plane first, but only in one small place. I set the blade, take a single pass somewhere safe, and now I can see how deep this ground is meant to be for the rest of the afternoon.
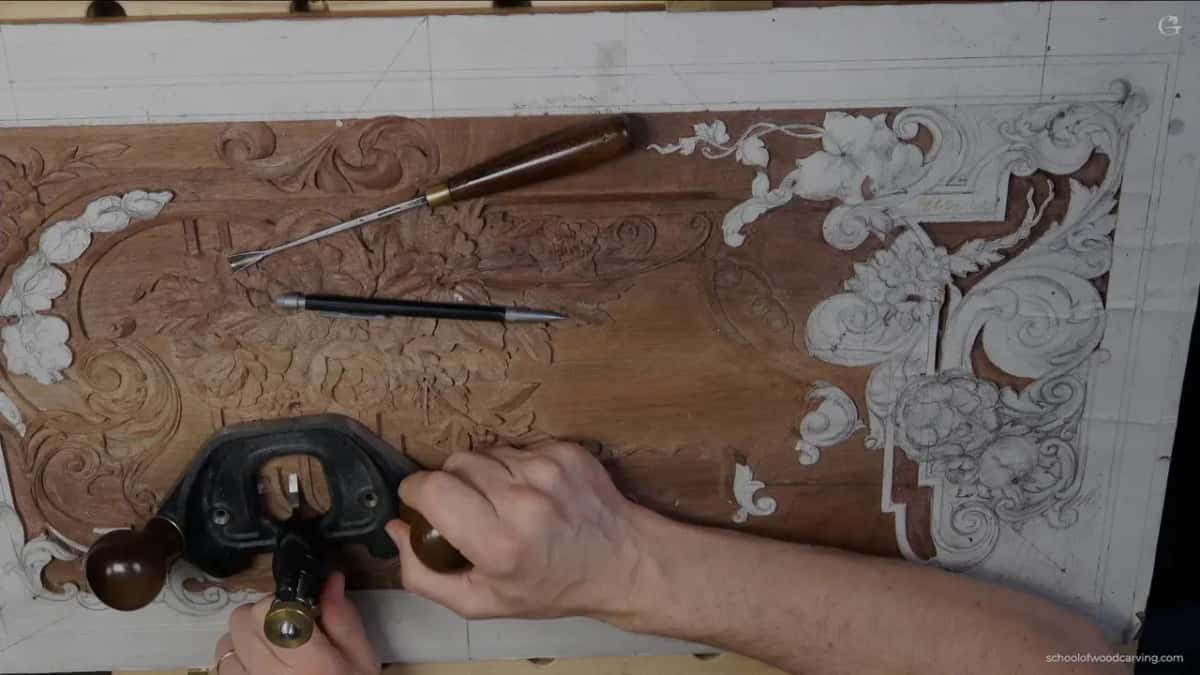
Then the gouge does the clearing, and every cut it makes finishes slightly above that depth. Slightly. I want material left there, because the plane is coming back and it cannot put wood back on.
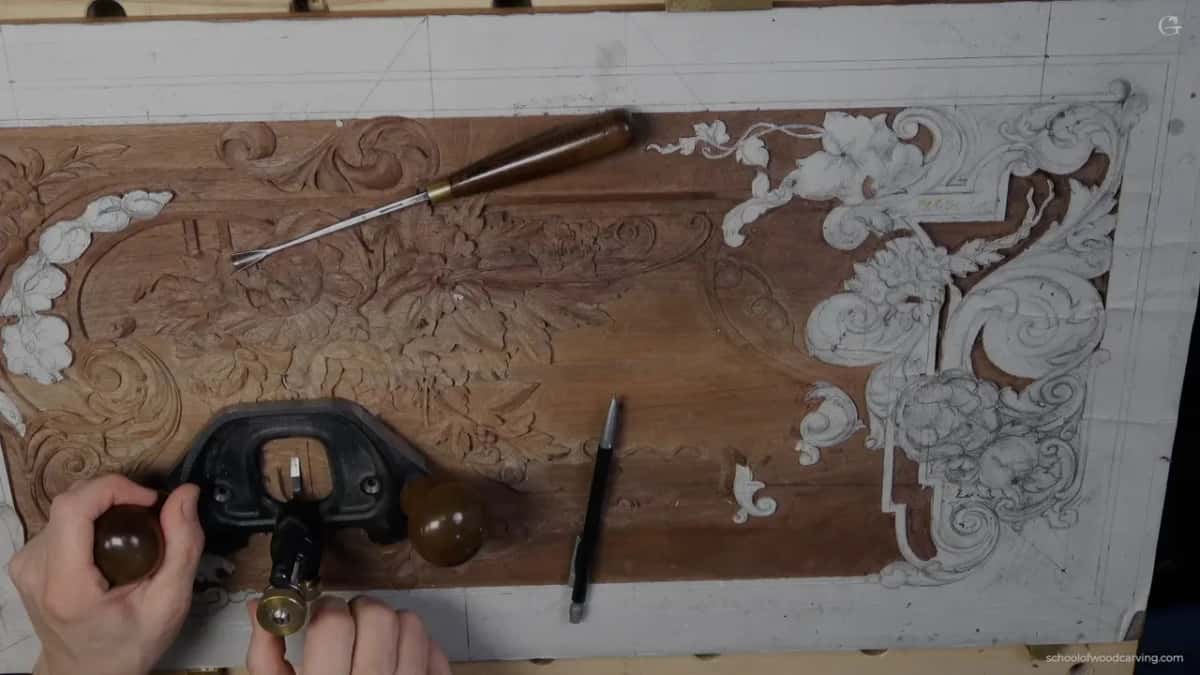
Bringing the plane down square on the face is the beginner move. Introduce it on a forty five degree angle instead so just the blade corner bites first, and hold the far knob steady while your motion pivots round it.

Then it goes back over everything at the final setting and the ground comes out even. Even by hand. I keep wanting to call that surface machined and it deserves a better word than that, since no machine was anywhere near it.
The three planes and what each one reaches
| The plane | Blade in it | Where it actually goes on the board | The catch |
|---|---|---|---|
| Veritas, the large one | anything from a millimetre up to three quarters of an inch | Open background | Too wide for a tight corner near carved detail |
| Middle size | about a sixteenth | Between ornaments, and along the inside of a moulding run | Wants regrinding |
| The tiny one | an eighth of an inch, three millimetres | Pockets that nothing else on the bench will enter | Buy blanks and grind them yourself |
| Number 7 gouge | ten millimetres, three eighths of an inch | Most of the waste, quickly | Leaves a floor you would not want to look at |
| Ashley Iles grounding tool, number 47 | roughly a sixteenth | The last of the ground, right up beside a wall | Hard to find these days |
| Number 1 chisel | a quarter over an inch, mallet behind it | The wall itself | Too deep here and you damage the background behind it |
Three lines on one panel meant three floors
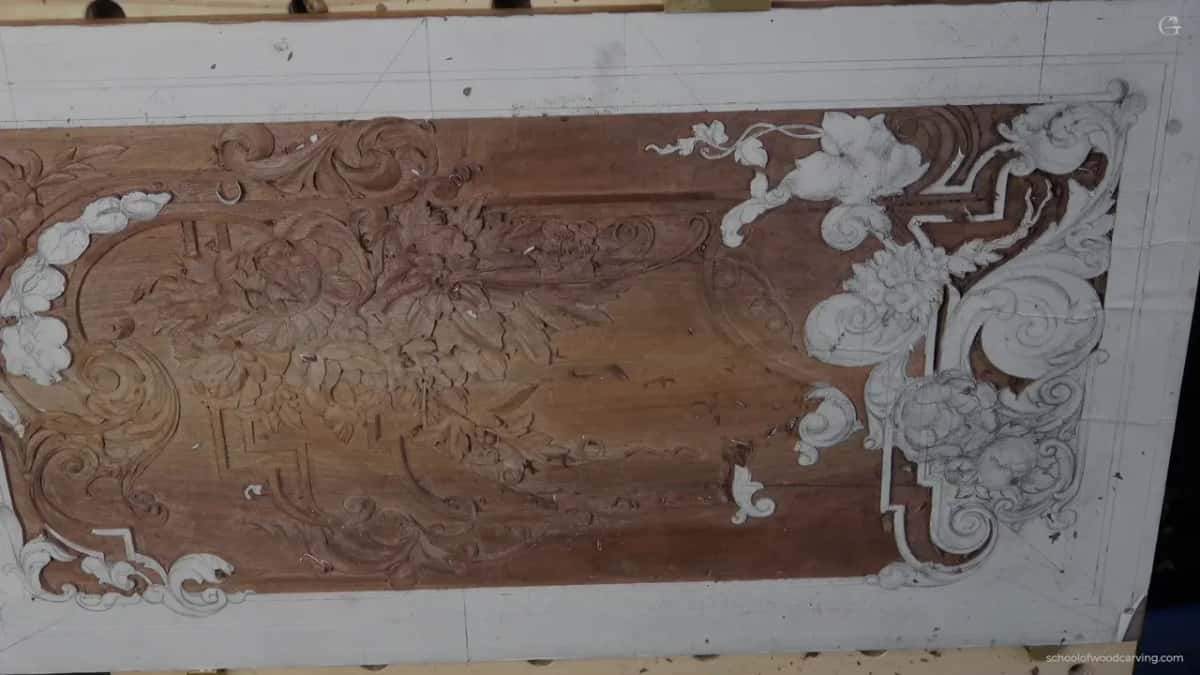
Halfway through I looked properly at my own drawing and counted the lines. One here, another there, a third beyond it. Three lines mean three levels, not one, and I had been about to carve the whole area flat.
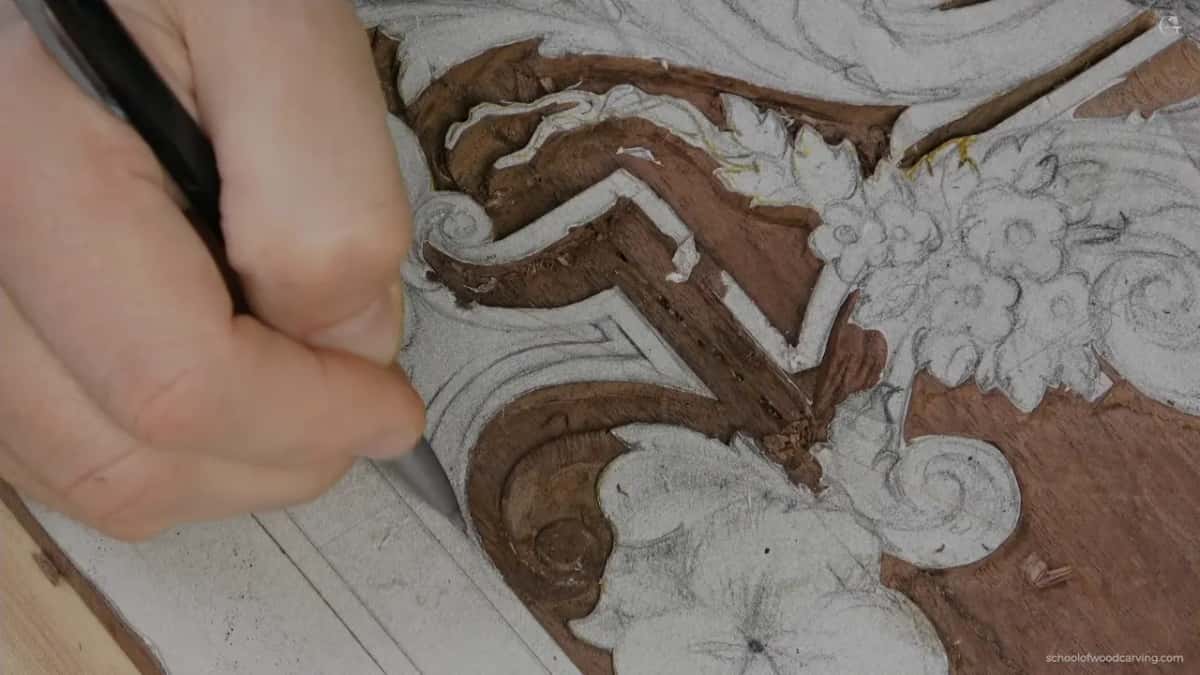
Deepest first. That one matches the ground I had already established elsewhere, so there is a number to work to rather than a feeling. Second level sits higher. Third barely drops below the face at all.
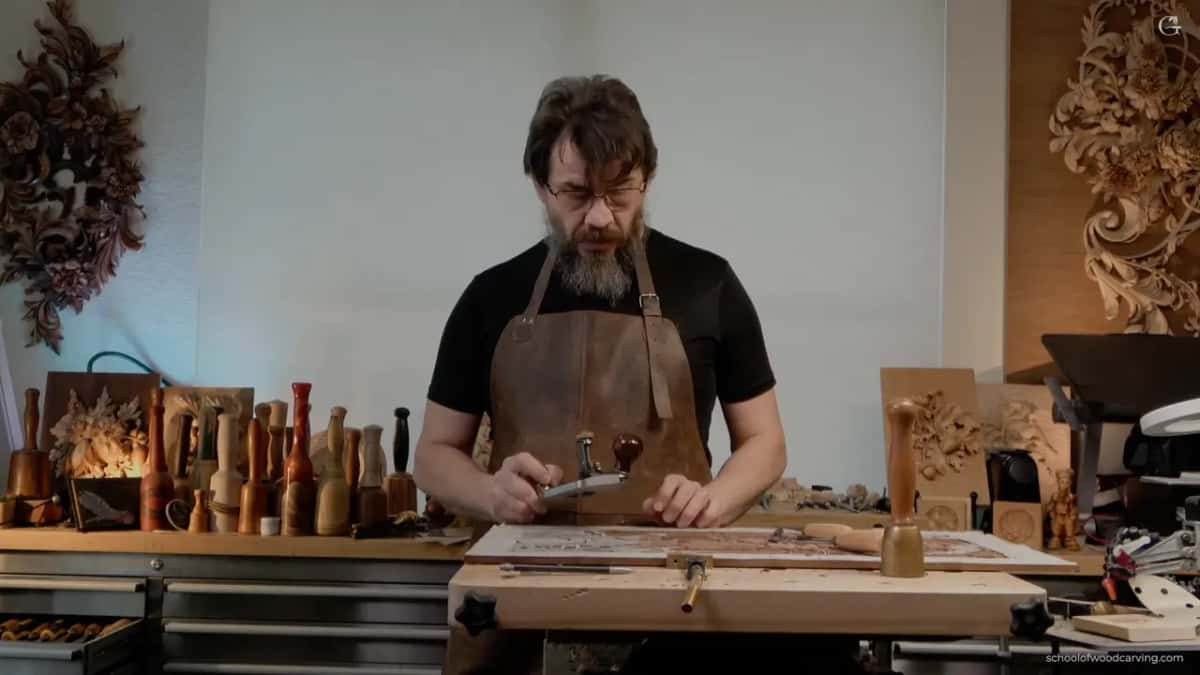
Not one of those floors gets carved down to its final level by a big tool. Never carving to the ground applies just as hard here as it did on an outline, since the plane still has to have something left to take.
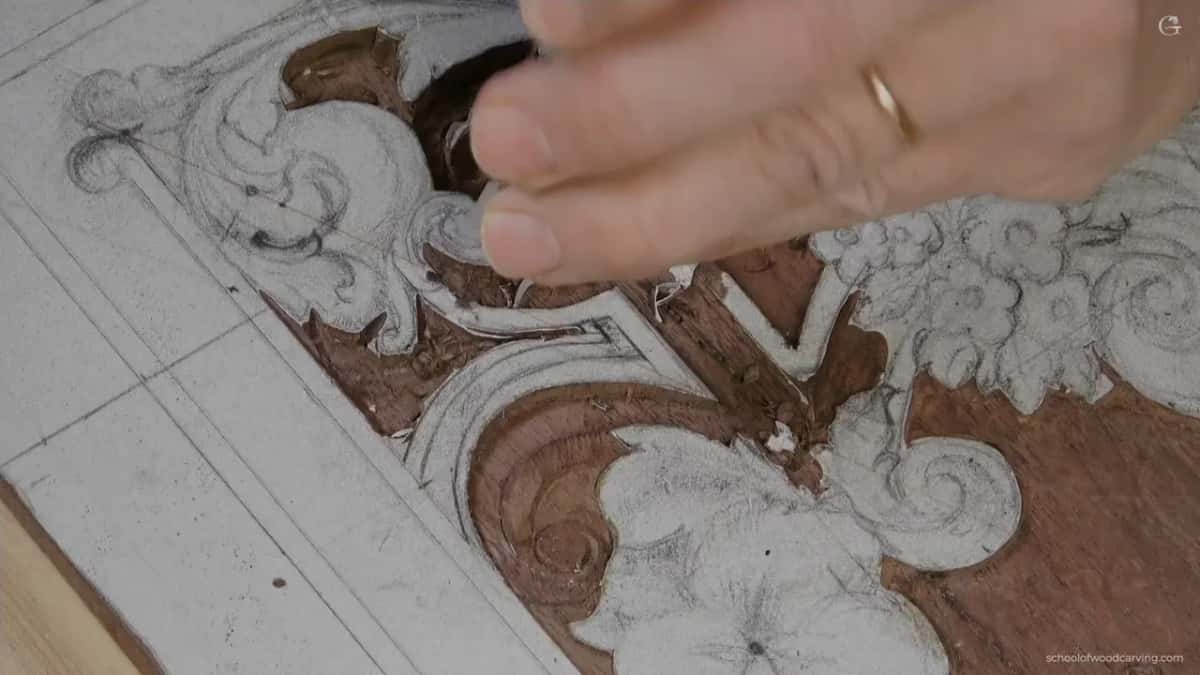
Layers like that are what stop shallow work looking like a rubber stamp. Each floor throws its own shadow and the ornament above them starts to sit at different distances from your eye.
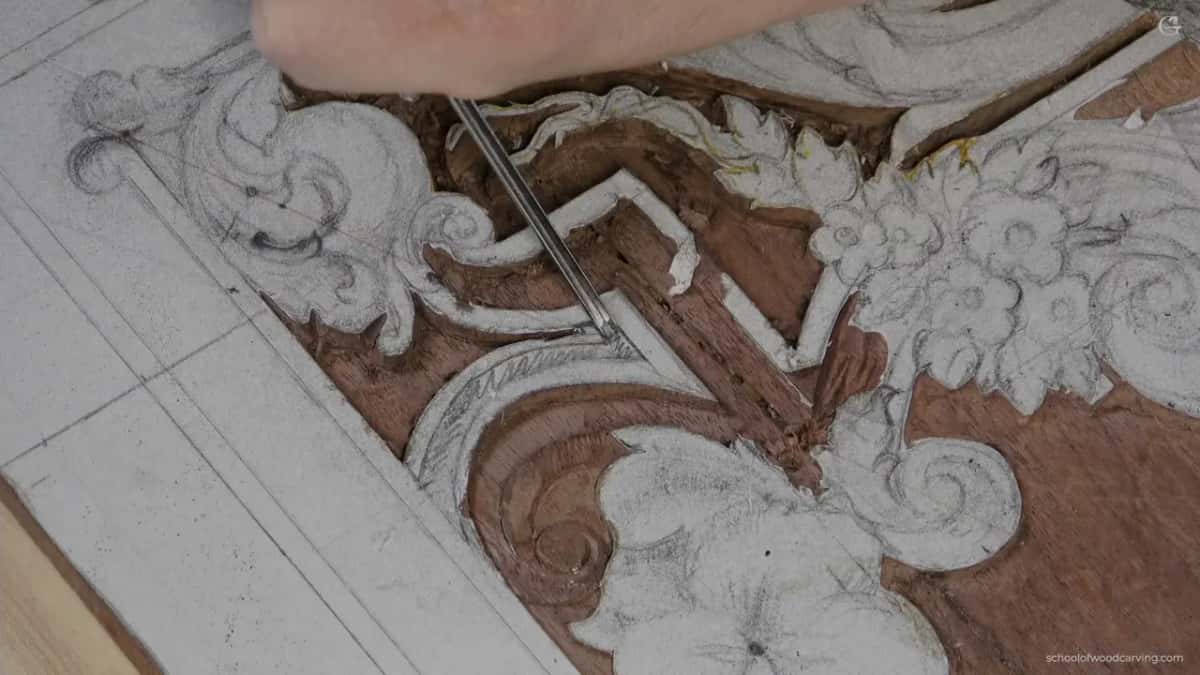
Same sequence every time. Gouge takes the bulk with its edge crossing the fibres, veiner outlines close to the line without touching it, plane levels, chisel squares the wall. The workshop after this one runs the whole sequence again on a fresh area.
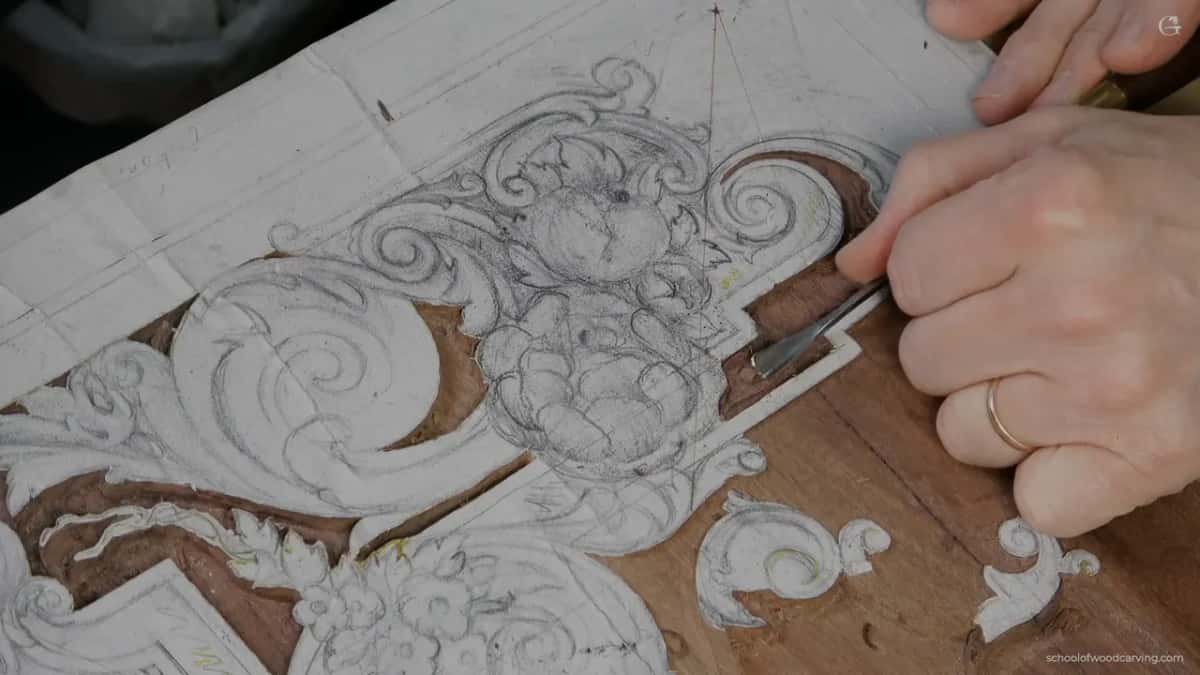
The design mistake nobody is ever going to catch
Honesty time. A second movement comes off that volute and runs into a cavity, and standing there with the tools in my hand I genuinely could not remember what I had been thinking when I drew it.
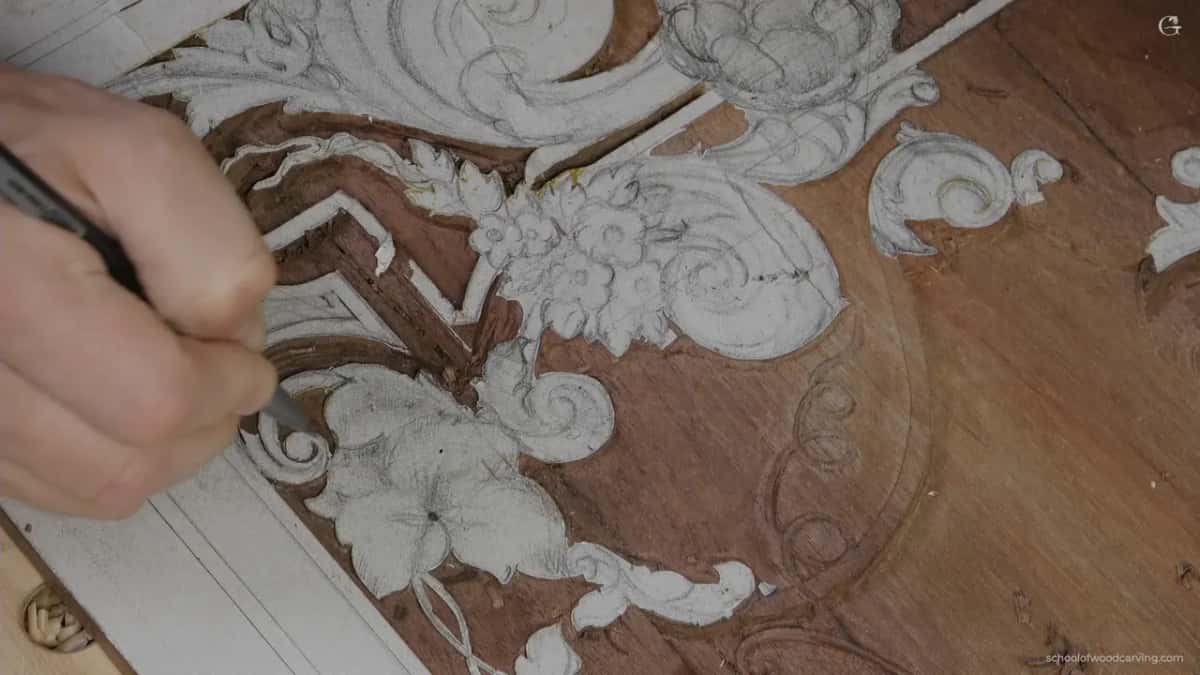
My bed, as we say. A mistake in the design and nowhere to hide it.
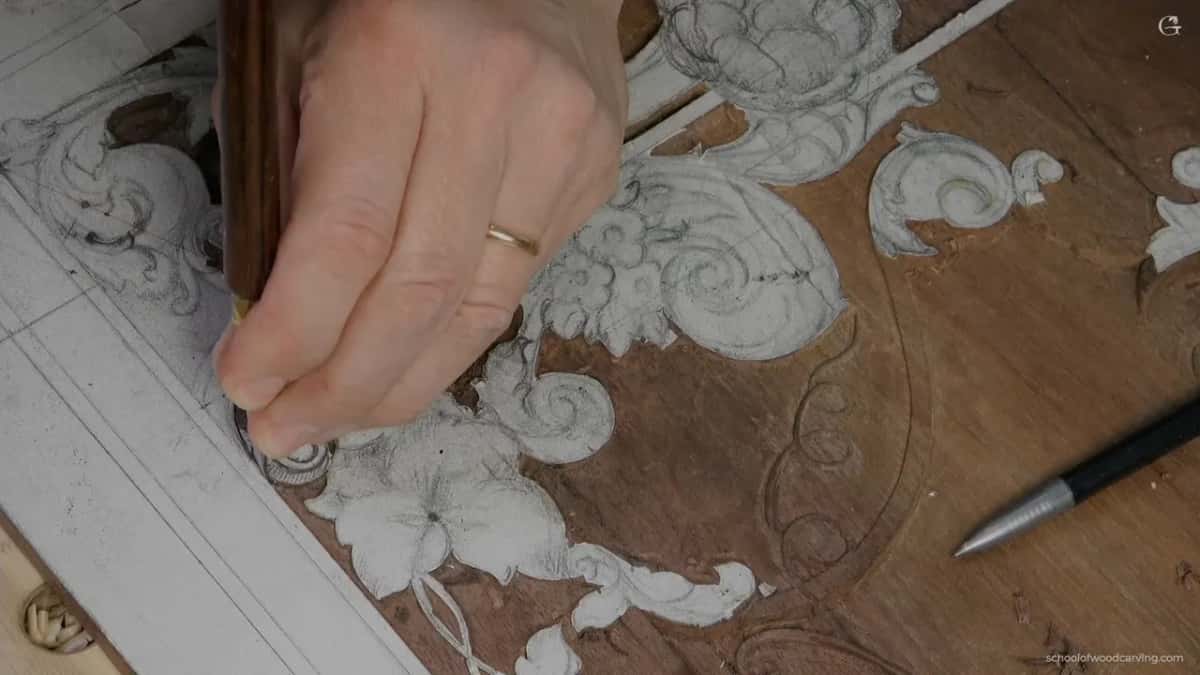
So I sloped the whole section gently toward one side, about a millimetre down, and let it blend into the cavity instead of meeting it. Now it reads as a transition. A rather good transition, if I am honest, and I like it more than what I had planned.
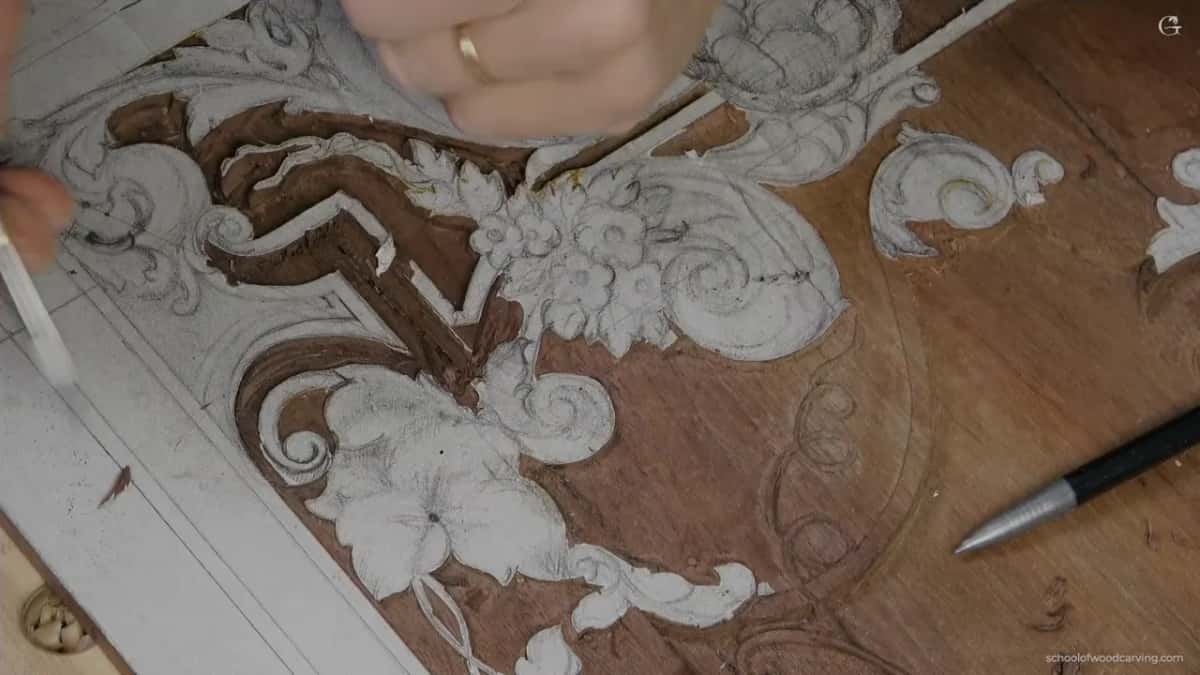
Something worth saying about drawing, though. A mistake that blends is not the same as a mistake you left alone, and knowing which gentle slope will read as deliberate comes out of the design course rather than out of practice at the bench.
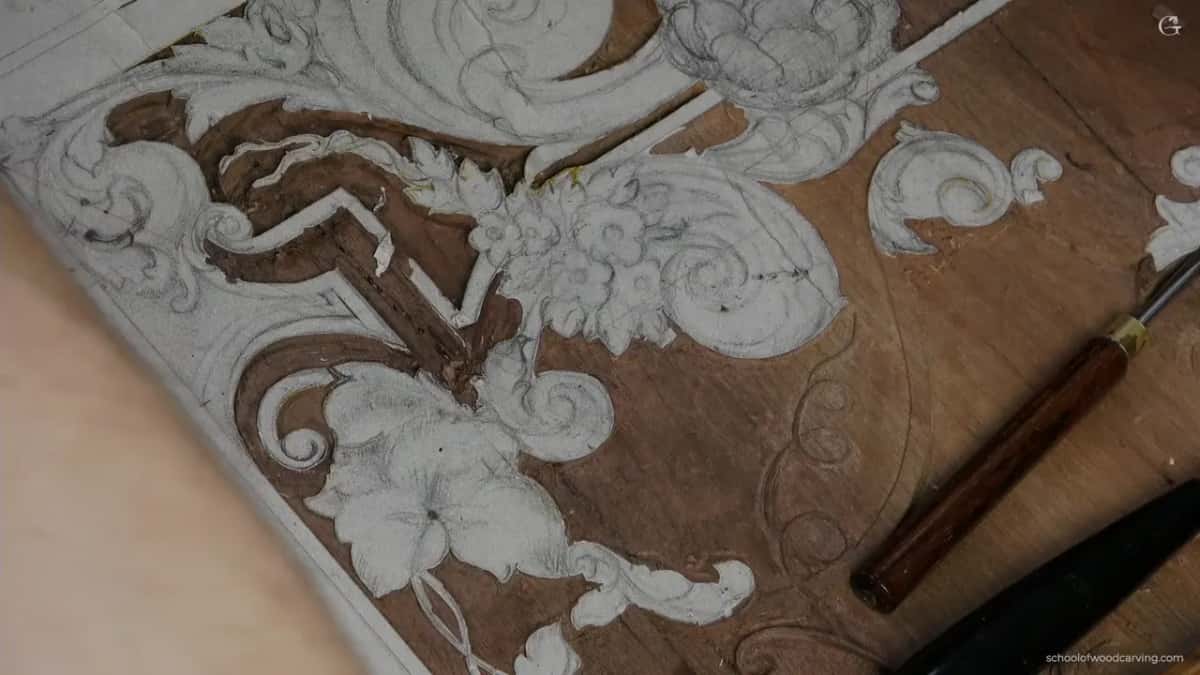
You are the only person who knows. Nobody looking at the finished panel will find that spot, and a fair amount of good carving through history is somebody covering for their own drawing.
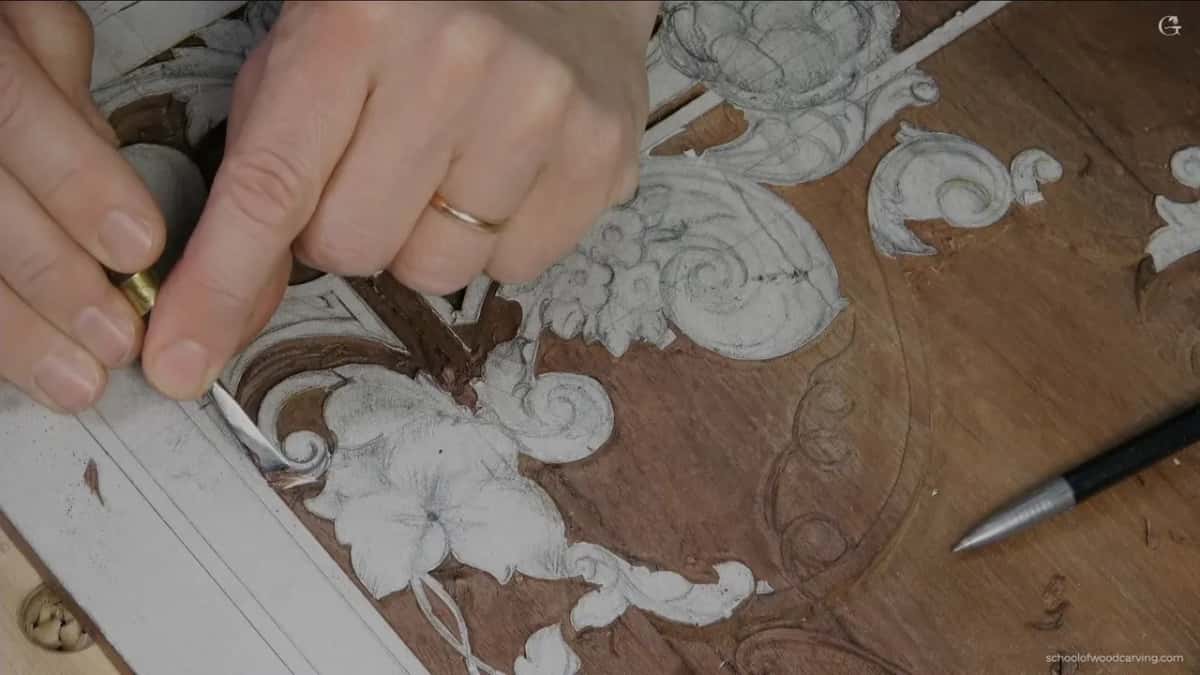
How do you get a shadow into dark walnut?
Give it a concave. Black walnut finishes dark and it swallows detail, so any transition you want a viewer to notice has to be carved as a hollow instead of a scratched line.
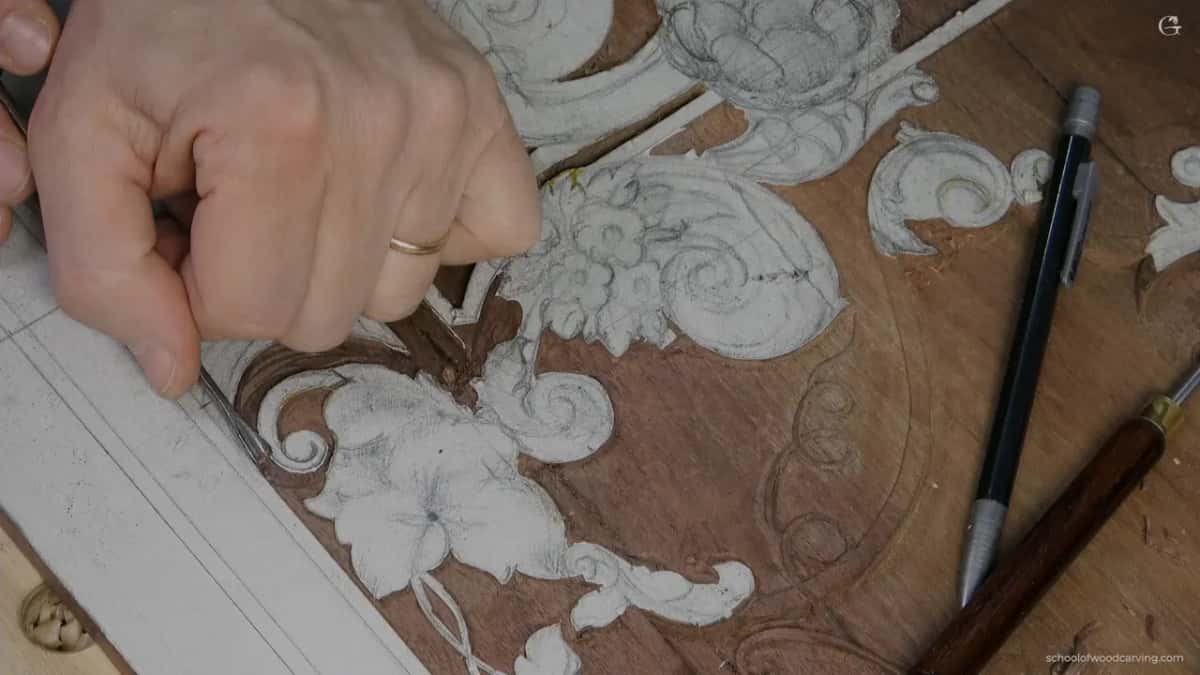
Under the bright lights above my bench you cannot see the effect at all, which fools people constantly. Put the panel on a wall in ordinary room light and every one of those hollows turns into a shadow line.
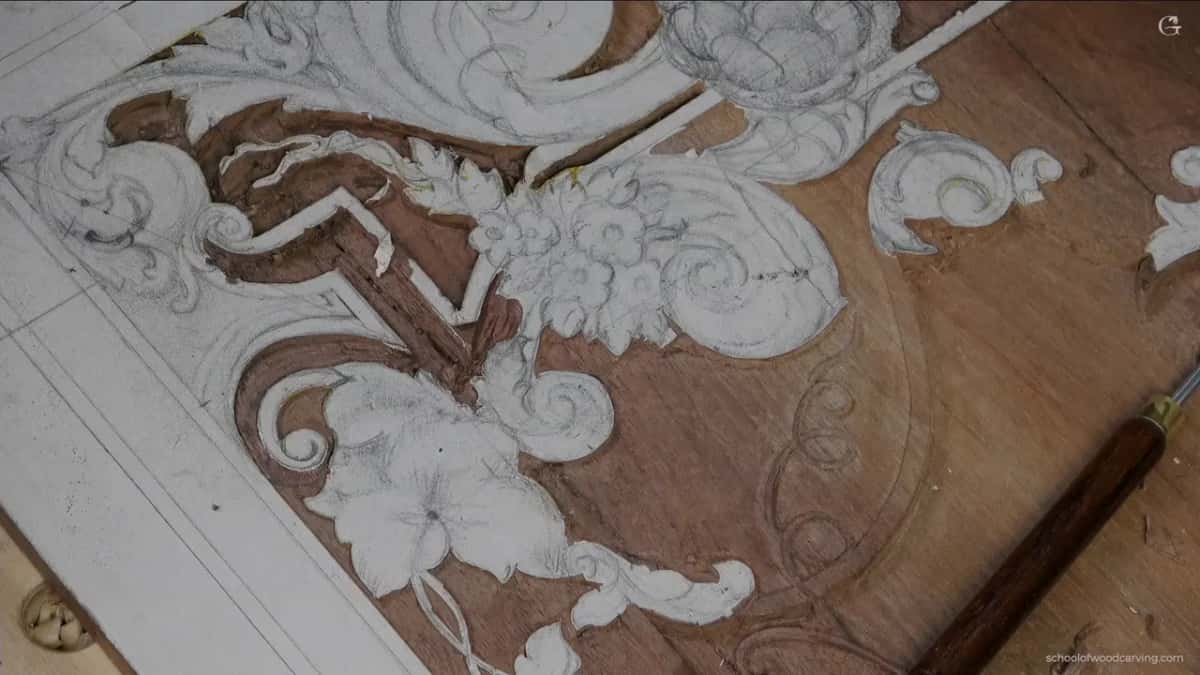
A small number 8 cut the one here. Barely a millimetre deep and it does more work than anything else on that corner.
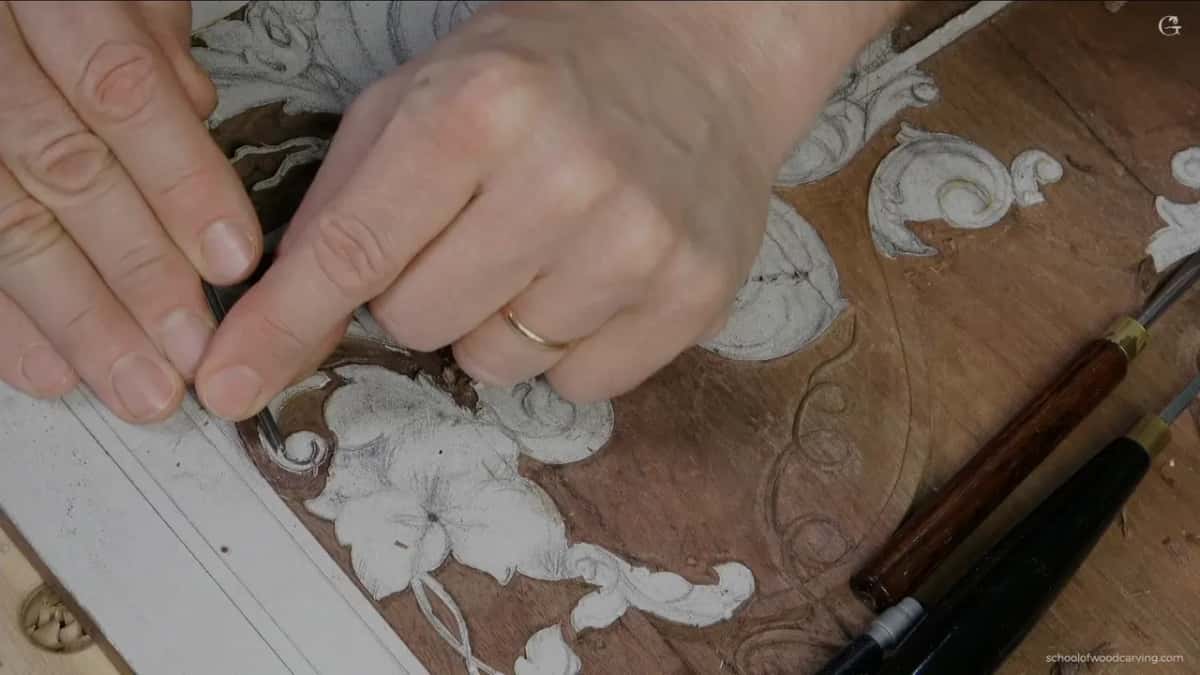
When is a stabbing cut allowed?
Rarely, and only when there is almost nothing left to remove. Driving a tool straight down into wood that still has material behind it puts stress into the fibres, and the fibres answer back later.
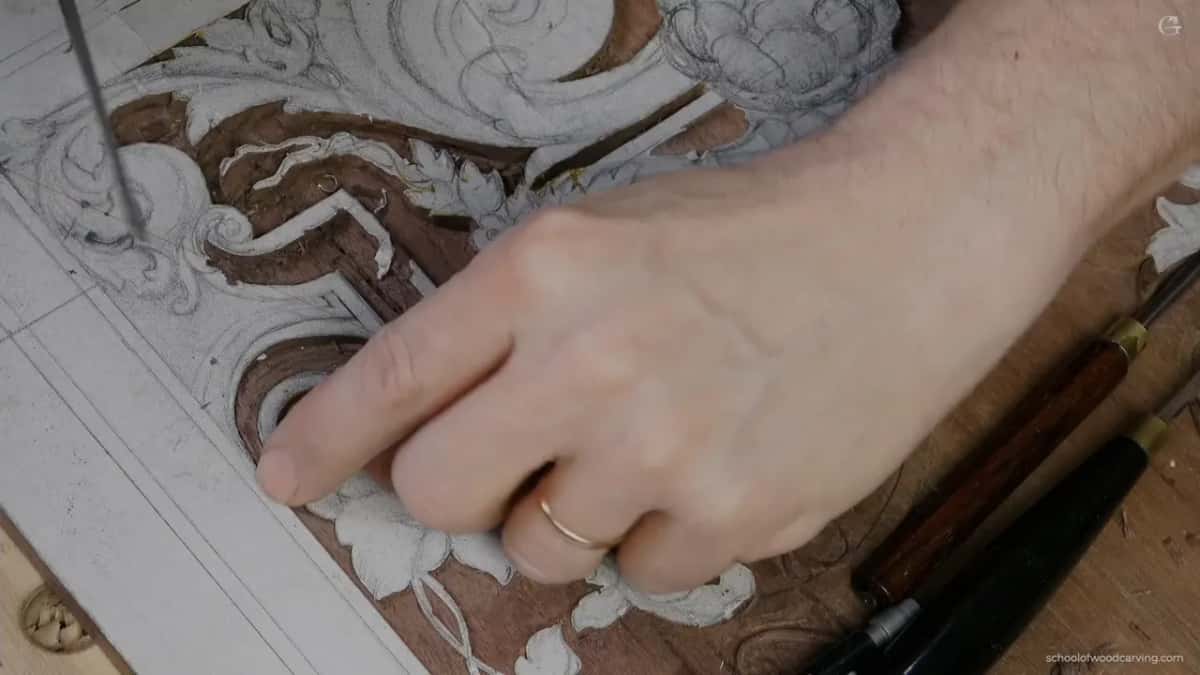
Here the area had already been relieved, so a stab does no harm. I angled it as well rather than going square, because I wanted a leaning wall on that side. Nearer ninety away from the slope, down toward forty five as it meets.

Where the wood felt weak I relieved around it first with a number 11 and then came back. That habit has saved more small details than any amount of care with the tool itself, and the workshop on fragile detail is built on it.

The chisel that makes a line a furniture maker will accept
Wide steel and a mallet. An inch and a quarter number 1, double bevelled, laid right on the drawn line and driven straight down. The line comes out straight because the tool is longer than any wobble in my hand.
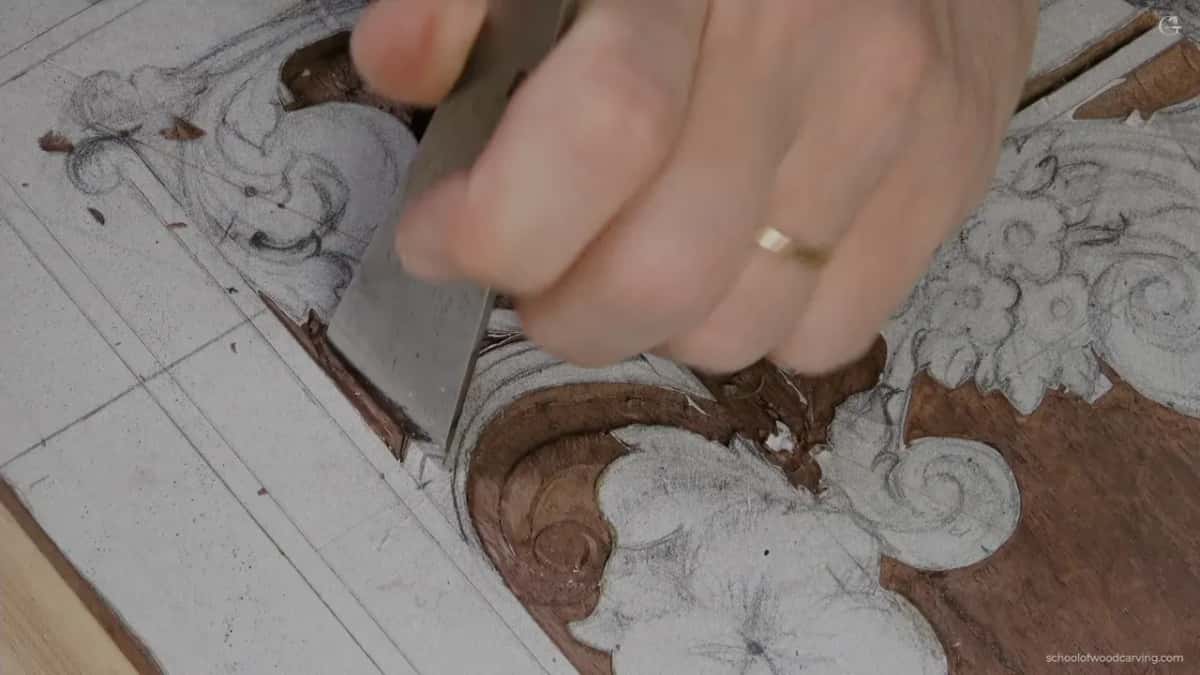
A carpenter's chisel does this perfectly well. No need for a carving chisel at all. Bigger is faster, though a smaller number 1 finishes the places the wide one cannot enter.

One rule and it is absolute. Ninety degrees to the surface, never leaned in toward the ornament. Lean the tool and you have undercut a wall that was supposed to stand square, and there is no way back from that.

Steel has to be genuinely sharp for a cut like that, driven straight down into end grain and side grain at once. Sharpening is the course that makes this one possible.
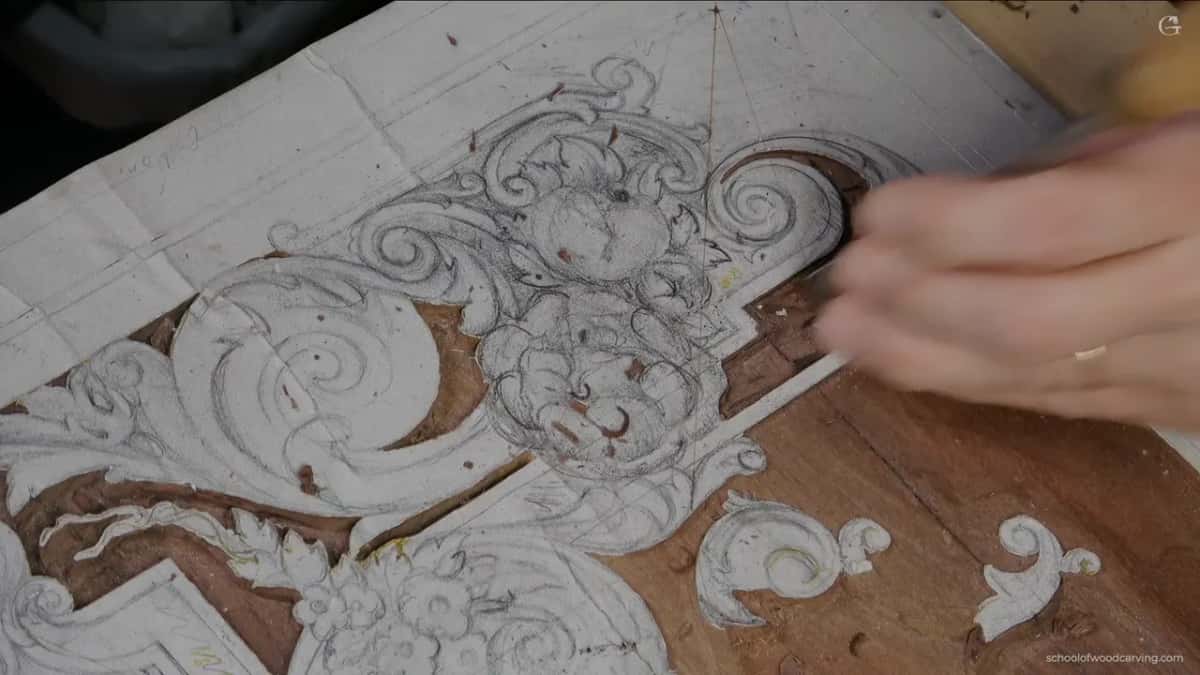
Careful with the mallet too. Too deep here and the background behind the wall gets damaged, and the background is the thing you just spent an hour levelling.
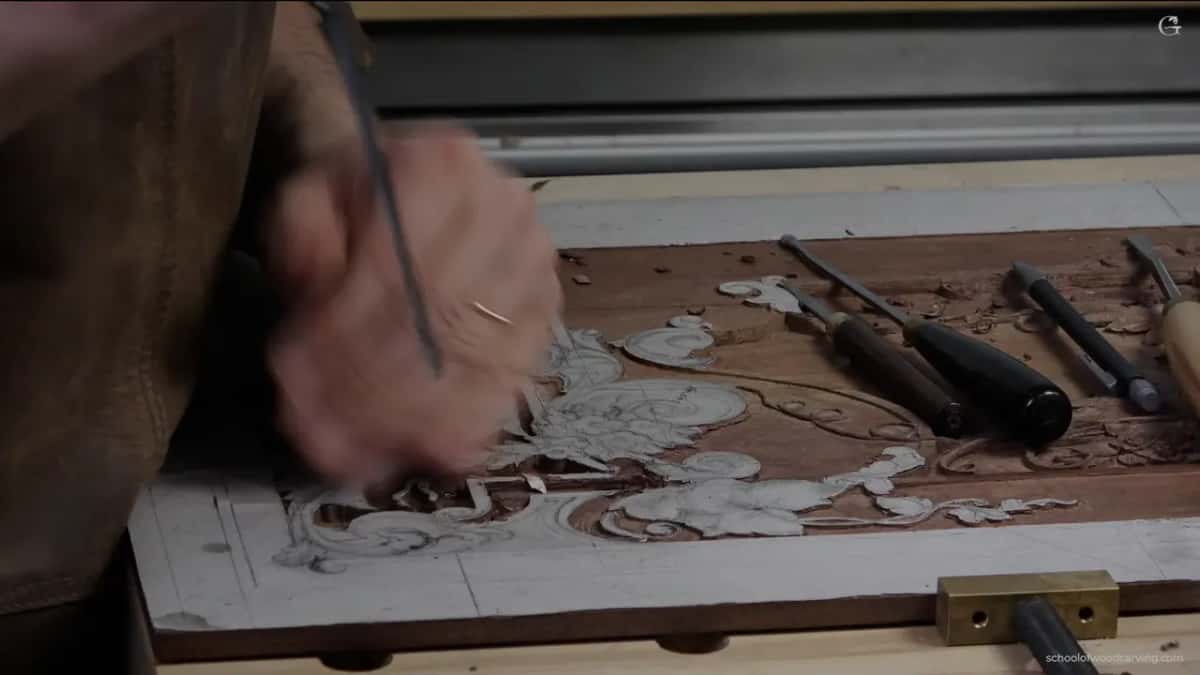
Grounding tools, and the bit where I broke something
Ashley Iles make a thing called a grounding tool, a number 47, and it is worth hunting for. Sweep like a number 3, but look down at it from above and the edge carries a slight curve so the corners never dig into a wall.
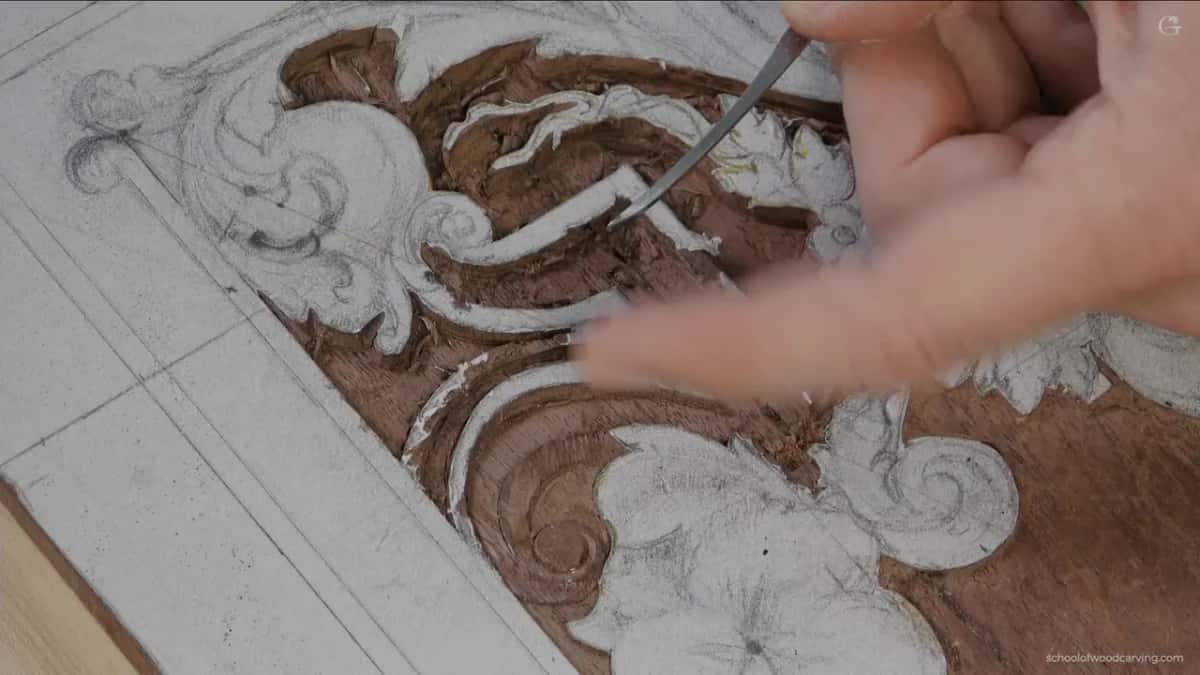
Removing background is all it does. Somewhere in the awkward corner the plane could not reach, that curved edge got me level with everything else in about four passes.

Then I broke a piece off the panel. Leaning on the edge to reach in, exactly the thing I had warned you about ninety seconds earlier, and the deeper you go the harder you lean. Small break. Still mine.
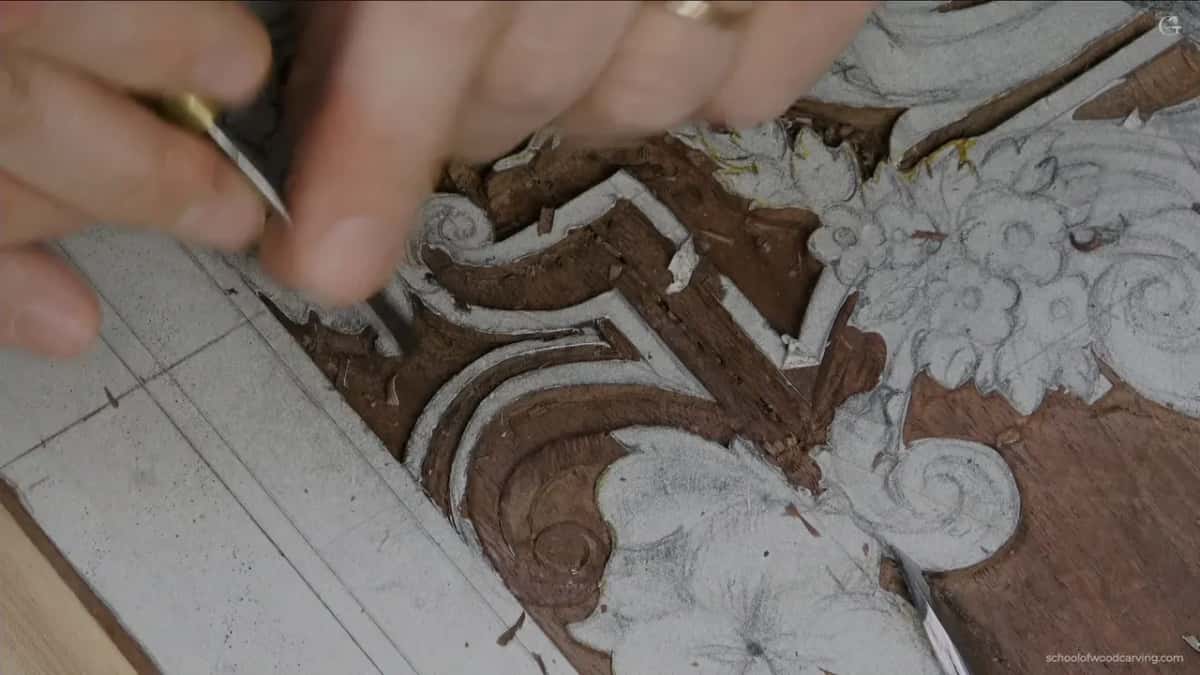
Two carving rules broke that afternoon as well. You are not supposed to carve toward yourself unless your hands are locked, and most carvers I have ever met do it anyway.

Scraping the ground, the way they did it before sandpaper
Everything gets scraped at the end. My knife does most of it, though a proper card scraper or a razor blade works just as well and costs almost nothing.
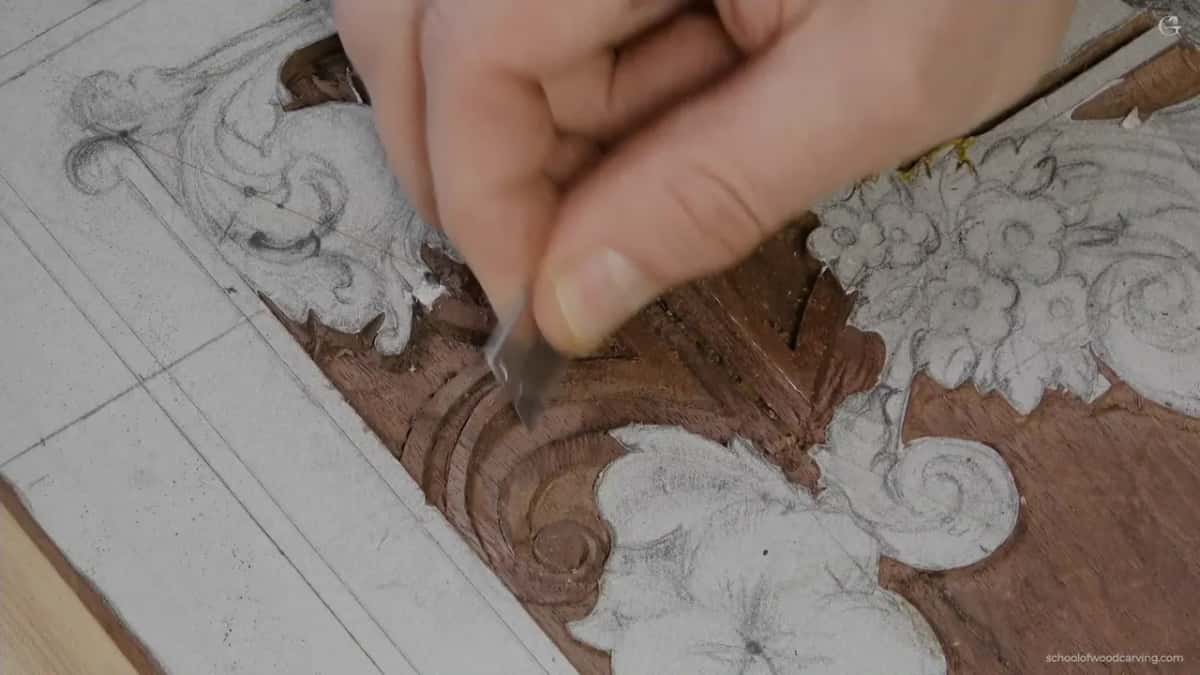
Back in the eighteenth century they scraped with glass. Glass was already available in the fifteenth, so this is old practice rather than a modern shortcut, and it leaves a surface no abrasive can match.
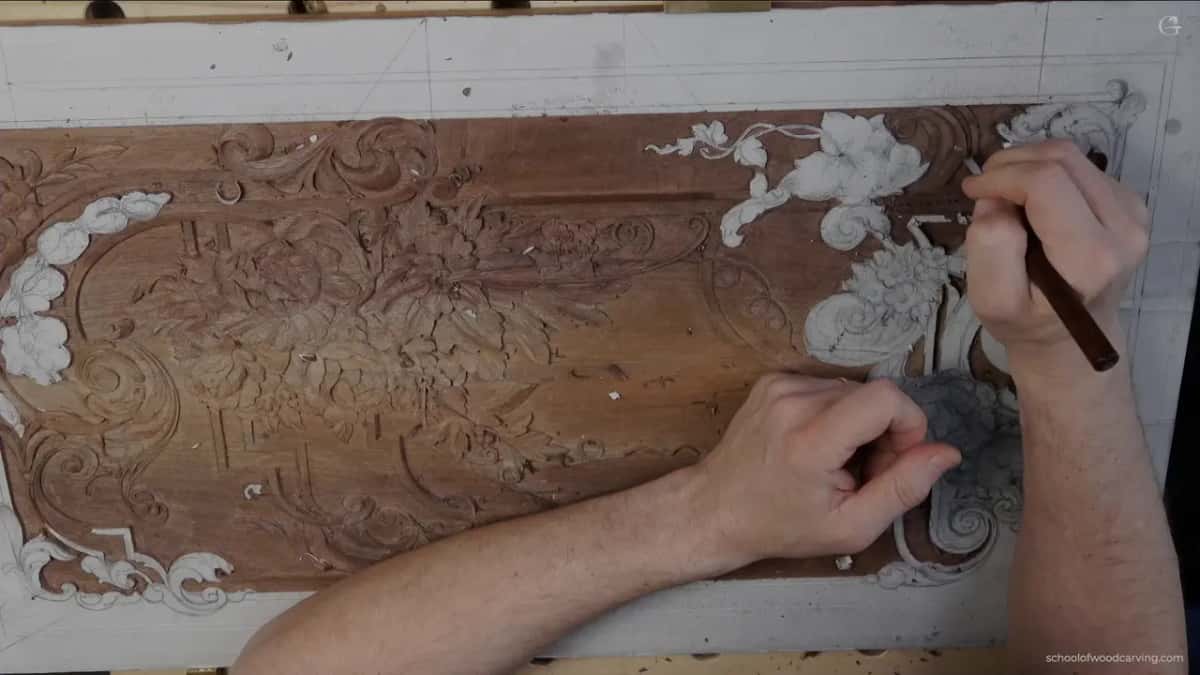
Hold the blade at an angle to the direction you travel. Straight on it skips over the small hollows. Angled, it reaches into them, and you still go with the grain overall.
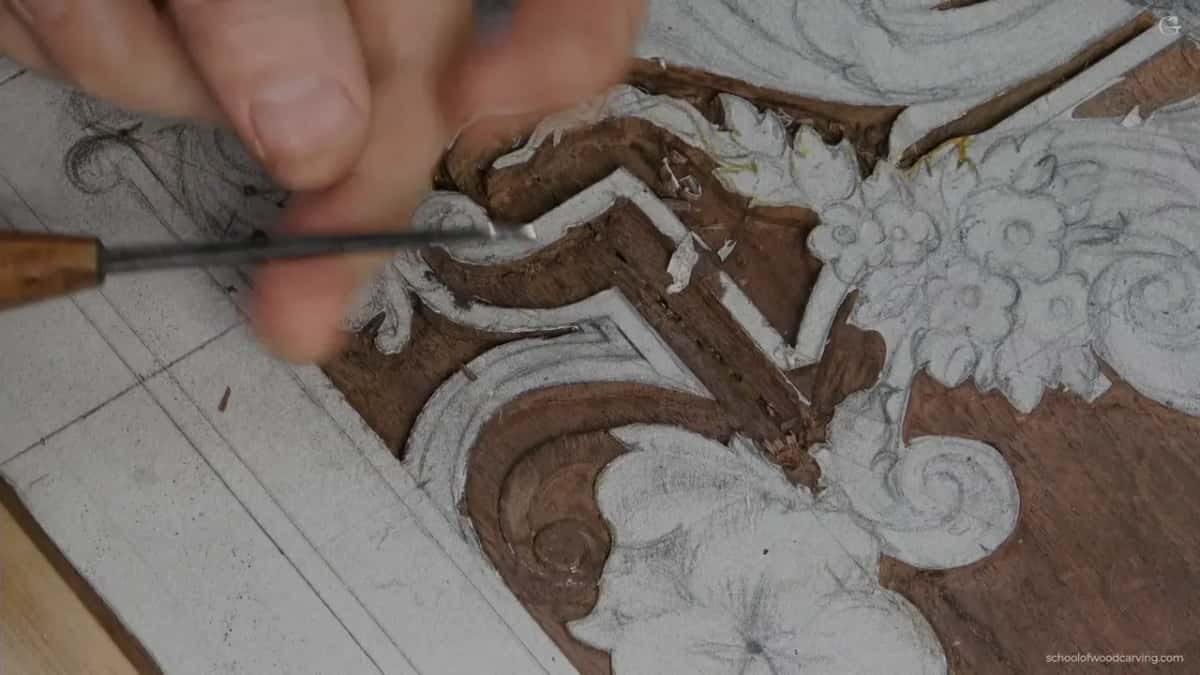
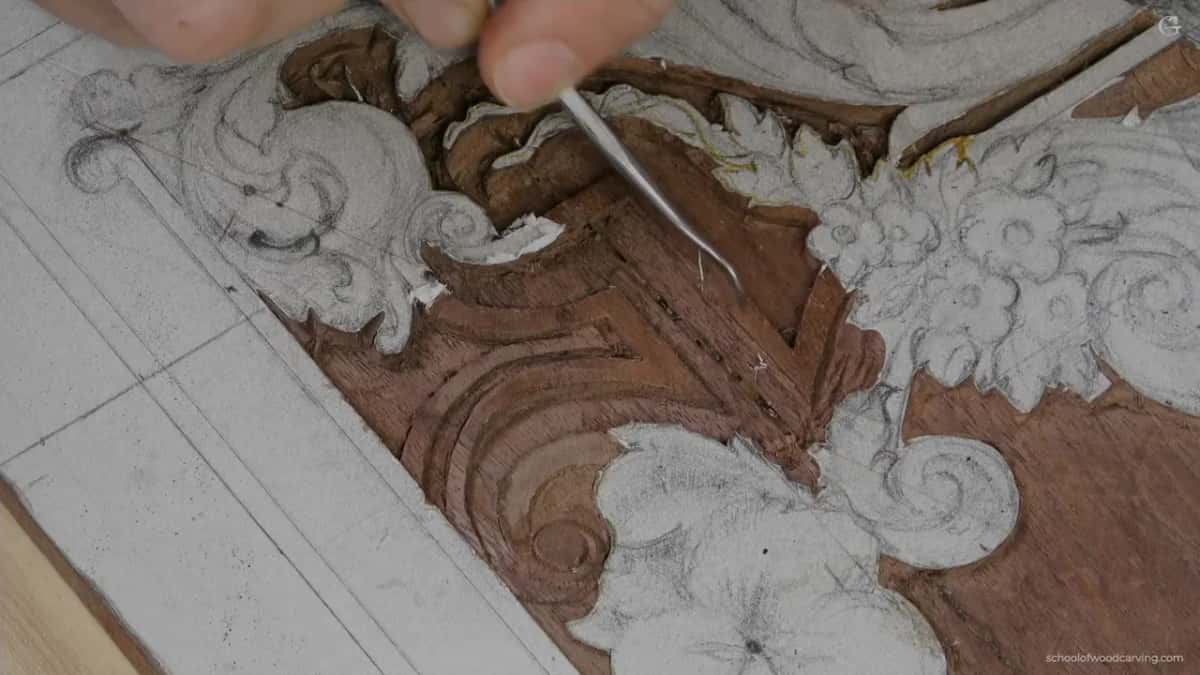
Two cracks in this walnut still need attention, one of them glued badly by somebody before me. A dental pick cleans them out and a slip of walnut goes in later. Not today. Repairs of that sort live in the techniques library.
Ever wonder why one carved panel looks deep and the next looks like a sticker? Ever count the levels in a piece of old furniture you admire? Most people never do, and then it turns out the good one had three floors where the flat one had a single floor. Then let us carve.

What I love about hand work is that the limit sits inside your own head and nowhere else. Machines are quick. Quick is not the same as free. Carving Furniture Panel, Part 3 has thirty nine of these, Part 2 holds the stage before it, the tools course covers every plane and gouge named above, and tuition opens all of them.

My bench is a mess by the end of it and I do not like that. Pardon the mess. That corner of the panel is level now, three floors deep, and the next area is already drawn. Shall we carve?
How it's done
- Set the plane depth in one safe spot. Take a single pass somewhere that matters least. Now a number exists for the ground, instead of a feeling about it.
- Clear the bulk at right angles to the fibres. Number 7 at ten millimetres, short strokes, every one of them finishing well clear of a drawn line.
- Stop each gouge cut slightly proud. A plane removes wood and has no way of putting any back. Material left above the setting is what it will take later.
- Bring the plane in on an angle. Forty five degrees against the face, so a corner of the blade engages first. Hold the far knob steady and let your motion pivot round it.
- Change blades for the space you are in. One sixteenth close to the carving, three sixteenths over open ground. On the Veritas that swap costs two seconds.
- Square the wall with wide steel. A number 1 at an inch and a quarter, laid on the line, mallet behind it, taken straight down. Upright always, never leaning toward the ornament.
- Reach the last corners with a grounding tool. Its curved edge keeps both corners off the wall while the middle clears ground the plane sole cannot sit over.
- Scrape with the blade angled to your travel. Held square it skips the small hollows. Angled, it reaches into them, and your overall direction still follows the grain.
Frequently asked questions
Can a gouge alone level a carved background
Reaching truly flat with a gouge takes far longer and the result wanders. Eyesight is the problem rather than skill, since a dip of half a millimetre stays invisible under bright bench lights and turns obvious the moment a panel hangs on a wall.
Do you need a router plane to carve a background
None of these tools is compulsory. A chisel and a few small gouges reach the same flat ground, more slowly and with more chances to go wrong, and a great deal of fine old work was done before anybody owned one.
Which router plane should a carver buy first
Start with a medium one taking blades near one sixteenth. Large planes will not enter a tight corner beside carved detail, while the very small ones need blades you grind yourself out of blanks.
What to carve next