
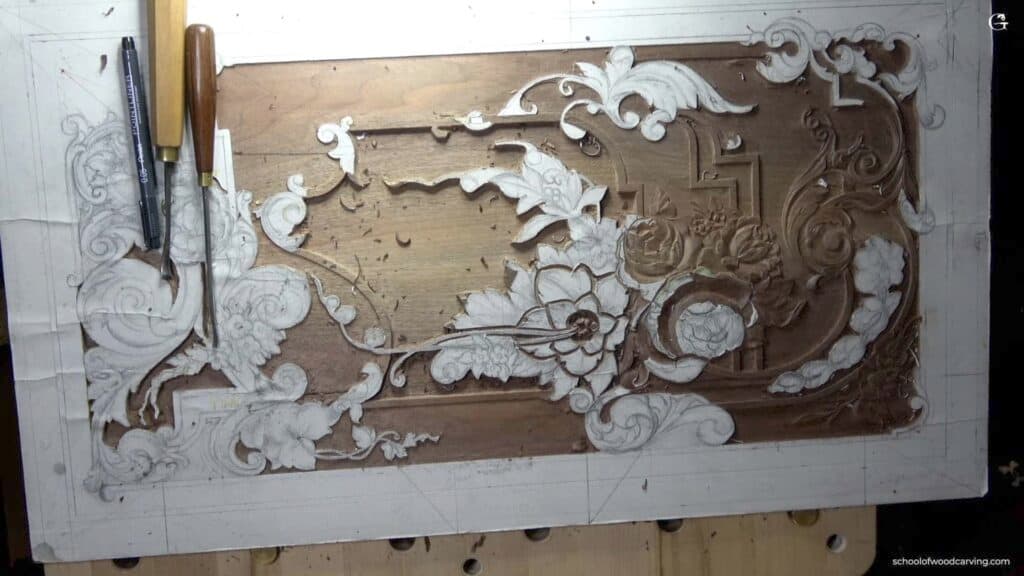
Alexander Grabovetskiy, woodcarver, School of Woodcarving · Published 2023
What is a plug cut in wood carving?
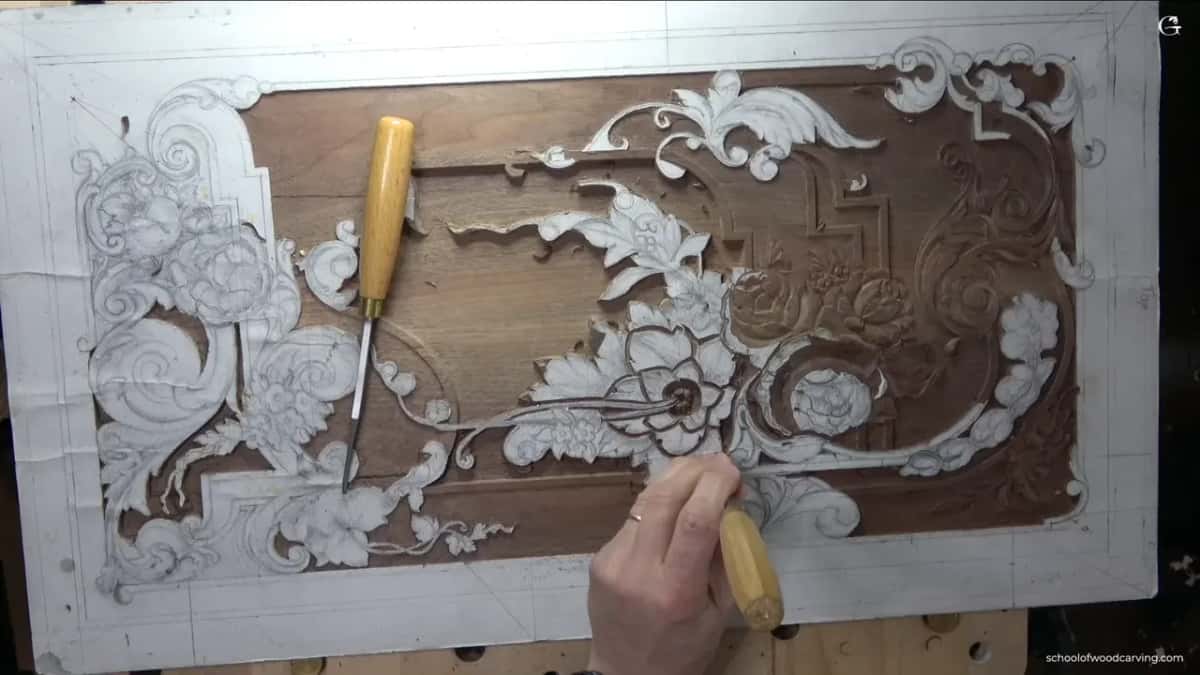
Quick answer: A plug cut is made by standing a deep gouge upright on the wood and rotating it under a mallet until a round plug releases. Alexander reaches for a number 9. The hole it leaves has a flat floor, which turns one operation into a measured depth rather than an estimate.
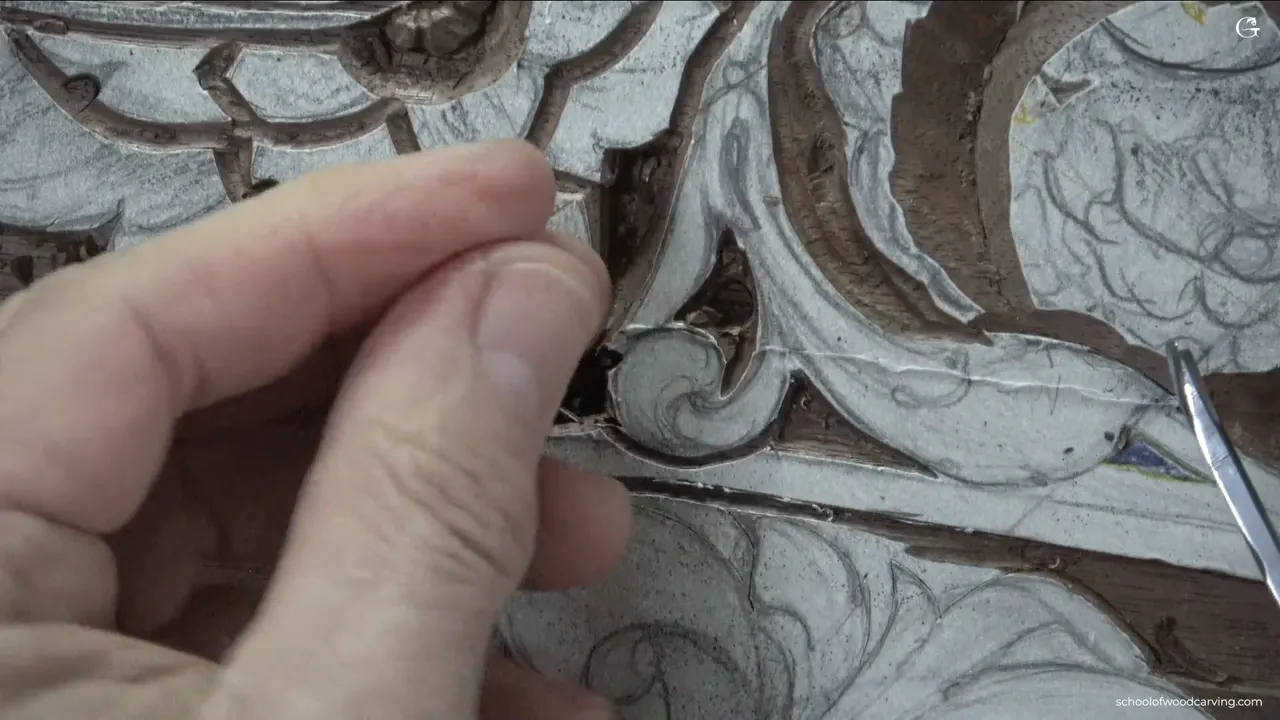
A plug cut is a deep gouge sunk straight down and walked in a circle until a round plug of wood lifts out. I use a number 9 for it. What makes it worth knowing is the bottom of the hole, which comes out flat, so one operation hands you a depth you can measure instead of a depth you hoped for.
Some carvers call it something else. I call it a plug because that is what comes out of the board. P, l, u, g.
Key takeaways
- Outline first, every single time.
- A number 9 pressed straight down and rotated releases a plug, and the flat floor it leaves is the point of the whole move.
- Deeper is available afterwards. Shallower never is.
- The router plane finishes what the plug started and repeats the same depth anywhere else on the panel.
- A fraction of a millimetre is a real working depth in furniture ornament.
- A knife blade or a splash of mineral spirit takes the paper pattern off.
How do you make a plug cut?
Place the gouge flat on the wood, vertical, and tap it in with a mallet while you rotate it around the circle. On this panel I fitted a quarter inch number 9, six millimetres, into the space I wanted lowered. Walk the tool around and you feel the plug go loose. Sometimes it flies out on its own.
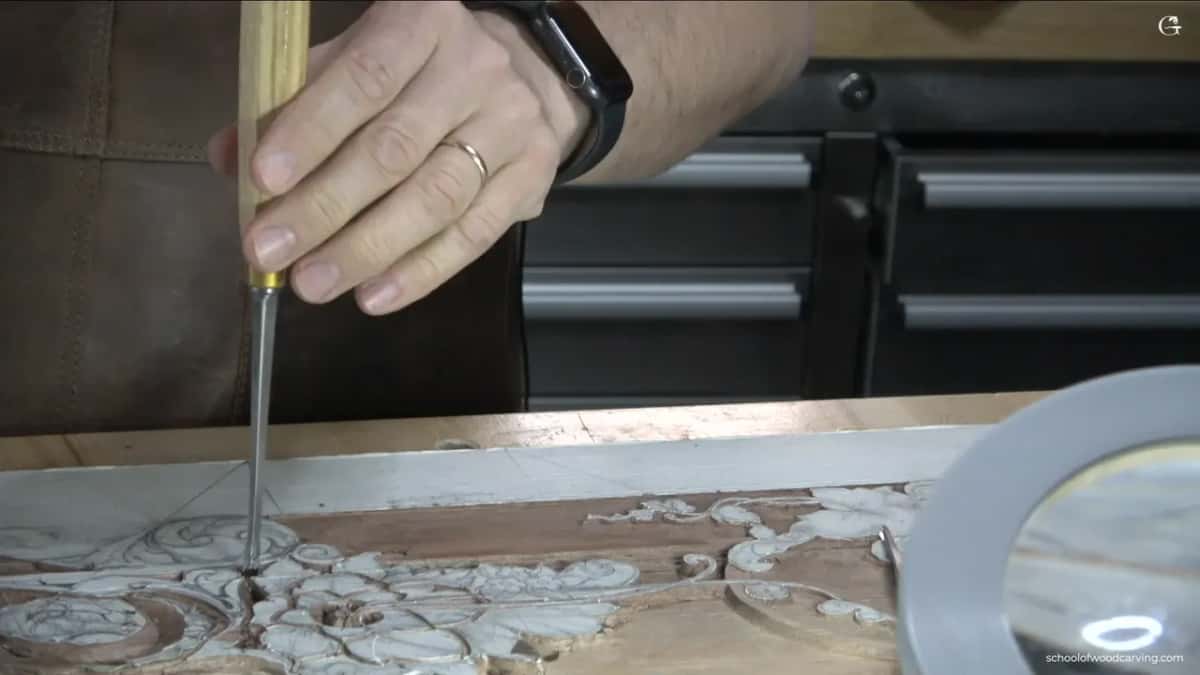
Do not lean on it. Force is the one mistake that turns this into a repair job.
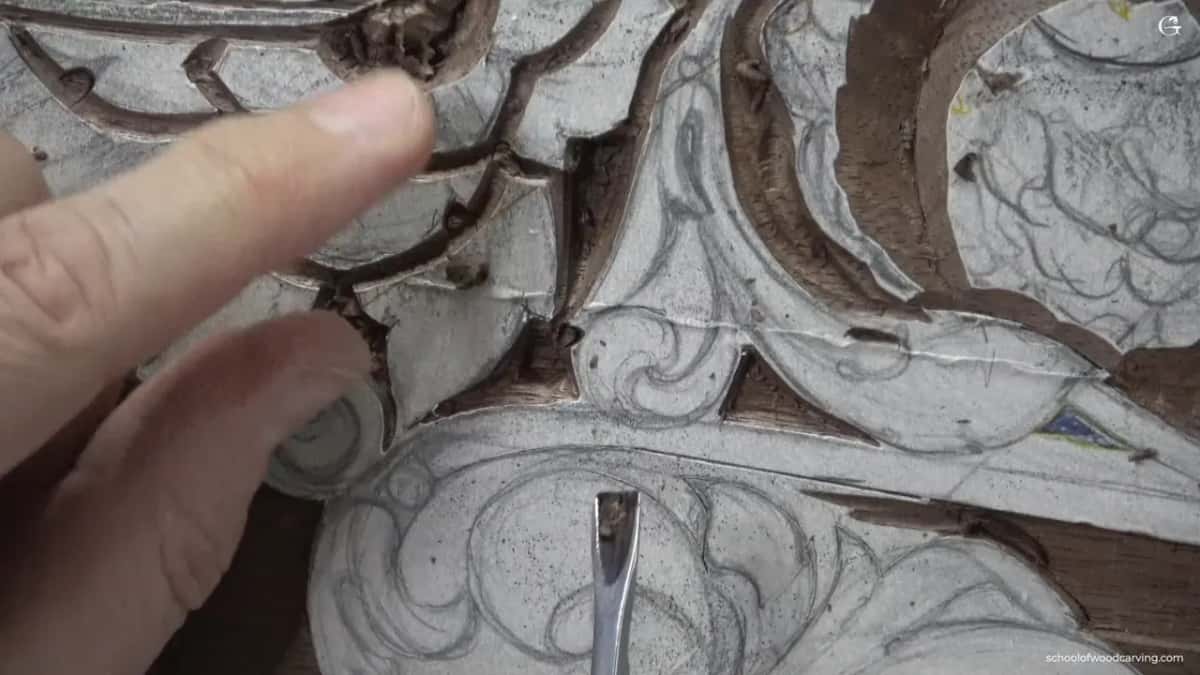
Where three millimetres will not fit, drop to two. I ran both sizes on this lesson and the smaller one works the same way, just slower.

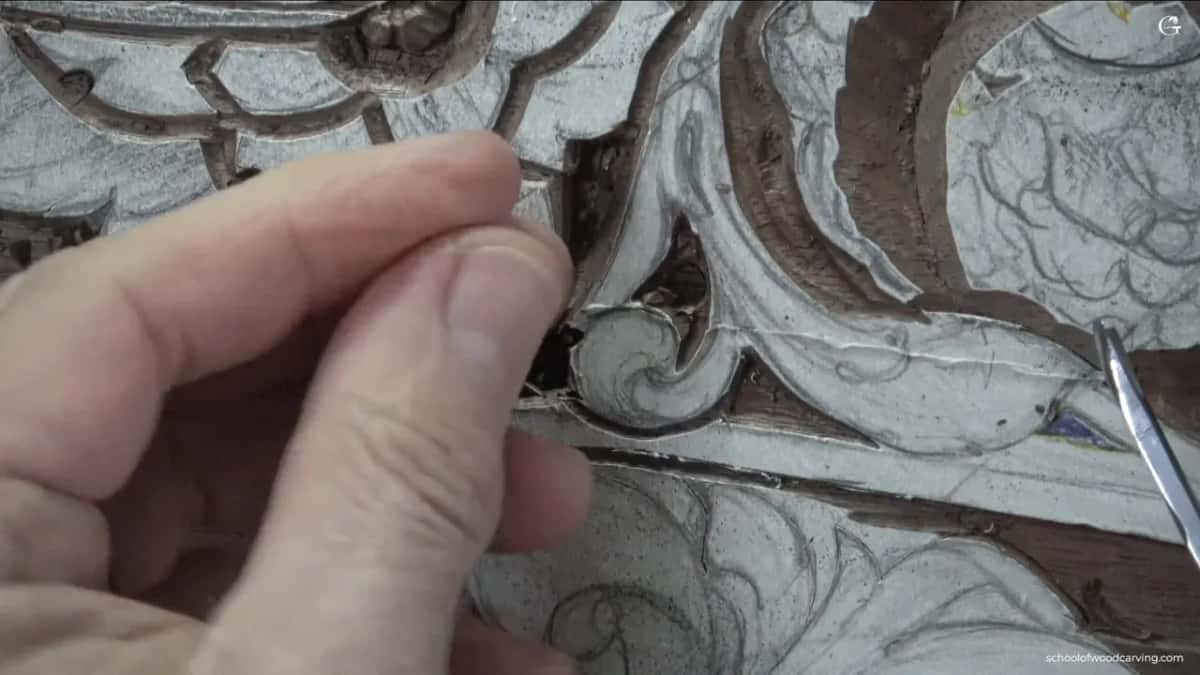
One rule sits behind every depth in this lesson. You can always take more later. Putting it back is impossible. So the first plug is shallow on purpose, I check it against the pocket next door, and only then do I take a second one.
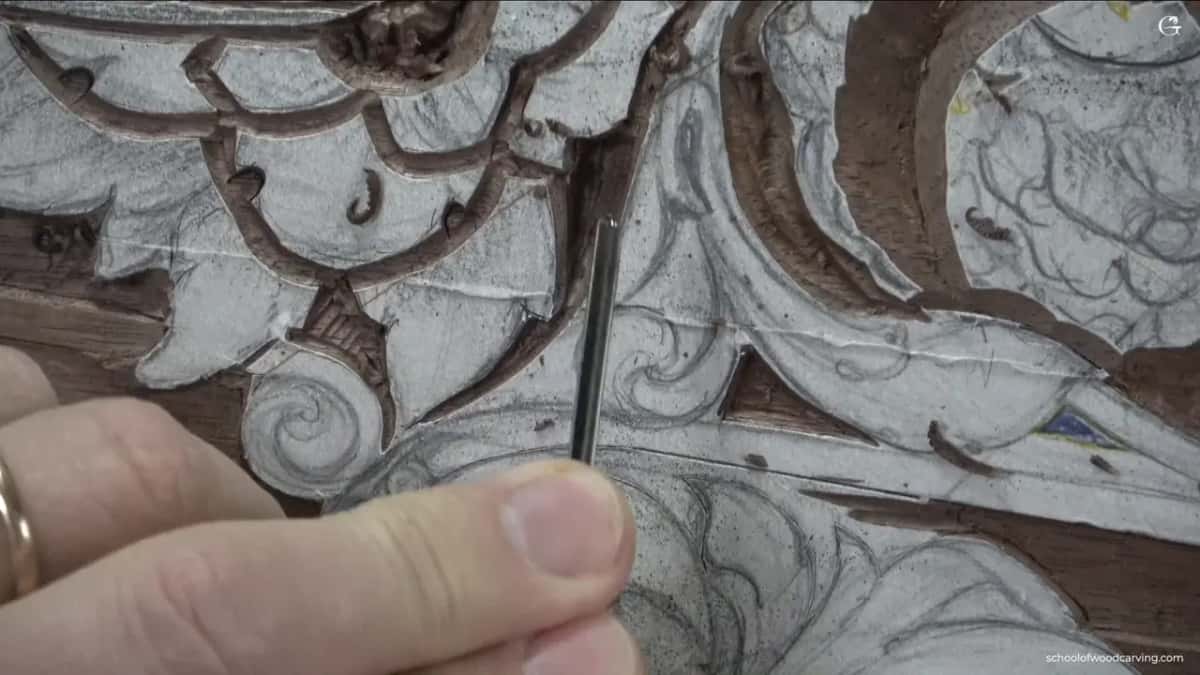
Why does the bottom come out flat?
The sweep of the tool does it. A number 9 is deep and narrow, so when it is stood upright and rotated it removes a cylinder rather than a scoop, and the floor left behind sits level all the way across. That flat floor is your reference. Measure it once and you know exactly where the rest of the section has to land.
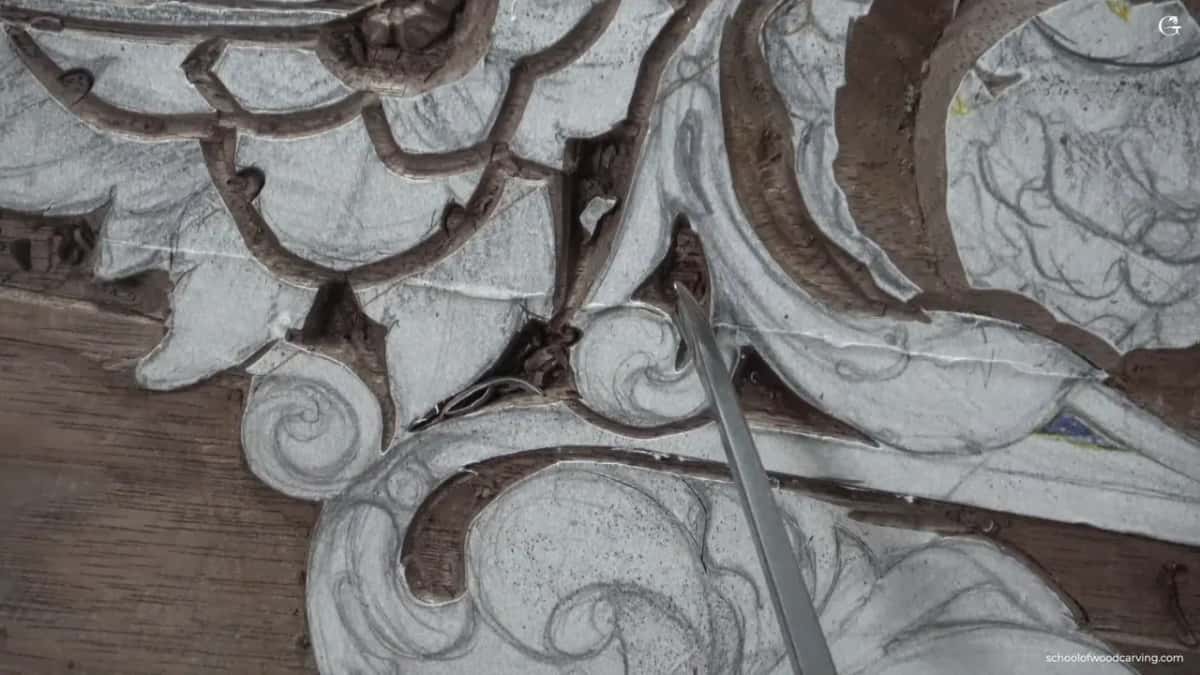
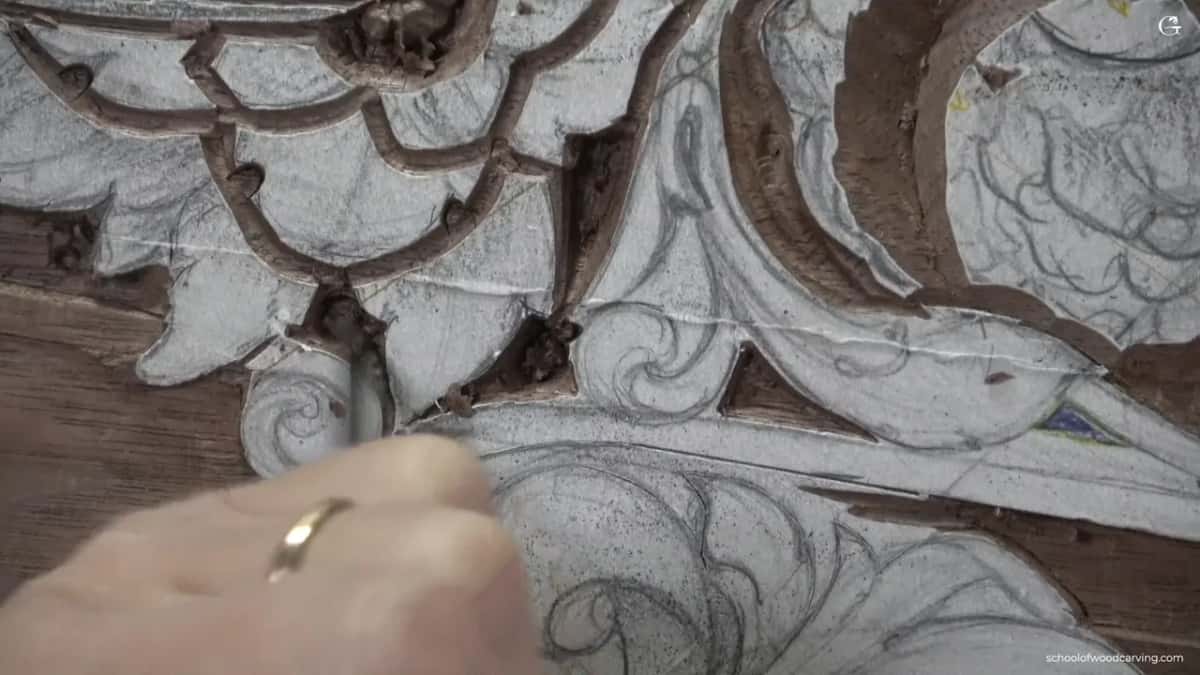
Then I come back with the number 11 and work in toward the plug from the sides until the two depths meet. Straight down, close to the hole, and clean it up after.
Why does the outline always come first?
The line is the only thing you cannot put back. Once waste starts coming off, the drawing goes with it, and a leaf whose edge you guessed at will look guessed at forever. So I trace the whole ornament before a single chip leaves the board, and I do it with the smallest tool that will follow the curve.
The way I take a triangle matters too. My gouge travels the whole way to the next point in one pass, then I come back and relieve the triangle left behind. In and out, in and out, nibbling at the same corner from both directions, gets you a ragged line and a lot of small repairs. One pass, then the waste.
And I keep the flute turned. Set it toward ten o'clock and the same gouge cleans the hollow it just made, which saves reaching across the bench for a second tool. That habit is worth more than any single technique in this lesson.
What goes around the shape before any of this?
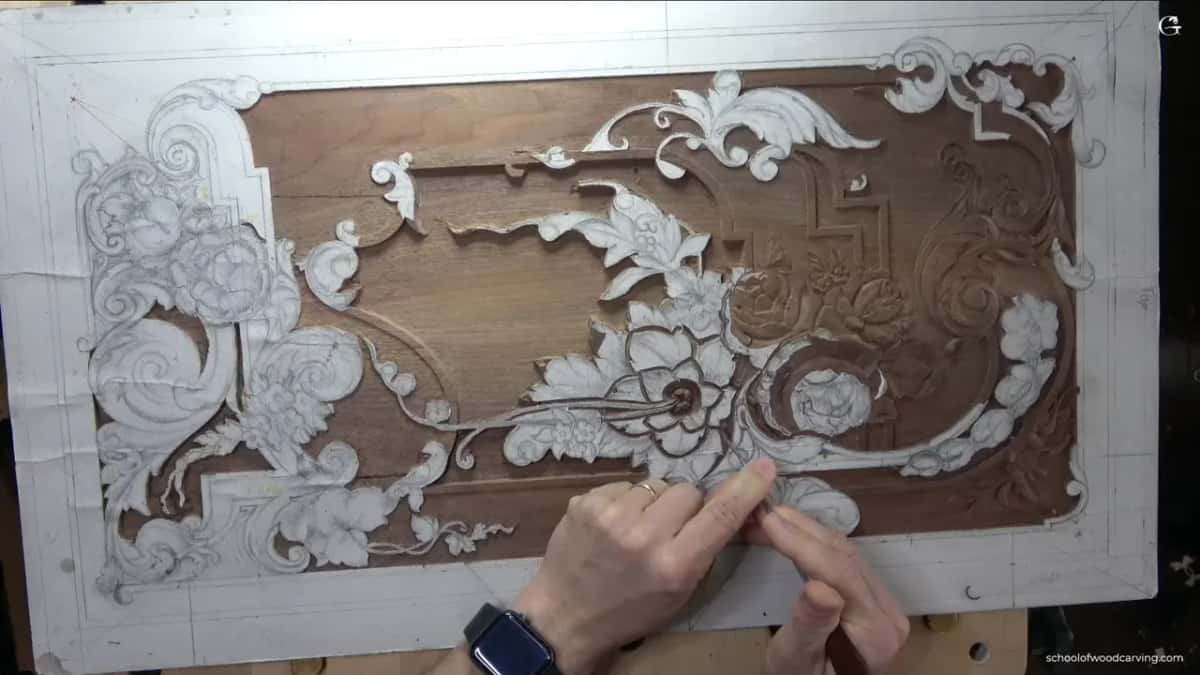
A veiner, which is what carvers call a number 11. Two millimetres on this section, though one or three or five would all be fine. I trace every line of the ornament with it before I remove a single chip, and I do it with a mallet rather than by hand because the mallet keeps the edge where I put it.
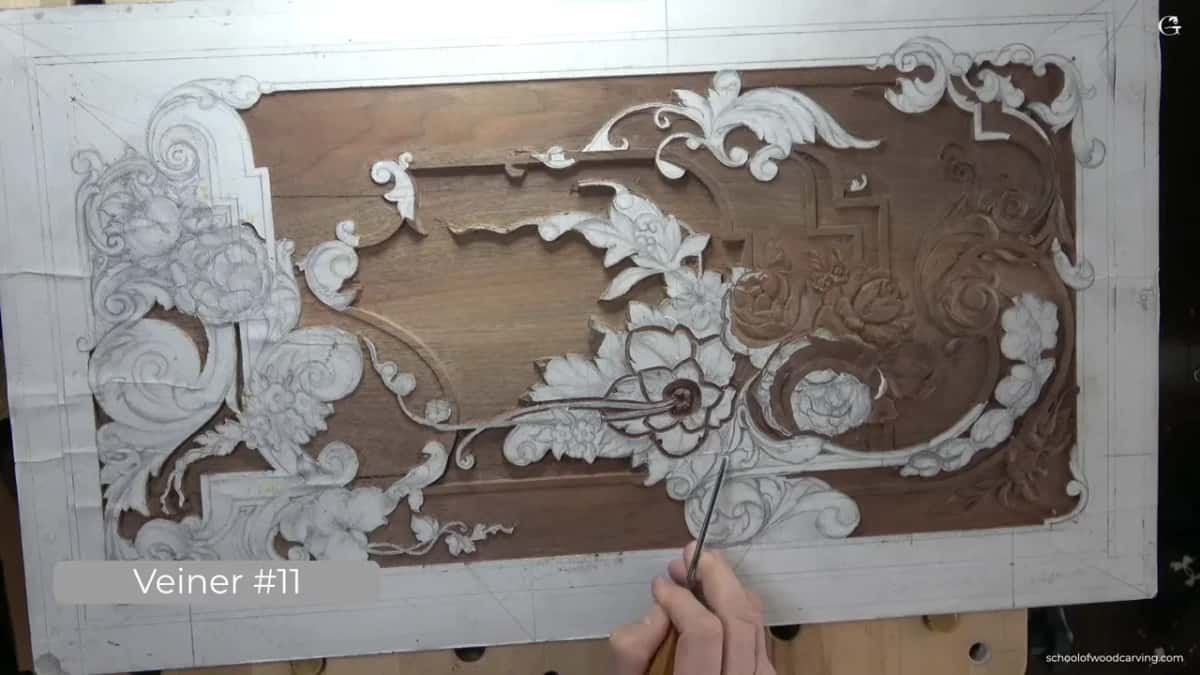
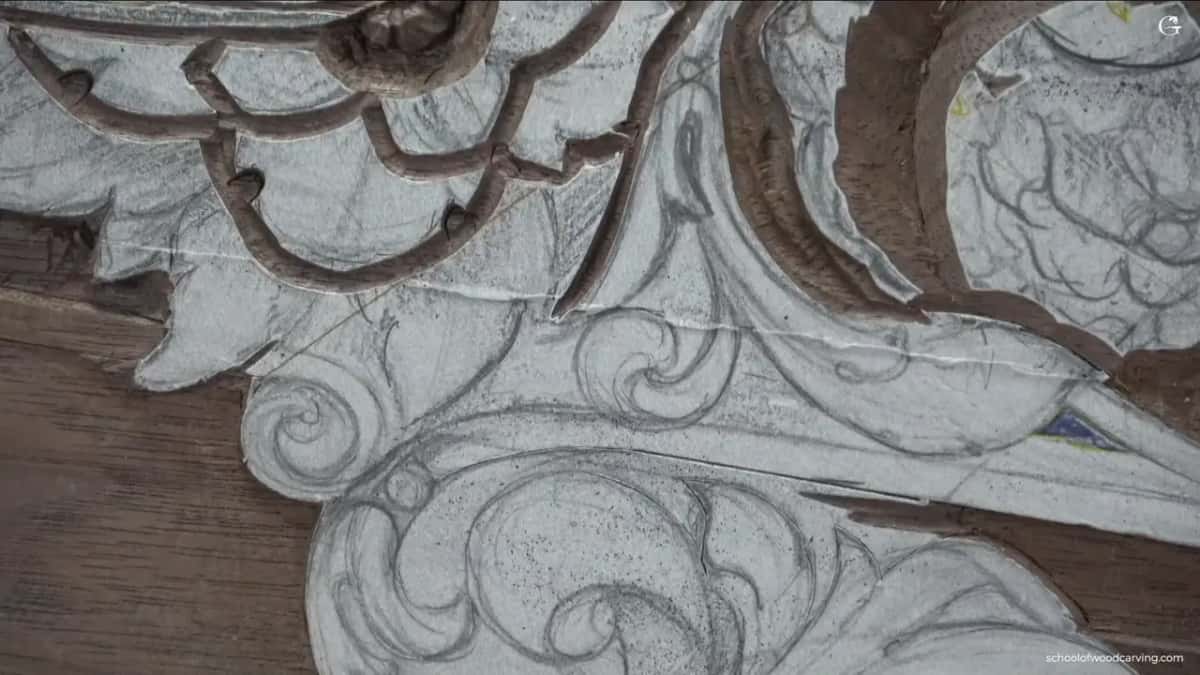
I use a brass mallet here to prove it can be done, not because I like them. Hold it in your fist and swing and you will ruin the end of a gouge. Sit it in your palm and nudge instead.
They are noisy. The noise is the honest reason I usually leave them alone. If the tapping bothers you in the video, turn the volume down.

The tool trick worth stealing from this lesson
Stand a number 11 on its end and look at it. A letter U. Used the normal way, flute up at twelve o'clock, it makes a groove. Lay the same tool over on its side and only one wing touches the wood, and now it behaves like a flat number 3. One tool, two jobs, no reaching across the bench.


Depths and tools on this section
| Operation | Tool | Depth |
|---|---|---|
| Outline every line of the ornament | A veiner | Light enough that the drawing still shows through it |
| Relieve the leftover triangles | Same gouge, flute turned to ten o'clock | Shallow, then deeper |
| Drop a whole pocket to a known floor | Number 9 gouge | Two or three millimetres, whatever the section beside it has already measured |
| Round off the carved stem | Number 1 double bevel, one eighth of an inch | Surface only |
| Take the overlap down just a little | Number 16, 35 degrees | Under a millimetre, which is genuinely all it needs |
| Level everything after | Router plane with the quarter inch blade in | Plug depth |
How shallow does this style actually get?
Half a millimetre. Beautiful and awkward together. Compared with the deep acanthus work or a high relief panel, the whole ornament here lives in a skin of wood, and you still have to build every roll and every overlap inside it.

You could reach for a router plane on a pocket this small. I do not bother. The area is tiny, I can eyeball it, and eyeballing gets me close enough that the plane would only be tidying up my own estimate. A tool is worth setting up when it beats your eye, not before.
What I am chasing in all of it is shadow. Wood carving is light and shadow and very little else, and a shape with no shadow under it might as well be a drawing. Which is the whole reason the depths in this lesson get measured instead of guessed.
One warning about cleaning up beside an element. Turn the tool and go underneath it too early and you have undercut something that was not ready to be undercut. No putting that wood back, and on a panel like this style of floral and molding work it shows immediately.
There is an eye in this section, the point where two movements separate. I want it shaped like a water drop, which means rolling and blending it under the line beside it without dropping the level. Once that eye is right, the pipe running out of it follows on its own.
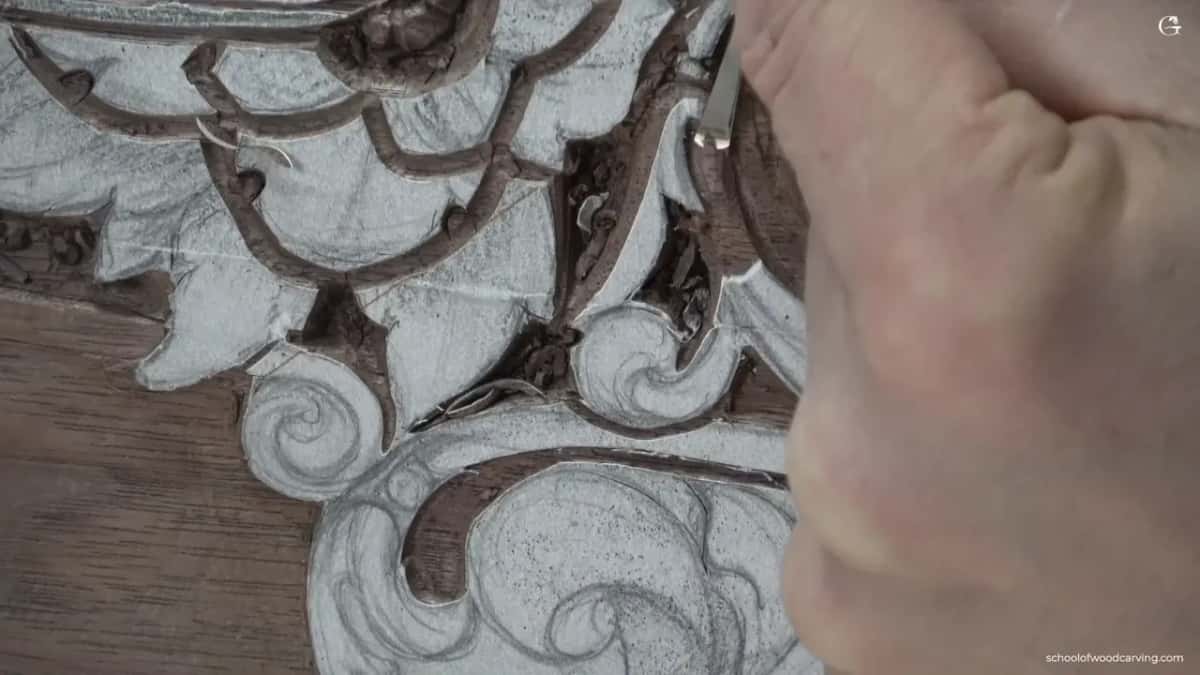
To round the stem I take a number 1 double bevel, an eighth of an inch, and lay in chamfers. One side, then the other, then the two blended, until the flat facets read as a fillet. One chisel does a surprising amount of work.
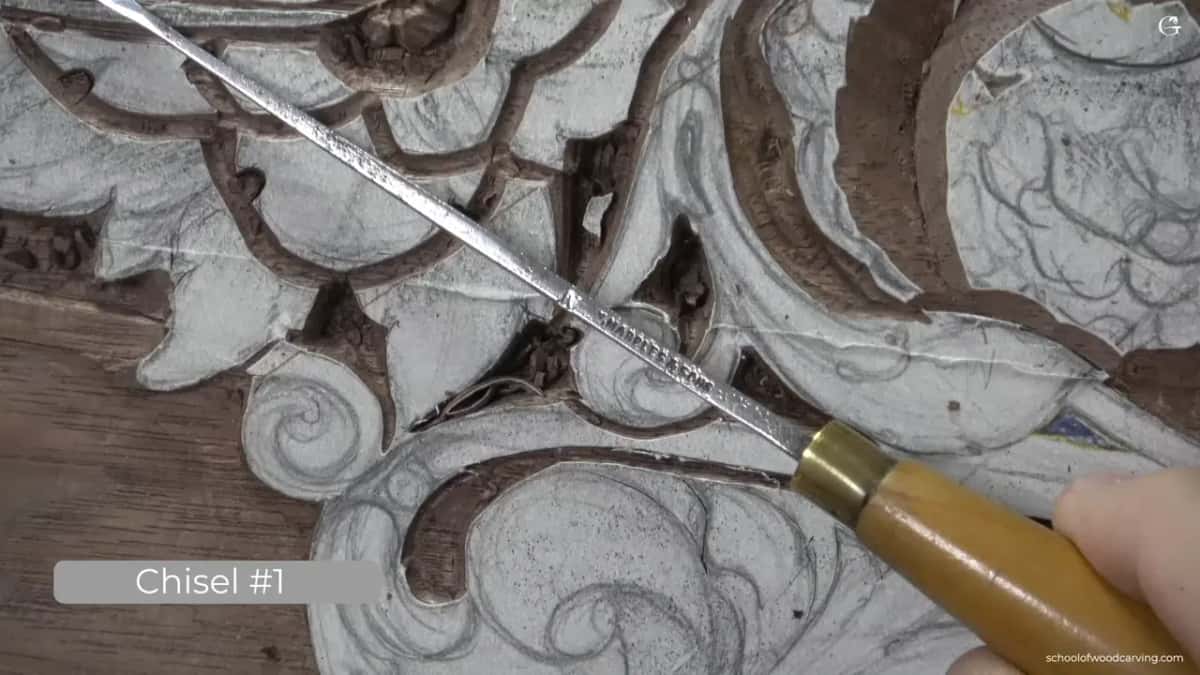
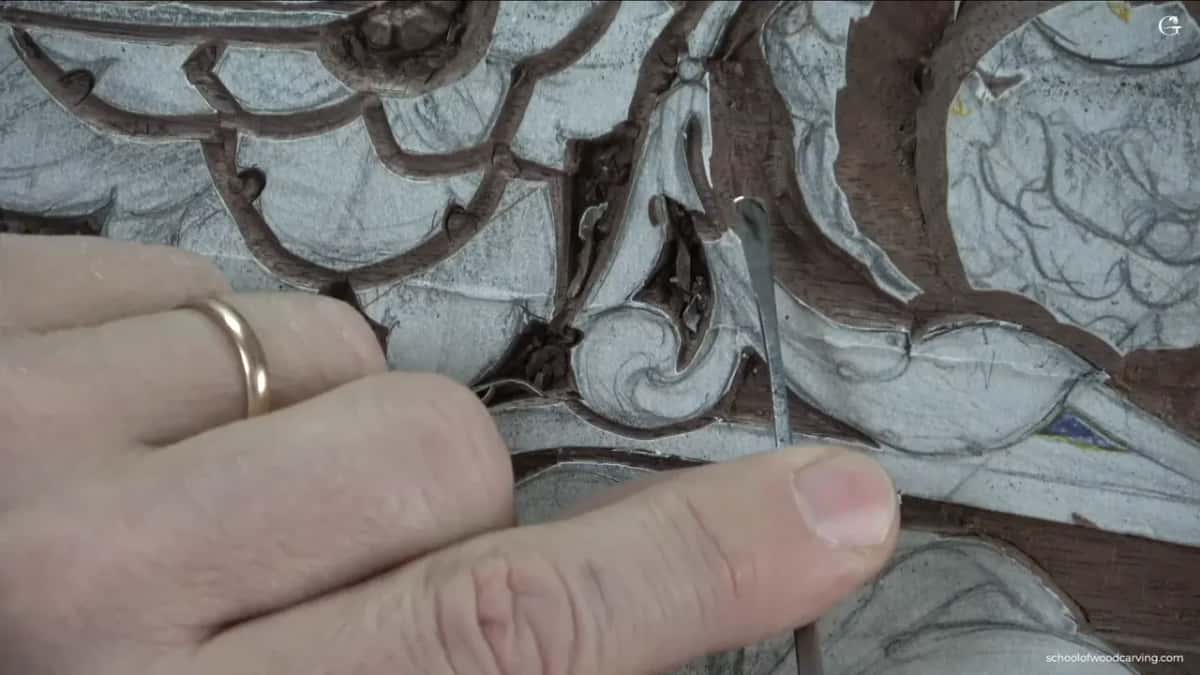
Where the concave starts matters more than how deep it goes. Begin it at the very tip and the shape stops being accurate to the period. I start mine a little way along and run it to the end, then blend. That is not taste. It is what the old work does, and you can check it yourself in any museum furniture collection.
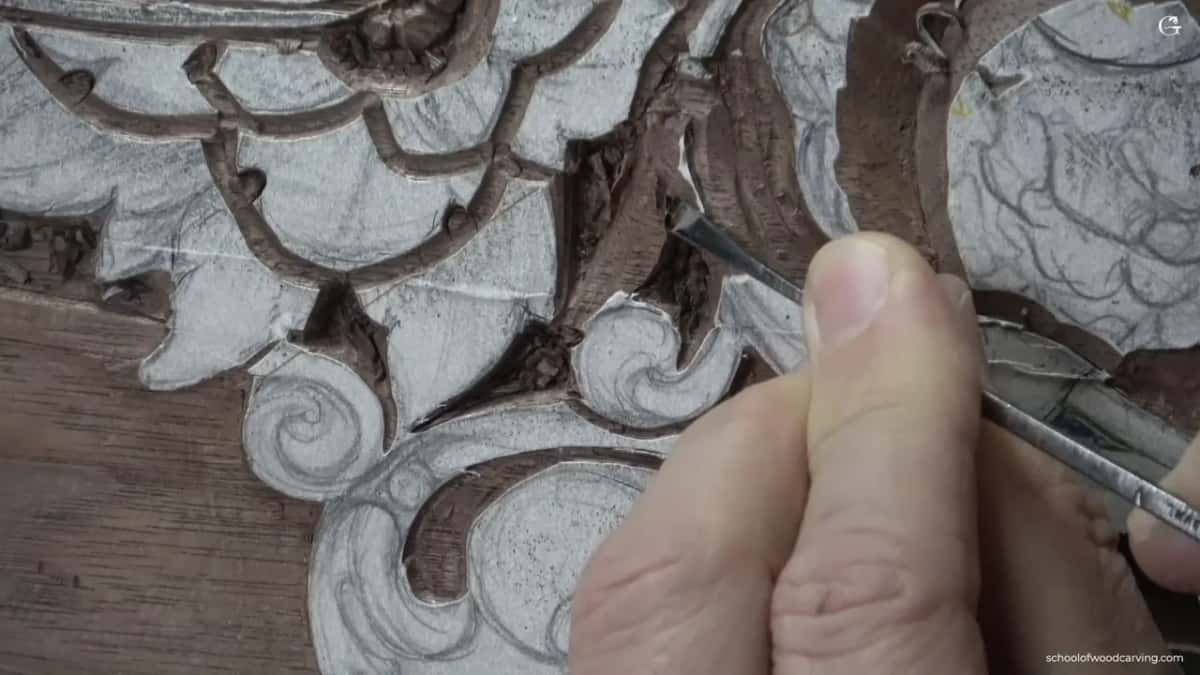
Facets go with a back bent gouge. It reaches into a hollow a straight tool cannot and it leaves the surface rolling instead of stepped.
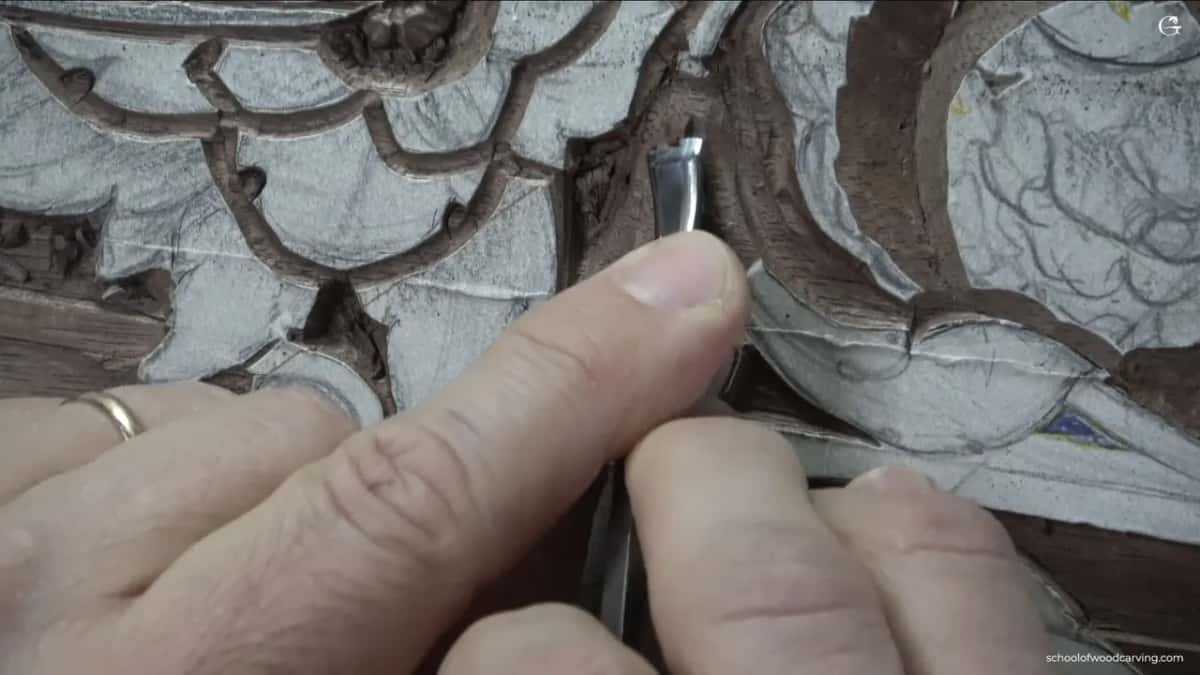
Then a slight undercut under the overlap, a bigger number 3 to blend, and that element is done.
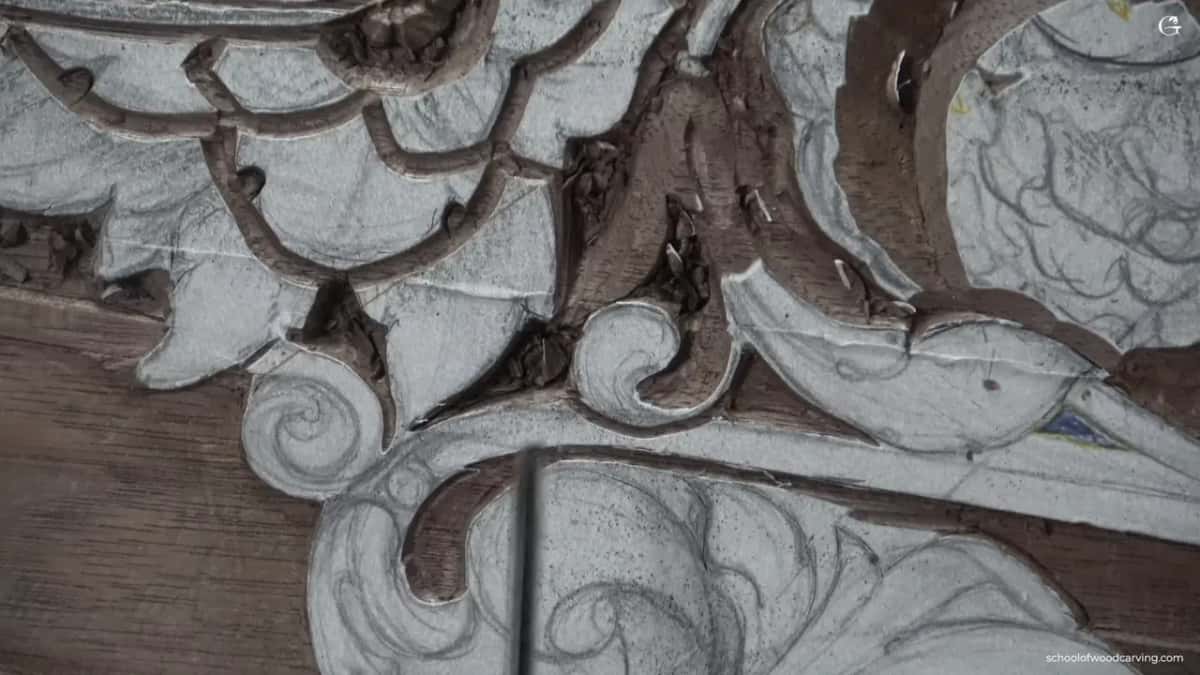
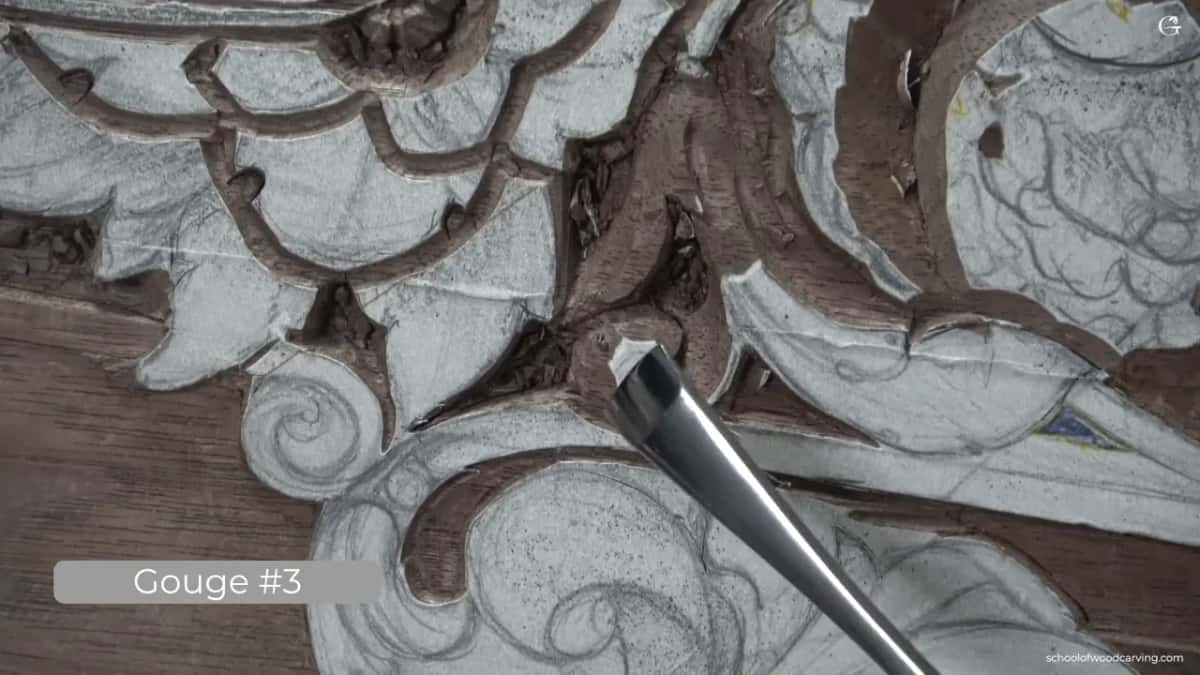
What happens when the detail is too small to see?
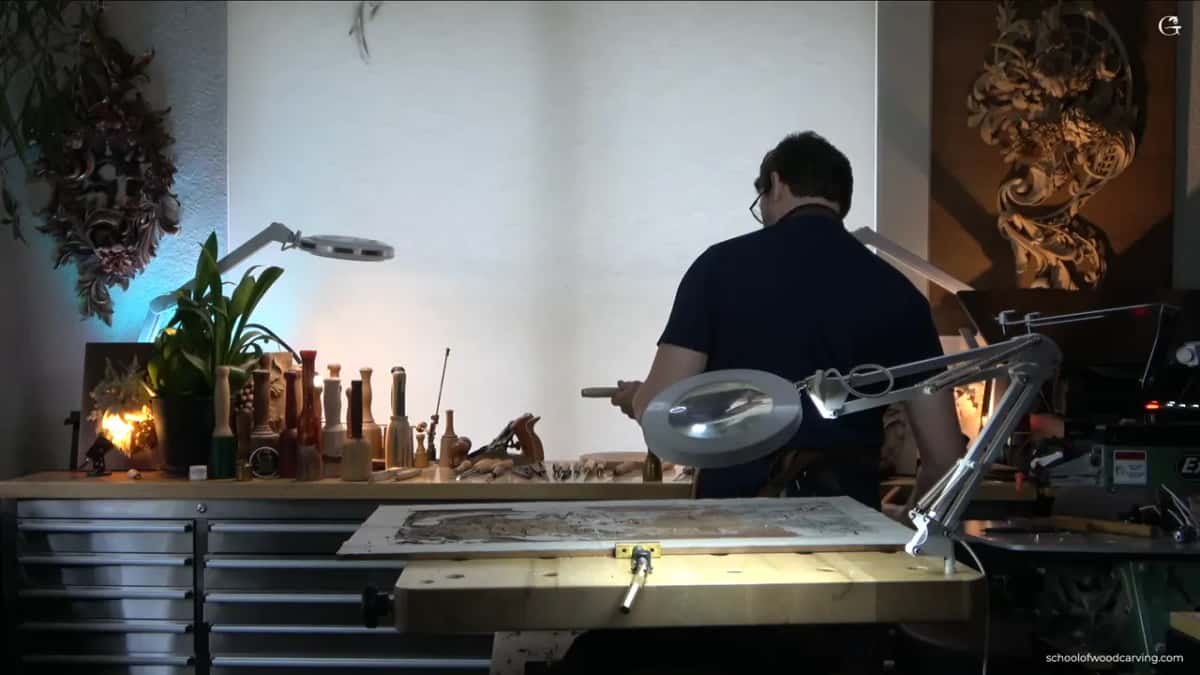
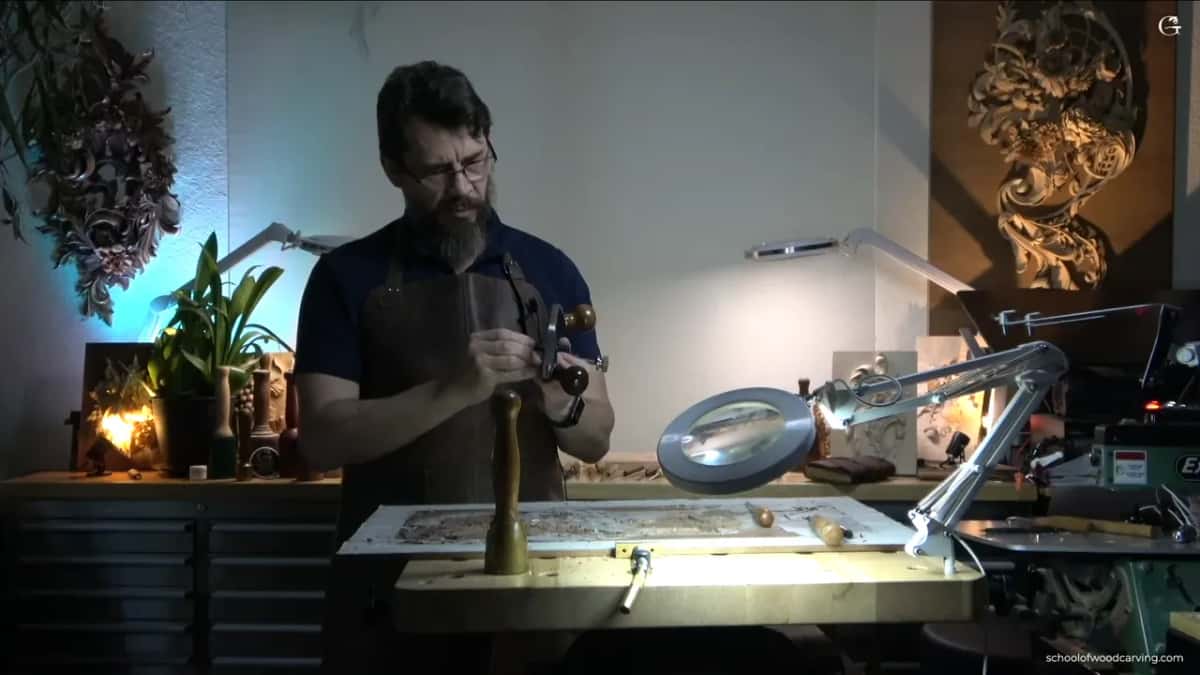
You stop, and you bring in glass. Some of the shapes on this section are half a millimetre of movement, and at that size my eye is no longer the instrument. I swing a magnifier lamp over the panel and finish them under it, which is also why you do not see every one of these details land on camera.
The tools shrink with the work. Twelve millimetres of number 3 is a blunt object in a space that narrow, so it comes off the bench and something a fraction of that size goes on. A whole class of micro tools exists for exactly this, and any serious ornament reaches a point where nothing else will do.
I will admit something here. Looking at the double line I drew in this section, I asked myself why I designed it that way at all, and the honest answer is that I overcomplicated it. The drawing is from the design course, which means I did it to myself. It will look good. It also cost me an hour I did not need to spend.
One last habit before the plane comes out. I do not force anything. If a line is not quite where I want it, I leave it and come back, because a forced tool on wood this thin takes the decision out of your hands entirely.
What does the router plane add?
Certainty. The plug gave me a floor, and the router plane copies that floor everywhere else it has to appear. Changing the blade takes a couple of seconds, so there is no reason to guess. I find the deepest spot, set the blade there, and work out.
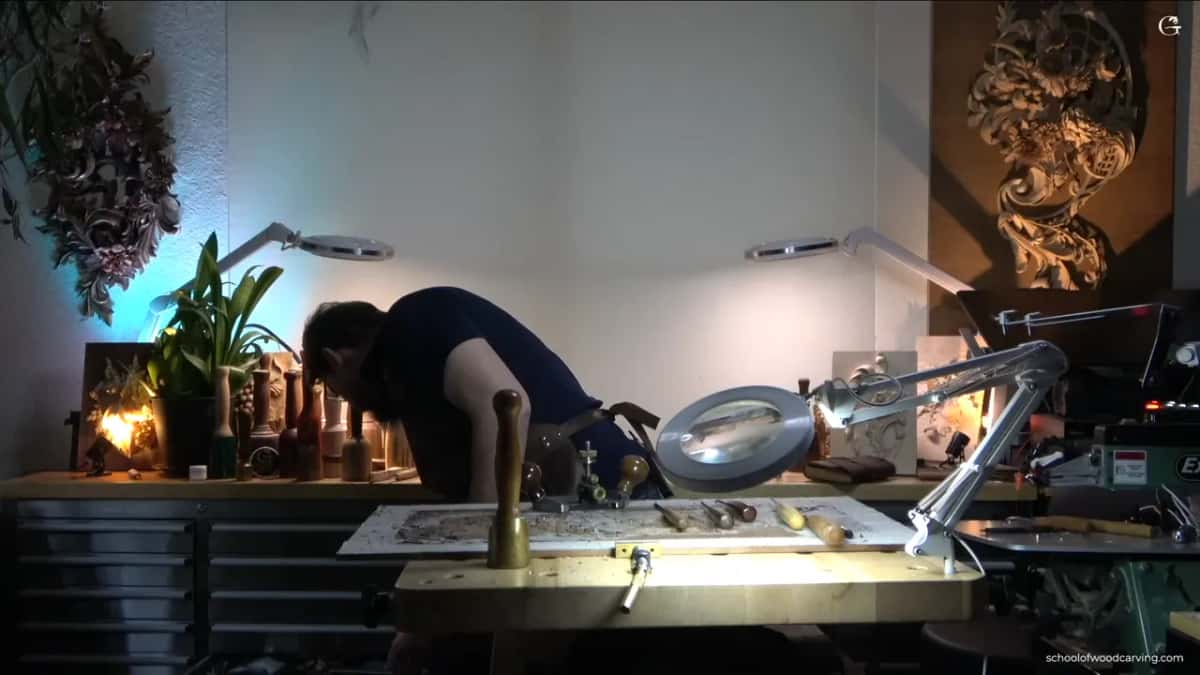
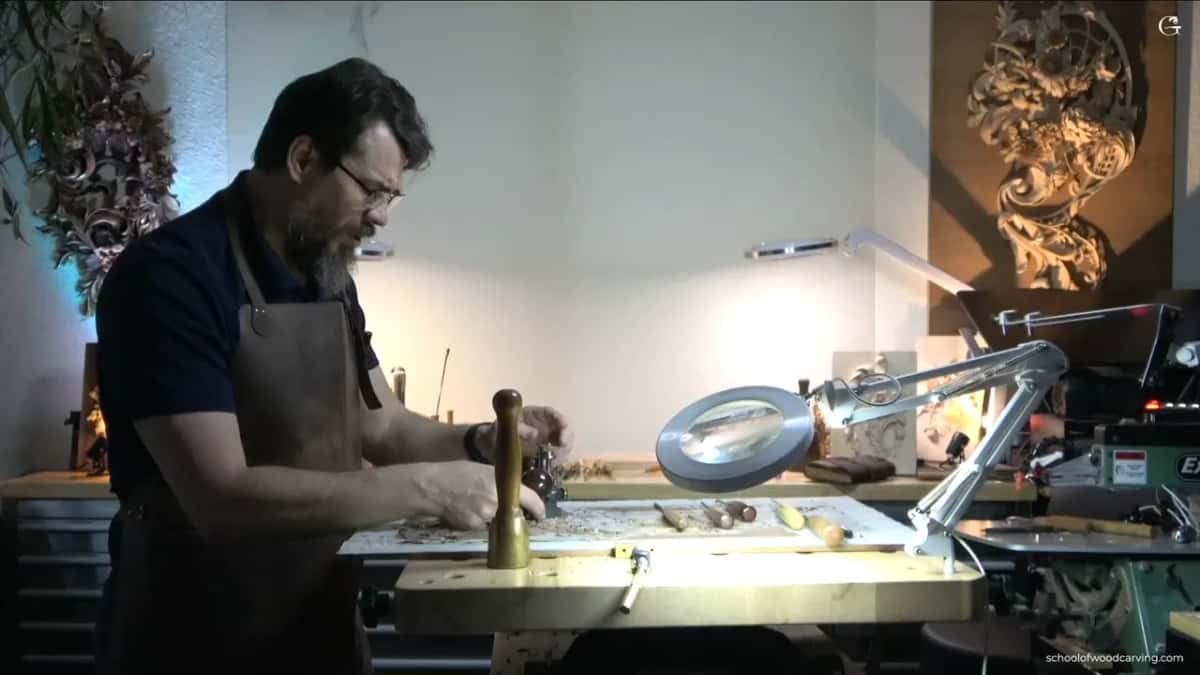
Never shove it forward square. Hold one handle, come in at about 45 degrees, and use the blade corner. Push it straight and the edge catches the grain and splits it, and on a panel this far along a split is expensive.
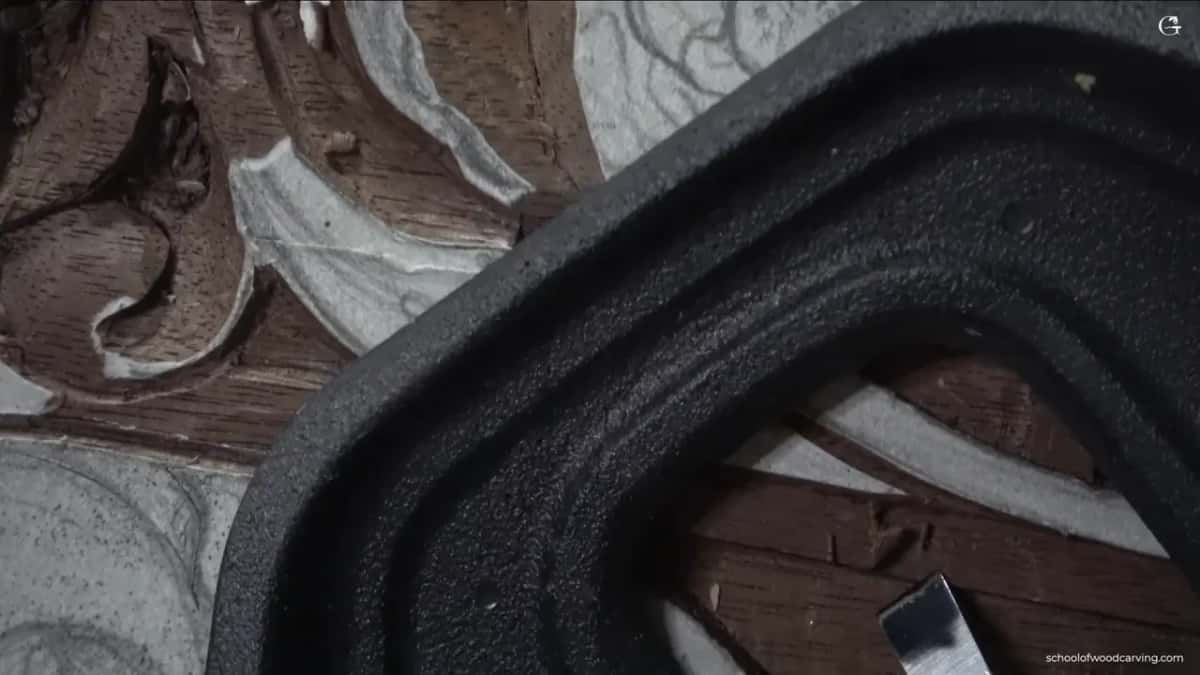
When two areas meet you see a step between them. That is fine. A straight chisel on the line cleans it, and a narrower router blade, a millimetre and a half, carries the same depth into the tight part.
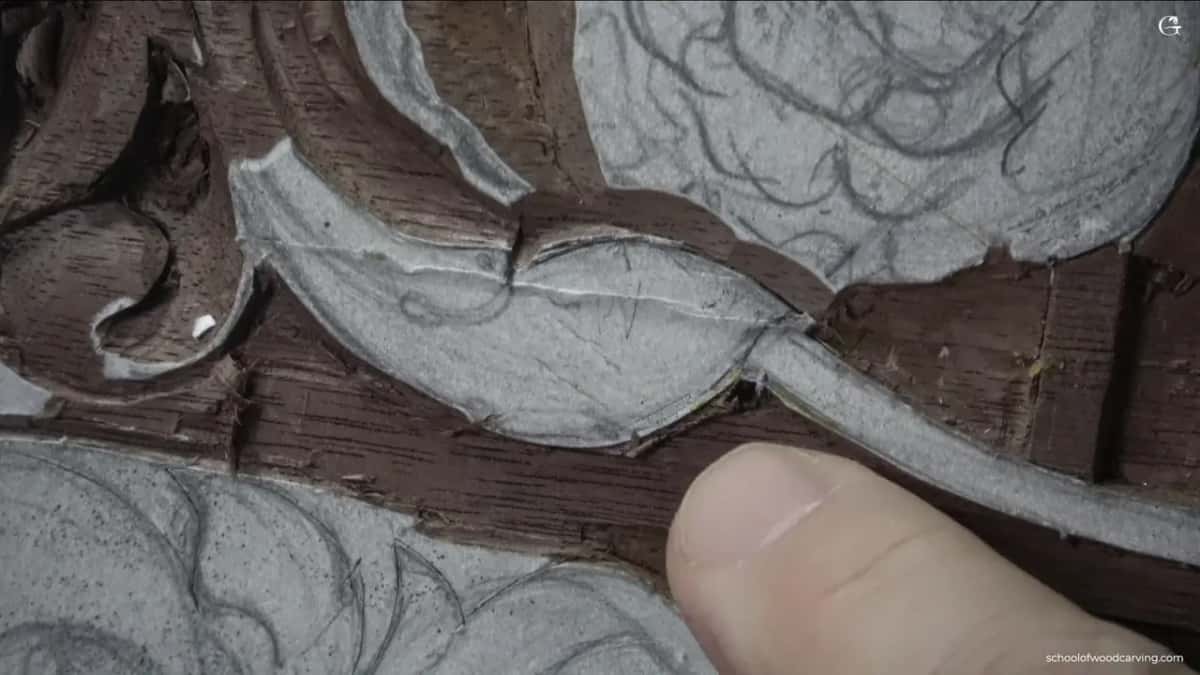
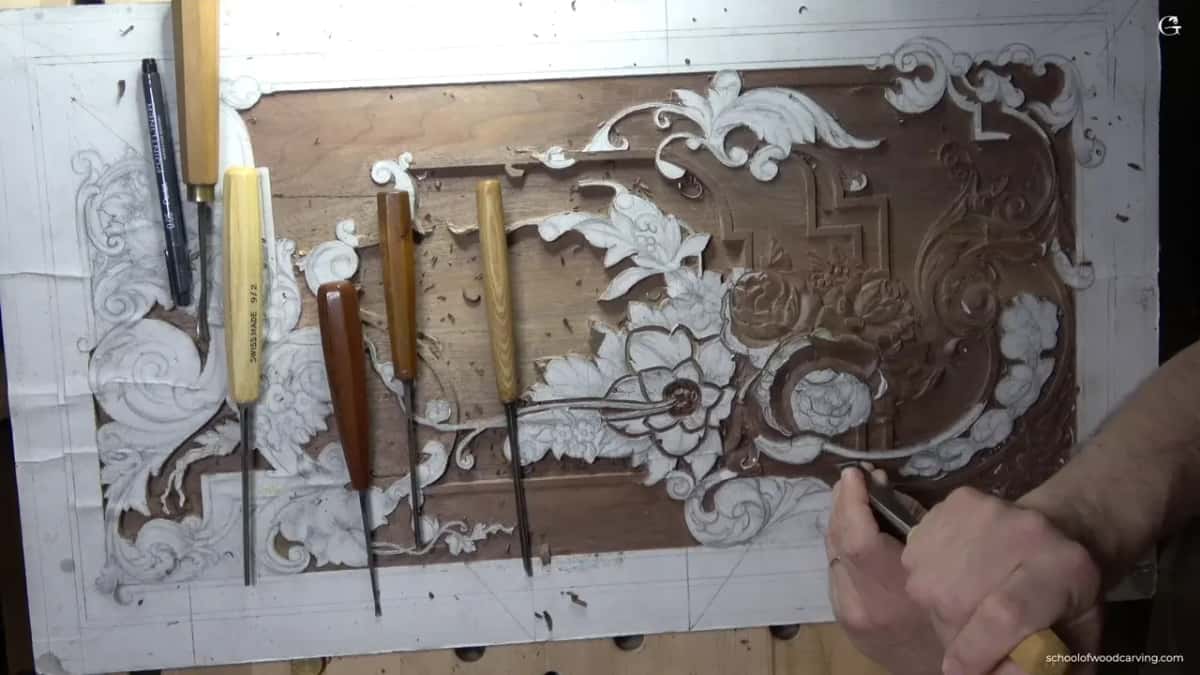
A word on direction while the tool is still in your hand. I broke the rule on this section and ran the gouge the wrong way along the grain, and it was fine, because black walnut puts up with that. Try it on a species that splits and you will be gluing a leaf back on. Downhill with the grain is still the rule. Walnut forgives.
What takes the paper pattern off?
Mineral spirit will lift it, and so will any alcohol. Most of the time I do not bother. Fingers take a lot of it, and the edge of a knife blade takes the rest.
Use the side of the blade like a card scraper. Turn a hook on it the way a cabinetmaker does, and then it blends a step until the transition disappears. Anyone who has done furniture work knows exactly what I mean.
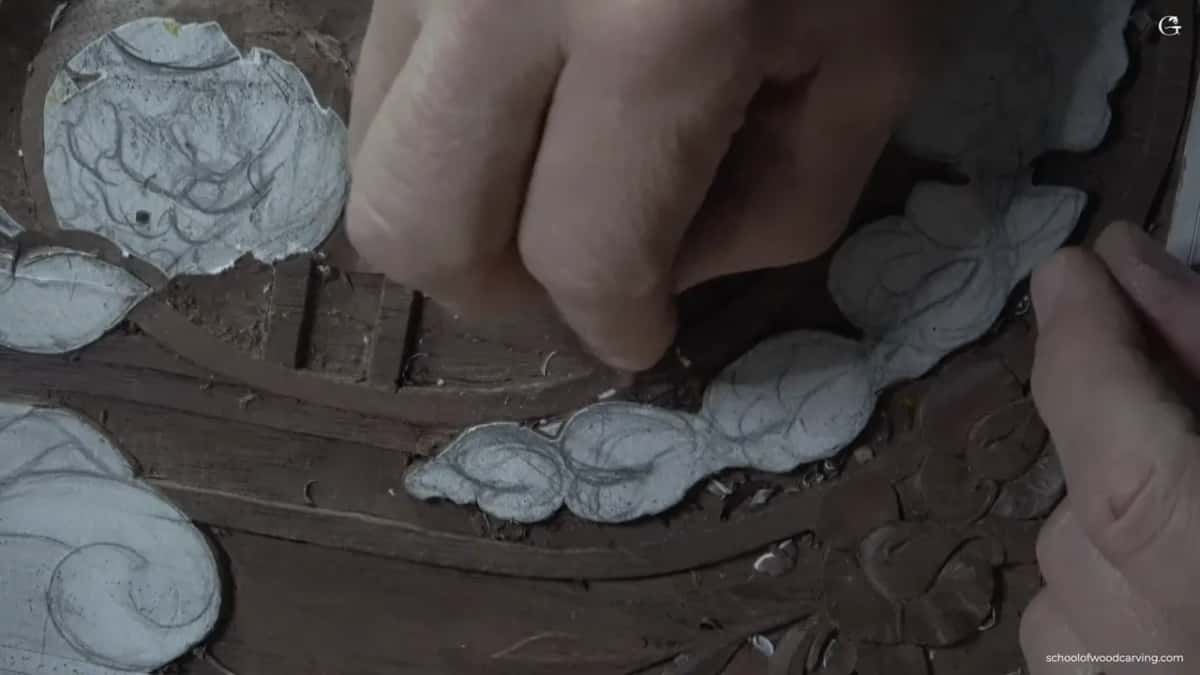
What is left after that is magnifier work. I leave some of it unfinished on camera on purpose, because squinting at a millimetre under a lamp makes bad video and I would rather show you the decisions.
I said that was enough for today, put the tool down, and then it kept bothering me. The number 3 was too big for what was annoying me, so I went down to a number 2 and did one more pass anyway. Better. Still not right. Most sessions end right there, not at a finished shape but at a shape you can live with until tomorrow.
It rained the whole time I filmed this one. You can hear it.
And I owe you an apology for the gap before this lesson. I had just shipped a large commission, and a paying client with a deadline always comes before a panel that belongs to the school. It is the honest reason this course moves the way it does. I would rather tell you that than pretend otherwise. If you want the earlier stages, the first carving lesson on this panel is where the board was still nearly flat, and the tools course covers the numbers I keep calling out. A deeper acanthus course is waiting if the shallow work here leaves you wanting more depth.
Would you rather guess a depth, or measure it once and know? Shall we carve?
This lesson runs in three parts inside Carving Furniture Panel, Part 3, and it picks up where Part 2 stopped. The drawing behind all of it was made in the design course. For the tools, see All About Tools and sharpening, or stand at a bench with me at an in person class. Access is on the tuition page.
How it's done
- Outline the whole ornament first. Trace every line with a number 11 around two millimetres wide, using a mallet for control. No waste comes off until the outline exists.
- Relieve the triangles. Run the gouge in one pass through to the next point rather than nibbling in and out, then attack the triangle left behind. Lay the flute to ten o clock and clean the hollow without changing tools.
- Fit the number 9 and walk it round. Stand a quarter inch number 9 vertically inside the pocket. Tap and rotate, tap and rotate, until the plug feels loose or flies out. Never force it.
- Meet the plug from the sides. Go back to the number 11 and work in toward the hole until the surrounding wood reaches the same floor. More depth is available later. Less is not.
- Set the router plane off that floor. Find the deepest spot, set the blade there, and carry the same depth across the section. Come in at about 45 degrees on the corner of the blade, never square on.
- Clean the step and the line. A straight chisel takes the step between two depths. A narrower router blade, a millimetre and a half, reaches the tight parts at the identical setting.
- Lift the paper and blend. Alcohol, fingers or the side of a knife blade will remove the pattern. Turn a hook on the blade and it doubles as a scraper for the last transition.
Frequently asked questions
What does a plug cut do that a gouge cannot
It removes a whole cylinder of wood in one operation and leaves a flat floor. Ordinary gouge work takes scoops, which means the bottom is uneven and you have no fixed reference to measure from.
Which gouge number makes the plug
Number 9. On this panel a quarter inch, six millimetres, and a two millimetre version where the larger one would not fit. Anything deep and narrow behaves the same way.
Can you correct a plug cut that went too deep
Not really. Everything around it then has to come down to match, which changes the whole section. Take a shallow plug and go again rather than committing on the first pass.
What to carve next