
Alexander Grabovetskiy, woodcarver, School of Woodcarving · Published 2023
How do you carve a small flower without breaking it?
Quick answer: Carving a bloom this size without losing it is mostly a question of order. The dark middle goes in while solid wood still surrounds it, a relieving cut is made round the shape before rounding starts, and every pass drops vertically first and is tidied sideways afterwards.
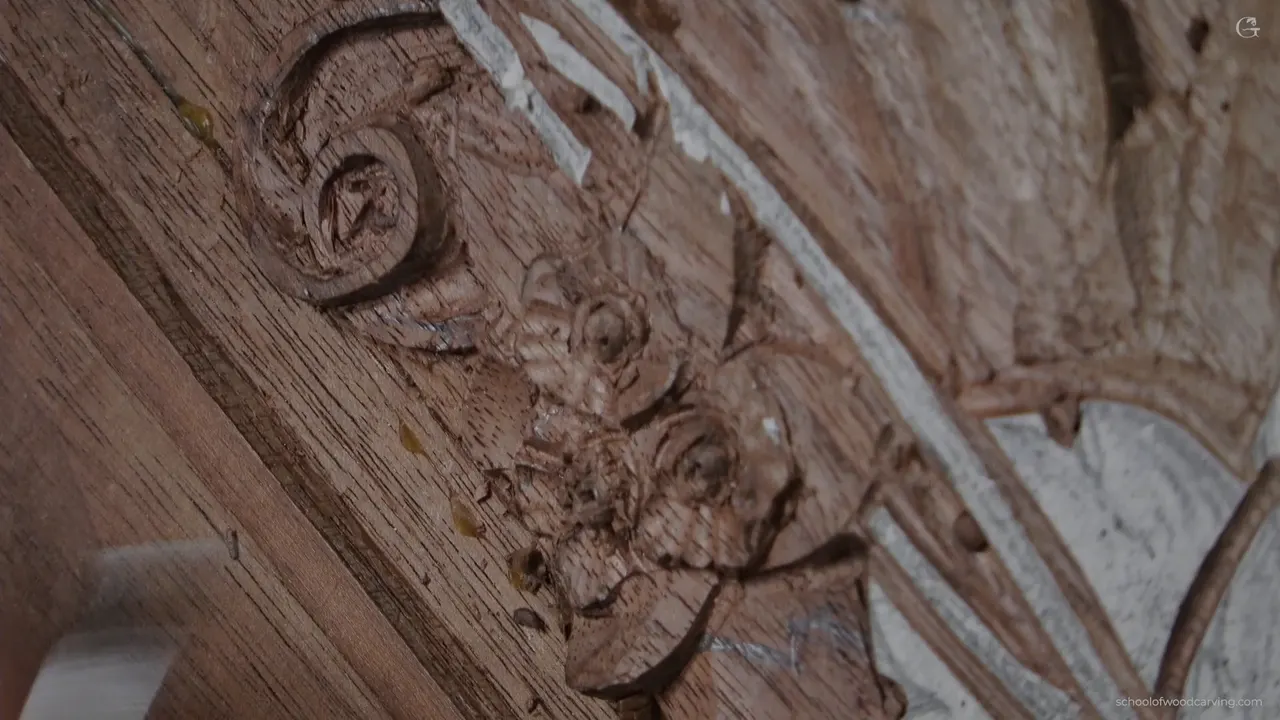
A carved flower the width of a pea breaks because it was carved in the wrong order, almost never because the carver pressed too hard. The centre goes in while there is still solid wood holding it. The outline comes before any rounding. Every pass drops vertically first, and the side of the blade tidies it afterwards.
Get that sequence backwards and the shape leaves the board in your chip pile.
This part of the panel carries three small ornamental flowers and one larger one, with something growing out of the larger one that nobody has ever been able to name for me. Somebody asked years ago what plant it is supposed to be. I have no idea. It is an eighteenth century element, I have seen it on real furniture more than once, and there my answer ends.

Key takeaways
- The dark centre hole goes in first, while the wood around it is still solid and cannot break.
- An outline cut relieves a small shape, and without one the fibres crush inward instead of breaking away cleanly.
- Take every cut vertically before you clean anything sideways, because a side pass with no relief ahead of it snaps the detail off.
- A raised middle on a flower this size gives you far more detail than a hollowed one does, and the method is the older of the two by a long way.
- Nothing in the group is allowed to stand higher than the dome, so everything near it drops until that is true.
- Undercutting is the last thing you do and the easiest place to lose a petal, as this lesson demonstrates at my expense.
Three ways to carve a bloom this size
You have a choice here, worth understanding before you pick up a tool. Hollow the centre deep and run every petal down into it, which gives you a strong dark spot and very little else. Raise a small dome there instead, with one dark hole at its top, and you get shade plus real detail. Or take that dome and surround it with beads.
I went with the dome. Grinling Gibbons was mad about these little flowers and stuck them into every gap he could find, which is where the trade name comes from. They fill space. That is their job, and the Maine class spends a week on nothing else.
Why does the hole go in before the dome exists?
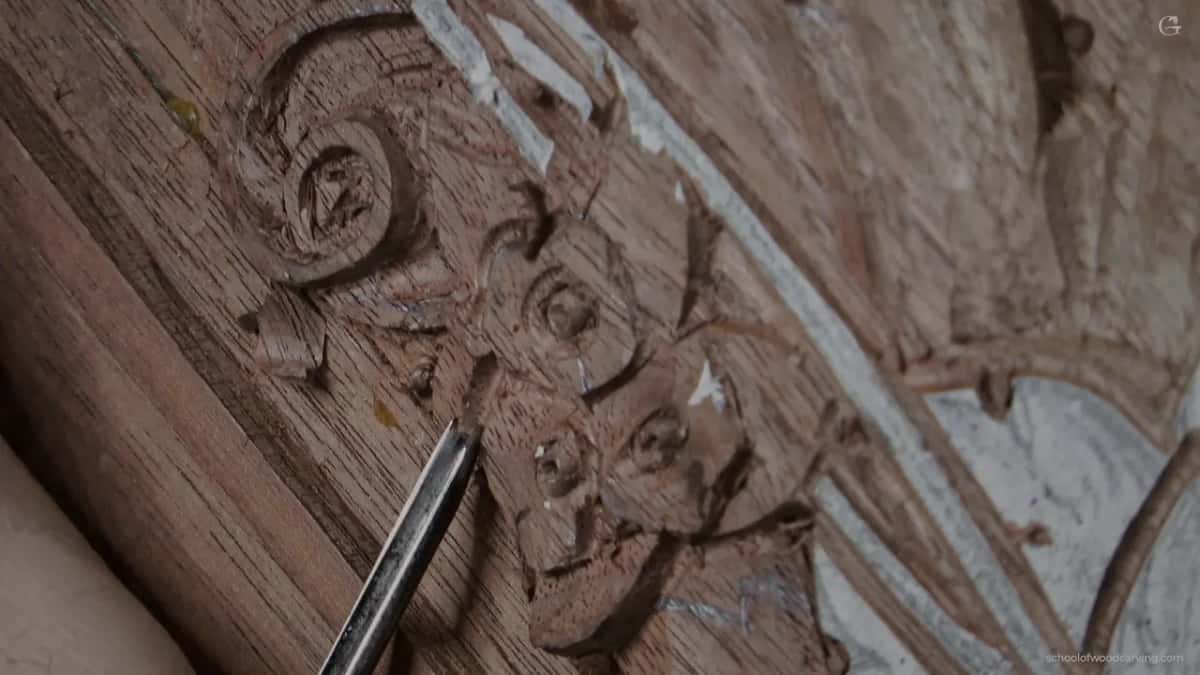
Think about what you are holding at each moment. Right now that patch of wood is flat and fully supported by everything around it, so a gouge can drop into it with no risk at all. Ten minutes from now that same patch stands proud of everything near it, joined to the board at its base and nowhere else.

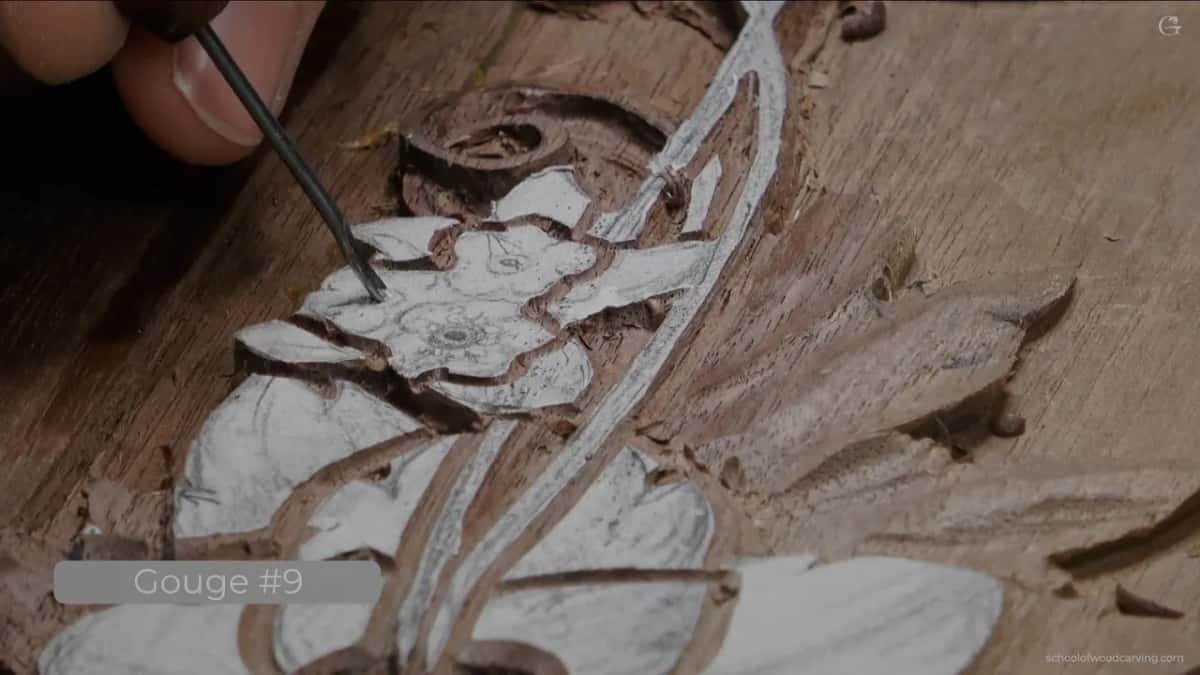
Drive a gouge into that and you will break it. So the hole goes in now. Something around a number 8, a sixteenth across, angled to follow the slope the flower will eventually have rather than held upright, because the hole has to look right from where a person stands.

Already there, the shadow, after a single cut. No reason to go deeper.
That outline is doing structural work
Now a two millimetre veiner goes right around the dome, staying near five millimetres at the broadest, and barely a millimetre down. That outline looks decorative. Its job is structural, and skipping it costs you the flower.
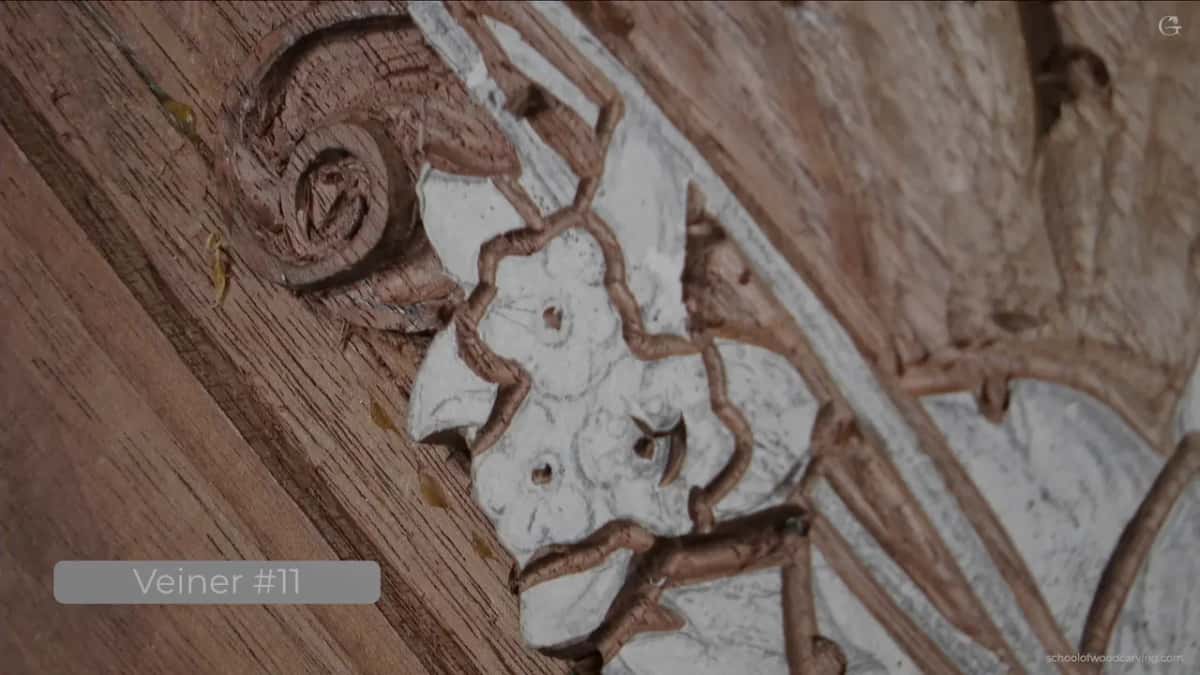
The mechanism behind that is worth understanding. Rounding the dome afterwards sends the gouge from the outside inward, and the fibres it is pushing have to break somewhere. With a cut already standing ahead of them they break at that line and the chip lifts away. Leave it out and the weak point sits somewhere inside the dome itself, so the fibres crush until the whole thing pops off.

Then the rounding itself, with that same gouge turned upside down so the flute faces the board. Zero in from one side, come back the other way, and the job is done in two. Simple enough, once the order is right.
Straight down, then sideways, and never the reverse
Every shape on this board wants the same treatment, the flowers among them, and the thin scrolling stems most of all. Down goes the tool, vertically into the wood, and afterwards I come back and tidy with the side of the blade in small bites.
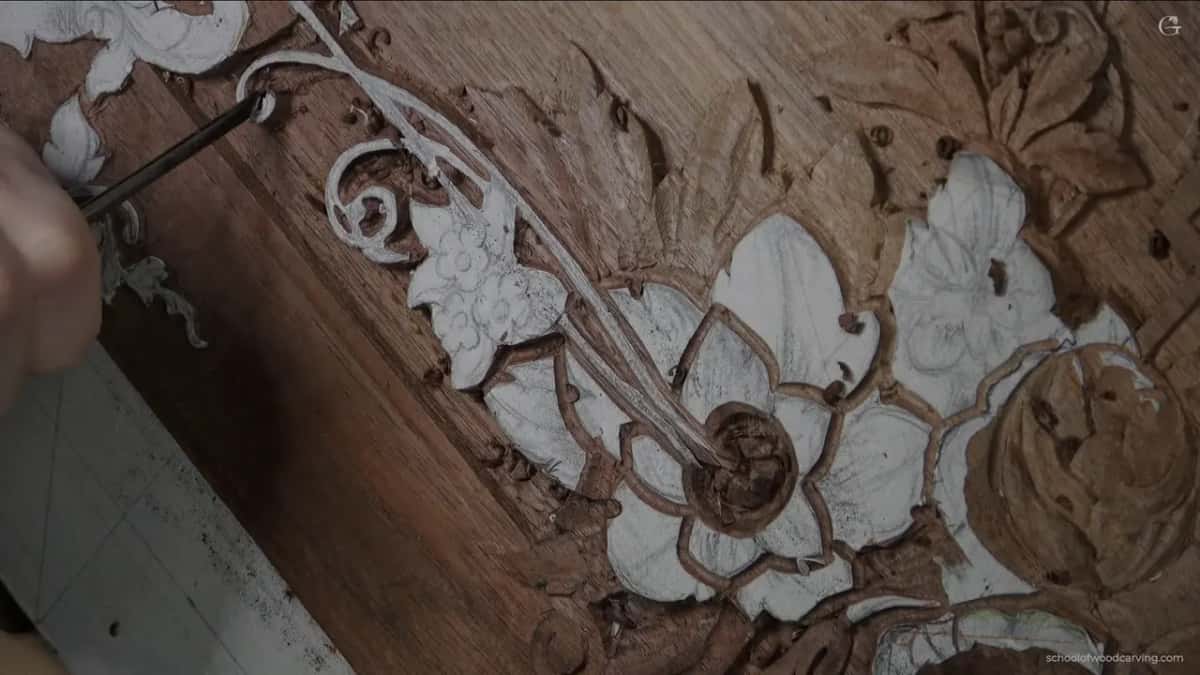
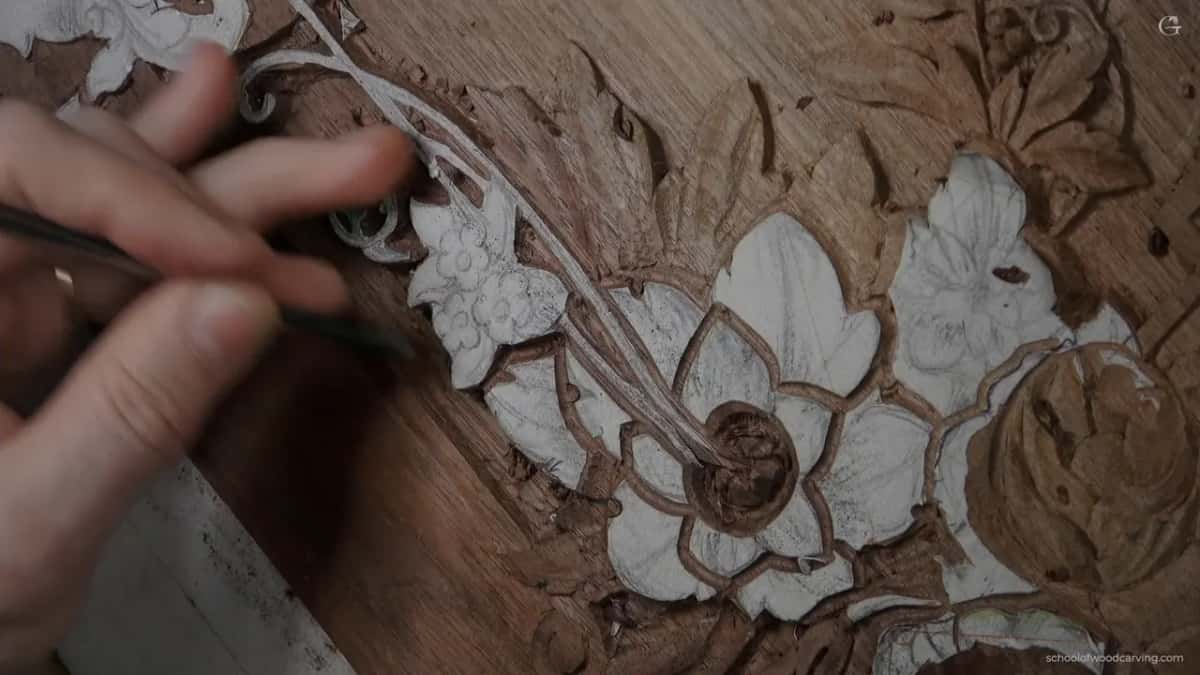
The wood here is black walnut, which I find forgiving. Some species are not. Take too much in one bite on a crunchy timber and the whole detail leaves the board, and no amount of skill in your hands will bring it back. Watch what the grain is doing around the thin parts especially, since those are where it decides to run.
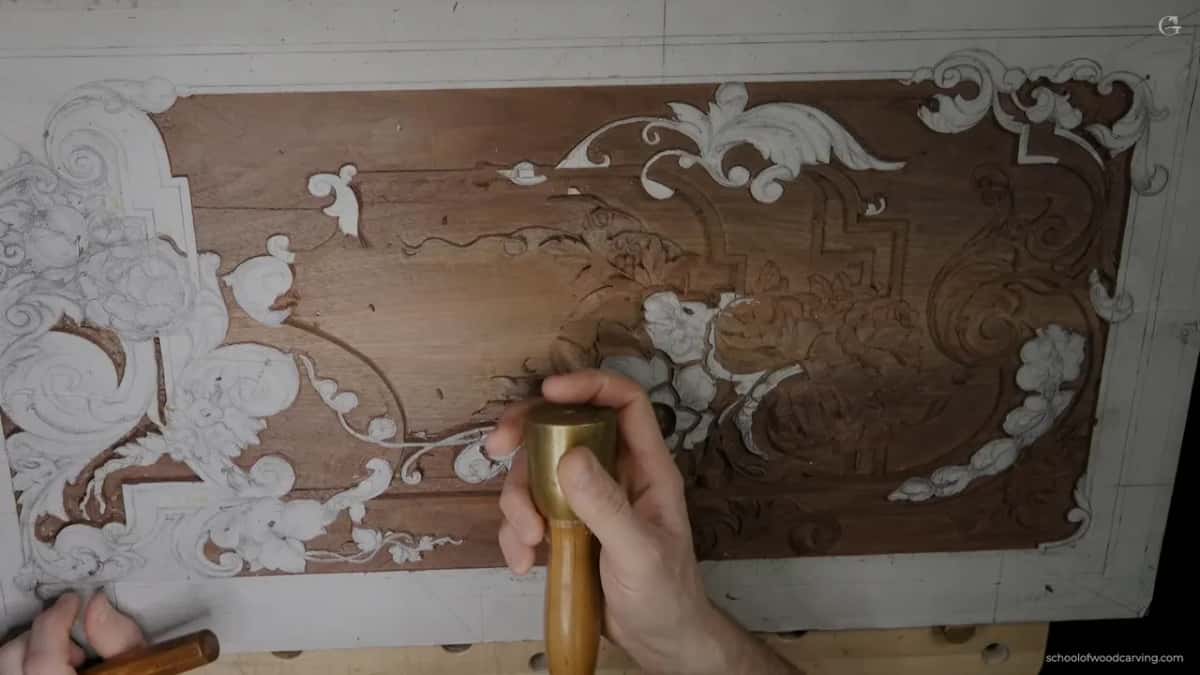
Look at how I hold the mallet, because it is not by the handle. It sits in an open palm and I am barely gripping the gouge either. That gives far better control than a fist does, and control is the whole game on work this small.
What to do in what order
| Stage | Tool | Depth | Reason |
|---|---|---|---|
| Outline every shape in the group first | Veiner, two millimetres | Never any deeper than the background sitting behind the shape | Keeps composition |
| The centre | A small gouge, tipped over to sit on the coming slope | One millimetre, no more | Solid wood is still holding it in place |
| Ring the dome before rounding it here, which is the step people leave out entirely | Veiner, two millimetres | One millimetre | Gives the fibres somewhere to break instead of crushing them inward |
| Round the dome off | The same small gouge, this time turned upside down | Around five millimetres at the broadest point, and only about a millimetre proud | Done in two |
| The groove | Half a millimetre wide, no more | About one millimetre | Keep it one and a half millimetres out, never any further, or the flower loses its centre |
| Undercutting, which belongs at the very end of the whole job | The same veiner | Barely anything at all, just a shaving | Where it breaks off |
The ring, and the pocket most carvers skip
With the dome rounded, a groove goes in roughly 1.5 mm away, cut with the smallest veiner I own and taken barely half that deep. Every petal afterwards is brought down until it meets that groove.

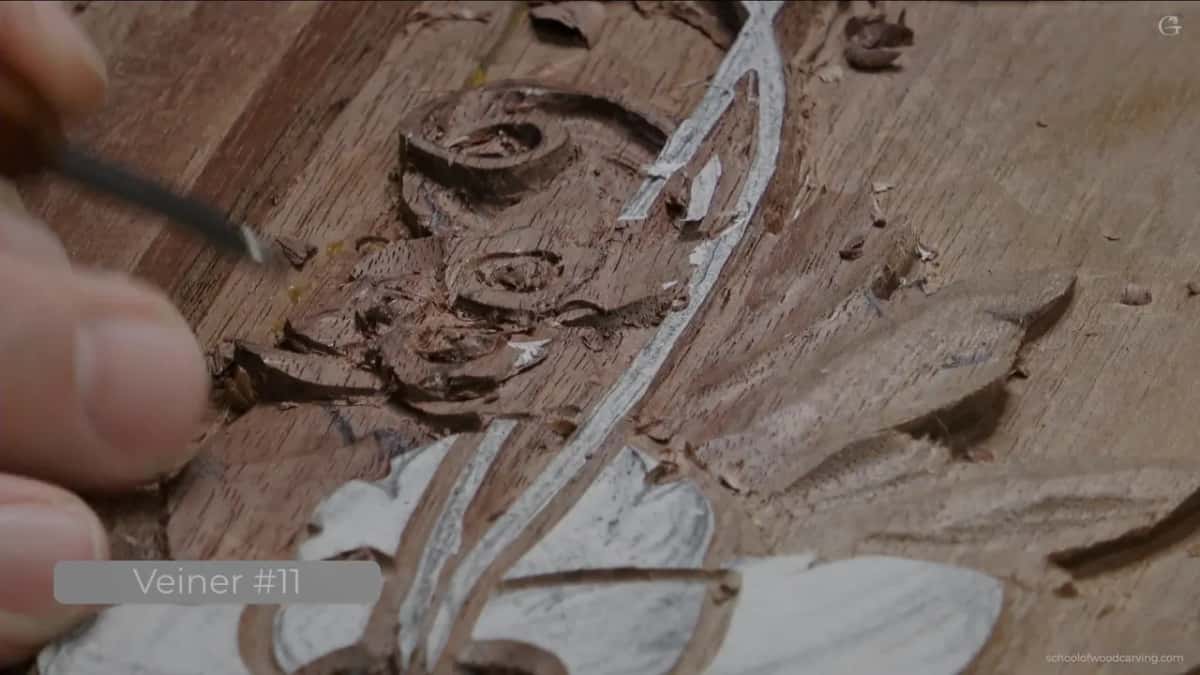
Now the part that separates a flat flower from one with real shade in it. Most people take a cut toward the centre where two petals meet, and they stop there. That gives a line. It does not give depth.
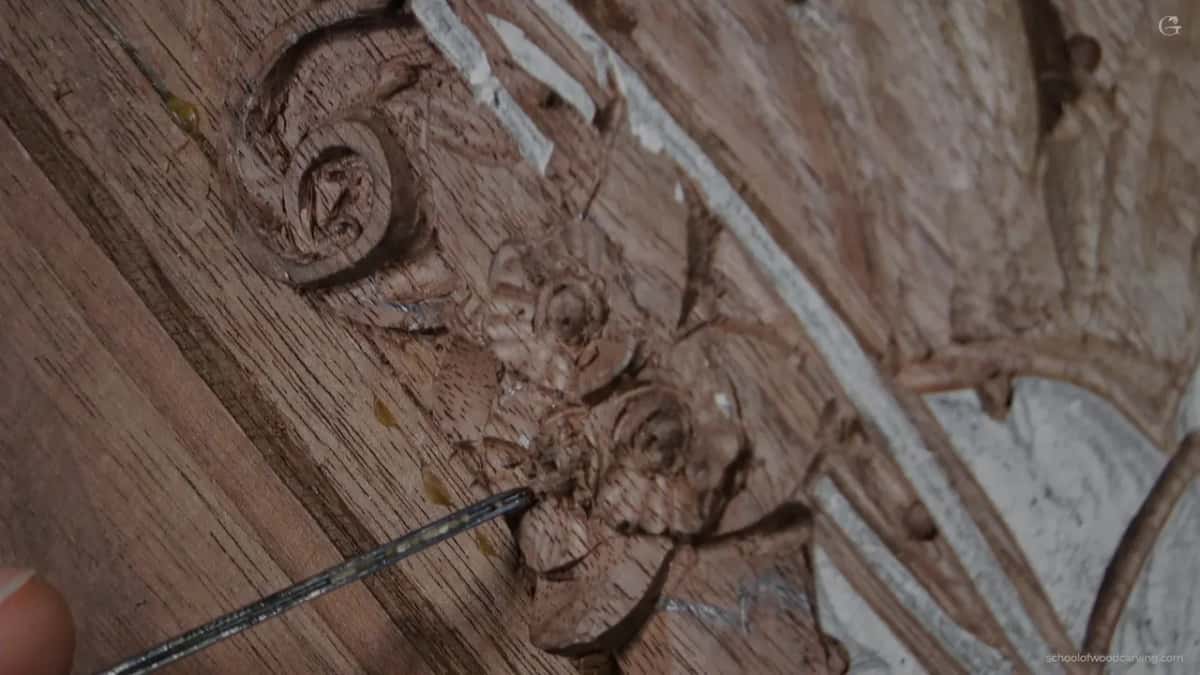
What I do instead is excavate a small deep pocket at each of those joins, close in. Flute up for the first pass, then flip the tool over, work back underneath and pop the chip free. Careful here. This is a small undercut and it will take the petal with it if you get enthusiastic about it.
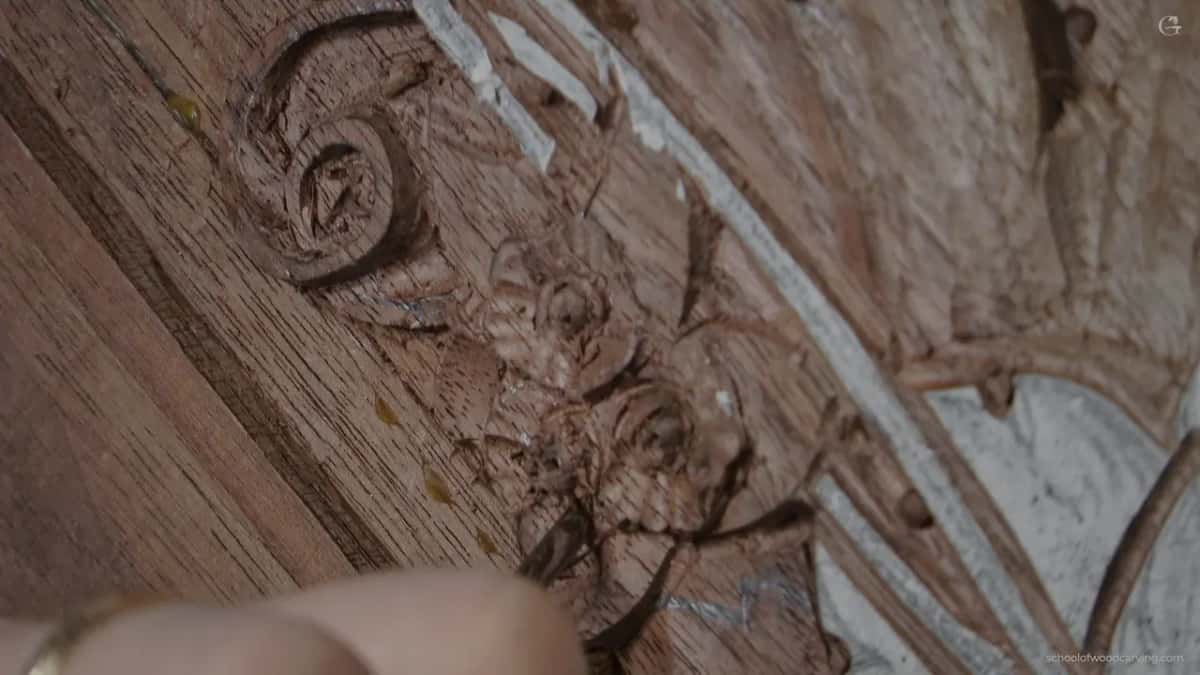
The result is a genuine black spot at each junction rather than a scratched line. From two metres away you are looking at the entire difference between a flower and a daisy stamped into the wood. The rosette course uses the same pocket at a size you can actually see while learning it.
Petals have no gaps between them
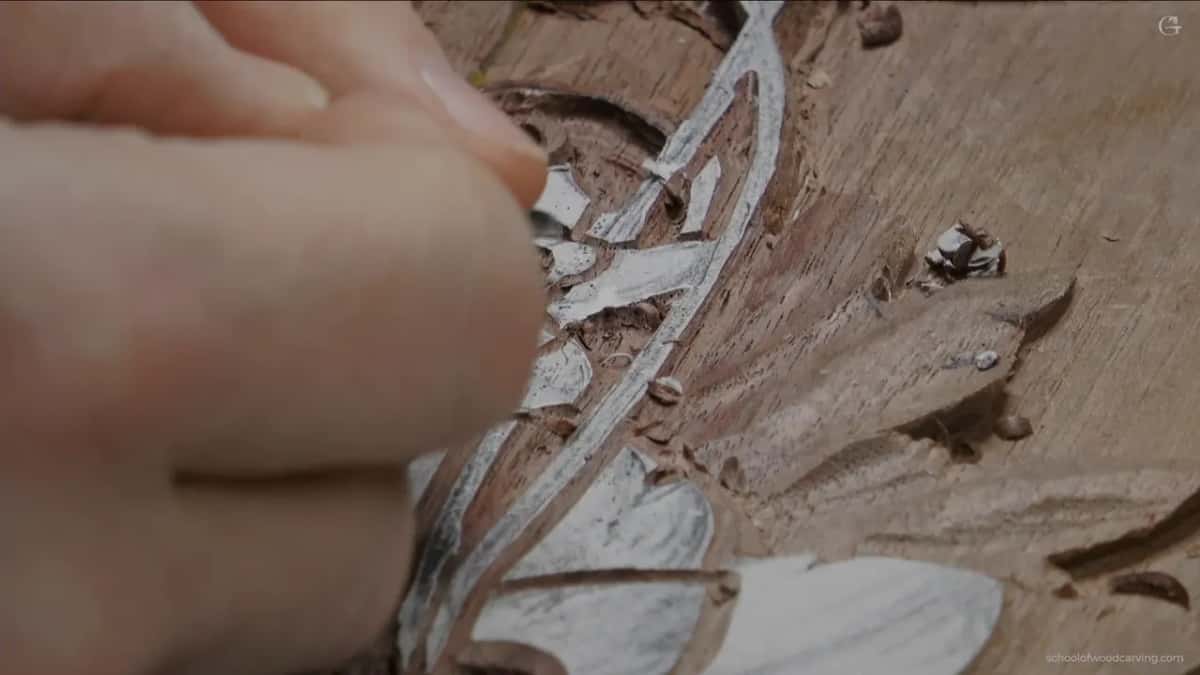
This catches people. There is no space between one petal and the next on a real flower and there should be none on a carved one, which means every pair has to be resolved as an overlap. One goes over. One goes under. You decide, and you decide before you carve, not while you are carving.

I sent the left under the right the whole way round this flower and kept it consistent. Consistency matters more than which direction you choose, because an eye reading the panel from across a room picks up a rhythm and a broken rhythm looks like damage.

The leaf beside them goes under everything. Secondary detail, not meant to shout, so I dropped it hard and left it plain, and the same thinking runs through the tendril lesson before this one.
The drawing is never quite right
Something happens between paper and wood that no amount of drawing skill prevents. You lay out a panel, you are happy with it, you carve the first area, and the shape in front of you is not the shape you thought you had designed. It reads differently once it has real surfaces catching real light.
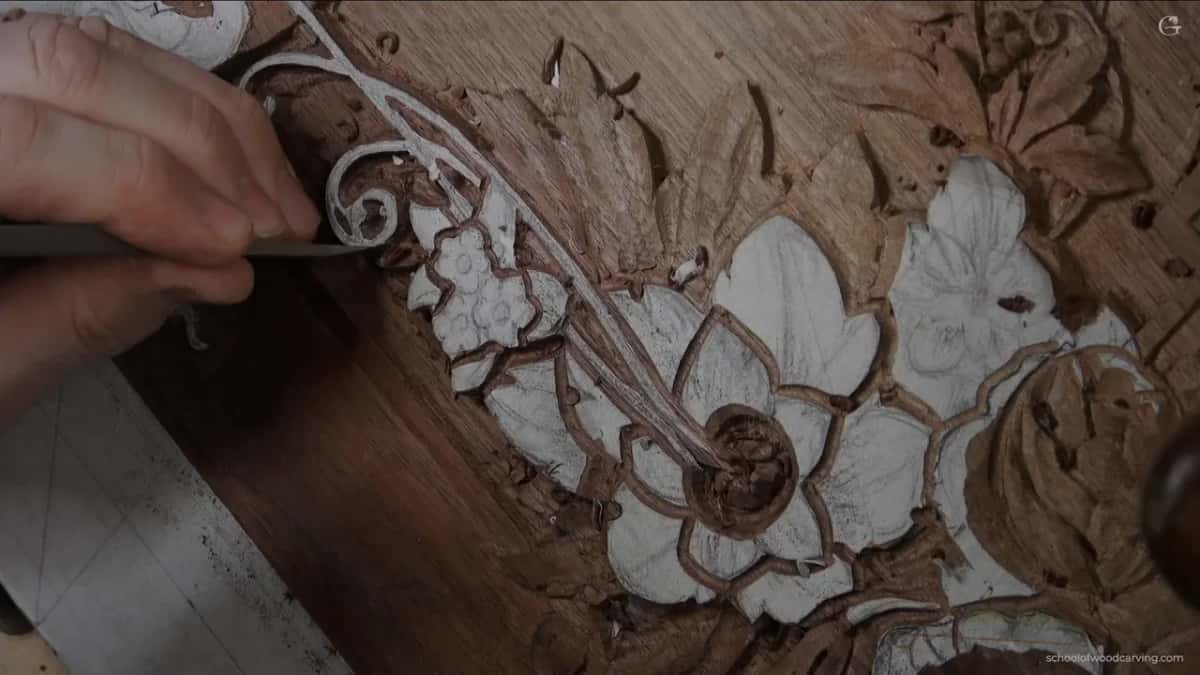
So you change it. That is fine here, because the panel is mine and I answer to nobody about it. Working for a client it gets awkward, since they approved a drawing and the drawing is what they are picturing, and telling somebody their approved design will look better altered is a conversation nobody enjoys having.

My habit is to fix the high spot early and pull everything else down to it. One point on this group stands proudest, the ground beside it falls away gradually, and once that relationship is set the rest of the decisions get easier. The design principles course is where this belongs properly.

A wide flat gouge, three quarters of an inch, takes a whole area down at once when you have decided it needs to go. Small tools for small decisions, wide tools for the ones you are sure of.
The petal I broke on camera
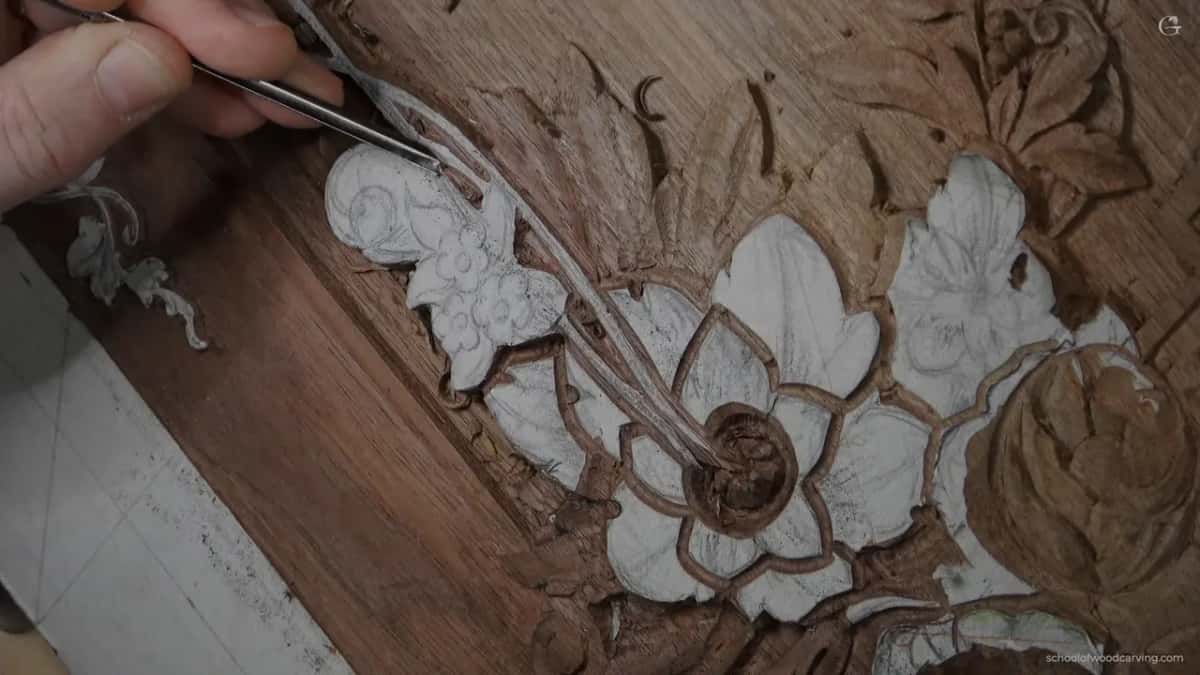
At the end of this session I started undercutting beneath the petals, which is always the last operation and always the dangerous one. An eleven laid on its side with the flute round to nine o'clock travels under an edge and lifts the shape off its background visually without removing much wood.
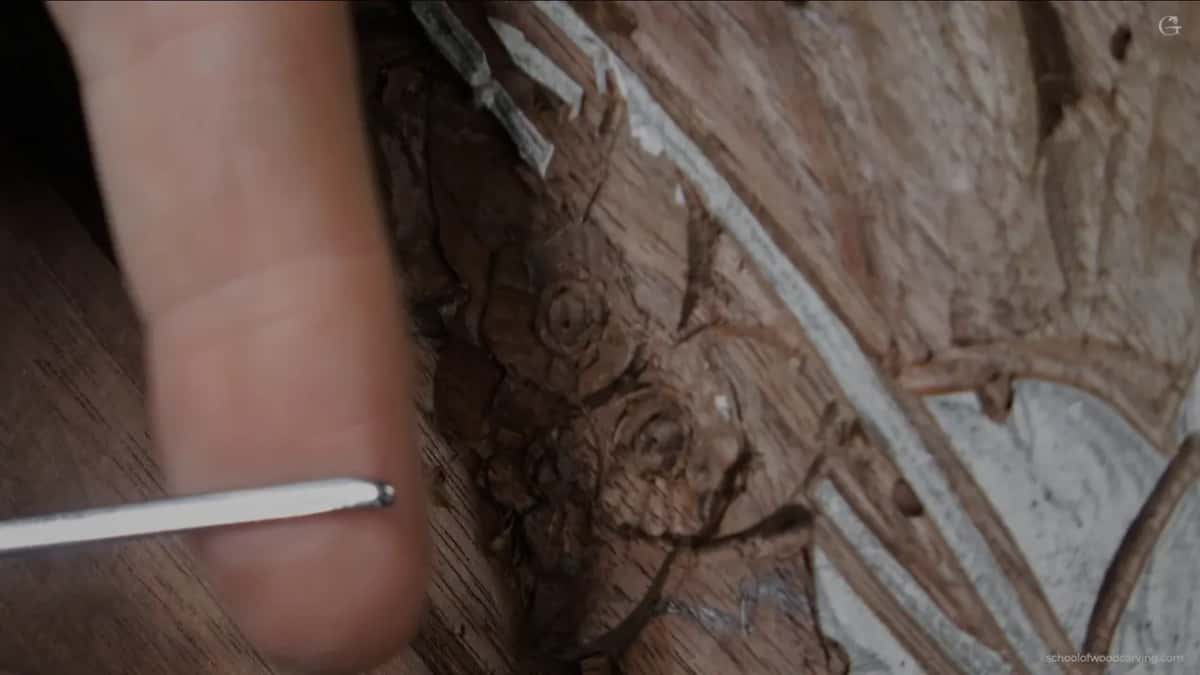
I went too deep. One petal came loose under the tool, and you can watch it happen.

My first thought was glue, and I said so. Then it blew out entirely and I stopped trying, dropped the leaf below it instead, and rebuilt the shape from what was left. Which is the honest answer to how this gets repaired most of the time. Do not do what I just did, and the only person who is ever going to know about it is you.

There is old glue sitting in the cracks of this panel anyway. The board came to me split and I glued it back together before any of this started, so there are already grey lines in the walnut that I clean up as I reach them.
A router plane belongs in a carver's kit
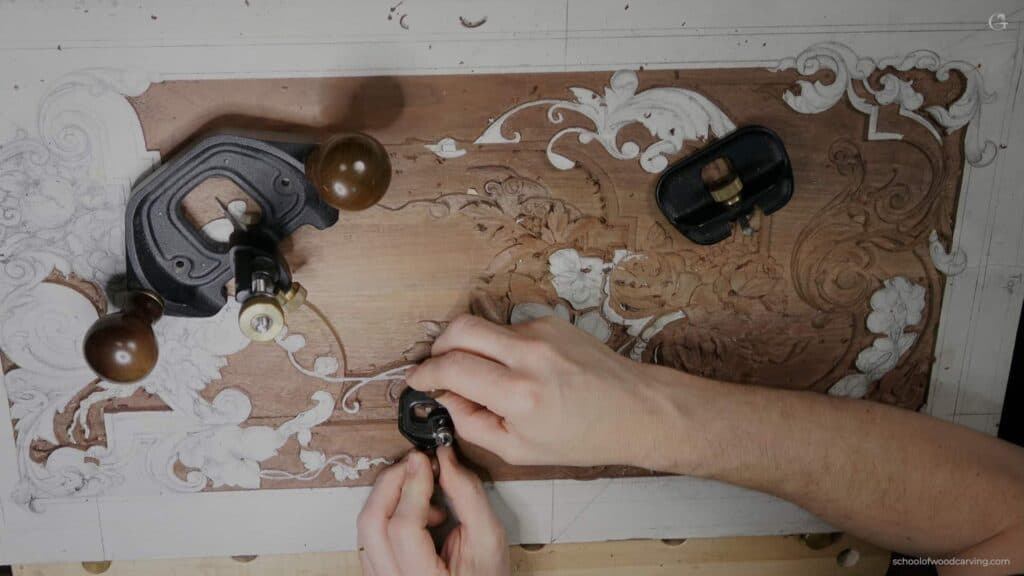
Different subject entirely, and worth the detour. Cleaning a background flat is miserable with a gouge and easy with a router plane, and I keep three of them within reach of this bench.
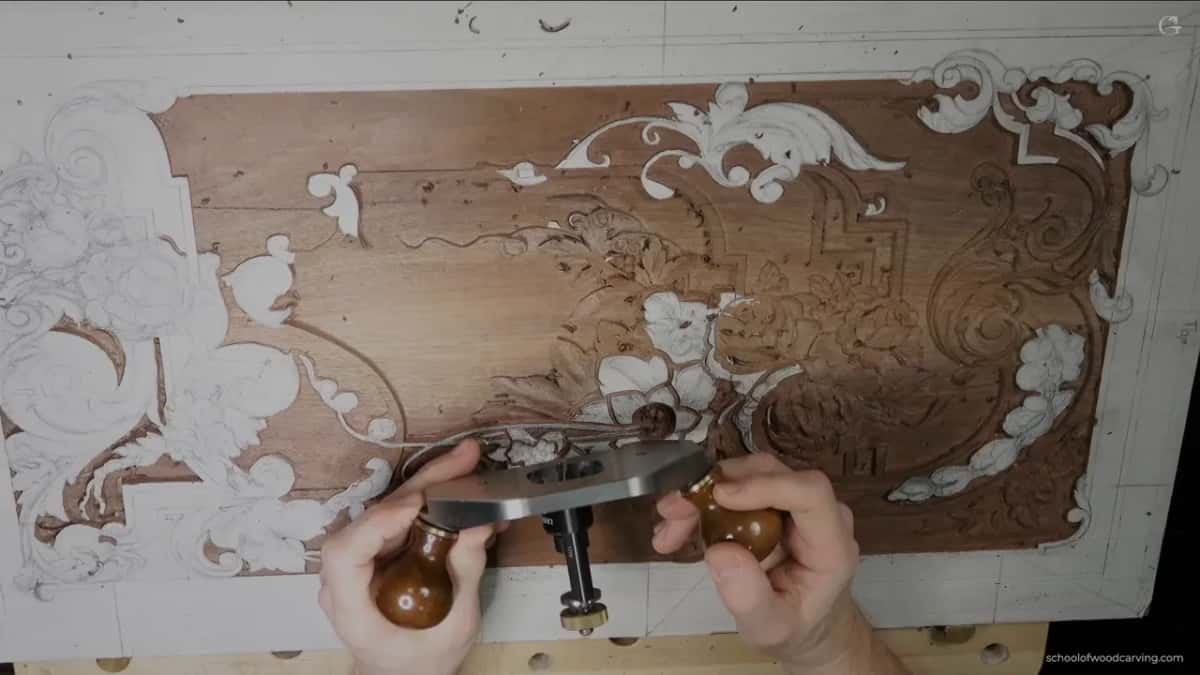
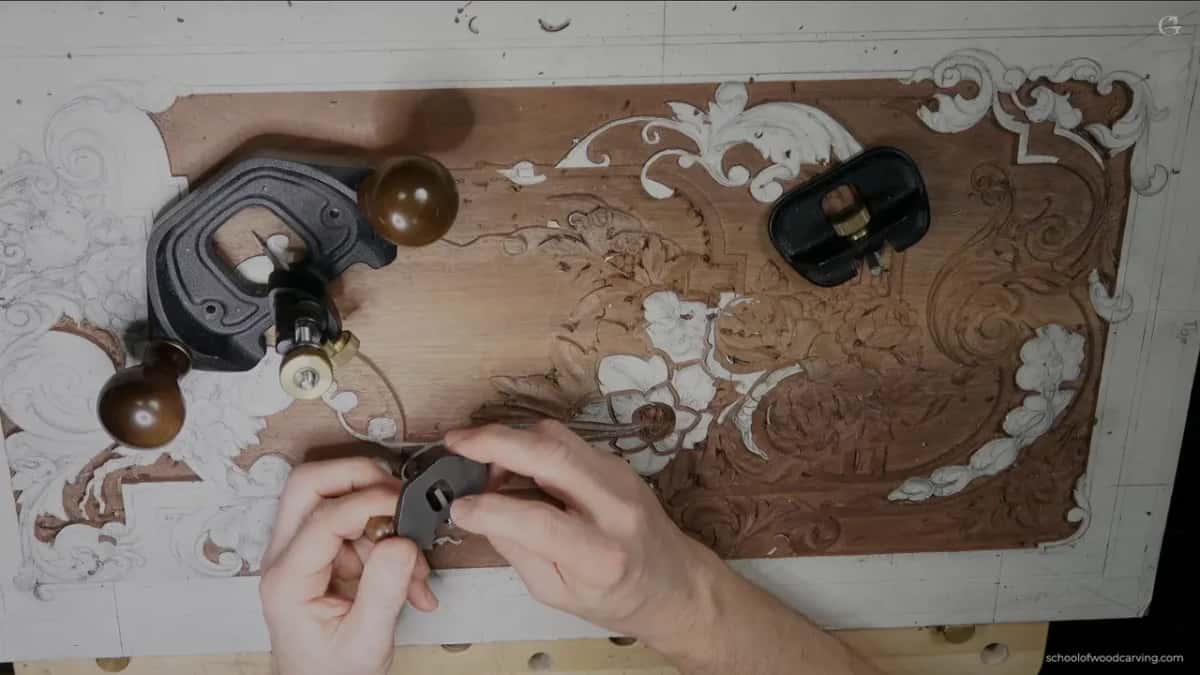
Largest of them is a Veritas from Lee Valley in Canada and it takes a blade a sixteenth of an inch wide, or one millimetre if you want. Below that sits a mini, and below that a micro whose blade is tiny and whose body still gives proper support. I make no money telling you this. They are simply good.
The micro is the one that earns its keep here, because it rides on the molding itself where nothing bigger will sit.

Cabinetmakers use these for a tenon cheek or a rabbet and then put them away. In the eighteenth century the router plane was one of the most valuable tools a furniture maker owned, and nearly every furniture maker of that period knew how to carve as well. The two trades were one trade. All About Tools covers the rest of the bench.
What the paper on the surface is for
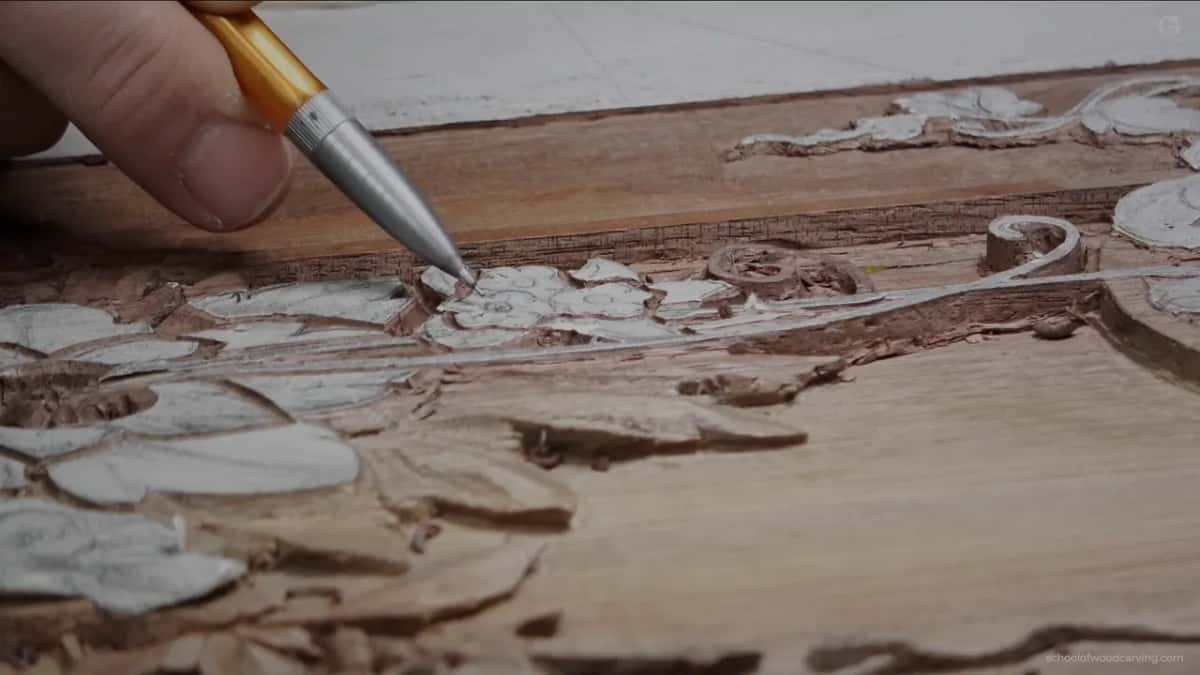
You will see white paper still stuck to parts of this panel. Pattern, that is, and where it survives it marks a high spot I have not reached. A pencil line on dark walnut vanishes under the first shaving, whereas paper stays obvious until somebody scrapes it off on purpose.
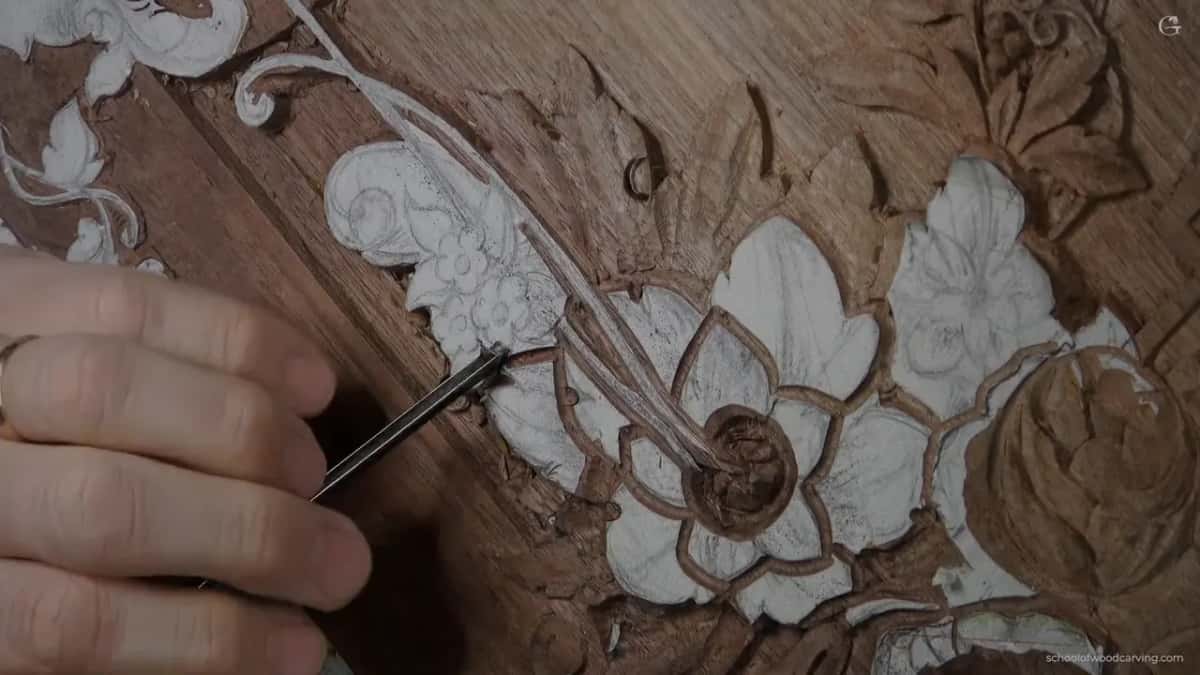
An antique Hugo Pfeil does most of this outlining, German made, and a very good brand. Mine has no marking left on the shank.
Alexander Grabovetskiy has been carving relief panels for over forty years and was named International Woodcarver of the Year in 2011. He still breaks a petal now and then, and he leaves it in the recording.
Would you rather carve a flower that survives the first time somebody dusts it, or find out the hard way which order the cuts go in? Shall we carve?
This lesson runs in three parts inside Carving Furniture Panel, Part 3. Earlier flower work sits in lesson 29 and in Chamomile and Bow Rosette, the panel's earlier stages are in Part 2, and there are more little blooms like them in Venetian Flowers Rosette. Carve beside him at an in person class, or find Access on the tuition page.
How it's done
- Outline the whole group first. Ring every shape with a fine veiner before removing any waste, and never take the outline below the level of the background. Losing the composition costs more than losing an hour.
- Sink the dark centre while the wood is solid. Something around a number 8 or 9, a sixteenth across, angled onto the slope the flower will have. One cut gives the shadow and there is no reason to go deeper.
- Ring the dome before you round it. Run a two millimetre veiner around it, a millimetre deep. That cut gives the fibres somewhere to break when the rounding pass pushes them inward.
- Round it with the gouge inverted. Turn the same small gouge flute down, zero in from one side and come back the other way. Two passes finish a dome the width of a pea.
- Groove around it and bring the petals down. The smallest veiner you own, roughly 1.5 mm out from the middle, taken barely half that deep. Every petal afterwards comes down until it touches the groove.
- Excavate a pocket where petals meet. Flute up for the first pass, then flip the tool over, work back underneath and pop the chip free. A scratched line gives no depth; a small pocket gives a black spot.
- Undercut last, and gently. Lay a veiner on its side with the flute round to nine o'clock and travel under the edge. Go too far and the petal comes off in your hand, as one did in this lesson.
Frequently asked questions
Why do tiny carved flowers break off
Order, mostly. Sink the middle while solid wood holds it, ring the shape before rounding, and take every cut vertically before tidying anything sideways.
Why cut the centre of a carved flower first
A flat patch of wood is fully supported by everything around it. Once it stands proud on its own it is joined only at the base, and a gouge driven into it will break it off.
What does an outline cut actually do
It gives the wood fibres a place to fail. Rounding a shape pushes fibres ahead of the edge, and with no cut standing in front of them they crush inward until the whole shape pops free.
What to carve next