
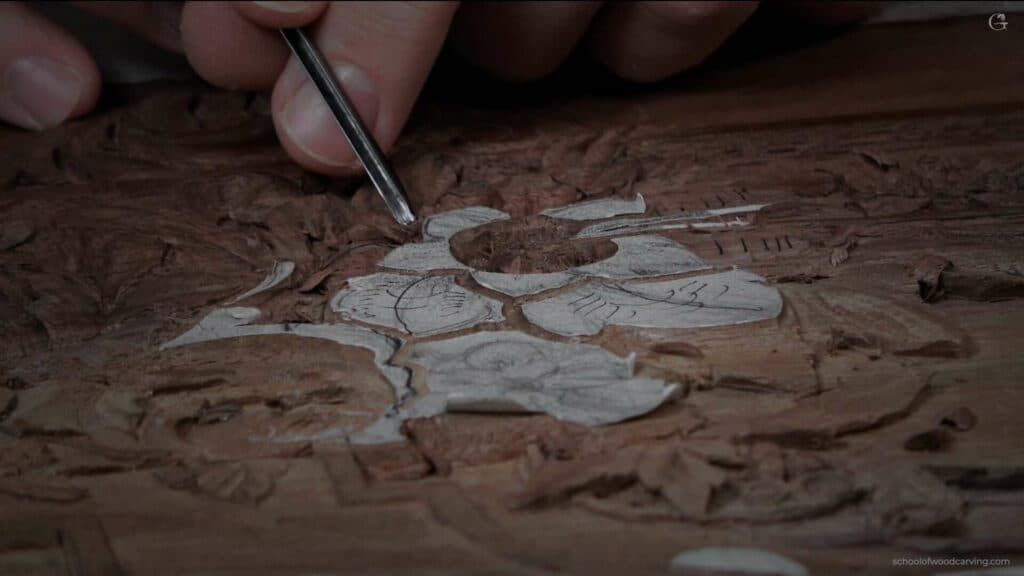
Alexander Grabovetskiy, woodcarver, School of Woodcarving · Published 2024
How do you work out which petal should lie on top?
Quick answer: Working out which petal lies above is a question about light rather than about drawing. A hung panel takes its light from overhead, that light runs down the face, and the shape placed higher has to be whichever throws its shadow where the two meet.
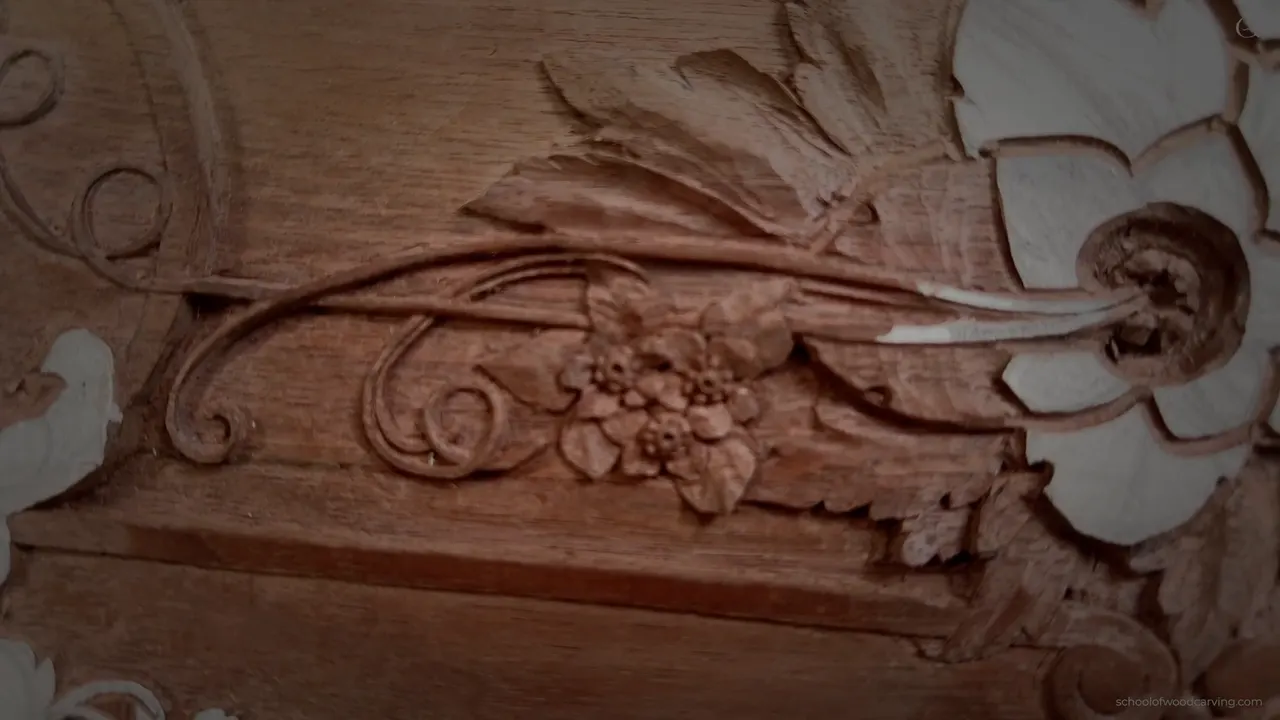
The light decides which petal goes above, not the drawing. This panel will hang vertically. Light pours down its face from overhead, so a joint between two petals only goes dark when the upper one stands proud. Overlap them the wrong way round and that joint washes out to nothing.
Same two shapes. Opposite result.
Today's flower is an acanthus flower and it has never grown anywhere on earth. No complaint in that. The whole of the eighteenth century worked this way, stylising everything it touched, and what you see on a good period panel is a botanical idea rather than a plant. I want this board to stay honest to that, so I carve what they carved.
Key takeaways
- Hang a panel and its light arrives from overhead, so the petal that belongs above is whichever one puts the joint into shade.
- The direction reverses on the other side of the same flower, and that is correct rather than inconsistent.
- Start the hollow below the ridge line, never at the ridge, or you end up carving a spoon.
- Four millimetres is the deepest this flower ever goes.
- Facets get cleaned by scraping and by burnishing, never by sanding, exactly the way a period workshop would have done it.
- Period foliage is stylised on purpose, and copying a real plant instead will make your panel look modern.
Where is the light coming from?
Answer that before you decide anything else at the bench. Mine hangs with its top edge up, so light pours down the face and every horizontal edge on the panel throws its shadow downward. Nothing about that is negotiable once the piece is installed.

Now take two petals that cross. Letting the lower shape lie over its neighbour leaves their meeting point in full light, where it simply disappears at any distance. The shapes merge into one blob.

Reverse it and the higher shape casts down where they meet, which reads as a black line from across the room. So I dropped the lower shape slightly and let its neighbour stand above it.

On the far side of the flower the geometry flips, because those petals point the opposite way, so I overlap them in reverse for the same reason. Somebody always asks whether that is inconsistent. It is the opposite of inconsistent. I am following one rule everywhere and the rule produces different answers at different places.
The spooning mistake
Here is the error I see more than any other, and it is worth naming carefully. A carver starts the hollow right at the ridge line, keeps that ridge high everywhere along the petal, scoops the middle out and then escapes upward at the far end. A spoon comes off the bench.
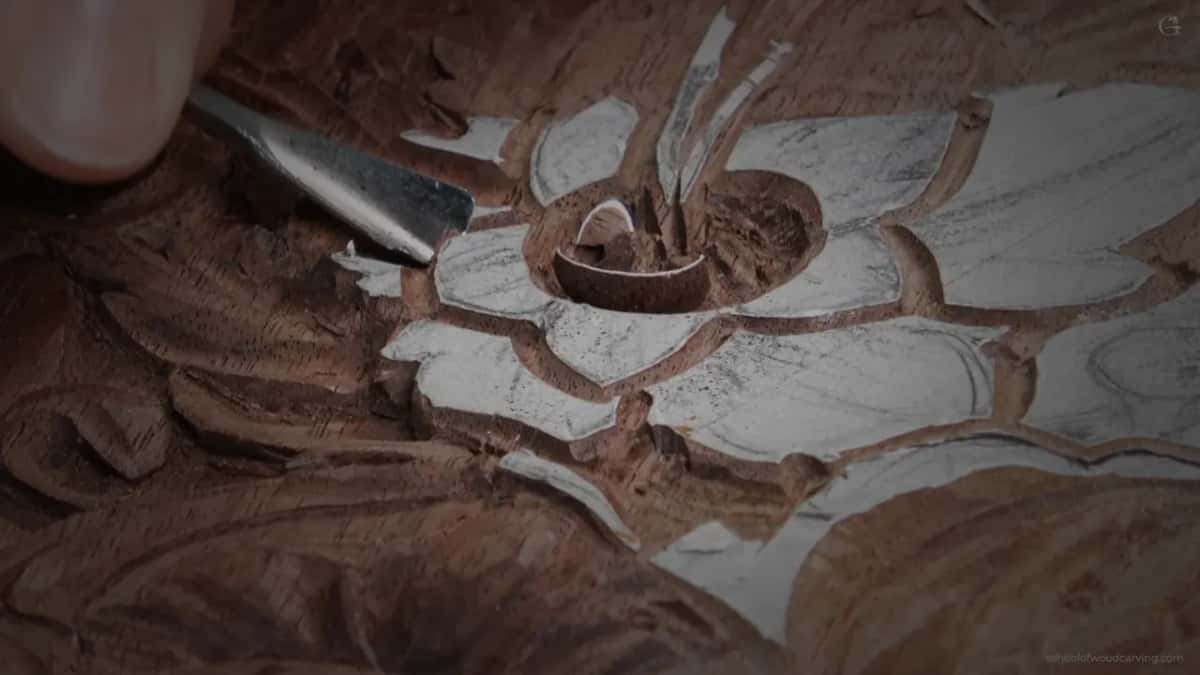
No bueno, as I say on the recording. What you want is a petal, and a petal has an edge that rises.
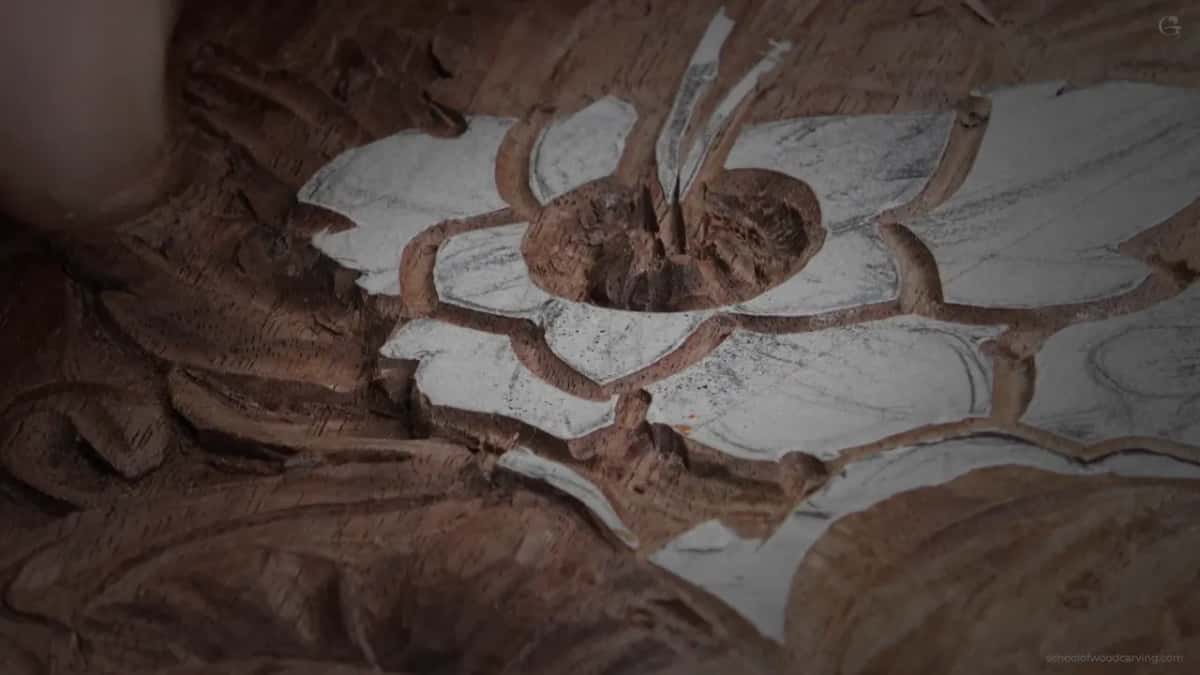
Begin under the ridge instead. Each edge then climbs away from the middle, with the hollow sitting beneath rather than between two walls, and the shape reads as something that curled rather than something that was excavated. The section lesson earlier in this course draws the difference properly.

Why eighteenth century flowers do not look like flowers
This one has long thin details coming off it that I have never seen on any living plant, and a student asked me once what it was meant to be. The honest answer is that it is not meant to be anything. Everything in this period was stylised, the architecture and the furniture together, and a carver who copies a photograph of a real bloom will produce something that looks modern sitting on an antique.
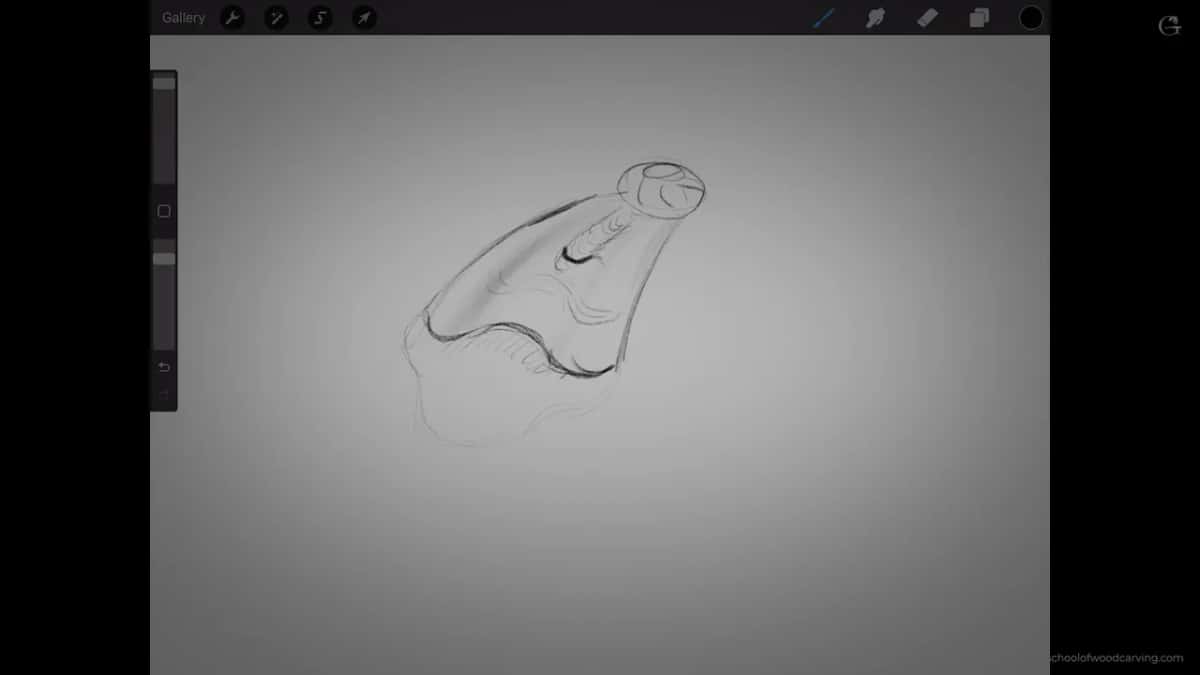
The panel itself is heavily decorated, more so than most English work of the period, and several of the movements in it lean French to my eye. Late in the century, and I would guess close to Louis XVI in feeling. Toward that tradition is where I am carving, so the flower gets the shapes it used.
You do not have to follow that. Carve it however you like. But you asked how the old carvers did it, and this is their answer, which is also why a modern acanthus looks so different despite being the same leaf.
Three curves across every petal
Take a section through one of these petals and look at it from the side. You get a hollow, then a raised middle, then a second hollow, with a further soft hollow sitting inside the raised part nearer the middle of the bloom.
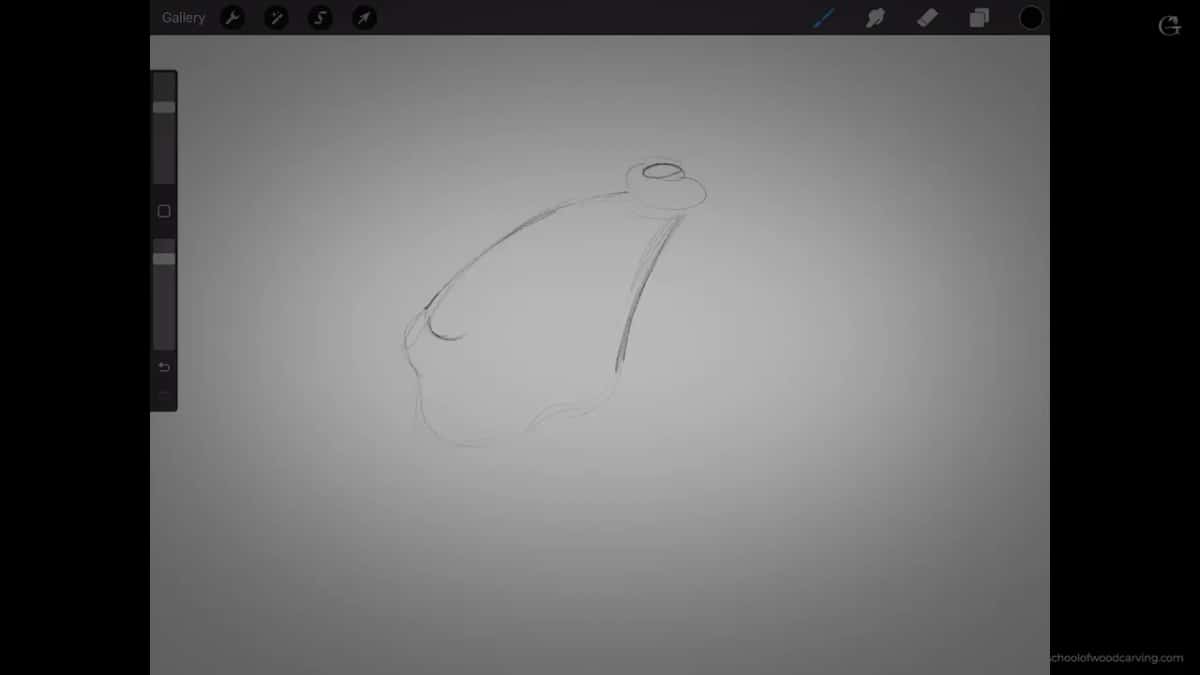
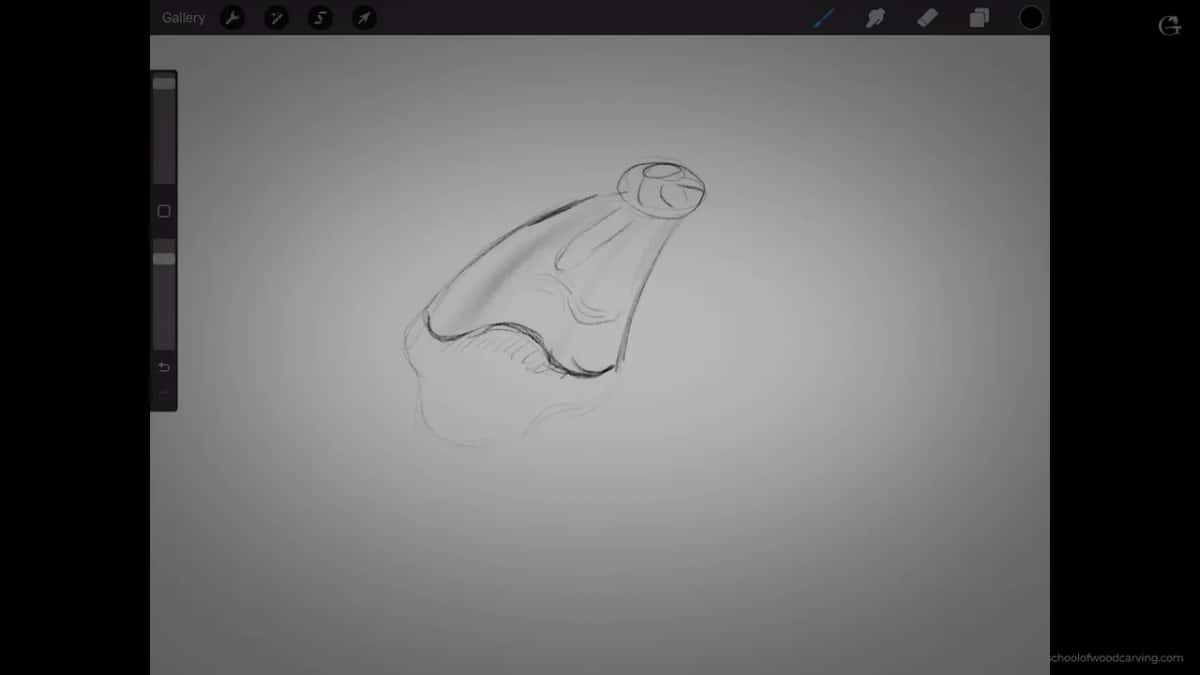
My first tool for it is an antique fishtail by Marples and Sons with no marking left on it, somewhere between a number 7 and a number 8. Any 7, 8 or 9 does this job. Do not overcomplicate the tool choice.
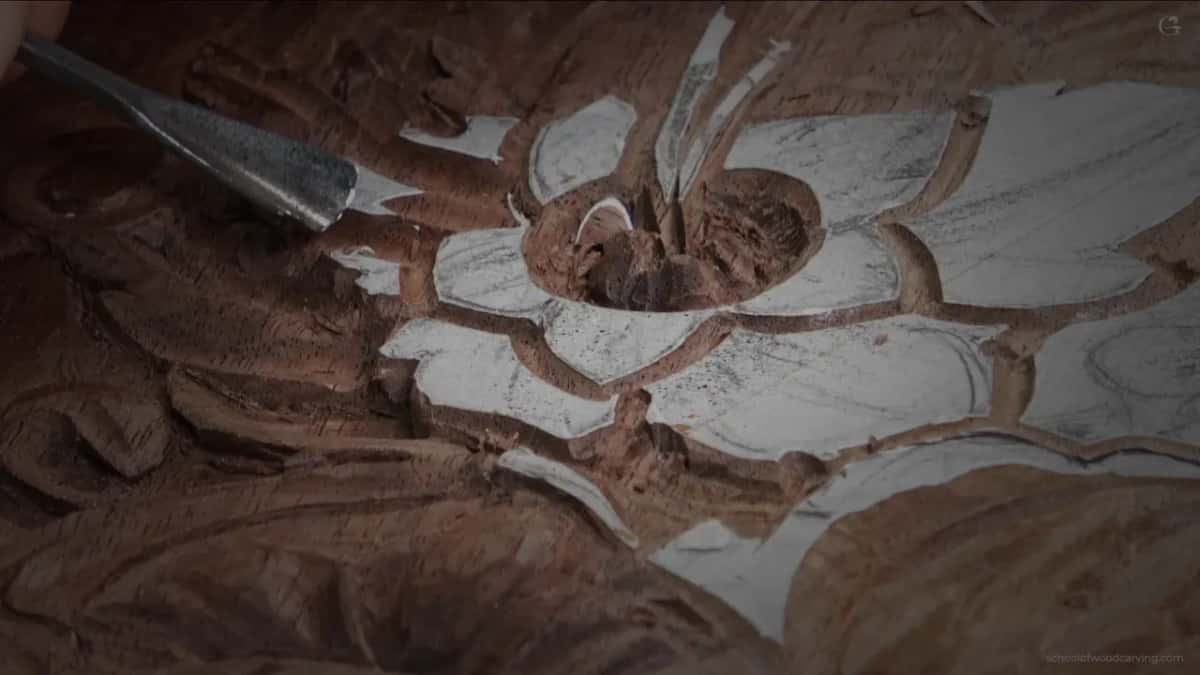

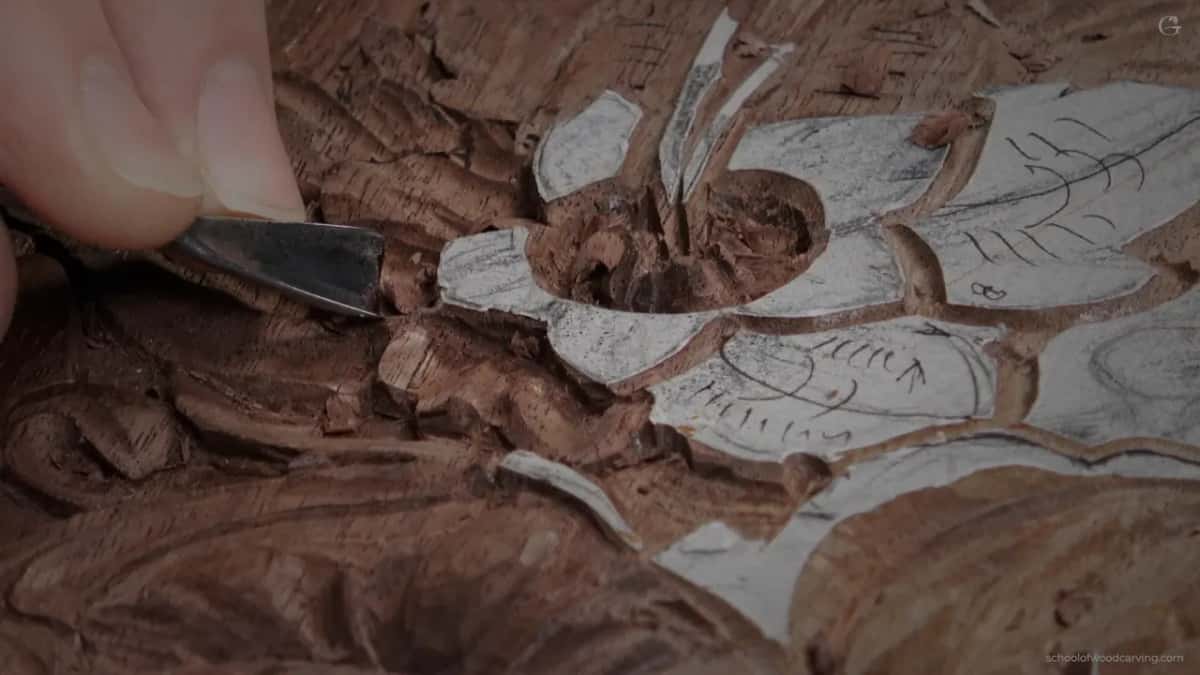
Depth runs to three millimetres by the time the petal reaches its centre, four at the outside. The shadow shows up immediately, before any refinement at all, and that tells you the section is right.
Depth and shape across the flower
| Area | Shape | Depth | Tool |
|---|---|---|---|
| Outer edge of a petal | Climbing away on either flank of the hollow that sits between them | Nothing removed | A number 7, three eighths of an inch |
| The middle | Raised along the whole length of it, and never sharp enough anywhere to catch a fingernail | Around two millimetres down | A flat number 3, and it wants a bevel on its back |
| The part of the petal nearest the centre | Hollowed right out | Three, possibly four millimetres down | Almost semicircular |
| The joint where one petal crosses over the petal lying next to it | As dark as you can | Whatever works | Either a veiner or a V |
| Divisions on it | Soft, rounded underneath rather than coming to a point | Shallow enough to be an indication | Nothing but a veiner, because a V ends in a point that reads badly on any carved flower |
| Every ridge the gouge leaves anywhere on the flower | Blended away | Taken back to nothing, so no hard line survives anywhere | A flat three |
Why a veiner beats a V tool here
Use a V for the divisions if you like. Mine is a number 16, ground at thirty five degrees, and a good tool. My hand goes to the veiner.

What a V leaves behind is a valley with a point at the bottom of it. Round that off and a veiner cut is what you are looking at. On foliage the rounded valley looks grown and the sharp one looks machined, and the history agrees, since the carvers who worked in this style owned none. They did it all with gouges.
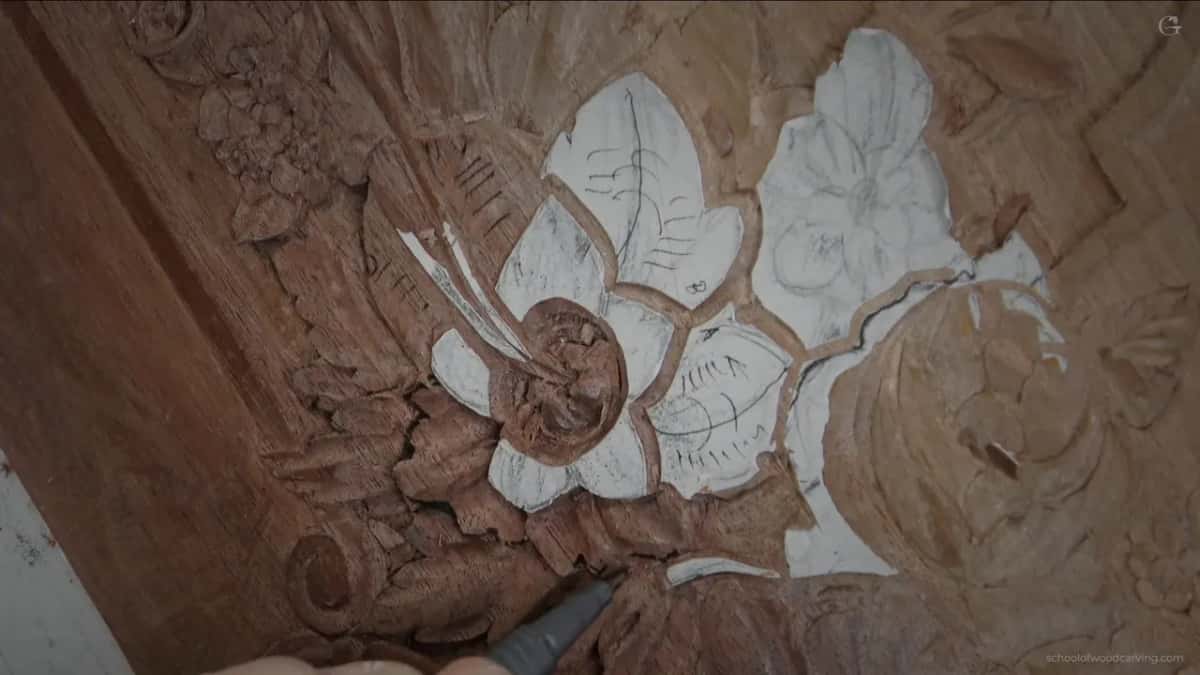
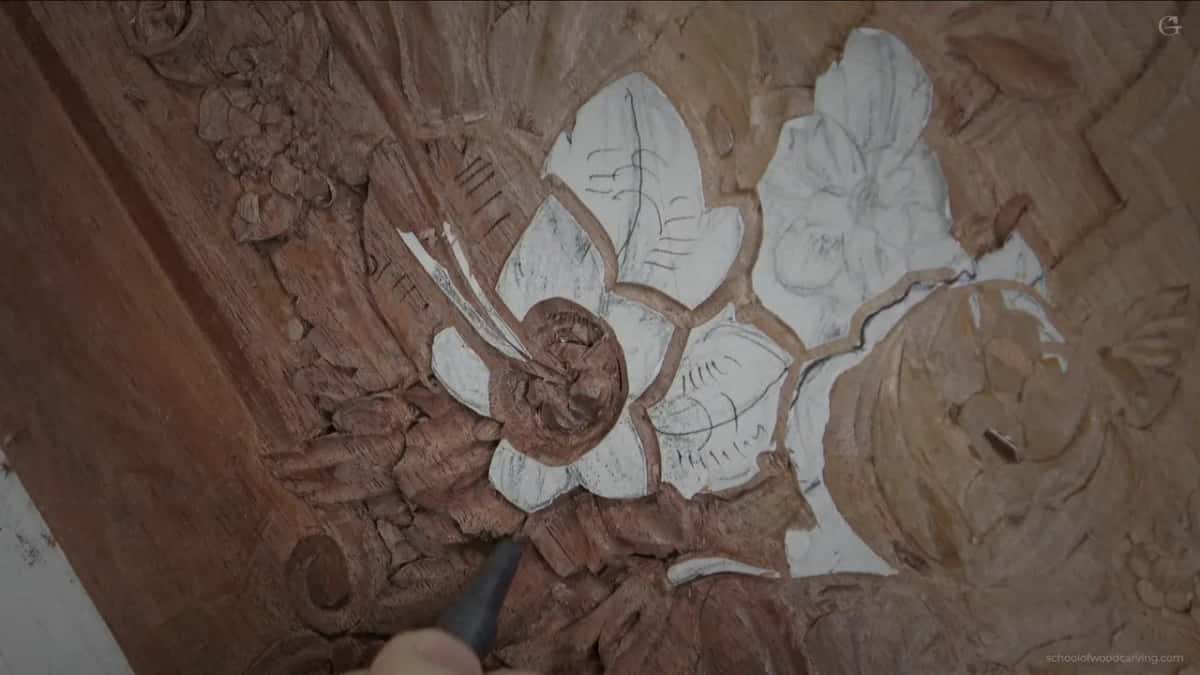
Undercutting under a petal will quietly steal your hollow, by the way. It happened here, the uphill edge went flat, and I had to rebuild the ridge afterwards. Check that edge every time you undercut anything nearby.
The back bevel that lets a gouge work backwards
Half the passes in this lesson are made with the tool upside down, flute toward the board, and that only works comfortably if the gouge has a second bevel ground on its back.
Lacking one, the heel digs and the tool skips. With one the blade rides on that small flat and glides over a raised surface, which is exactly what you need for smoothing a raised middle without ploughing a trench through it. My long flat has a good one and you can catch the reflection off it on the recording.

Straight tools bottom out in a hollow and leave facets you then have to chase, which is the whole reason a carver ends up owning back bents and spoons. Sharpening is where a back bevel gets made, and the grind is an easy one.
Cleaning facets without touching sandpaper
People ask what I do about the small flats a gouge leaves. Mostly nothing. A finish softens them and I think of them the way I think of brush marks in a painting, which is to say as evidence that a hand was here.
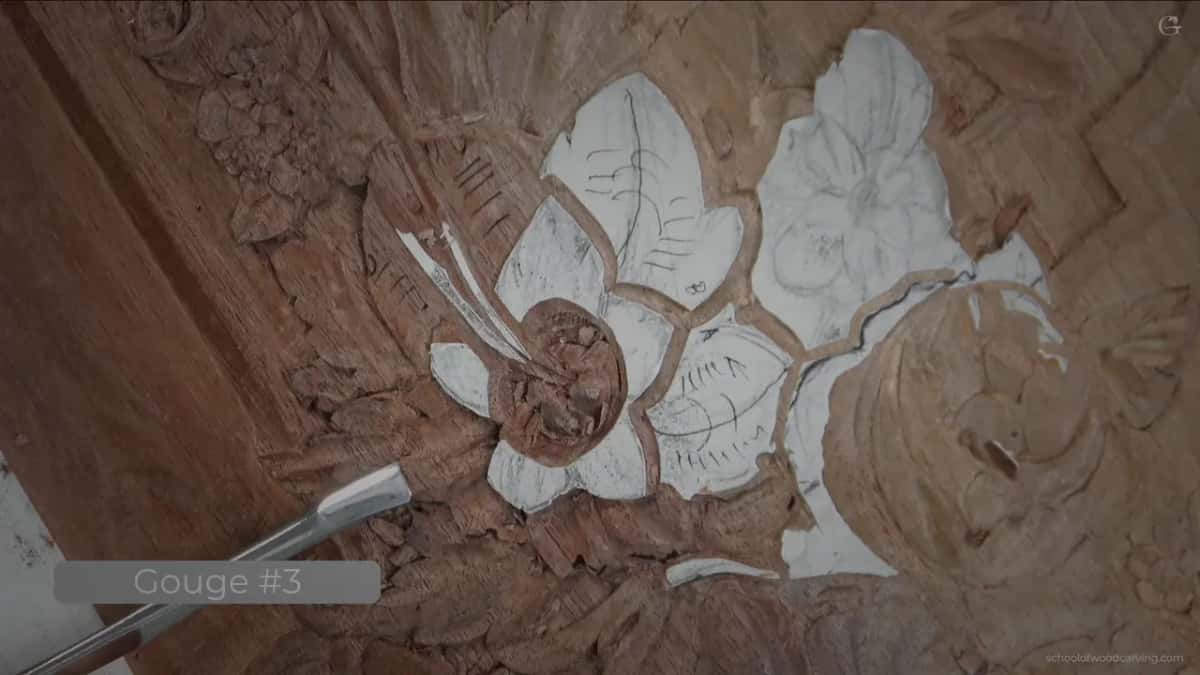
If they bother you there are three ways out, and none of them involves abrasive paper. Turn a flat number 3 upside down and ride it over the tops in a small circular motion, which knocks the high points off and leaves the surface bright.

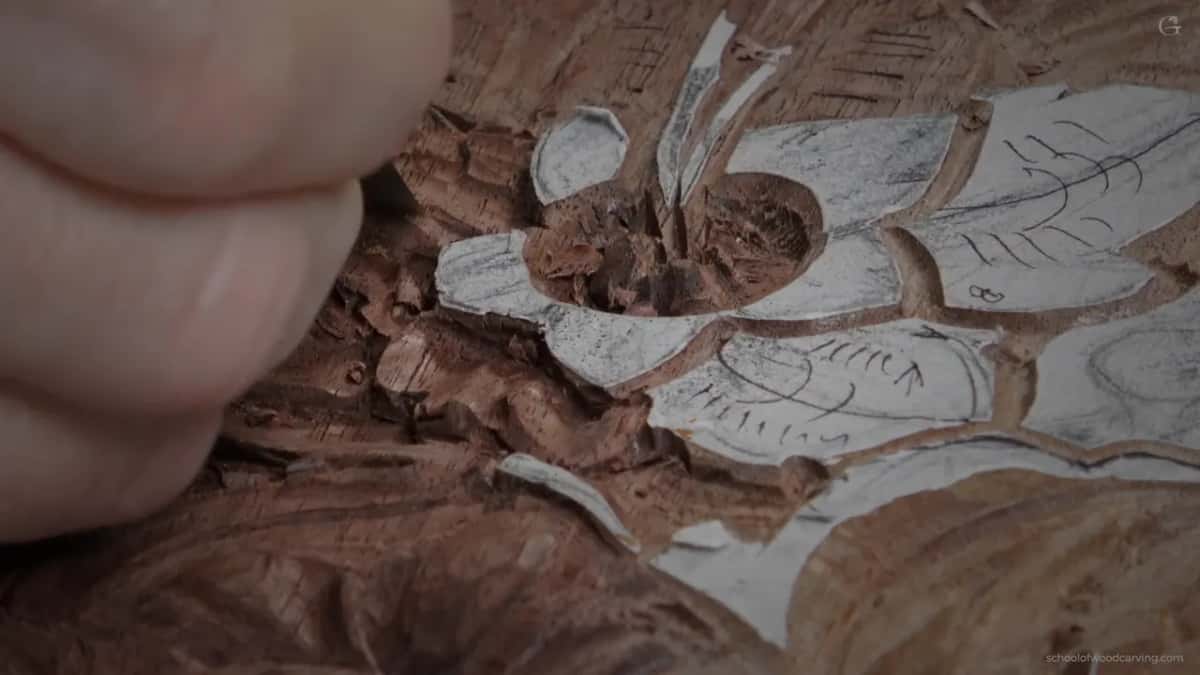
Second, use that same gouge as a scraper, dragging rather than pushing. The result is genuinely beautiful and a great deal of scraping was done in period workshops for exactly this purpose. On walnut it leaves a surface that catches light like polished stone.
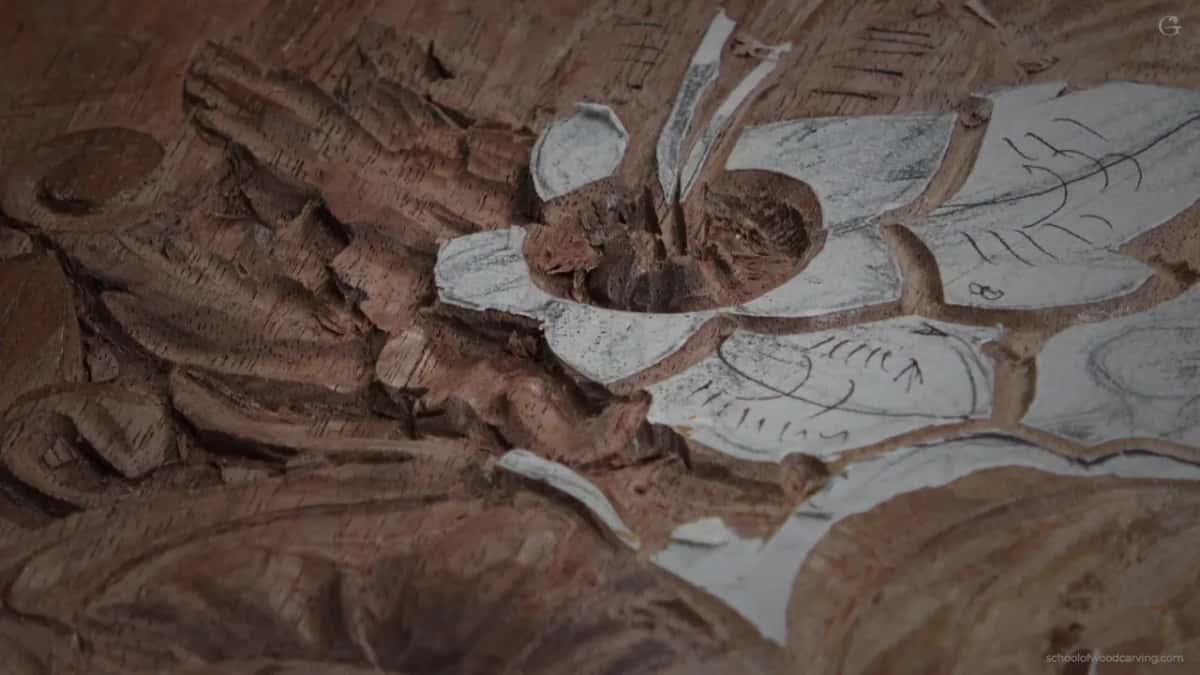
Third, burnish it. A small block of scrap rubbed hard over the surface compresses the fibres and polishes them, leaving a finish in itself. Earlier in this panel I used Dutch rush, the reed that period workshops used the way we use paper.
Slicing, and the slip I left in
Parts of this flower run along the grain and those parts will catch a tool and tear if you push straight through them. So I slice. Sideways travel as the blade advances shears the fibres rather than splitting them.

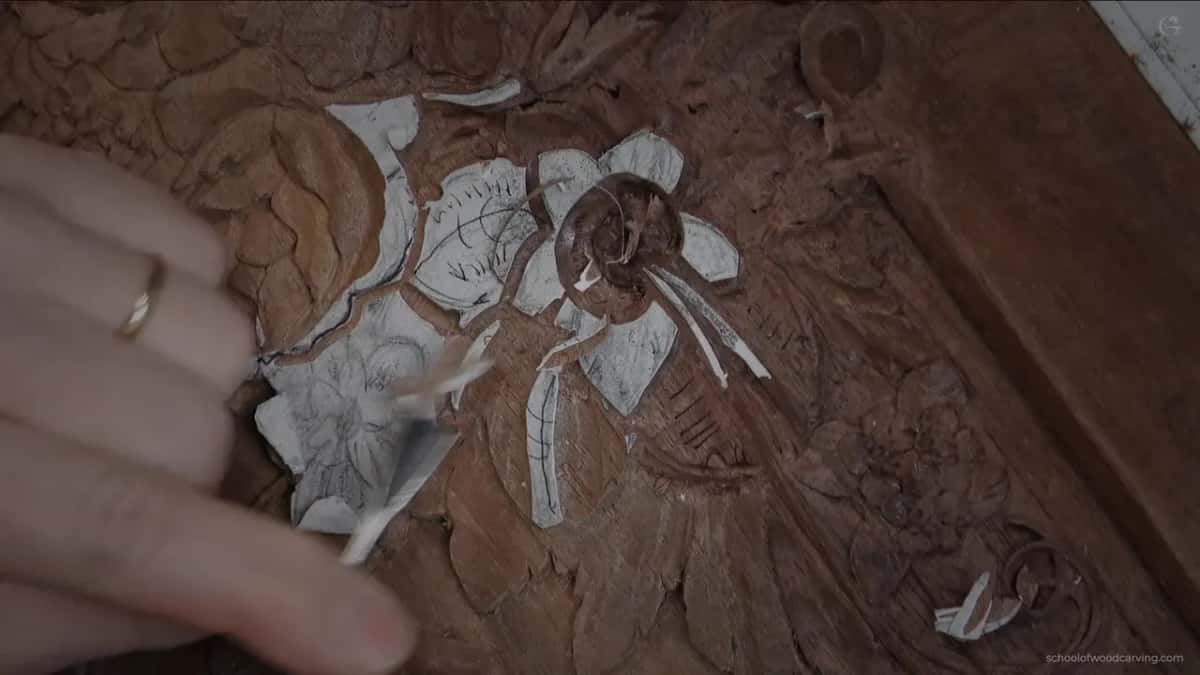
I slipped anyway, once, and said so on camera rather than editing it out. Try not to do what I did there. Everybody who carves for a living has a hundred of those and the ones who pretend otherwise are selling something.
This bench rotates in every direction, which helps enormously with grain. I mostly leave it still for the cameras and take the tearing risk instead, which is a compromise for filming rather than advice. Turn your work.
When a shape is screaming
There is a moment in this lesson where I look at a section I have just carved and say it is screaming. Not wrong, not badly cut. Just louder than it deserves to be, pulling attention away from whichever part is supposed to hold it.
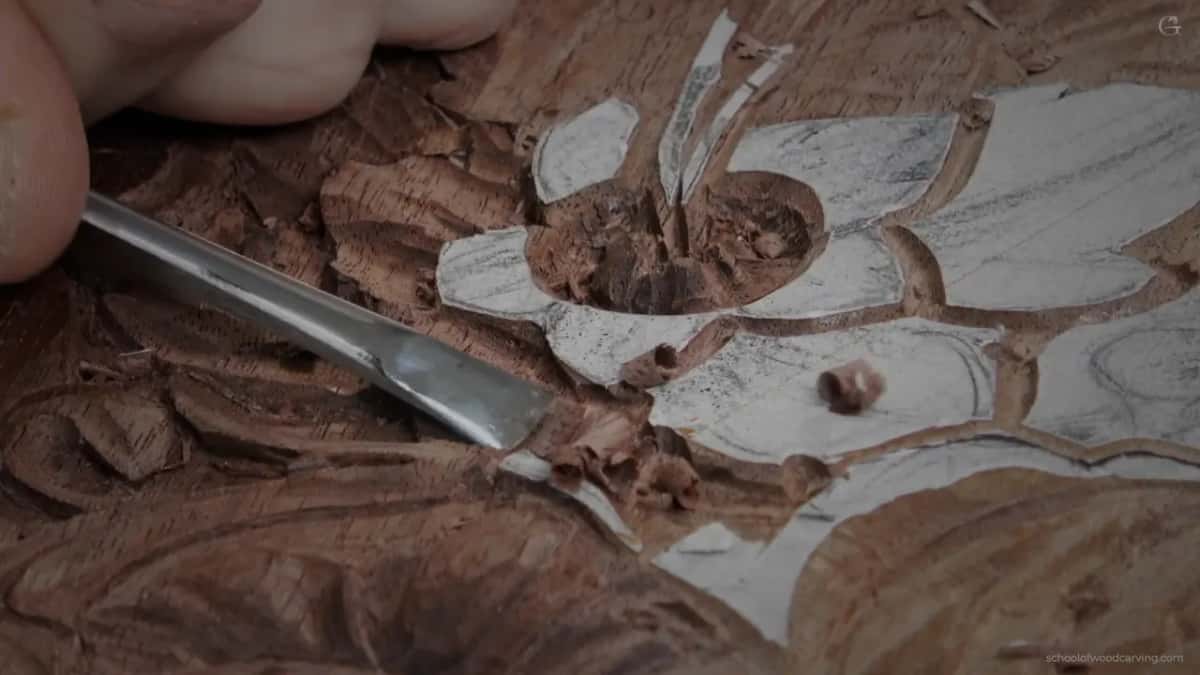
The fix is a flat gouge held upside down and a lot of patience. Blend the loud shape down until it takes its proper place in the order of things, then check it again from a standing position rather than from six inches away.
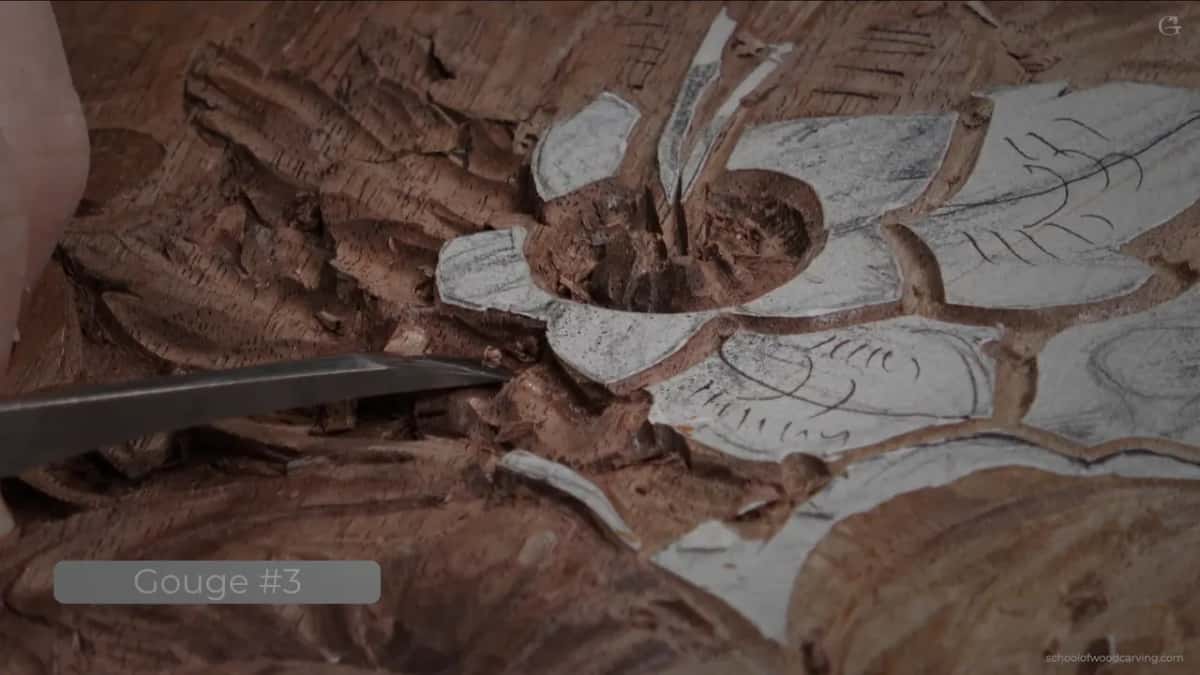
Every hollow I add here starts from nothing and deepens gradually. Land a tool at full depth and the cut announces itself; enter at zero and walk the depth in, and the same hollow reads as part of the surface.
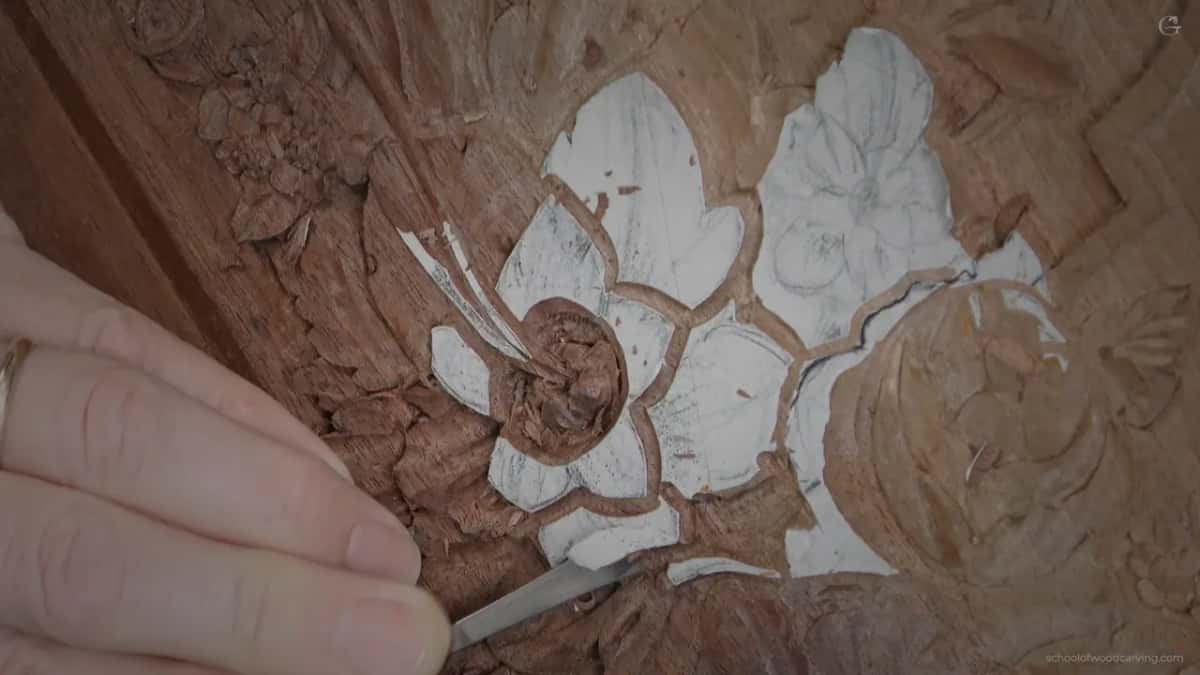
A small bead in this group had to disappear beneath a neighbouring detail, so it came down until a sixteenth of an inch was all that separated it from the background. Nothing in this area goes below that line, and the bead least of all.
Divisions on this flower stay as indications rather than the deep splits you would carve into a real acanthus leaf. One soft division, and nothing more. Overdo them and a flower turns into a leaf.
Sixty two against thirty eight
Look at how the petals divide the space on this flower and two of them take roughly sixty two percent of it while the rest take thirty eight. Call it the golden ratio doing ordinary bench work, and at the bench I round it to sixty forty because nobody is measuring anything.

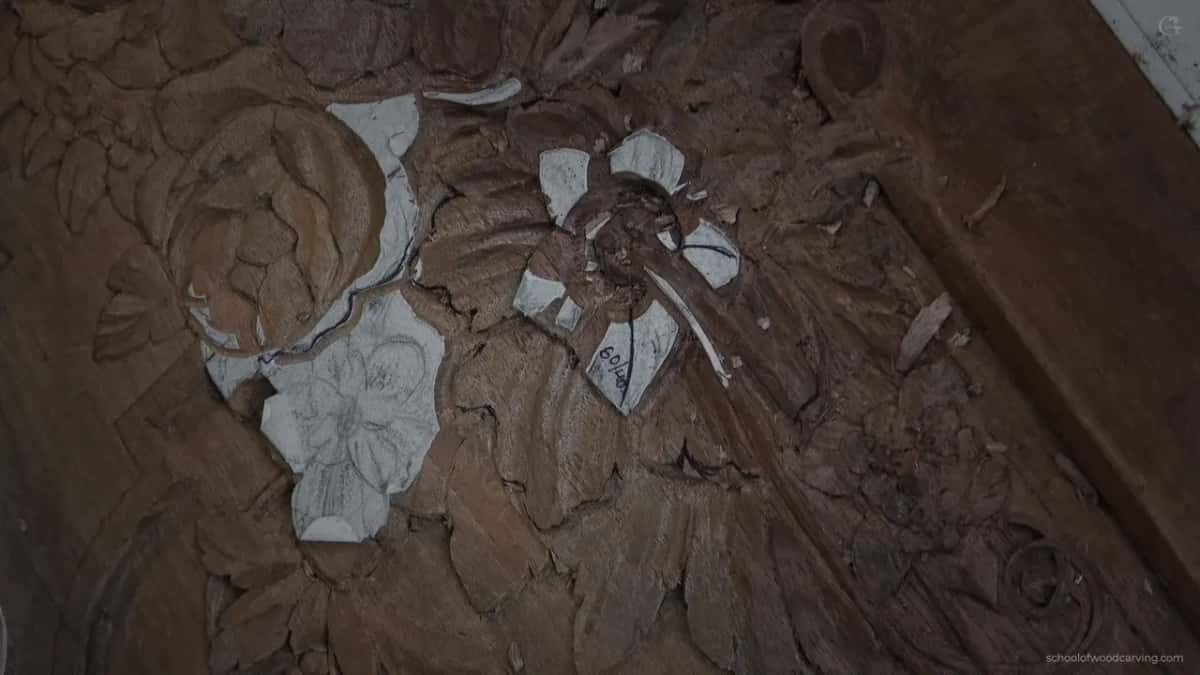
They also oppose each other, pulling in contrary directions like two arguments. Must you be that deliberate about it? No. The flower still works without it, and it works better with it, which is roughly what proportion does for any piece of relief.
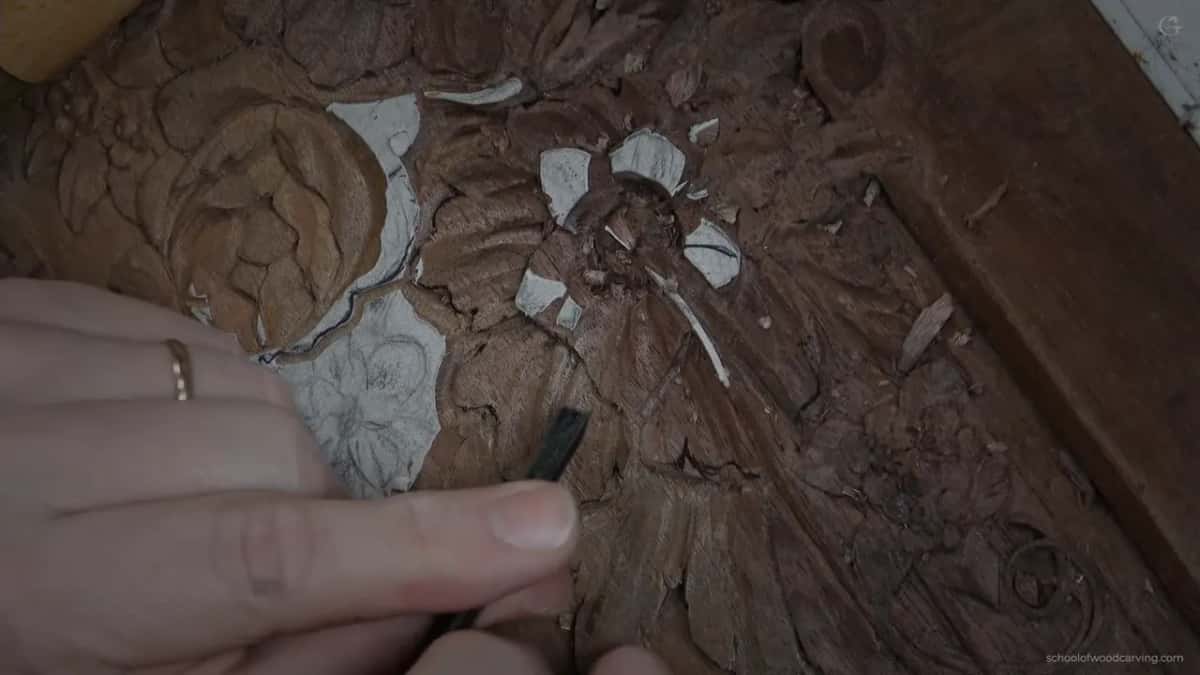
What I am after through all of this is one word. Readable. A panel that reads from three metres away has done its job, and everything above is in service of that single thing. Nobody walks up to a cabinet door holding a magnifier. Fine detail rescues nothing when the big shapes of a carving are muddled.

Alexander Grabovetskiy has carved period French and English ornament for over forty years, and he was named International Woodcarver of the Year in 2011. The best furniture ever made came out of the seventeen hundreds, he says on camera, and he does not hedge it.
Would you rather carve a flower that copies a photograph, or one that behaves the way the light in a real room behaves? Shall we carve?
The lesson runs in three parts inside Carving Furniture Panel, Part 3, straight after the filler flowers. Blending ridges is covered in lesson 28, the leaf itself has whole courses in Roman Acanthus and Byzantine Acanthus, and the same foliage runs over mouldings in Acanthus Over Moldings. Edges are in Carving Tool Sharpening. Carve beside him at an in person class, or find Access on the tuition page.
How it's done
- Stand the board up and find the light. Work out where light will arrive once the piece is installed. Hung on a wall it comes from overhead and every horizontal edge throws shade downward, which settles every overlap on the board.
- Put the shape that shades the joint on top. Let the lower petal lie over its neighbour and their meeting point sits in full light and disappears. Reverse it and a black line appears that reads from across a room.
- Reverse the direction on the far side. Where the petals point the opposite way, the overlap flips with them. One rule applied everywhere produces different answers in different places, which is correct rather than sloppy.
- Begin the hollow under the ridge. Start on the ridge and keep it high along the whole petal and you will carve a spoon. Begin underneath the edge instead, so each flank climbs away from the middle.
- Keep the hollow under four millimetres. Three is usually enough, and four is the ceiling. Shadow appears with the very first hollow, long before any refinement, which is how a carver knows the section is right.
- Cut the divisions with a veiner. A V ends in a point, which looks machined on foliage. Round that valley off and a veiner cut is what you have, and the carvers who worked in this style owned nothing else.
- Scrape and burnish instead of sanding. Ride an inverted flat gouge over the facets in small circles, drag the same gouge as a scraper, or polish the surface with a block of scrap wood.
Frequently asked questions
How is the overlap of two carved petals decided
Work out where the light comes from and put above whichever petal throws its shade where the two shapes meet. Hung on a wall, that means the higher one wins.
What is the spooning mistake in relief carving
Starting the hollow on the ridge, keeping that ridge high the whole length of the petal, then scooping the middle and escaping at the far end. A dish comes off the bench.
How deep should a carved acanthus flower be
About three millimetres, and four where the petal runs into the middle of the flower. Going past that stops adding shadow and starts costing you the relationship with everything around it.
What to carve next