
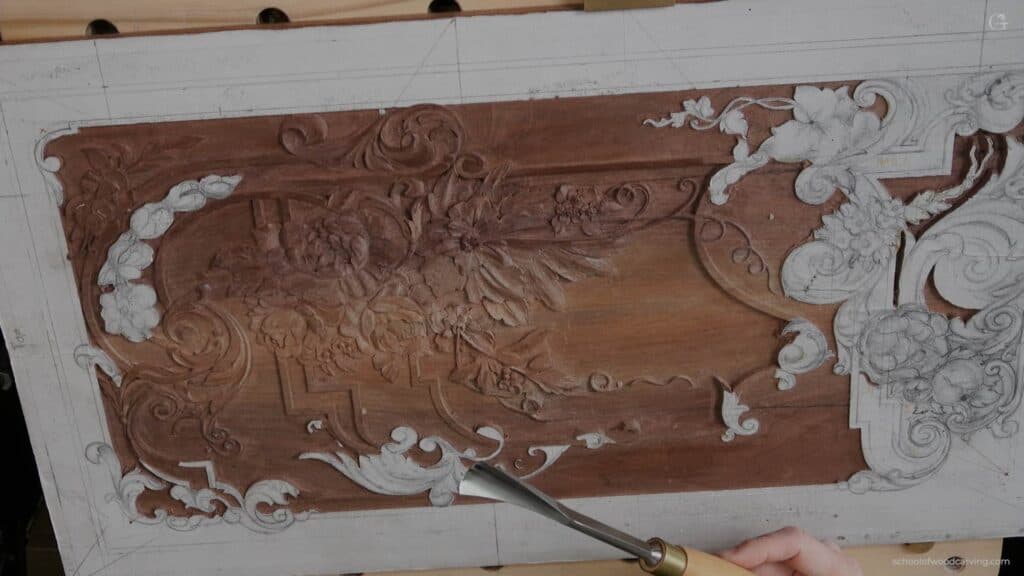
Alexander Grabovetskiy, woodcarver, School of Woodcarving · Published 2024
Does a bigger gouge do the same job faster?
Quick answer: Gouge size in relief work decides how many passes a shape needs rather than how much wood you can shift. A micro tool hollows one lobe in a dozen careful cuts. A gouge an inch across finishes the identical shape in two, leaving fewer junctions and a better surface behind it.
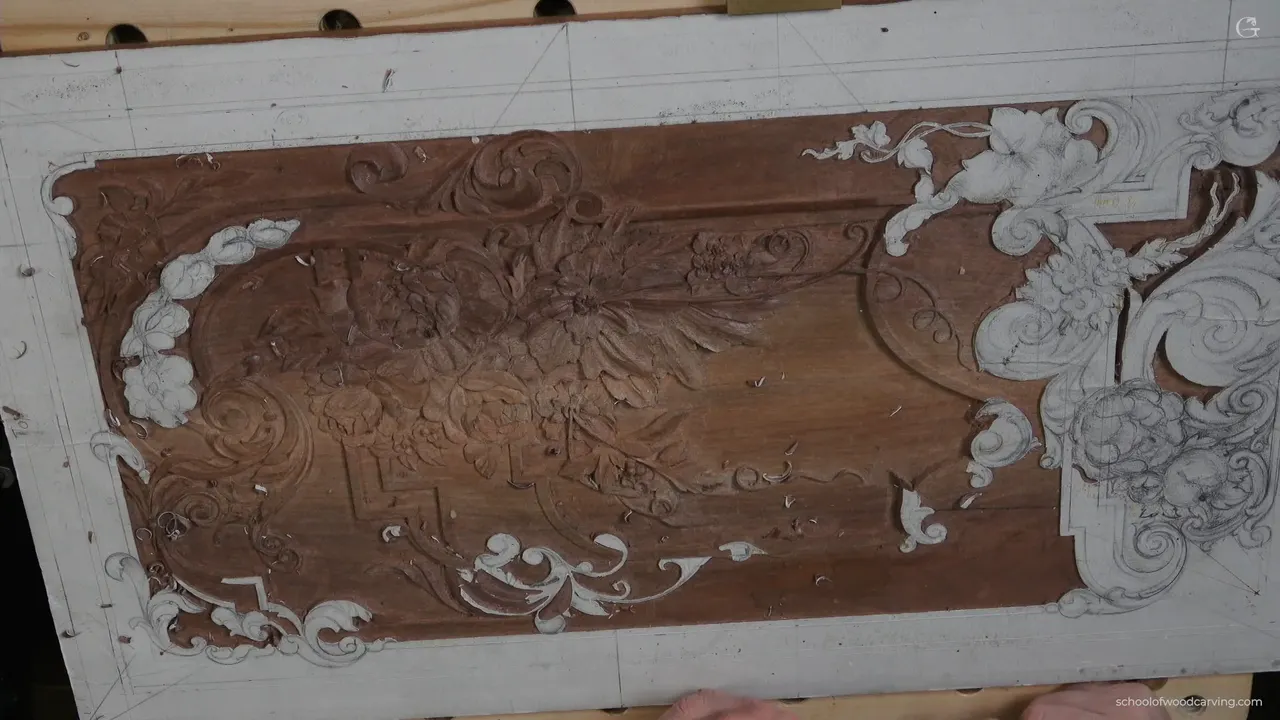
Gouge size decides how many passes a shape needs, and the angle in your hand decides whether the surface comes off clean. Neither question is about strength. I hollowed one side of this acanthus with a micro tool and the matching side with a gouge an inch across, on camera, so the difference could be watched rather than argued about.
Two cuts against a dozen. Same shape, and the wide one left me far less to tidy up afterwards.
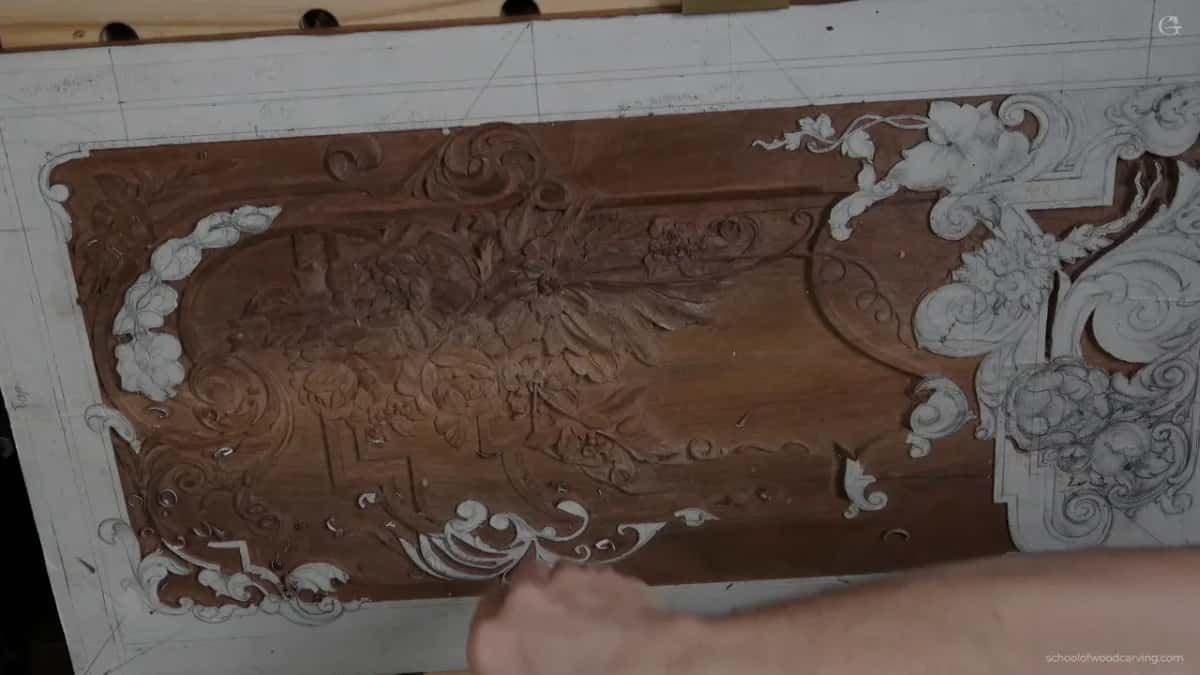
Today's area has volutes rolling clear of the foliage and a flip over where one lobe folds under its neighbour. There are several eyes as well, drawn into the design so long ago that I had to hunt for them with a marker before carving anything.
Key takeaways
- A wide gouge finishes a broad hollow in two passes where a small one needs a dozen, and it leaves a better surface behind.
- Lay the tool over, roughly halfway to flat, and it slices instead of crushing.
- One wall of every gouge pass comes out polished and the other ragged, so turn the board instead of settling for the bad side.
- Begin a long hollow at nothing and walk the depth in as the tool travels, because a pass that lands deep at its start announces itself to anybody looking.
- A tool one size too big will damage the detail underneath before you notice it happening.
- Reading back your own drawing years later is part of the job, and so is deciding what to keep and what to move.
The same hollow, carved twice
My first tool out of the rack was a micro gouge by Dockyard with no marking on it at all, somewhere around a number 8. Careful work, a great many small cuts, and the shape arrived eventually.
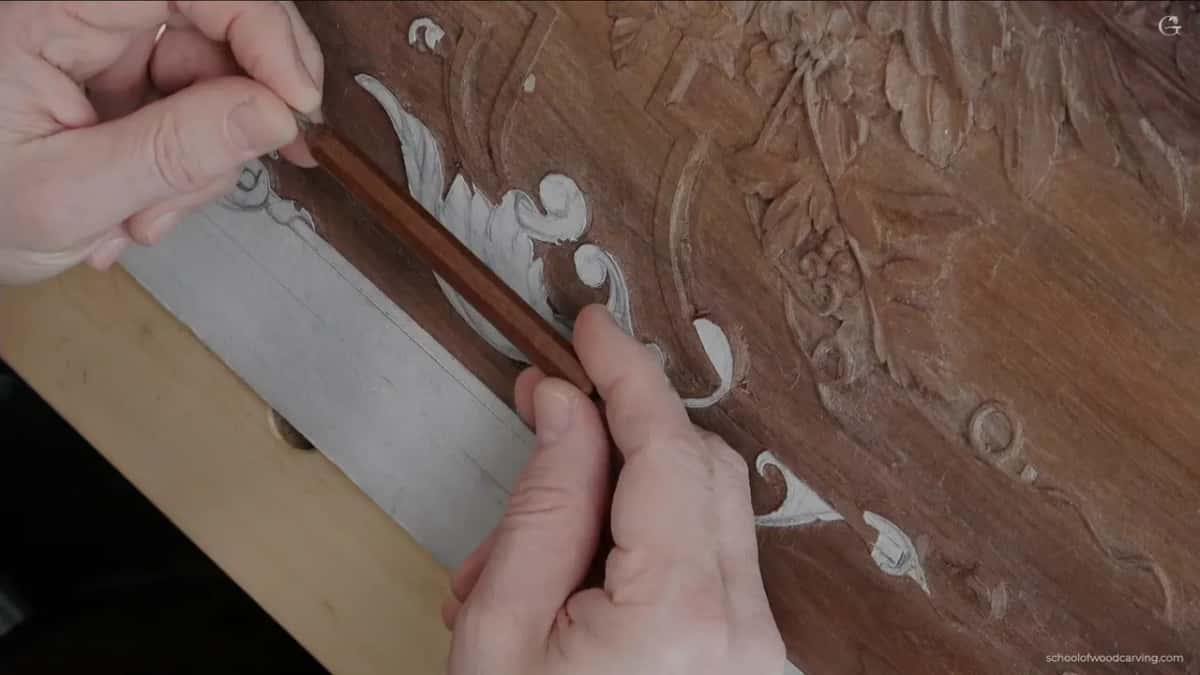
For the matching side I picked up an Ashley Isles number 8 that runs close to an inch wide. Two passes. Done. I said so at the bench, because that contrast is worth watching rather than reading about.

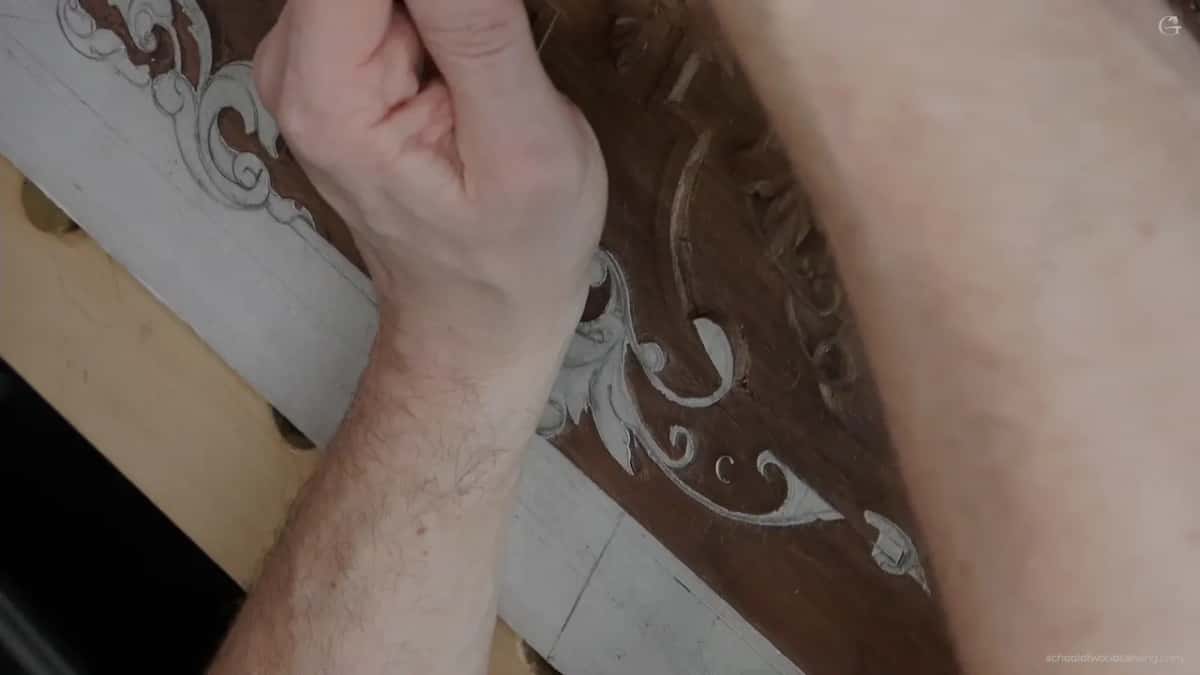
Fewer passes means fewer junctions, and junctions are exactly where facets and little steps live. The bigger tool therefore wins twice over, once on speed and once on the surface it leaves behind. Its limit is obvious enough. The sweep has to suit the hollow you want, and something wide taken into a tight corner will simply damage whatever sits beside it.
At what angle do you meet the line?
Here is the habit I see in nearly every student. A pencil line sits on the wood, they bring the edge vertically onto it at a right angle to the surface, and push. Some have done it for years without anybody telling them otherwise.
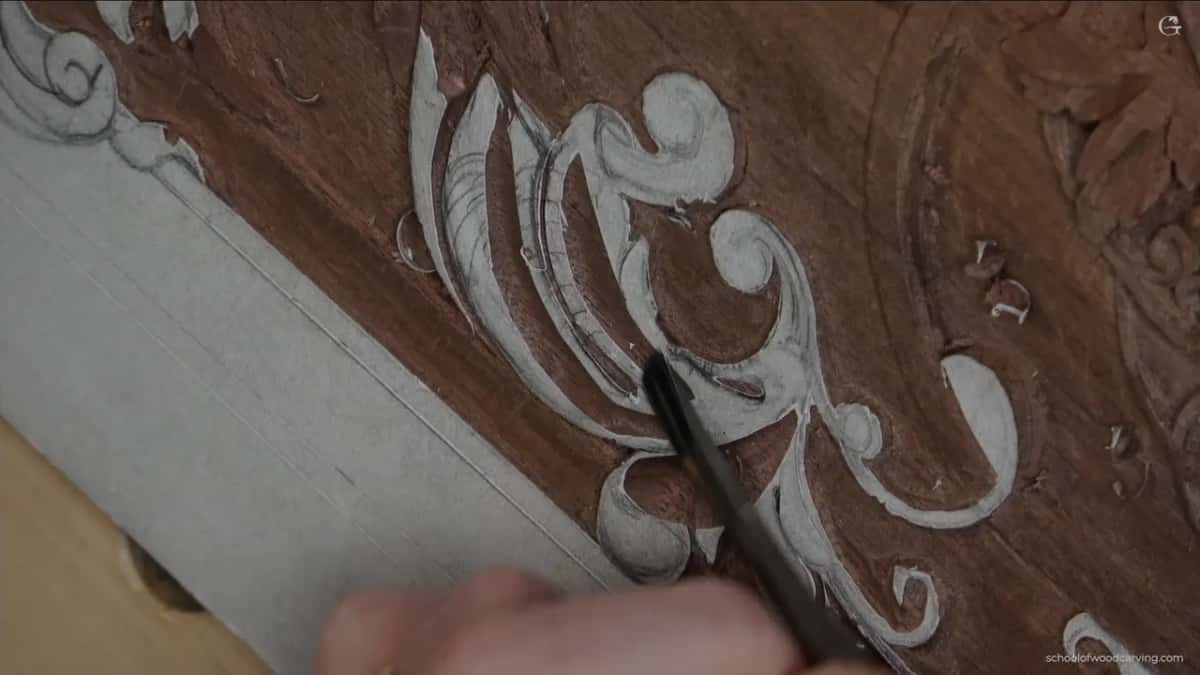
That crushes fibres rather than parting them. Lay it over instead, to something near forty five degrees, aimed at the line and not down into it, and the bevel slices through. Cleaner wall, cleaner floor, and a great deal less tidying up afterwards.
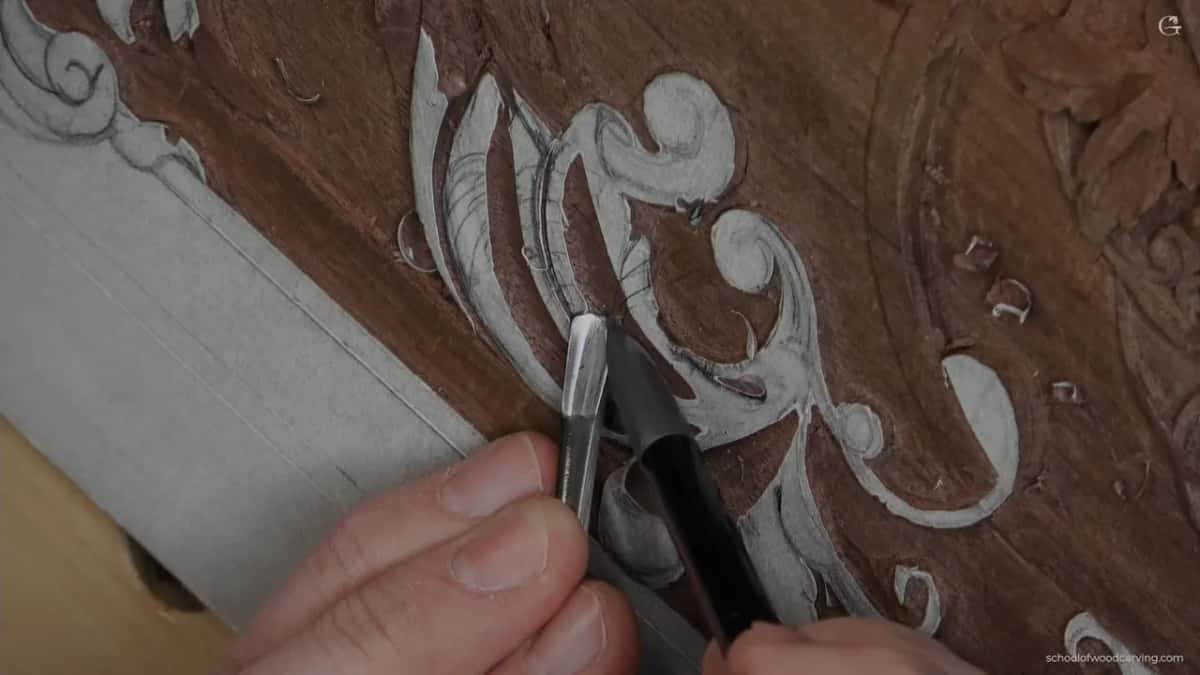
Steering a gouge on its point when you shape small round forms works on the same principle, and the berries lesson goes through that in detail. An edge wants to travel across wood, not into it.
Tool, angle and what each one leaves
| Job | Tool | Angle | Result |
|---|---|---|---|
| A broad hollow in foliage | Number 8, an inch across, with a sweep that matches the shape | Laid over | Two passes, and almost nothing left to clean |
| Tight corners | A micro gouge, and take your time with it, since nothing else will reach in there | Steep, and fairly upright | Slow going, and on this particular corner the only option there is |
| Outlining a shape before any waste has moved | A small veiner | Near upright, since nothing is undercut yet | The map |
| Excavating below a flip over, at the point where two lobes cross each other | An old German made veiner | Rolling over | Shadow, the entire reason for making the cut at all |
| Blending it afterwards | A flat three turned upside down, or a knife if preferred | Around forty five degrees, as always | Bring it down square instead and you crush the fibres, tear the edge and spend an hour repairing your own damage |
| Corners that no gouge on the bench will reach | A knife | Point first, with nothing else on the blade touching wood | Genuinely sharp corners |
One wall of every cut comes off clean
Run a gouge through wood and the two walls it leaves behind come out unequal. One burnished and smooth. The other torn. Which is which depends on the sweep and on where the grain is heading, so it belongs to the tool rather than to your technique.
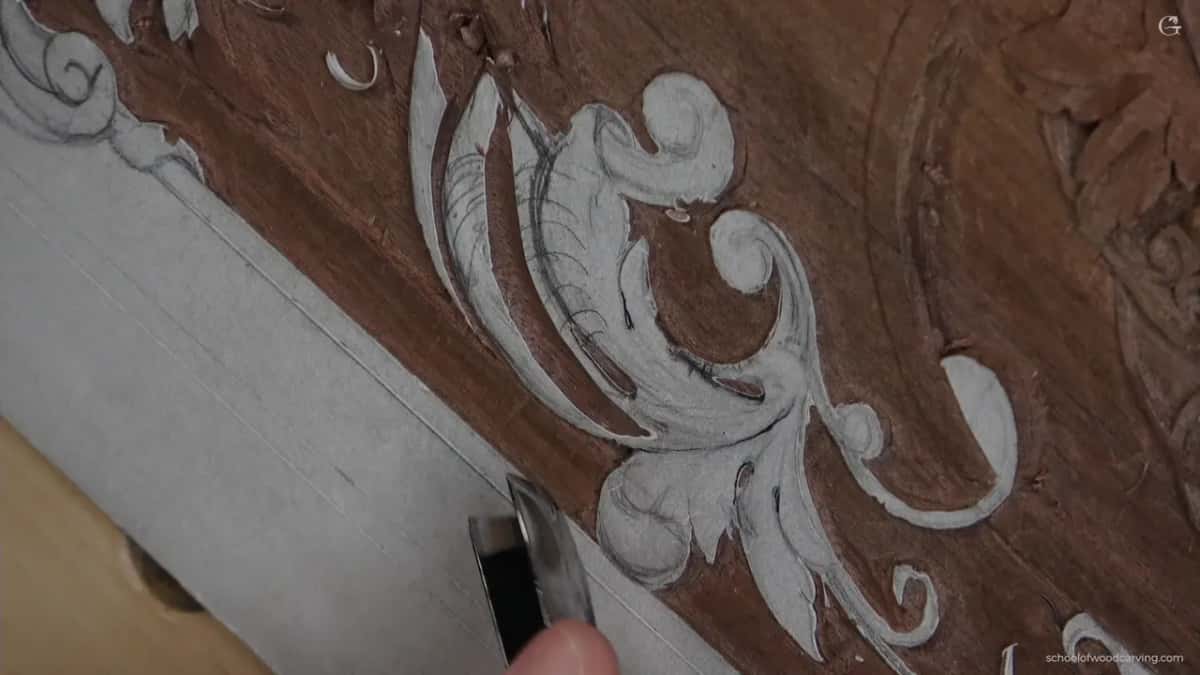
Never accept the ragged one. Spin the board, or bring the same pass in from the opposite side, and put the good wall where light will land on it.

On my own bench the right hand wall is usually the clean one, though that reflects my hands and my tools rather than any law. Watch your own passes for an afternoon and you will know which to trust.
The flip over, and why it gets undercut early
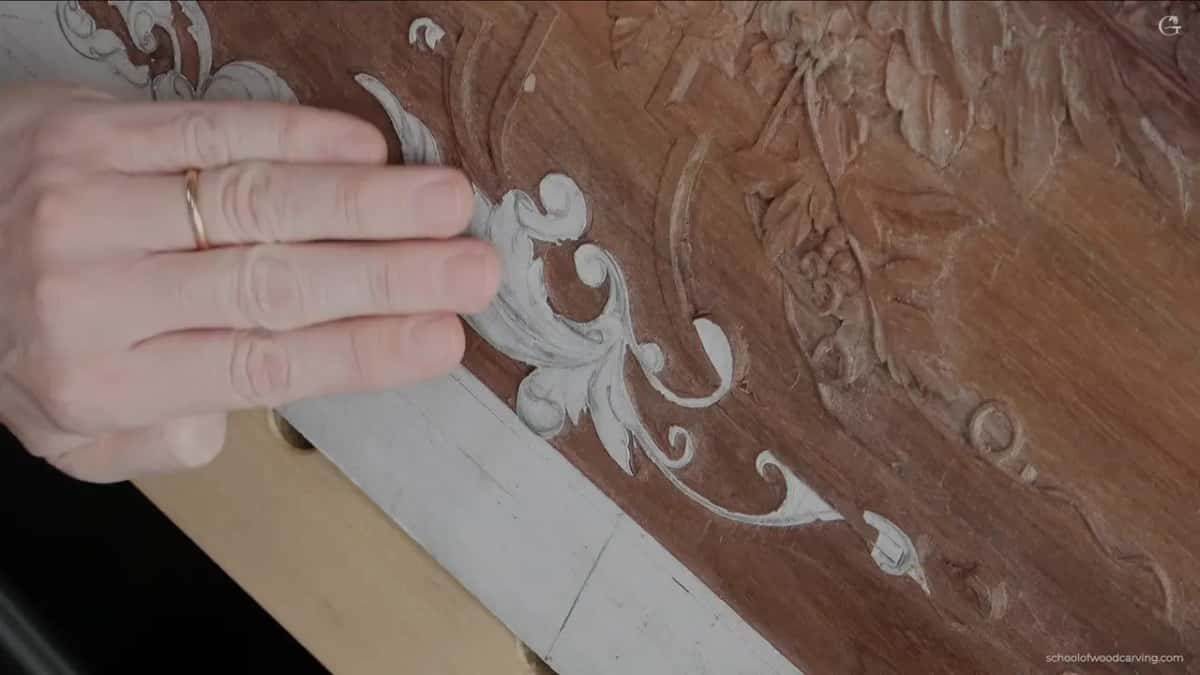
A lobe in this group folds back on itself, so part of it finishes below its neighbour. Carvers call that a flip over, and it is the single detail that makes foliage look grown rather than drawn.
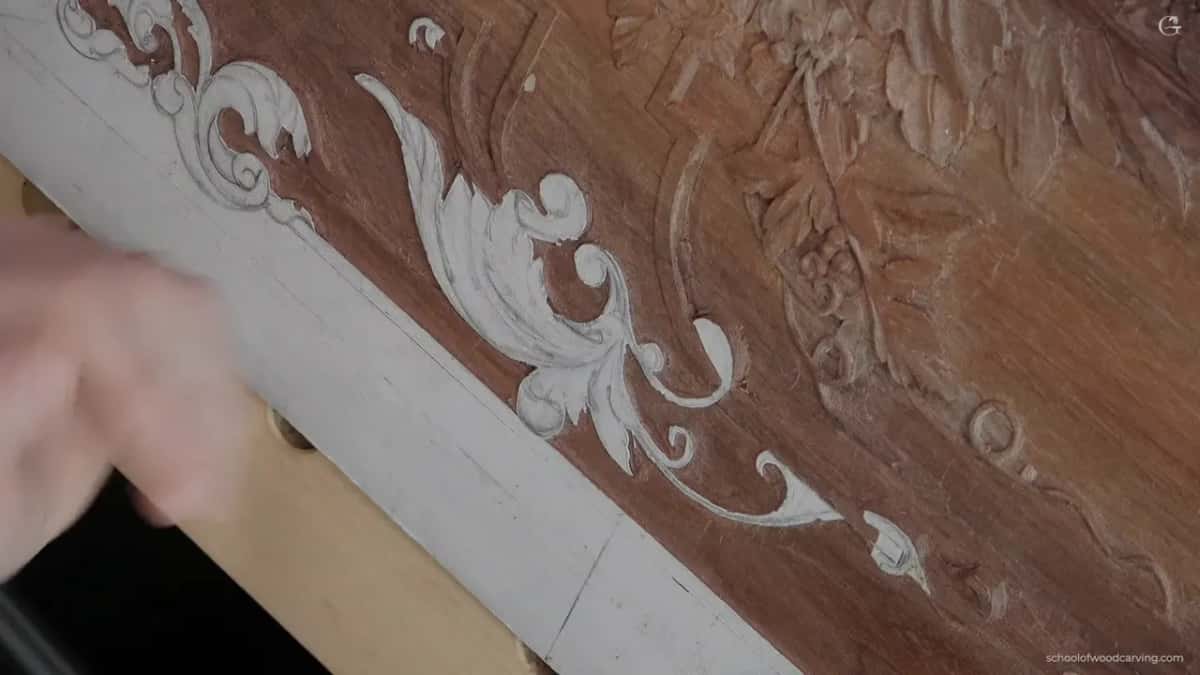
To make it believable I excavate below the upper part with an old German veiner, entering with the flute pointing up and rolling it over toward ten o'clock as the pass travels. What I do not want is a row of parallel stripes down there. It has to glance off, smoothly, so the surface curves out of sight instead of ending.
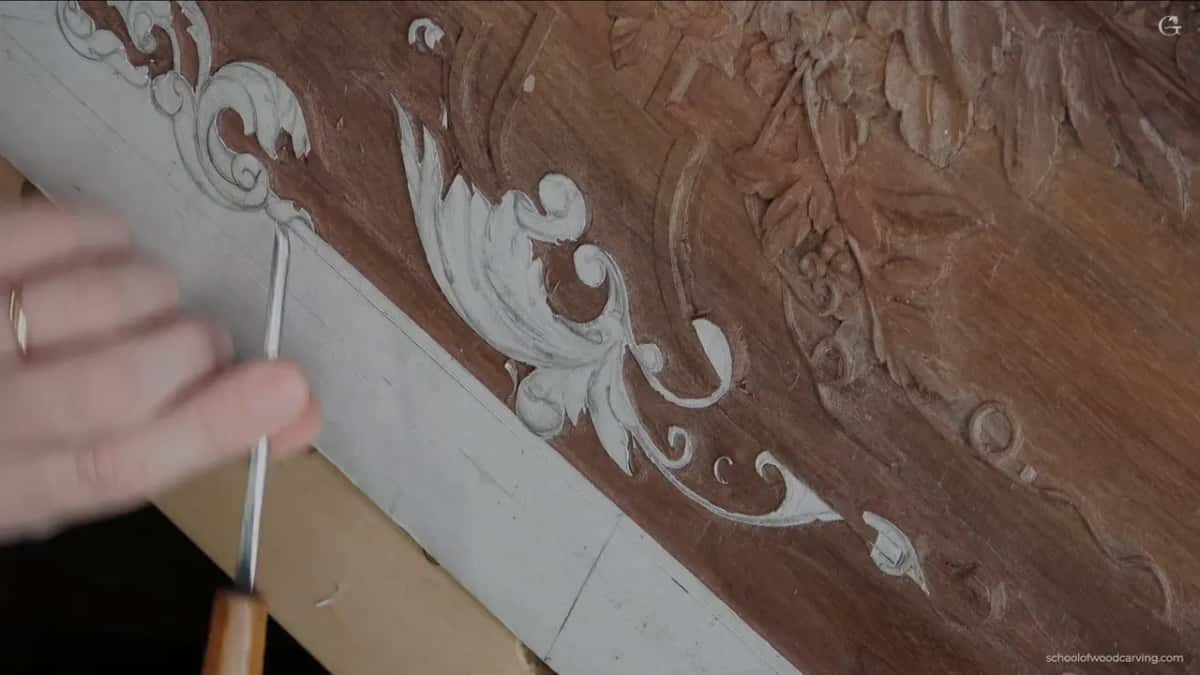
Then a small undercut goes in immediately rather than waiting for the finishing stage. It is all about the shadows. A flip over with no dark line beneath it is just a step in the wood, and nobody standing three metres away will read it as a fold.
Blending the downhill run afterwards takes a flat gouge, and a plain knife tidies whatever the gouge could not get into. Knives are wonderful things and most carvers pick them up far less often than they should.
Starting a hollow at nothing
The long hollows running out of an acanthus lobe all start from nothing and deepen as they travel. Land the blade deep and the pass has an obvious start to it, which reads as a gouge mark rather than as a surface. Nobody notices a hollow that arrives gradually, and everybody notices one that does not.

A ten millimetre veiner did those, flute up at the entry. The deepest points on this section sit at two particular spots and everything else rises away from them, and I had to hold back hard, because digging in there would have destroyed a detail that has not been carved yet.
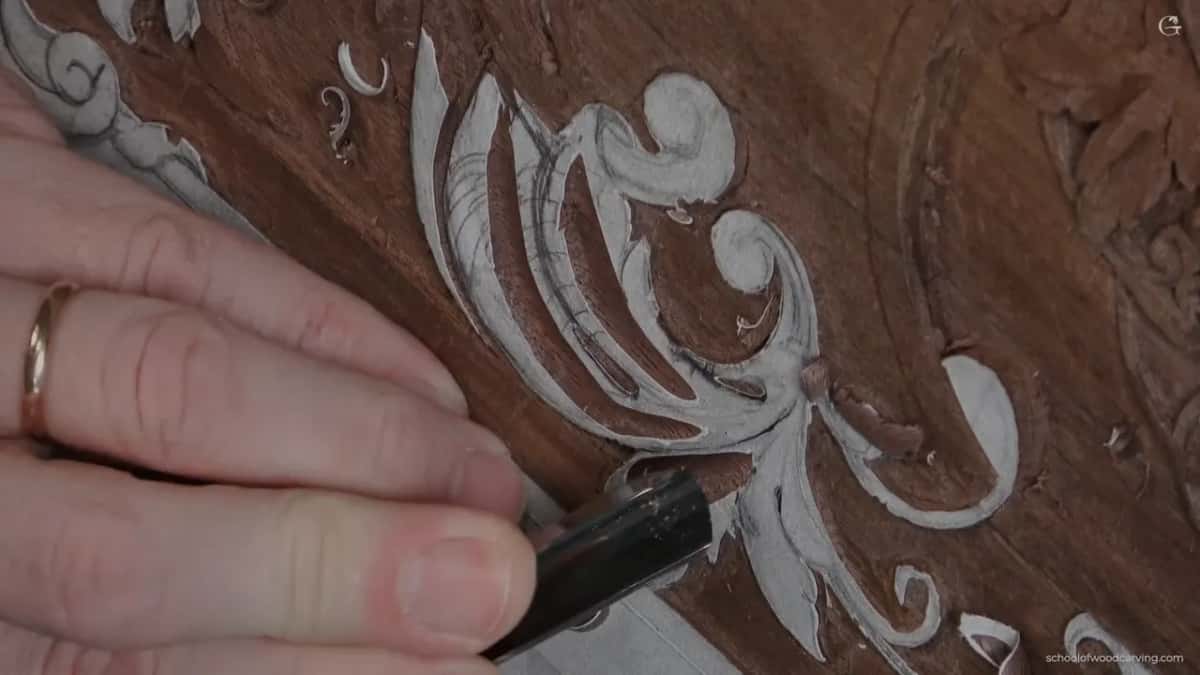
Flute positions get described by a clock face at my bench. Up for a straight entry. Ten o'clock to roll a cut under an edge. Two o'clock for the opposite hand, or fourteen o'clock if you happen to be in Europe.
The design I could not read
This part of the panel was drawn a long time ago, and by the time I reached it with a gouge the pencil had gone and only ghosts of the original lines were left. So I got a marker out and went hunting for the eyes.

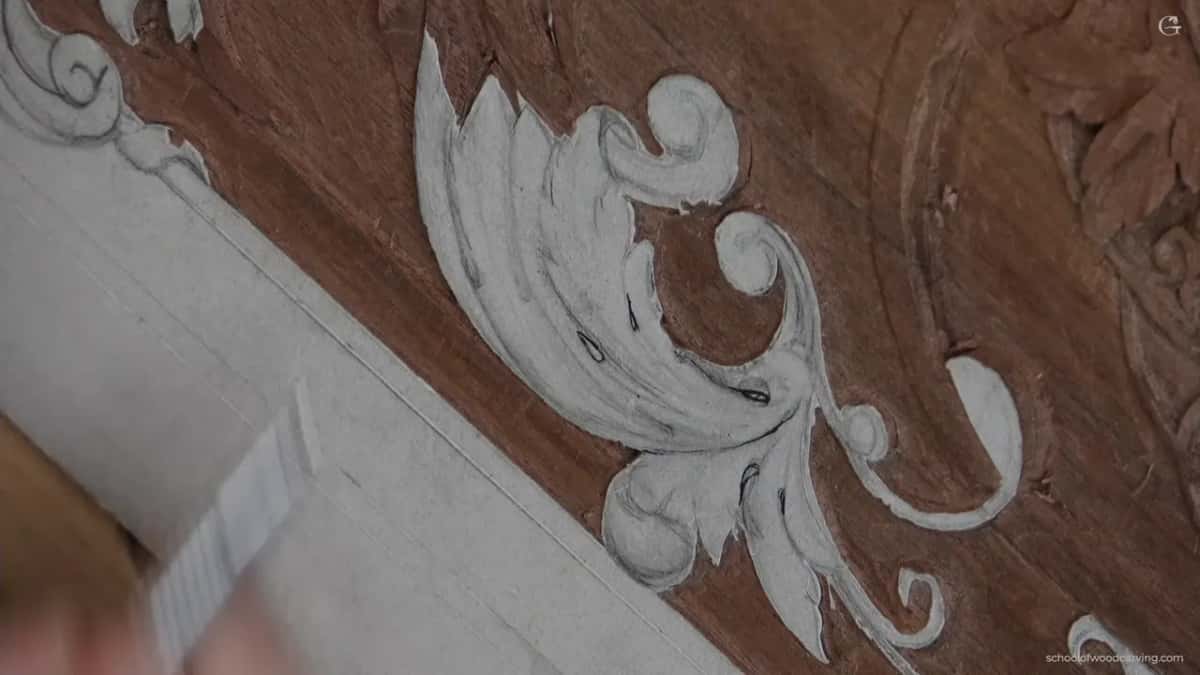
One here, one there, and what looked like an attempt at a third that made no sense in its position. I moved that one. Then there was a shape I genuinely could not account for, and rather than guess at what my younger self had meant I kept it exactly as drawn and carved around it.
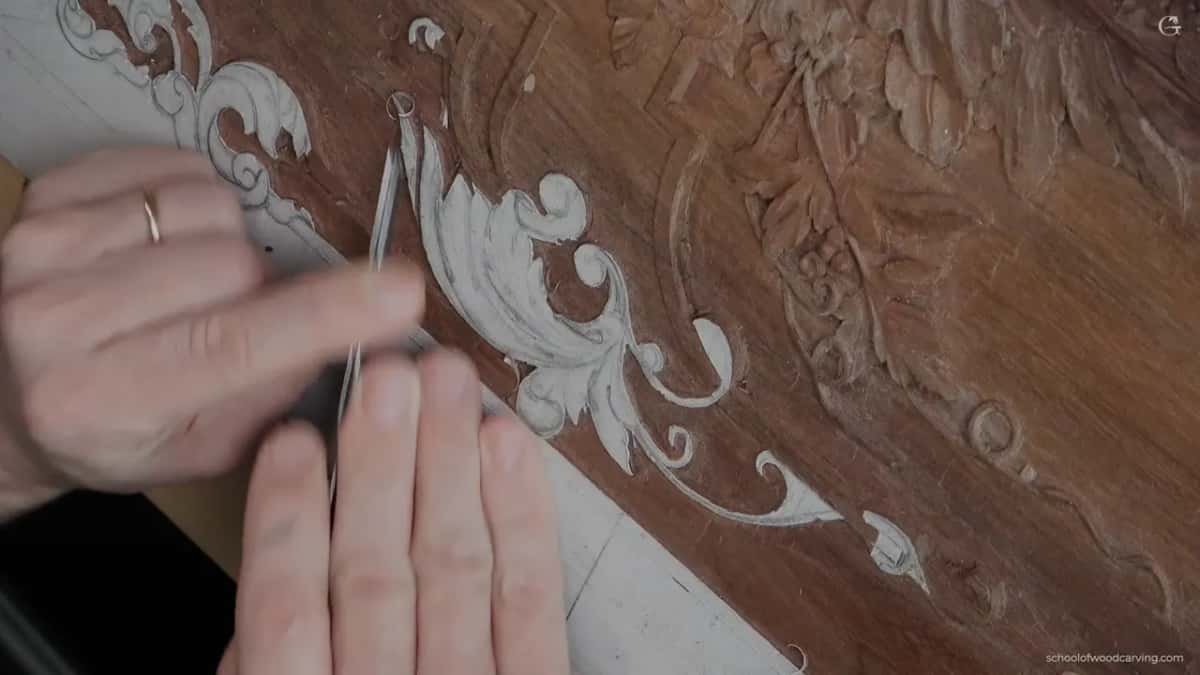
No idea at all where it comes from, and I said as much out loud rather than inventing a reason after the fact. It stays, because a shape that puzzles the carver may still be doing work in the composition, and because redrawing it would cost more than living with it. The design course is where all of this was laid out originally.
What an eye brings with it
An eye in an acanthus is never on its own. Where there is one, there has to be a raised middle running out of it, and either side of that raised part a hollow drops away, so the eye becomes the source of the whole movement rather than a hole punched in a leaf.

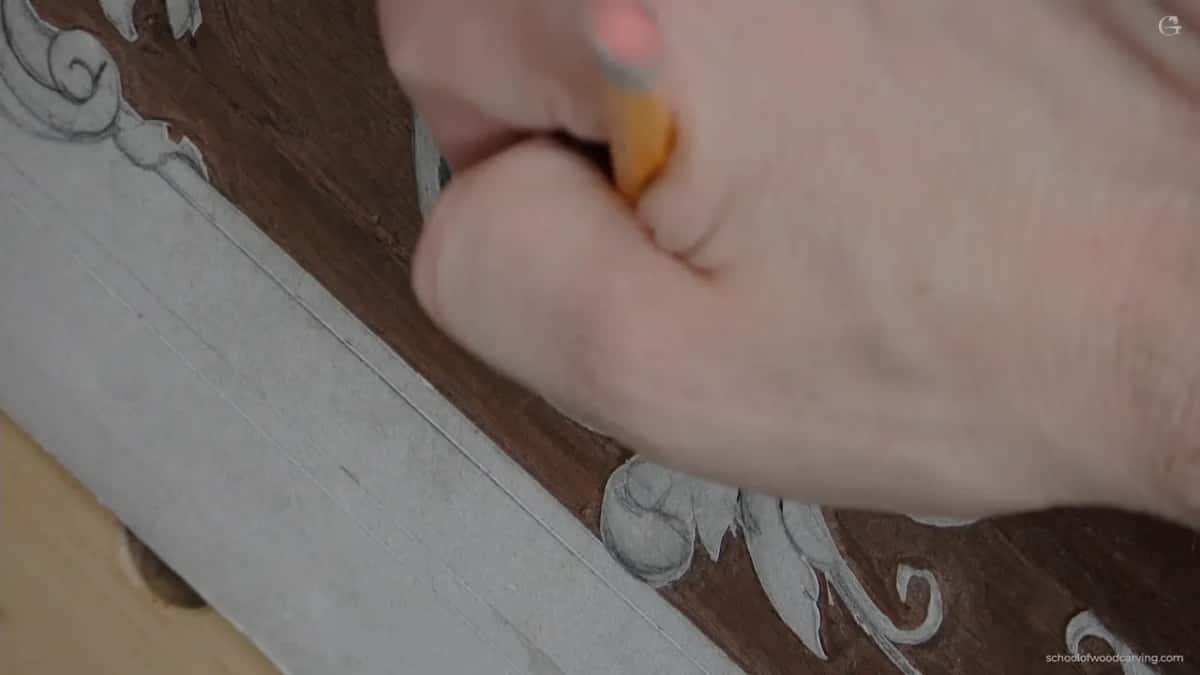
That raised part can travel a long way, wrapping round other elements as it goes. Which is what makes period foliage feel like one growing thing rather than a set of separate leaves stuck to a board.
The tool that was one size too big
I damaged something in this lesson and left it in. The flat gouge I picked up to blend a junction turned out slightly too wide for the gap, and it caught the bottom of the detail beside it.
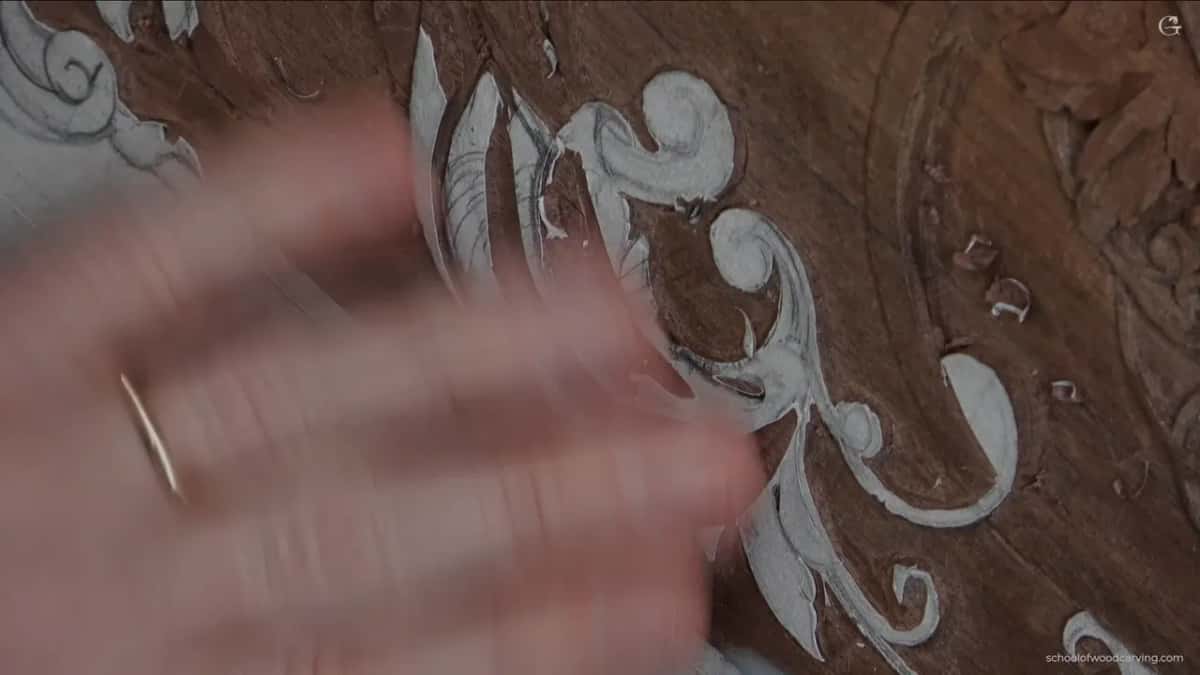
Fixable, and I fixed it with a spoon gouge afterwards. But that is how most damage on a panel happens. Not a wild swing, just a blade a millimetre wider than the space it was going into, reached for because it happened to be lying nearest.

The other side of the same shape went in without trouble, which tells you the technique was fine and the tool choice was not.
Where the shadow has to fall
Before any separation cut goes in I work out which way the light will travel once this panel is upright, and the overlap follows from that rather than from the drawing. An earlier lesson takes that apart properly.
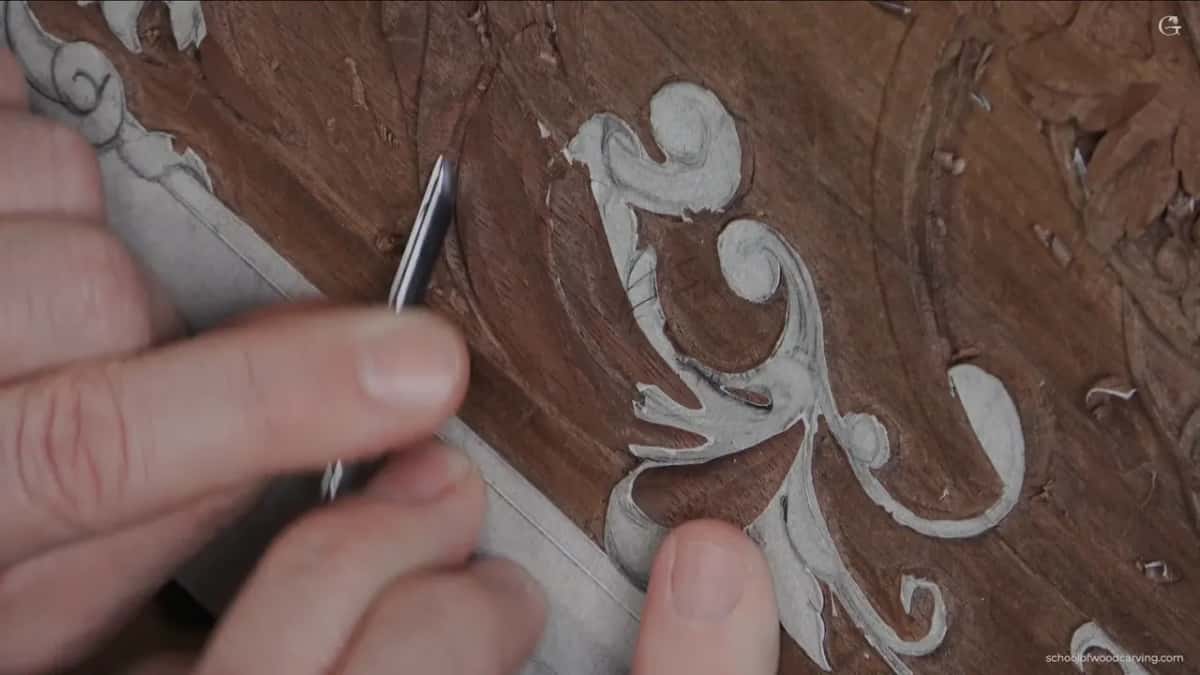
For the cut itself, half a millimetre of veiner. If you build furniture and you own one carving tool, own that one.

Walnut is a problem on camera and I apologise for it regularly. Dark timber swallows shade, so a form that reads clearly across a workshop looks like nothing at all through a lens. You will have to take my word for some of it.
Rolling a shape without rolling it
There is a piece of this volute that needs to look as though it rolls right over and carries on, except there is nowhere near enough wood for it to actually do that. So it does not roll. It only appears to, by falling away to a single consistent depth on the far side.
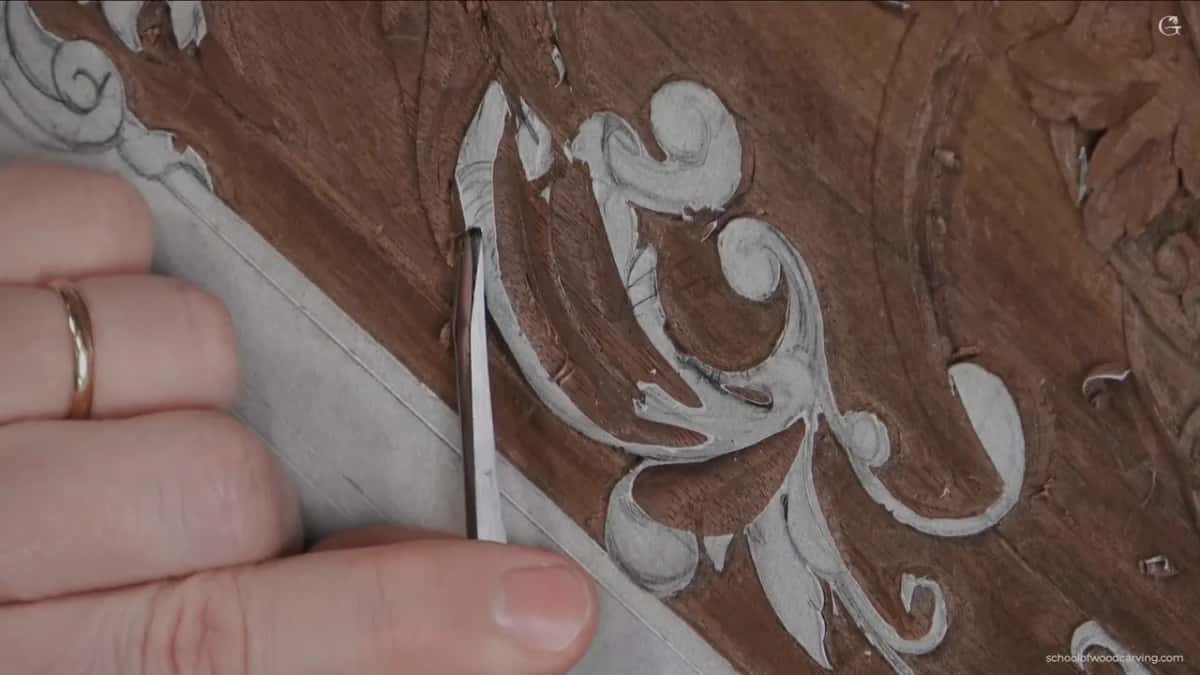

A sixteen millimetre flat did most of it, which is another vote for the wider tool: one broad pass across a whole surface leaves it cleaner than six narrow ones ever will. Then I exaggerated the raised middle a little more than nature would, because a shallow panel loses half its modelling to the finish that goes on top of it.
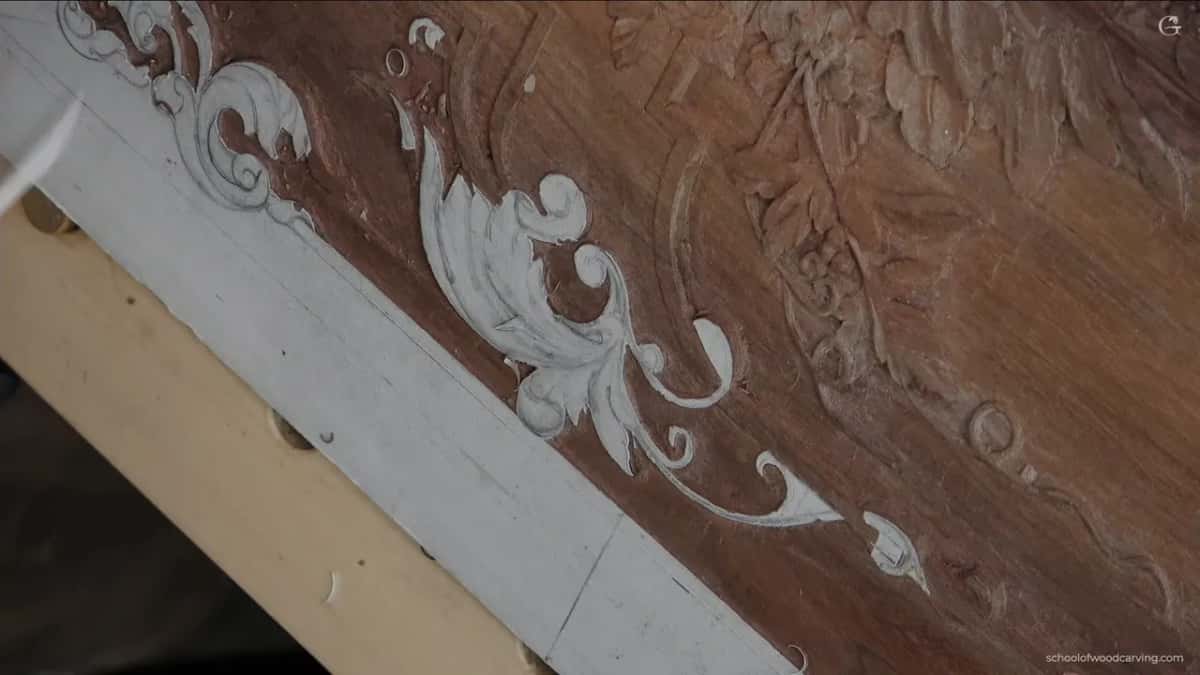
Look for the scrap of pattern paper still glued to one spot. That marks the highest point in this whole section and it stays until every surface around it has come down, because a pencil mark on dark carved walnut disappears under the first shaving and paper does not.

The cut that finally made this section read was a separation between two parts of the same leaf, taken with the flute round at eleven o'clock. One pass, and the whole thing stopped being flat.
Plug cuts, and the end of the day
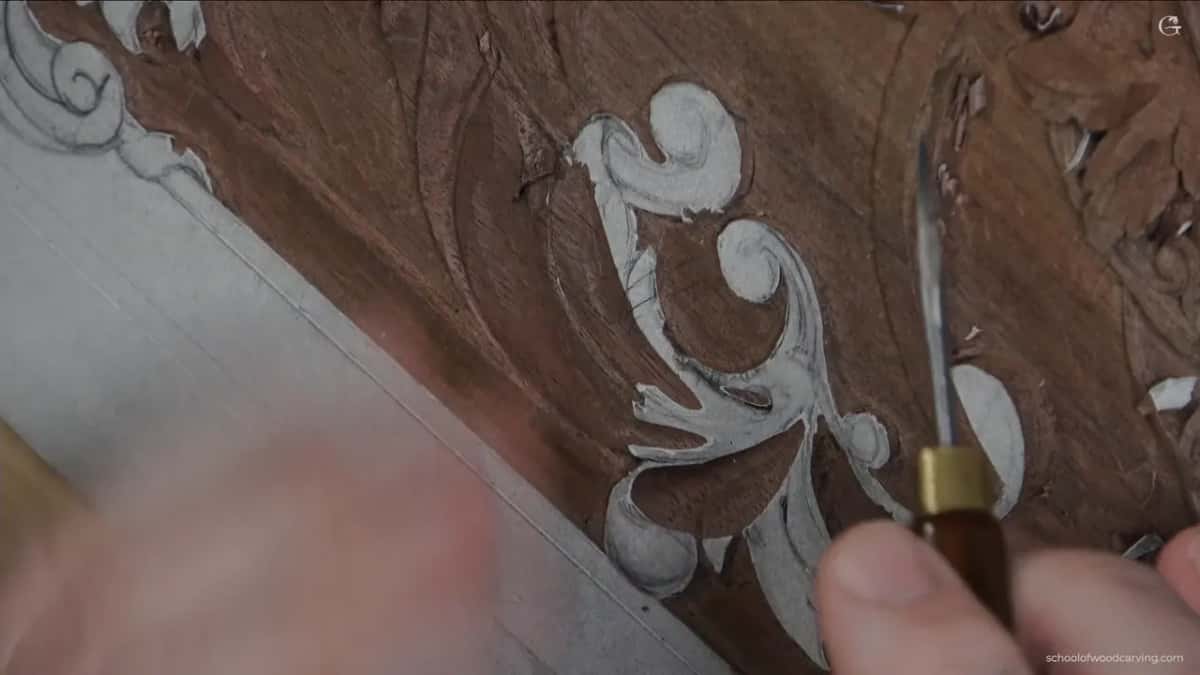
Where a whole pocket of waste has to leave, the tool goes straight down and then rotates where it stands, and the waste lifts out as a plug. Safe, controlled, and it will not run away from you into the background.
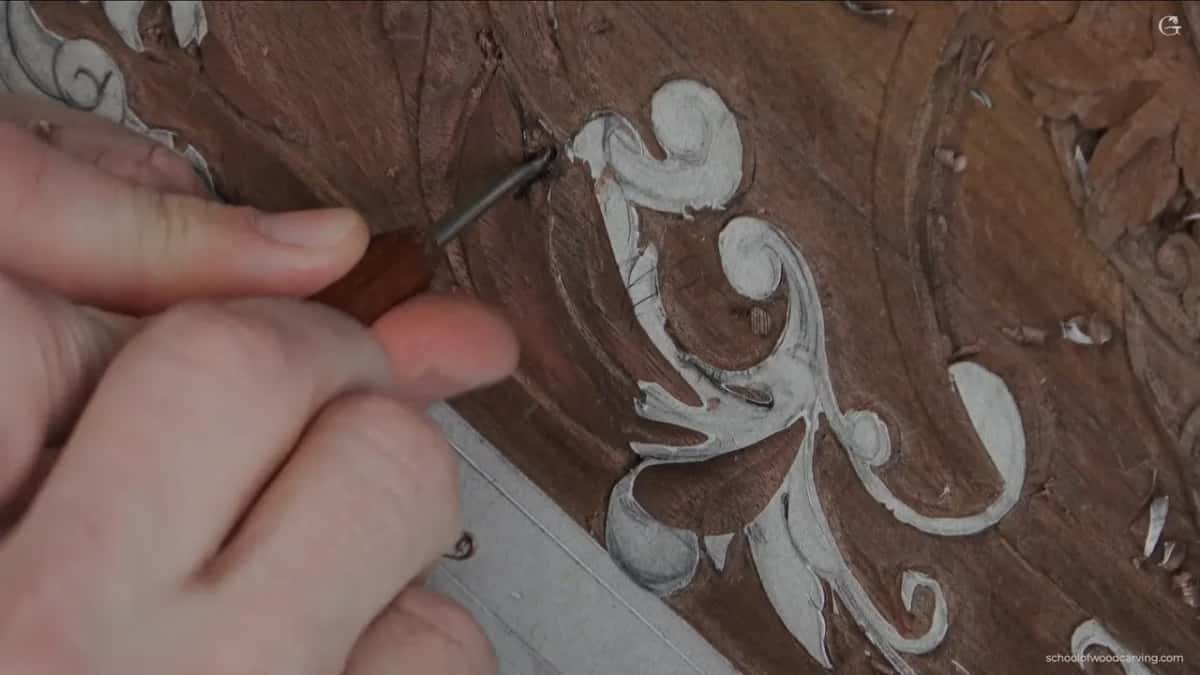

Cleaning happens with a flat tool ridden over the tops of the facets in a small rotating motion, never with paper. Never with paper, and I will keep saying that for as long as it keeps being necessary. Alexander Grabovetskiy has carved relief in this style for over forty years and was named International Woodcarver of the Year in 2011, and he still says sorry to the camera for mumbling.
Would you rather own forty gouges and reach for the wrong one, or six and know exactly which way to hold each of them? Shall we carve?
This runs in three parts inside Carving Furniture Panel, Part 3, after the smaller flower. Scrolls like these appear in the volute lesson and over mouldings in Acanthus Over Moldings. The leaf itself has a whole course in Roman Acanthus, the rack is in All About Tools, and edges in Carving Tool Sharpening. Carve beside him at an in person class, or find Access on the tuition page.
How it's done
- Match the sweep, then take the widest tool that fits. The curve of the tool has to match the hollow you want. Once it does, the widest one that will physically fit does the job in fewer passes and leaves less to tidy.
- Lay the tool over rather than standing it upright. An edge brought vertically onto a line crushes fibres. Aimed at roughly half a right angle it slices instead, and you get a clean wall and a clean floor.
- Rotate the work to get the good wall. A sweep always gives you a good side and a bad one. Rather than settle for the bad, rotate the board or bring the cut in from the opposite direction.
- Start a long hollow from nothing. Enter with no bite at all and walk the depth in as the pass travels. Land deep and the hollow shows a visible start, which reads as a tool mark.
- Undercut a flip over as soon as it exists. A fold with no dark line beneath it is only a step in the wood. Roll the flute over to about ten o'clock as you travel, and avoid leaving parallel stripes underneath.
- Read the old drawing before you carve it. Find every eye, decide which ones still make sense, move what is wrong and leave alone anything you cannot account for. Guessing at your own intentions costs more than living with them.
- Clear pockets as plugs, not sweeps. Drive straight down, rotate the tool where it stands and lift the waste out whole. You keep control of the depth and of how crisp the wall is.
Frequently asked questions
Does a bigger gouge do the same job faster
On a broad hollow, yes, and it leaves a better surface. Fewer passes means fewer junctions between passes, and junctions are where facets and steps come from.
At what angle should a carving gouge meet the line
Around half a right angle, laid over rather than brought vertically onto it. Square presentation crushes the fibres instead of parting them.
Why is one side of a gouge cut rougher than the other
Sweep geometry and grain direction decide it, so one side shears cleanly while the other tears away. Bring the cut in from the far side and put the good face where light lands.
What to carve next