
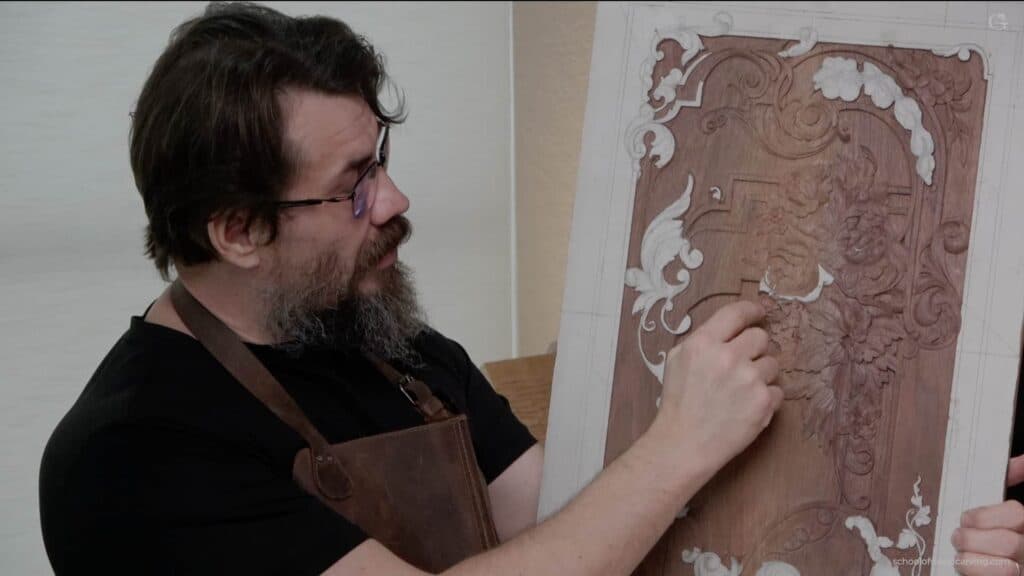
Alexander Grabovetskiy, woodcarver, School of Woodcarving · Published 2024
Why must one carved ornament argue with itself?
Quick answer: Conflict in ornamental design means giving more room to one half of a shape than the other while the pair tilt apart, and both halves still carrying the same small details. Near enough sixty to forty. Break either part of that bargain and the result looks dead or looks disorganised.
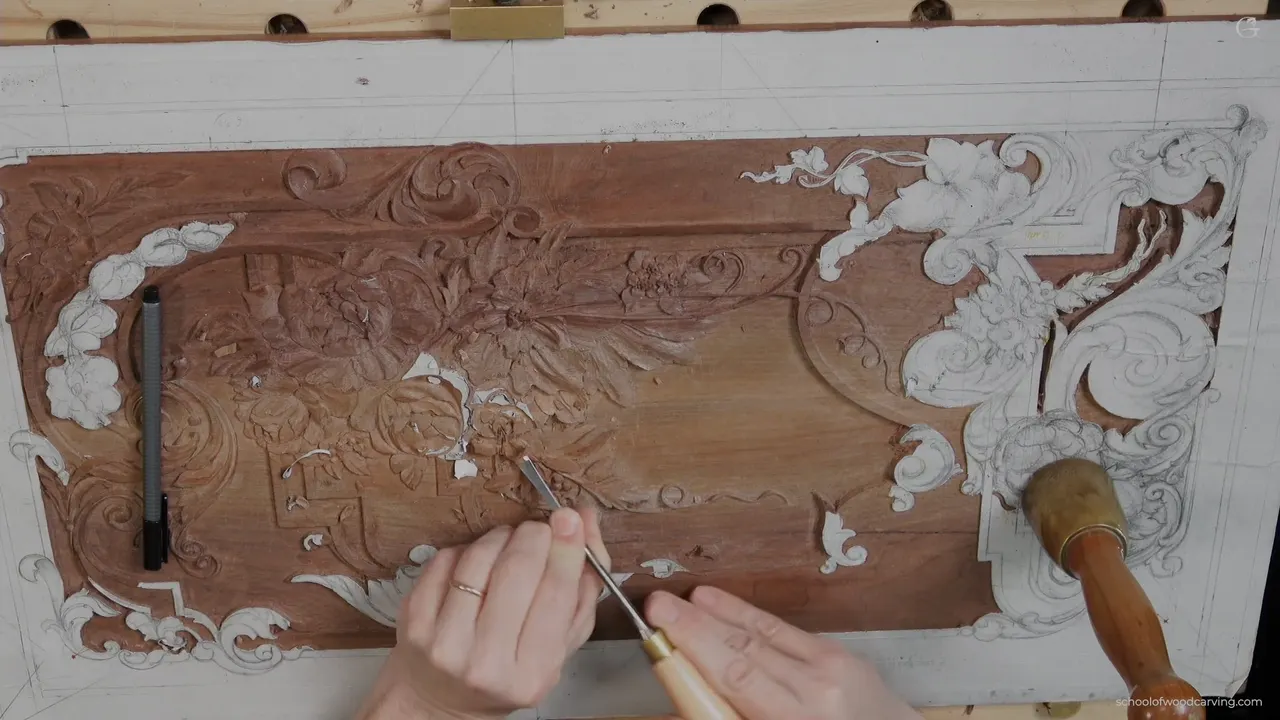
A carved ornament has to argue with itself. Half a shape pulls against its own other half, claims noticeably more room while doing it, and still carries the same small details, so the eye reads them as family anyway. Break either part of that bargain and the result looks dead or looks disorganised.
That is the whole design in one sentence, and it took me years to be able to say it that plainly.
Today I moved onto the flower next door to the one I finished last week. Smaller, and smaller on purpose, because the pair of them are sized against each other rather than measured. The paper pattern had long since come off this corner, so I drew the petals back on freehand from memory and from what the neighbour was already telling me.

Key takeaways
- Each ornament gives more of the space to one half than to the other, near enough sixty to forty, and the pair lean apart.
- Both sides must still repeat each other's small details, or the disagreement turns into mess.
- Furniture work obeys a second law as well, which is flow, so every part hands the eye on to the next like an arabesque.
- Straight lines are the enemy. If you can see one anywhere in the foliage, it wants fixing before the piece is finished.
- The little skew on my bench shapes a petal every bit as well as a gouge, which is worth knowing before you spend money.
- Lose track of a drawn element and you redraw it. It happens to everybody and it happened to me on camera in this lesson.
Outline everything before you commit to anything
First tool on this flower was a veiner at two and a half millimetres, and the cuts I made with it were deliberately shallow. Not a millimetre in most places. All I wanted was the map, and a map does not have to be carved to be useful.
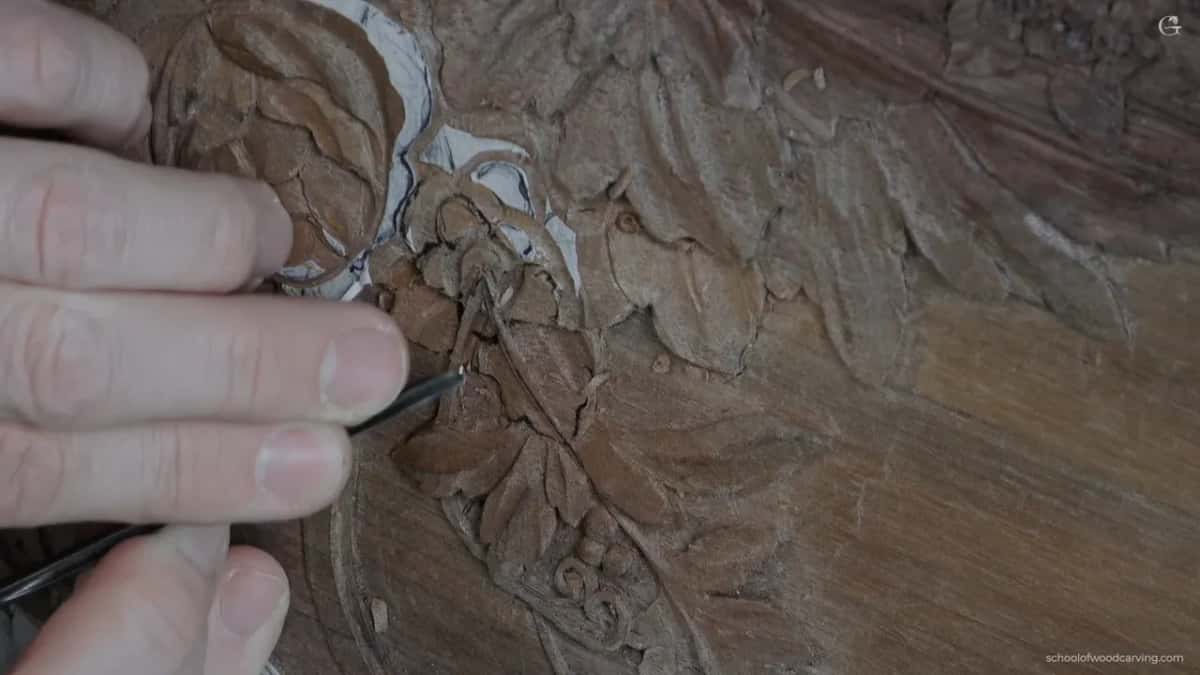
Losing the picture at this stage is easy, and I said so on the recording because I watch students do it constantly. You outline, then you outline some more, and after twenty minutes the board is covered in lines and you have forgotten which shape lies over which. Hold the finished thing in your head the entire time.
Where there was depth available I took it, three millimetres or so on the petal that had room, because spare depth is a gift and leaving it unused is waste. A bigger veiner came out for that, five millimetres rather than two.

Unequal, and pulling apart
Put one finger at the middle of this flower and another at its outer tip, then do the same on the opposite side. One of those spans runs to roughly sixty two percent of the whole and the other to thirty eight, which is the golden ratio that people write books about, rounded off for bench work.

Proportion is only half the story. Just as much depends on those halves sitting in opposition, tilting apart instead of mirroring. I call it the law of conflict, and it gets taught properly in the design course, workshop thirteen, before anybody touches a gouge.

A pattern where both sides agree is a wallpaper sample. Pleasant, and nobody looks at it twice. The eye needs something to resolve, and two shapes tilting apart give it exactly that without any part of the carving having to shout.
And yet everything has to repeat
Here is the part people get wrong once they hear the word conflict. Opposition without repetition is not design, it is noise. Those little tendrils coming out of the middle of the big flower appear again on this small one, at a reduced size, doing the same thing.
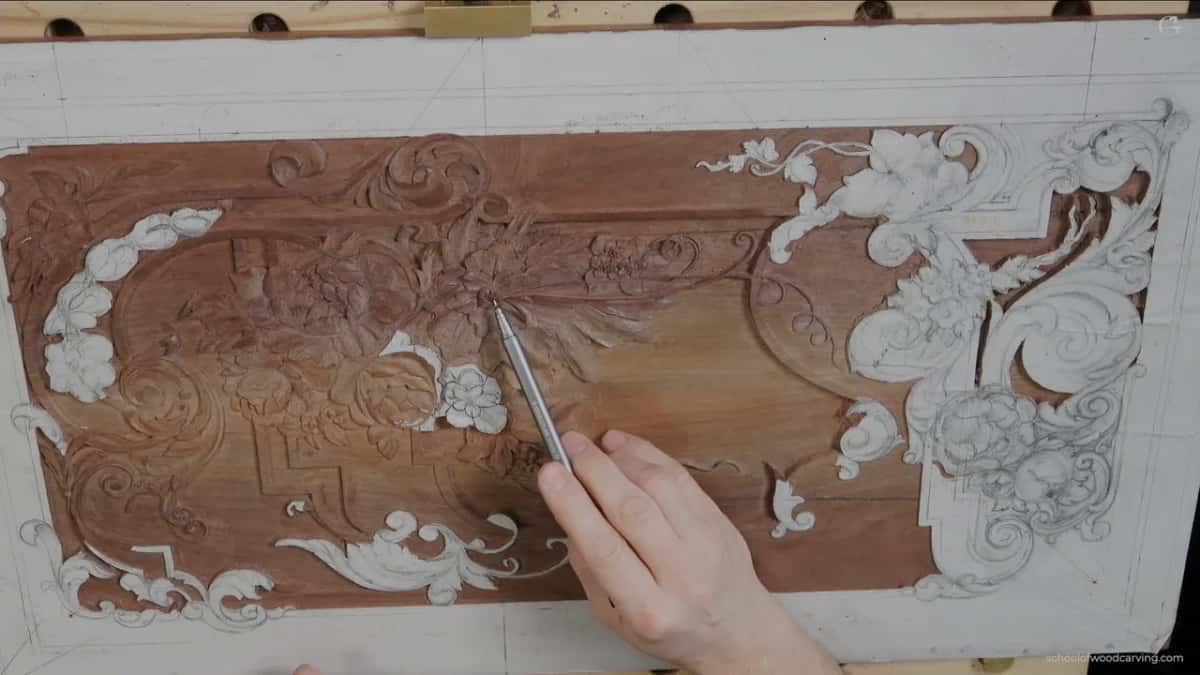
The anatomy stays identical as well. Raised middle with a hollow either side of it, on every petal of both blooms, exactly as the flower before this one was built. Change the size and keep the grammar.
The difference between the two is where those inner shoots go. On the larger flower they travel together. Here I split them, and each one dives under a leaf and reappears further along.

The law of flow
Everything hands on to what comes next. A shoot leaves the middle, runs under a sleeve, surfaces on the far side and carries on into whatever is there, so a finger could trace the whole panel without lifting. That is furniture ornament, and it is why eighteenth century work reads as one thing rather than as a collection of motifs.
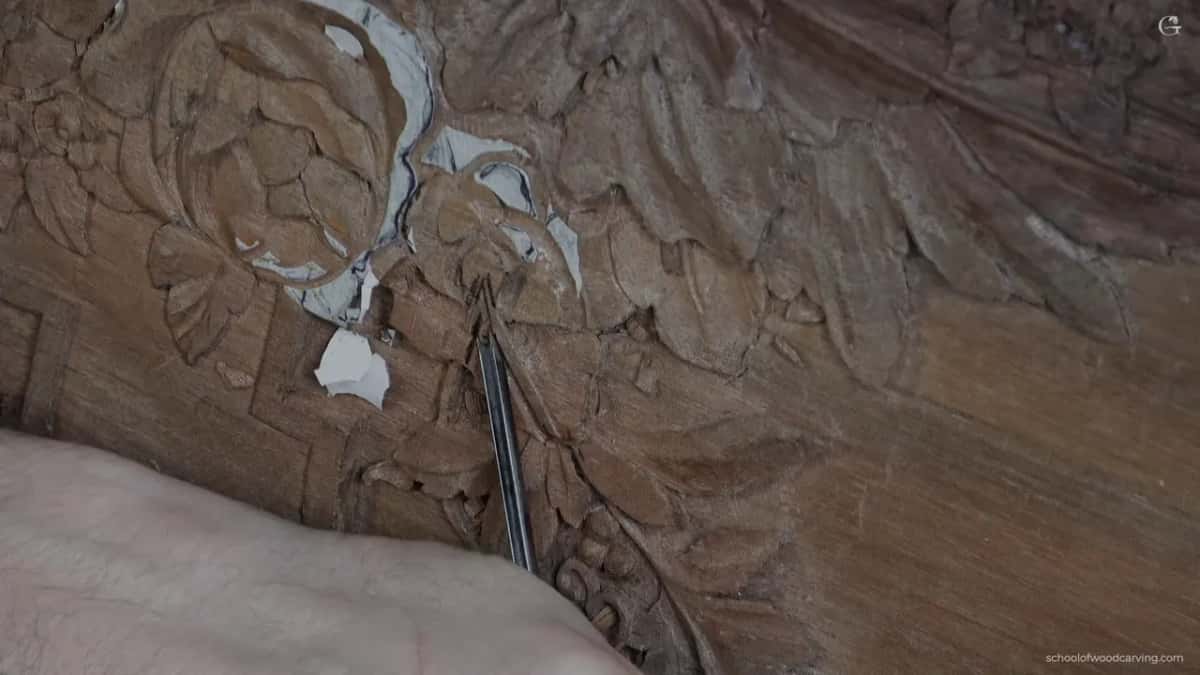
To make a shoot disappear I slice beneath the leaf above it with a flat number 3, then prove the join with a half millimetre veiner, so the eye believes the thing carries on behind.


What goes where on this flower
| Element | Rule | Depth | Tool |
|---|---|---|---|
| The two halves of one bloom | Unequal shares | Identical, since only the plan differs between the two | Pencil before any steel |
| Shoots leaving the heart of the flower and running out across it | Repeat them everywhere | Buried beneath a leaf, then surfacing again beyond | A veiner |
| Every petal, on the big bloom and on the smaller one beside it too | Raised right down its length | Three millimetres | An old fishtail sitting somewhere near a number seven sweep |
| The outer edges | Wavy, never drawn as a smooth arc, and never quite matching its neighbour | Whatever the neighbour beside it allows | Skew knife |
| Shadows, wherever two things happen to cross each other | As deep as possible | Down near the panel floor, because a shape with no shade behind it reads as flat | A number 10, or 11 |
| The undercut | Keep it small, since this whole panel is destined for furniture | Half of one millimetre, at the most | The smallest veiner |
Do you start at the outside or the middle?
Either one works, and I have done both on this same board. On the big flower I began outside with the main petals and worked inward; here I could have started at the centre and travelled out, and the result would be the same.
What I actually want at the beginning is not progress on any one petal. The overall idea is what I am after, sitting there in wood rather than in pencil, so a look from a standing position tells me whether the thing I designed is the thing I want.

Which means keeping the separation points. Where one petal ends and the next begins is the skeleton of the whole flower, and once those are gone you are guessing.
Then a flat gouge to take the roughness off, not to finish anything. Smooth enough to read, rough enough to change. I have thrown away a week of work by finishing one corner beautifully and only then finding out that the corner was in the wrong place.
The petal I lost
Partway through the outlining I looked down and counted four petals in the upper layer. There should be five. Somewhere in the chopping I had carved straight over one of them without noticing, and the pencil line was gone with the shaving that took it.

So I drew it back in and outlined it before going further. Sometimes that happens. No disaster, provided you notice before the surrounding wood is finished, and a real problem afterwards, because by then you are carving a four petal flower whether you wanted one or not.
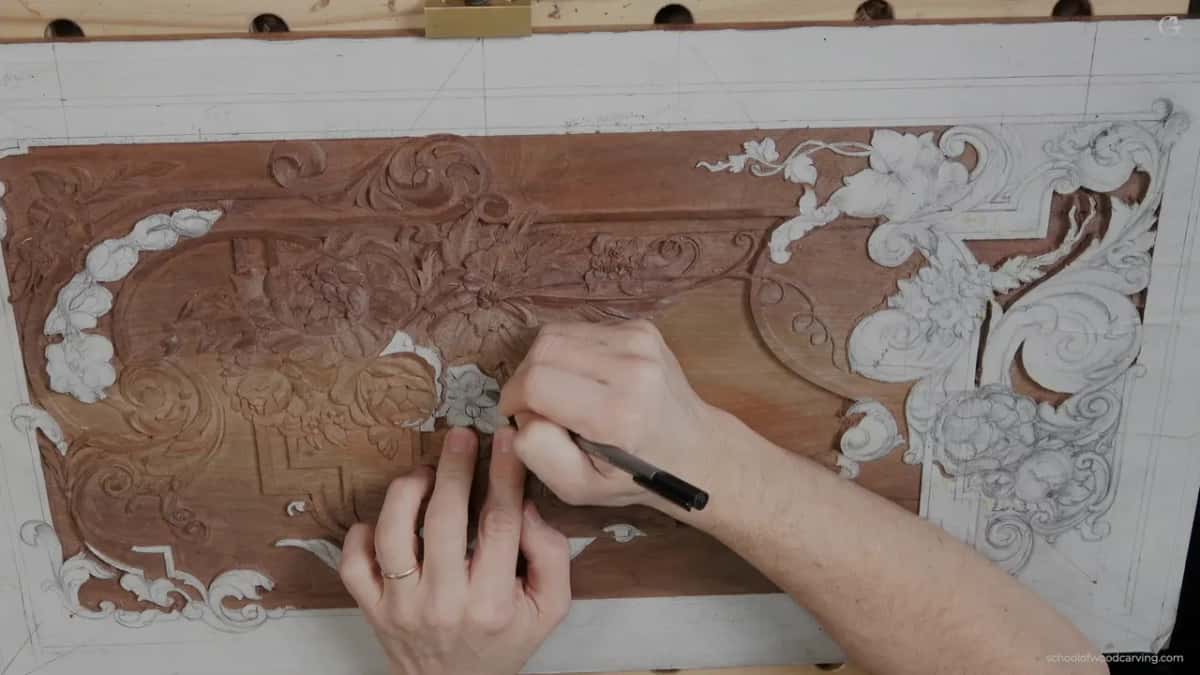
All of which argues for keeping the drawing alive as you work. Put it back every time the pattern gets shaved off, because your memory of it is worse than you believe.
A knife does most of what a gouge does
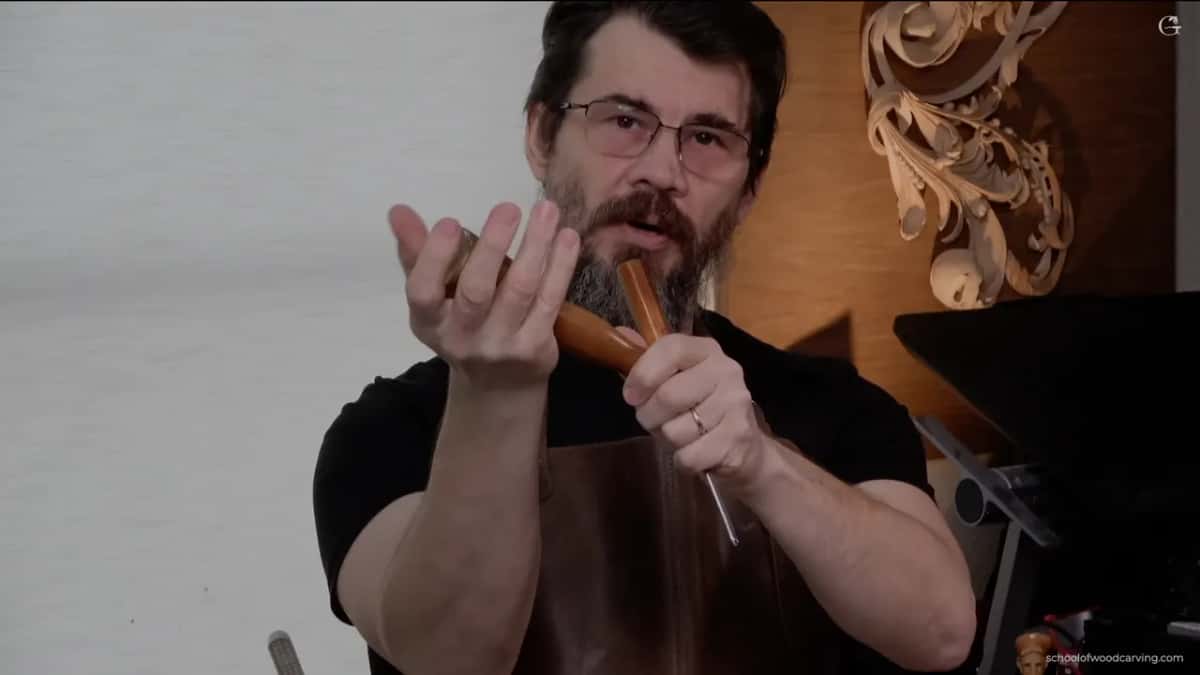
What shaped the high line down these petals was a Peter Benson skew, a number 1, and it came out partly to prove a point. Tools do not make shapes.


Take the hollows out with a gouge if you like, then bring that skew across the ridge between them and blend both sides down. Several roads arrive at the same surface, and a beginner with three sharp tools beats somebody with forty dull ones every time.

You can see how much of this flower came off that one small blade. All About Tools goes through the rest of what sits on my bench, and honestly, half of it is there because I liked the handle.
The cut nobody sees doing all the work
Inside the raised middle of each petal there is a further soft hollow, nearer the flower centre, and on camera it is close to invisible. In a lit room it is not invisible at all, because it throws a line of shade across the petal that separates the raised part from everything around it.
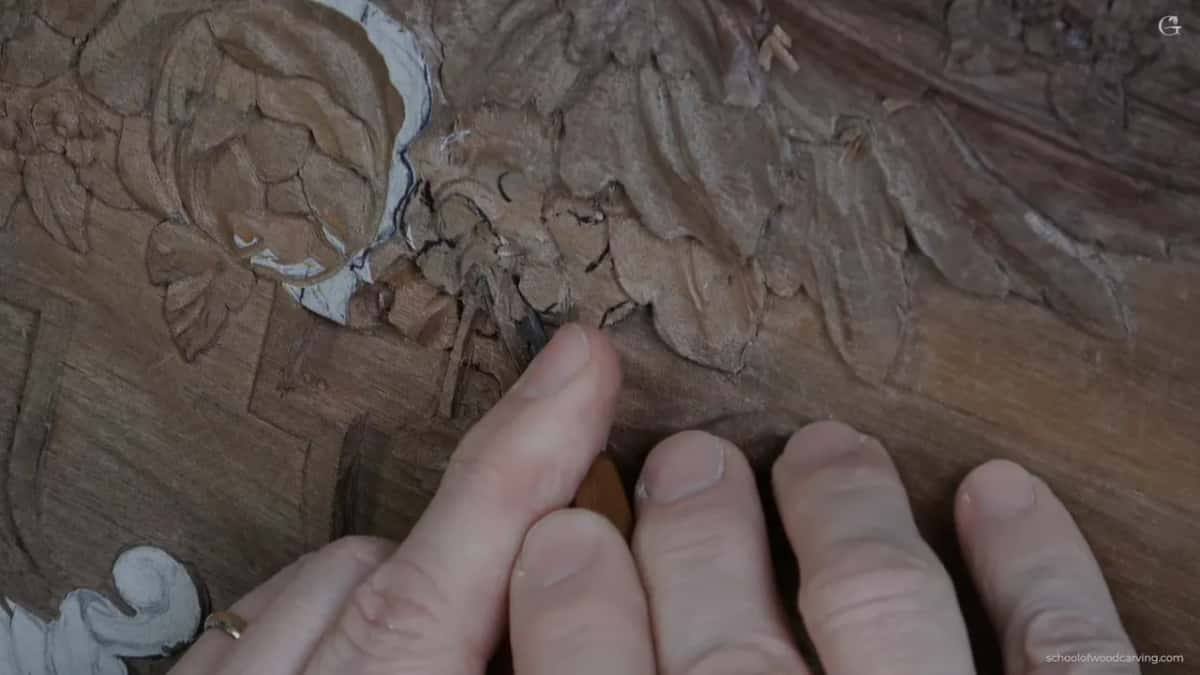

Cut it with something small, a number 8 or 9 in a three millimetre width, and follow the movement of the petal rather than running straight across it. That last part is the whole instruction. A straight cut through a curved surface announces itself as a tool mark, while the same cut following the flow disappears into the shape and leaves only its shadow behind.

Blend afterwards with the flat tool, six millimetres or four, it genuinely does not matter which. What matters is that the ridges stop being ridges and the surfaces run into each other.
No straight lines anywhere
I stopped over this flower partway through and said out loud that I could see a few straight lines in it. Nothing dramatic. A tendril running true for ten millimetres instead of easing, an edge that had come out as an arc rather than a wave.

Those get fixed at the end, and the fixing is why the rough stage stays rough. Every outline on this flower is deliberately wider than the finished line, which leaves me somewhere to take material from once I can see the whole movement.


A shoot two millimetres wide now will finish at a millimetre and a half. Carve it to final width today and the flow cannot be adjusted tomorrow, which on a panel that runs for months is a genuinely expensive mistake to make in the first hour.
Cutting the hollows
My gouge for this is an old fishtail that behaves like a number 7 and a half, and I like it enough that I keep reaching past better marked tools to get it. Both sides of each petal get a hollow. The middle stays up.
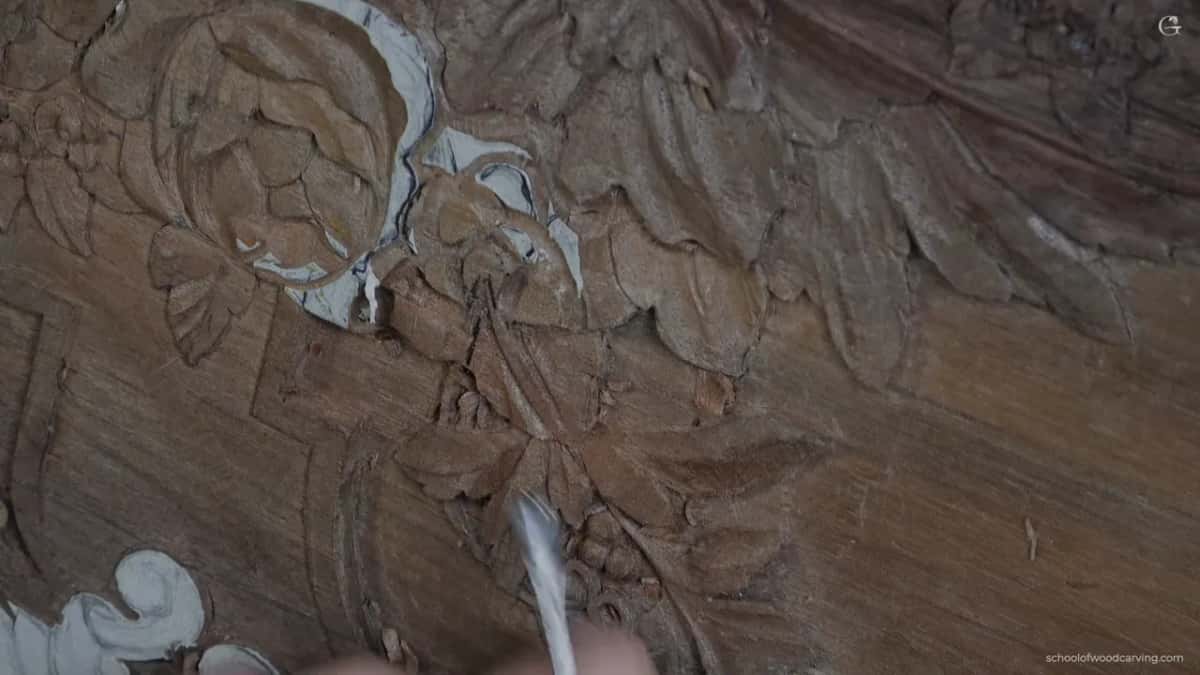

Slice rather than drive. The grain in walnut will grab a pushed edge and tear a petal you cannot replace. A bevel travelling sideways as it advances shears the fibres instead.

Then the ridge on the right hand edge lifts and runs uphill, the same as every other lobe on this board. Not everybody in the period did it that way. Enough of them did it that the shape reads as correct now, and to my eye it simply looks better.

Out comes the mallet whenever I want control rather than force, which surprises people. Tapping lands the edge exactly where the eye said. Pushing lands it somewhere near.
Shadow is something you go and find
One petal here had no shade under it at all, so it sat flat against everything behind it. The answer was a much deeper cut along one side, taken with a number 10 nearly to the panel floor.

Later on the whole panel gets coloured and aged, and those deliberate dark pockets will do most of the work of making a relief this shallow look carved rather than pressed.
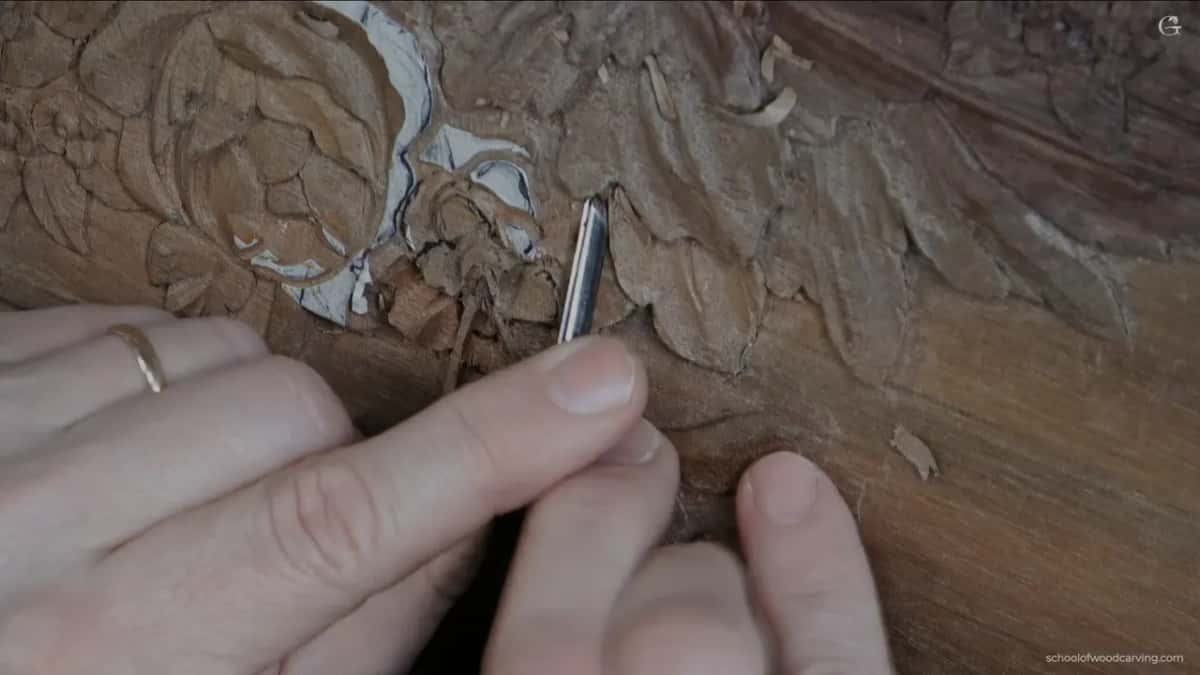
Undercut around everything at the end, gently. Go hard at it and you have made a fragile edge on a piece of furniture, which an earlier lesson covers at length.

Alexander Grabovetskiy has carved architectural and furniture ornament for more than forty years and was named International Woodcarver of the Year in 2011. He will also tell you plainly that he has never seen an acanthus flower growing anywhere, and that this panel is not the job paying his bills this month.
Would you rather draw a pattern that is balanced and lifeless, or one where the two halves are quietly fighting and the whole thing comes alive? Shall we carve?
This runs in three parts inside Carving Furniture Panel, Part 3. The proportions come from Principles of Design, earlier stages of the board sit in Part 2, the leaf has its own course in Carving Modern Acanthus, and the same foliage crosses mouldings in Acanthus Over Moldings. Edges live in Carving Tool Sharpening. Carve beside him at an in person class, or find Access on the tuition page.
How it's done
- Give one side more room than the other. Sixty against forty, roughly, which is the golden ratio rounded off. Measure nothing. Put a finger at the middle and another at the tip, then compare the sides by eye.
- Set them tilting apart. Mirror the sides and you have wallpaper. Let them pull in opposing directions and the eye has something to resolve, without any part of the carving having to shout.
- Repeat the small elements at the smaller scale. Whatever grows out of the middle of the large bloom turns up again on the small one, reduced. Opposition with no repetition is not design, it is noise.
- Outline shallow and keep the picture in your head. Not a millimetre deep at first. Twenty minutes of outlining will cover a board in lines, and by then you must still know which shape lies over which.
- Redraw whatever the shavings take off. Lose a pencil line and you will lose the shape with it. I carved over a whole petal in this lesson and had to count the remaining four before I noticed.
- Hollow both sides and lift the outer ridge. Every petal gets a raised middle with a hollow either side, and the ridge on the outer edge runs uphill. That little skew does it as well as any gouge.
- Go and find the shadow. Where a shape sits flat against its neighbour, cut one side much deeper, nearly to the panel floor. That dark pocket is what the finish will work with later.
Frequently asked questions
How does the law of conflict work in design
Half of a shape claims more space than its partner and the pair tilt apart, while both still repeat each other's details. It is what stops a balanced pattern from going lifeless.
How is the golden ratio used in wood carving
Roughly six parts against four across any pair of shapes, judged by eye rather than measured. Put a ridge or a division dead centre and the shape goes symmetrical and dull.
Why should carved ornament have no straight lines
A straight run in foliage reads as a tool mark rather than as growth. If you can see one anywhere in the piece, ease it before the surrounding wood gets finished.
What to carve next