
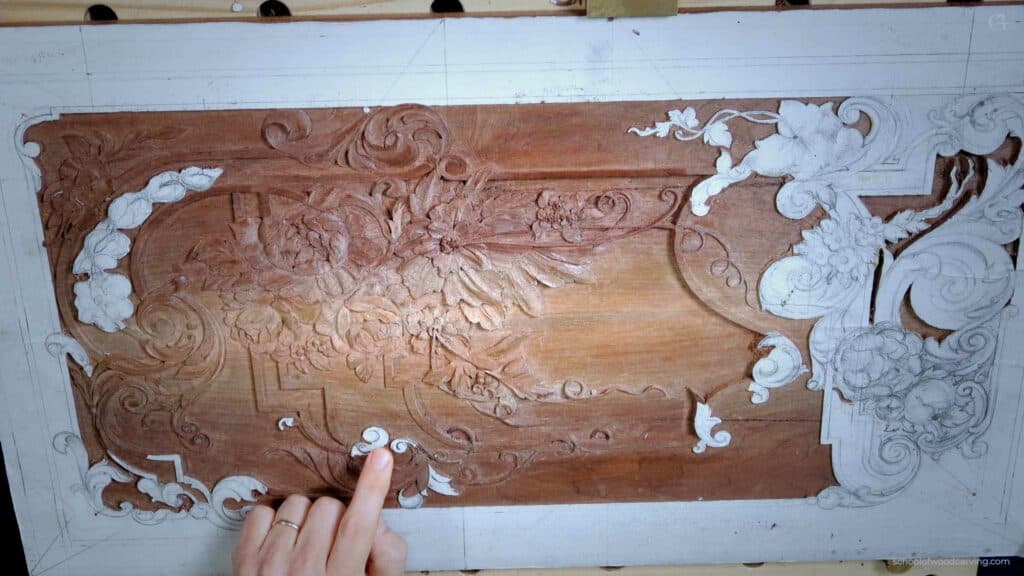
Alexander Grabovetskiy, woodcarver, School of Woodcarving · Published 2024
What is a slicing cut in wood carving?
Quick answer: A slicing cut is one where the edge travels sideways along the wood at the same time as it travels down into it. Only a small part of that edge does any work at any moment, so the fibres part in front of the corner rather than being crushed under the whole width of the steel.
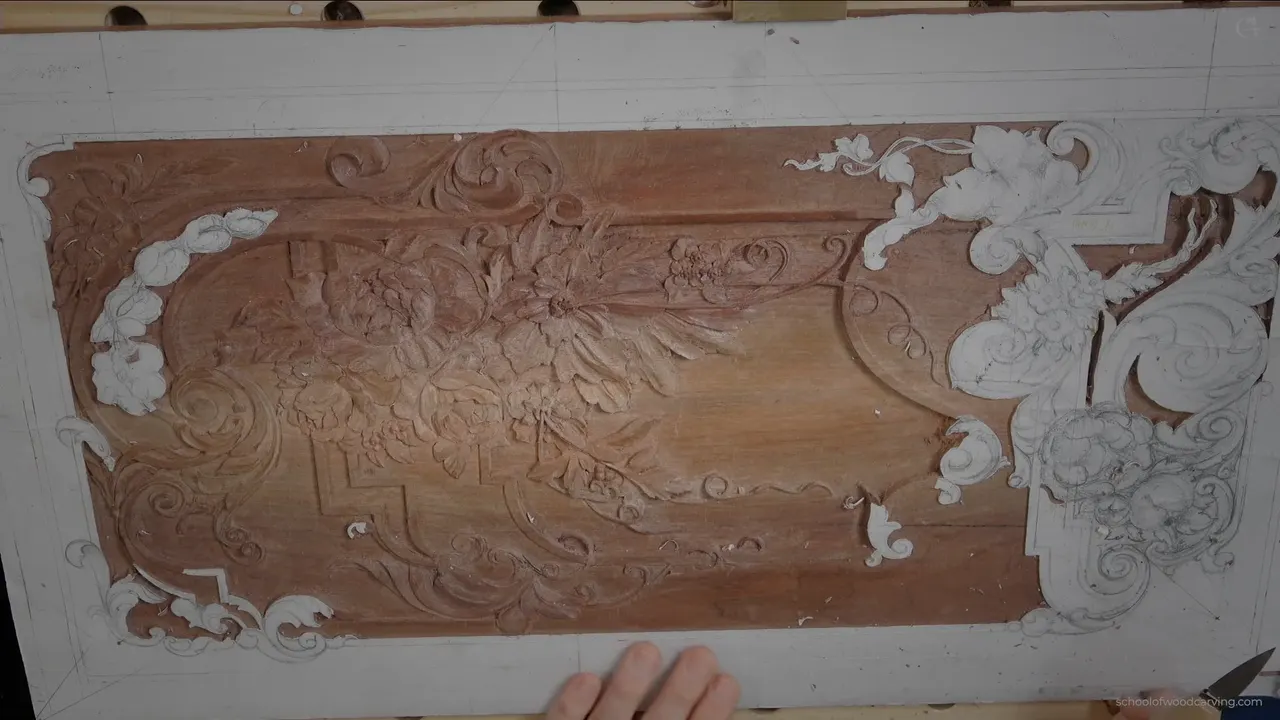
Drive a gouge straight into walnut and the whole width of its edge fights you at once. Roll that same tool sideways while it goes down and one corner is doing everything. Fibres part ahead of the corner instead of collapsing under it, and the wall left standing behind needs almost no repair afterwards.
I say it out loud nine times in this lesson. I am slicing.
Not nagging, either. A student of mine found the words for it years ago, better words than I had ever managed on my own, and I have been borrowing his picture in every class since.
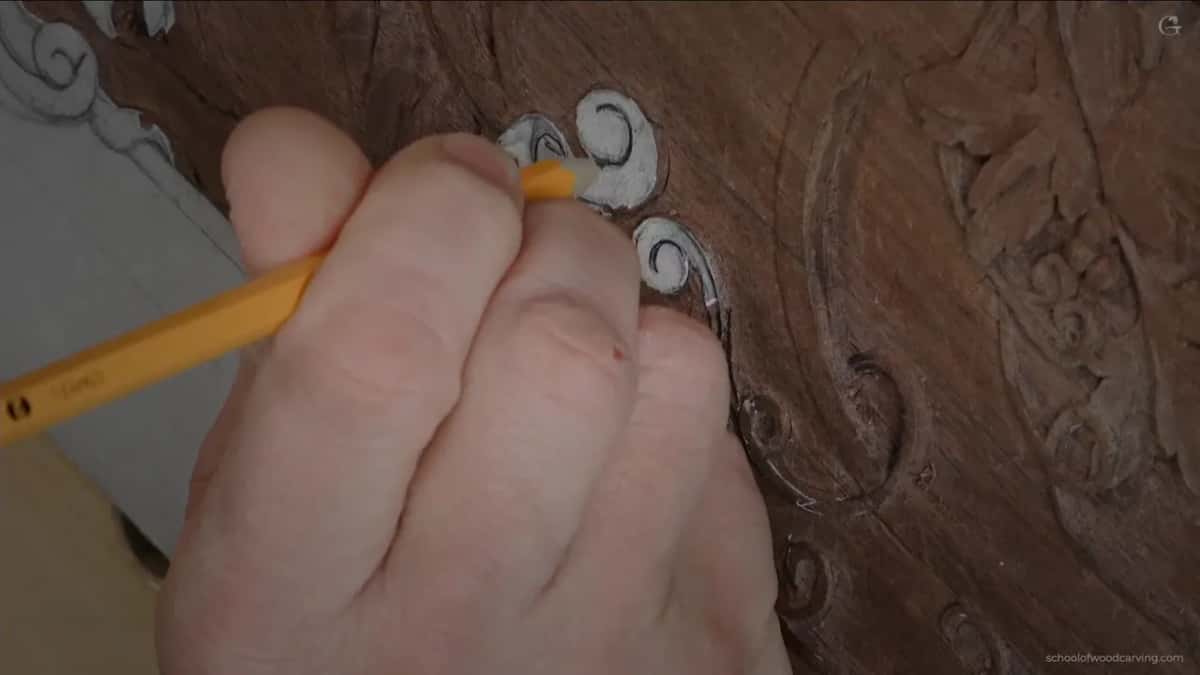
What the sideways edge buys you
- A corner in the wood beats a full edge in the wood. Less steel touching it, so a great deal less to push against.
- That first relief line gets carved away later. On purpose, because the waste needs somewhere to fly.
- Two millimetres of leaning wall reads as a slanted volute from across a room. No slant was carved at all.
- The narrowest number 11 I own, half of one millimetre, is what no furniture maker manages without, and it never travels below the ground.
- Against the grain happens on a complex design. Sharp steel survives it. Nothing else does.
- A knife used as a scraper takes the facets off shallow work, which is how furniture got finished long before sandpaper existed.
Why is slicing easier than pushing straight down?
Less of the edge sits in the wood at any one instant, so your arm has less to overcome. Simple as that, and you feel it in your shoulder within ten minutes.
A man who came back to my class more than once at the Marc Adams School of Woodworking handed me the picture for it. Driving a tool square into the fibres, he said, is climbing a mountain by walking up the face of it. Slicing is taking the passes. Same summit either way. One of the two you can actually do.
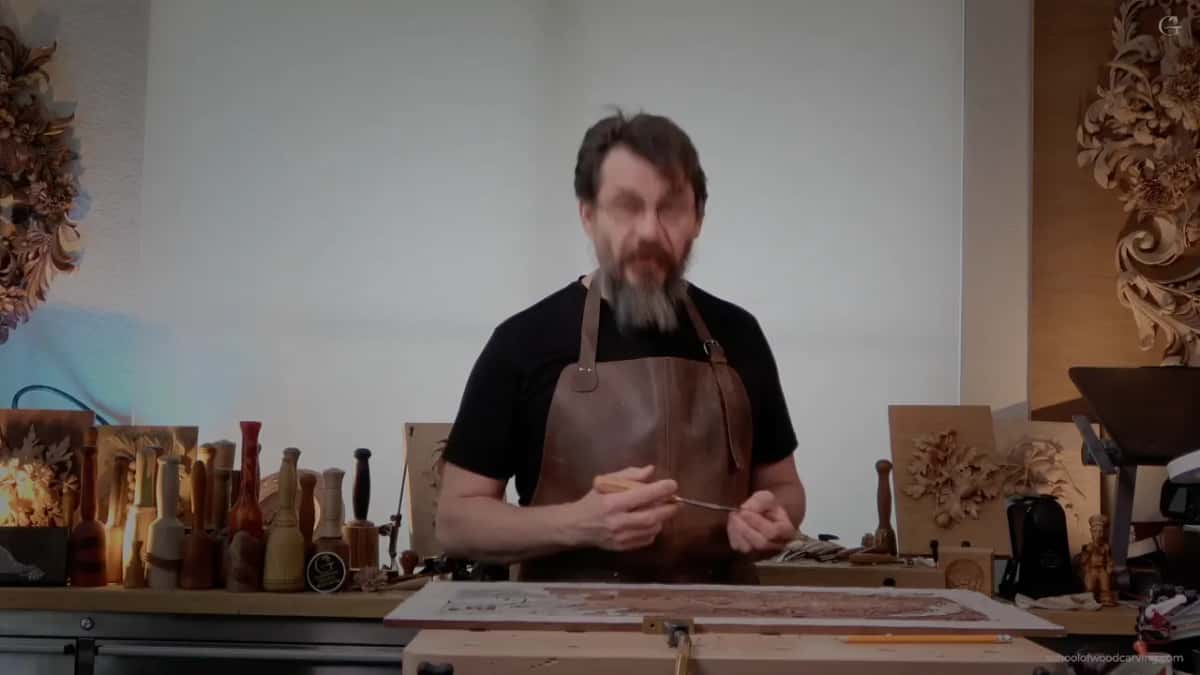
Written down it sounds obvious. Watch somebody new at a bench, though, and they push. Every single time. Pushing feels like effort, effort feels like progress, and the ruined wall only turns up later.
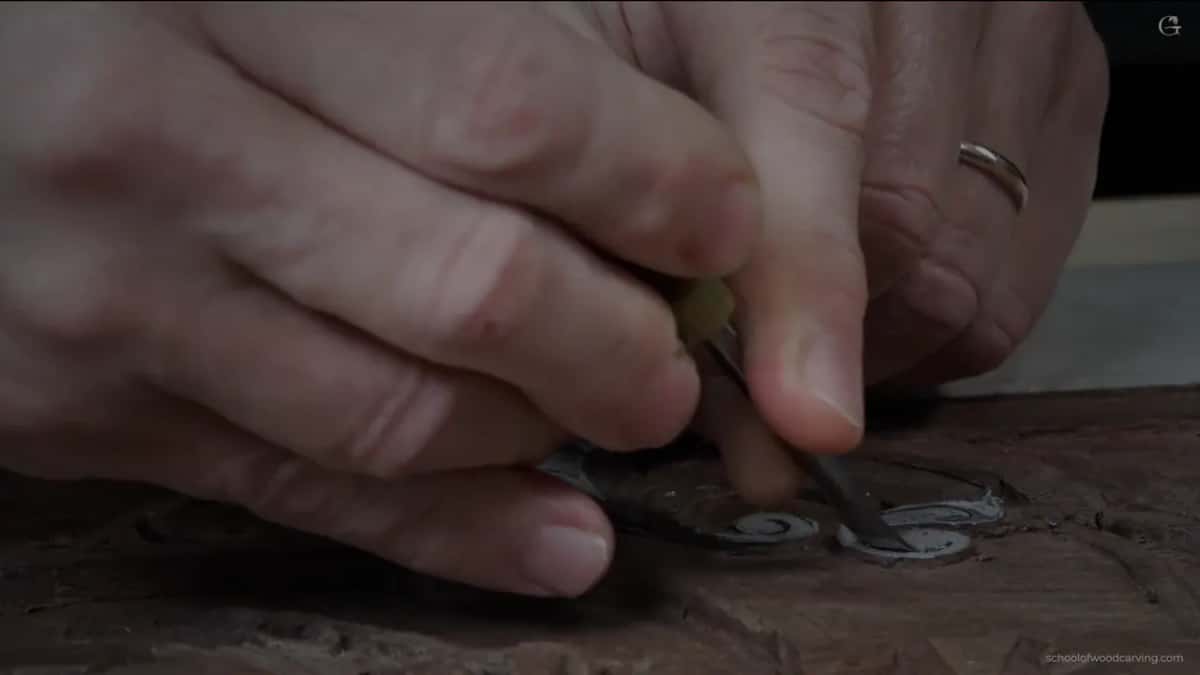
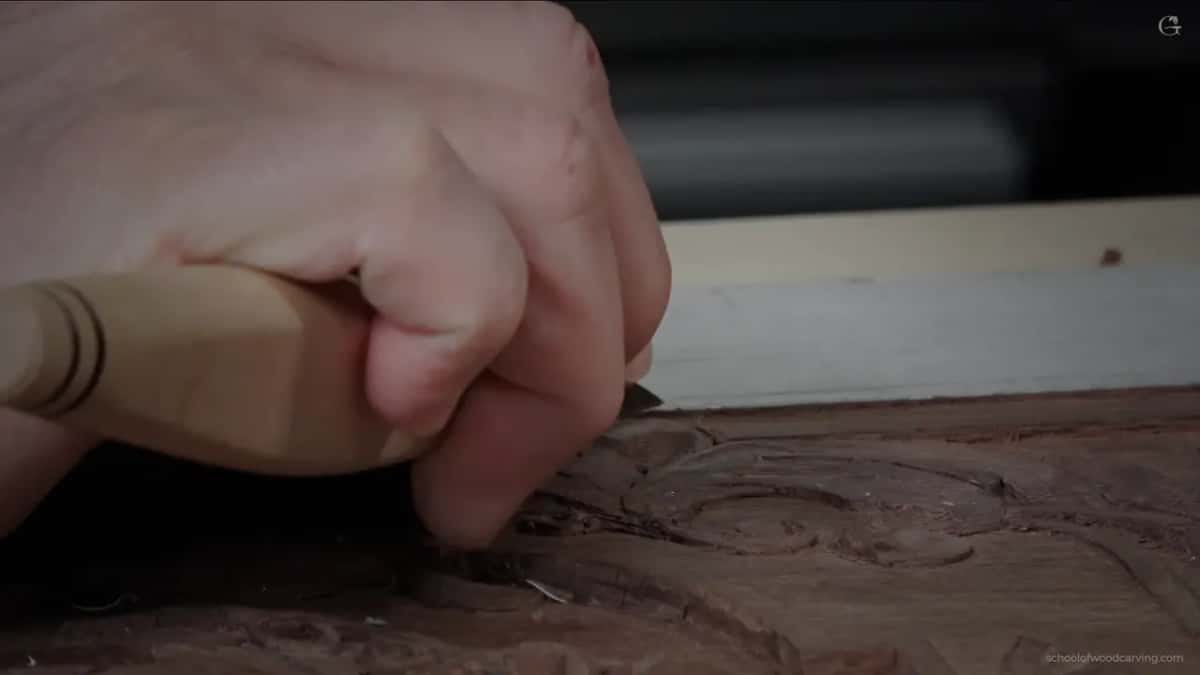
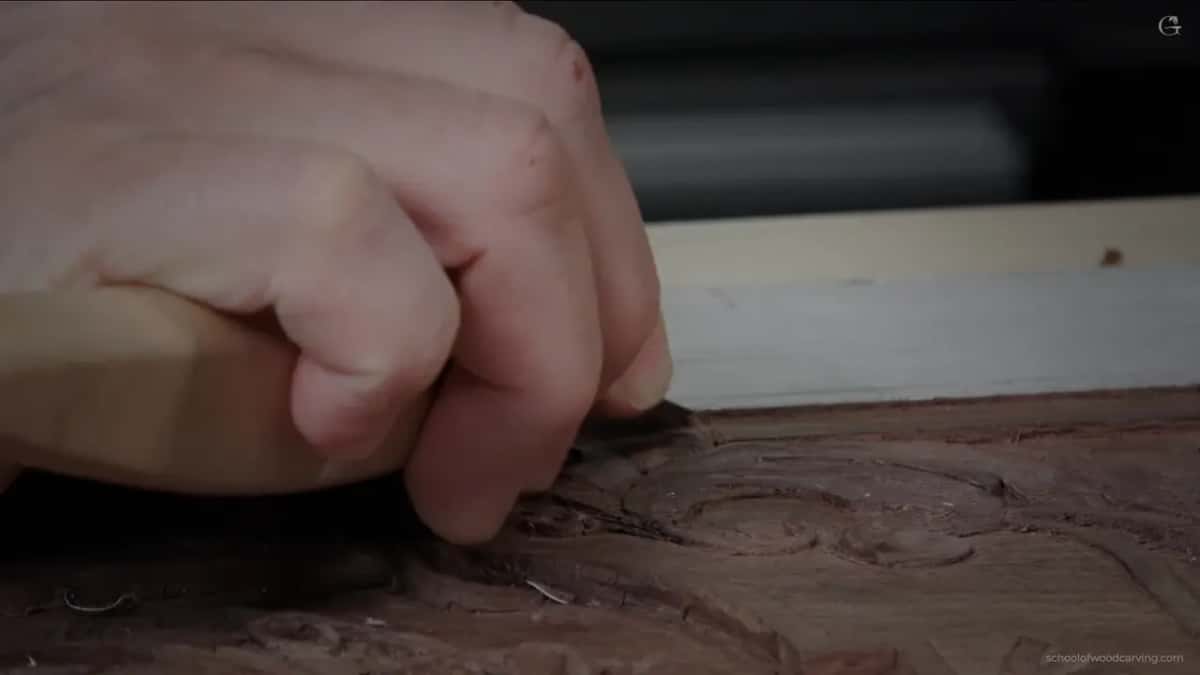
Watch my hand on the close shots instead. I begin at the left end of a passage and walk the gouge along toward the cut already sitting there, one short bite after another. Going that slowly leaves a far better wall than one confident sweep ever has.
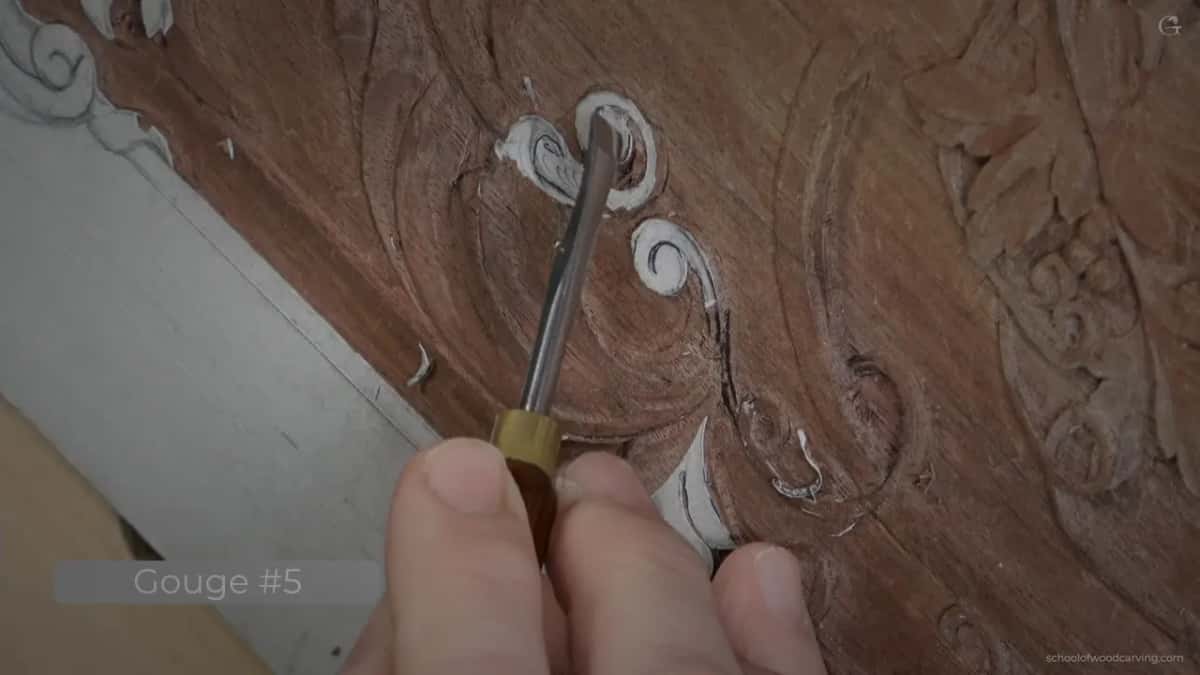
Which part of the edge should be in the wood?
One of them, never both. My right hand point does nearly all the work on a gouge, and the resistance drops away the instant the rest of that edge comes off the wood.
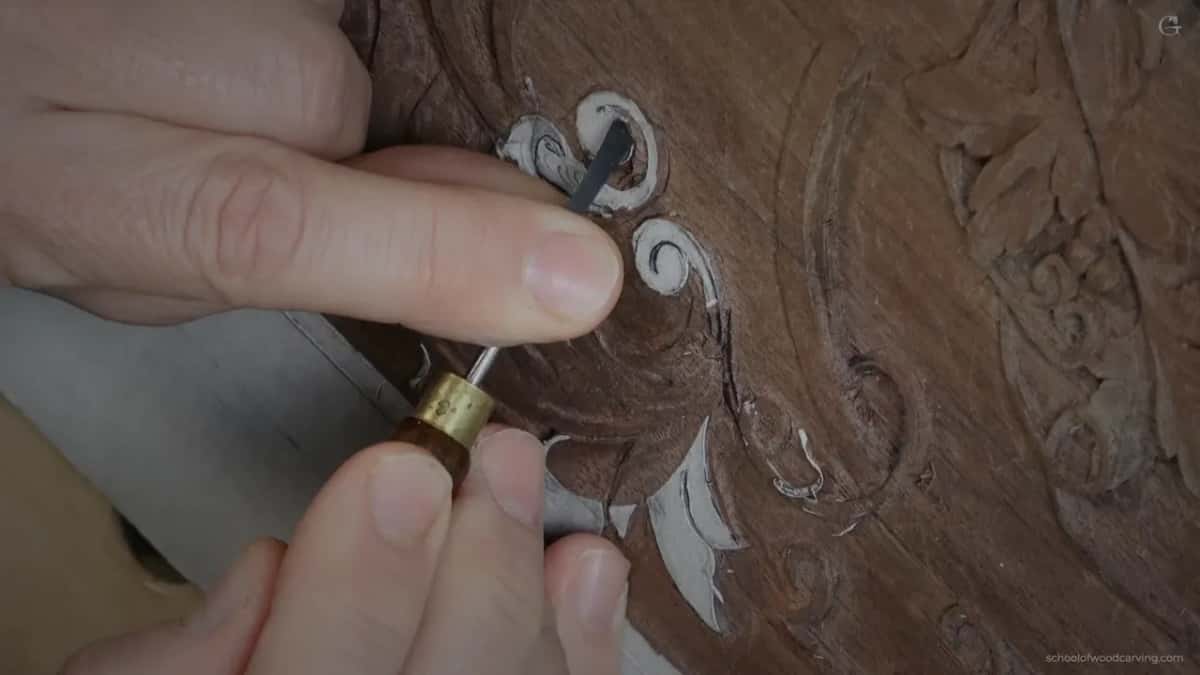
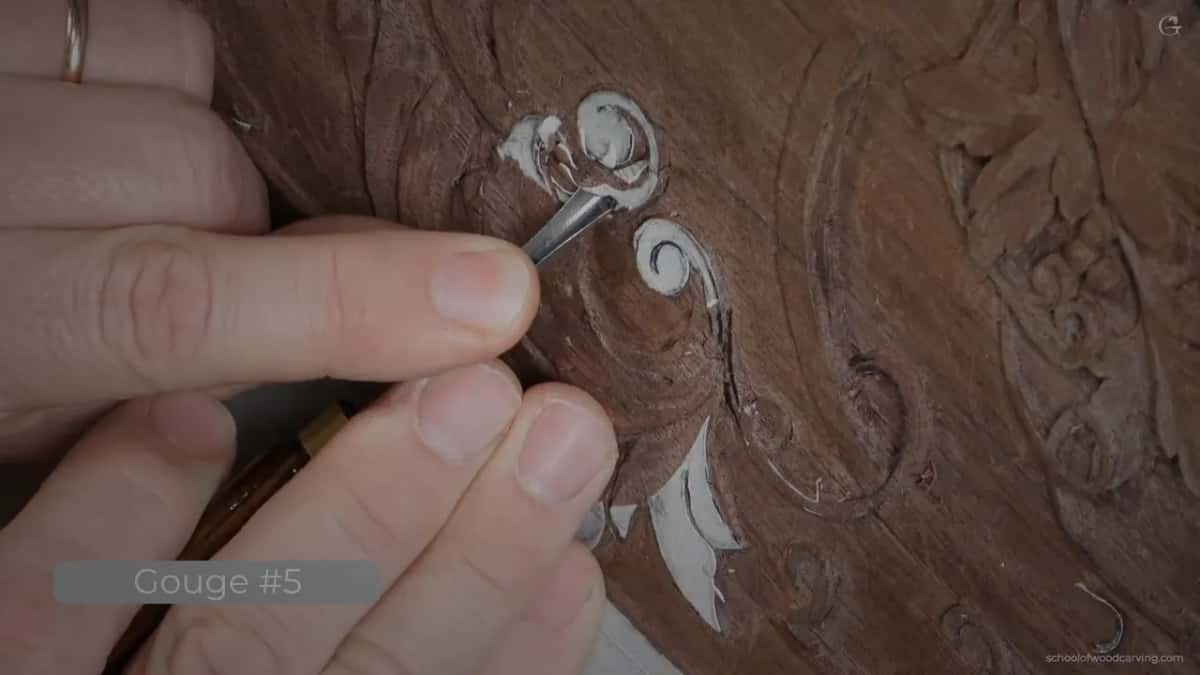
Tool size follows the same reasoning. A number seven and a number five give me much the same result on a lobe this small, so I take whichever came off the strop cleanest, and the workshop on gouge size walks through how that choice actually gets made.
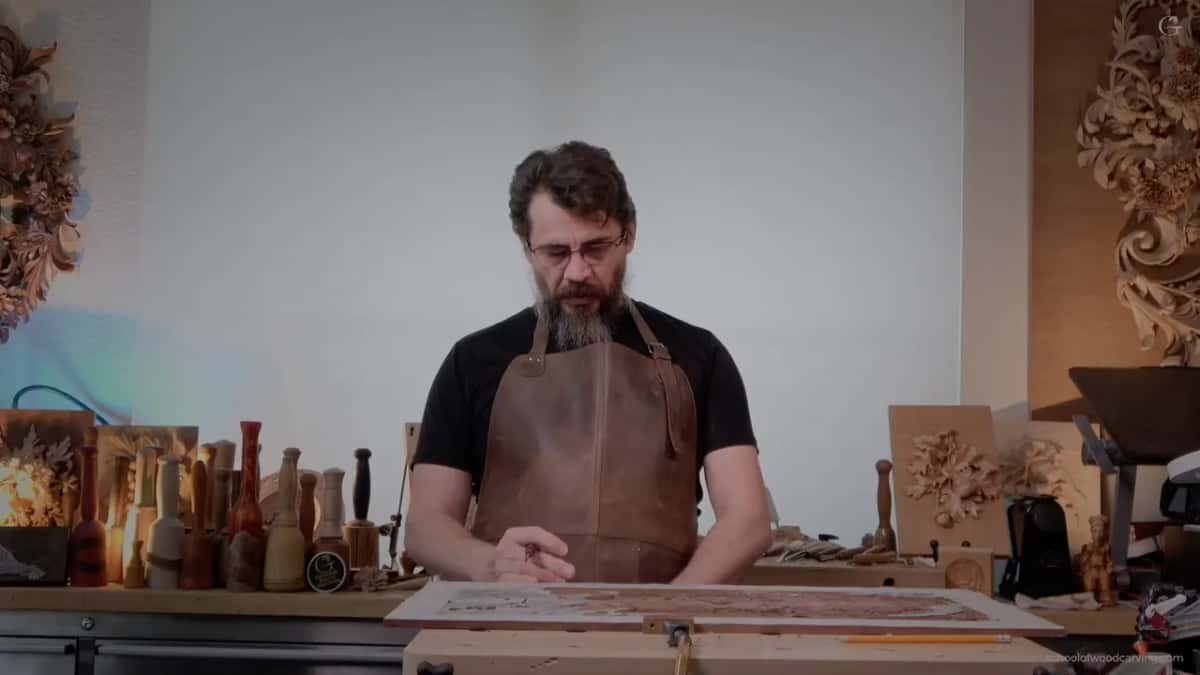
Why make an outlining cut you are about to lose?
Fibre logic. My first pass with a two millimetre veiner runs along the line and most of it disappears under the next tool, which looks wasteful until you carve without it once.
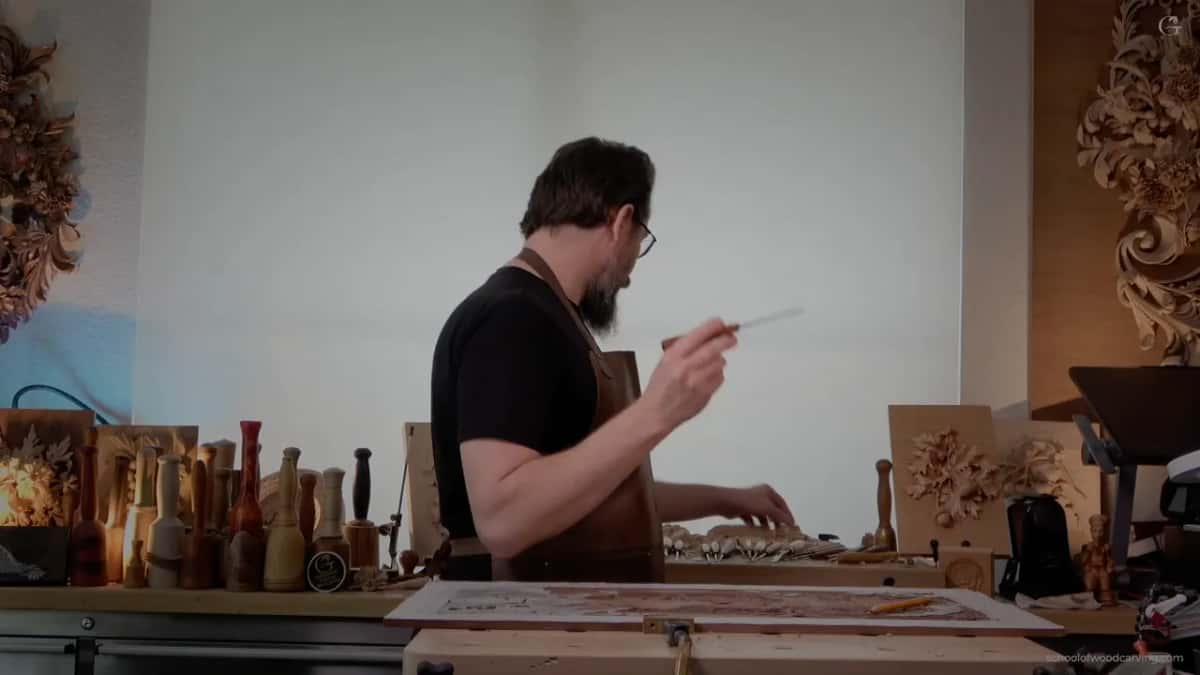
What that pass removes is room. Whatever comes next has somewhere to go, so I am not mashing shavings down into wood with nowhere left to move. The chip lifts out free instead of being compressed into a surface I still need.
Where the two lines meet I set an intersection point early on. Not the final one. It has only to be accurate enough to tell me which way the slant is meant to run, and every cut after it gets measured against that mark.
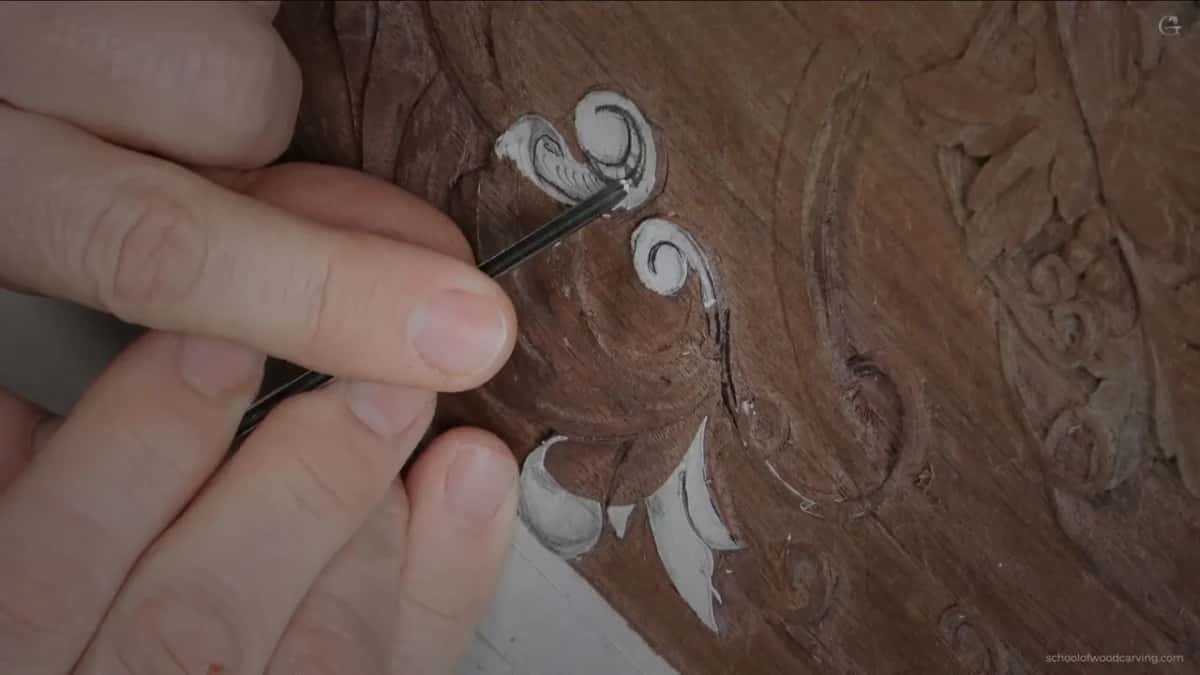
Under a millimetre deep. Barely anything at all. It still decides how clean the next four cuts come out, and that is the whole argument for a pass you will not see again.
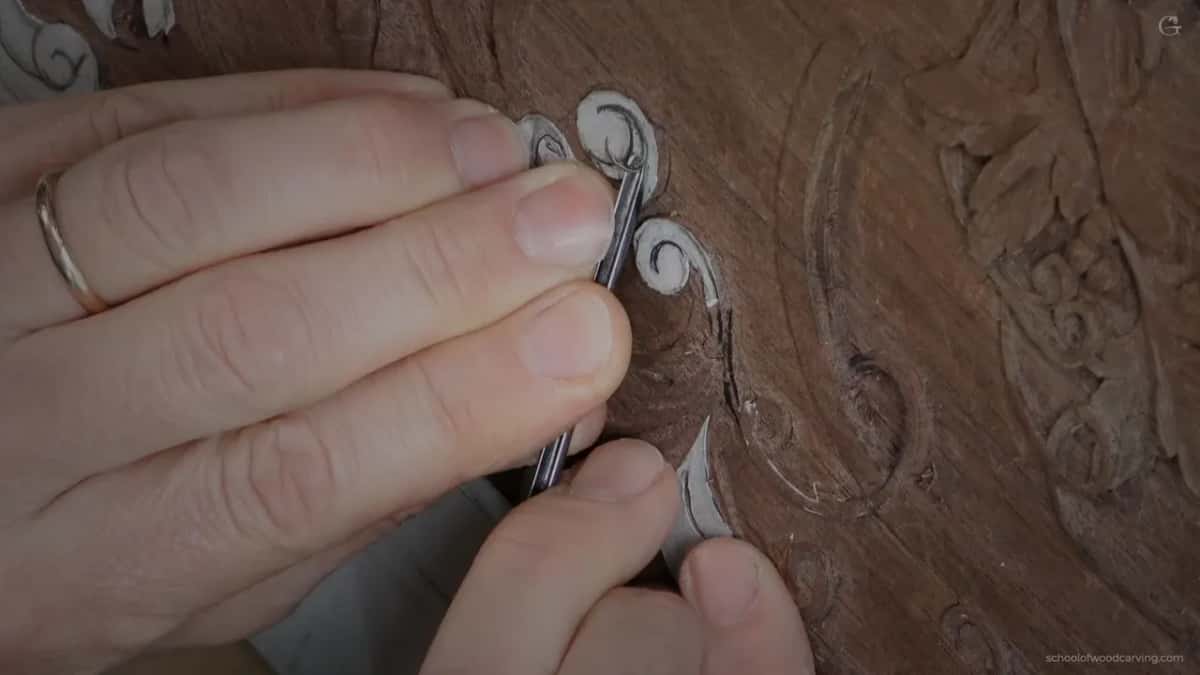
How do you make a volute look slanted without carving a slant?
Lean the wall rather than the surface. Everybody expects the honest answer to involve carving the whole lobe down on an angle, and at this scale that would waste most of an afternoon.
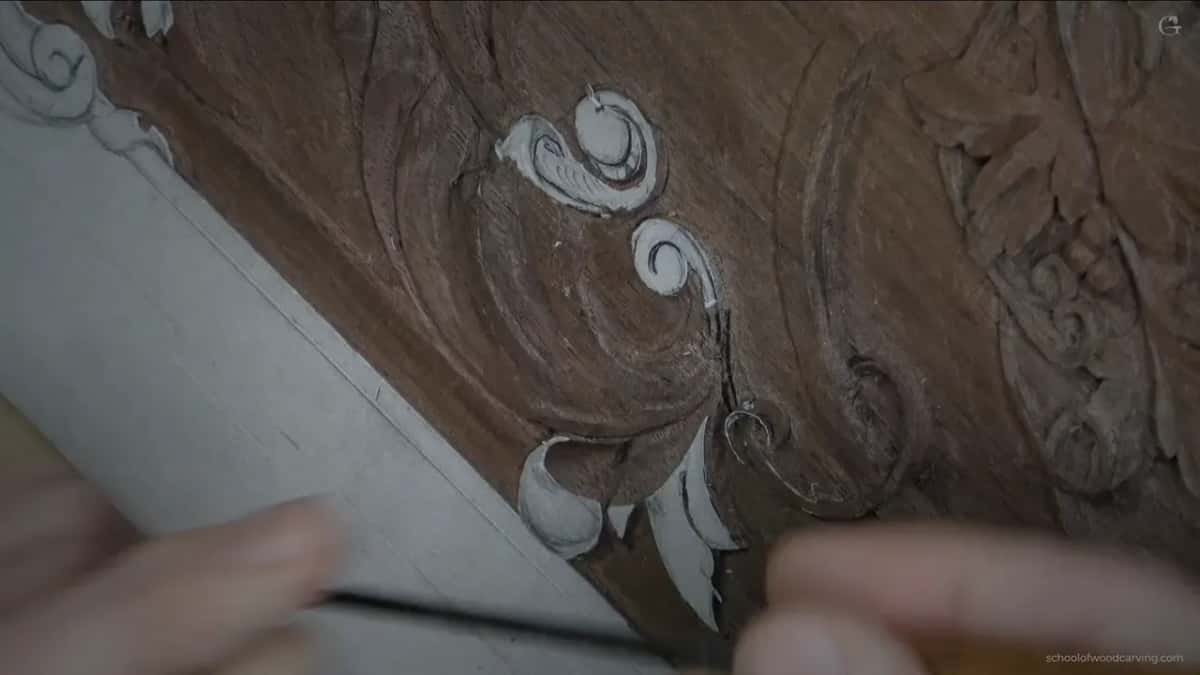
Easiest route here would be a relief cut at ninety degrees to the face, then a number seven run round to clear the waste. Works fine. Looks flat. So I brought the tool over to roughly forty five degrees and carved on that angle instead, which leaves extra wall standing where a square cut would have taken it away.
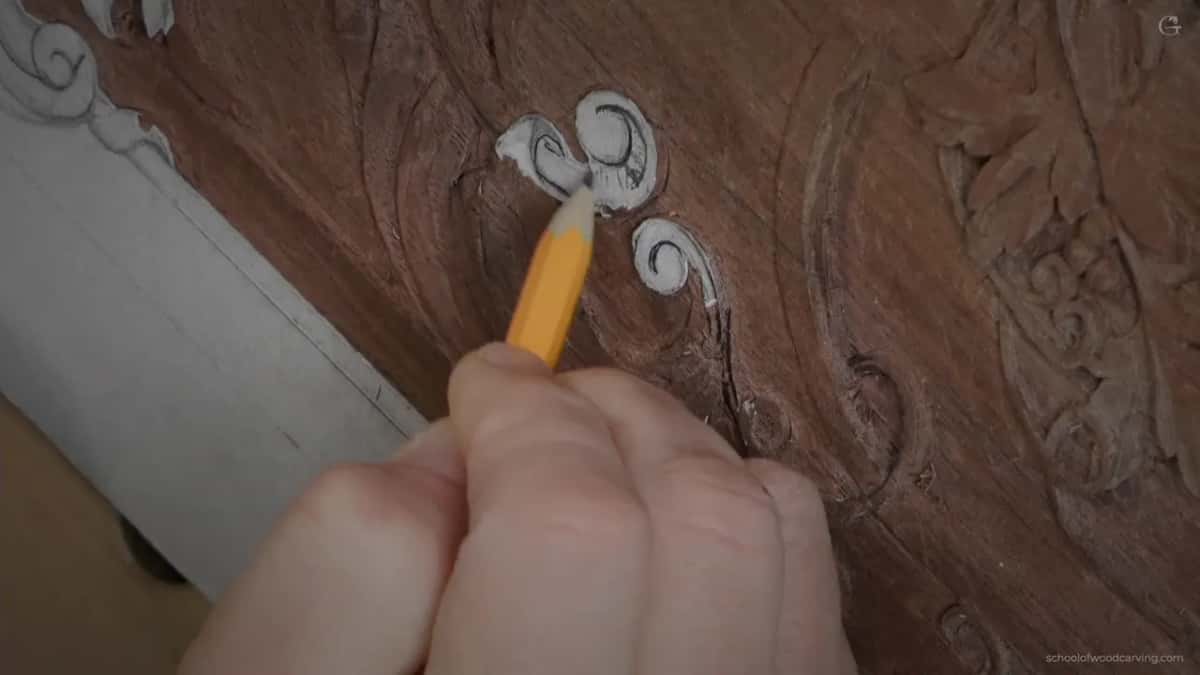
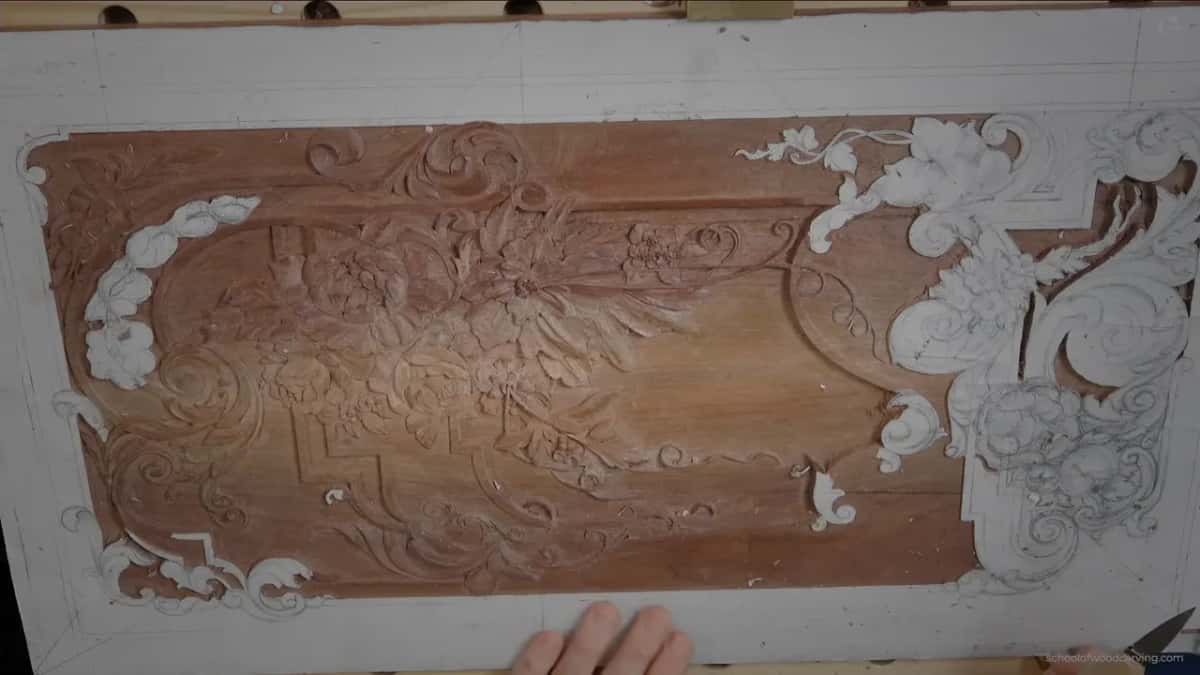
From any normal viewing distance that leaning wall is a slant. I marked about two millimetres for it, an eighth of an inch or a shade under, and the rest of the lobe stays concave so the acanthus can wrap round behind it.
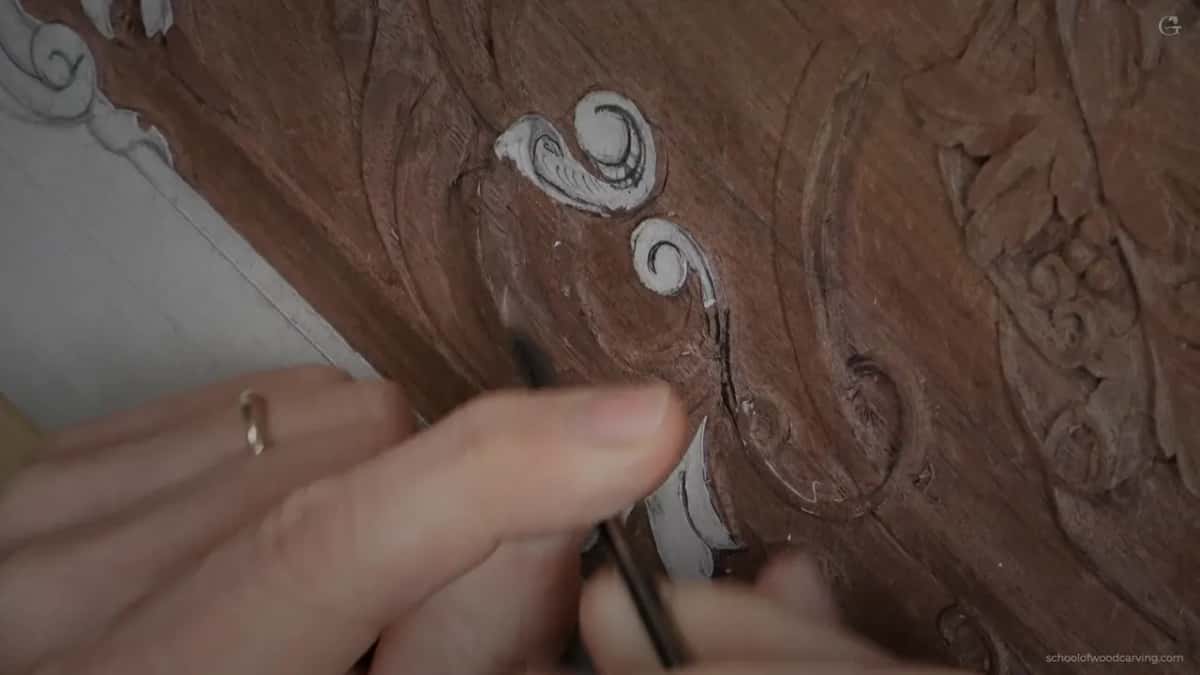
Looking down from above you will not see any of this, which is rather the point. Sight along the panel from the side and the surface falls gently toward the background. Not much. It does fall, though, and light landing on a falling surface behaves nothing like light landing on a flat one.
Number 3 at six millimetres takes that wall the whole way down, and I put the camera into slow motion there so you can see from the side what slicing looks like. Less resistance. Cleaner face. Same stroke repeated eleven or twelve times over.
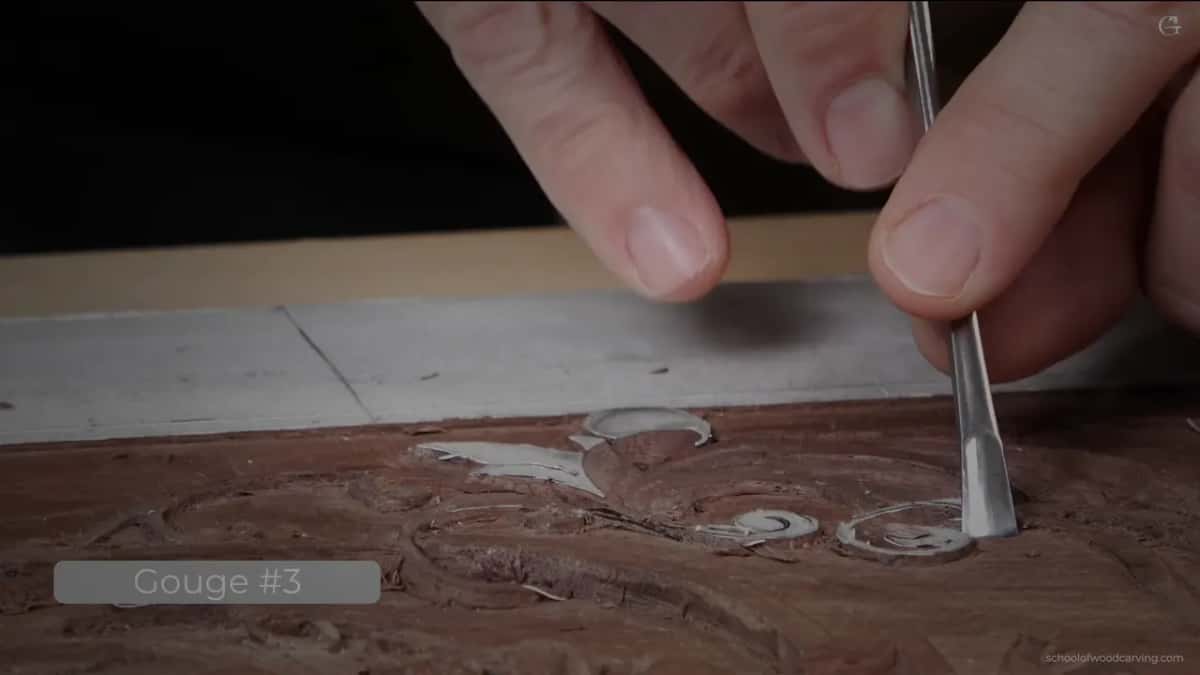
The second lobe gets the same treatment turned the other way about. Opposition on this panel has a workshop of its own, and the reason one volute came out smaller than its neighbour lives in the design course rather than here.
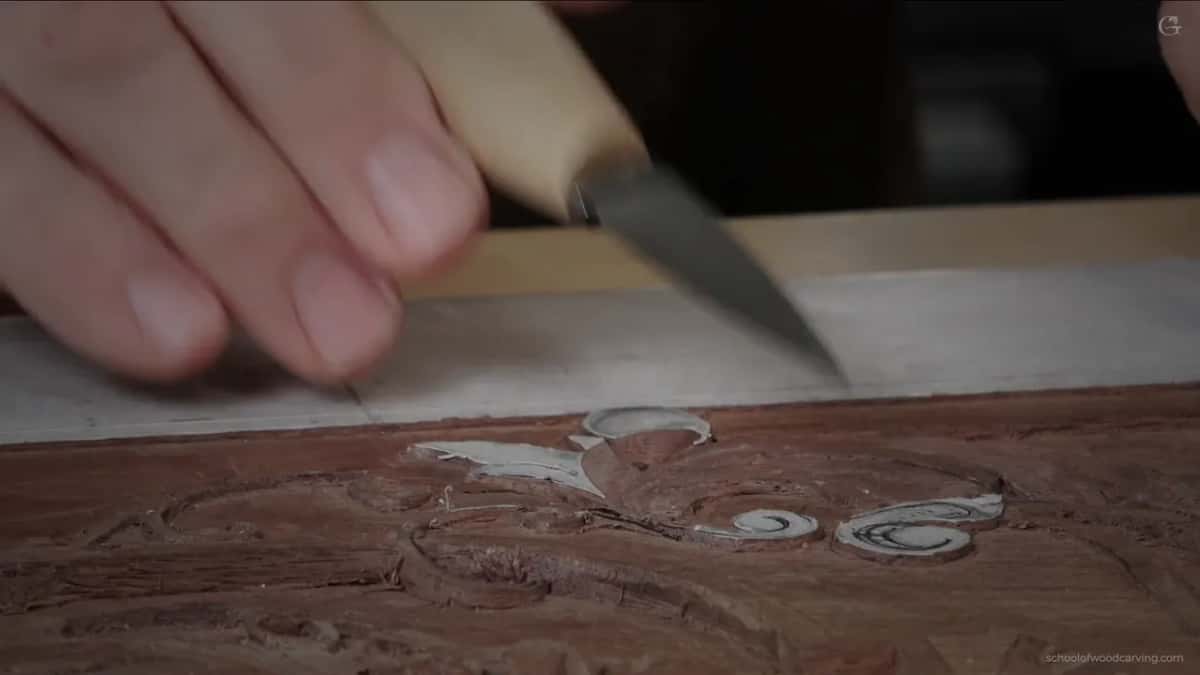
Outside of that second volute I picked up a knife instead, with the thumb of my other hand parked behind the blade doing the pushing. Carefully. Carefully. Half of what comes away there is paper pattern and the rest is a hair of walnut.
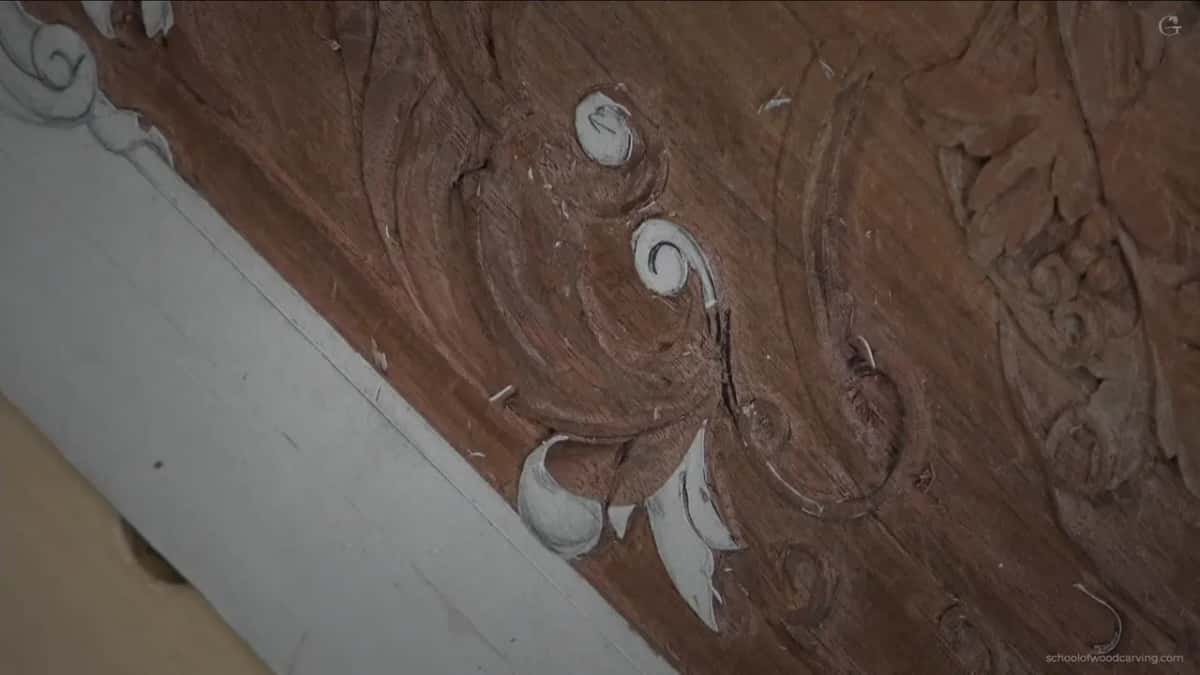
Every tool that touched this corner
| The tool itself | Size | What this one did on the corner today | Why I chose it |
|---|---|---|---|
| Number 11 veiner | a narrow one, two or two and a half | The relief line | Narrow enough to stay well clear of the drawing underneath |
| Flat chisel, a number 1 out of the Ashley Iles Peter Benson set, double bevelled | very small | Cutting the leaning wall, then running it downhill | Goes where aimed |
| Number 5 gouge | six millimetres across, which is a quarter of an inch | Everything from the wall to the line | Sweep close enough |
| Number 11 | the smallest, under one millimetre | Undercutting, plus the shadow that comes with it | Nothing else I own reaches in |
| Number 8 | about four millimetres | A hollow on each flank of the eye | Raises the convex between them without any convex being carved at all |
| Any knife | whichever one happens to be lying within reach on the bench | Scraping only | Takes ridges off |
The half millimetre a furniture maker cannot work without
Smallest veiner I own is a number 11, half of a millimetre wide, and my hand finds it more often than anything else on the bench. On furniture especially. You get an enormous amount out of a tool that narrow.
Laid over on its side it undercuts. Not far, maybe half of a millimetre, and no camera I have ever owned can show what happens next. A shadow appears under the edge, and the leaf stops being carved into the board and starts sitting on top of it.
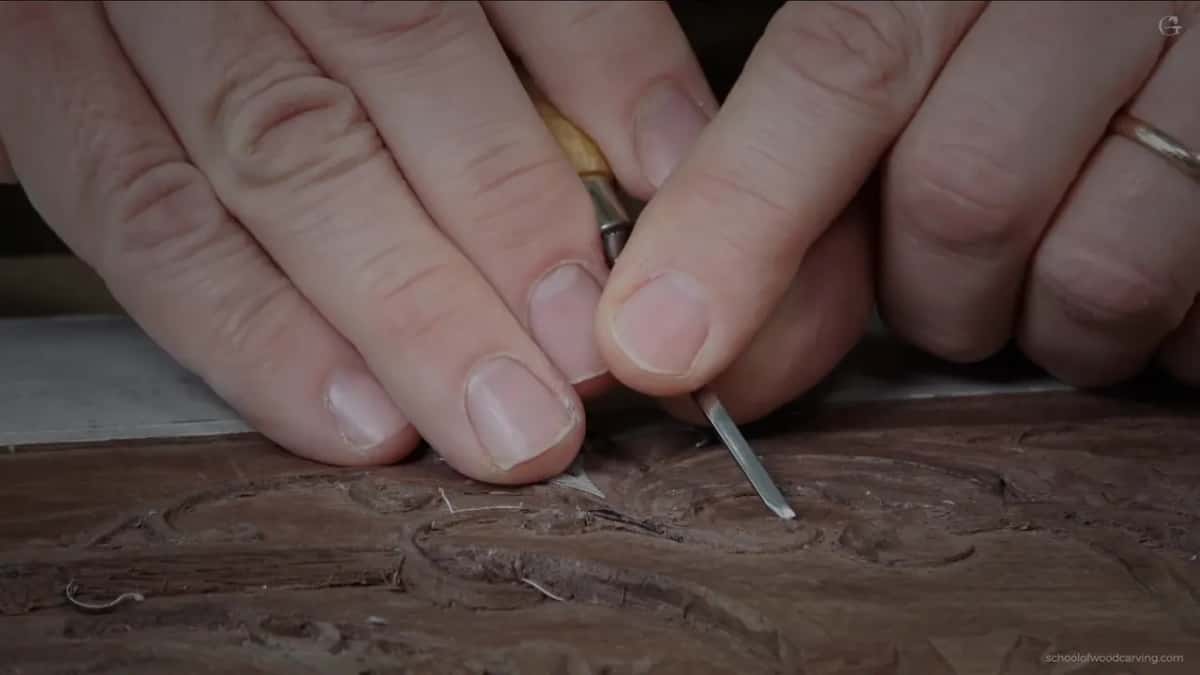
Then I stop and look, which is the moment all of this is for. The far side of the leaf gives up looking carved and begins looking like something passing underneath something else.
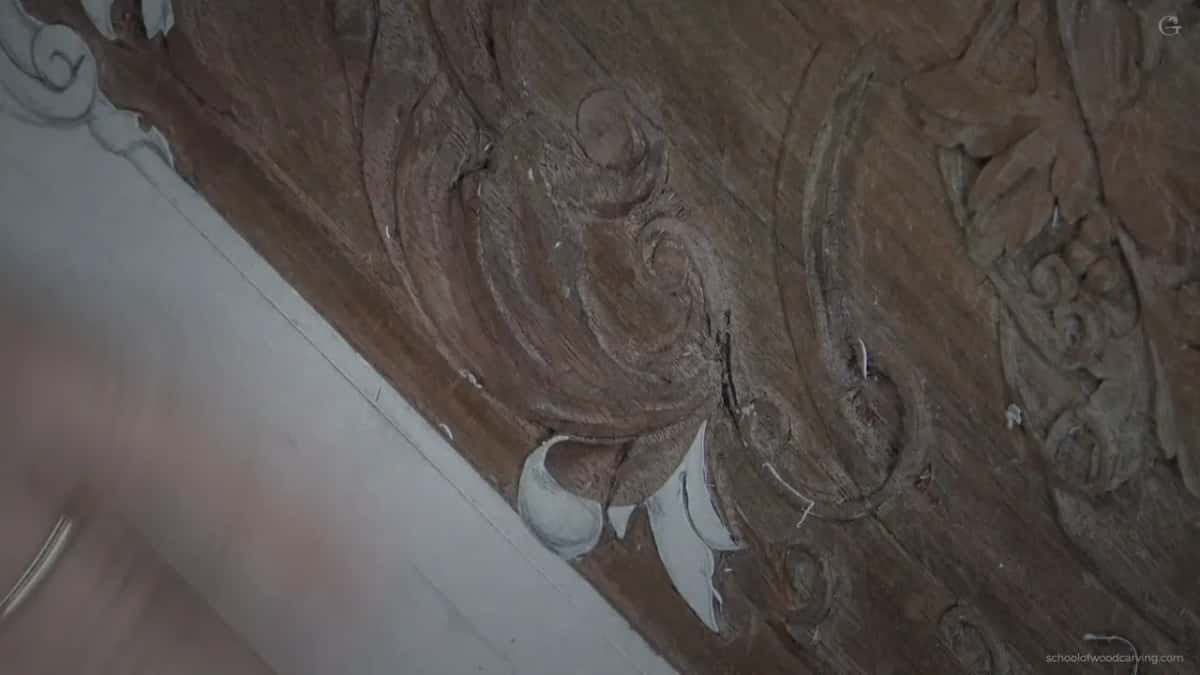
One rule with that tool. Keep an eye on how deep the background already runs, because the cut must never drop below the ground behind it. Never carving to the ground is the whole of the previous workshop.
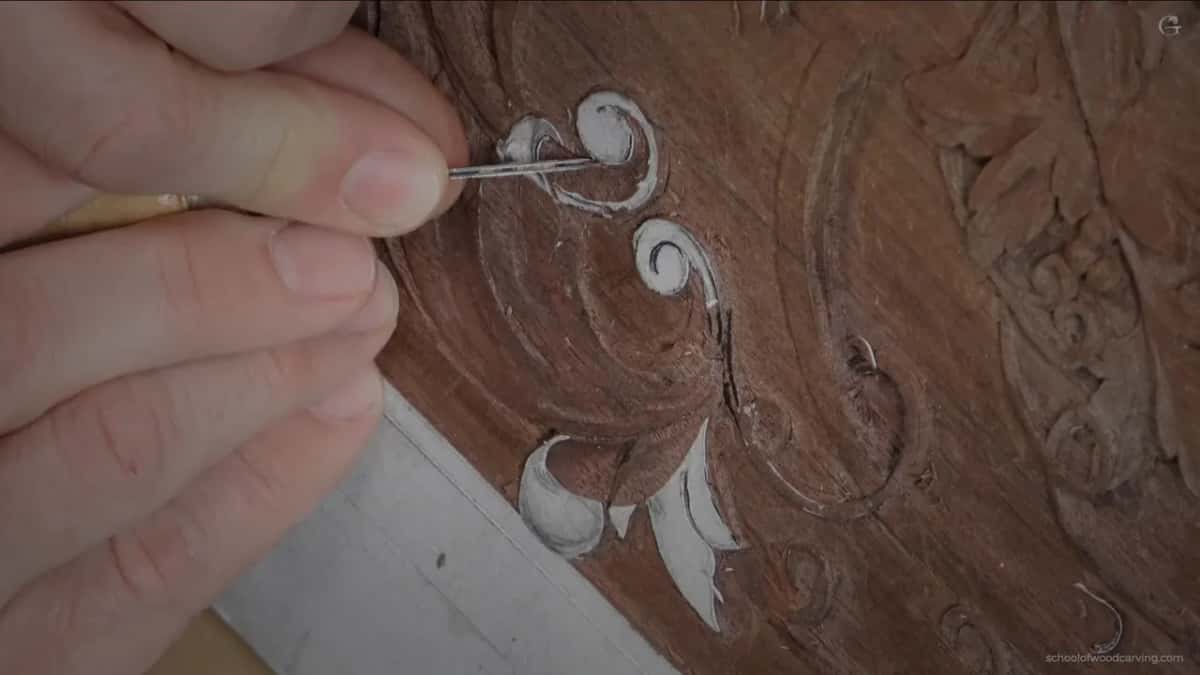
What do you do when the grain runs the wrong way?
Sharpen, then accept it. Working against the fibres is never a good idea, and a design with this much movement in it has corners where no other approach exists.
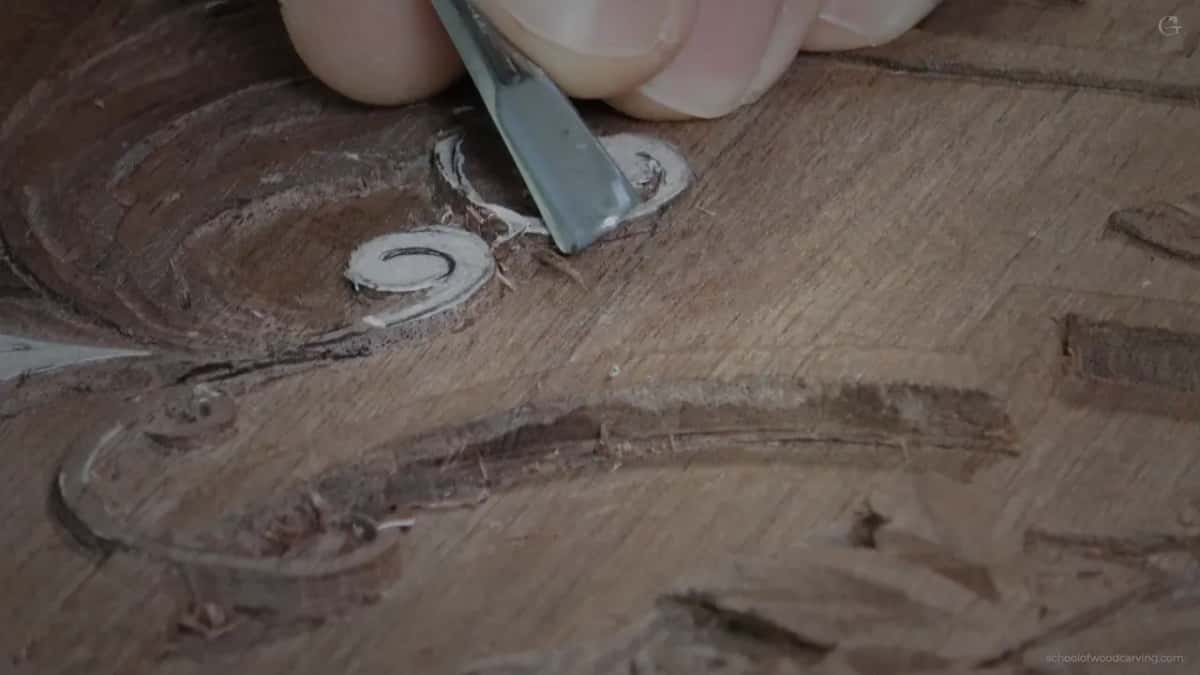
Sharp steel gets through. Dull steel tears, and then your afternoon is repair rather than carving. My sharpening course exists because of afternoons like that.
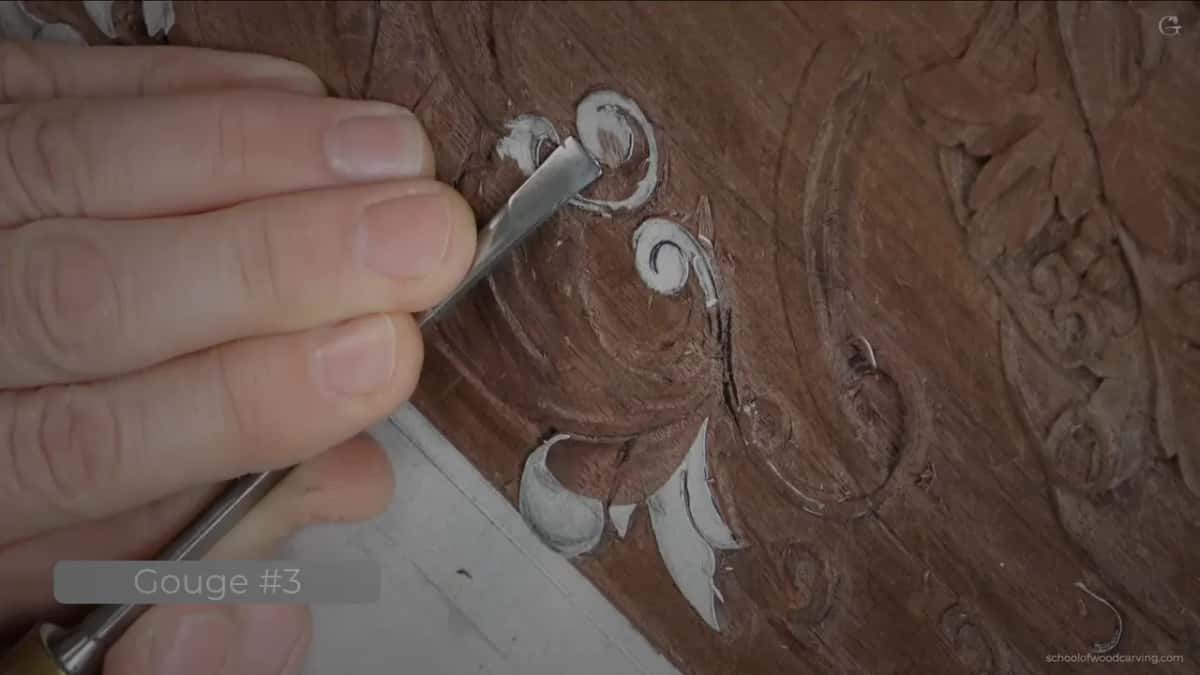
Often the slicing motion by itself rescues a passage that would tear under a square push. Begin at one end, use the corner, walk along in small bites toward whatever cut is already waiting there.
Pushing would have worked here too. Small area, forgiving enough material. I keep to the slice out of habit anyway, and habit is most of what the techniques library is really teaching anybody.
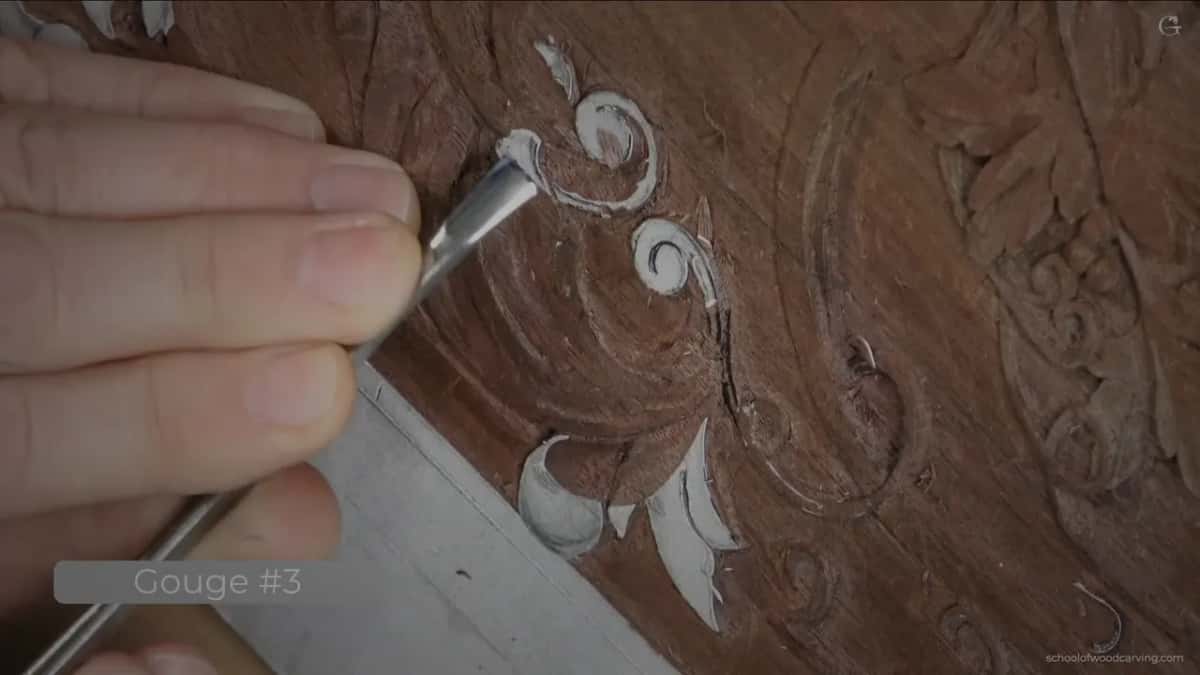
Where the eye goes, and why it must stand proud
Wherever two parts of an acanthus cross each other, that meeting is the eye, and in late eighteenth century work an eye always stands raised. Convex, to use the proper word.
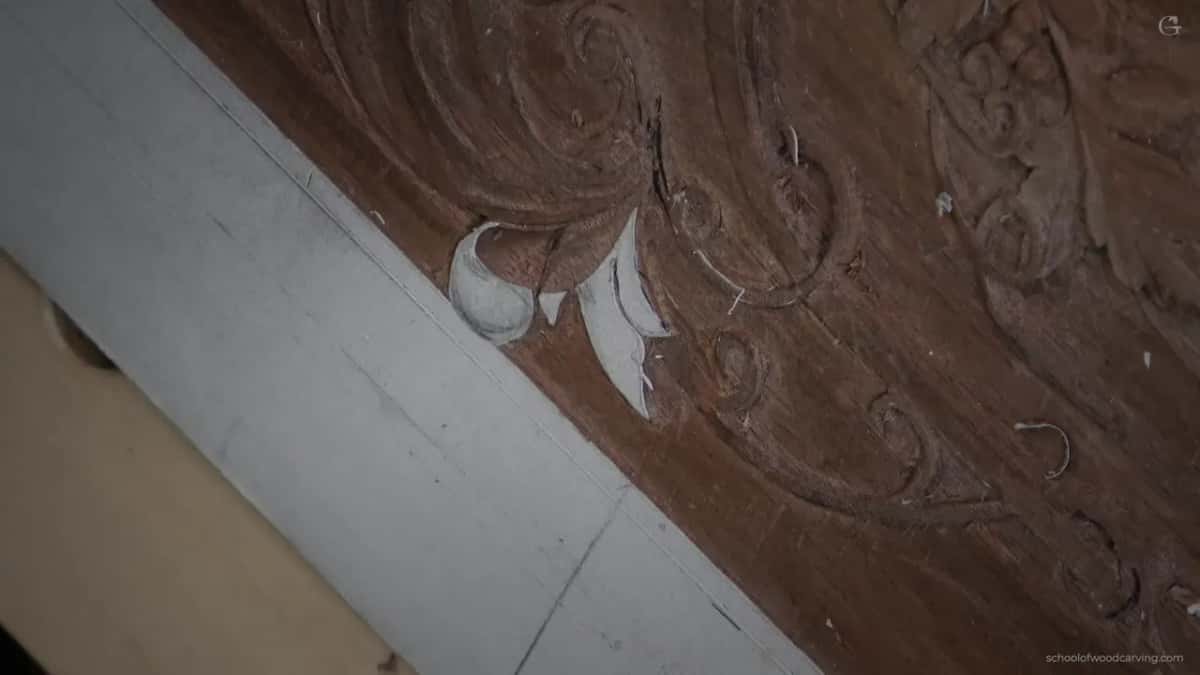
Nobody carves a convex directly. You carve a concave each side of where it belongs and the raised shape appears between them, which feels like a conjuring trick for about a dozen attempts and then stops feeling like anything much.
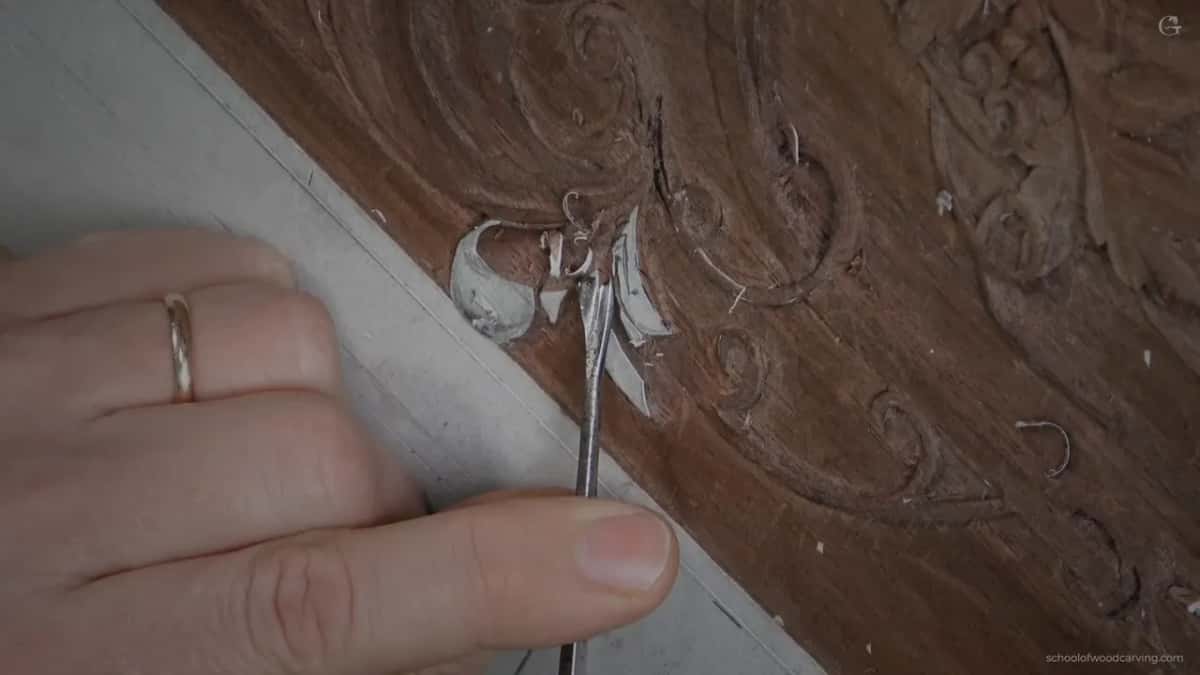
Number 8 at around four millimetres cut both hollows. Scale being small, I am not carving every movement a full size acanthus would carry, and there is no room on a lobe this size to try. Even here the small thing helps.
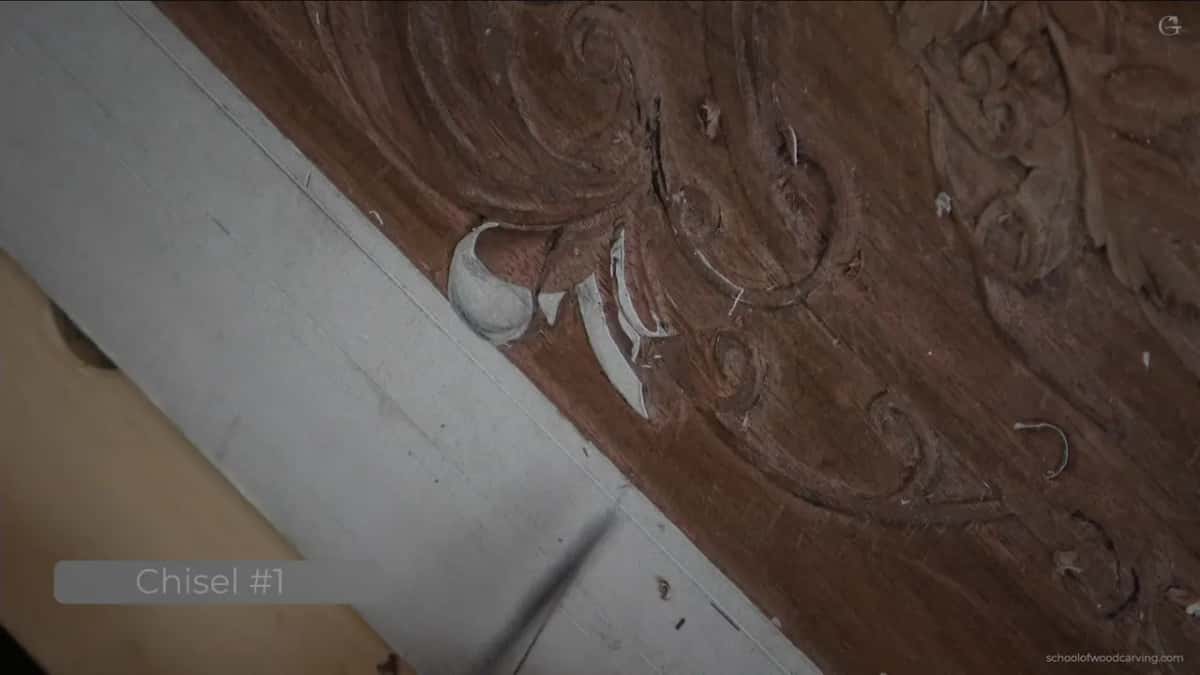
After that the upper part has to lie across the lower one. My number 1 goes in almost without taking material at all, slicing rather than pushing, and afterwards the leaf reads as two layers where it used to read as one flat shape.
Scale changes what is worth doing, never whether to do it. On a bigger panel I would put another concave inside that one, and the extra shadow it throws is something you can read from the far end of a room.
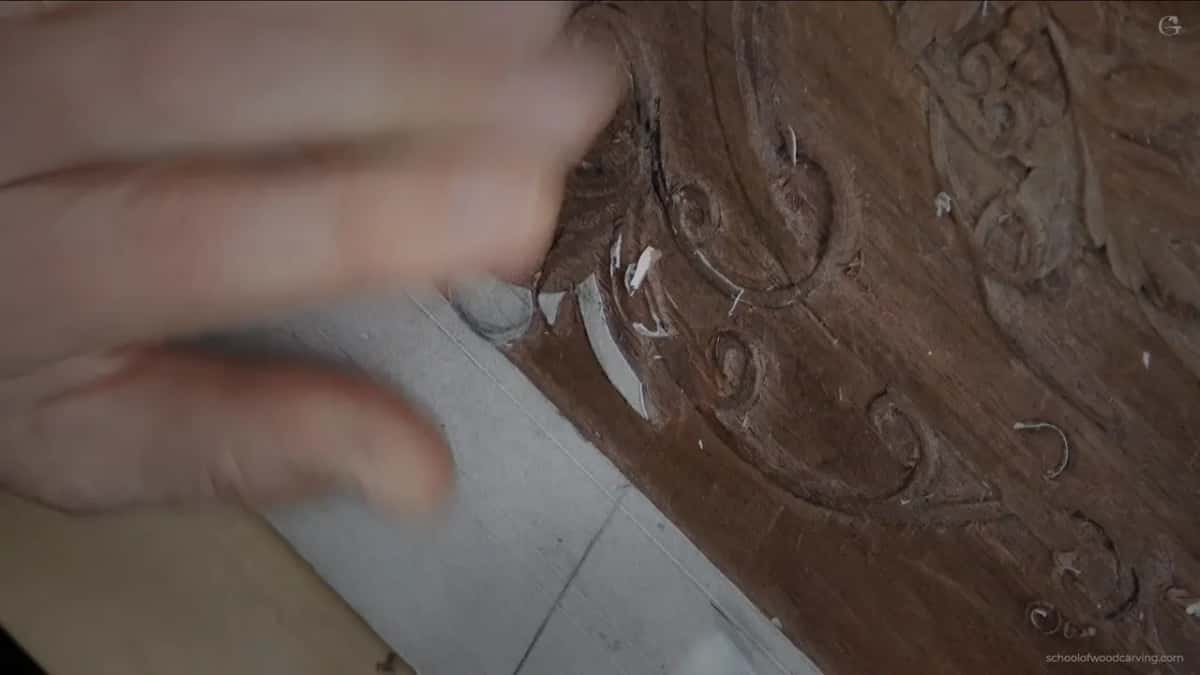
Blending closes it out. Number five held nearly flat, and by then I am agreeing with shapes that already exist rather than making new ones. Where two movements meet, the tool runs across the join until the join stops announcing itself.
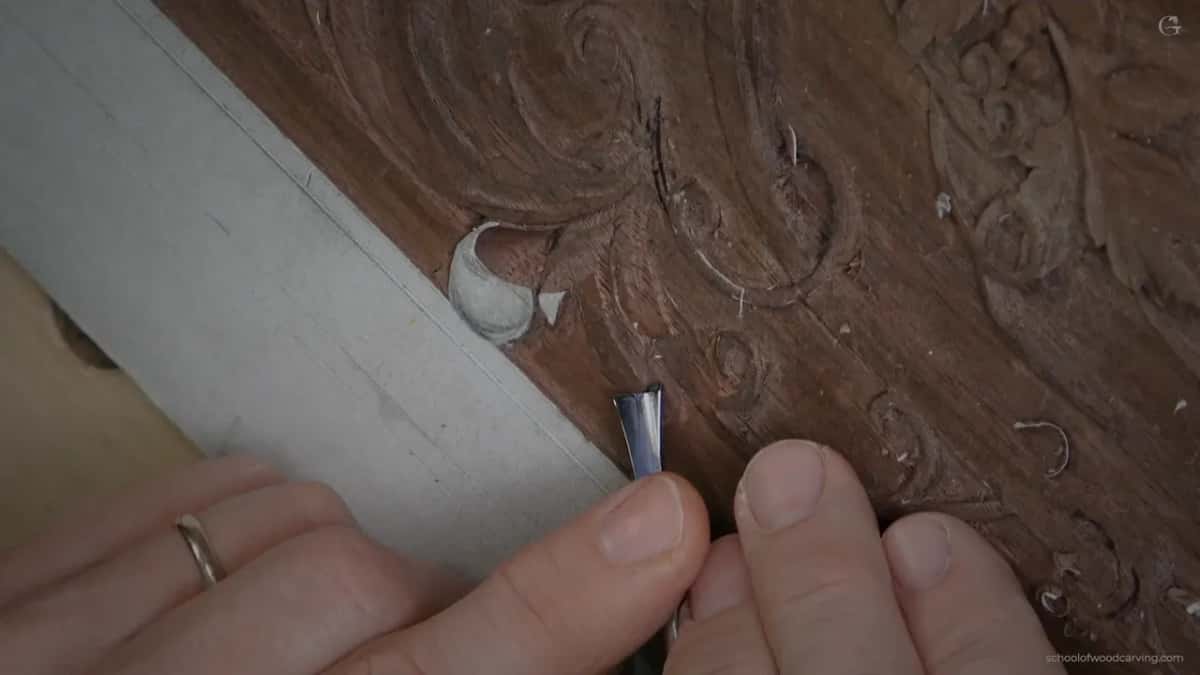
The line under the moulding has no second chance
Where this leaf reaches the moulding I cannot lay the acanthus over the top, since the moulding stands too high for that to look like anything. The leaf wraps round behind instead.
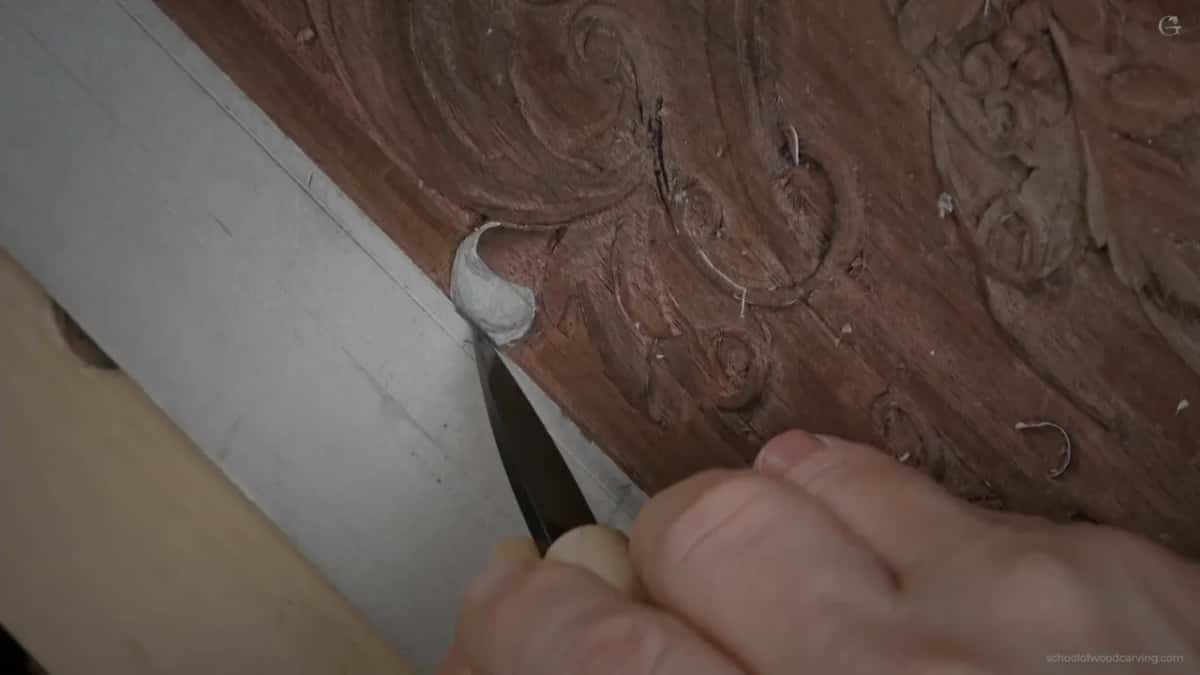
Any knife draws that line, and the line is the life of the moulding. Cross it and the moulding is finished. A few cuts along it, then the same knife lifts the acanthus away on the far side.
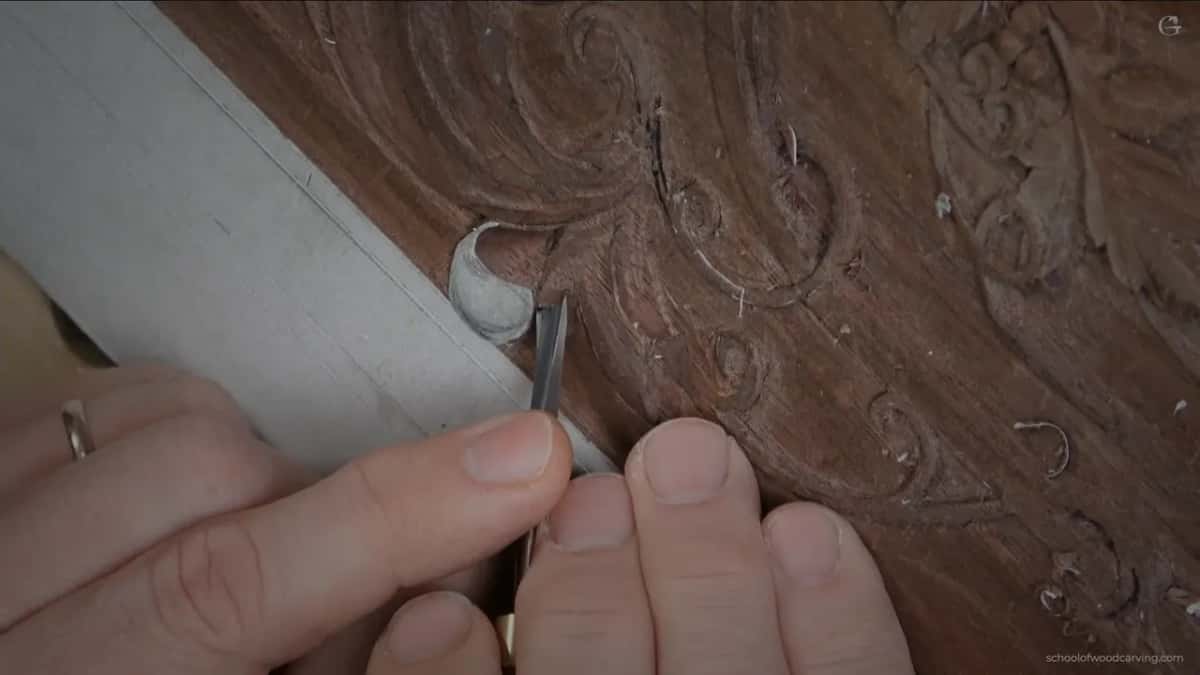
Number 3 at a quarter inch blends everything afterwards, worked from one side and then the other, with only the point of the tool ever touching wood. Acanthus over mouldings covers the problem on its own, since it turns up on very nearly every period piece ever made.
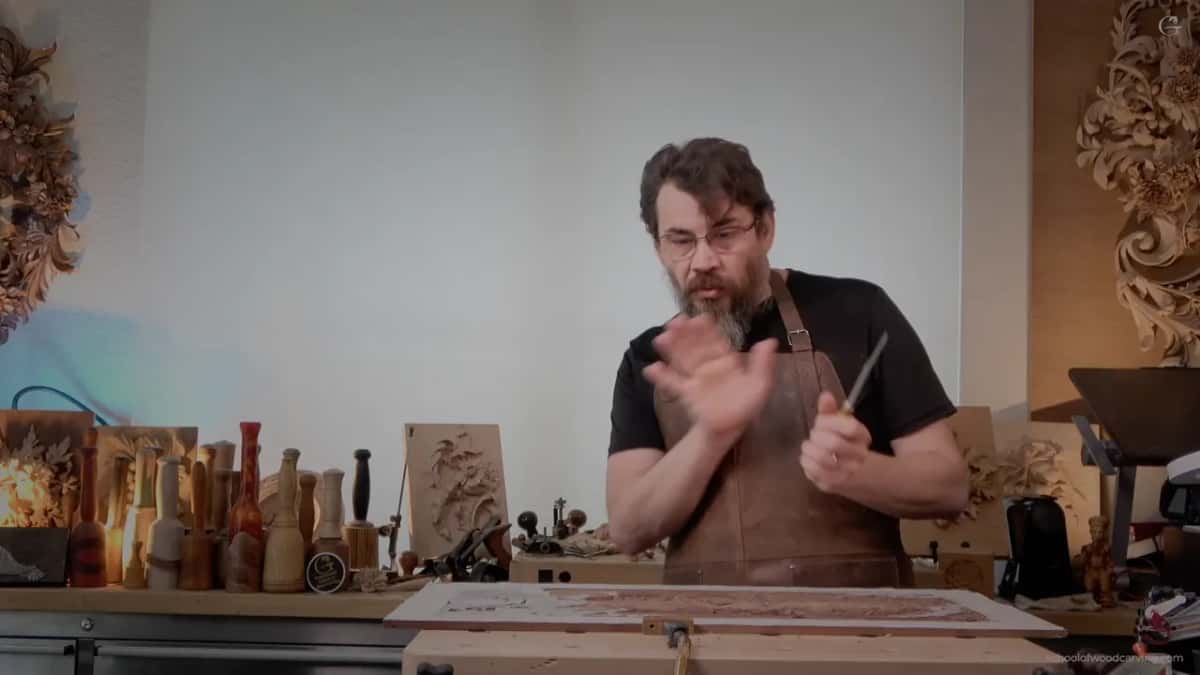
Scraping, which is how this got finished for three hundred years
Furniture makers love scraping and I have yet to meet an exception. Once the carving itself is right I go round the whole thing with a knife held almost flat, taking fuzz and facets down without removing any shape.
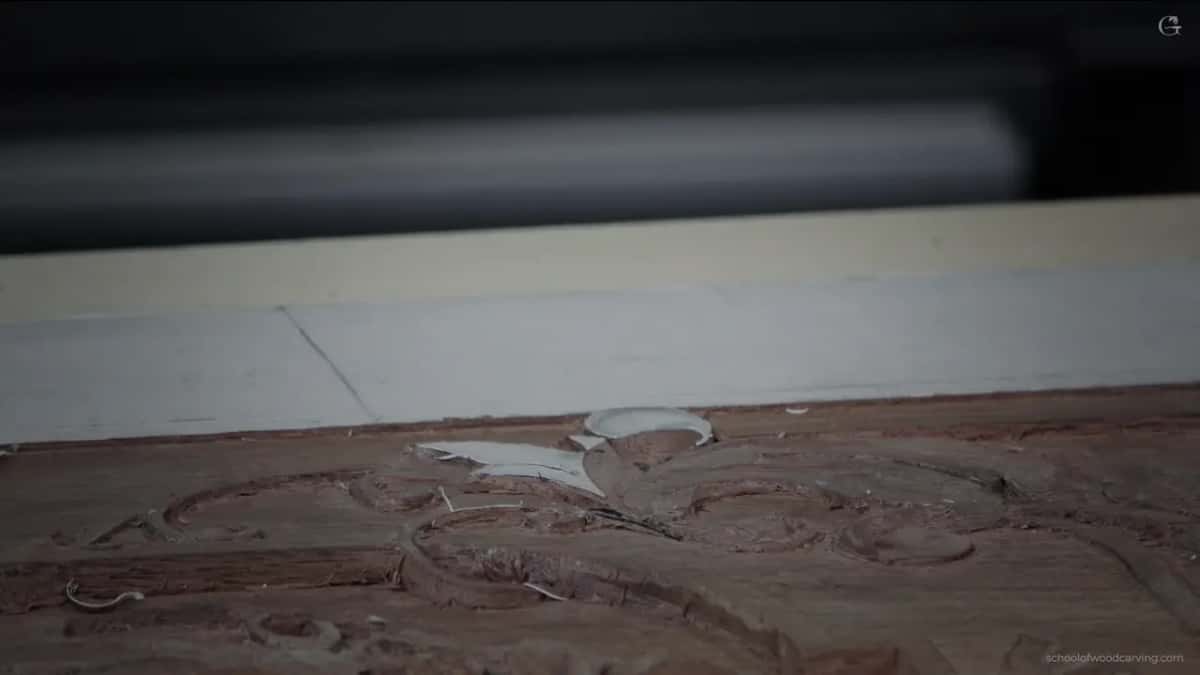
Sharp ridges vanish. Faceted patches blend. On shallow relief such as this panel, the gap between scraped and unscraped is what people notice without ever being able to name it.
Tools themselves matter less than people hope. Any number seven, any number five, whichever knife. What decides the result is which part of the edge you put into the wood, and the tools course says that at considerably greater length.
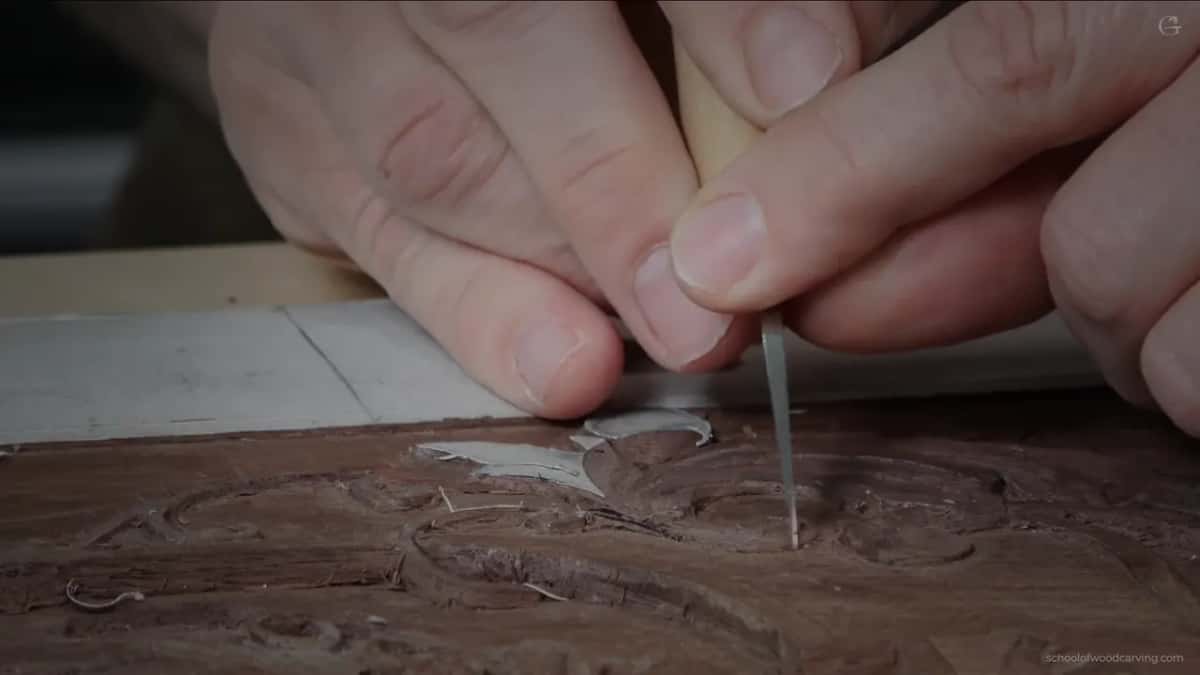
Any blade will do it. Several of my scrapers are cheap tools I reground, one or two are proper card scrapers, and the knife in my hand at that moment does no damage whatsoever to the surface. Later I will go round the entire panel and scrape the lot of it, though that is not a job for today.
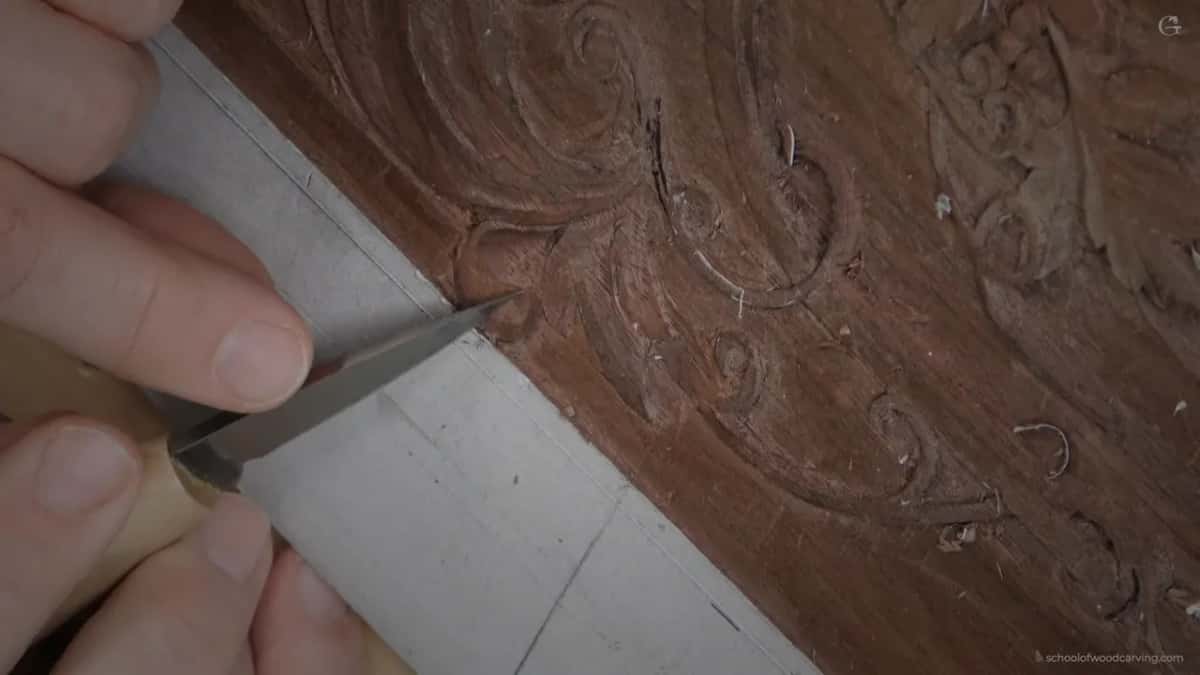
Ever look at a shallow carving and wonder why it reads so crisply from the doorway? Ever wonder why your own goes muddy at the same distance? The reason is hardly ever the design. Then let us carve, and I will show you where that light is really coming from.
Nine sentences about slicing, a mountain some other man described to me, and one corner of walnut that took a whole morning. That is a single workshop out of thirty nine. Carving Furniture Panel, Part 3 holds every other one, Part 2 holds what came before them, and tuition opens the lot.
One last thing before the tools go away. Two small volutes were left over at the end and I carved those off camera, because they were precisely what you had already watched me do four times over. Shall we carve?
How it's done
- Mark the wall before carving anything. Plenty at two millimetres on a lobe this size. Draw where the leaning face is meant to finish and leave the remainder of the shape hollow.
- Open a line beside the drawing. Number 11 at two millimetres, under a millimetre deep, running close to the pencil without touching it. Waste coming off the next tool needs that gap to escape into.
- Carve the wall at forty five degrees. Rather than dropping the tool square to the face, lay it over halfway and work on the angle. Extra material stays standing, and the standing material is your slant.
- Work with one corner of the edge. Right hand point only, beginning at one end and walking along a bite at a time toward the cut already in place. Resistance falls away the moment the rest of that edge lifts off.
- Sight along the panel instead of down at it. From directly above nothing shows. Look across the surface at a low angle and the fall toward the background is obvious.
- Lay the half millimetre over and undercut. Half of one millimetre beneath an edge is the entire operation. Watch how deep the ground behind already runs so the tool never drops below it.
- Finish with a knife held nearly flat. Ridges and facets come away while the shape underneath stays exactly as it was carved. Any blade does it.
Frequently asked questions
What angle should a relief cut be carved at
Ninety degrees to the face gives a square wall, which is correct most of the time. Lay the tool over toward forty five and the wall leans instead, making a flat lobe read as a slanted one from normal viewing distance.
Can you carve against the grain in wood carving
On a design with real movement in it there are corners where no other route exists, and a properly sharp edge survives them. Dull steel tears the fibres apart instead of parting them, and repairing torn walnut costs far longer than the cut ever saved.
What is the smallest gouge a furniture carver needs
Half a millimetre, in a number 11 profile. Undercutting, shadow lines and corners nothing else will enter all depend on that one tool, and on furniture work my hand reaches for it more often than for anything else on the bench.
What to carve next