

Alexander Grabovetskiy, woodcarver, School of Woodcarving · Published 2023
How do you carve a volute in low relief?
Quick answer: A volute in low relief is carved by tilting the ground rather than deepening it. With barely a sixteenth of an inch available, Alexander angles each pass inward instead of keeping it parallel to the background, and the slope throws a shadow that the depth alone could never produce.
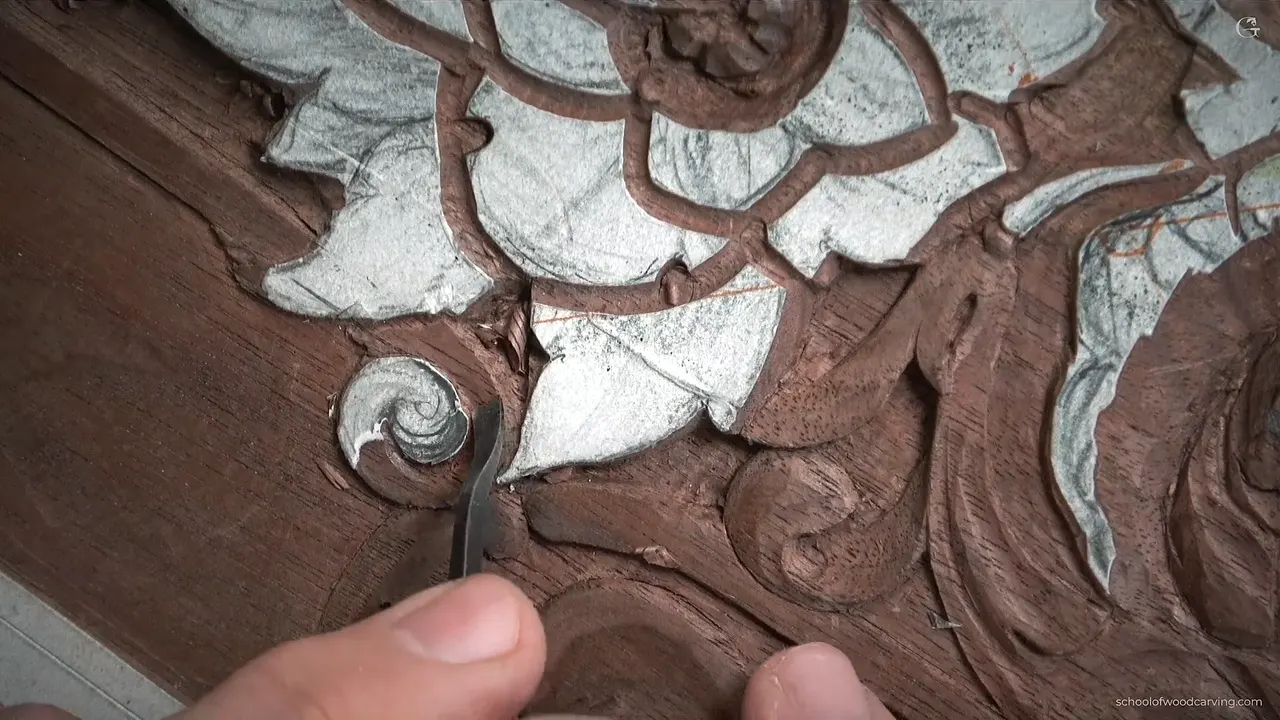
A volute in shallow work is carved by tilting the ground, not by digging into it. I had a sixteenth of an inch to play with on this corner, less than that in places, and no room at all to go down. So every pass around the spiral leans inward instead of sitting flat, and the lean throws the shadow that the depth could never give me.
One millimetre and a half. That was the entire budget.
Before I touched it I looked at the whole panel from above, which is a habit worth copying. From directly overhead you see the depths agreeing or disagreeing with each other, and a corner that felt fine while your nose was six inches from it suddenly looks wrong. The background levels were set long ago and everything here has to live inside them.

Key takeaways
- A classical volute rises at its outer end and falls away as it winds in.
- When the depth runs out, run each pass inward rather than keeping it parallel to the background, because a tilted floor casts a shadow that a flat one cannot.
- Each turn of the spiral must be narrower than the one outside it.
- The high line on a leaf goes nearer one edge than the other, never straight down the middle.
- Use all the depth you have wherever the ground is already low.
- The white paper left on the surface marks the untouchable high spots.
What makes a volute look classical?
The way it falls. Look at an Ionic capital or at any period scroll and the outer end of the spiral sits proud, then the surface goes down, down, down toward the eye. It is not a flat coil with a groove drawn on it. The height changes the whole way round.
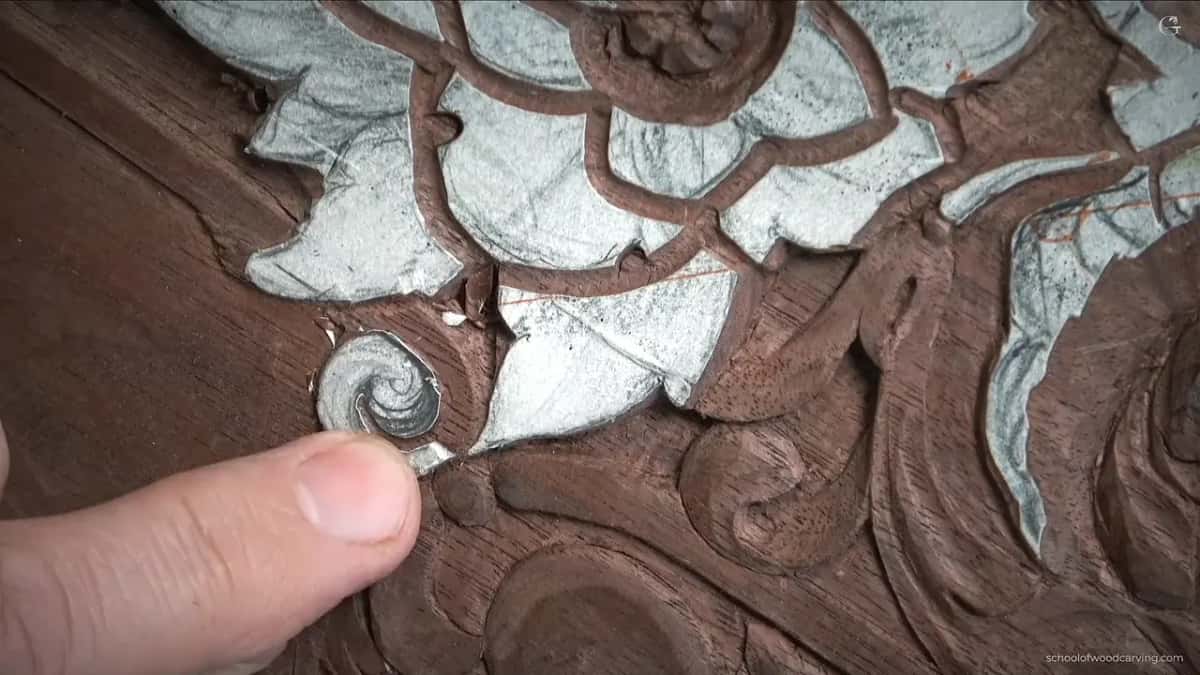
My first pass round it was two millimetres of number 11, followed by a flat number 3 an eighth wide to take the walls down. The volute here continues the line of a molding, which means it also has to finish lower than the leaf beside it, because part of that leaf lies across the top of it.

Saying out loud that a shot might not come off
I told the camera I was not sure I could get a shadow round this cut at all. That was honest and it was also useful, because a carver watching needs to know when a thing is genuinely hard rather than watching somebody make it look inevitable. Not much wood at all. Half a millimetre in the worst spot is nothing.
It worked. It might not have.
The difficulty is specific to this style. In deep relief you get shadow for free, because the shapes stand far enough off the ground to cast it without help. Down here I have to manufacture every dark line, and the only raw materials are the angle of a surface and the direction the light will come from.
What do you do when there is no depth left?
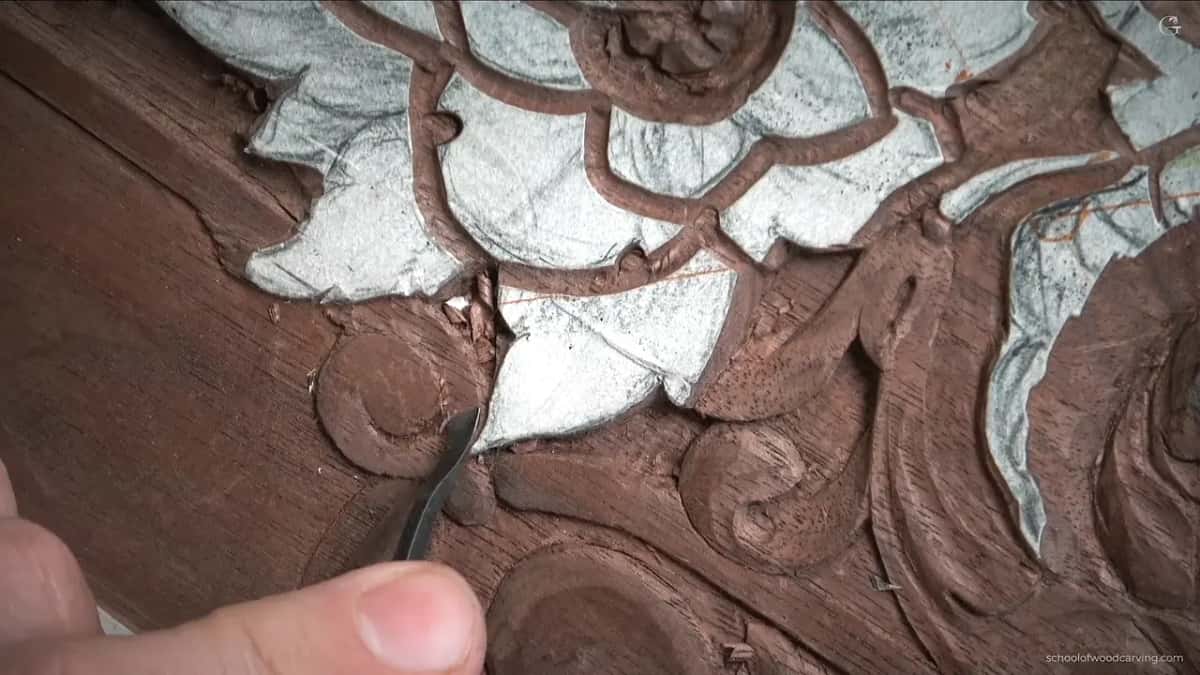
Slope it. Stopping at a shallow vertical wall gives you a line that reads as scratched, and the ground beside it stays lit from every direction, so the shape refuses to separate from its surroundings. Instead of holding the tool parallel I let it run inward, taking one side of the pass lower than the far one.
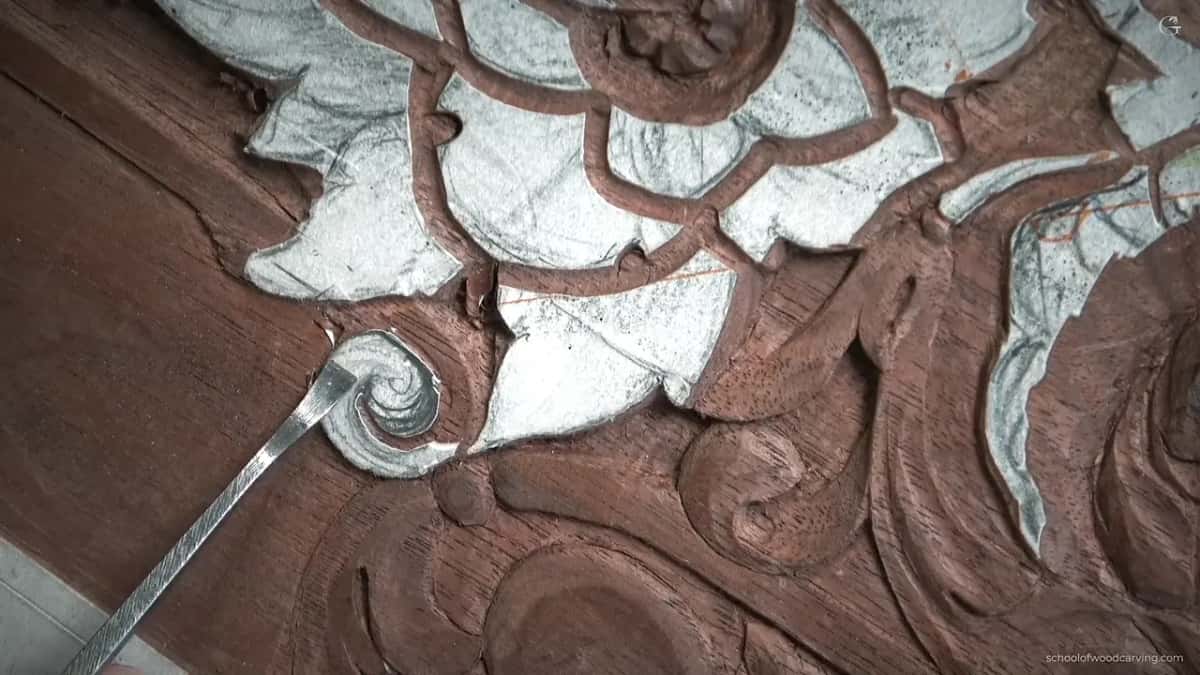

That slope is doing the job a deep cut would do somewhere else. There is nowhere else to get it from on this corner.
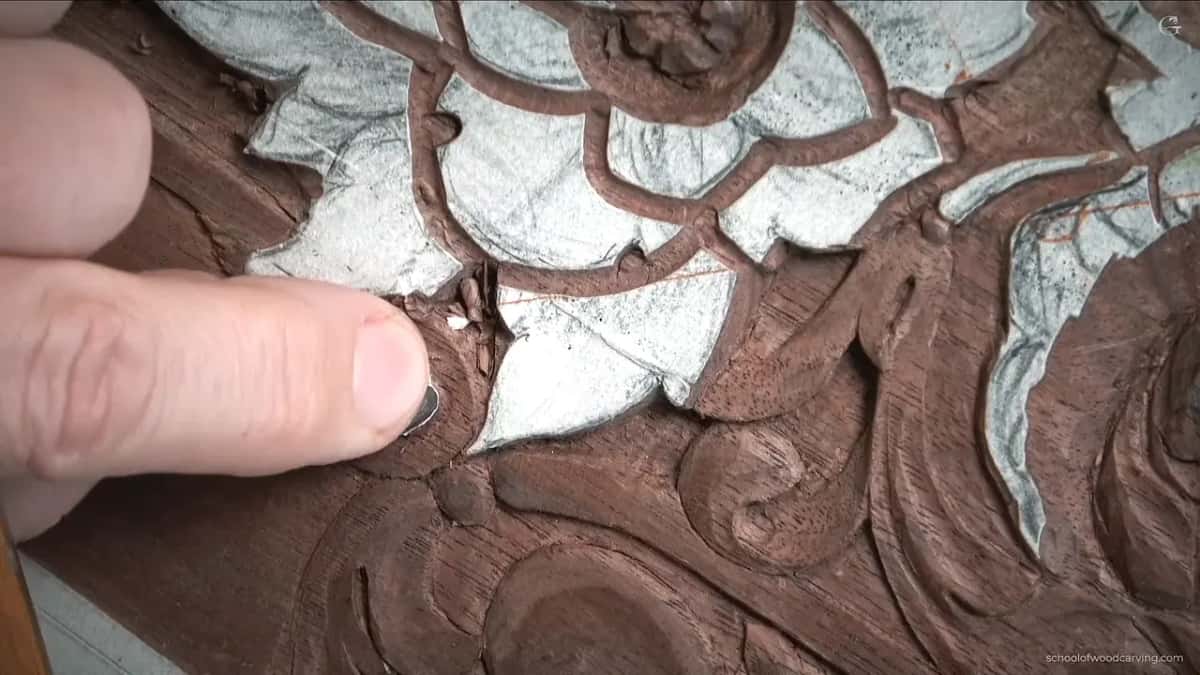
A mallet helps here. That same small veiner driven by taps rather than pushed by hand keeps the edge exactly where I put it, and on a wall this shallow a slip is not recoverable.
Blending where a new cut meets an old one
Stop short deliberately. My outline around the volute does not run as deep as the cut it joins, and that is not carelessness, it is so the two surfaces can merge into one another instead of meeting at a step. A step between two depths announces that somebody carved this corner on two different days.
Shallower near the join, then the molding line carries through. The eye follows a continuous surface and stops dead at a ledge.
The problem I only saw afterwards
One arm of the spiral had come out broader than the arm inside it. That reads as wrong to anybody, even somebody who has never carved, because a real spiral narrows continuously as it turns. Nothing about it needed measuring. I looked at the two widths, saw the mistake, and took the wide one down with a number 7 laid straight on the line.


Straight down, most of the way to the background, and stopping before I damaged the ground itself. A bigger number 7 finished it.

Now it looks the way it should. Before that it did not, and I said so out loud rather than pretending the first version was fine.
What goes where on this corner
| Area | Depth | Tool | Fix |
|---|---|---|---|
| The volute itself here | Around a sixteenth, dropping to half of one millimetre where it is worst | A veiner at two millimetres, then number 3 | Lean the pass inward and let the slope make shadow |
| The wide arm of the spiral | Whatever is left | A number 7, half inch | Straight down first, and then taper it back again |
| Leaves below the molding | Plenty here | The big veiner under a mallet, tapped not pushed | Excavate right down until you are nearly at the panel floor itself |
| The raised middle of it | Untouched, and standing above everything else beside it | Hollows either side | Leave that high line standing nearer one edge of the leaf |
| Separations between leaves | Shallow, because there is nothing to spare | Number 11, two millimetres, straight | Relieve the triangle properly or it becomes a blotch you keep noticing |
| The very last of the blending | None needed | The utility blade, held on its edge | Scrape, and then stop |

Carving the wrong way on purpose
I work against the grain on parts of this panel and the reason is the camera, not the craft. Rotating the board every few minutes to chase the downhill direction would make the video unwatchable, so I take the tearing risk instead. Black walnut forgives most of it.
Turn your work. Turning it is the honest advice, and I say so on camera rather than letting anybody copy the compromise.
One place I will not take that risk is any edge that another shape lies across. This leaf overlaps the piece beneath it, which means the piece beneath cannot be touched at all, and a tear there would be visible in the finished ornament forever.
Spending depth where the ground allows it
Two steps away from the volute the background falls off and I have room for everything. So Out comes the big veiner, the mallet with it, and I excavate almost down to the panel floor. That depth is what lets the flower above it look properly three dimensional later, and leaving it unused would be waste.
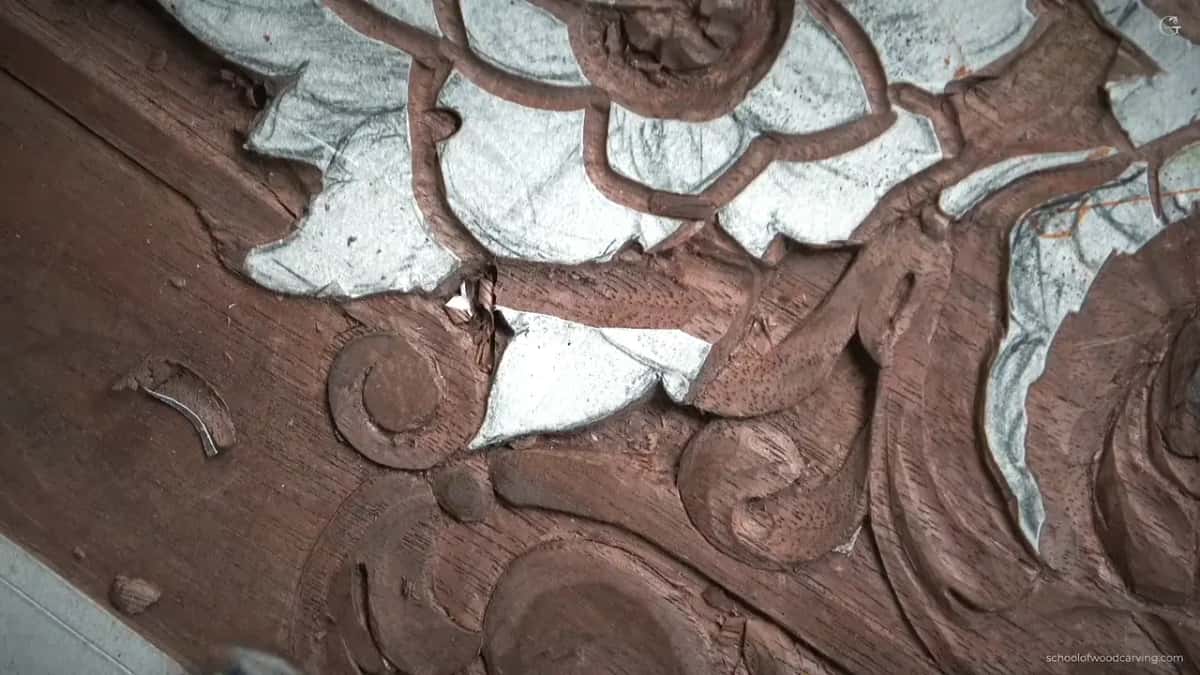
The same tool then does flat work. Laid over on its side only one wing touches the wood and the number 11 behaves like a number 3, which saves reaching across the bench.
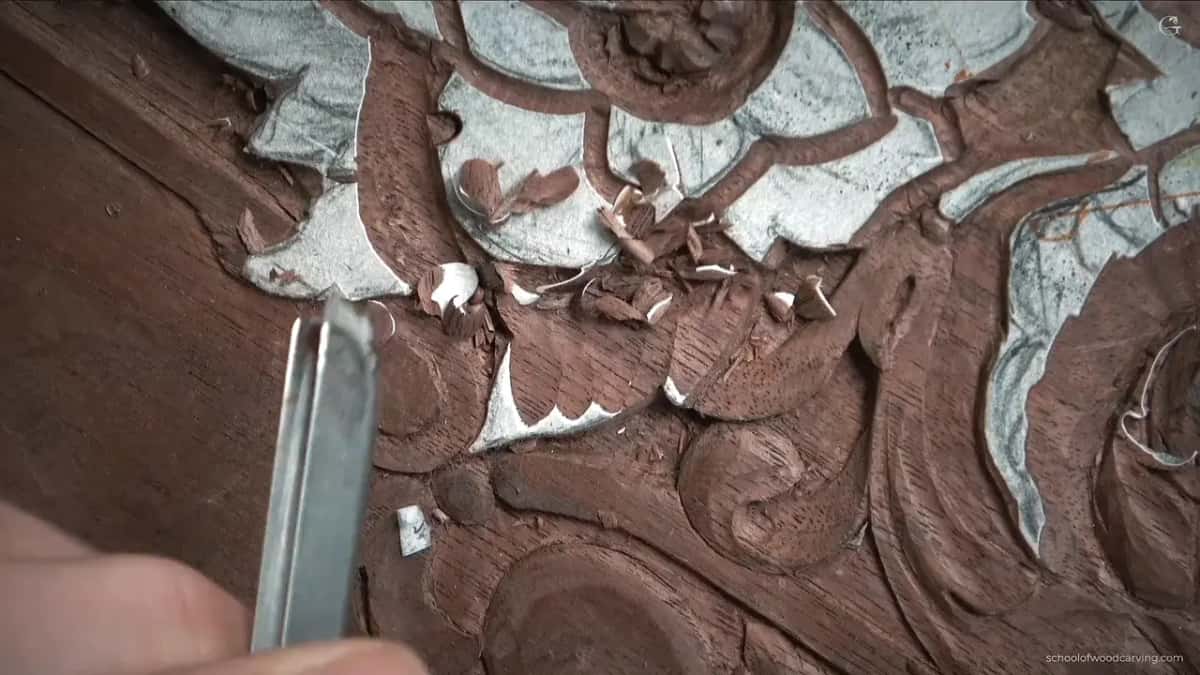
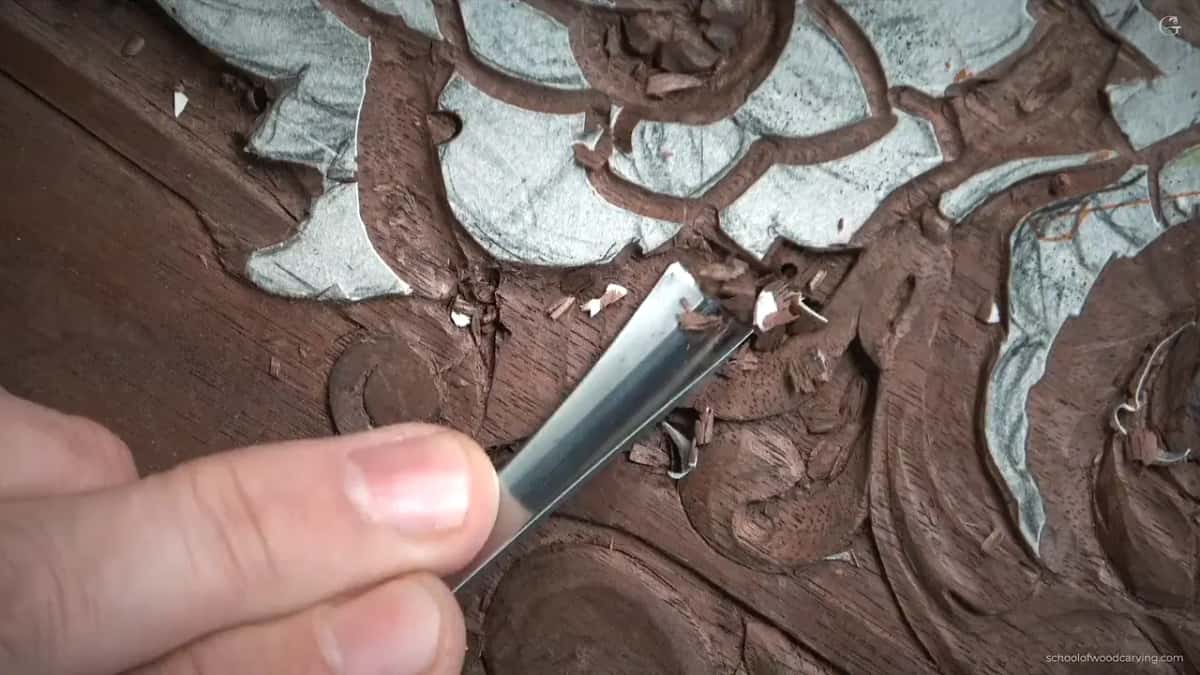
Where does the high line on a leaf belong?
At roughly six tenths across, and never at five. This is the golden ratio doing ordinary work: sixty two against thirty eight, which I round to sixty forty at the bench because nobody is measuring. Put the ridge down the exact middle of a leaf and the shape goes symmetrical and dead. Move it to six tenths and it starts to look grown.

We used the same proportion on a much larger scale when the panel was still a drawing. It works at any size, and that is the point of it.
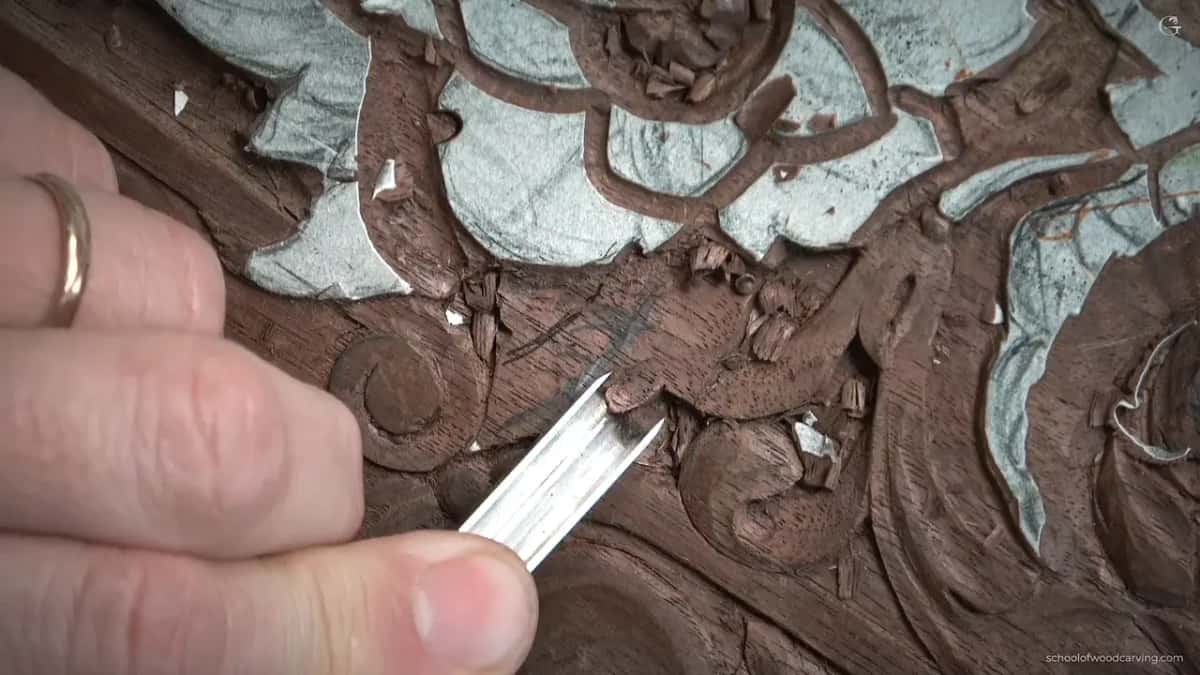
The two hollows beside that line do not have to match. One can go deeper than its partner and usually should, because matching hollows flatten the leaf back out.

Lift the outer ridge as well. That small raise is most of what makes carved foliage look period rather than modern.
Take a section across one of these leaves and you would see hollow, ridge, hollow, with that ridge sitting off centre. Exactly what we did to the acanthus lobes earlier in this course, at a smaller scale and with less wood to do it in.

A back bent, quarter inch, smooths the raised middle without digging into it. Straight tools bottom out in a hollow like that and leave facets you then have to chase.
Triangles, separations and the small stuff
Every place two leaves meet leaves a triangle of waste. Take it out straight down with the small veiner and clean up with a flatter tool afterwards. Leave one behind and it turns into a dark blotch the eye keeps returning to.
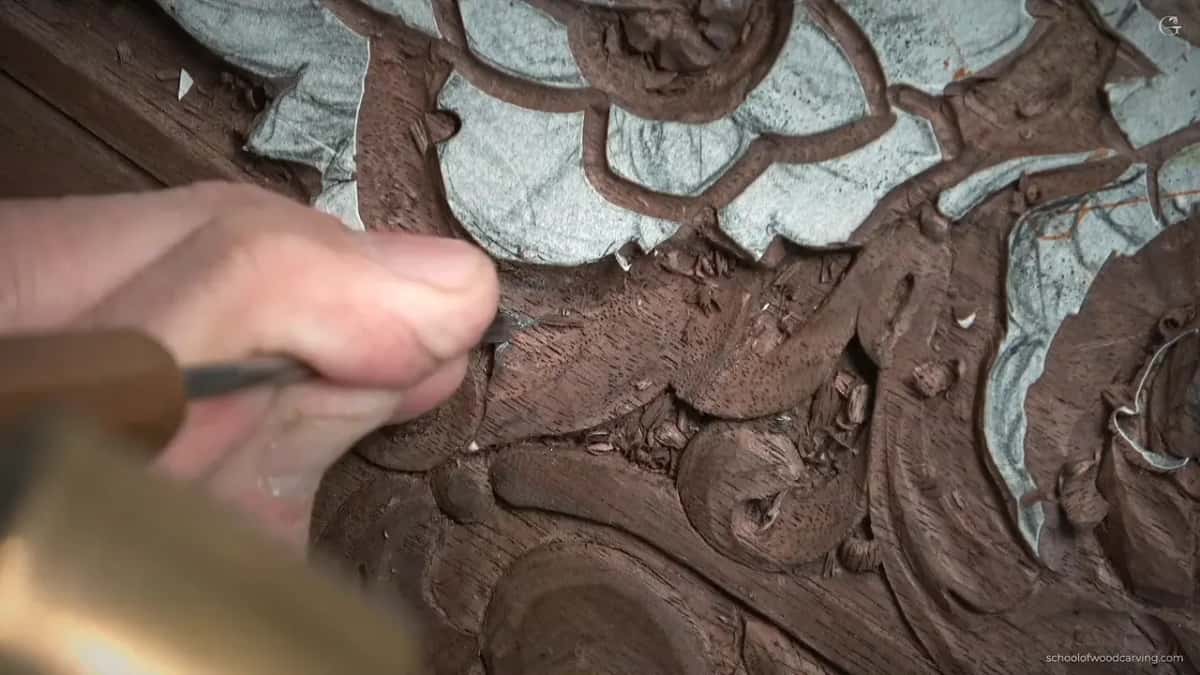
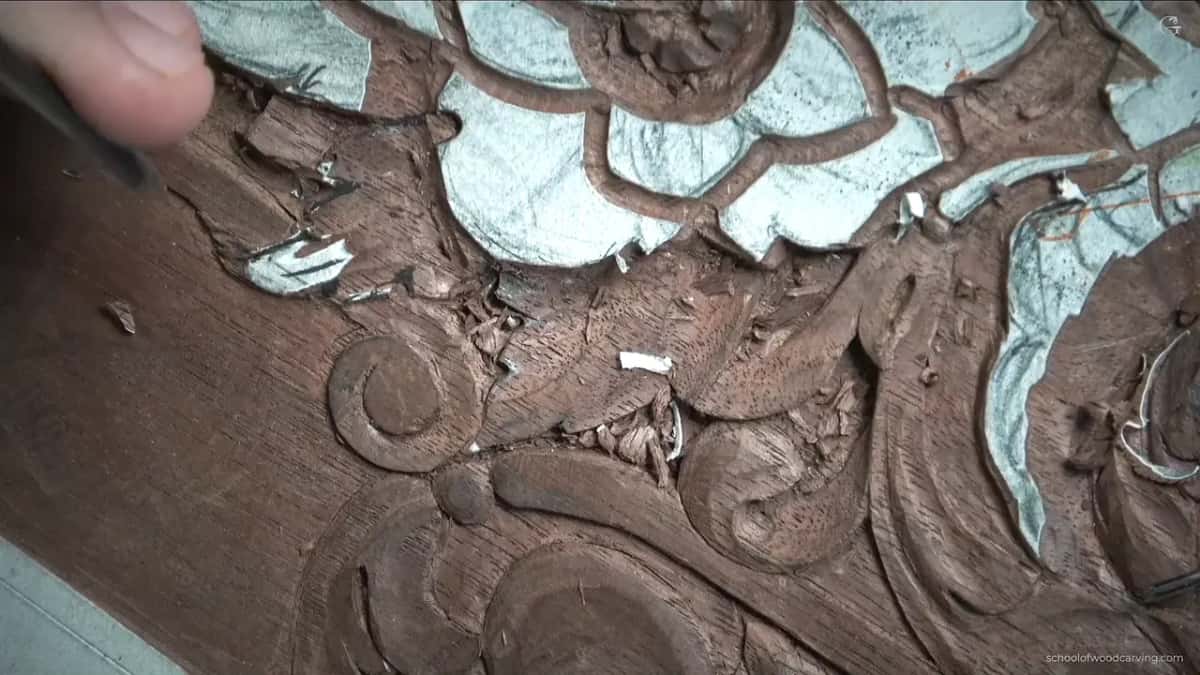
Micro divisions come next, the small splits inside a single leaf. Same tool, same straight down pass, shallower.

One pass is often all a wrap needs. I made a single cut where this leaf goes under its neighbour and the movement appeared immediately, before any blending at all.

The junction where two leaves cross is worth real depth. There is room under it, so I take it down hard and the shadow that collects in that corner separates the two shapes better than any outline could. Depth spent in a junction pays back more than depth spent on an open surface, which is a trade worth remembering on any floral panel.
Where no gouge fits, a knife does. Corners like the junction between two overlapping leaves are much easier with a blade than with anything curved, and I said as much while I was in there.
The blade that ends every one of these sessions
Just a utility knife blade. I keep calling it a scraper because that is what it does, and it removes the paper pattern, the glue under the paper, and the small step left between two passes, all without a single sharpening. The blending lesson before this one is entirely about that trick.
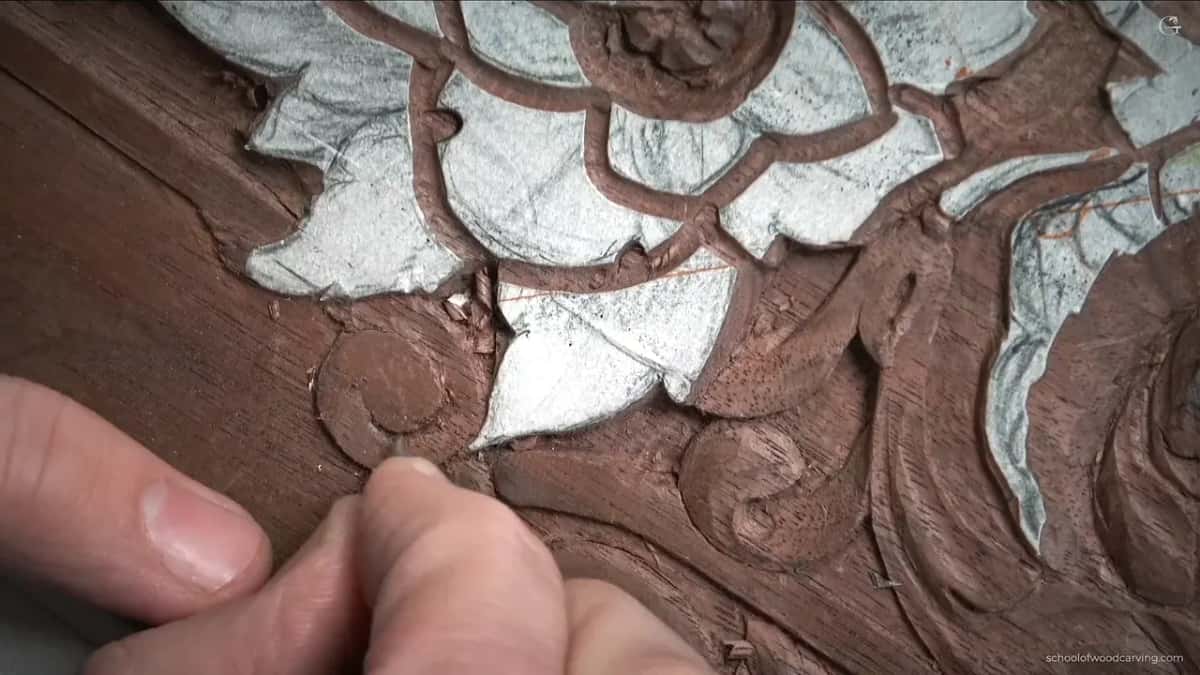
It blends the whole movement if I want it to.

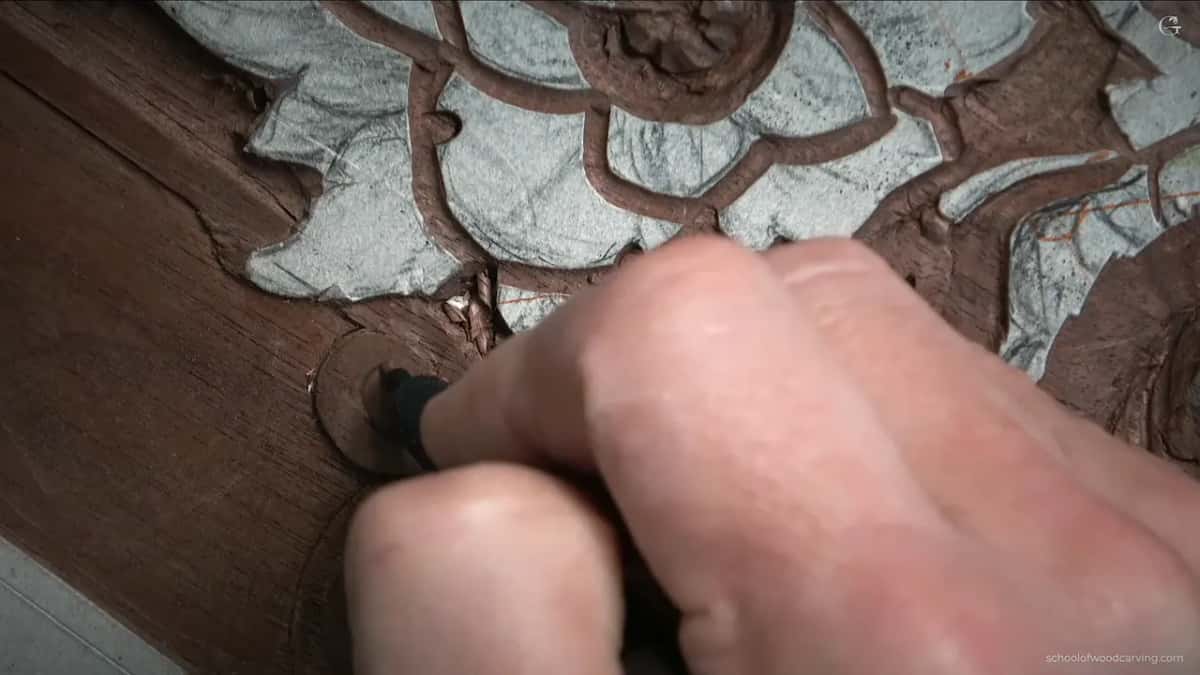
Where a shape is not right yet I go back to the pencil. Carrying the spiral a little farther was a drawing decision, made on the wood, after the first attempt had already been carved.
Keep as much wood as you can
Take off only what the shape needs and not a shaving more. Every millimetre still standing is a decision you have not yet had to make, and on a panel that runs for months the ability to change your mind later is worth more than any single cut you make today. I keep the surface high and let the ground around it come down.
Blending happens at the end, not on the way. The final smoothing I do off camera with a magnifier over the work, and I say so rather than pretending what you see is finished.
What comes next on this corner I genuinely had not decided when the camera stopped. Probably the flower. Maybe something else. A panel like this is not a carving plan executed in order, it is a long series of small choices about where the light needs help next.
Reading the panel from above
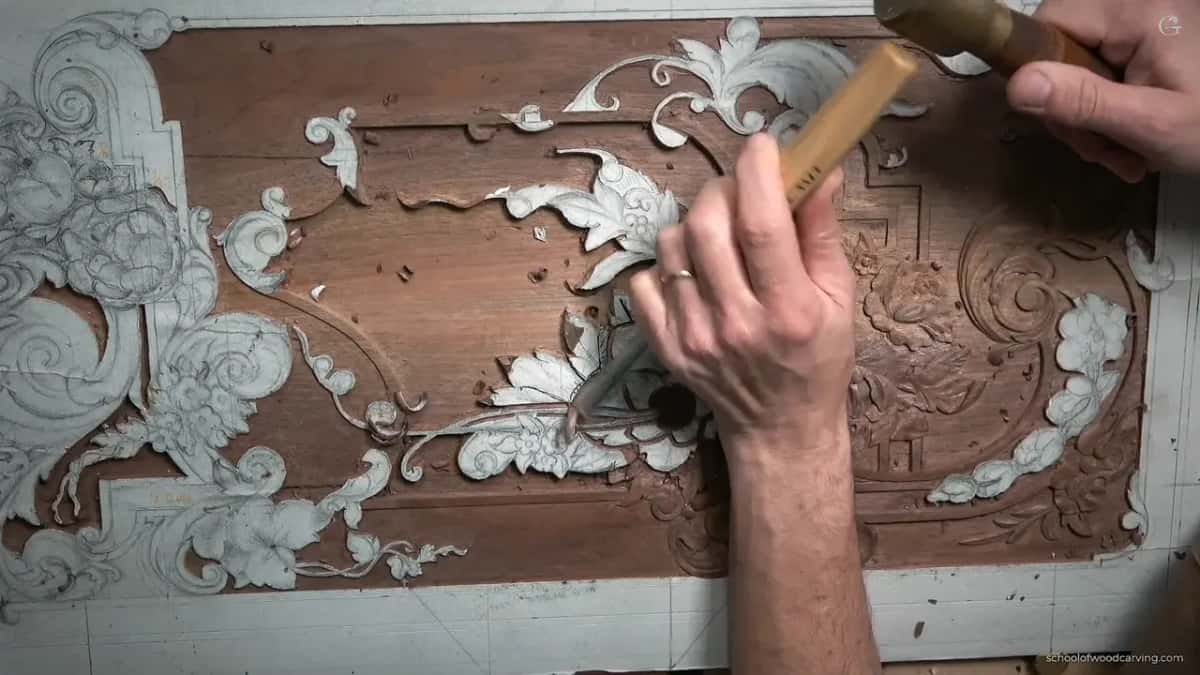
Stand over it and the story is obvious. One area sits high, its neighbour sits near the floor, and the transition between them is smooth enough that nothing jumps. Those hollows on either side of each raised line are casting shadow, and the shadow is the only reason a viewer sees any of it from across a room.
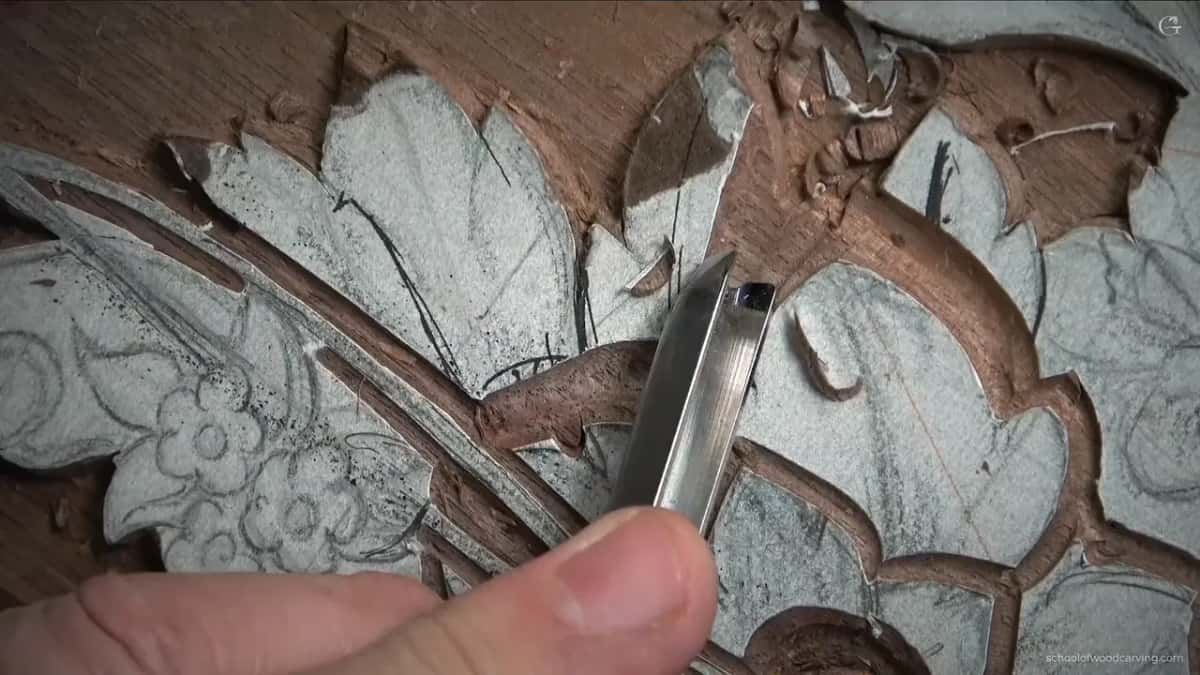
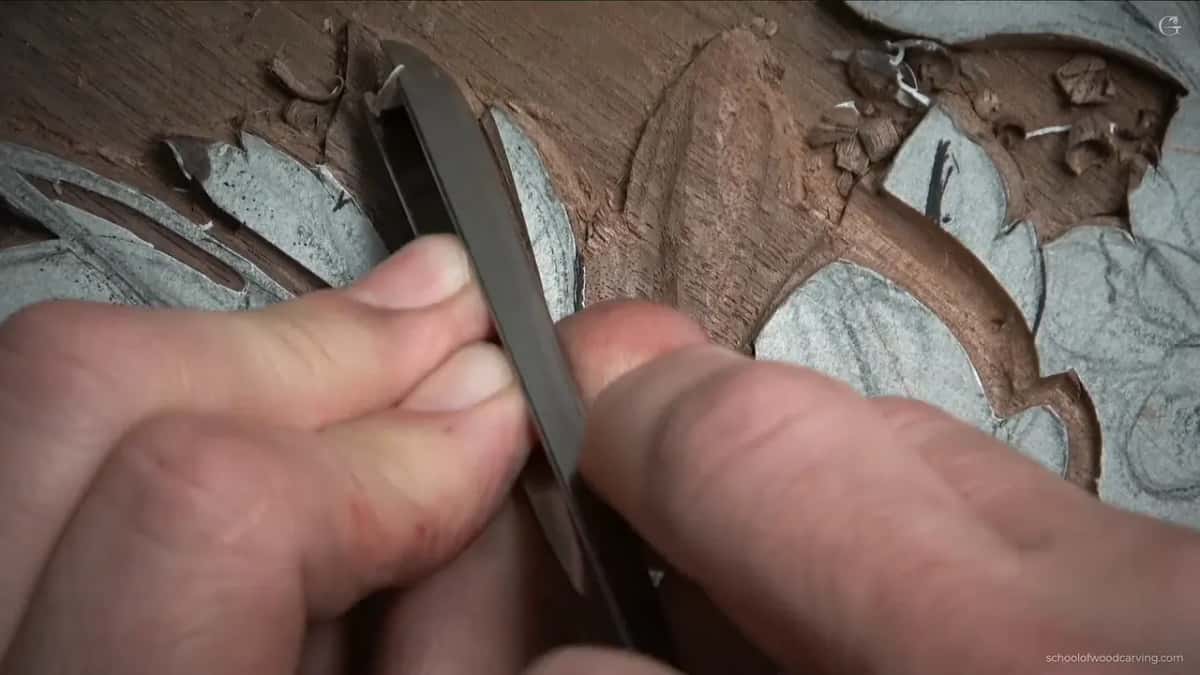
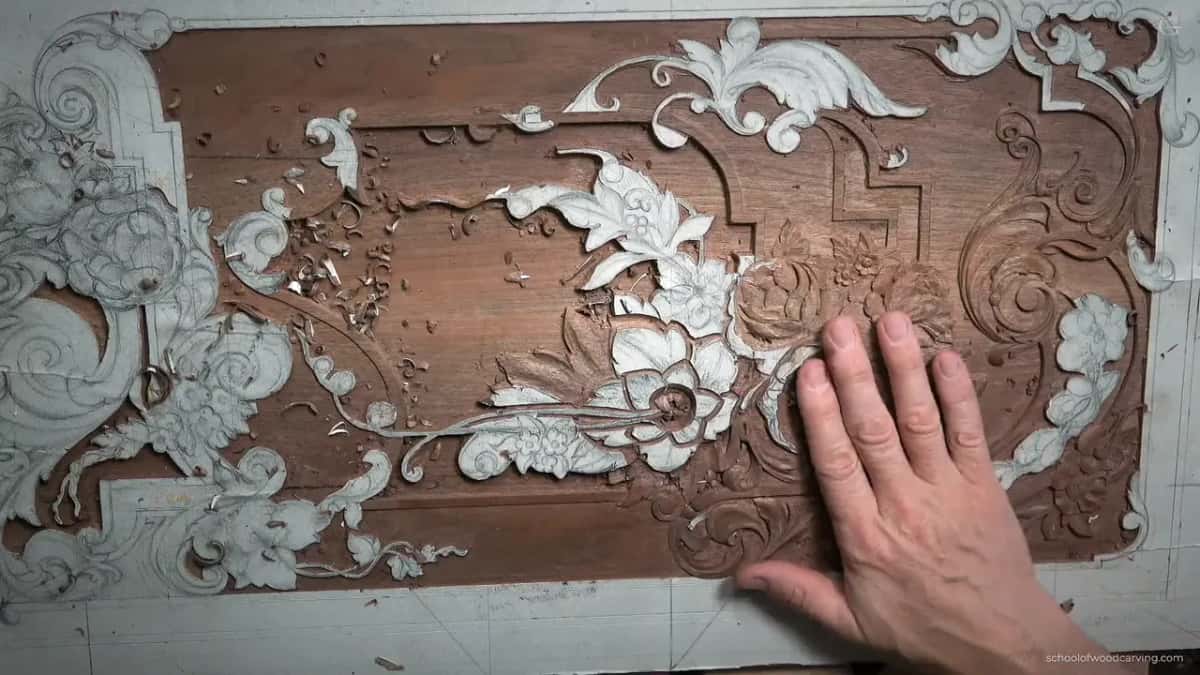
Look for the white line of paper still on the surface. That is the highest point in the section and I carried it right out to the edge deliberately, because everything else came down around it. Undercutting underneath it comes later.

Kept high, and still reading as round. Both at once, in a millimetre and a half, which is the whole argument for learning shallow work before deep work rather than the reverse.
Would you rather carve deep because it is easy, or make a shallow panel look deep because you know how? Shall we carve?
The lesson runs in three parts inside Carving Furniture Panel, Part 3, after the flower lesson. Earlier stages are in Part 2, and the same scrolls appear over moldings in Acanthus Over Moldings. Tools are in All About Tools. Carve beside me at an in person class, or find Access on the tuition page.
How it's done
- Outline the spiral. Run a number 11 at two millimetres around the shape and follow it with a flat number 3 an eighth wide. Remember the volute has to finish lower than any leaf lying across it.
- Slope the floor instead of deepening it. Once the depth has run out, let the tool run inward so one side of the pass sits below the far one. That slope casts the shadow a vertical wall refuses to give you.
- Tap the shallow walls, never push. Tap rather than push on a wall this thin. Two millimetres of number 11 under a small mallet stays exactly where you put it, and a slip here cannot be repaired.
- Taper every turn of the spiral. Compare each arm against the one outside it. If an inner arm comes out wider, take it down with a number 7 laid straight on the line, stopping before the background.
- Excavate where the ground allows it. Two steps away the background falls off. Use the big veiner with a mallet and go almost to the panel floor, so the shapes above can be built up properly.
- Put the high line at six parts in ten. Never down the exact middle of a leaf. Hollow both sides of that line, letting one hollow run deeper than the other, and lift the outer ridge as well.
- Finish with a blade on edge. A utility knife blade takes off the paper pattern, the glue under it and the step between two passes. It blends the whole movement without a single sharpening.
Frequently asked questions
What is a volute in wood carving
A spiral scroll borrowed from classical architecture, the shape at the corner of an Ionic capital. Carved properly its outer end sits proud and the surface drops away as the spiral winds inward.
How do you carve depth when there is none left
Tilt the floor of the cut. Running a pass inward so one side sits lower than its neighbour gives a sloped surface that catches shadow, which a flat shallow floor never will.
Why must each turn of a spiral get narrower
A real spiral narrows continuously as it winds in. An inner arm wider than the arm outside it looks wrong to anybody, including people who have never carved anything.
What to carve next