
Alexander Grabovetskiy, woodcarver, School of Woodcarving · Published 2017
How do you sharpen a large gouge?
Quick answer: Sharpening a large gouge is the routine from my other sharpening lessons, with more time on each wheel, because there is much more metal to take off. I keep its original bevel in a Tormek jig on my Work Sharp, go from 80 grit up to 6,000, strop, buff, and stone a micro bevel inside.

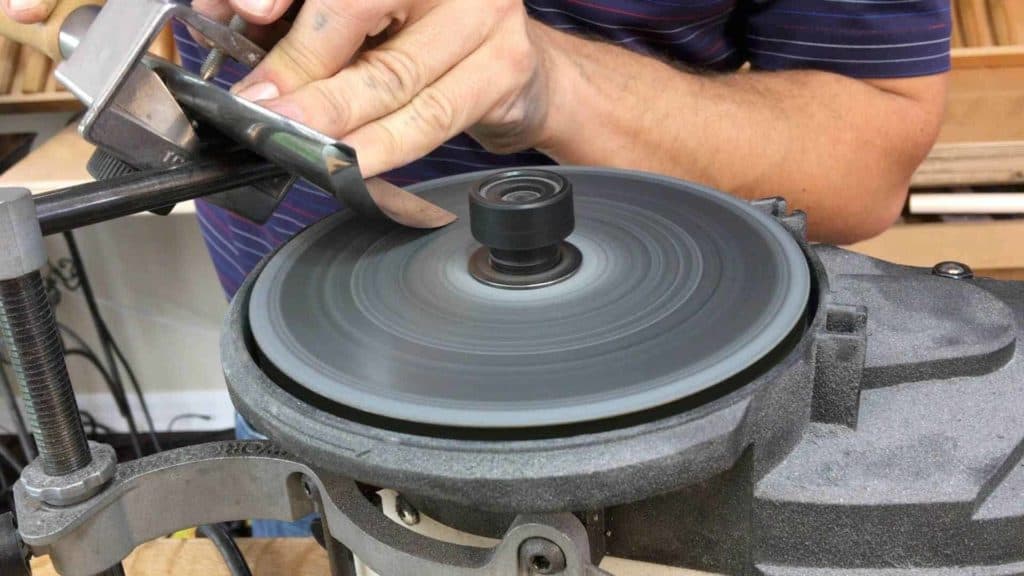
Sharpening a large gouge is the same stages I use on my other tools, done on the same machine. It just takes longer, because there is so much more metal to remove. I clamp it in a Tormek jig on my Work Sharp, keep the bevel it already has, and regrind on 80 grit. Then come 220, 3,600 and 6,000 grit, leather and felt wheels, and last a micro bevel inside, made with a slip stone.
This one is a #7 by Pfeil, one of the biggest gouges I have. I use it a lot for removing lots of material. For big carvings it's probably stage number one, the gouge I take to remove the big chunks of wood. And like everybody else who has a gouge like this, at some point you ask how to sharpen it, because it's not the same as a small one. You will see the jig I used, every grit in order, and the nick I took out on the way.
What this big gouge needed, in order
The same machine and the same stages as in my other workshops, only more time on each wheel.
A Tormek SVS-50 multi-jig, main body only.
The original bevel kept, a somewhat higher angle for a tool that sees a lot of mallet work.
80 grit almost to the edge, then 220, 3,600 and 6,000.
Koch paste on leather and felt, then the inside, with a soft Arkansas stone and a finer one.
Minutes on the machine for what takes hours on a stone.
Why does a carver need a gouge this big?
At my class in Maine I divided tools into three sizes, pretty much. The big ones are about 80 millimeters, like three inches and one-eighth. Medium is maybe about 20 millimeters, like three-quarters of an inch, and small is a quarter inch and less. When you buy a set, you usually get small to medium, and you will rarely see the big tool in one.
I compared it to my trip there. Flying took me about five and a half hours. Driving from Florida would take about 30 hours, and walking the Appalachian Trail takes about four months. A huge tool is the airplane. A medium tool is the drive, and you still get there, but it takes a lot longer. With a small tool you get there too, in about forever. So, as I said in the big tools lesson, if you have a bigger tool, grab the bigger tool, always, and keep the smallest of the smallest for the details.
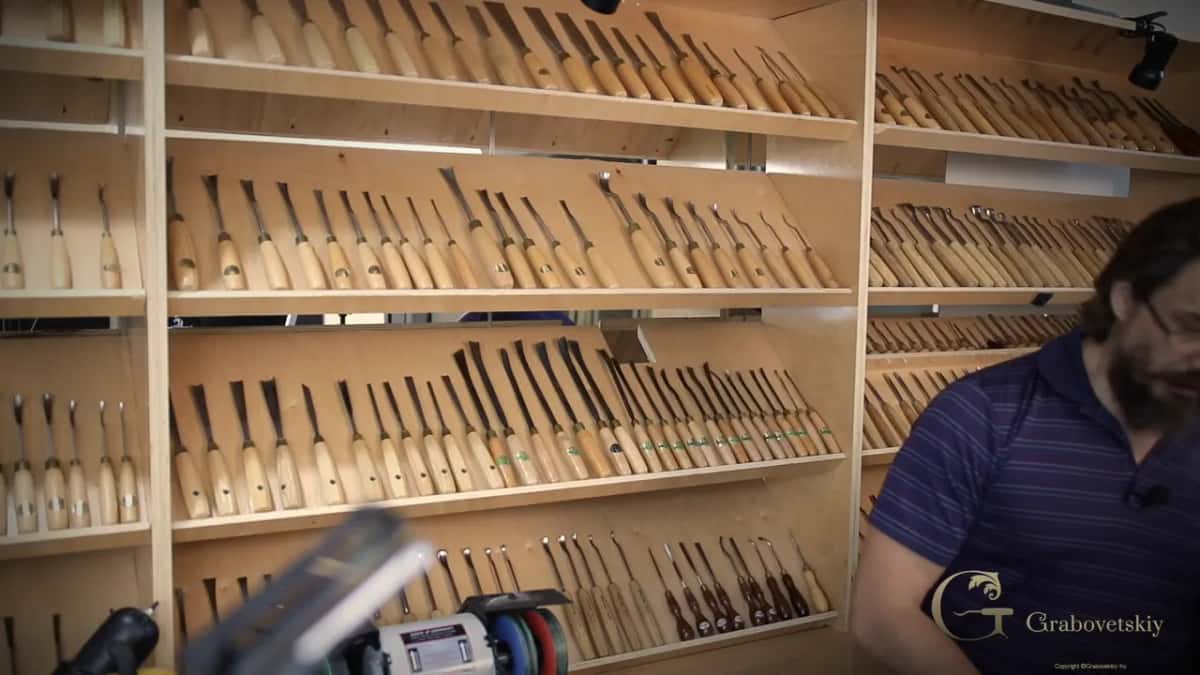
For the Venice Room, in workshop 62, I got the big number seven, 80 millimeters, 3 inches and 1/8, to give an outline some better movement, again without pushing too hard. In workshop 79 I needed to remove the big chunks of wood, and it was probably just the big gouges, like number seven and three inches.
Why sharpen a big gouge on a machine and not a stone?
Of course, I could take it on a stone and just do it by hand. Still, I really like to see consistency on my bevel, and for some reason, on a stone it's much harder to reach than on a machine.
Then there is the time. This tool takes longer because of the amount of metal I have to remove. Think how long it would take by hand, just on a stone. Hours. It takes me only minutes to regrind, and even if I wanted to make a new bevel, it would still take me only minutes versus hours.
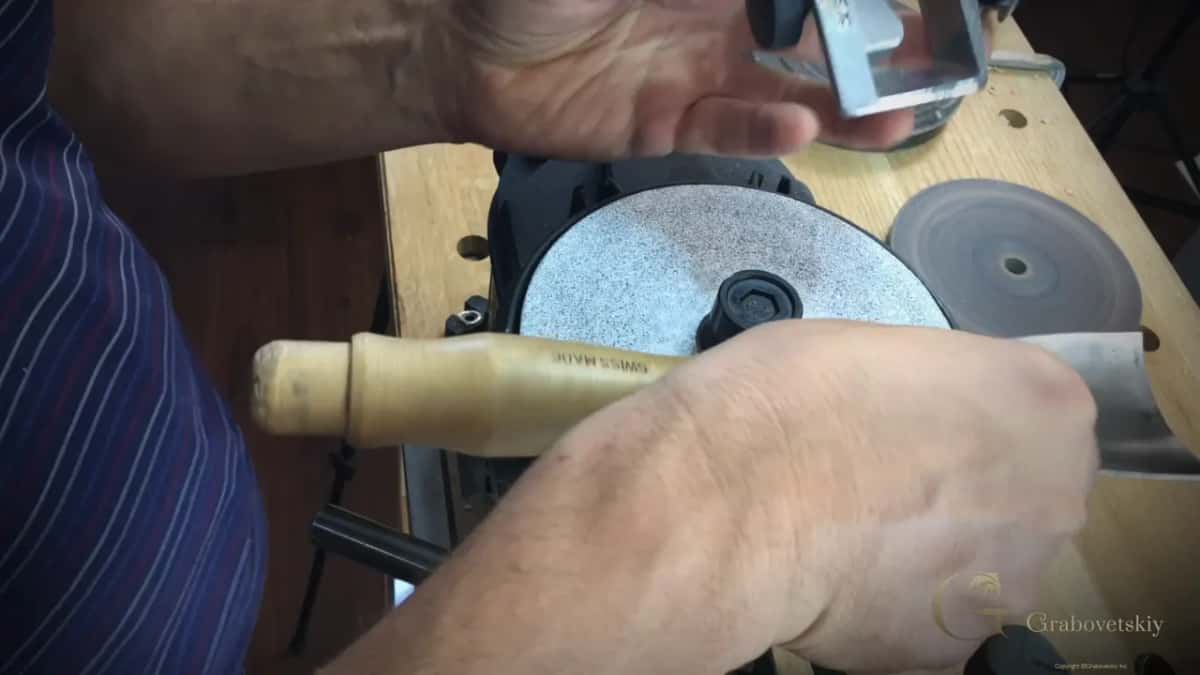
And yes, it is sharpening by machine, but it's still hand work. You have to control it, and there is a lot of control.
Back in my straight gouge lesson I said there are two ways to get your tools sharp. By hand, the old way, or by machine, if you are like me and carve for a living, because sometimes by hand is just too long. I do love to sharpen by hand too.
Which jig holds a gouge this wide on a Work Sharp?
It's a Work Sharp 3000, the machine you also see in my fingernail gouge and back bent lessons, a main machine for me for a few years already. For me, it works miracles. It's fast, it's quick, and I can do any tool with it.
But for the big gouge I can't use the same jigs I used before. Like you saw in other workshops, I have an attachment for the Tormek tools, and this time it's a Tormek jig again, the SVS-50. It's called the SVS-50 multi-jig because it comes with two parts. The second part is for skewed chisels. For this big, humongous gouge I use just the main body.
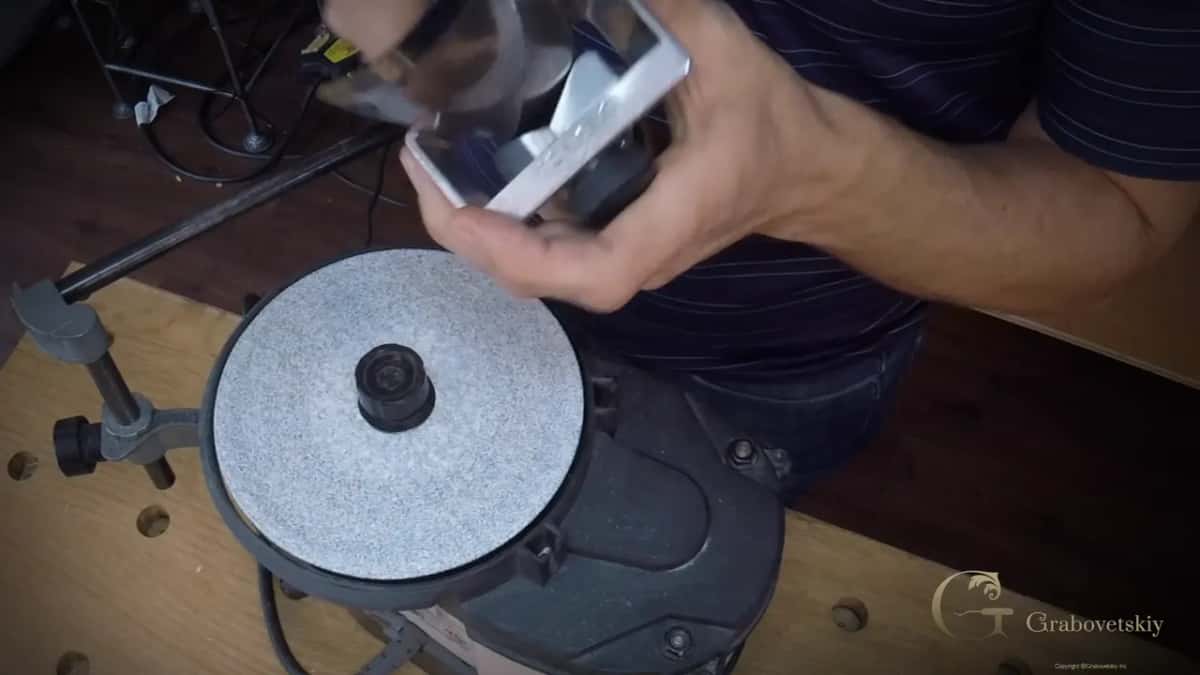
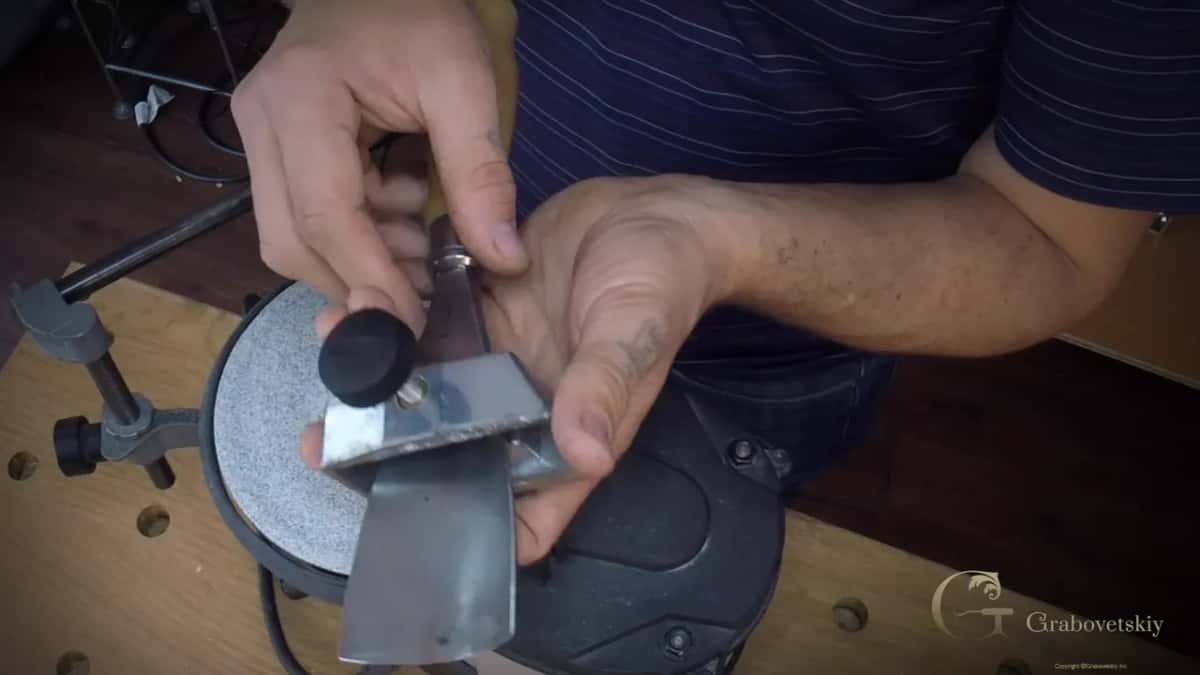
My reasons for the Work Sharp are in the L-bracket lesson. A Tormek sharpens on a wheel, and the wheel creates a concave, which weakens the point when you want your angle as low as possible. The Work Sharp has a flat surface, and you change wheels and sandpaper, so you can go as coarse as you wish, or as high as 8,000 grit. The Tormek jigs I really like. There is genius in those jigs.
My older Work Sharp had a bar you could buy separately to take Tormek jigs. Then in late 2017 we found out Work Sharp doesn't make those bars anymore, and in that lesson I show the jig I made myself instead.
The machine comes with glass wheels, and you stick the abrasive on top. Any sandpaper with a sticky back side will do, and you can even make your own half-inch MDF wheels. I'm not trying to sell you this product. I love it, though, and I do recommend it. It's a workhorse.
Where does the big gouge sit in the jig?
I place the tool inside the jig, and right before it reaches the flat part, I try to make it straight and tighten it down. I check both sides, because I really need it straight.
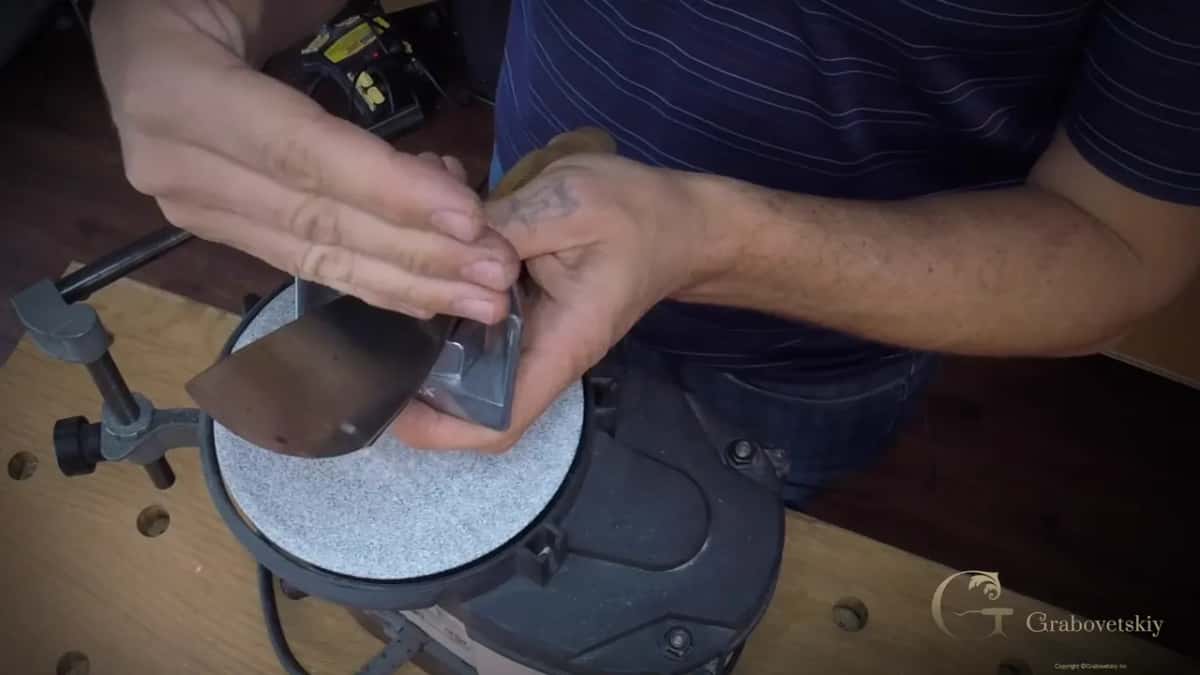
When I tighten it, the SVS-50 has to be perpendicular to the tool itself. That's really important too.
Next comes the bevel. I was pretty close, but I had to raise it slightly. I'm just eyeballing in this case, with no need to measure. All I check is how close I am to the original bevel, and where on the bar the tool sits, because it's also really important to hold the tool in about the same position.
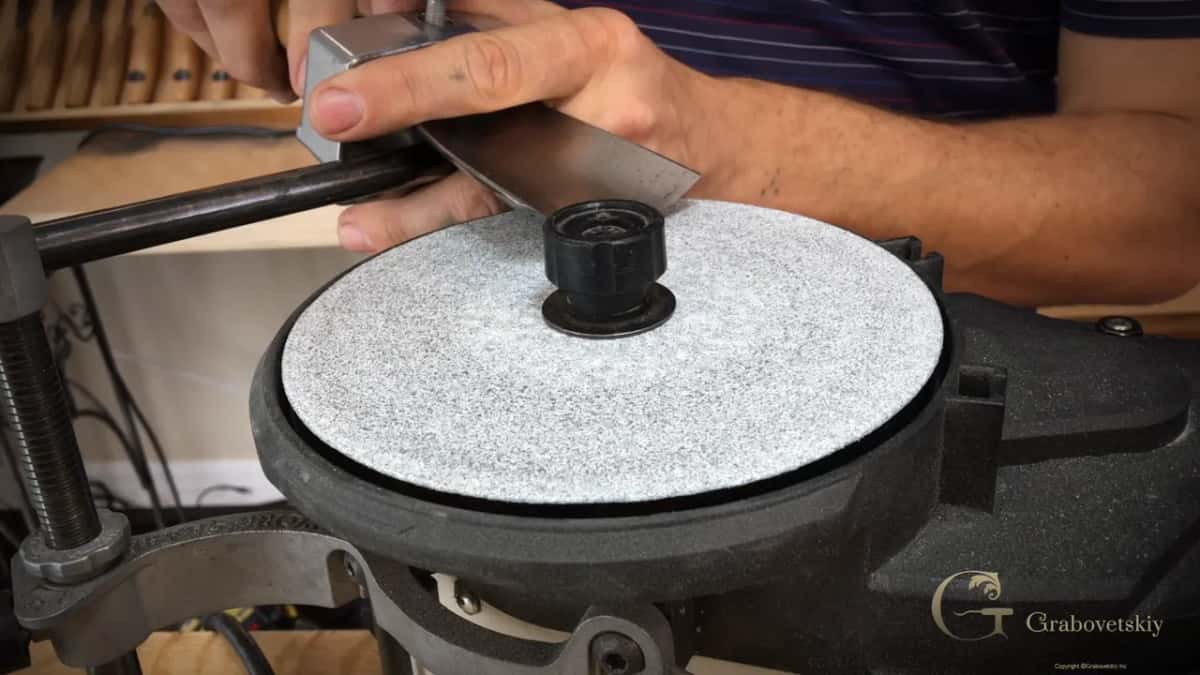
The reason is that this bar has some flimsiness. I could probably epoxy it down and make it absolutely unmovable.
And I actually like that flimsiness. On some tools I make a micro bevel, though not on this one, and the flimsiness lets me go downhill. Working on one end, the bevel goes lower, a really low angle. Moving up lifts the tool, and that makes a micro bevel right at the edge. It works as an advantage. And it has never created any problem for me. If you don't like it, you can weld it or epoxy it.
Which bevel angle should a mallet gouge keep?
I'm not going to make a new bevel on this one. I'd rather keep the original bevel, because I use this tool a lot with my mallet, and I can't do a really low angle on it. That's not what I want. So this is a somewhat higher angle bevel, and I try to hold it near the same.
That straight gouge lesson shows two gouges with a similar profile and the same thickness. Most come with a really high angle when you buy them, and I resharpened one and did nothing to the other. When I'm carving oak, I use the high one, because it's much stronger. Lime wood or basswood gets the low one.
A low angle still works on oak. But the chance of breaking it is much higher, because there's not much meat left at the point. For fine detail in basswood I go as low as I can get it. I can't say how many degrees. Maybe about five, even lower.
How close to the edge do you grind on 80 grit?
Stage number one is regrinding, and for that I take an 80 grit wheel and place it on the machine. The bevel stays, but I still regrind, because I have a nick to take out.
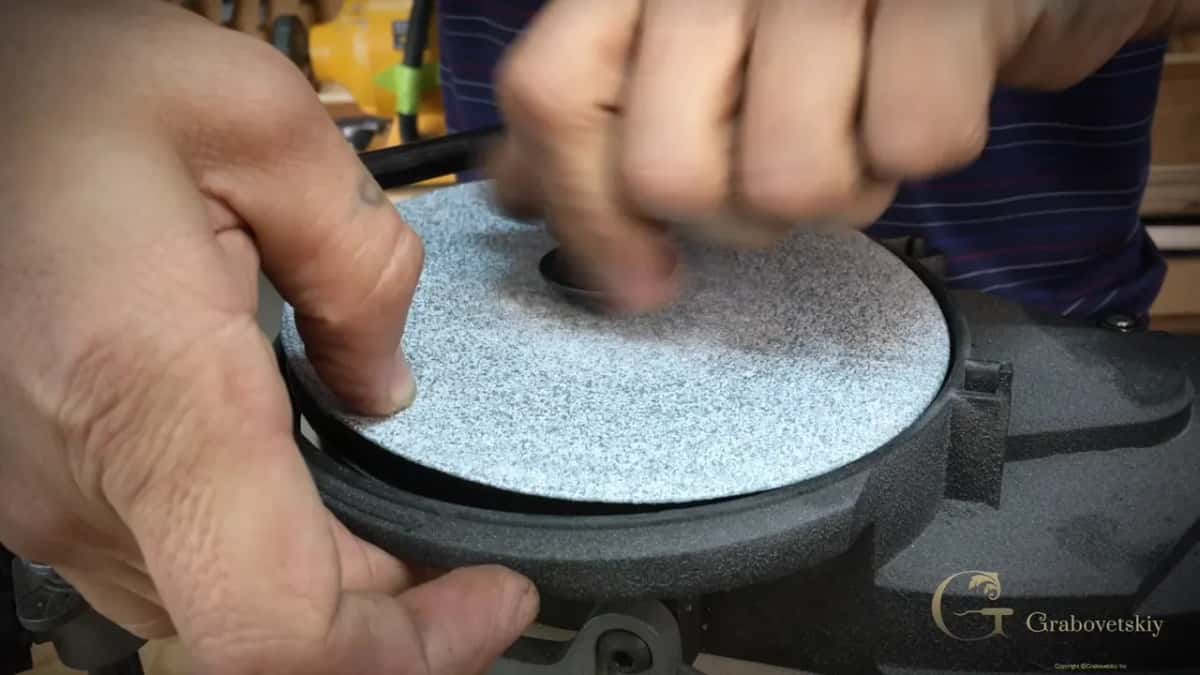
This jig works the same as the others, with a part that is my stopping point, and that helps me make a consistent bevel on this tool. I keep the same spot, just about halfway along that bar. Then I start, little by little. Soon I had to raise it slightly, because I don't want to regrind the whole thing.
Right to left, left to right. I barely put any pressure on it, and I'm constantly checking, just to make sure I'm doing the right thing.
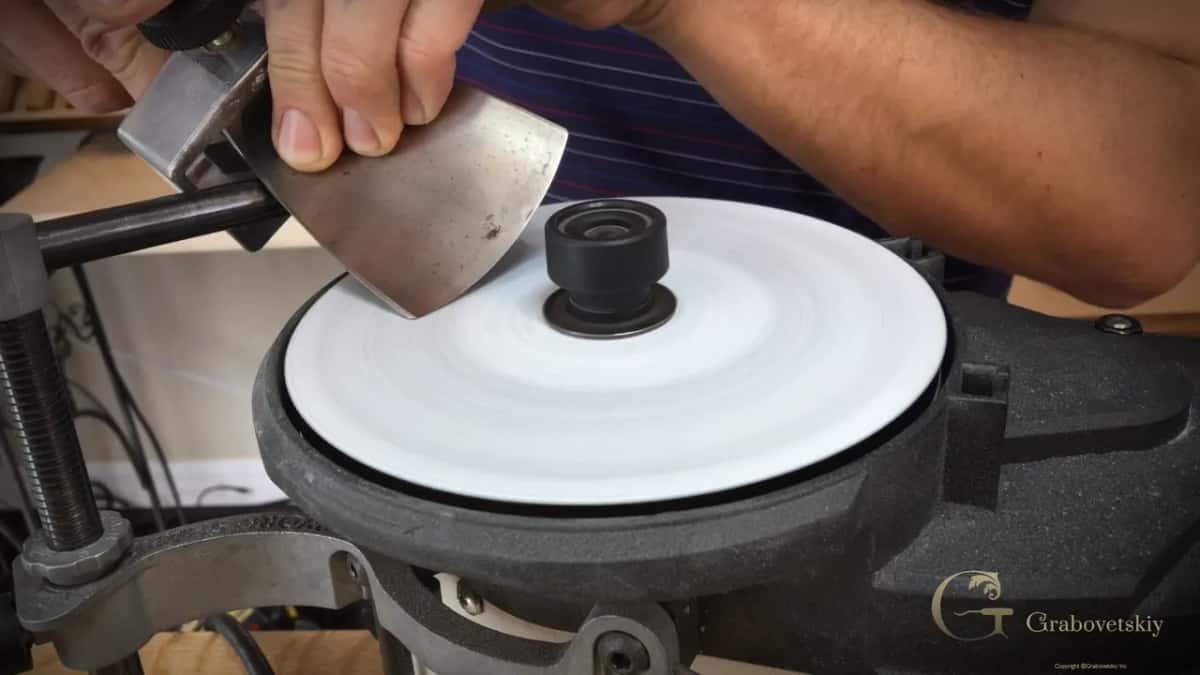
Some tools are not really consistent in thickness, and you can see a little waviness. It's the tool itself, and that's not a big deal for me. On this one the left side had more material to remove, so I spent a little more time there.
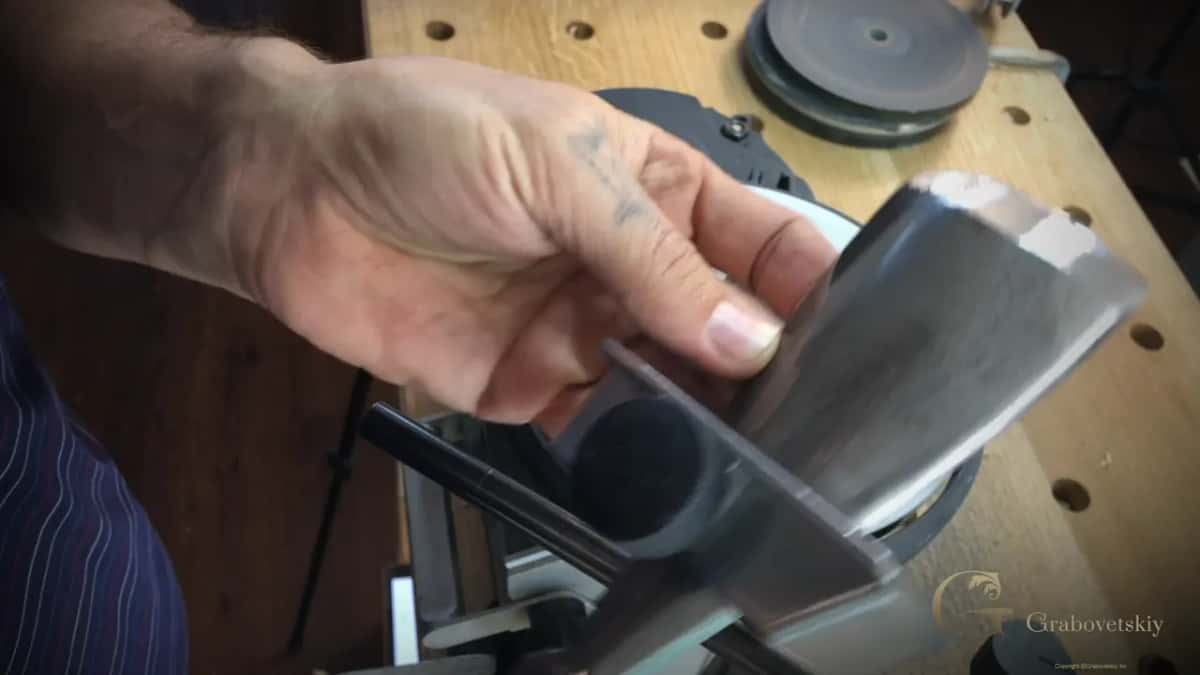
At one point I cleaned my sandpaper a little and went on.
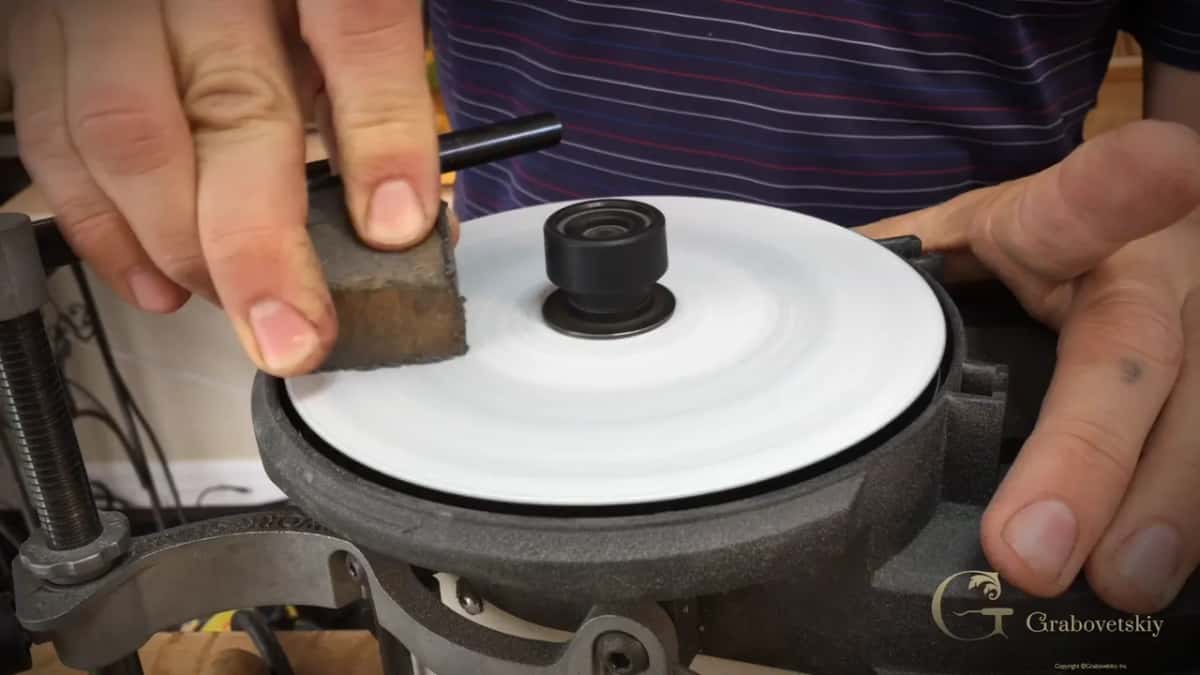
When I had about a 64th of an inch (0.4 mm) to the edge, I was really close. I go almost to the edge, and I leave about 1/28th (under 1 mm), just a hairline, before I hit the edge. Grind right out to the edge and the metal, which is not that consistent, can make a waviness. I still sharpen that last hair with a different grit.
What takes a nick out of a big gouge?
This nick came from hitting some spot with a nail, I believe, and although the gouge didn't break, it's still not nice to have.
Close to the edge, I still saw it. It was just there, and I said, well, maybe I'll do it. I took my tool, placed it straight down on the wheel and removed the edge.
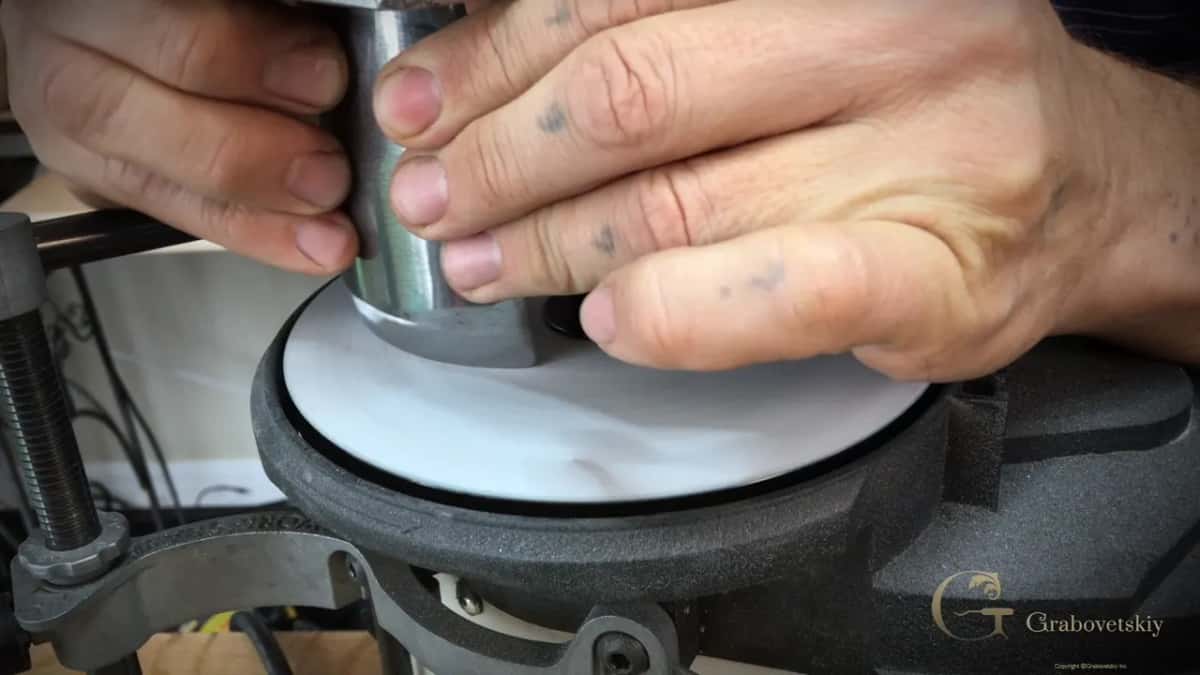
It looked good. The nick was gone, but then I had to take a little more material out. That stage was done, and I tried to keep the same bevel I had before.
Which grits come after the 80?
Stage number two is removing the tool marks. I clean the sandpaper and flip my wheel, and on the other side I have 220 grit. Right now that side is much higher than 220 from all the use.
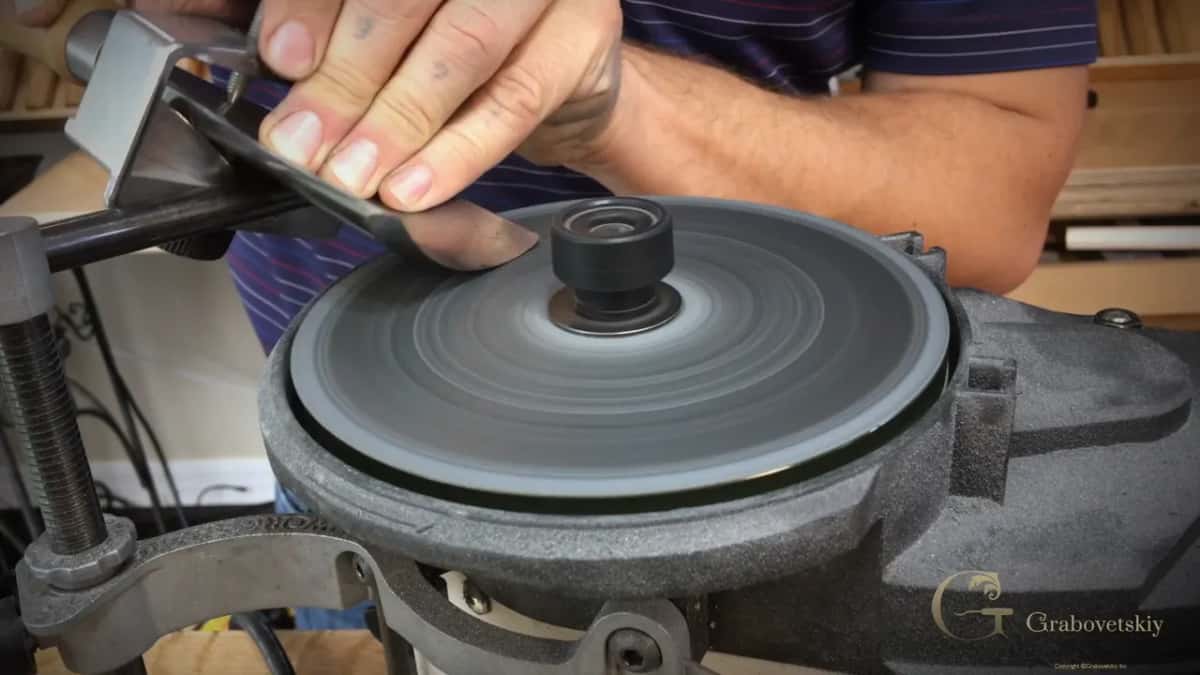
All the marks are visible at this point, and my goal is a mirror polish, and I remove them bit by bit, and it took me only about two minutes. Then 3,600 grit. You can see it's already becoming like a mirror.
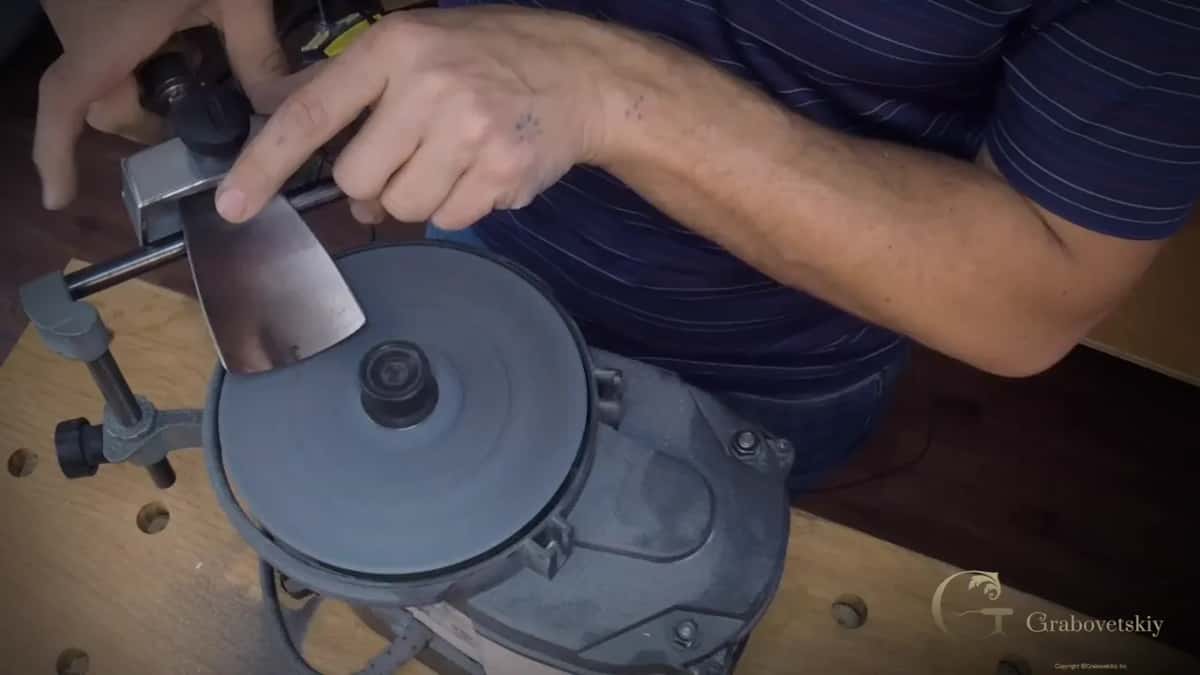
After that I flip the wheel and take it up to 6,000. It's not really a necessary step, and I could skip it, but I really like to see the true mirror polish on my tools.
| Stage | Abrasive | Video | Sign |
|---|---|---|---|
| Regrind the bevel | Coarse 80 grit with the Tormek jig | Part two | A hairline left before the edge |
| Remove tool marks | Flipped wheel, the 220 grit side up | Part three | About two minutes, big marks gone |
| Start the polish | Fine 3,600 grit, cleaned before I start | Same video | You can see a mirror coming |
| Finish the mirror | Then 6,000, a step I could skip | Part three | The true mirror polish I like |
| Strop and buff | Leather on glass, then felt, Koch pastes | Part four | Blue paste goes black, removing material |
| Bevel the inside | Soft Arkansas first, a finer one, WD-40 | Final part | A burr I can feel outside |
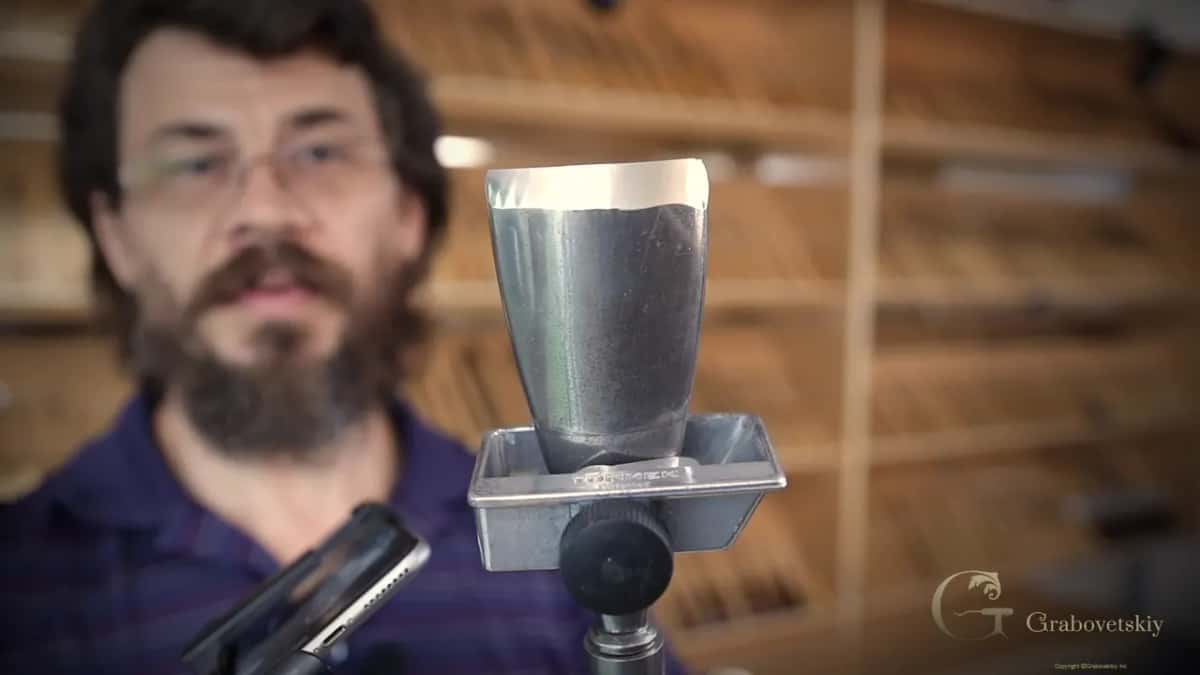
Mirror polish already, and it's still not the final step.
What comes after the mirror polish?
The final step is stropping and buffing, first on my leather wheel, then on felt with two pastes. My leather is applied on a piece of glass, and on it I use green paste by Koch, a paste from Germany.
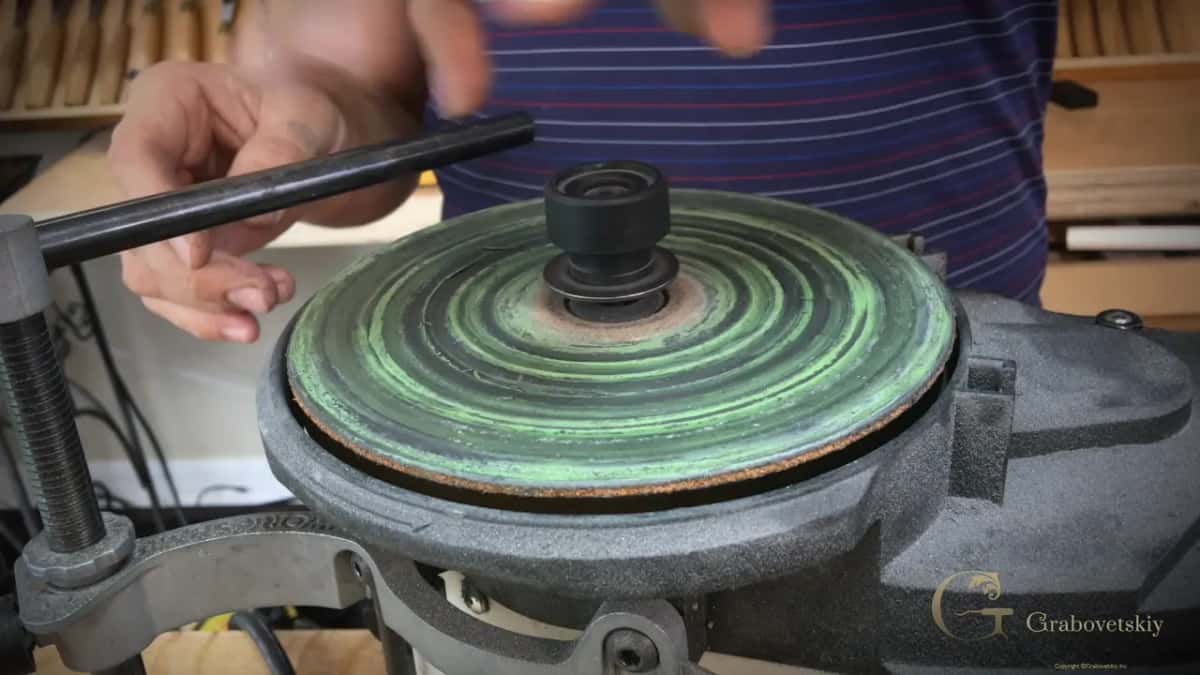
You could use any. Flexcut yellow is not bad at all.
Be really careful with the leather. The rotation has to go away from your edge. Go the other way and you hit the leather, and you won't destroy the tool, but you will destroy the leather.
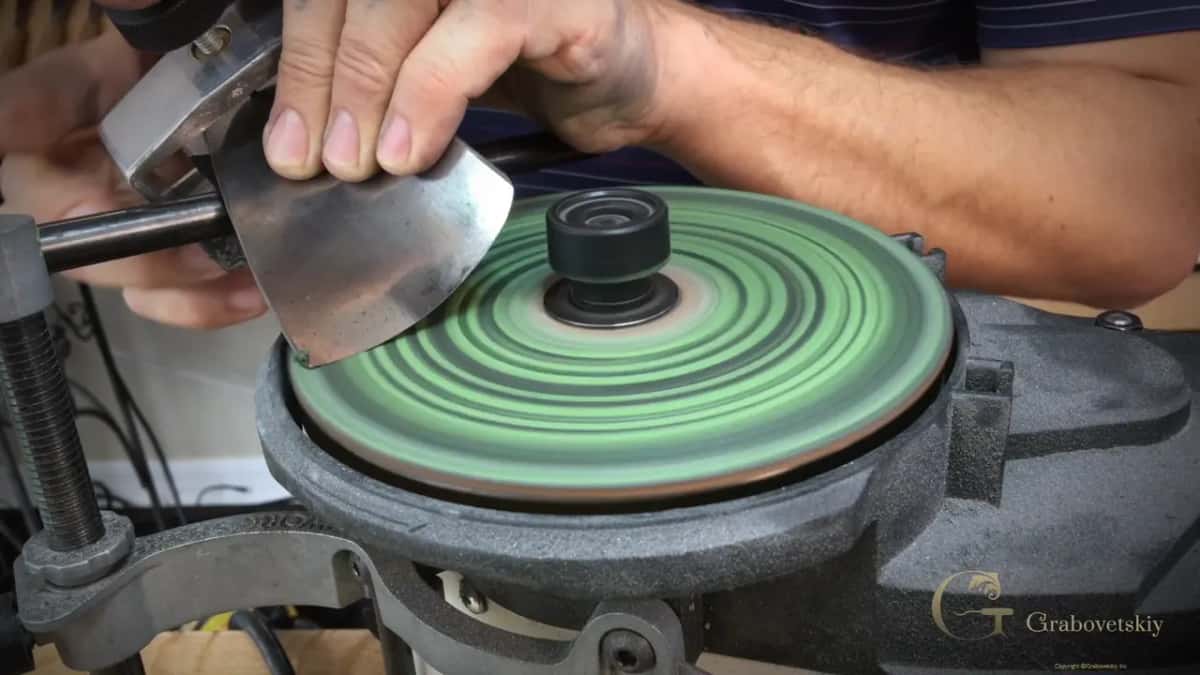
Next is the felt wheel, green paste first and then blue, the finer paste. For this I remove the jig, go freehand, find my bevel and let it buff. My blue paste becomes black. It's actually removing material.
Over in the stropping lessons I said the felt is really soft, and I don't press too hard, because the green paste already took out most of what needs to come out. It's really safe, safe enough to touch with your hand. There is one limit. You cannot do the inside bevel with the leather, because you can hit the glass.
Does a big gouge need a bevel on the inside?
Even with a mirror on the outside, that is not the end yet. I put a small micro bevel on the inside, and for that I take a soft Arkansas stone.
You could use it dry, and it works really fine, because you are barely removing any material. Or you could use mechanical oil, but for me WD-40 works miracles here. Why, I don't know. I just like to use it.
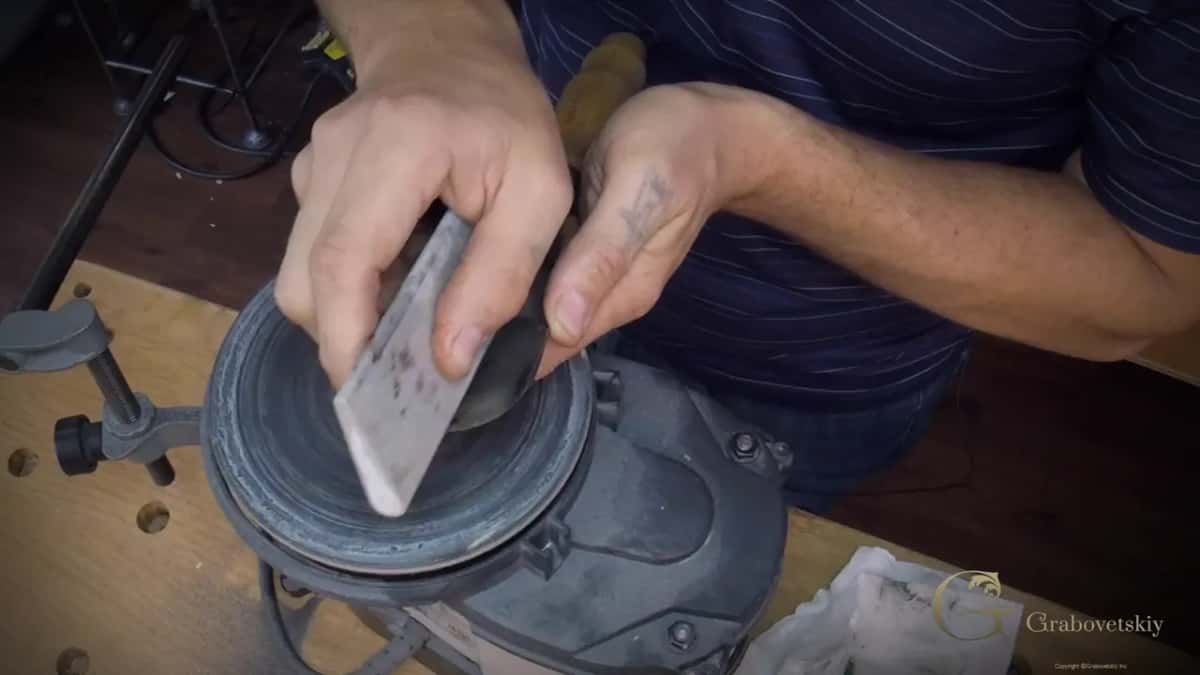
Some carvers move the stone both directions, and I don't feel comfortable doing that. I move it out, away from myself, toward the edge, and all I need is just a micro bevel. I can feel some burr on the outside. Just a few strokes.
Then a finer Arkansas slip stone with the same WD-40, starting on the left side of my tool and moving toward the right. With the skew bent gouge I called that inside bevel really important, and I used a soft Arkansas first, then a translucent stone.
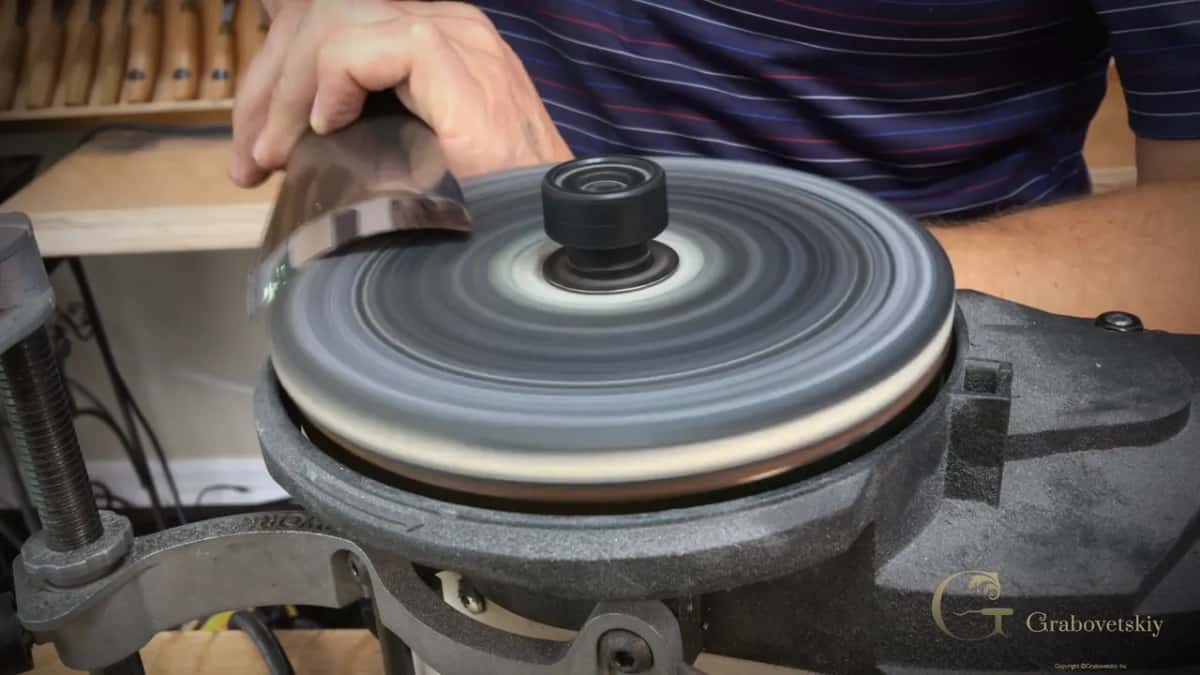
Then it goes back to the machine to buff. No need to strop it again, because buffing should be enough. Blue paste on the outside of the felt wheel, and since I have a burr on the other side, I take it out on the same wheel a couple more times.
When is the big gouge ready to carve?
After the last pass on the felt, I thought this tool was ready for work. It looked like a mirror, and I could see myself in it. So I tried it, across the grain and from the other side, and it went in just like butter. The surface it left was really clean.
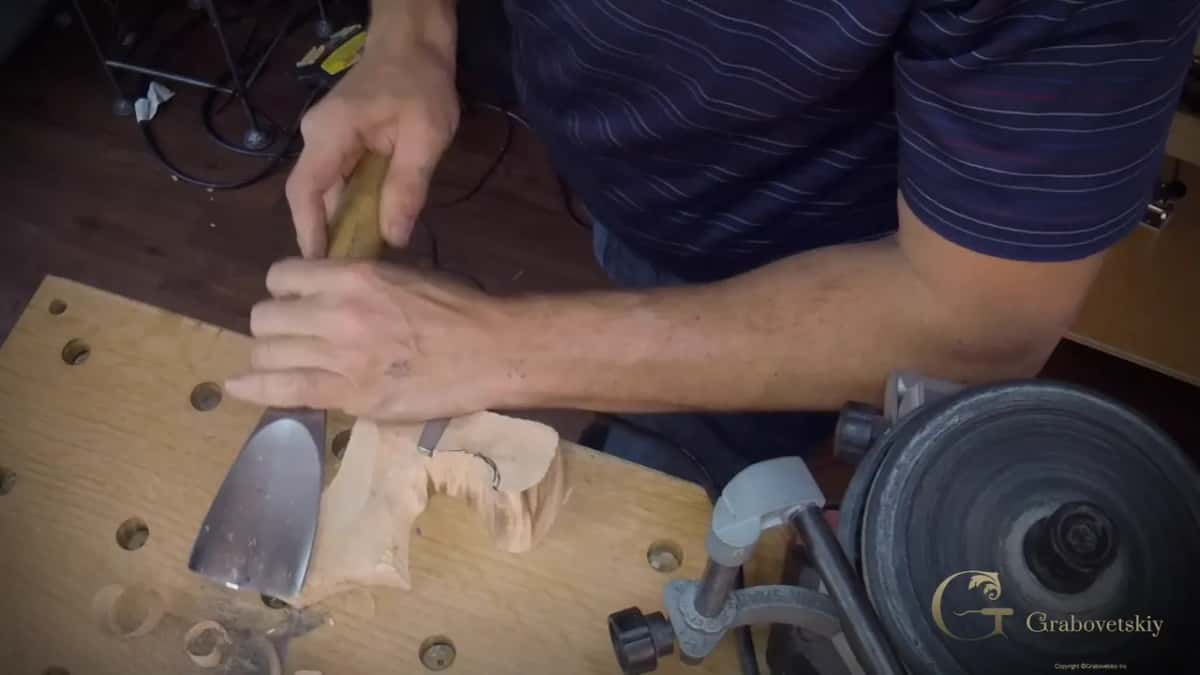
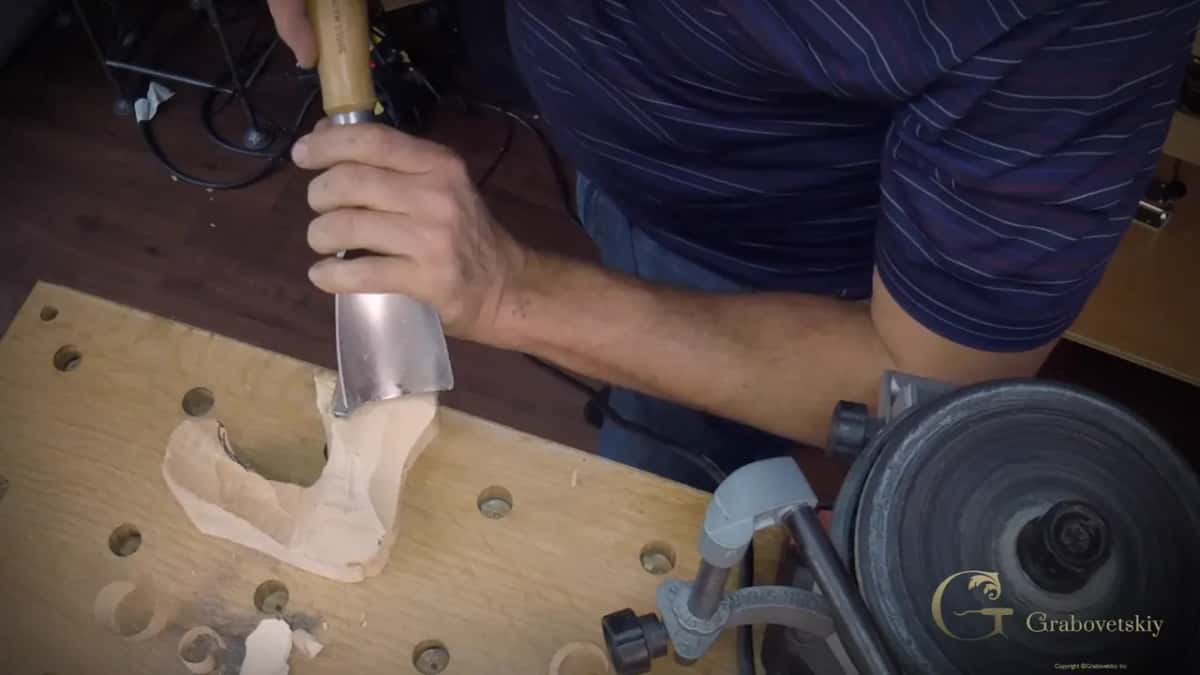
This machine plus that Tormek bar is among the wisest investments I made, a few years before I filmed this.
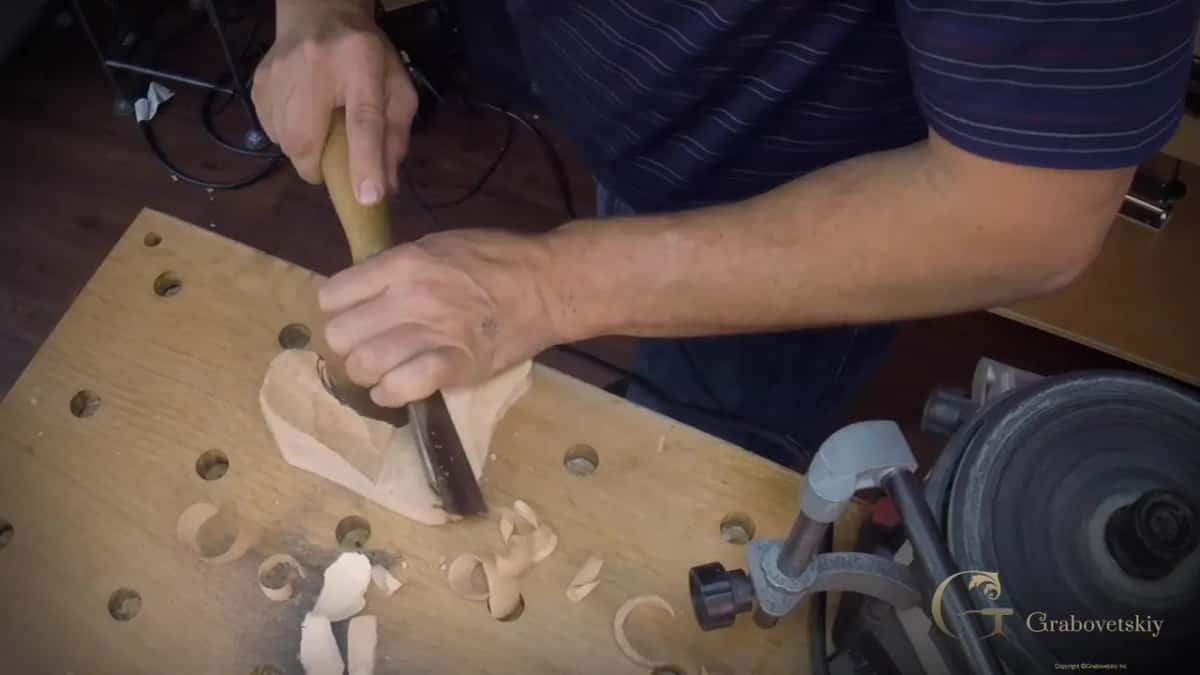
The whole lesson is four videos, and the rest of the sharpening course does the same for the other shapes on your bench. If you want to watch every step, the tuition opens the videos.
How it's done
- Put on the coarse wheel. 80 grit on the Work Sharp for the regrind.
- Clamp the gouge straight. Slide it into the SVS-50 to just before the flat part, check both sides, and tighten it square to the tool.
- Match the original bevel. Eyeball it, raise the jig if you need, and keep the tool in one place on the bar.
- Regrind with barely any pressure. Right to left, left to right, checking all the time, and stop a hairline short of the edge.
- Remove a nick. Stand the tool upright on the wheel to take the edge off, then take a bit more out.
- Climb the grits. 220 for the marks, 3,600, then 6,000 if you like a true mirror. Clean the sandpaper before each one.
- Strop, then buff. Leather with green paste, turning away from your edge. Felt next, freehand, green and then blue.
- Do the inside. Soft Arkansas and WD-40, strokes going out only, then the finer stone; buff the burr off.
Frequently asked questions
Can you sharpen a big gouge on a stone instead?
Of course you can, and I do love to sharpen by hand. On a stone, though, a consistent bevel is much harder to reach than on a machine for some reason. A tool this size would take you hours that way, and on the machine the regrind takes minutes.
Which Tormek jig fits a very wide gouge?
On this #7 I used the SVS-50 multi-jig, because the jigs I used before don't work for a gouge this size. A second part comes with it for skewed chisels. For the big gouge I put on just the main body and kept it perpendicular to the tool.
Should you lower the bevel when you regrind a mallet gouge?
On mine I kept the original, somewhat higher bevel, since this #7 takes a lot of mallet work and I did not want it low. A high bevel is much stronger, and that is the one I take to oak.
What to carve next